Week 1- Project Management
Overview
For this week assignment, we have to work through a git toturial, build a personal website, document our steps to build it and sketch an idea for the final project.
To be honest I'm familier with some of website development tools such as HTML,CSS,Bootstrap and also I have a good knowledge about version control as I have started using Github three years ago.
So at the beginning I was very excited I set my plan and it was very simple:
Step (1):Made a website and described how I did it.
Step (2): Documented steps for uploading files to archive.
Step (3): Pushed to the class archive.
Step (4): Signed and uploaded Student Agreement.
Step (5): Introduced myself.
The Process
Made a websiste and described how I did it
six month ago as an intern in FabLab new cairo I started learning html, css and Bootstrap to build my own portfolio. back then I have zero knowledge about web developments tools yet I manage to build my own website from scratch in only five days.
if that your first time trying to build a website this Documentation Process about how I create my own might help you.
I start by using my own portfolio as a template then I add some modification to make it more suitable for fabacademy.
- my own portfolio as a template.
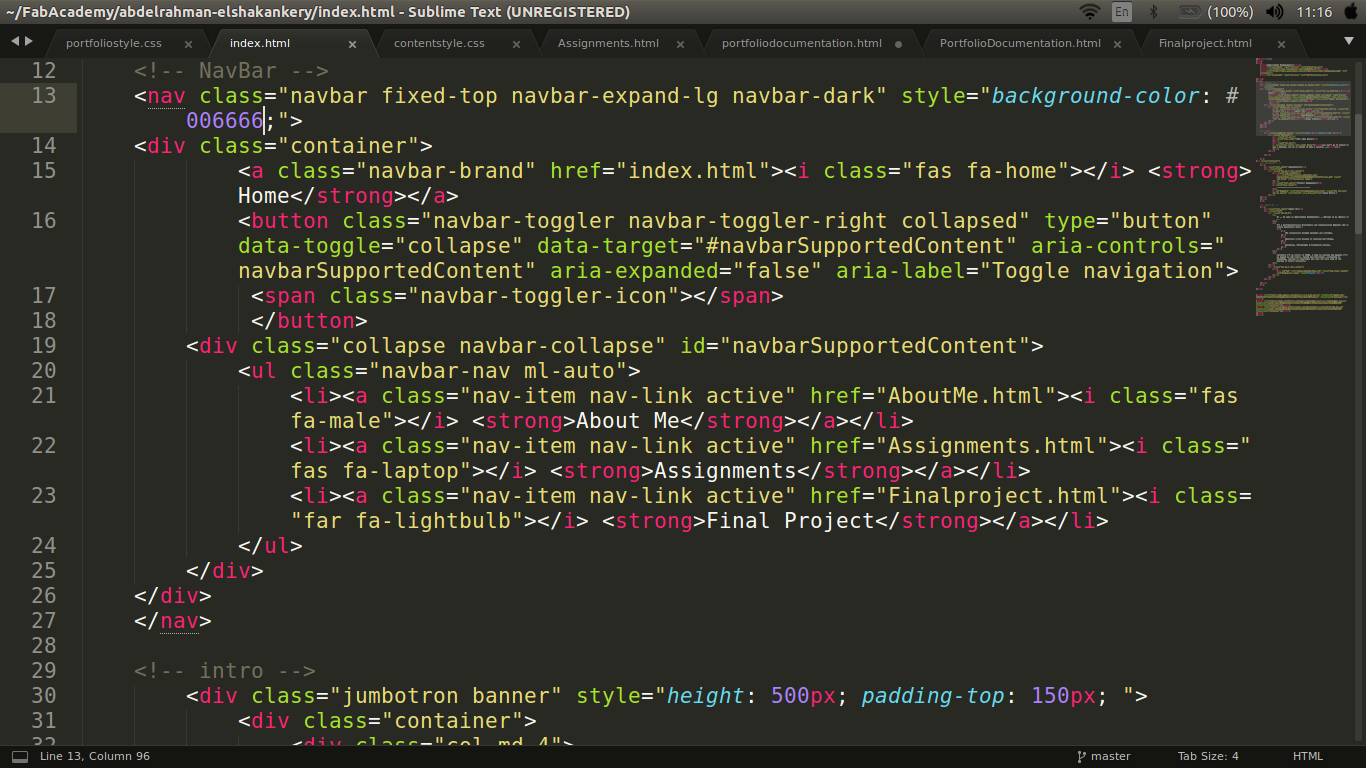
- using sublime as my text editors.
- Change the Navbar colors.
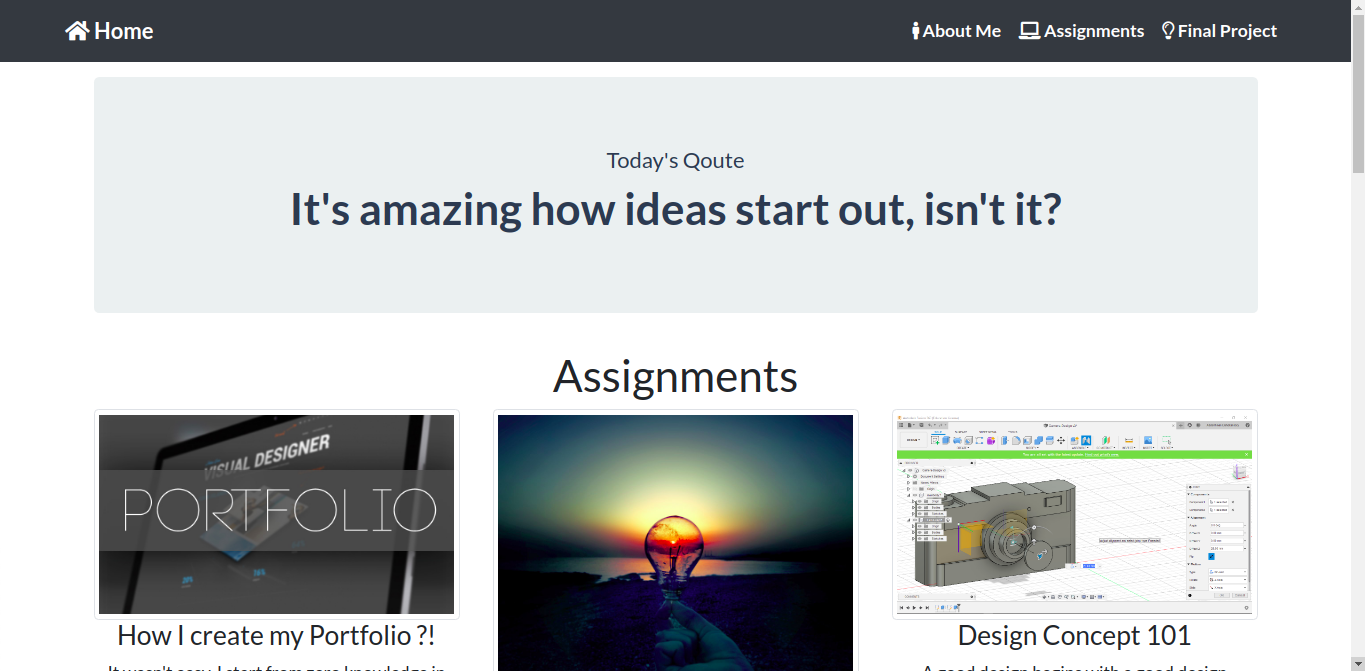
- Replace the jumbotron with a picture.
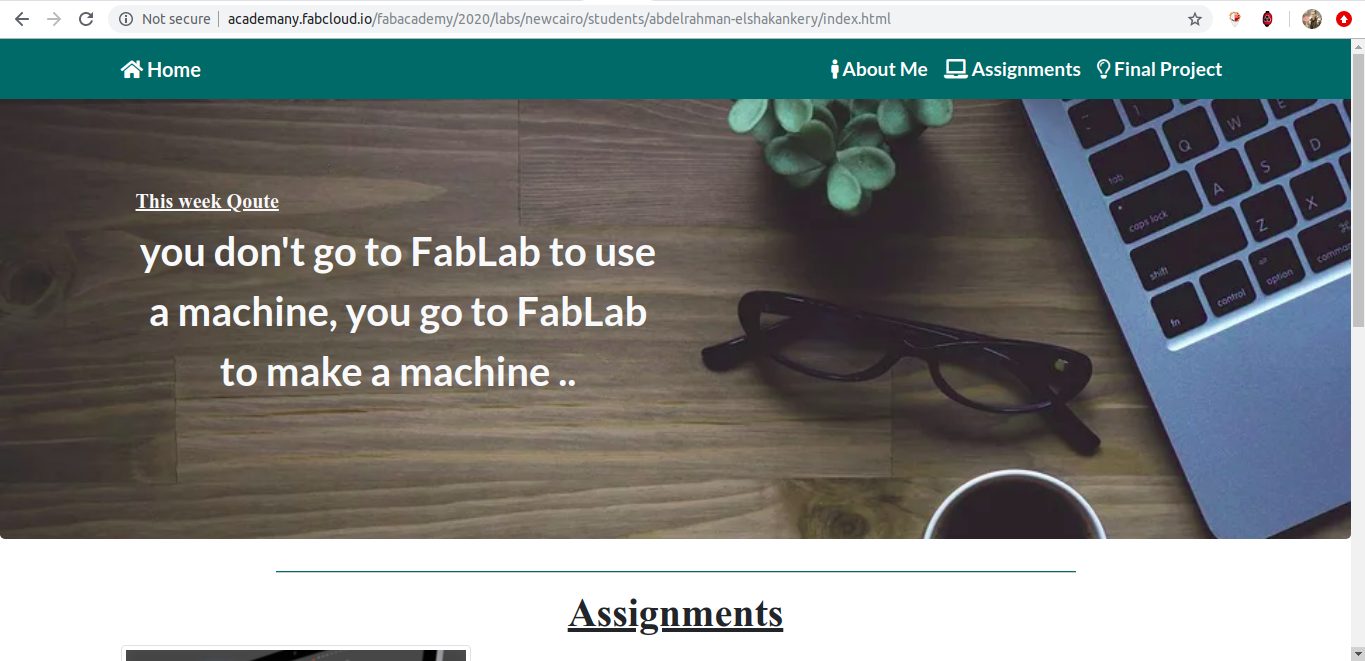
- Final modifications in which you are surfing right now.
Pushed to the class archive
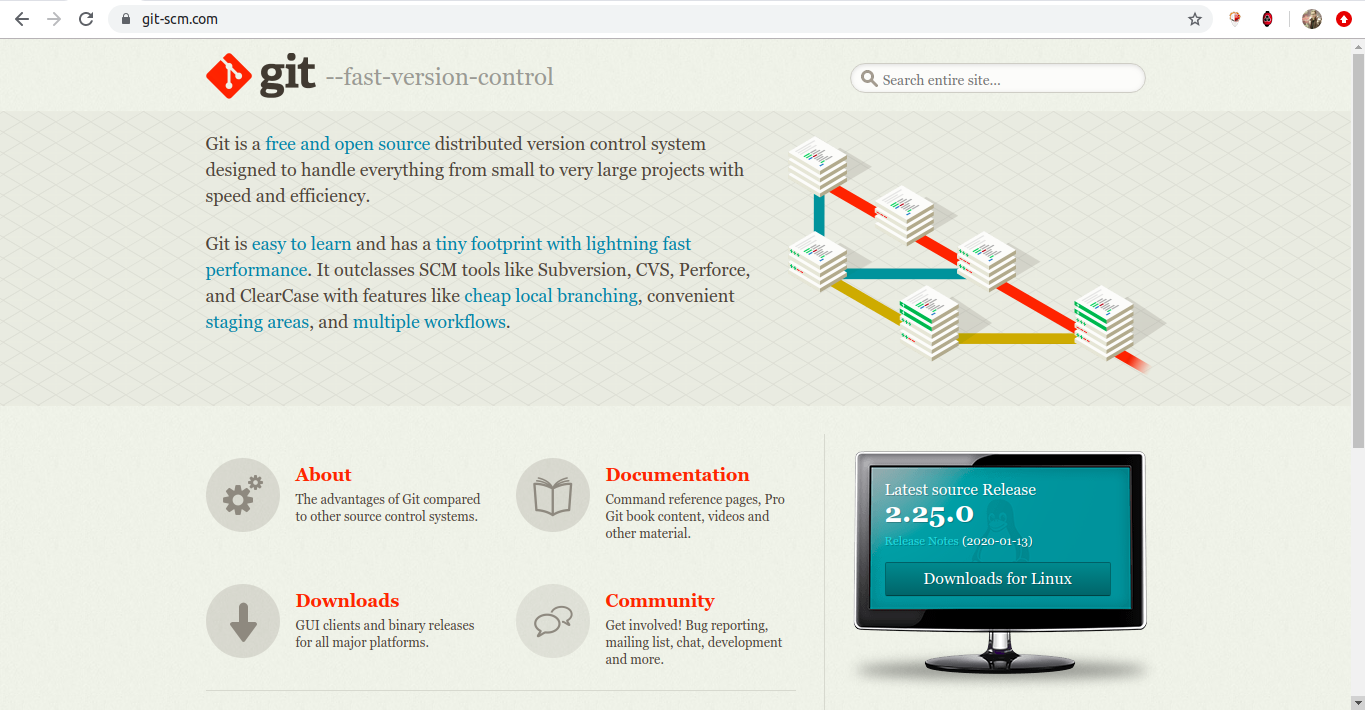
As I said earlier I'm pretty familier with git so I think I will be able to use gitlab the same way I was using github
The whole idea behind version control is to keep track of multiple different versions of software, content, documents, websites and other information in development. when we write codes we make alot of files and a lot of changes to the same files sometimes with version control we will be able to track our history, cooperate with other people, make branches in which we can develop then merge it with the master code.
this is really useful link if you are starting with version control and gitlab.
First of all I create an account on fablabs so I can use it to sign in on gitlab.
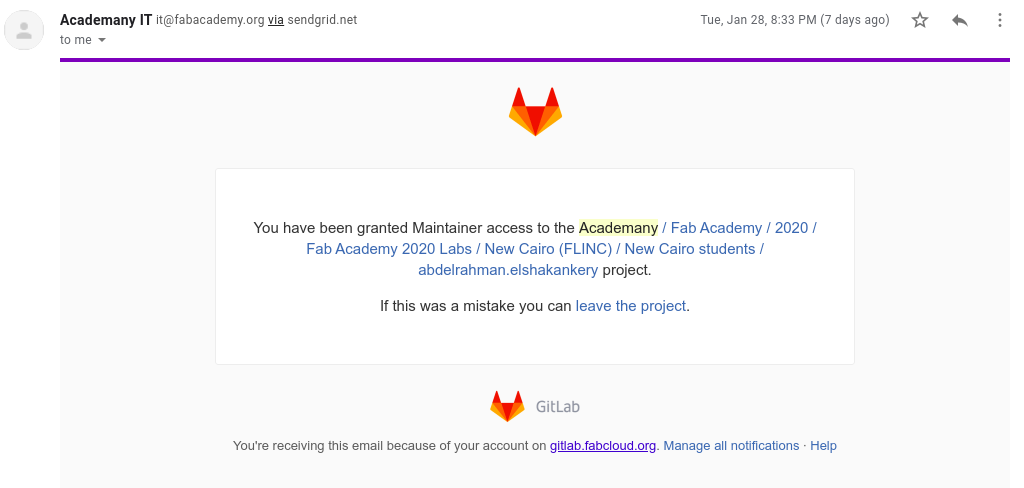
- I follow this link to get access to my gitlab account, but for the first time I find that I need to reset my password in order to login.
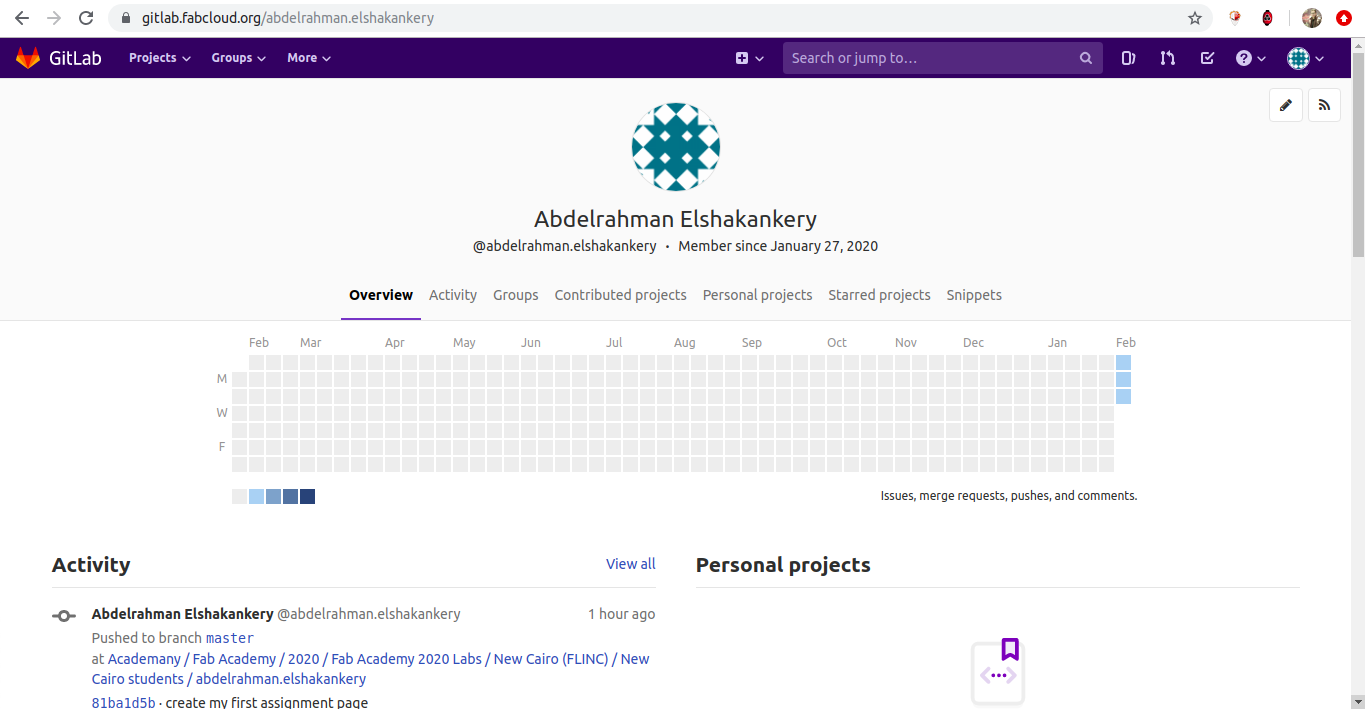
- my profile on gitlab :).
now it's time to create ssh key in order to pull and push my files to my gitlab account.
1- lets check for previous ssh keys: ls -al ~/.ssh
2- generate a RSA code: ssh-keygen -t rsa -b 4096 -C "your_email@example.com"
3- add the code to our ssh protocol on Ubuntu: ssh-add ~/.ssh/id_rsa
4- install xclip to get a copy of the RSA code: sudo apt-get install xclip
5- Take a copy to the clipboard: xclip -sel clip < ~/.ssh/id_rsa.pub
6- Now it's time to go to gitlab account chose settings->SSH key
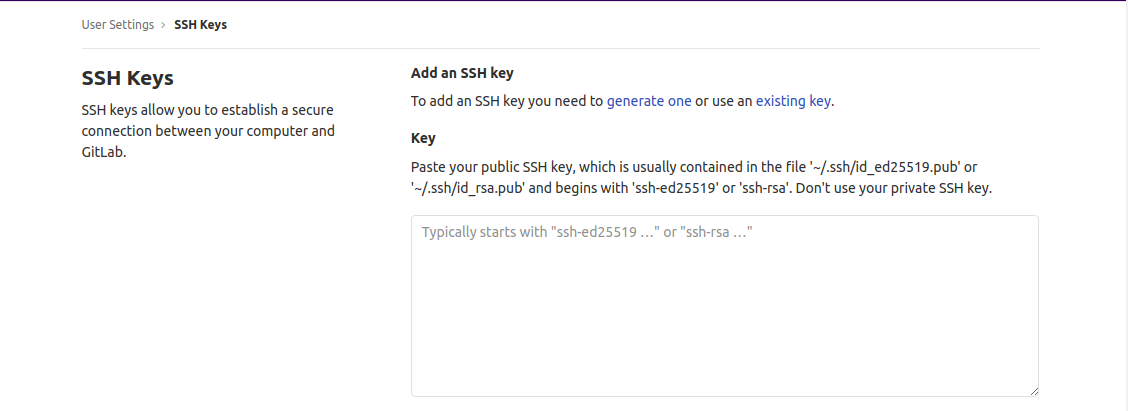
- past ssh key to my gitlab account.
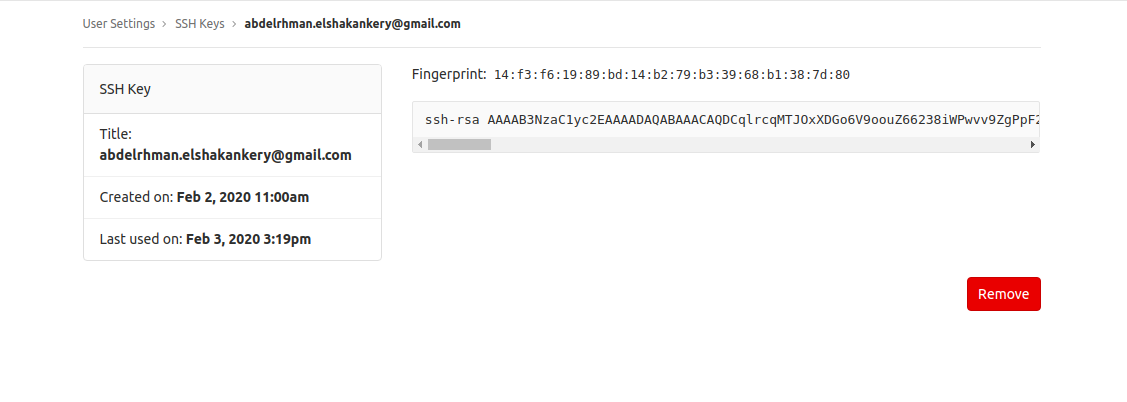
- all is good :).
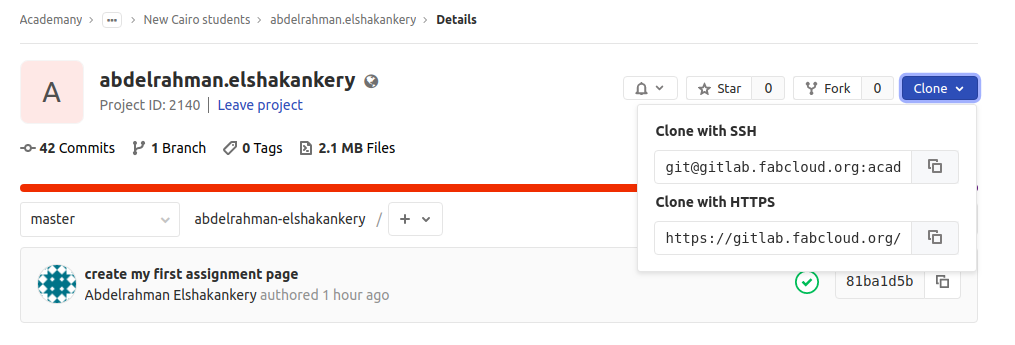
- Get a copy to be able to clone my repository to my labtop.
10- Final step to get connected to your gitlab account: git clone repository "the link I copied".
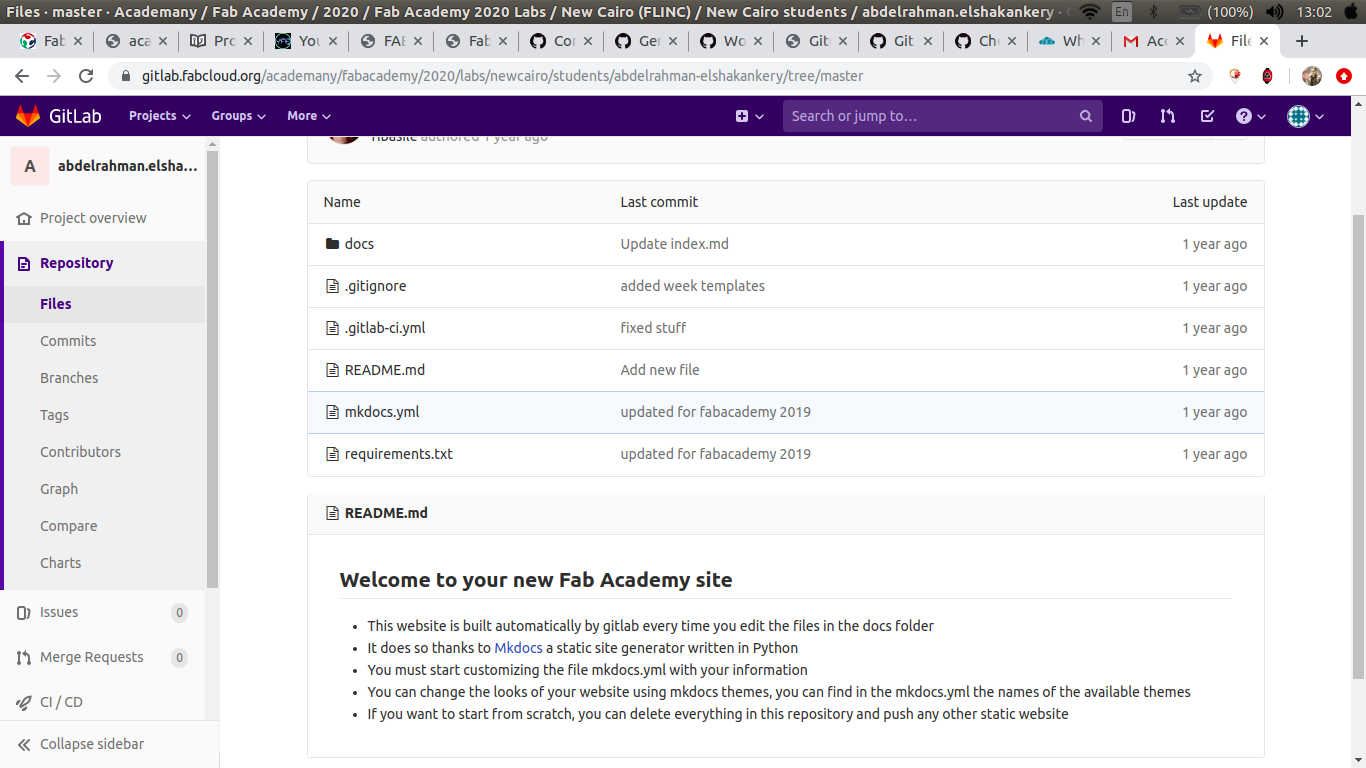
when I open my repository I found Mkdocs-files which is a static file generator that built automatically by gitlab, but in my case as I started from scratch I need to delete all the files in my repo before start to push my own work.
now everything is ready to upload my website files and it's time to run some git command in the terminal.
1- List which files are staged, unstaged, and untracked: git status
2- Stage all changes for the next commit: git add.
3- Commit the staged snapshot: git commit -m "write your comments".
4- Push all the changes to gitlab, along with necessary commits: git push -u origin master
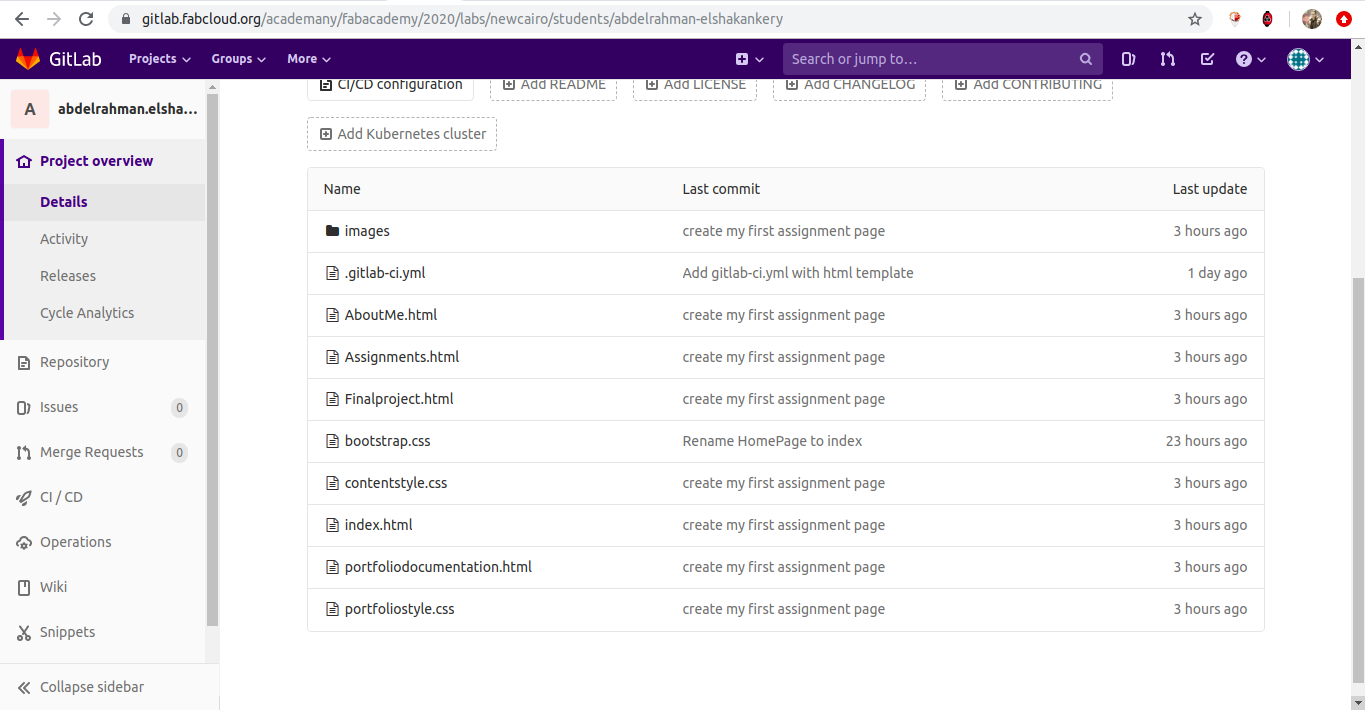
- all my files is now online. now it's time to host my website.
Host HTML website on Gitlab
In this step their is a huge difference between github and gitlab. fortunately I found this step-by-step tutorial that explain the whole process :)
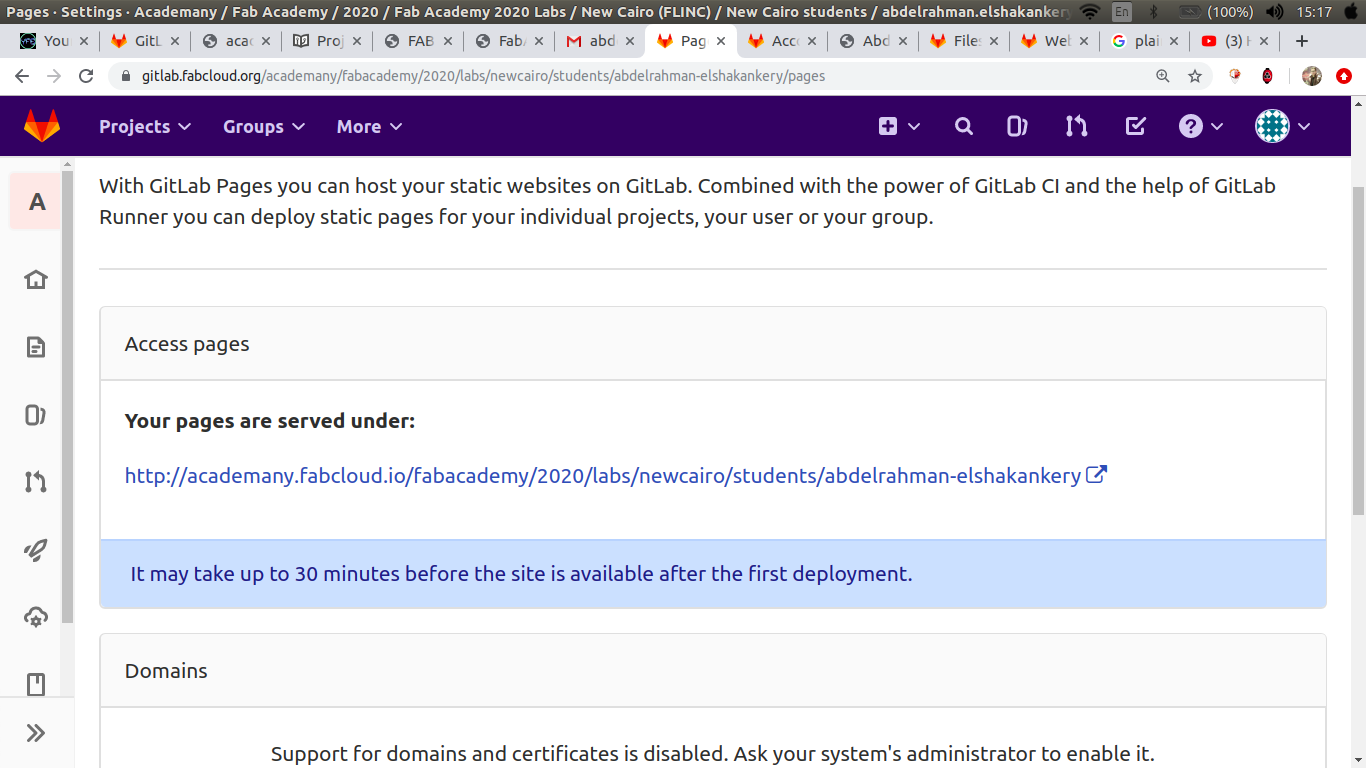
- My website url just a 30min and everything will be online :).
well I waited for 30min and when I get back I found this 404 error at first I thought the site might need more time, but unfortunately that wasnot the case I review everything to make sure I didn't do anything wrong and still I can't find the erorr so I went to my instructor May Eldardiry asking for help. she asked Viktor when he reply to change the homepagefile name to index.html in order to website to load successfully.
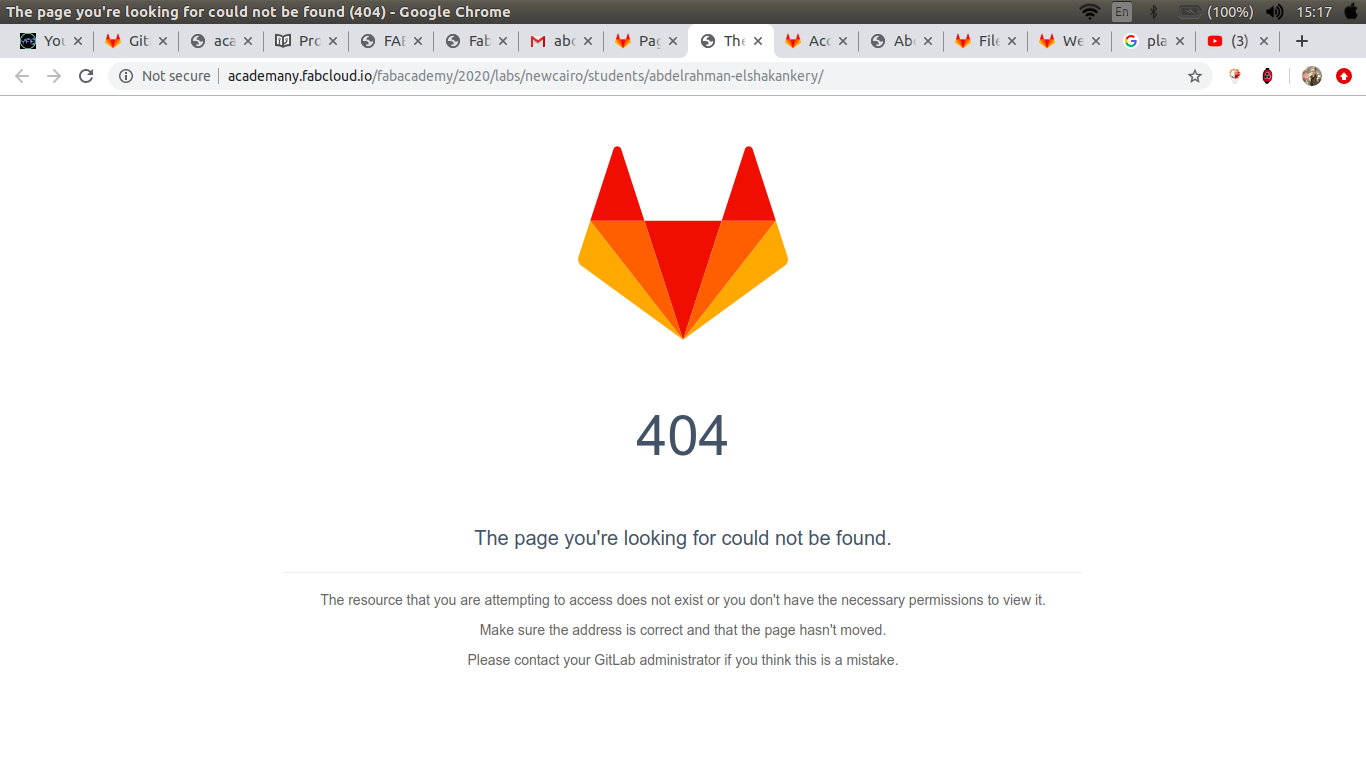
- 404 error message:(.
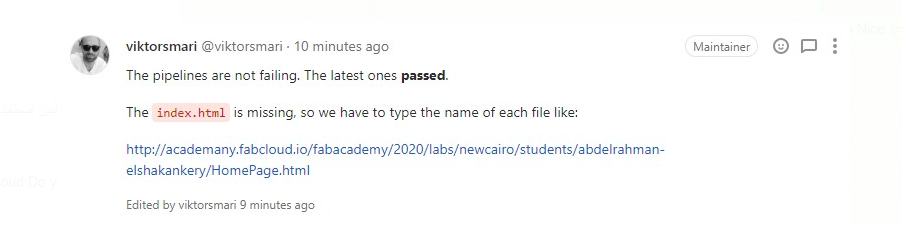
- viktor reply.
- I change the name so it load successfully and here we are :).
Panademic Modification
Today is 1 May 2020 it has been almost 2 months since Coronavirus confirmed as pandemic by World Health Organization. here in Egypt we are in partial lockdown trying to go through the crises ان شاء الله ..
So Why did I decide to make modification to my website?
Some modification steps:
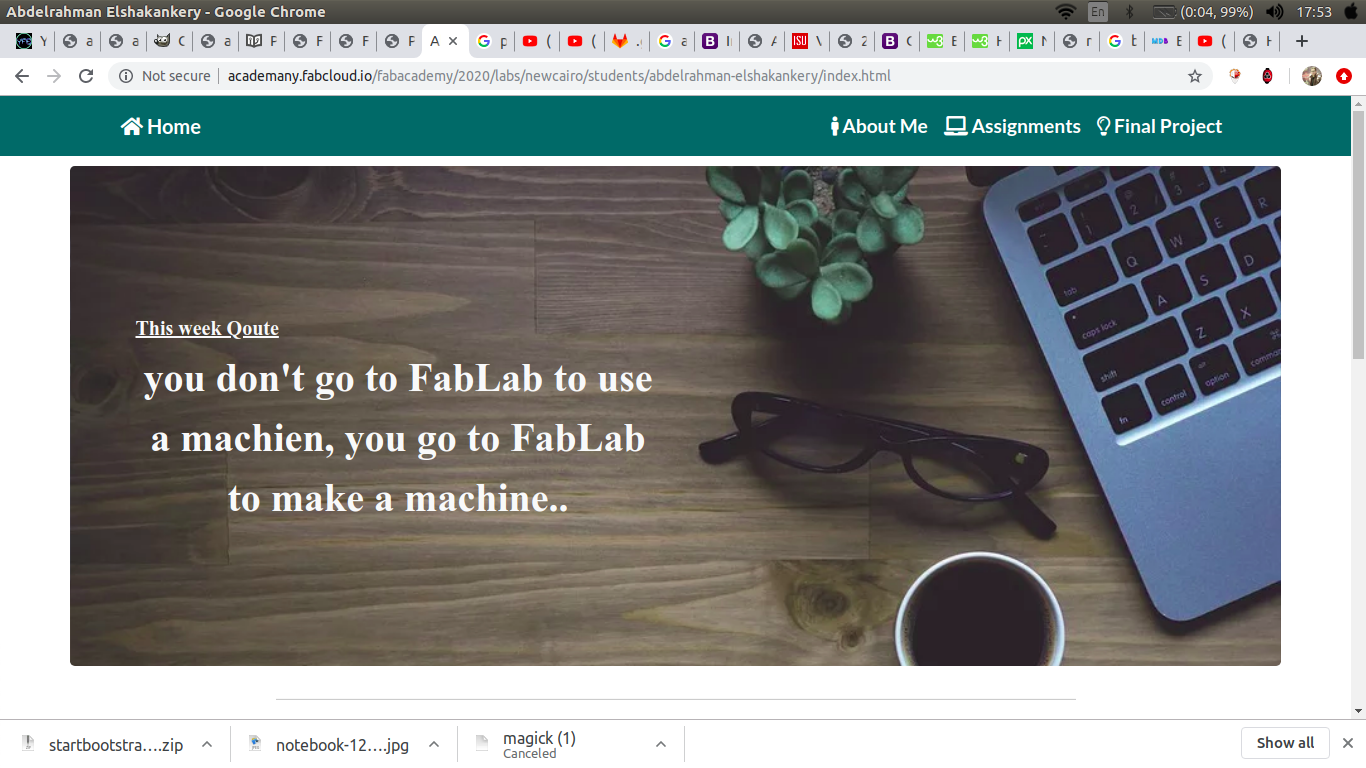
1- Navbar hover:
I make the navbar transparent until you hover on it, in which the color will change.
2- Navbar scroll
Because if I make the navbar transparent when I get down to the Assignment section it get confused with the content so I need a way to change its color after the hero section.
I found these simple tutorials and it turns out it's a simple code of Java script.
				 $(window).scroll(function(){
				 $('nav').toggleClass('scrolled', $(this).scrollTop() > 650);
				 });
This the JS code you should put it between script tags
3- Qoute Animation
I was thinking if it's possible to create some animation at the hero section of my website. I google it and it turns out really easy using the animation and keyframes features inside CSS.
so I decided to animate each week qoute at my home-page. For the header I animate it's position and letter spacing and I fade in the content.