Week 2- Computer Aided Design
Overview
For this week we need to get familier with different 2D & 3D softwares, Model a possible final project idea, Demonstrate and describe our processes using images and videos.
At the beginning I want to have a clear sketched idea about my final project before I start work on this assignment, However in order to save time I decided not to do this and work on the assignment in parallel with the brainstorming of the final project idea.
I choose GIMP to learn and use as a 2D-Raster software, inkscape as a 3D-vector software and Fusion360 as 3D-design and simulation software.
I set my plan and it was very simple:
Step (1):make sure to understrand raster & vector design
Step (2):Learn and use GIMP to create my thumbnailicon design.
Step (3): Learn and use inkscape to create a possible part of my final project.
Step (4): create a 3D model of the final project on fusion360.
The Process
Important introduction
Before start working with the tool I need to make sure that I understand the basics concept about CAD and the difference between raster and vector.
Computer aided design (CAD): is the use of computer systems to aid in the creation, modification, analysis, or optimization of a design. CAD software is used to improve the quality of the design and increase the productivity of the designer
Raster: a design made of pixels each with a different color arranged to display the whole design or image. It is resolution dependent.When you zoom in to the image or shape very closely or scale it to larger size you can see the pixels mush clearer.
Vectro: a design made of paths, each with a mathematical formula that describes how it is shaped and it's color. it is resolution independent.When you zoom in to the image or shape you still can see the lines very smooth and continous.
I found this useful link that describe the difference between Raster and vector Graphics.
this an amazing 2min tutorial that explain it all :).
2D Software GIMP-Raster design
GIMP: is a really powerful free and open source image editor
I have an idea in my head, why not to use GIMP to create the thumbnail images for my assignments. well sounds good now time to learn GIMP as I never use it before.
I go through this tutorials that give a quick and brief intro to the program.
And now it's time to design some Thumbnail. I go to pixbay "which is a Stunning free images & royalty free stock" I get a picture related to first assignment topic and start working on it
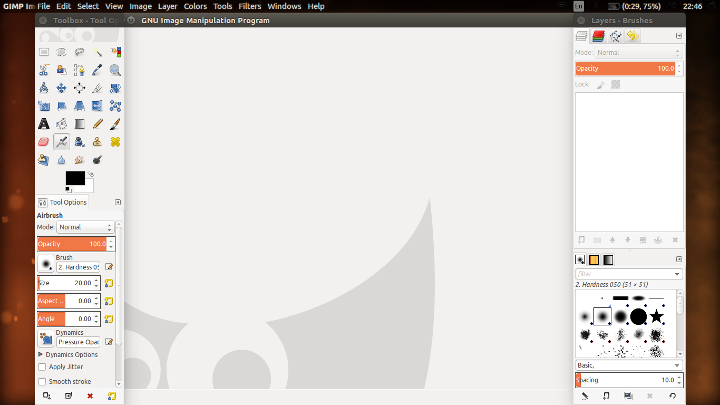
- open GIMP, on the left is the toolbox, on the right is layers box, and in the middle is the main manipulation windows.

- ctrl+o --> to open a new image.
- on the layer box it appear as a new layer.
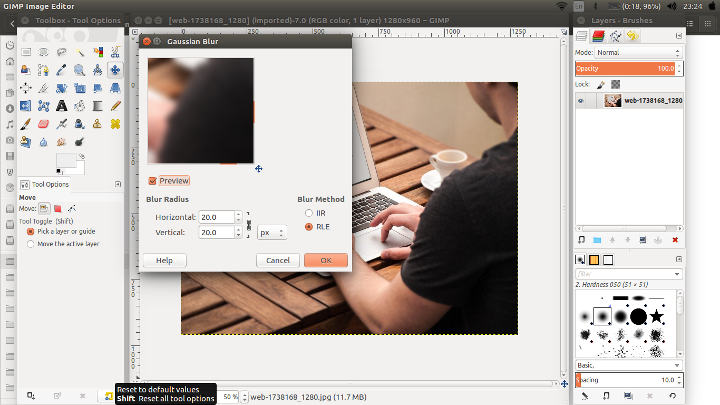
- from filters choose gaussian blur.
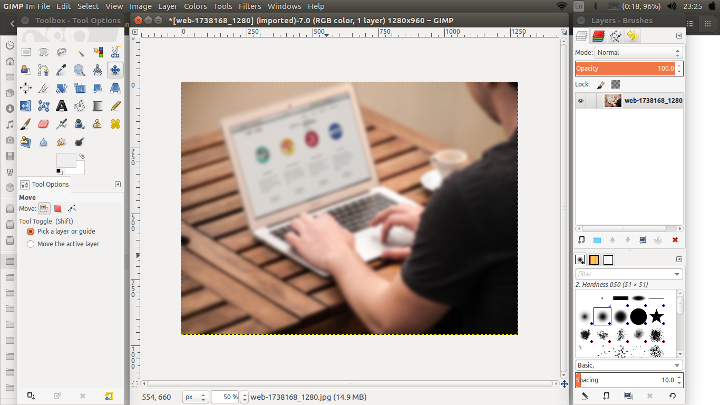
- Add blur effect to the image.
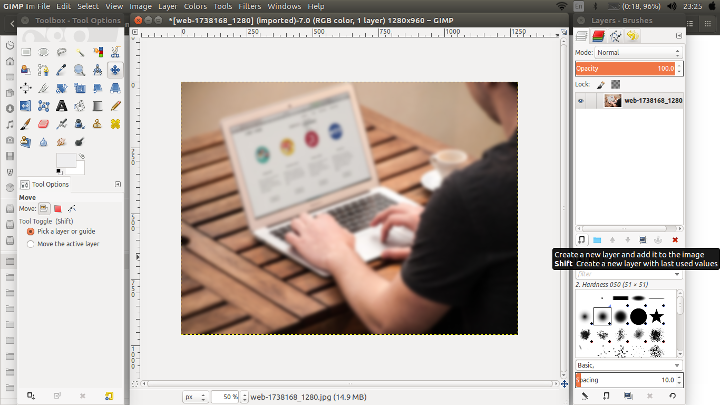
- create a new layer to add the text.
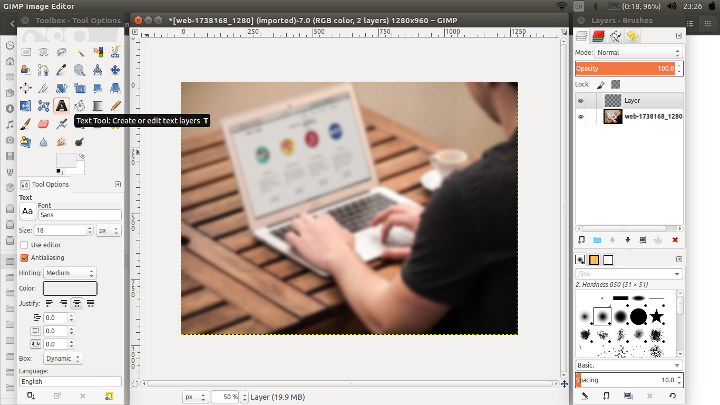
- choose text tool to create a text layer.
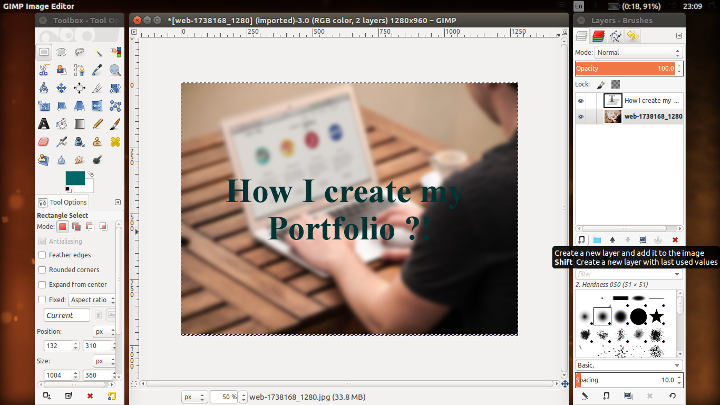
- add text.
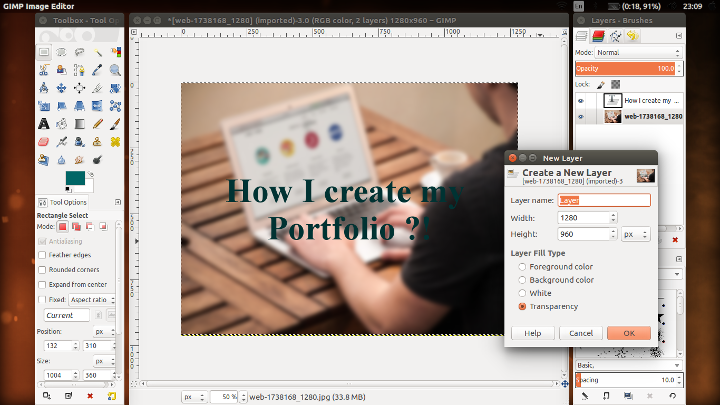
- choose new layer to create a rectangle background.
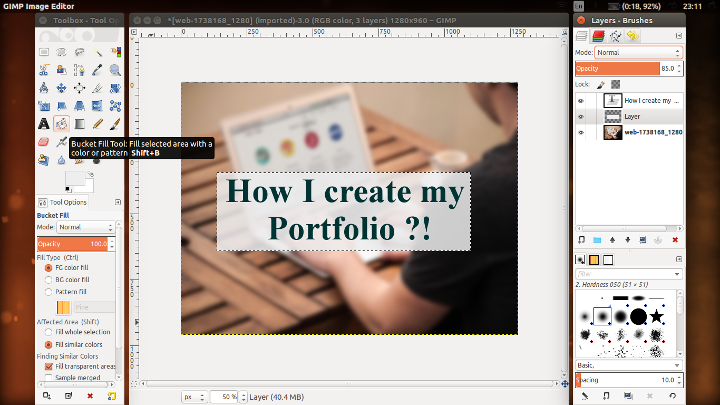
- create a rectangle and fillet with light color.
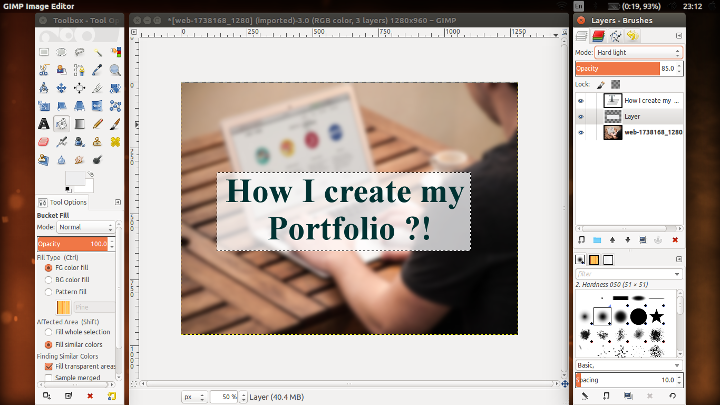
- The final edits :).
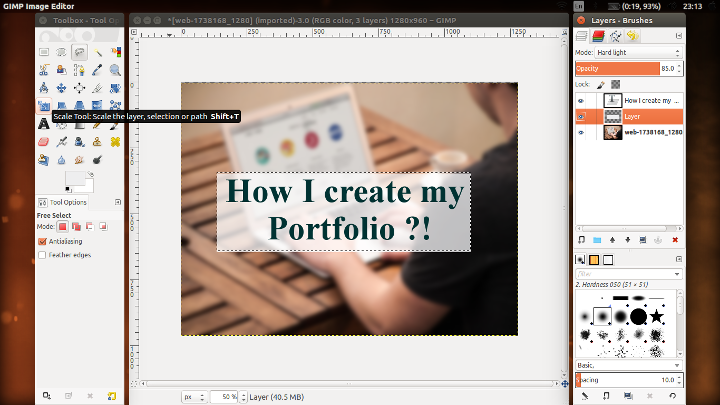
- from image choose scale to resize the final picture.
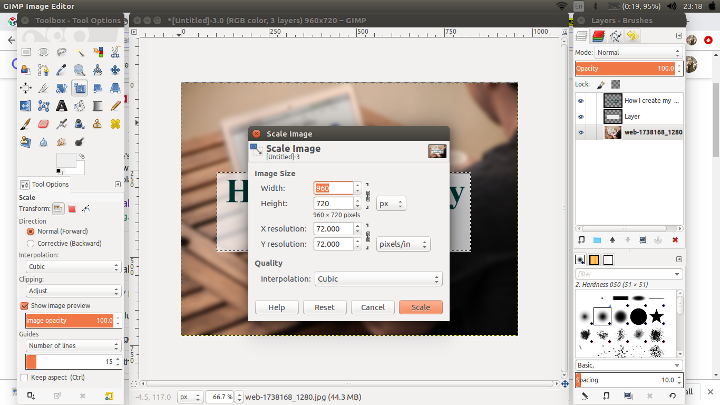
- choose the wanted resolution.
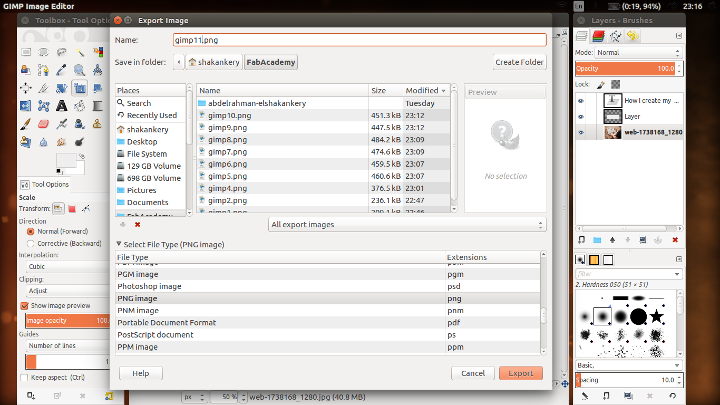
- from file choose export and we are good to go
- The final output image.
2D Software Inkscape-Vector design
Inkscape: is a professional free and open source vector graphics editor.
that is my first time working with Inkscape, however I'm familier with illustrator so in my head I thought there will be no much difference between both of them. so I start searching for inkscape tutorials to help me walk through the program in order to create one part of my final project which is the sliderleg.
that tutorials is really simple and easy to follow if you have no previous knowledge with vector graphics editor.
I go through almost 15 lessons very quickly then I start working on my part.
the only feedback I have after working with inkscape basics features that it's really an amzing software and the fact it's free and open source blow my mind, plus in the comparision with illustartor it will stoodup, However illustrator has an Smart Guides feature that I really hope to see it soon in incscape.
As you can see in the videos I experminted different features in incscape such as Creating Shapes, Fill & strock, Difference & Union, Allignment, Navigation, Resizing, scaling and exporting png and svg.
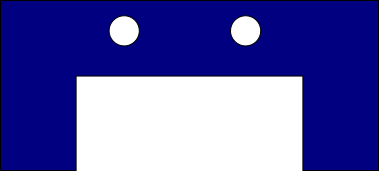
Steps:
- Creating main rectangle.
- Creating a secondary rectangle in order to reach the final shape
- From path I choose difference to cut the two rectangles out of eachother.
- Create a circle that represent the hole and duplicate it.
- Create a rectangle to help me in the allignment process "no Smart Giudes here"
- Allignment process and finally diffrence the circles out of the main parts
3D software Fusion360
Now it's time to go out of the 2D world and enter the third dimension.
For me I start learning and dealling with fusion360 6 month ago. unfortunately I'm not an expert yet, but I know the road :)
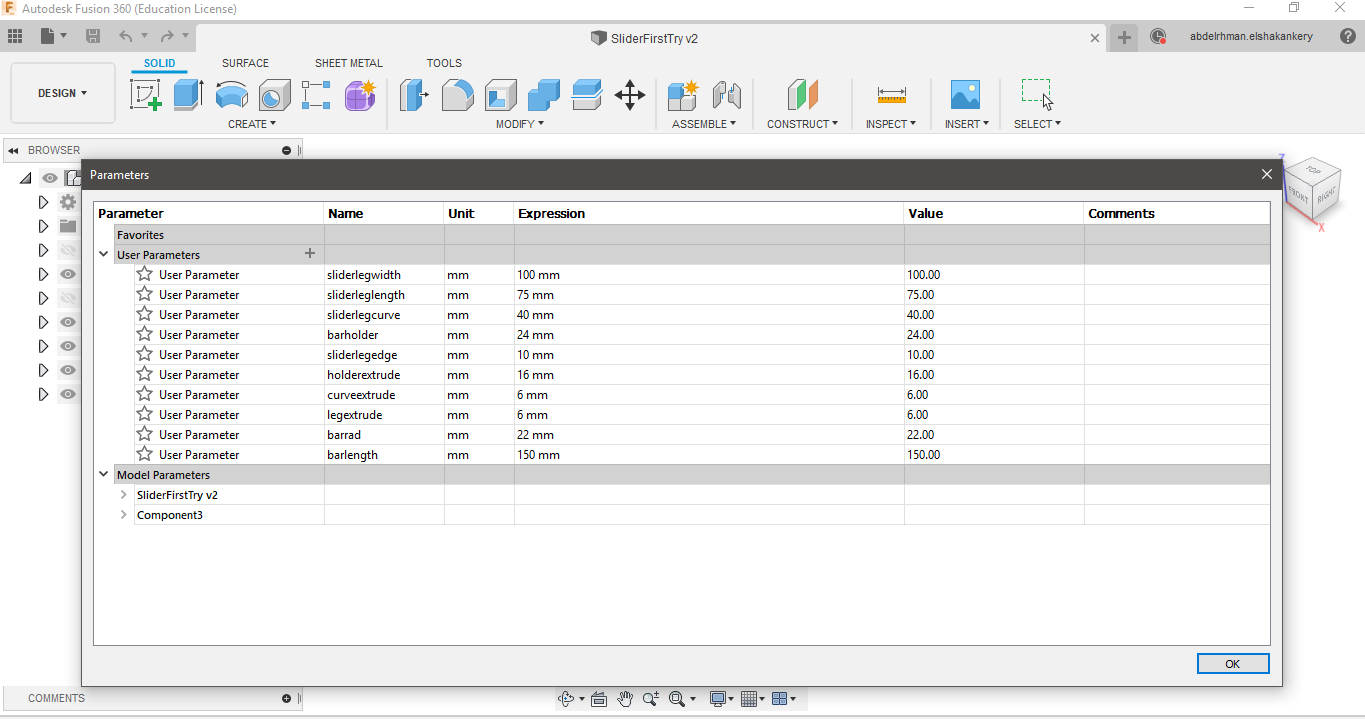
- create my design parameters from the start.
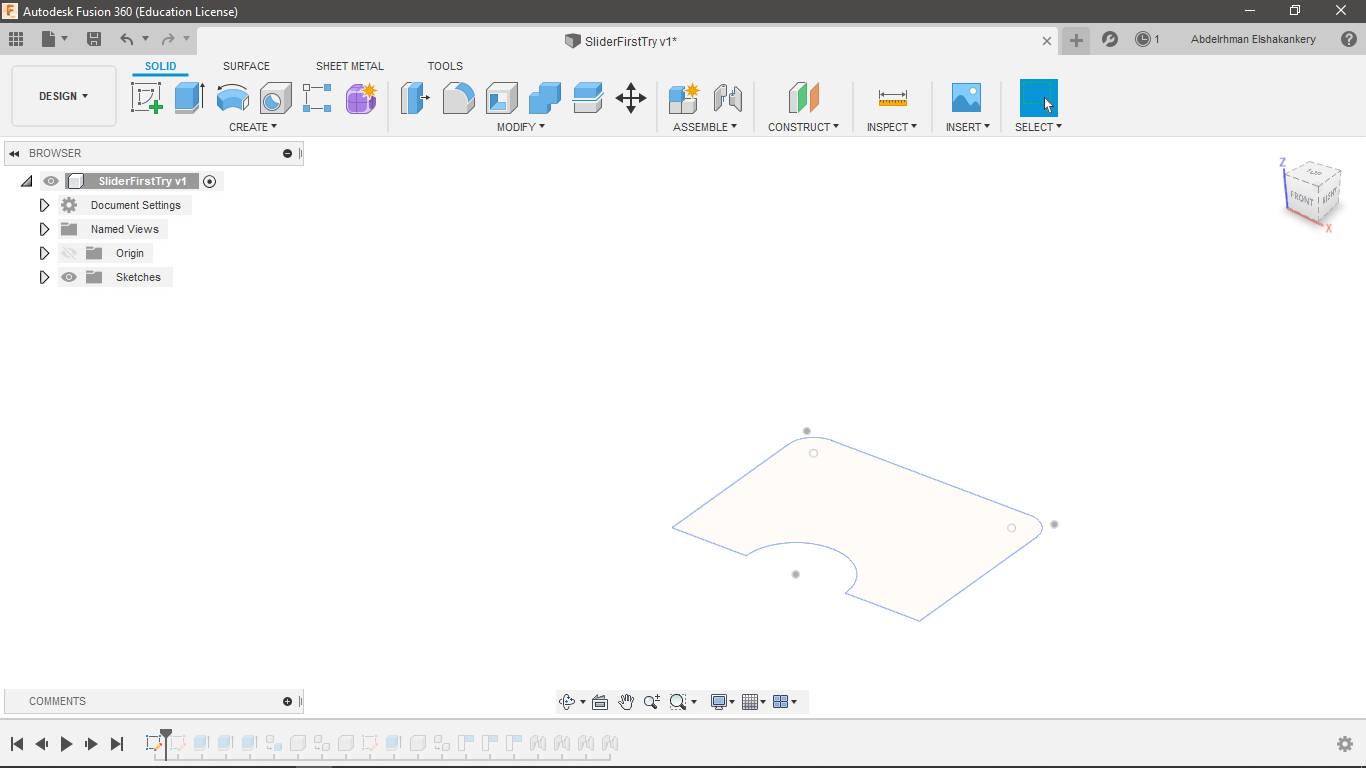
- start by drawing a rectangle, a circle to create a curve in the bottom then fillet the edges.
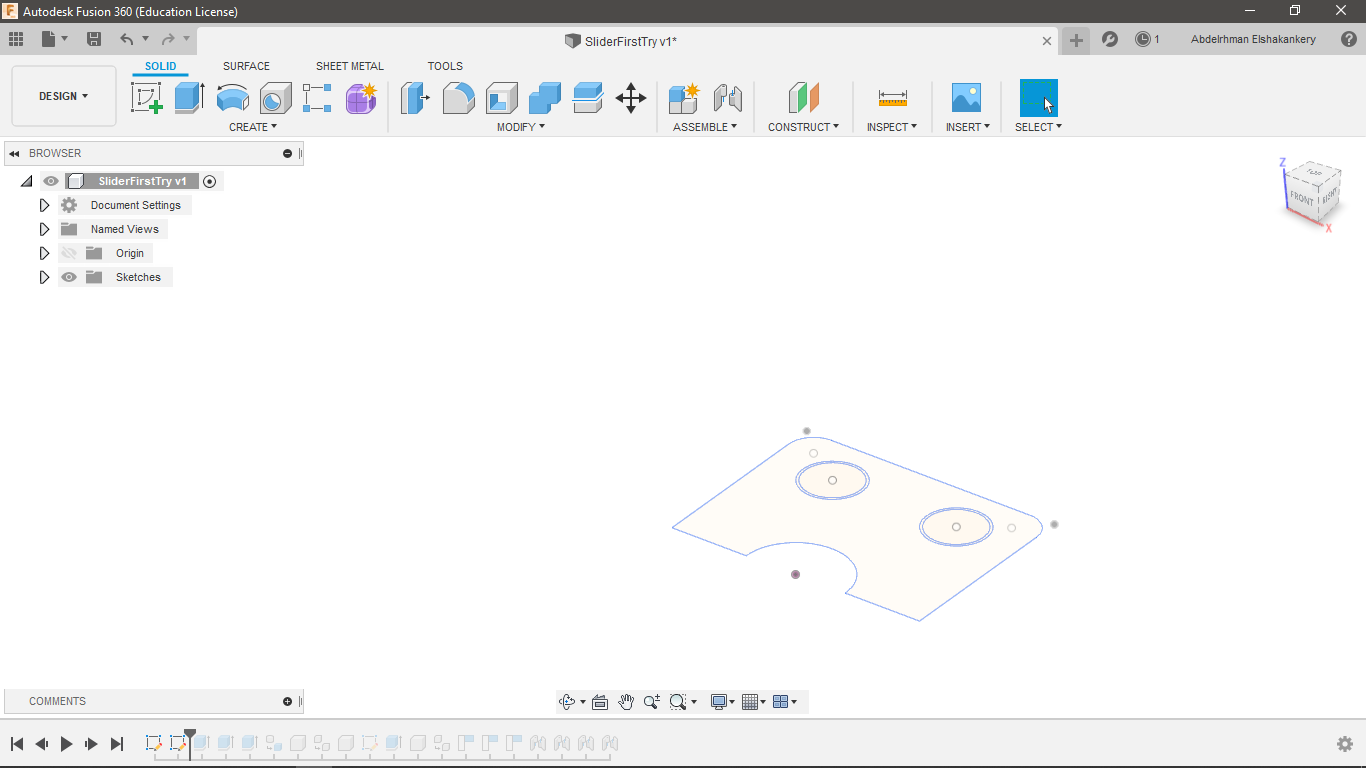
- add a circle to work as bar holder then create a mirror line and duplicate it.
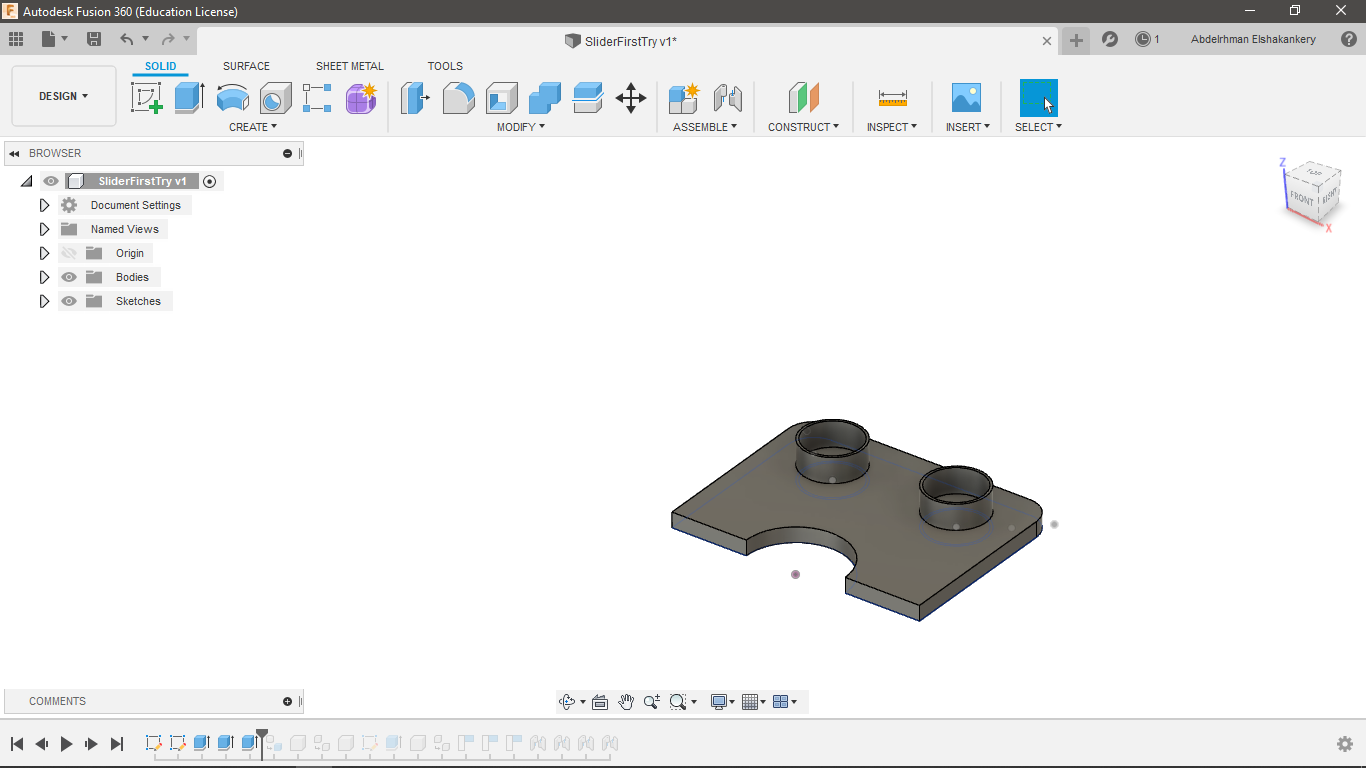
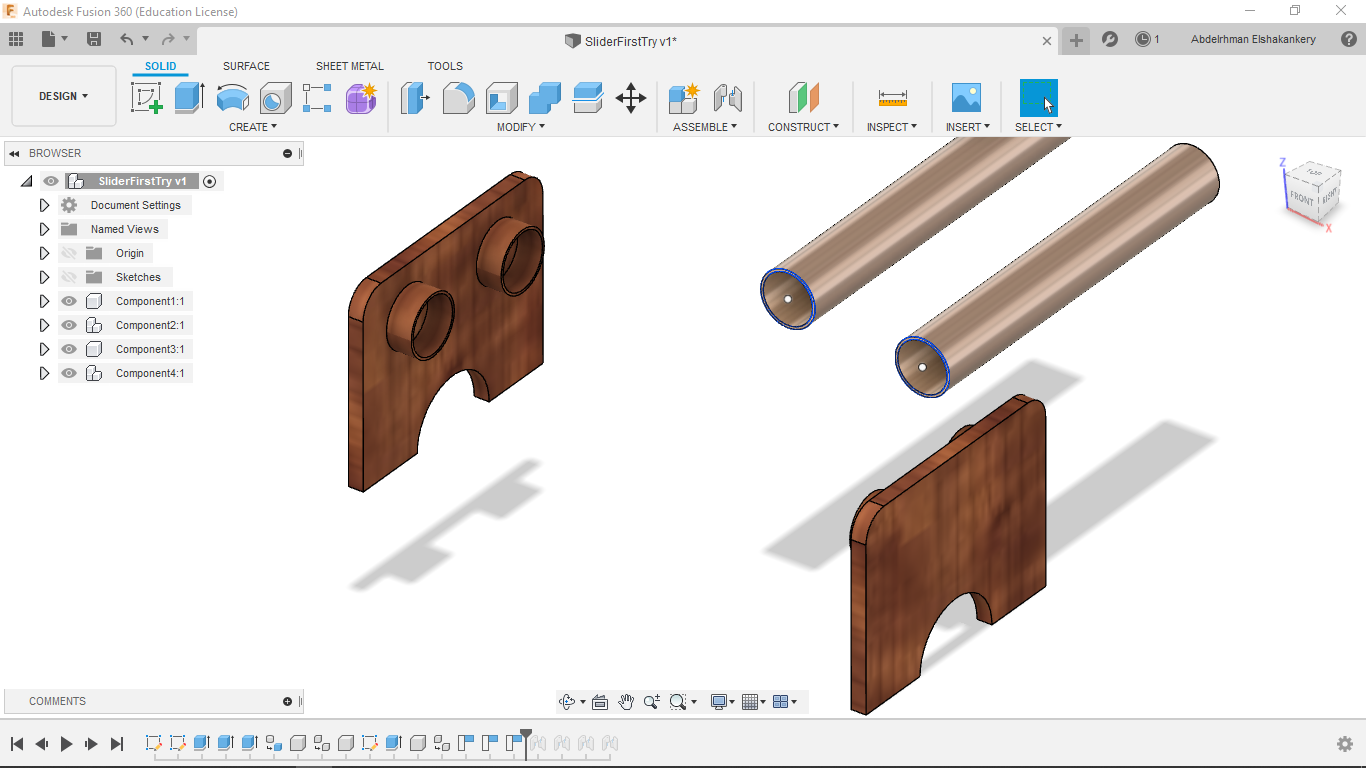
- extrude both barholder and the main body.
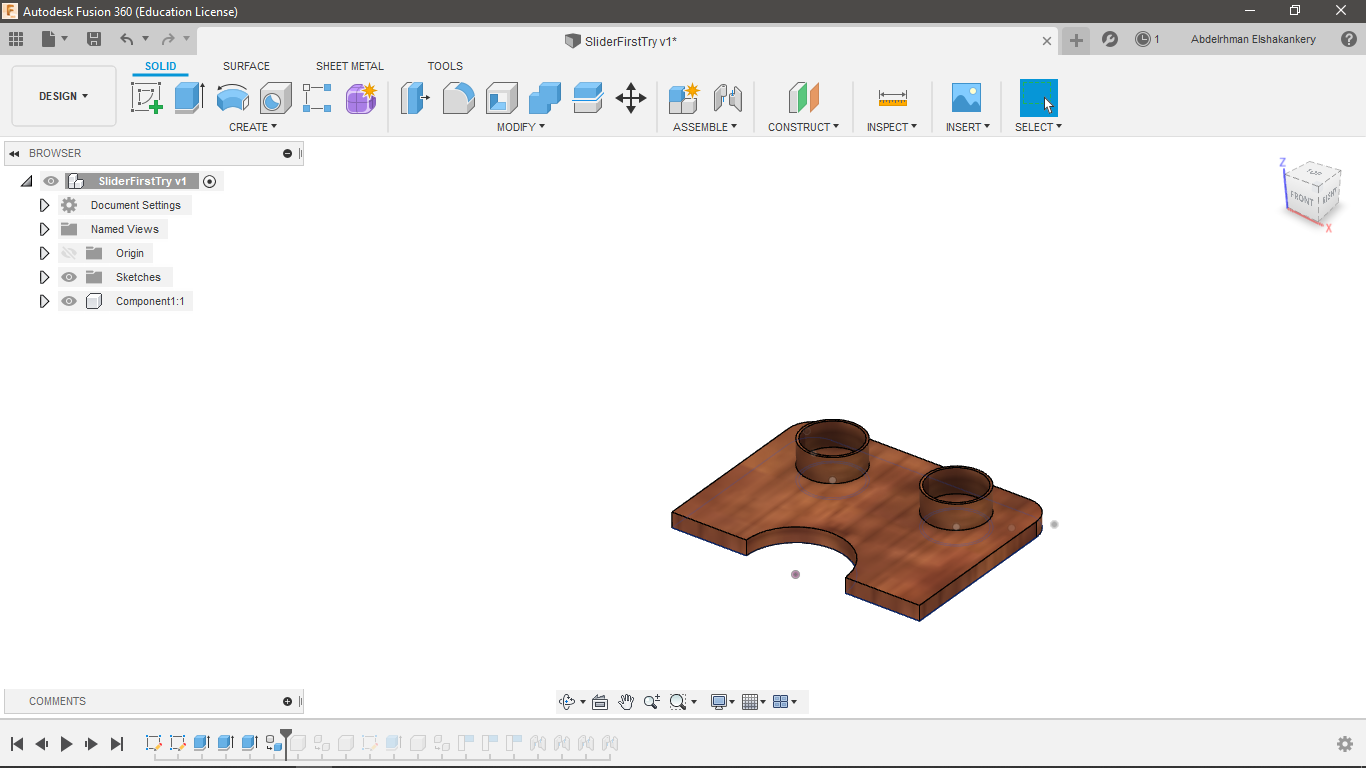
- create the component and change its appearance.
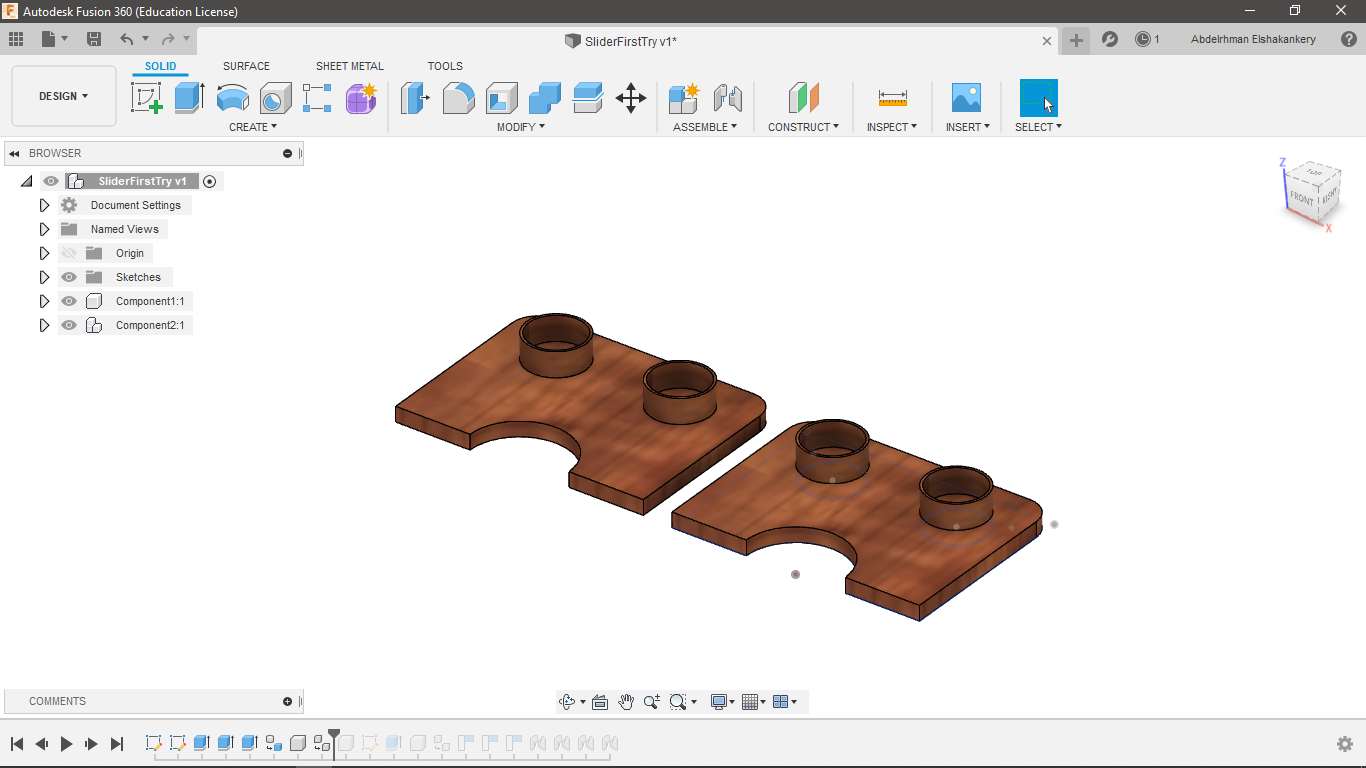
- duplicate the same body in a new component.
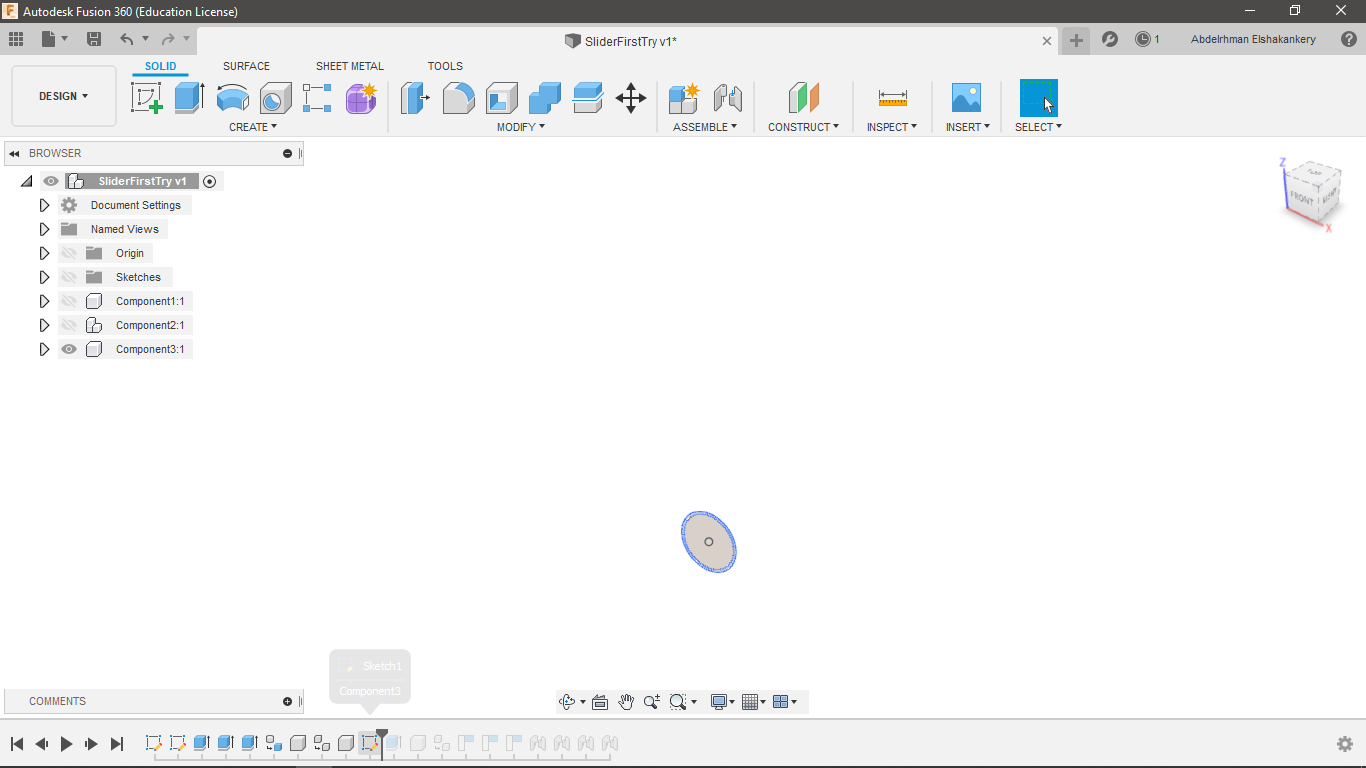
- Time to create the bar by draw a simple circle.
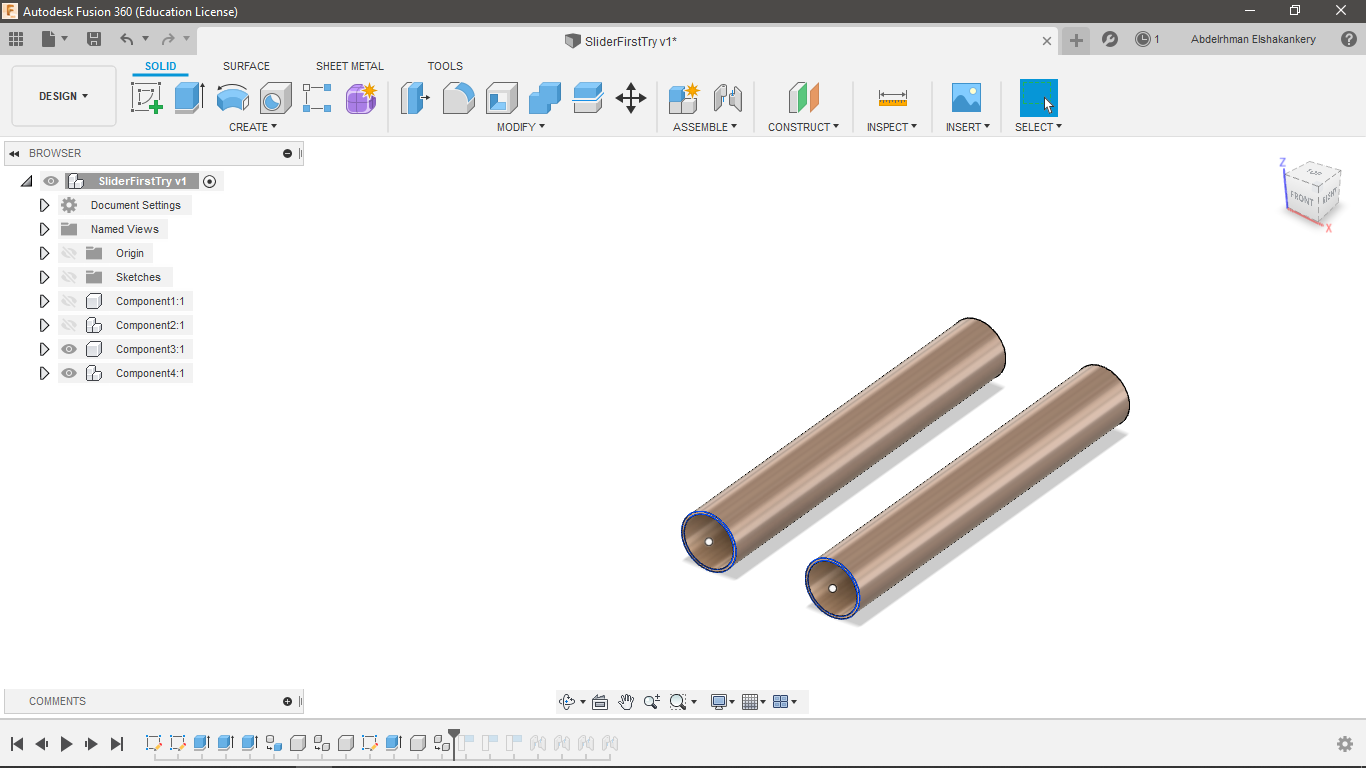
- extrude sliderbar and duplicate the component.
- Time to assembly all the component.
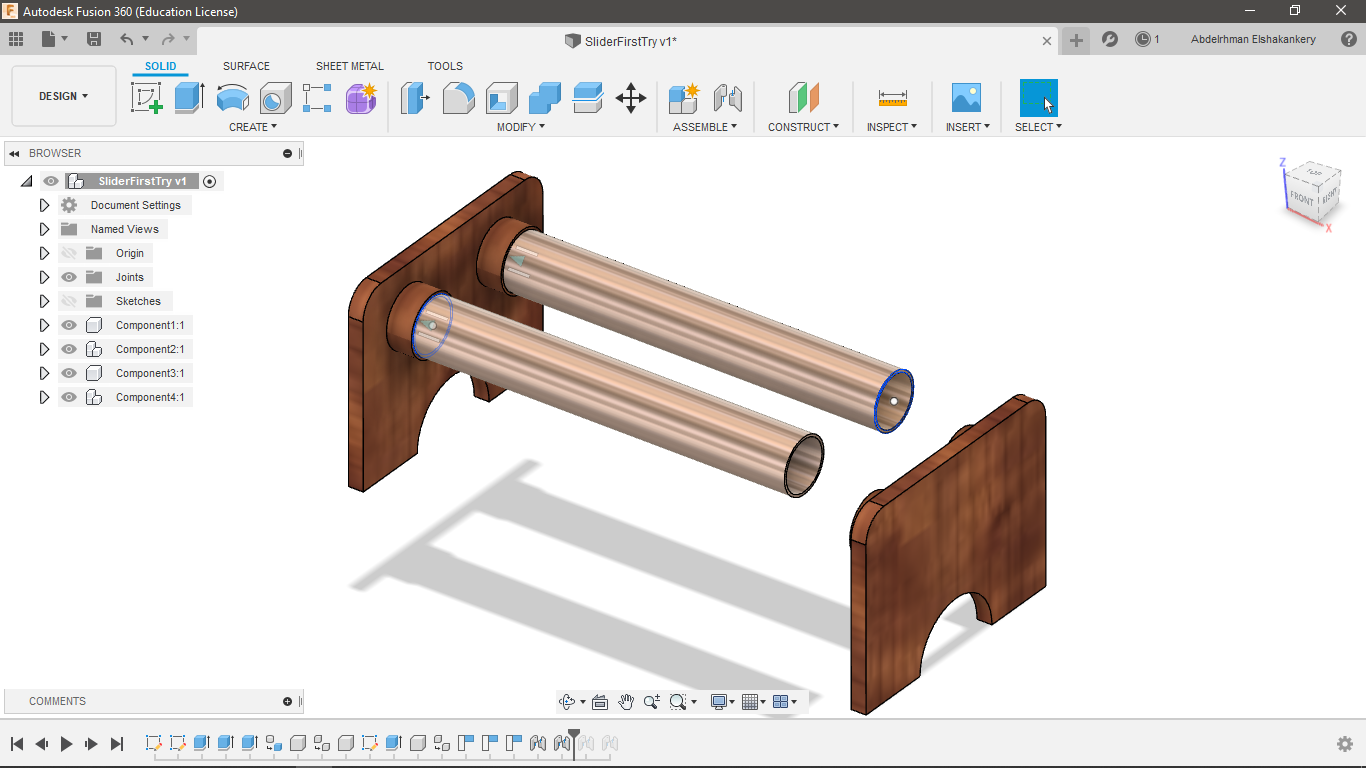
- choose assembly and a slider joint.
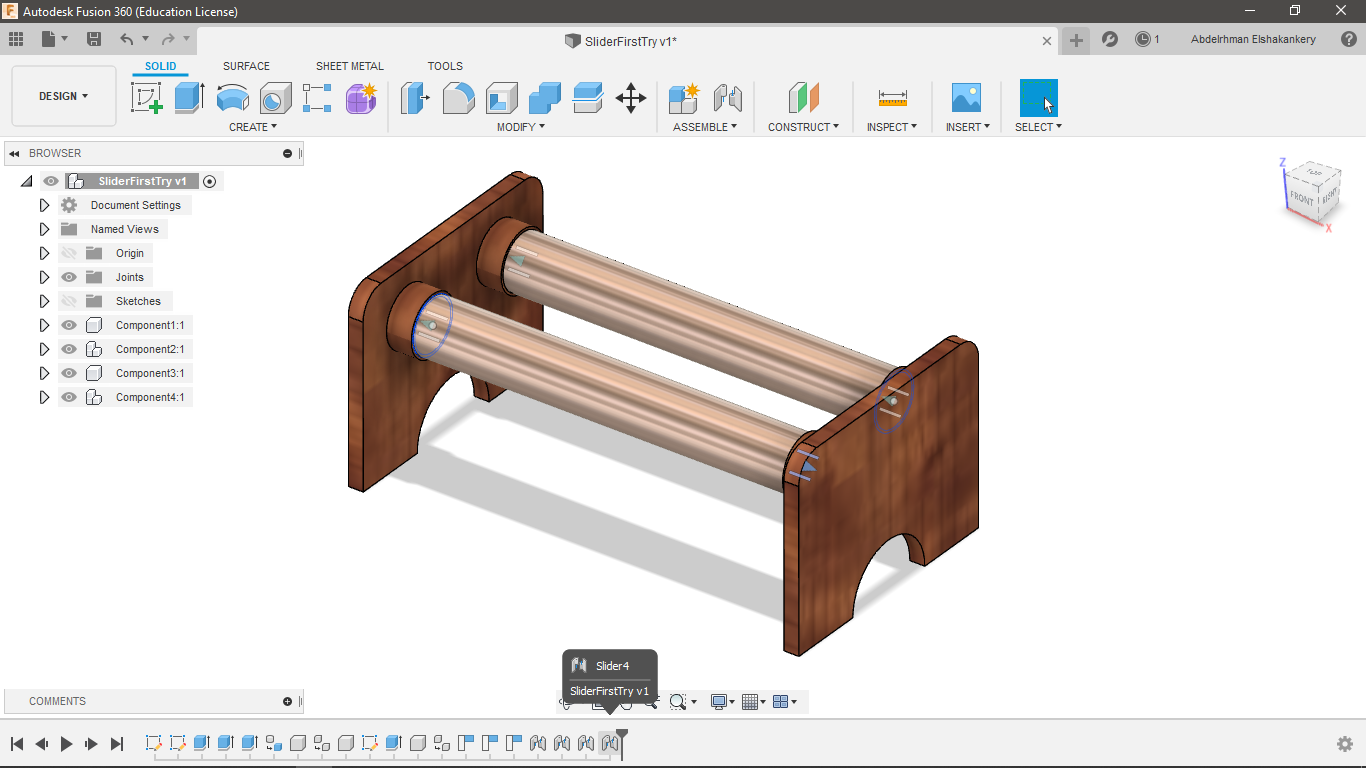
- and here we are :)
Files:
Find below the files that I made for this assignment. Please do not hesitate to download it!! I hope you enjoy it!!