
Computer Controlled Cutting (week03)
Group Assignment
- characterize your lasercutter's focus, power, speed, rate, kerf, and joint clearance
- document your work (individually or in group)
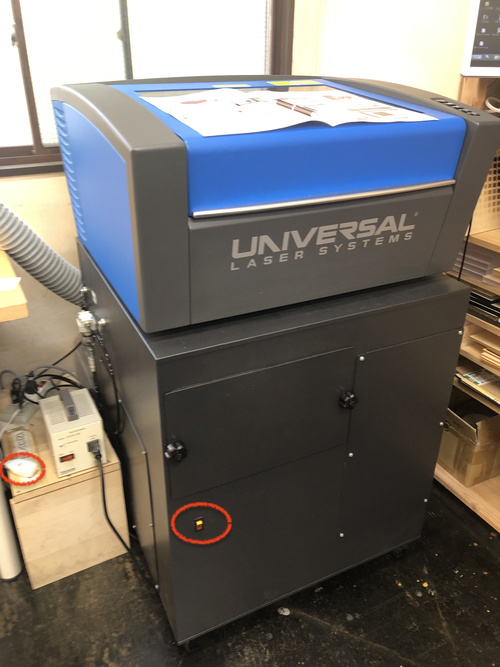
Laser Cutter at Fablab Kannai
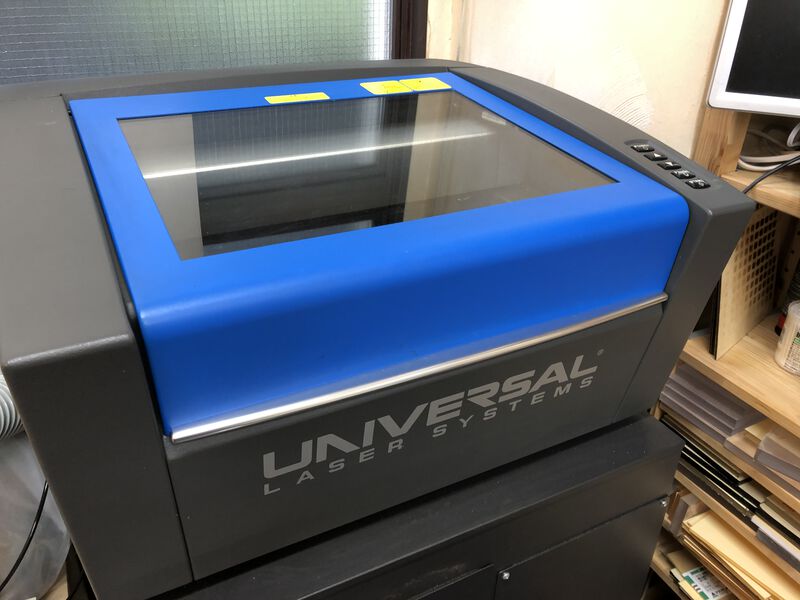
| Laser oscillator | 30W CO2 Laser |
| Processing Dimension | 406.4mm x 304.8mm (thickness: under 5mm) |
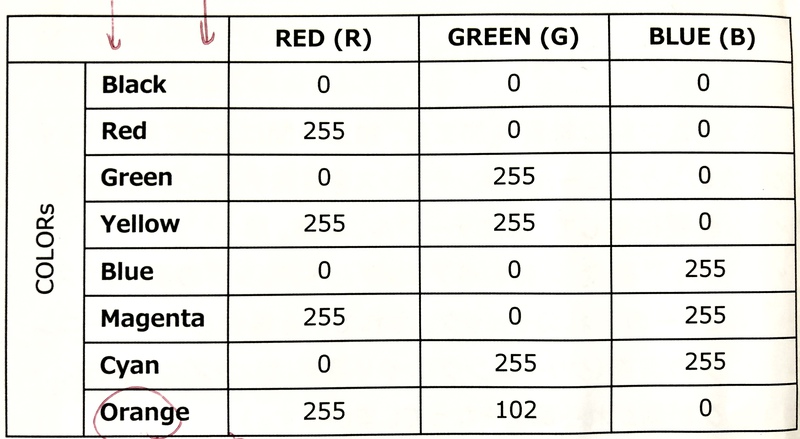
8 colors can be assigned to cutting conditions.
Typical condition is:
- Red: Vector
- Black: Raster
- Blue: Marking line
Making input data for cutting
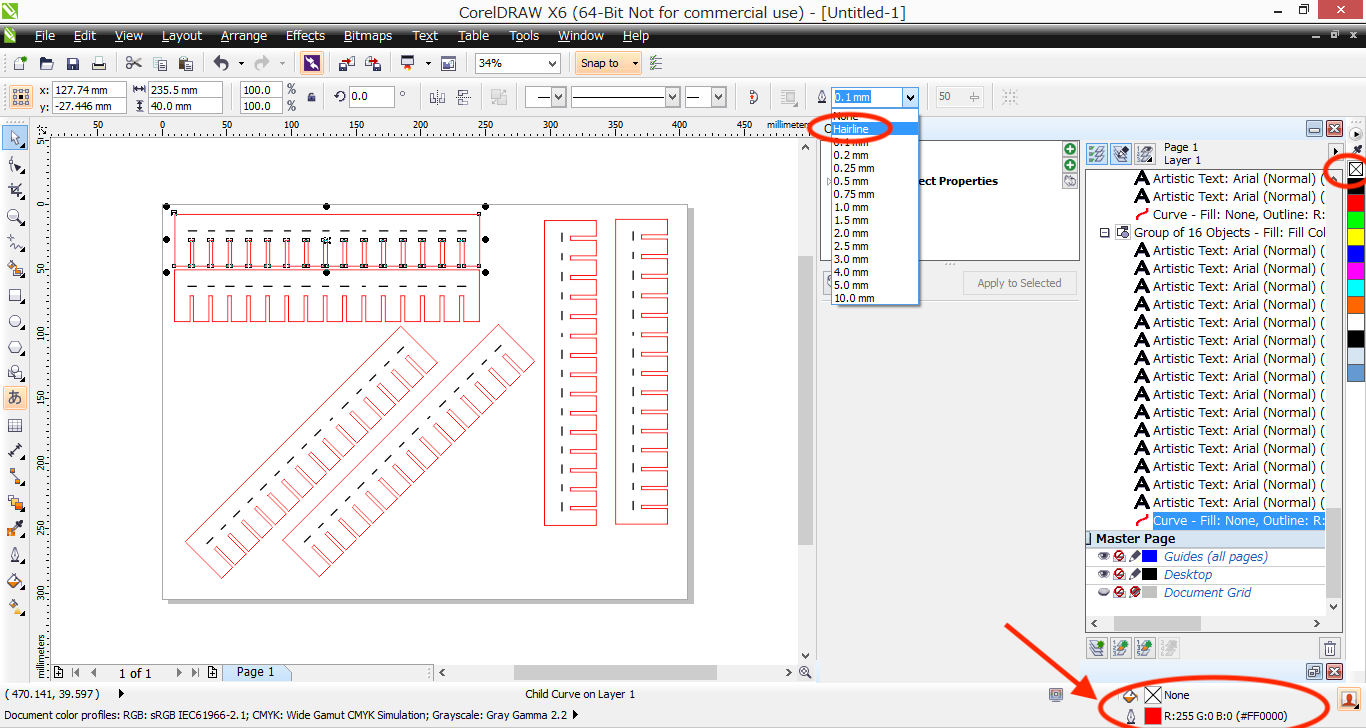
Using CorelDRAW that is installed for client laptop of Universal laser cutter, I consolidated the position, alignment and spaces of shapes.
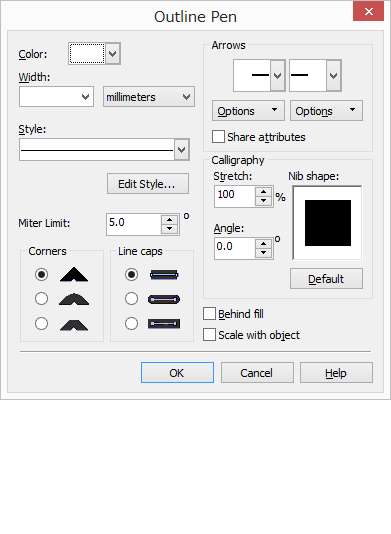
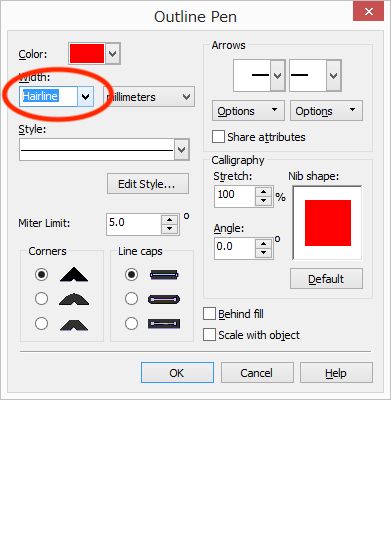
make the line for cut to ”hairline” and clear the color filled inside of the shape.
Setup laser cutter before cutting
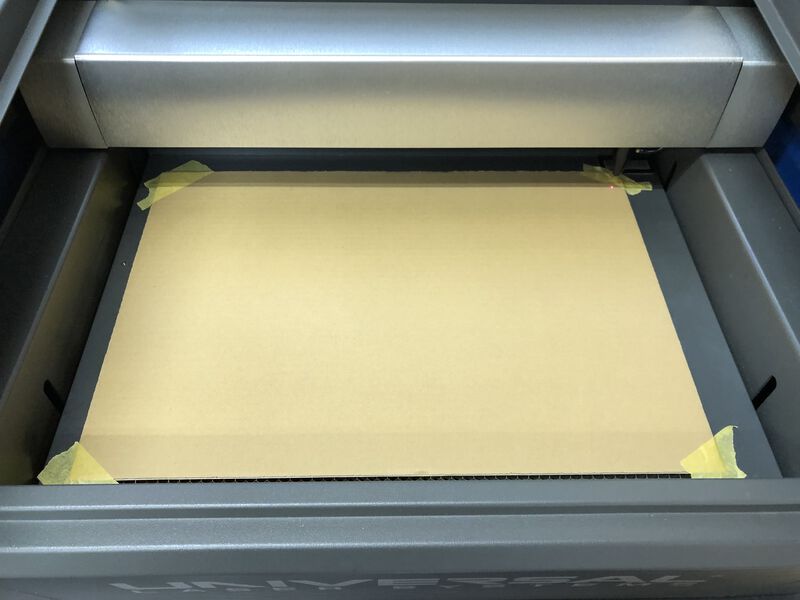
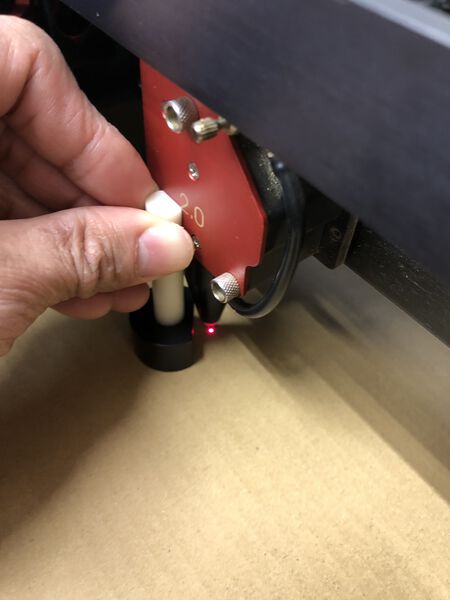
Checking the Parameters to cut out the cardboard.
The UCP software has “material database” that stores the parameters. However, a cardboard is not the member of the database. So, I looked through the FabAcademy 2019 group assignment. Red (Vector setting) worked but Black(Raster) did not. After several trial to print the character at the surface of cardboard, following setting was effective.
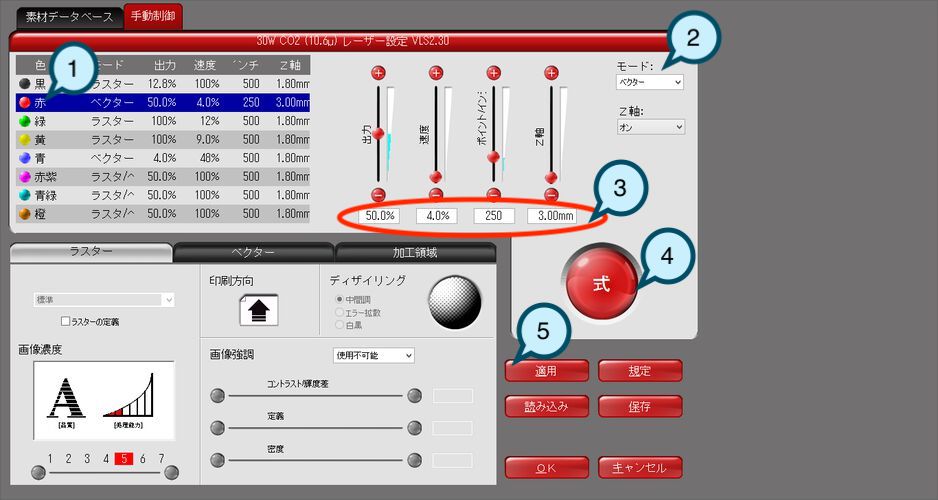
Vector
- Select the color
- Change mode to "vector"
- Change parameters
- Set "式" (formula, calculation)
- Apply

Raster
After test cut, I found the power of 70% in this screenshot was still weak. Fianlly, 80% worked.
| Color | Mode | Output | Speed | DPI |
| Black | Raster | 80% | 100% | 500 |
| Red | Vector | 50% | 4% | 250 |
Test Cut for specifying the size of kerf and press-fit clearance
Kerf is a slit made by cutting with a saw, mil or laser etc. For specifying the size of kerf when the laser cutter (Universal VLS2.3 at Fablab Kannai) cuts a cardboard in 3mm thickness, I did test cut and check the real length of the cutting edge.
When I cut out the shape from a board, kerf will be positioned both side of external edge of the shape. When setting a offset line from design as a cut line, the offset length will be a half of the kerf.
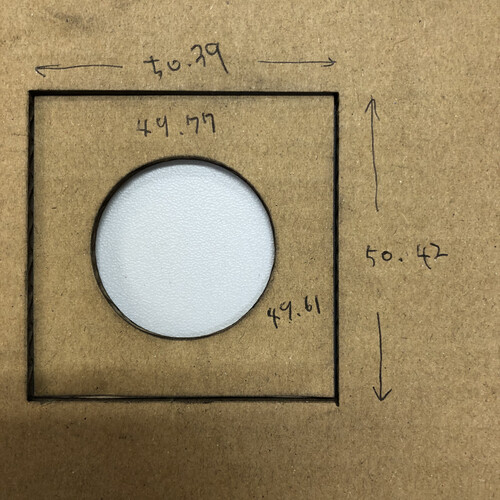
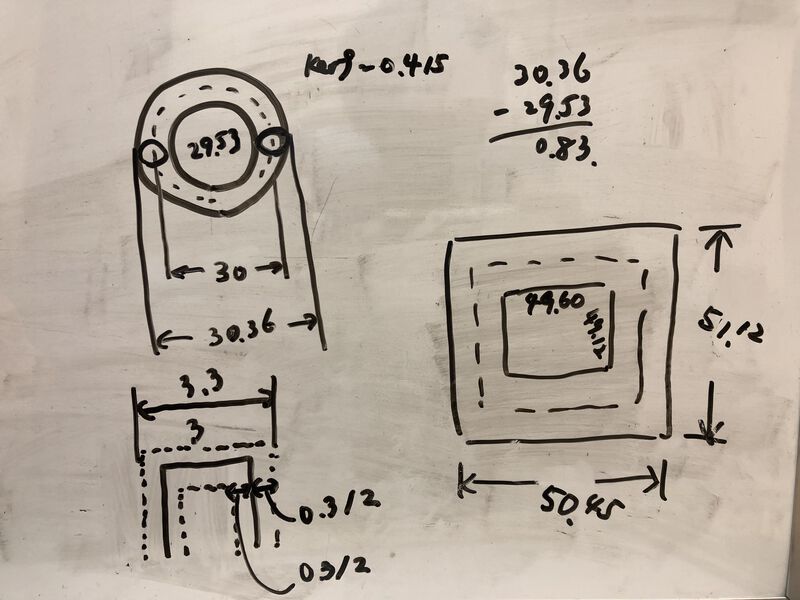
Cutting line of square is offset from intended line of 50mm x 50mm. Vertical line and horizontal line have different values.
Kerf size from Square cut
- Width: (50.39-49.77)/2 = 0.310
- Hight: (50.42-49.61)/2 = 0.405
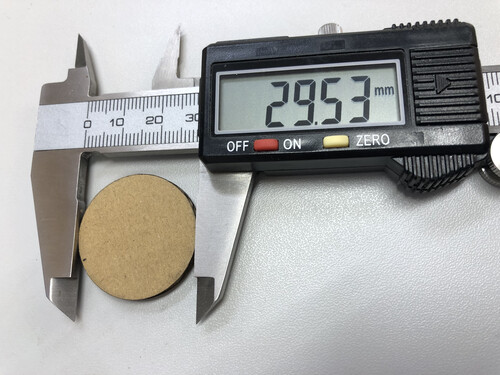
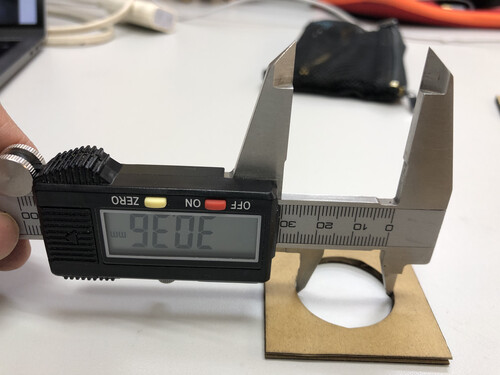
Cutting line of circle is offset from intended line of 30mm of diameter.
Kerf size from circle cut
- Diameter: (30.36-29.53)/2 = 0.415
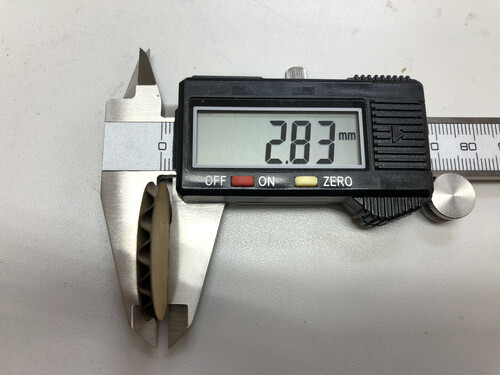
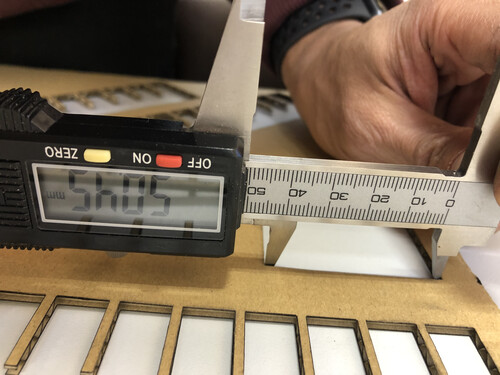
Real thickness is 2.83 mm
For checking joint, I used a tool kit making comb and clarify which point would be just fit as a cardboard press-fit kit.

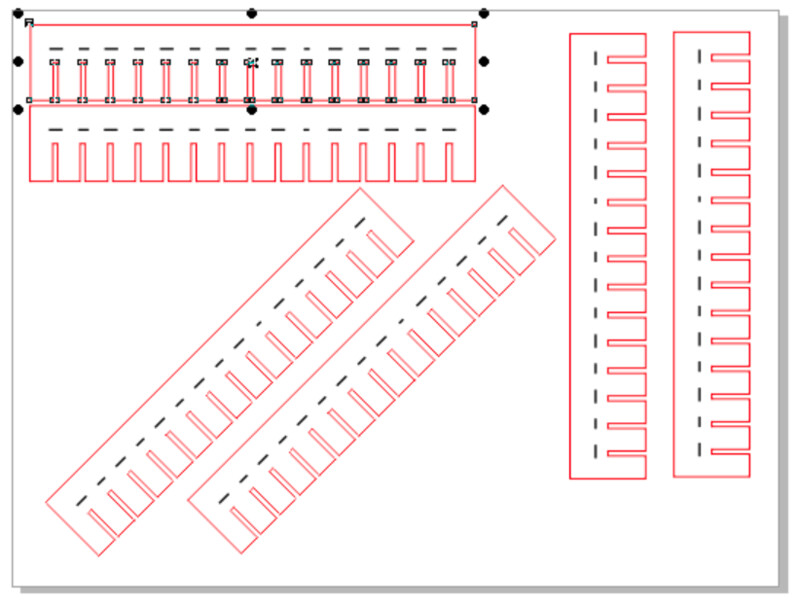
I made "vertical", "horizontal" and "slanting" patterns for a set of combs. It's because a cardboard has a slit running horizontally. For making strong press-fit, it might be better to use slanting pattern that would be stronger than vertical or horizontal pattern.
Actually, slanting pattern seems to be stronger than the other patterns slit type of joint like comb though it depends on the size and shape of joint.
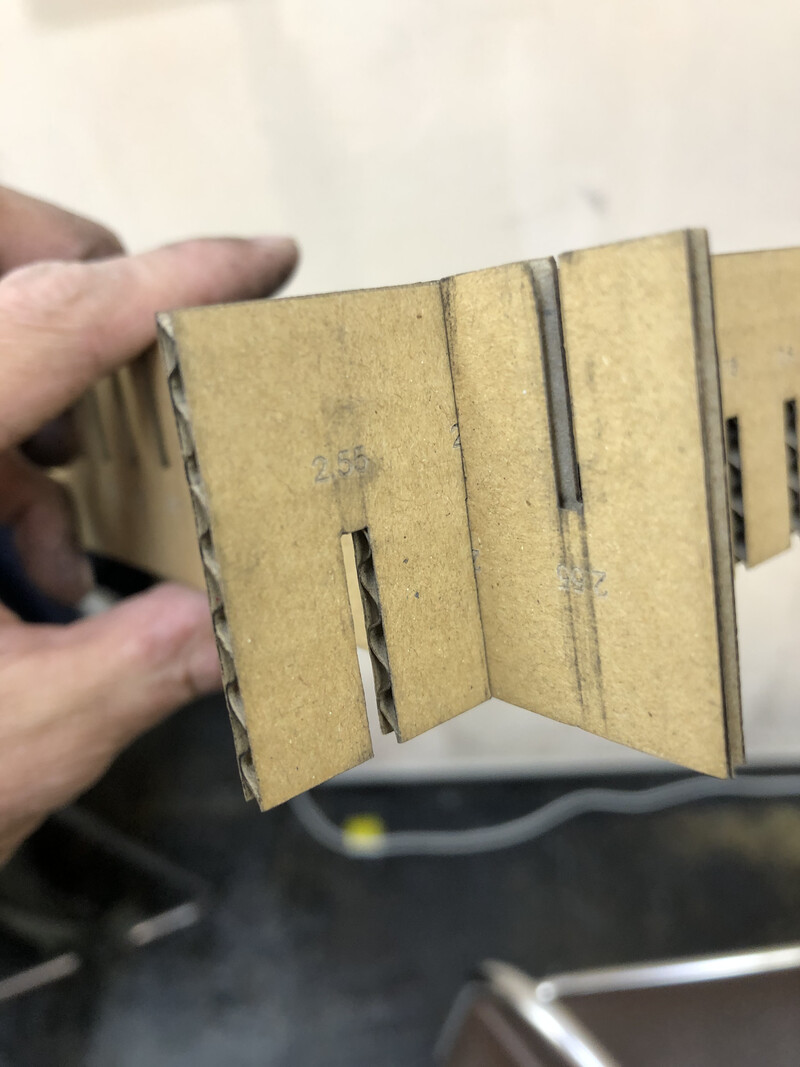
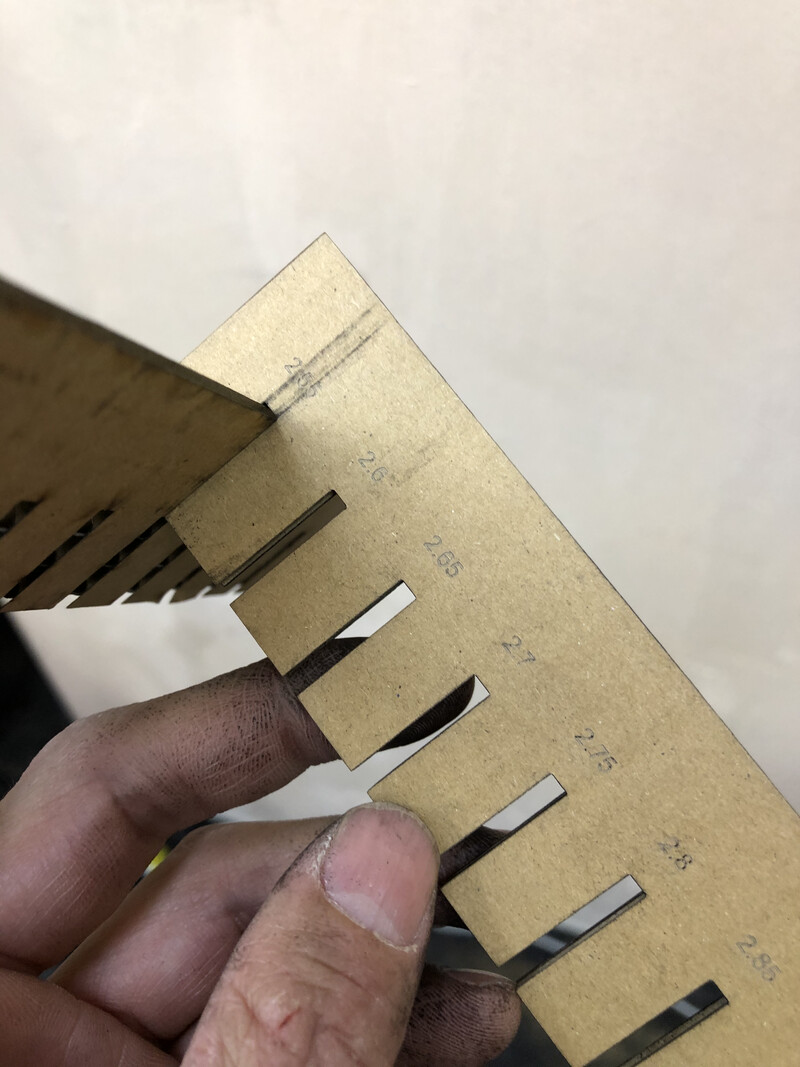
When putting in thorough the different thick of slit, 2.6mm of slits have good fit and smoothly put in/out.
2.83mm(physical thickness) of a cardboard is strongly held by 2.55mm slit.
"2.55mm slit" is cut by offset line. That means 2.83mm(physical thickness) - 2.55mm = 0.28mm is doubled value of offset that's equals to kerf here.
Actually, the values of kerfs are different. It would be because the material strength of a 3mm cardboard and small measurement error. Averaging the different values of kerf above (=0.3525), I concluded a kerf as 0.35mm.