3D Scanning and Printing
Week05
For my individual assignment I chose printing a downscaled model of the vases I want to print in clay for my final project. I took the design from my week03-assignment on Computer-Aided Design in Fusion360 (Fig.01), since this is a simple (hence supposedly uncomplicated to print) object, which at the same time displays the requested feature that it cannot be produced subtractively. This refers to the processing of a workpiece in a conventional mill: an object that is produced subtractively can only be worked on from the top, hence there is no way to carve voids with overhanging structures - unless the facility is operating a 5-axis device, which is not the case in Kamp-Lintfort. The design was delivered from Fusion360 to Cura as a .stl-file (Fig.02).
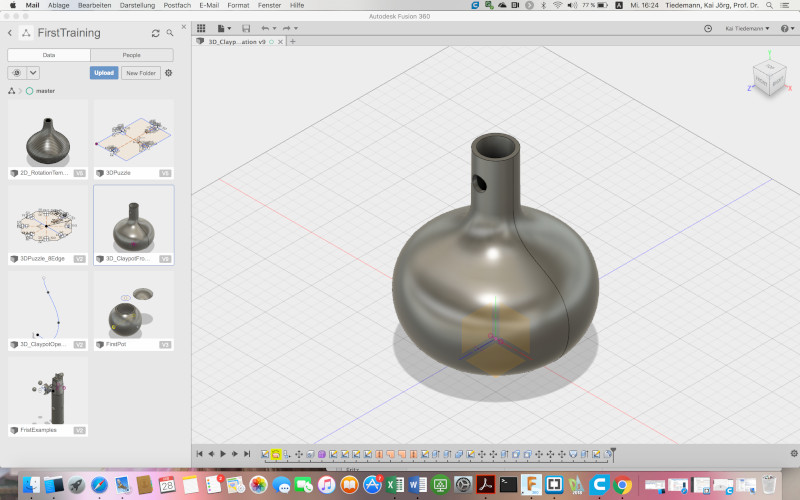 Fig.01: Pot design in Fusion360. |
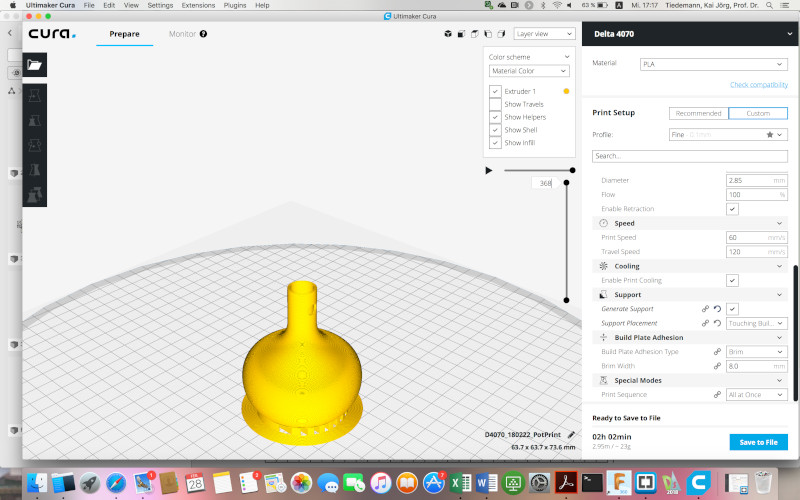 Fig.02: Layer view of pot design in Cura. |
Cura was adjusted to using a Delta WASP 4070 printer with the following settings:
|
|
|
The printer's base plate was prepared with adhesive tape (Fig.03). Those setting seemed a decent compromise between resolution and print time. But unfortunately, they did not work very well with the Delta Printer, Fig.04 & 05 show the initial mess. The outcomes improved slightly after increasing the printing temperature manually on the printer to 215°C (Fig.06), still the vase's neck did not come out (Fig.07). Finally, switching the printer to an Ultimaker 2+ Extended with a 0.8mm nozzle did the job after changing the width of the wall from 0.8mm to 2.5mm (Fig.08). An infill of 10% was enough now with those thick walls to form a solid body. Supports were still needed, although very few at the bottom of the vase. It might even do without, when the time comes to print this vase in clay, I might give it another shot.
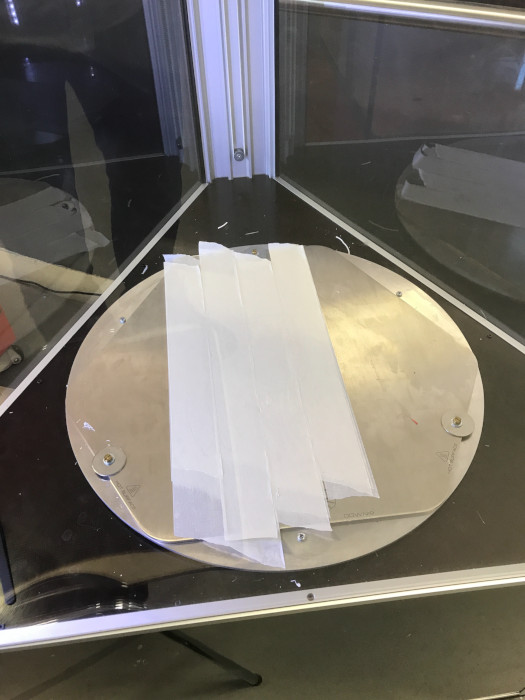 Fig.03: Printer preparation with adhesive tape. |
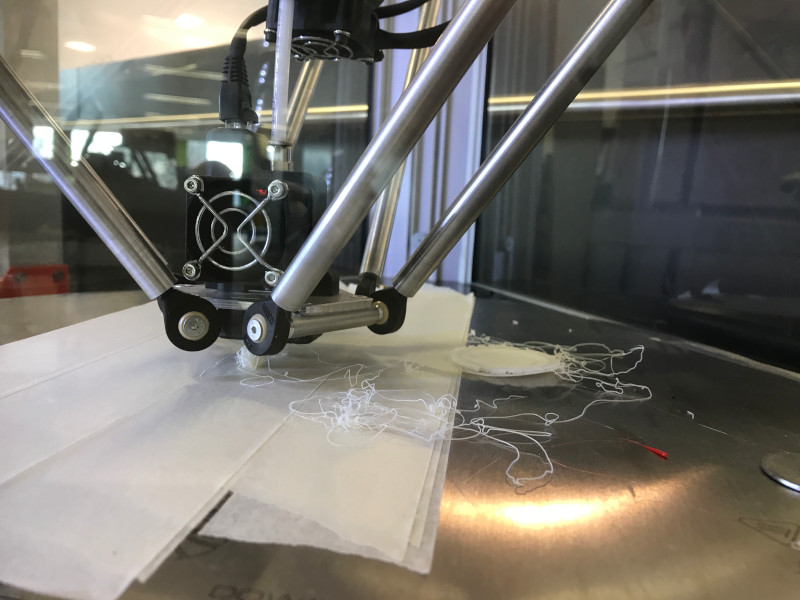 Fig.04: Misprint in action. |
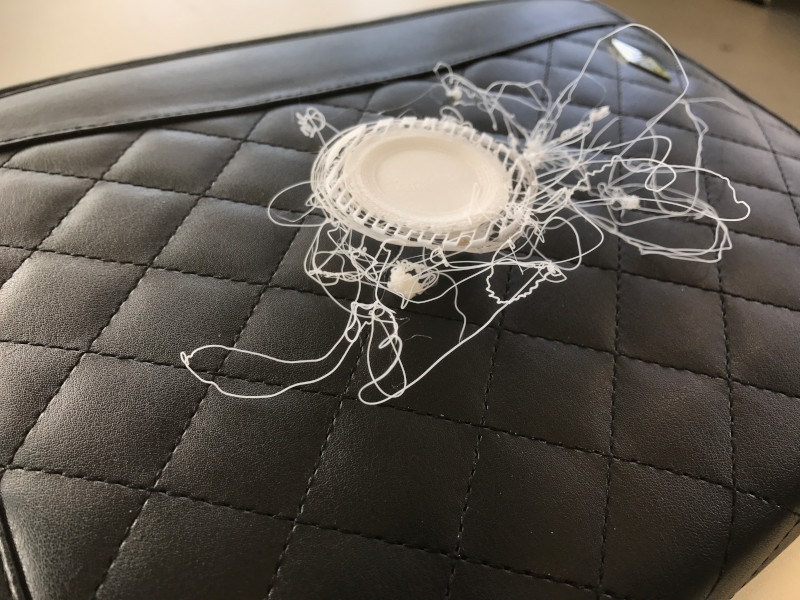 Fig.05: Misprinted filament from Delta WASP. |
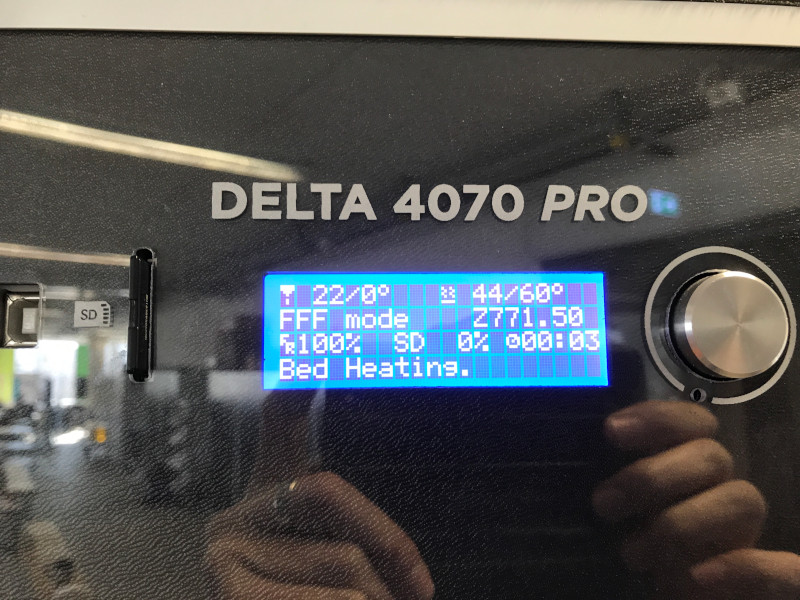 Fig.06: Delta WASP display to be adjusted from 200°C to 215°C print temperature. |
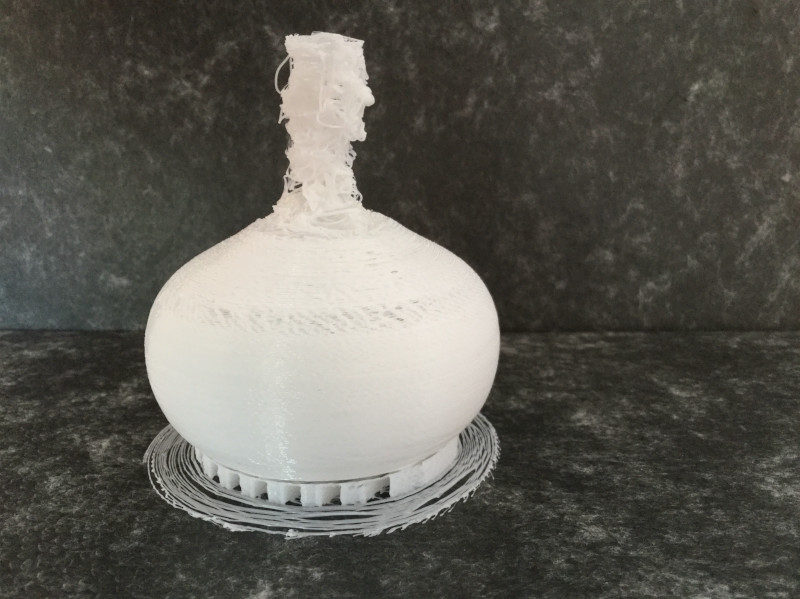 Fig.07: Complete vase with misprinted neck. |
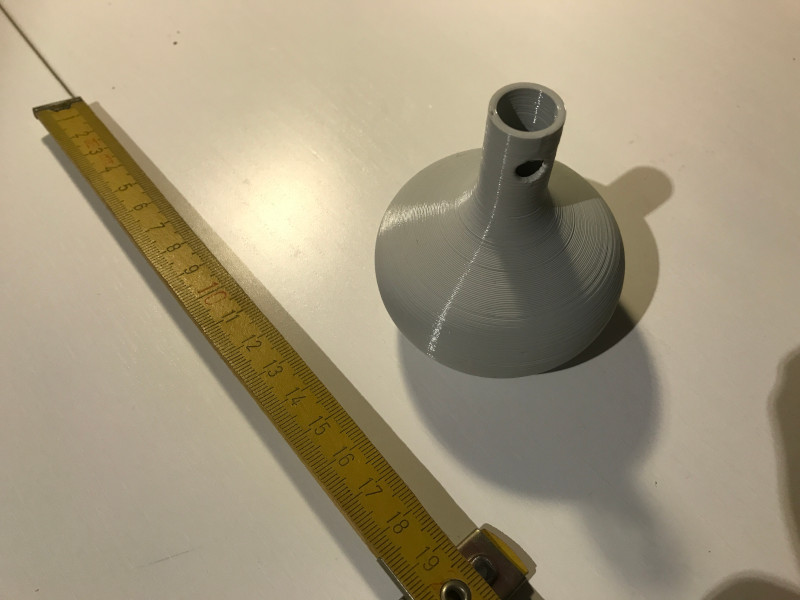 Fig.08: Final print. |
Update 2020
3D Scanning
The scanning assingment was performed with a Sense 3D-scanner from 3D Systems. (Fig.09); as an object I used a handcrafted 4L-claypot that I still have from Peru. Installation of the software went down without problems, but the scan could not be completed, even after various attempts - probably yet another compatibility issue with my MacBook (Fig.10). Sense scanner and software performed much better under Windows, so I used a different notebook. However, even on that other computer, the scanner seems to be highly sensitive to light exposure: whenever the object was not exposed to bright sunlight, the scan was very frequently interrupted. Anyway, on second Windows try the result was good enough to produce a decent although incomplete scan (Fig.11). The Sense software allows to complete such scans simply by using the solidify command, Fig.12 shows the result of that operation.
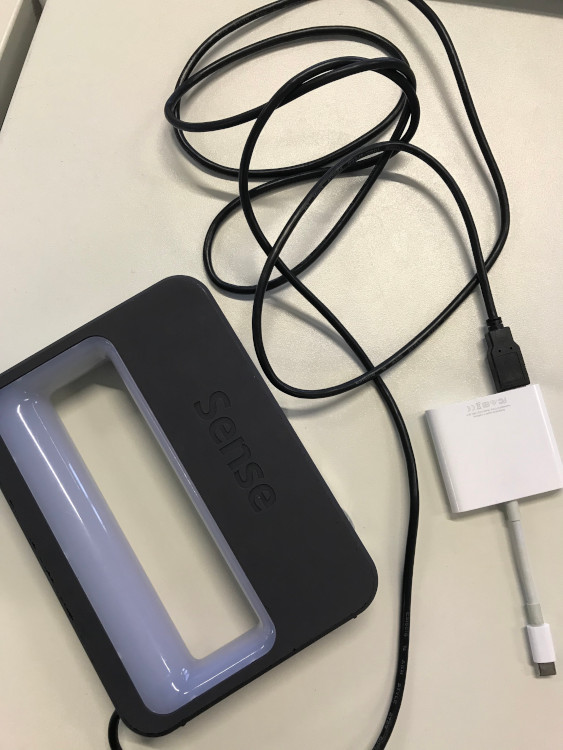 Fig.09: Sense 3D scanner. |
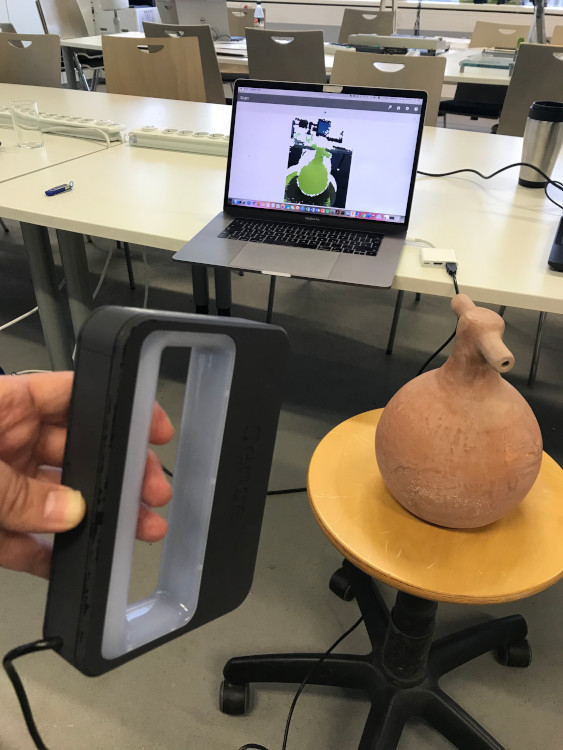 Fig.10: Sense scanner connected to my MacBook in action. |
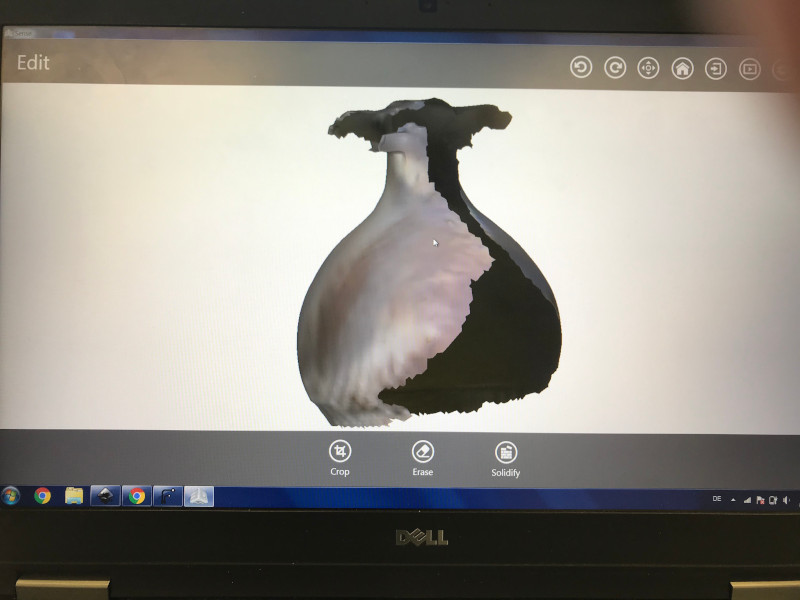 Fig.11: Incomplete scan in Sense software. |
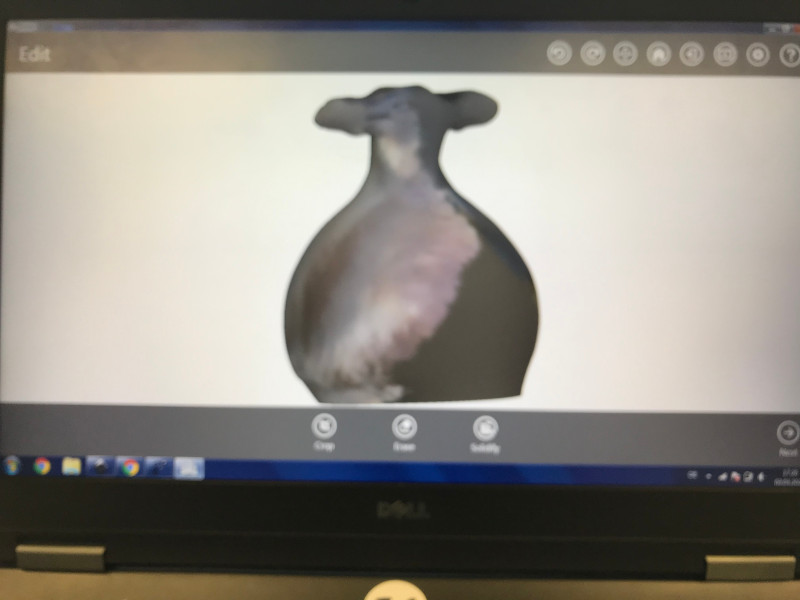 Fig.12: Scan after solidify command. |
From the Sense software, the scan could easily be saved in .stl format (Fig.13) for importing into Fusion360 (Fig.14).
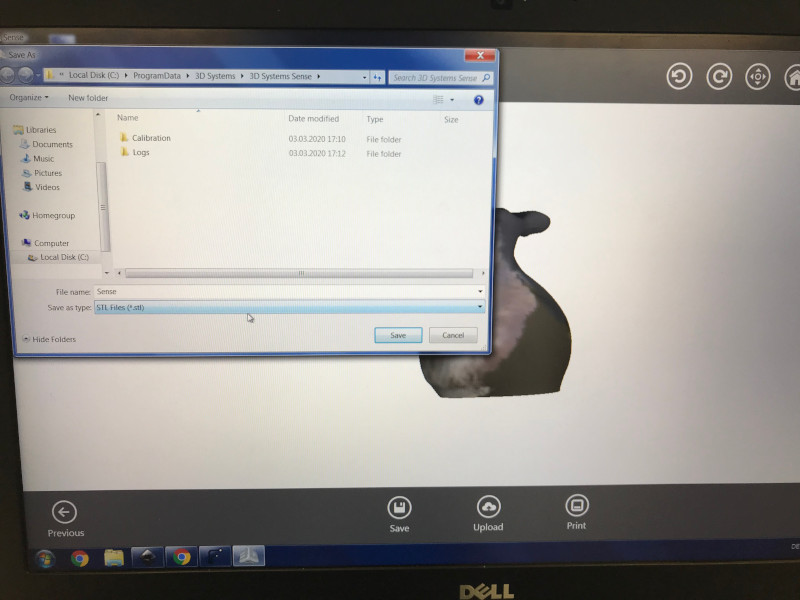 Fig.13: Saving STL in Sense software. |
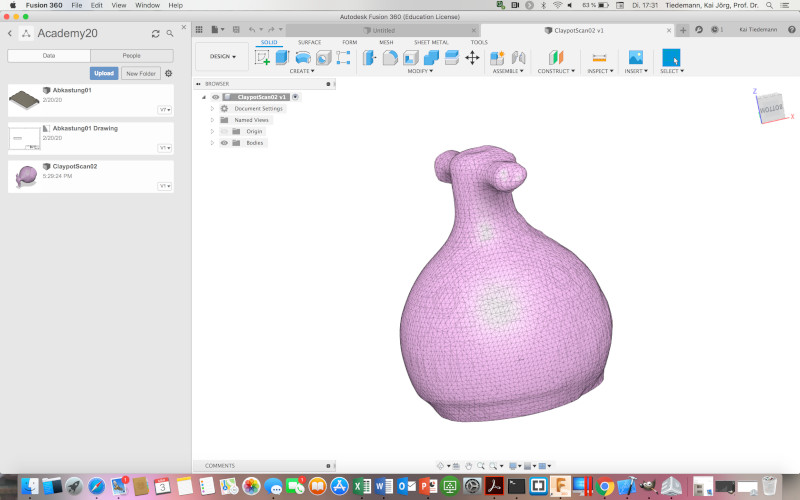 Fig.14: Imported claypot scan in Fusion360. |