Principles and Practices, Project Management
Week01
To be honest: I found it quite challenging to find my way through this mass of new pieces of software, of templates, and add-ons. For a first-timer in html coding and git it takes a keen spirit not to get swamped. Fortunately, in Kamp-Lintfort we have two great tutors, Daniele and Ferdi, who are beyond patient in giving me and my classmates the necessary orientation. Cannot thank you enough!
Initially, after the first meetings with Daniele in early January, I set off to work myself through the git jungle. Over the days before I received my FabAcademy credentials and thus full access to FabCloud and GitLab, I tried GitHub and GitHub Desktop to start working on my personal website - but with very limited success. Whenever I thought I had a bash command ready to go, I received yet another cryptic error, indicating that I need to install some further software in order to run the previous. Fig.01 gives an idea of those rough first encounters. In order to get really confused, I then tried installing CodeHub on my iPadPro, because I wanted to be able to work not only on my MacBook, but also on the tablet. I guess it must have been around that time that I seriously lost track on anything even remotely being considered as progress. I later learned from Daniele that it is highly recommended not to switch machines for the coding. Switching to GitLab and starting to work on my personal repository was quite a relief after that. I also let go of Bootstrap as a source for website templates and of Xcode as my html editor. With some guidance from Daniele I was able to get the repo running on the FabCloud - which in combination with installing Brackets as html editor (see Fig.02) was my breakthrough. |
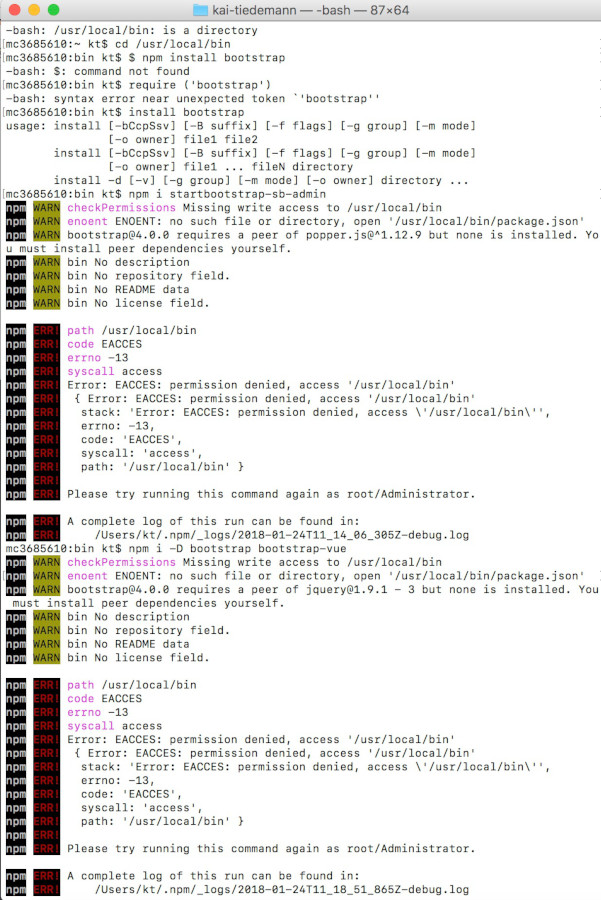 Fig.01: A screenshot of my first bash encounters |
With this package I currently feel like being in control of what I am doing. Of course, a lot of CSS and JavaScript remains yet to discover, but for the time being, I am quite comfortable with the sensation to be able to find solutions in forums and tutorials in case I get stuck.
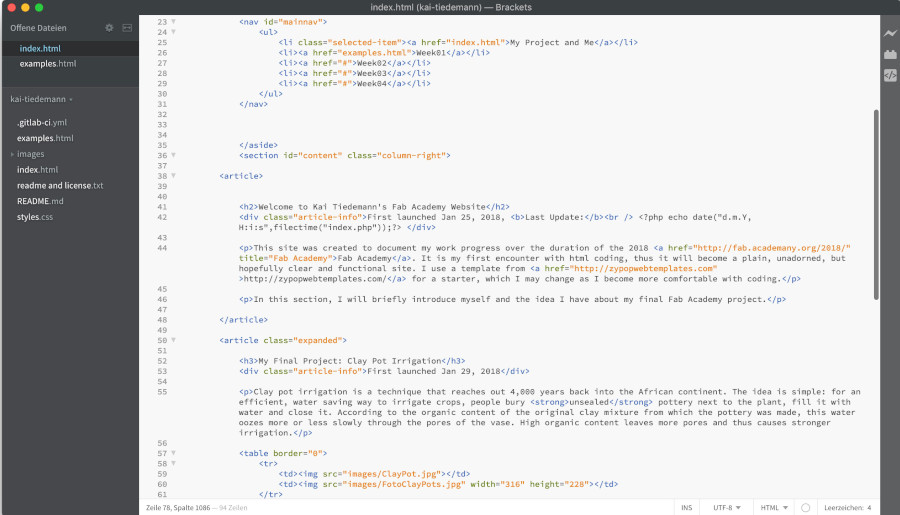
Fig.02: A screenshot of early Brackets usage
There are, however still issues with bash commands. In particular, it happened when I tried to download and install ImageMagick, following Neil's recommendation regarding a powerful software to convert image formats. For me as what I would call an advanced Windows user, it is always a challenge to install from shell. In this particular case, however, I simply could not muster the patience to backtrace yet another error message indicating a failed installation attempt. Fig.03 displays the situation: trying to execute the guidelines provided on ImageMagick.org in the window on the right side of the screen, my shell gave me the "Failed to Open"-error you see in the upper left window. I guess these shell issues will have to wait for less busy times - unless they might just resolve as I gradually improve my skills.
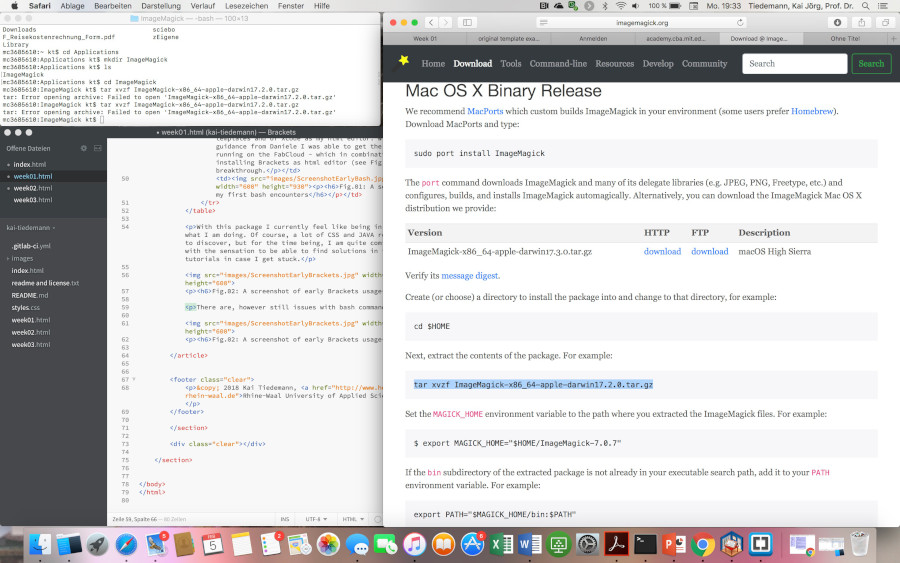
Fig.03: My screen during the ImageMagick episode.
The chosen template had some shortcomings, though: 1) I was not confident with the Responsive Web Design, since this messed up my layout (Fig.04) - which I could solve by setting the width parameter from auto to 1500px (see top red circle in Fig.07); 2) having solved the previous I found that scrolling sideways produced an overlay between the body and the navigation bar (Fig.05) - which I thought I could solve by introducing the position parameter in the body section set to fixed (see bottom red circle in Fig.07). This, however, blocked any scrolling, including vertically, so I had to drop it. I hope I may find a different way eventually; 3) another result of that fixed width was a black bar on the right page margin (Fig.06) - which could simply be solved by setting the background color in the global body section to #fff for white instead of #222 for black. Of course the result is certainly not the most elegant way, but it works for the time being.
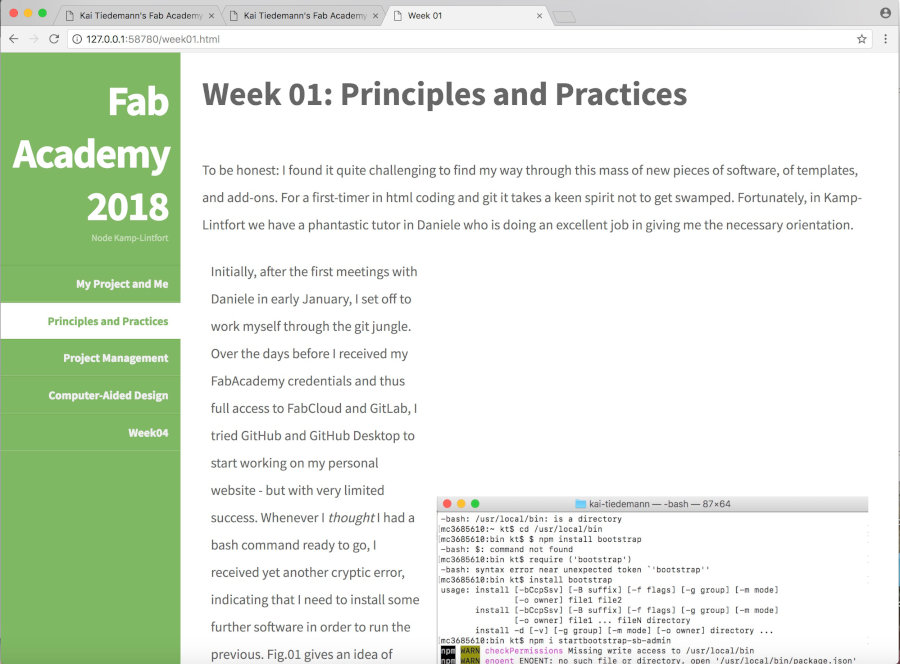 Fig.04: Layout trouble due to RWD. |
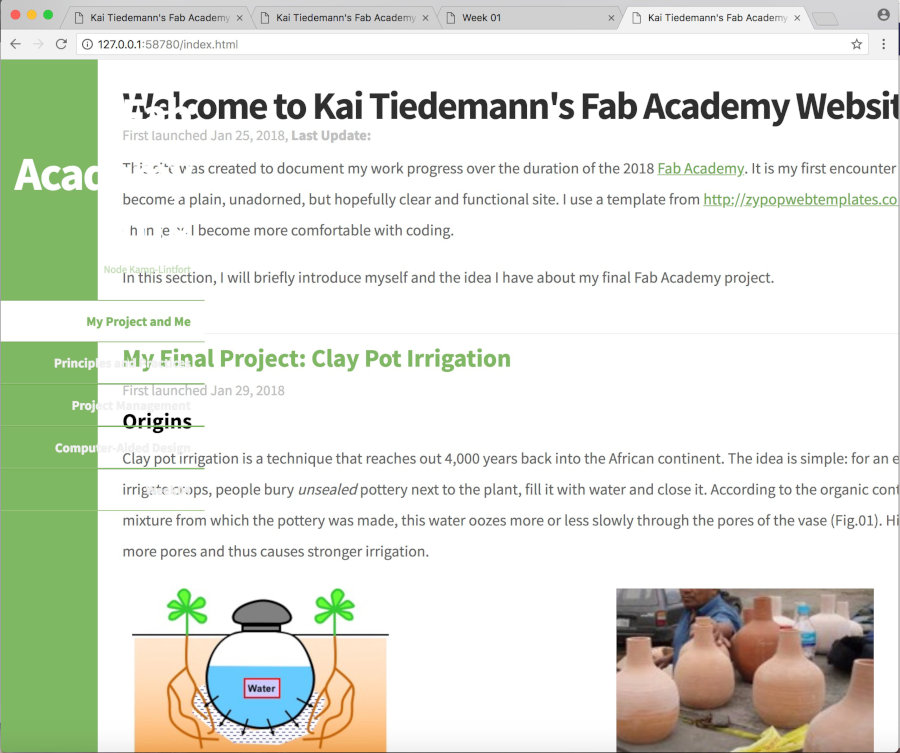 Fig.05: Overlay between body and sidebar. |
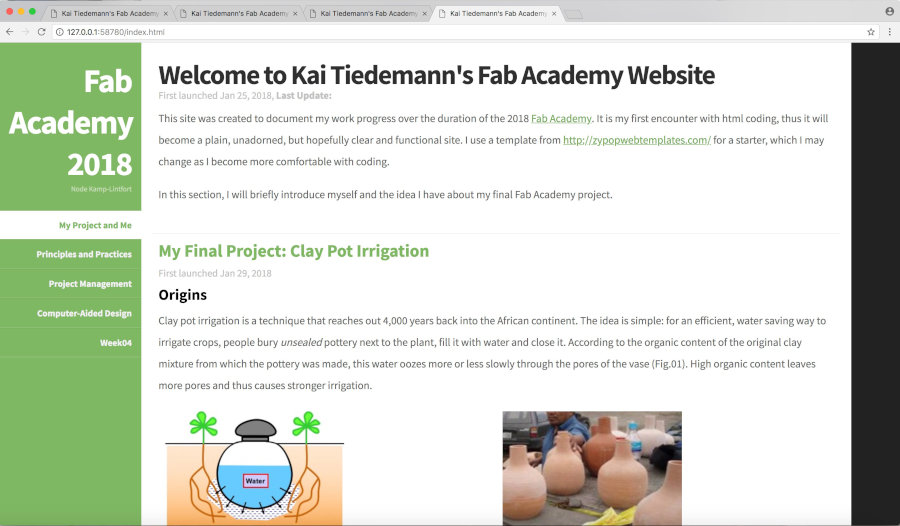 Fig.06: Black bar on right margin. |
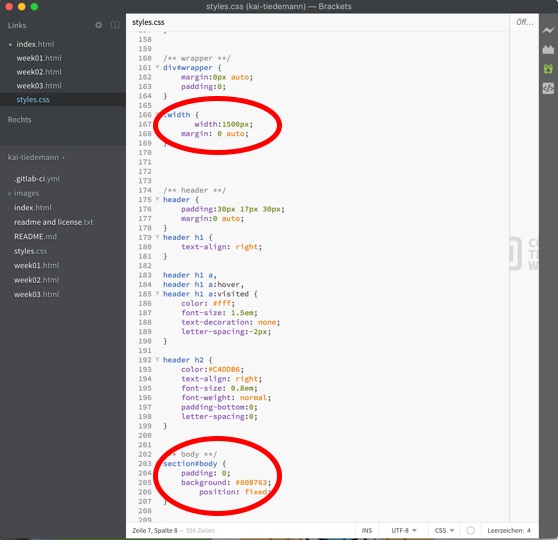 Fig.07: Changes in CSS code. |
Update 2020
First thing that needed to be added was taking care of the Fab Charter. I downloaded it from the Academany repository, read, understood, signed and uploaded to my personal repository (see below: Downloadables).
Regarding my website: after close consideration, I opted for a full makeover. I found an interesting template at HTML5 UP and follow the advice of our colleague Ketlli to make only changes in the html code that I truly understand. The current website is the result of those efforts; it will keep me busy for a while, though, to migrate and adapt my 2018 contents to the new layout.
The changes I made in the template layout were:
- erase the "contact", "send" and "follow" options in the footer;
- change the footer design in main.css to a smaller size;
- change the original HTML5 UP-logo in the header to our brand new GreenFabLab-logo (incl. adapting logo width in main.css) and added a link to my AboutMe page;
- change the header definitions h1 through h6 in main.css;
- change the original HTML5 UP-logo in the head of each page to our GreenFabLab-logo.
For the latter, I had to change the logo grafics format from the original .jpg to .ico. For that I used CONVERTICO as a free online conversion tool. In this format, our logo yould be included just like any other picture using the href command.
Connecting to my Repository
Even though this is my second time around, I still need a decent checklist and a good tutor (Ferdi) to get this done in due time. Either way, for me, this is a once-in-an-academy kind of process that repeats so little - I probably will have to watch tutorials about it until Kingdom come.
Step 1: Setting up account, username and email
First, I used my FabAcademy student's credentials to log on to the Gitlab at Fabcloud. From there, I created the harddrive mirror of what later would become my repository with my name and mail address in my computer's terminal:
git config --global user.name "Kai J. Tiedemann"
git config --global user.email "kai.tiedemann@hochschule-rhein-waal.de"
Both commands were executed in the folder I created as my working space for editing the repository.
Step 2: Creating and using the SSH key
For secure connectivity between my computer and the Fabcloud, it is mandatory to create first a private key:
ssh-keygen -t rsa -C "kai.tiedemann@hochschule-rhein-waal.de", then the public key ~/.ssh/id_rsh.pub.
The public key must be copied into the clipboard using the pbcopy (less-than sign) ~/.ssh/id_ed25519.pub command (Fig.08), for subsequently adding it to my GitLab account by simply pasting the clipboard content into the textbox on my GitLab website (Fig.09).
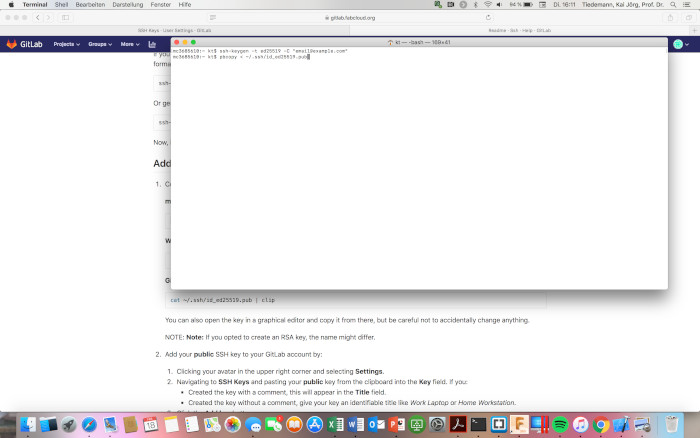 Fig.08: Creating and clipboarding my public ssh-key. |
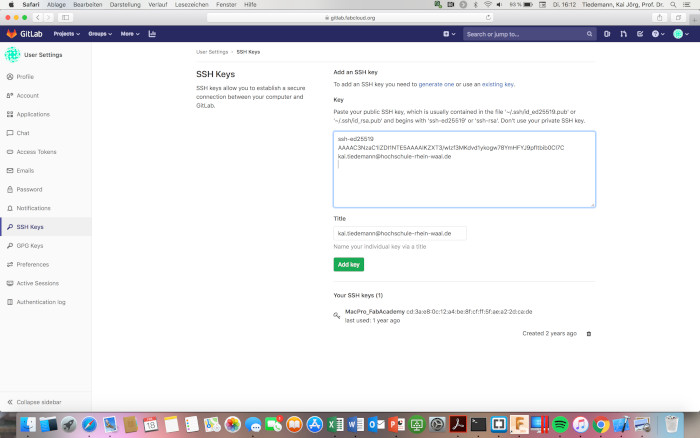 Fig.09: Pasting the public key into the GitLab textbox. |
Step 3: Clone the GIT repository from GITLab
My default project on GIT Lab was largely empty, but still contained various files I need in my repository. To bring those down into the editing folder on my hard drive I used the automatically generated clone command from the project website:git@gitlab.fabcloud.org:academany/fabacademy/2020/labs/kamplintfort/students/kai-tiedemann.git
Step 4: Get on GIT
Now that my hard drive folder is finally connected to my GitLab account, the only thing left to do is writing down my documentation - still using brackets with its live preview to check for errors (Fig.10).
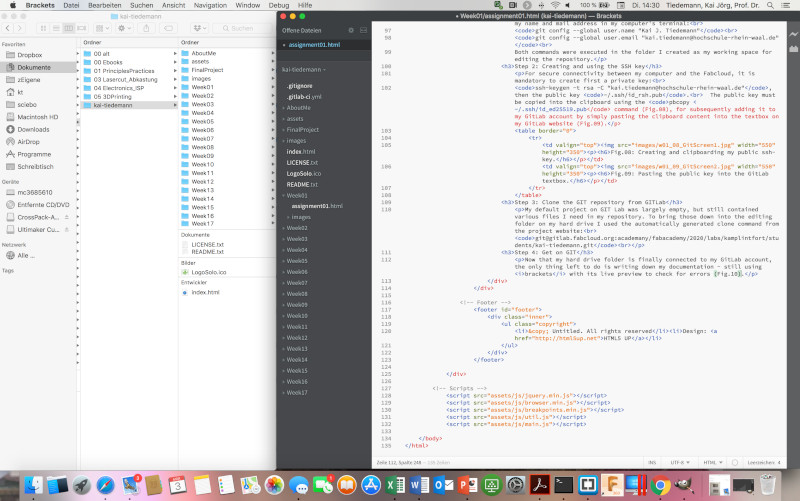
Fig.10: Screenshot of Brackets with folder structure on hard drive (left).
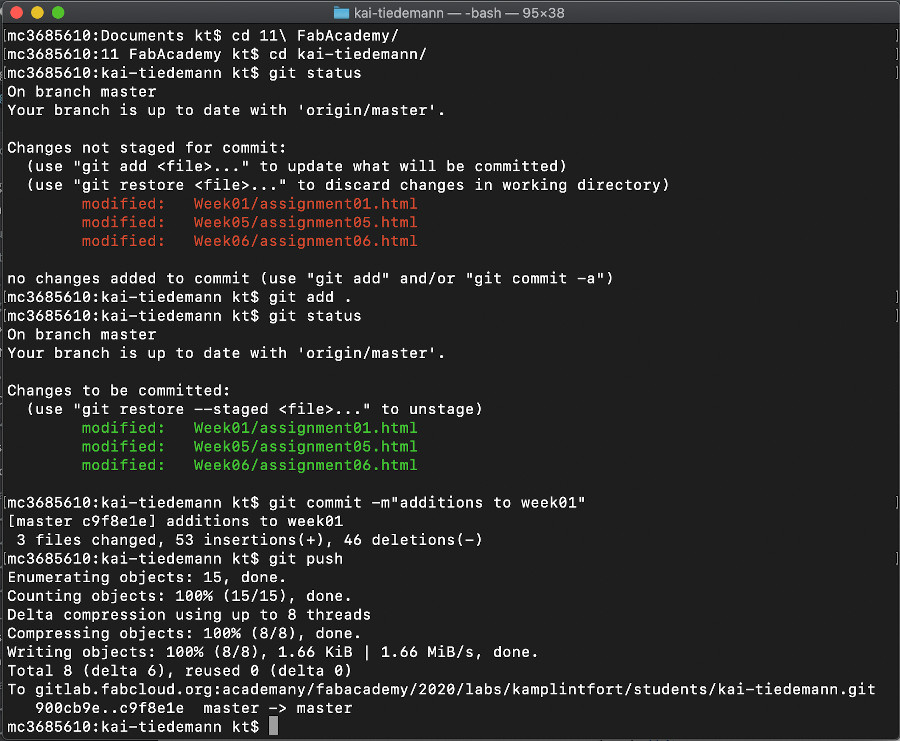
The sequence of commands for uploading my harddrive content to Git is:
git statusto indicate the files that have been altered since the previous uploadgit add .to select all the altered files for uploadgit commit -m"personal comment"to label the selected files with an explanatory commentgit pushfor the upload.
A successful operation should give prompts as indicated in Fig.11.