
Week 15 : Molding and Casting
the assignment for this week are:
The group assignment
- Review the safety data sheets for each of your molding and casting materials,
- Make and compare test casts with each of them
The individual assignment
- Design a mold around the stock and tooling that you'll be using,
- Mill it (rough cut + (at least) three-axis finish cut)
- Use it to cast parts.
Molding vs. Casting
A cast and a mold have become the most common forms of art of many industries in reproducing the 3D imprints of objects or organisms. Almost anything can be made using the casting and molding processes. When looking around, everything from jewelry, equipment, kitchenware, toys, and many more, has undergone the process of molding and casting. These art forms are also used largely in fossils in reproducing sculptures.
Read more!
First of all, we had to design a mold which is an impression of an object or organism. It's used to capture the entire details of the object before a cast is made.
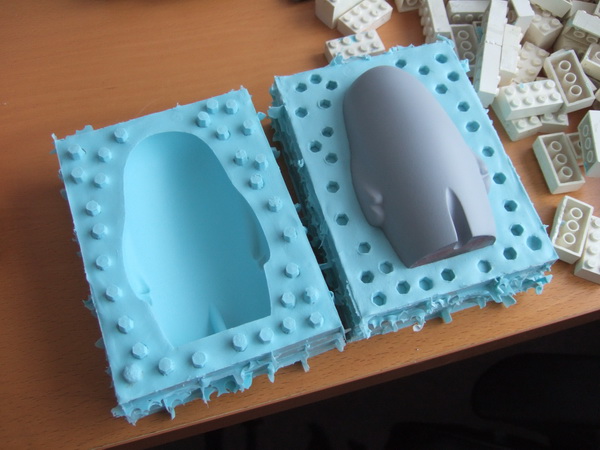
Molding
Molding is the process by which we take an object and create an impression of it to be filled with an assortment of materials. Generally, an initially soft material is poured or spread around the object and allowed to harden or set, creating a negative imprint of the object. Depending on the shape of the object and the nature of the molding material, a mold can be made in one piece (for an object such as a flat medallion, for example) or in multiple pieces (for something like a complex sculpture with many undercuts).
There are 3 basic types of molds:
- One part
- Two part
- Multi-part (advanced)
One part
Simple one part mold – for models with a flat back and no undercuts
For models with challenging shapes and undercuts.
Flexible block mold – for 3D models with undercuts
There's other types of molding process like:
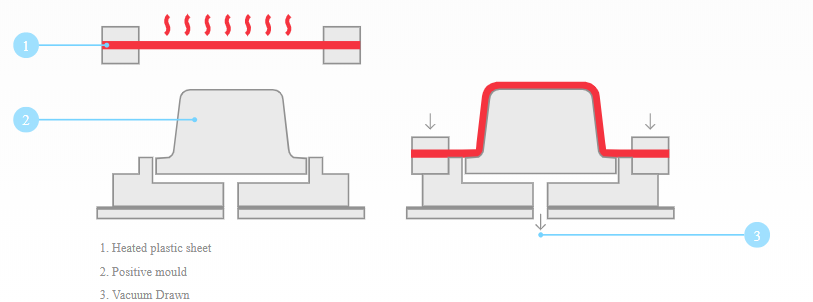
Vacuum formingThe vacuum forming process consists of heating a the material sheet to forming temperature and then stretching it over a single-surface mould. A vacuum is applied to force the sheet against the mould, and the sheet is then ejected from the mould.
On the other hand, we have a cast which is the final step the follows a mold. No cast can be made in the absence of a mold. Before a cast is made, the casting material is spread or poured into the mold of the organism or object to make a final 3D imprint.
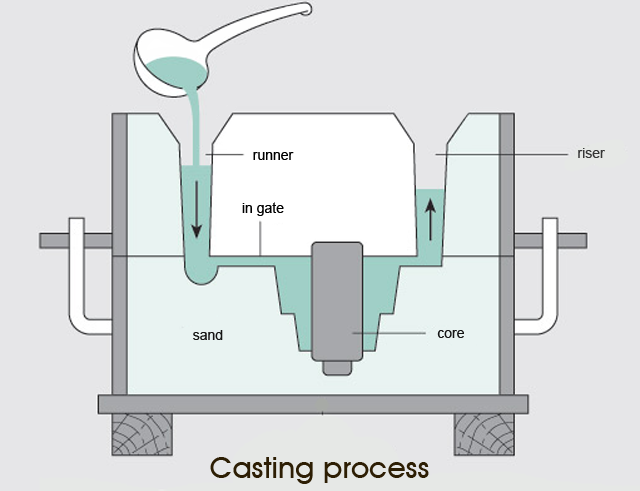
Casting
Casting is done once a mold of an object is available. If the mold is made up of multiple pieces, it is put together securely and the casting material is applied. It can be poured in or injected, sometimes through multiple openings if the mold is particularly complex. Allow the material to cure, and then open the mold. Casting creates an exact replica of the object that was molded. Generally, only minor adjustments, such as sanding of seam lines, are needed in the castings.
Individual assignment
Design Process -failure-
So now let's start talking about the designing part. For this week's assignment we've been told to design a mold for something!
I wanted to design something cute rather than this "mechanics related stuff" xD using Fusion 360!!

And yeah it was kinda hard to shape MOLANG at first , since it's my first time doing this kind of things,
And I literally found a new hobby; Makind 3D shaped models *__* !!
LET'S GET STARTED !!!
I used the *Create Form* feature that allows you to push and pull on vertices, edges and faces!
It was kinda like playing with slime ...
well KINDA I said xD ...
.png)
.png)
.png)
and Tada the Body was ready!!
Now it's time for the ears, hands, legs and tail (these cute little ears tho *_*)
.png)
It was the same process; creating a quadball, and shaping it into the shape I want!
.png)
.png)
The same goes for the other parts!!
.png)
.png)
.png)
It was the same process; creating a quadball, and shaping it into the shape I want!
And tada the whole thing is DONE!!!
.png)
Time for the face features:
.png)
.png)
The process was kinda long, but I created a sketch for both of the eyes, the cheeks and that tiny mouth and then used the Extrude feature to have the 3D shaped forms!
Thefinal result!
.png)
Now it's time for the hardest part! .. just kidding "OTL!
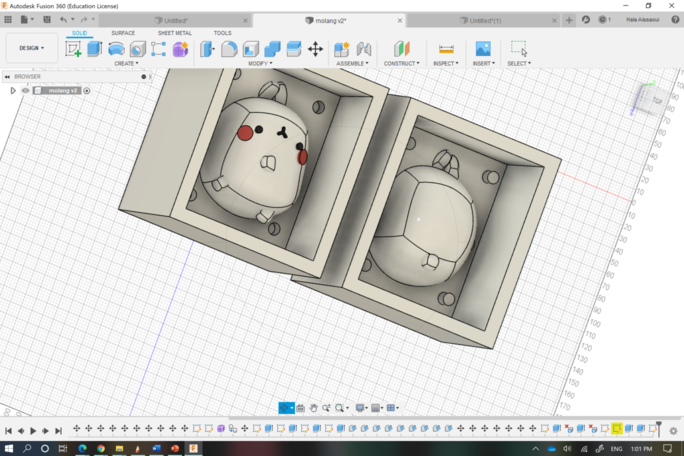
To have a full body model as a final result, and the entire details to be captured, I decided to make a two part kind of molds!
So I had to make a mold for the back and the front!
.png)
.png)
NOTE: there's some tips that it has to be taken into consideration when starting to design :
Draft Angle
A draft angle is a slant that is applied to each side of most features of an injection molded part. The angle, which is positioned to run toward the direction of a mold's pull and parting line, helps with releasing the part from the mold. It is rare that a component of a part does not need to be drafted.
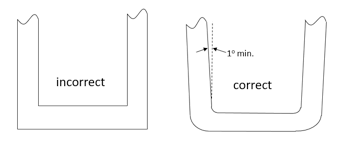
So I made sure to have a 5° draft angle!
.png)
Registration Keys
Or registration points for lining up sides of multiple part molds and holding them in place for registering mother mold to silicone and silicone to silicone!
Since I'm making a two part mold, I had to make some sort of keys to have both parts stick together!
.png)
PS: I have noticed that my model is kinda huge, and we only have access to the small version of the CNC machine that we use to engrave on the PCB boards! Not only that, but that tiny little legs of my molang is somehow unreacheable by the end mill (Damn!!!!!!!!)
anyway
I resized the whole thing to half and made new legs (I'm not that happy 'bout them tho T_T)
-min%20(1).png)
Creating toolpaths
Let's be clear, this ain't the endtouch!
The rough cut
The parameters for this part
.png)
The finishing
.png)
.png)
BOOM !!
I got to redo everything from the start
Here a little recap on what I went through this days, while working on the mold
-We had to stick with the little CNC that we got in the fablab
-We didn't have the right tools for such details
Thus I let go of this idea , And started everything from scratch (tho it's pretty sad that I'm not going to make my chocolate molang :sobs:)
Inshort
I made a new attempt for an another 3D mold
Design process
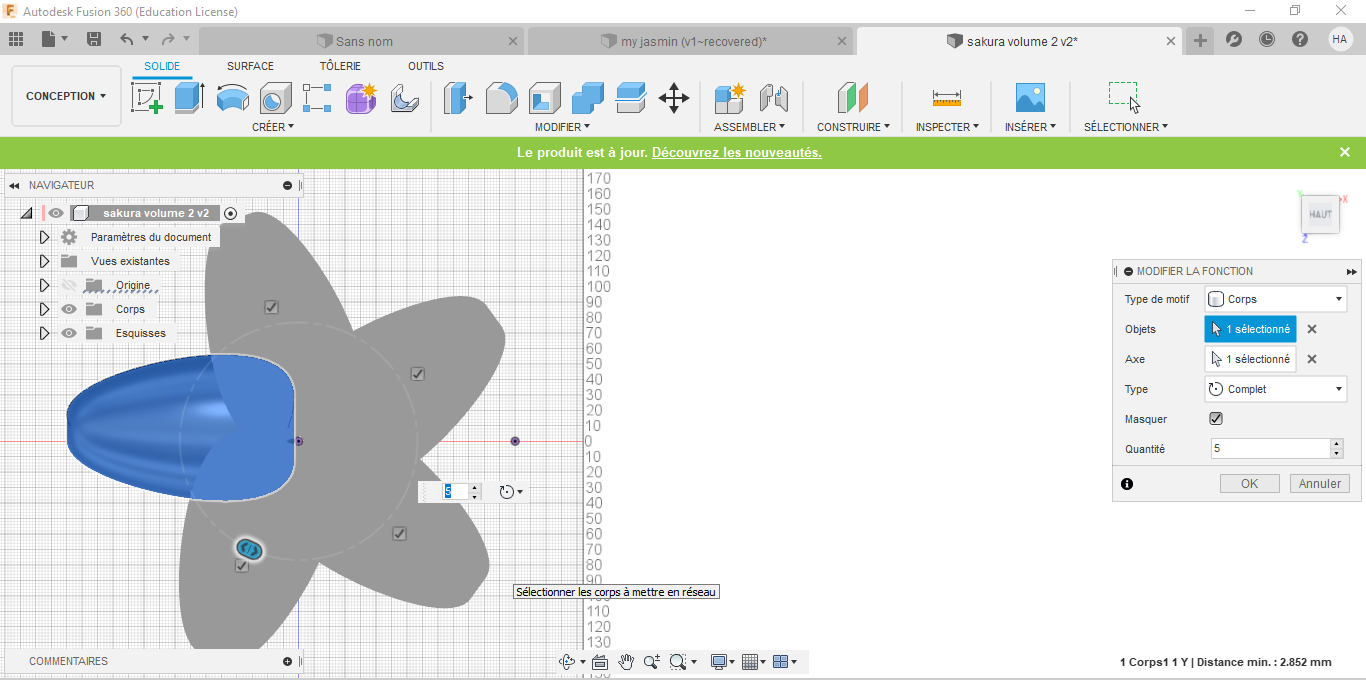
I wanted to make a simple flower at first
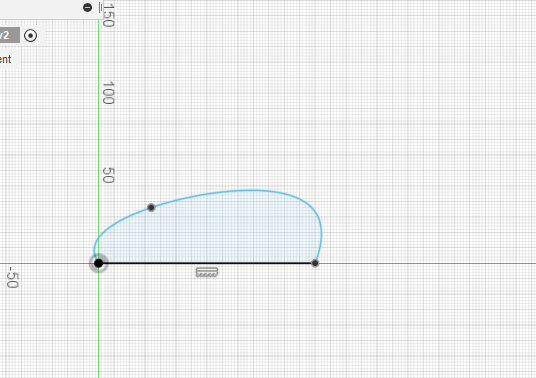
but it turned to be such a cute petale,
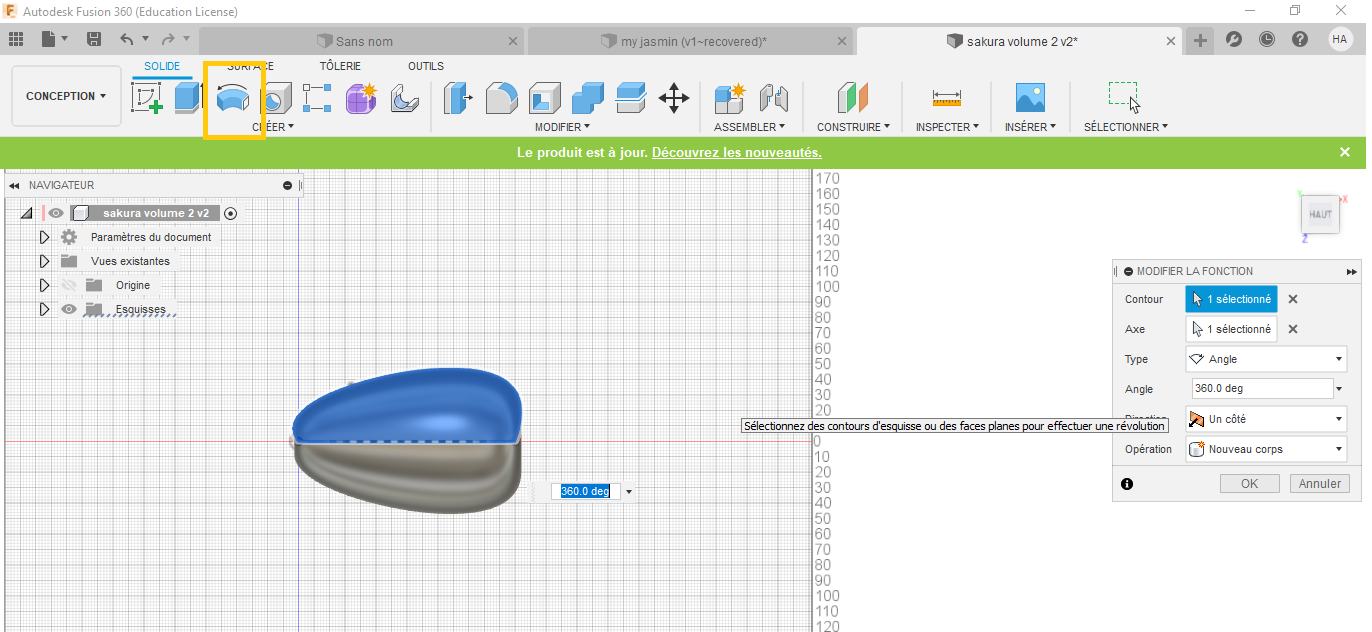
And then with some of the 3D touch

For the box part, I made sure while making it that it has to be spacious for the flower to fit in,
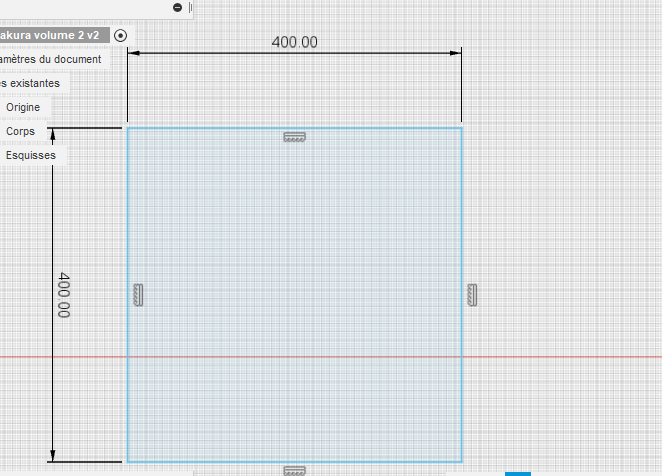
.png)
.png)
.png)
Now it's time for the 5° drift angle of the intern walls of the box!!
.png)
.png)
And now this is the final shape!!
PS: Don't forget to make it into one body !!!
.png)
Last touch: since the measurement were hug, I had to change it's size: first to 0:7 then to 0.6
.png)
and I'm done with the designing part!!
Creating toolpaths
First of all, I needed to set out the axes for the machine to work on, the X and the Y axes!!
.png)
Then
The rough cut
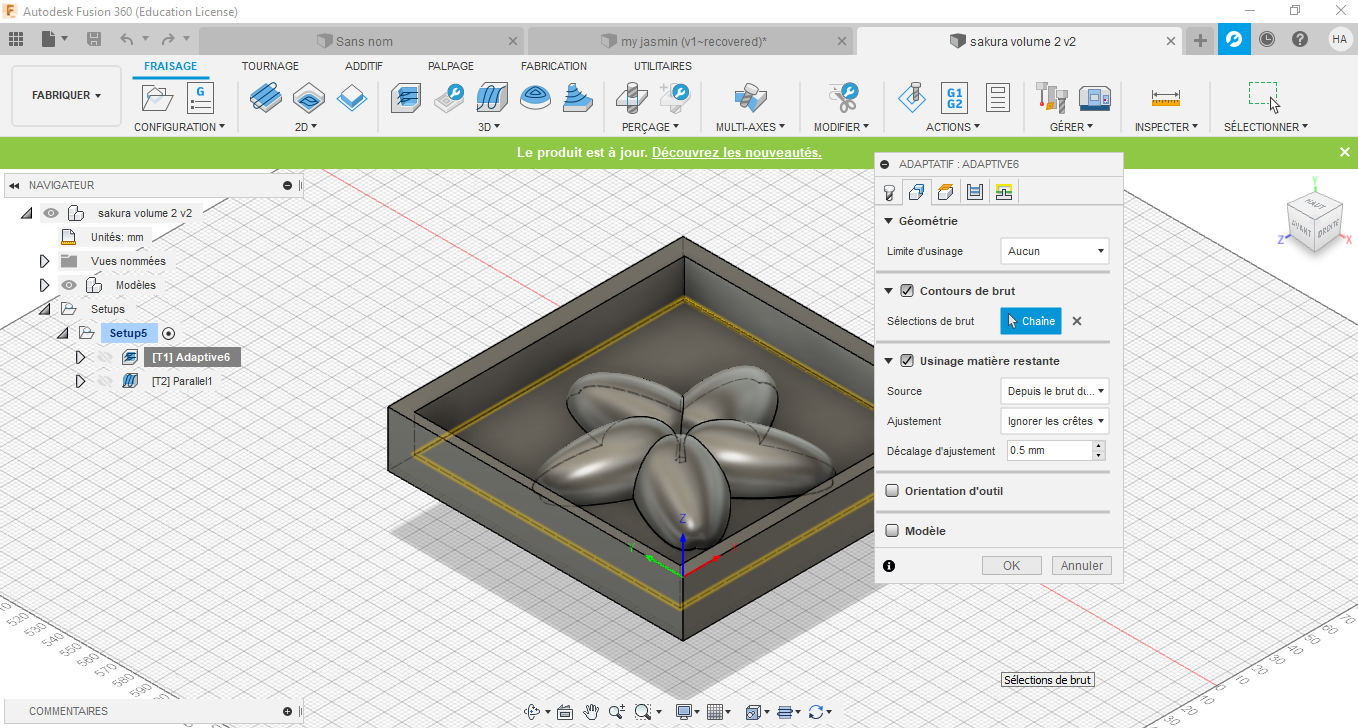
As a first step, since I'm carving 3D parts I had to clear away excess material when the part is too deep for the finishing tool to cut in a single pass. Select 3D>Adaptive
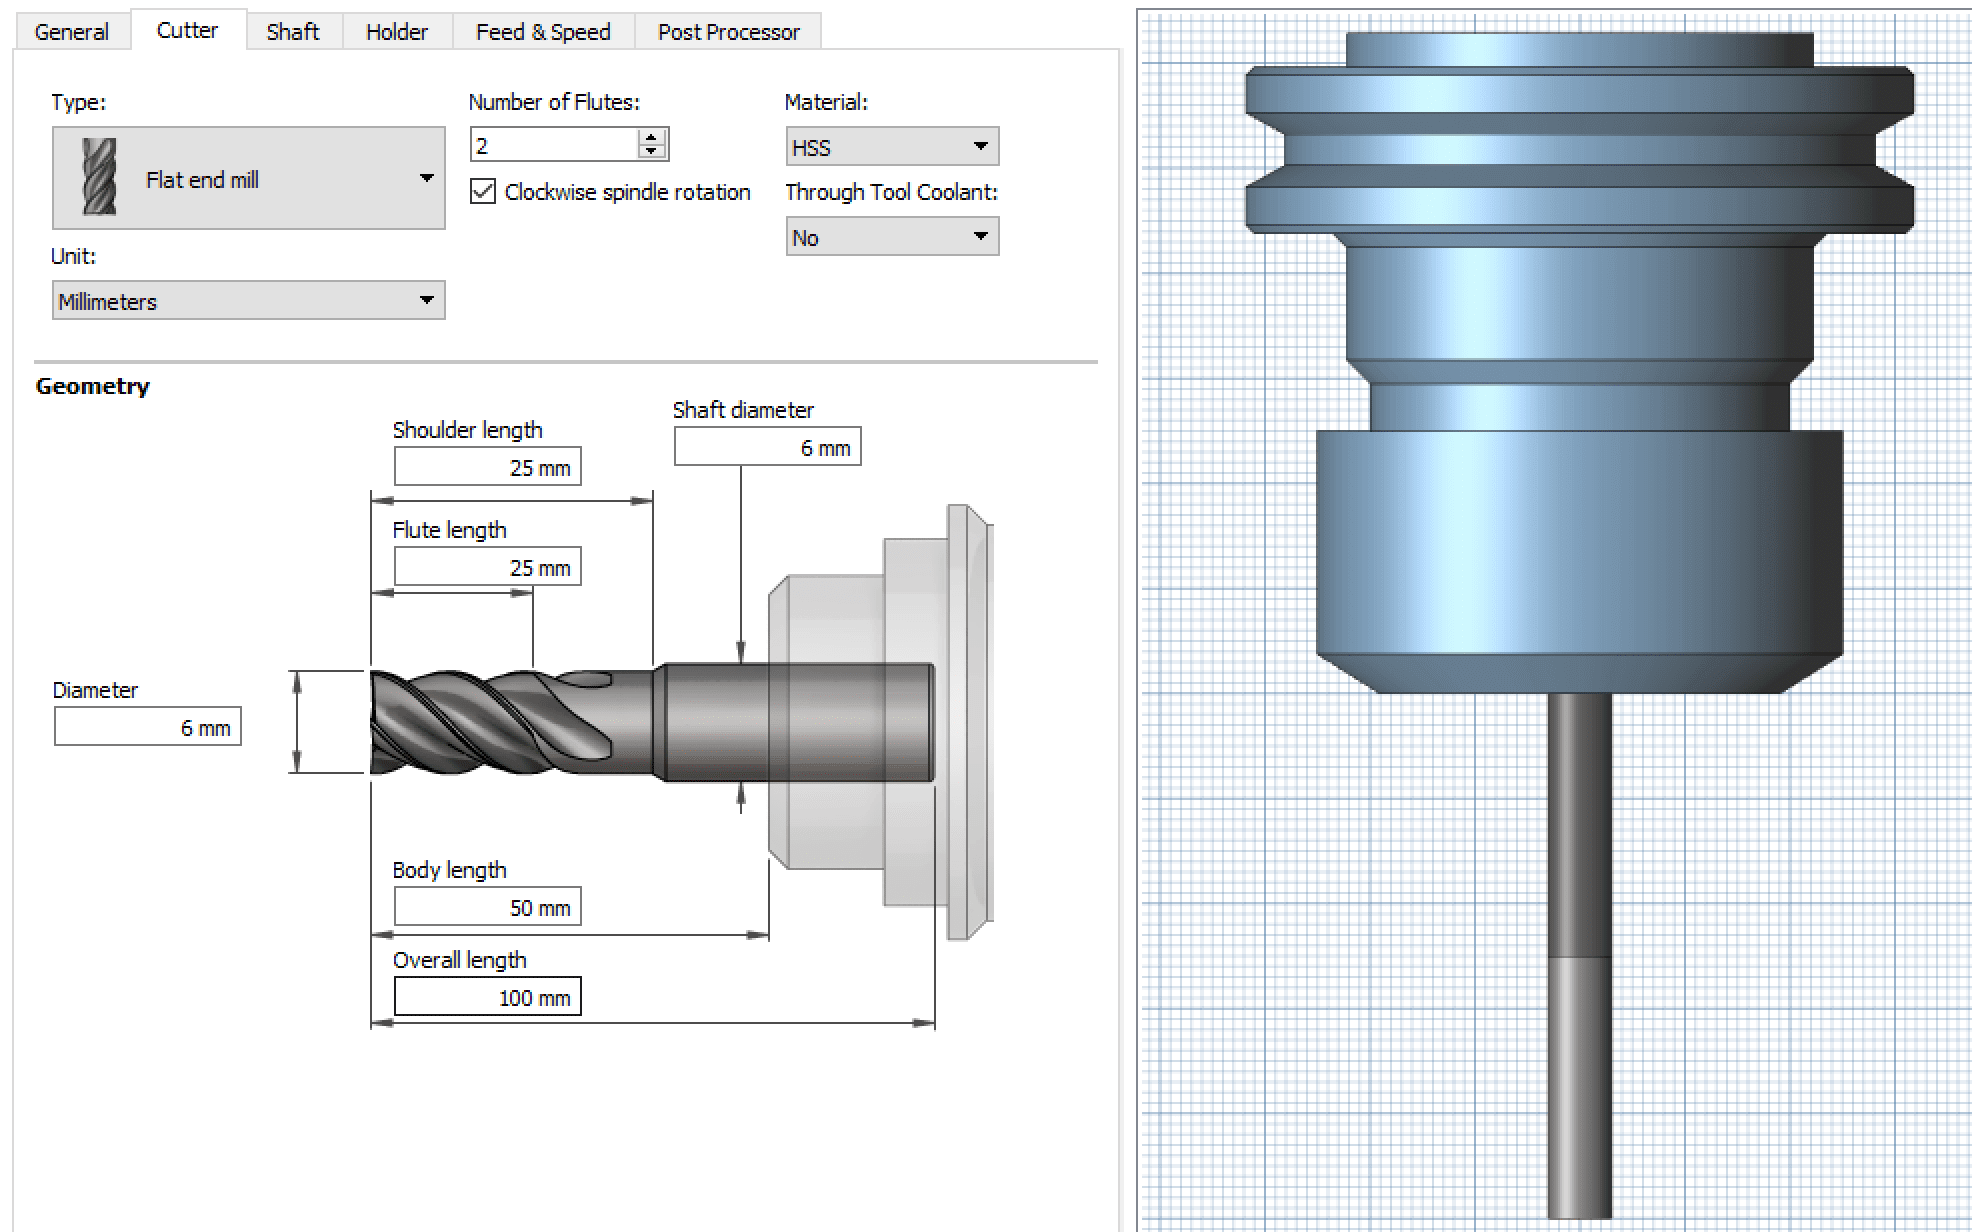
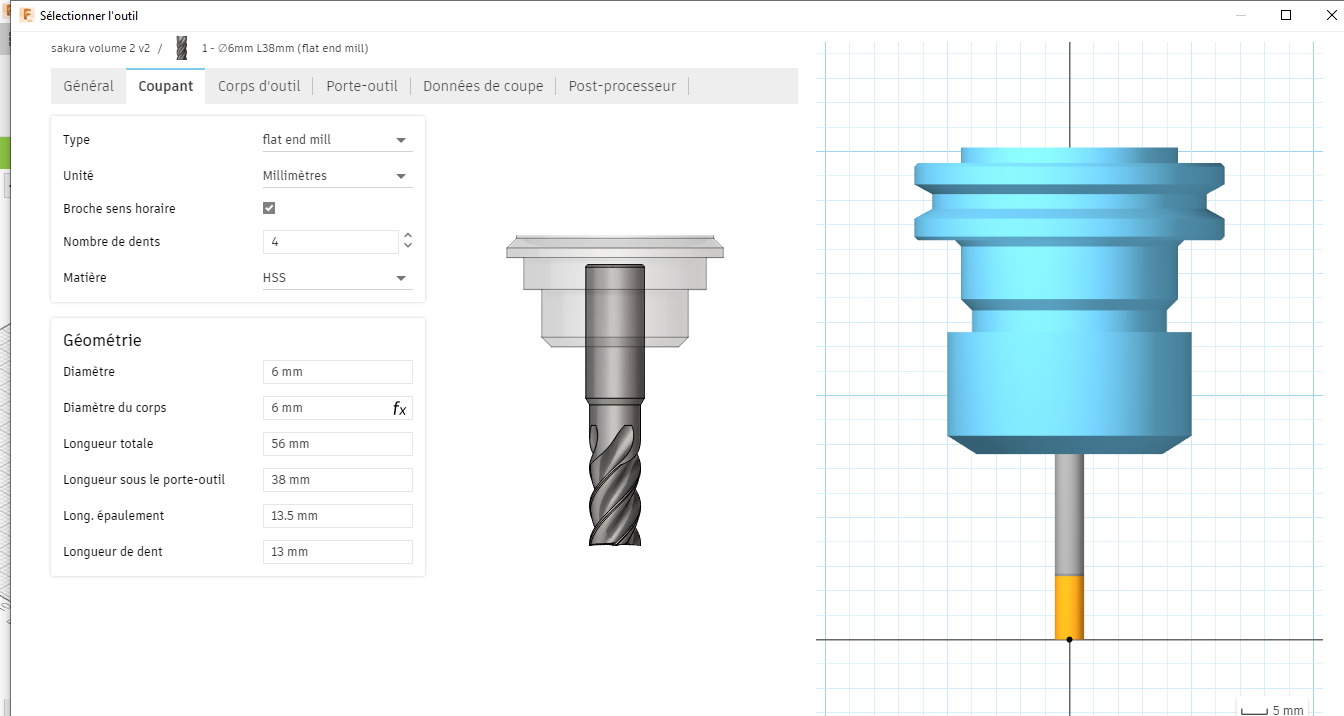
For it's needed to work with a slightly big tool;
Then, I had to select the boundaries of the cut, and that's pretty much it!!
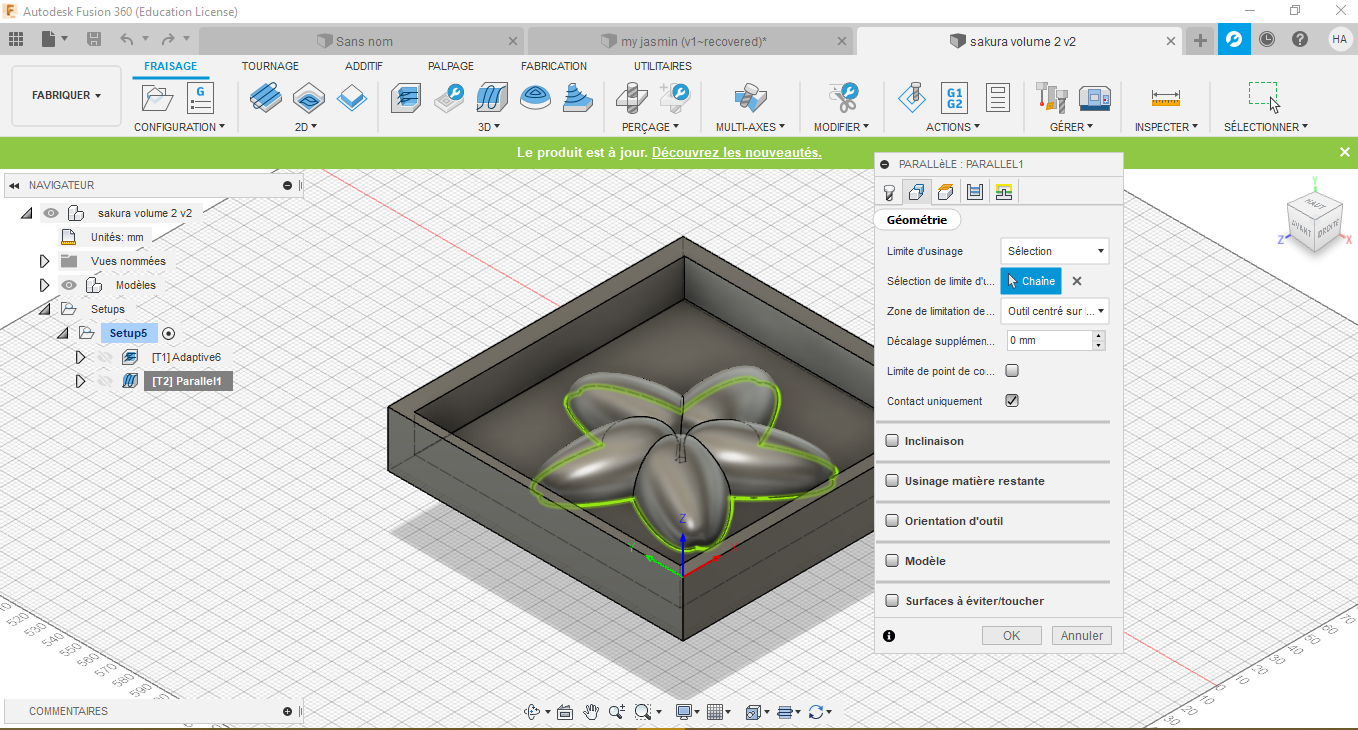
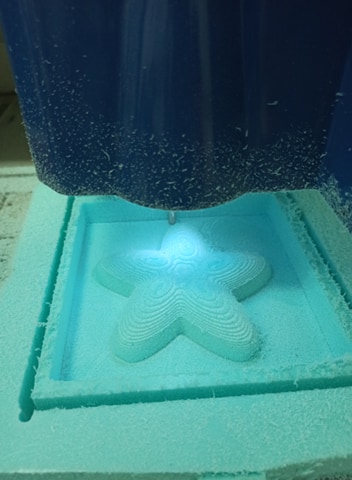
The finishing
and since after many materials are removed, it's time for the finishing touch, in other words, this operation used to remove a small amount of material and to give the part the desired surface quality in the least amount of time.
Select3D> parallel
and change the settings
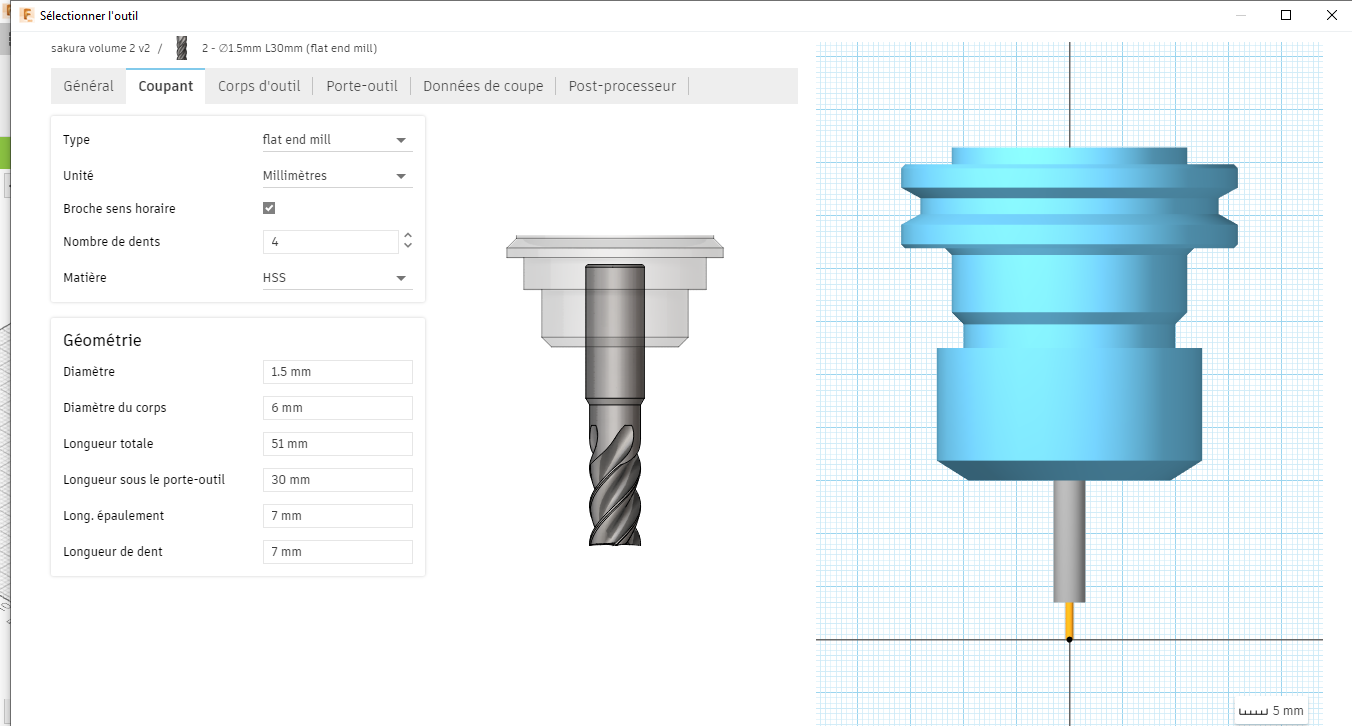
Since it's about removing small amount of materials, for this I choose a ∅1.5 tool to do the job!!
and selecting the boundaries as usual!!!
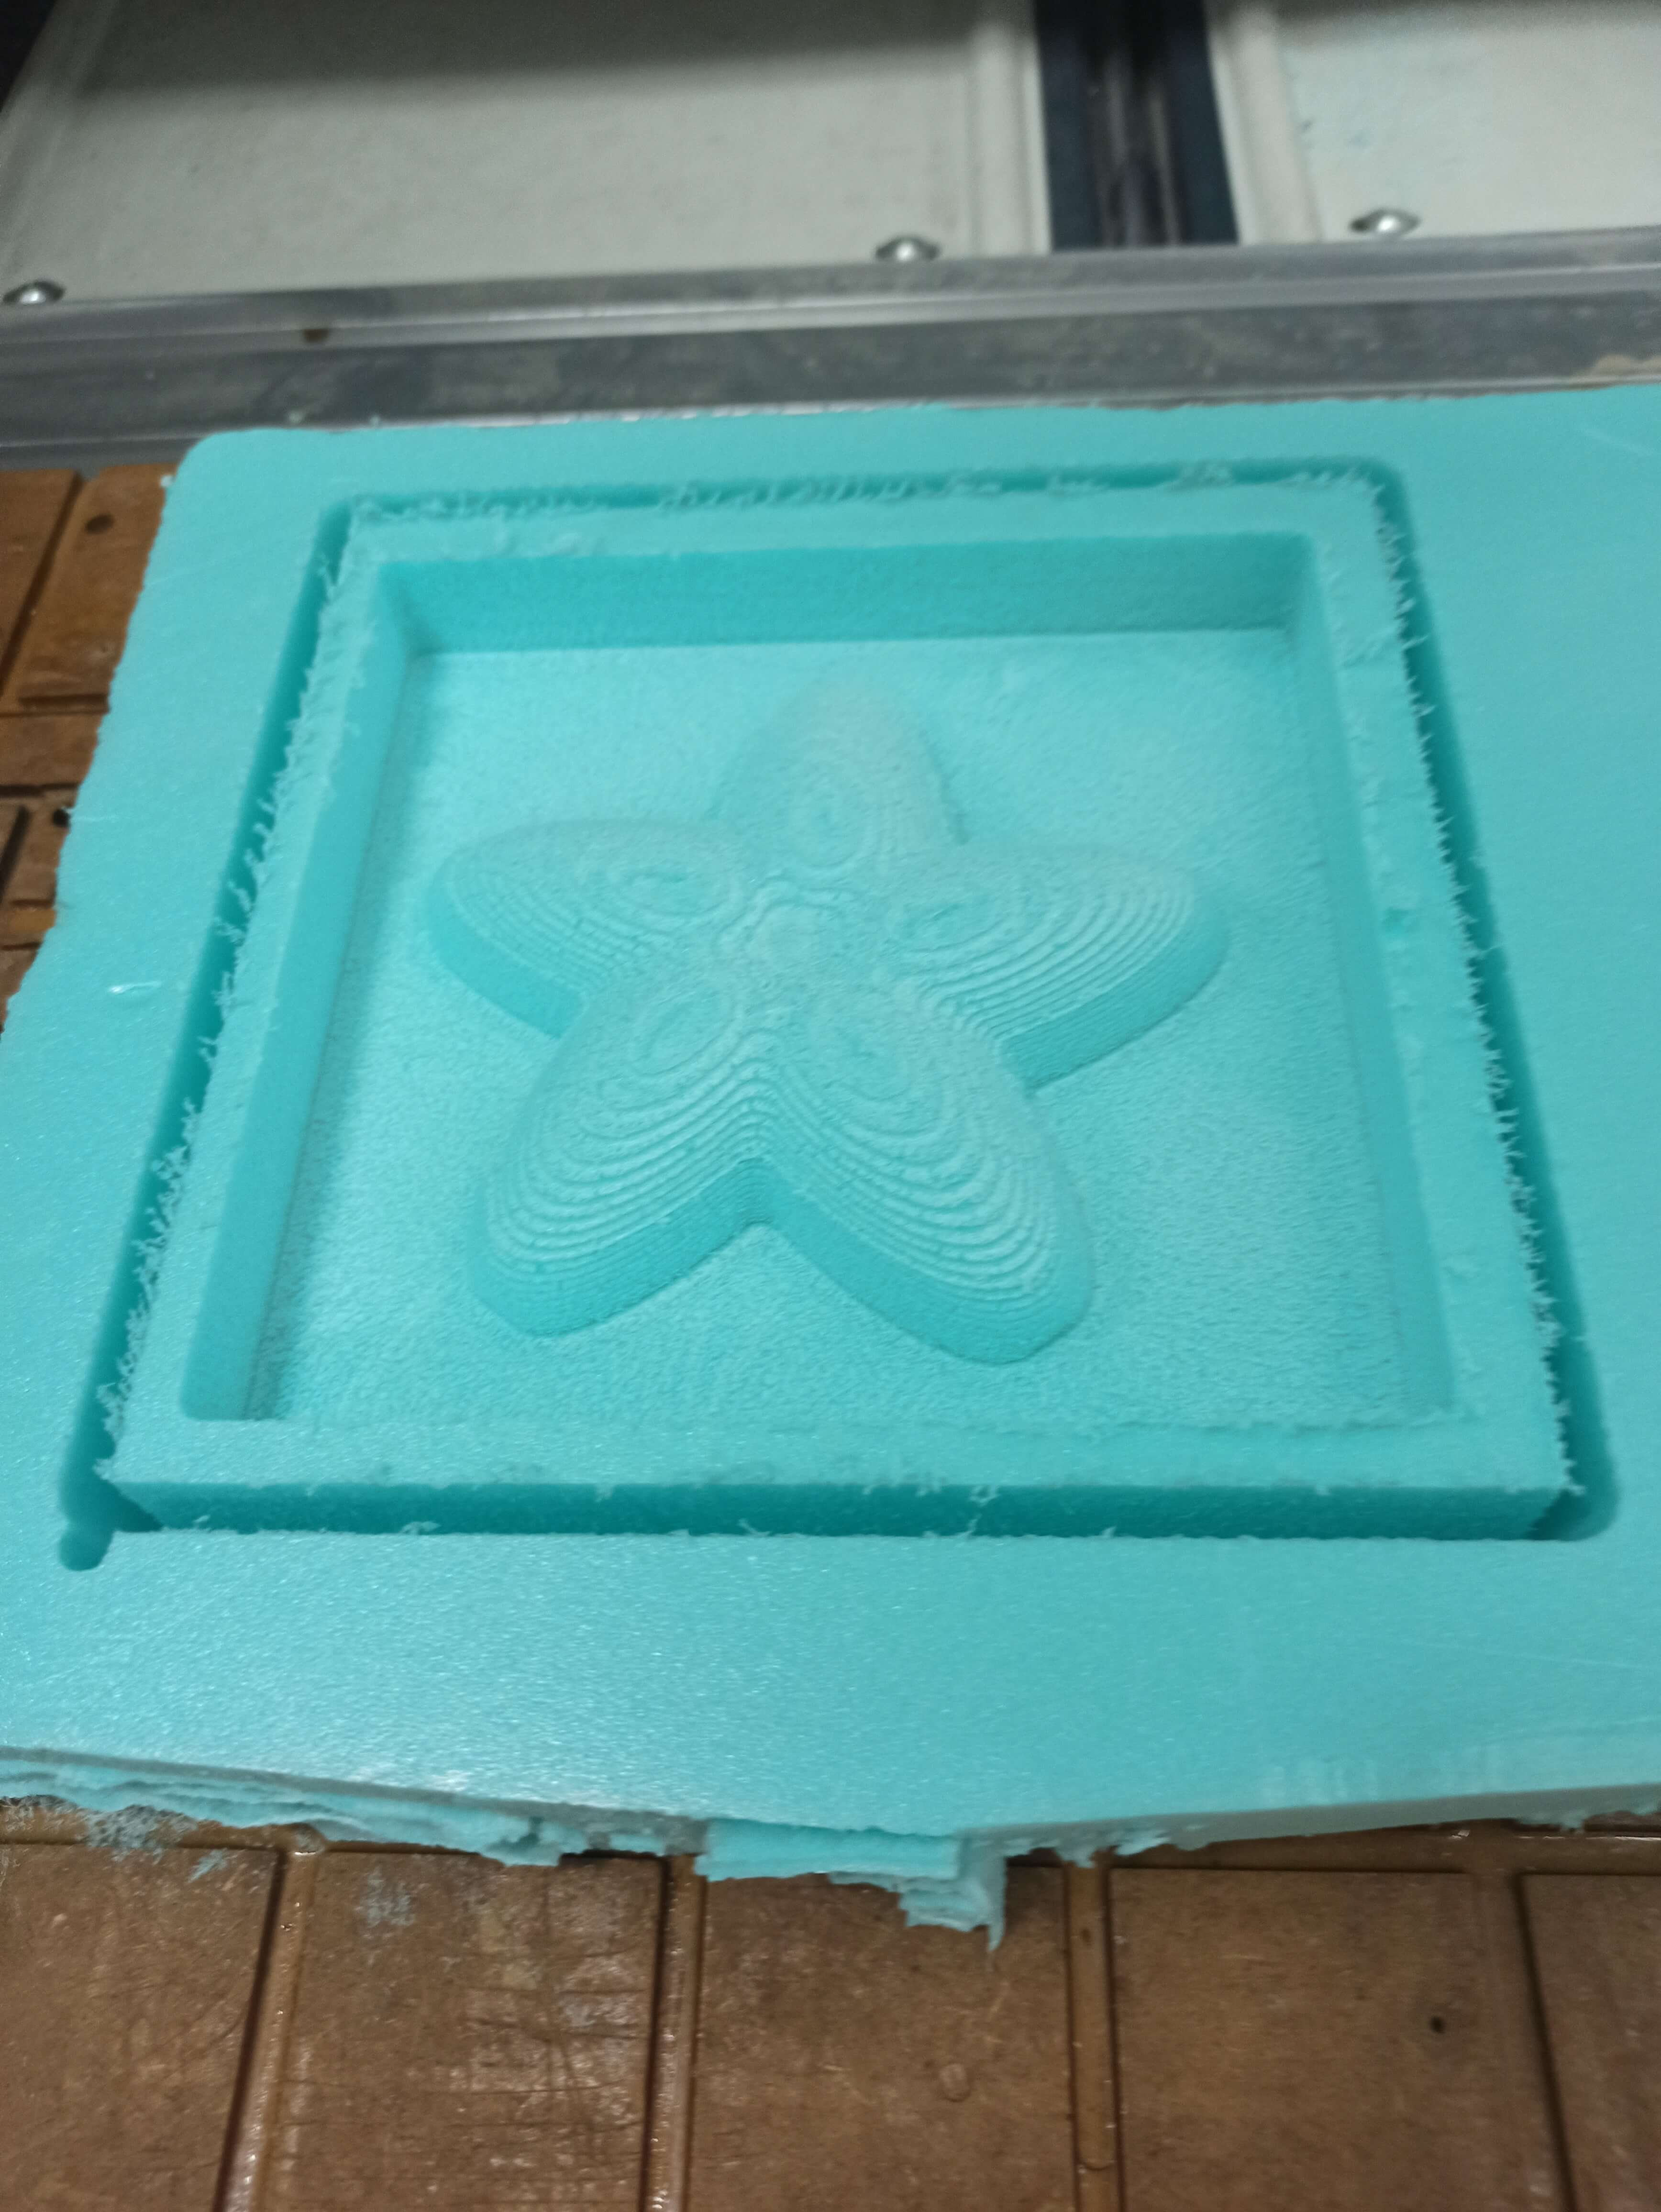
as for most of the parts are in default !! and tada
.png)
and now it's time for generating the G-code for the CNC machine !!!
Preparing the negative version
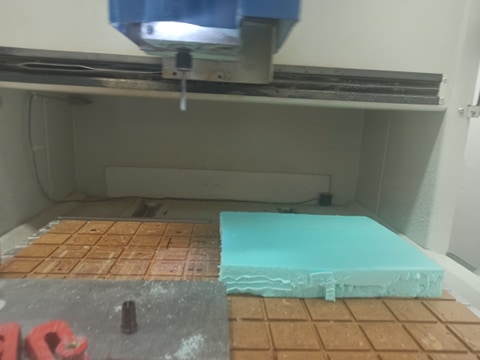
The rough cut
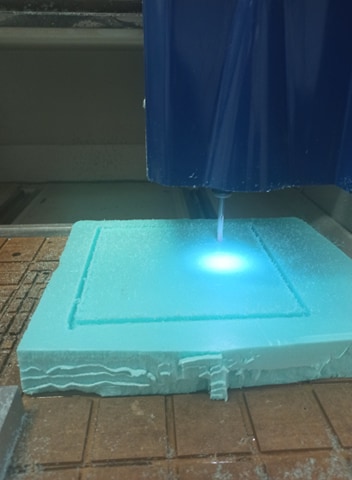
The finishing
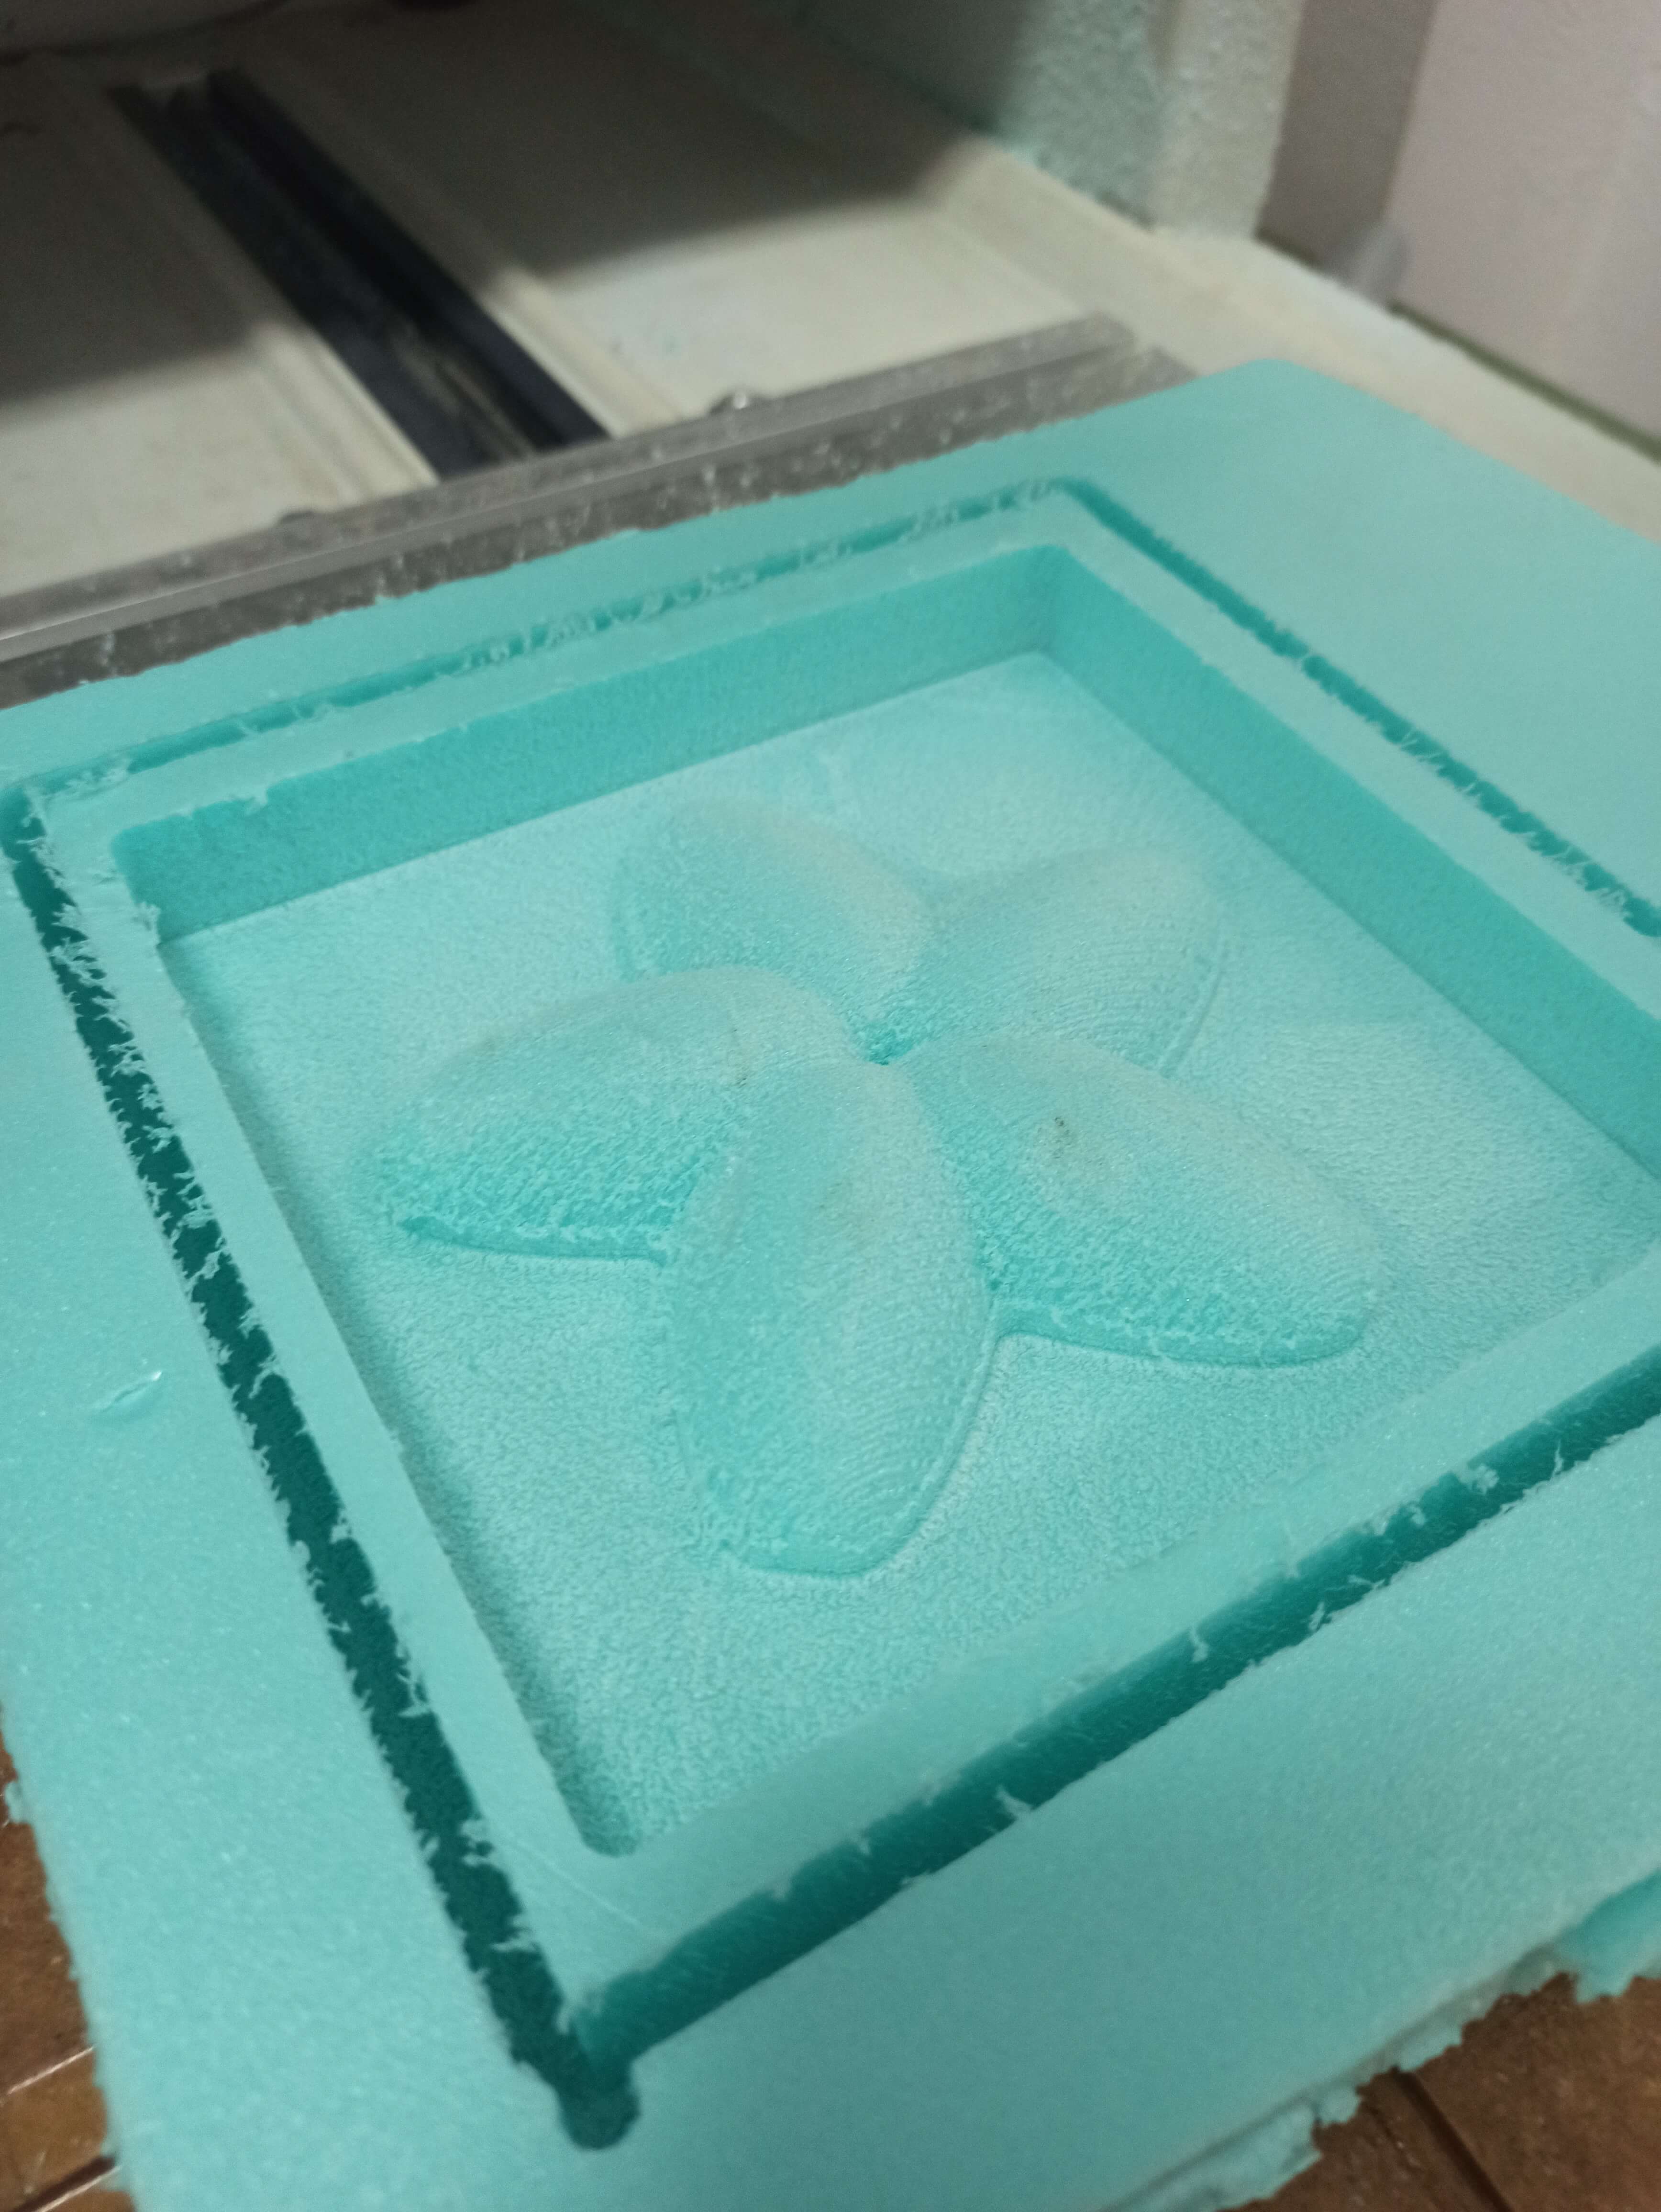
The molding
the material used for making the mold is the silicone
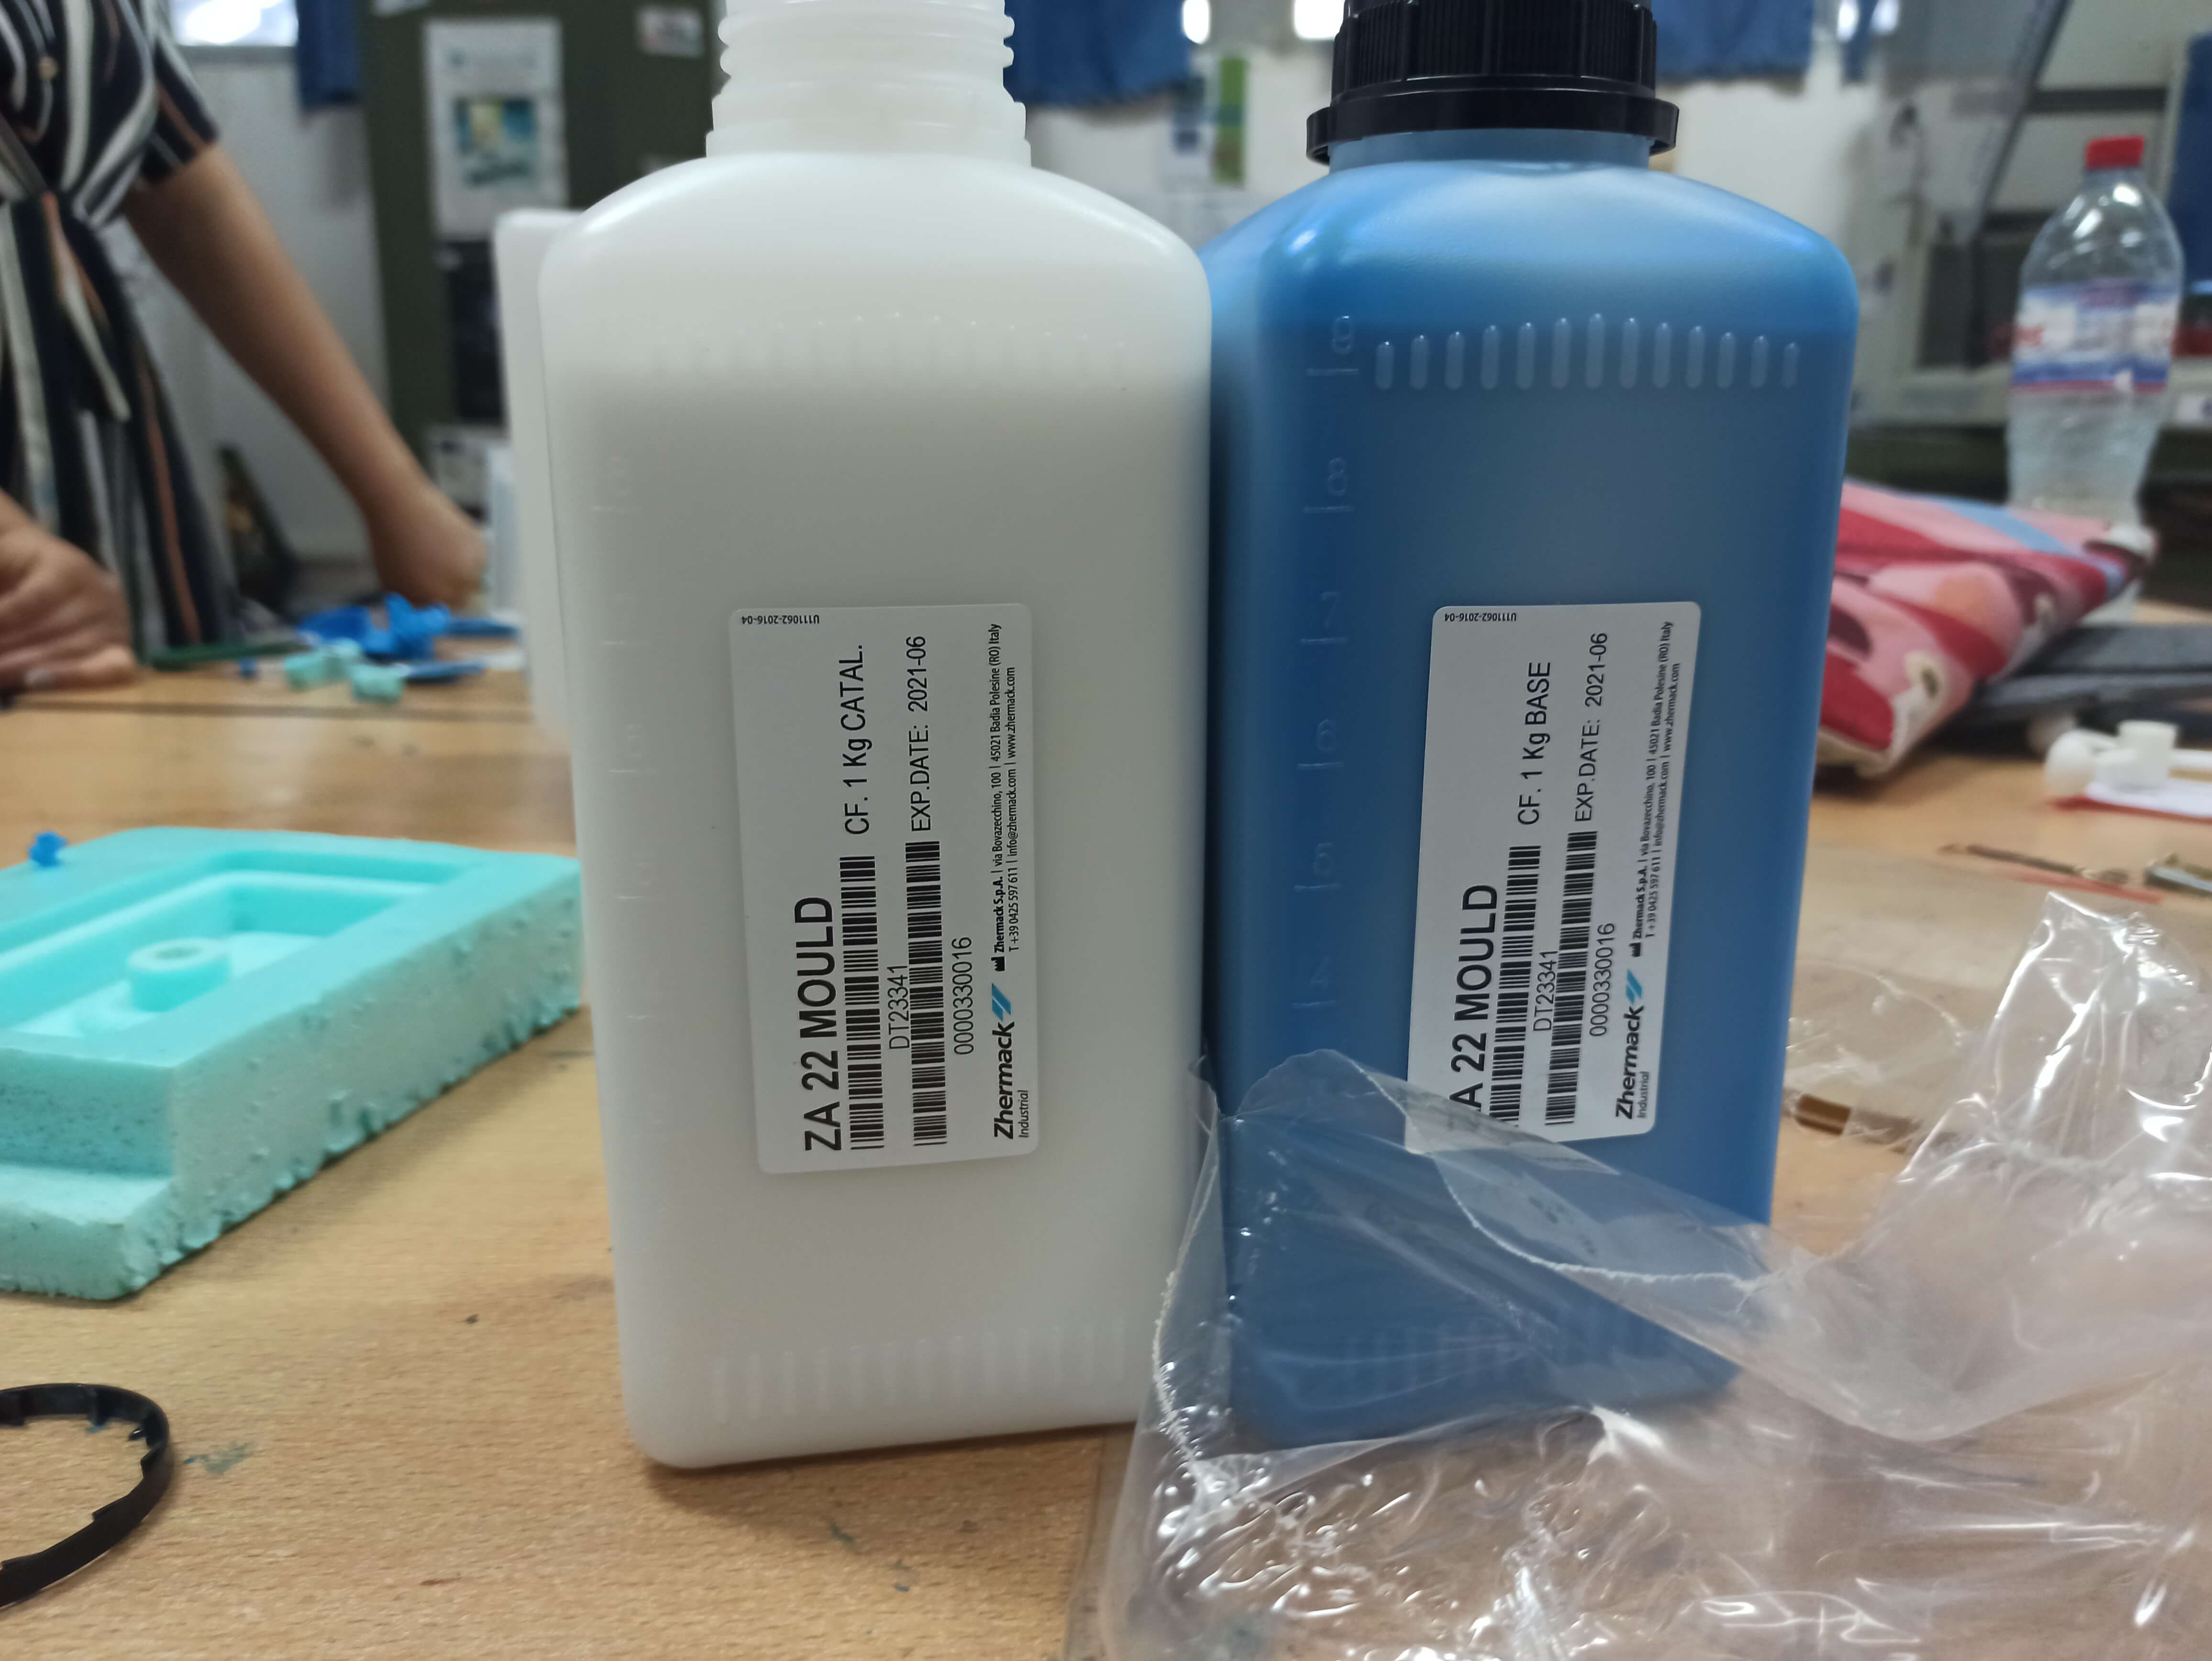
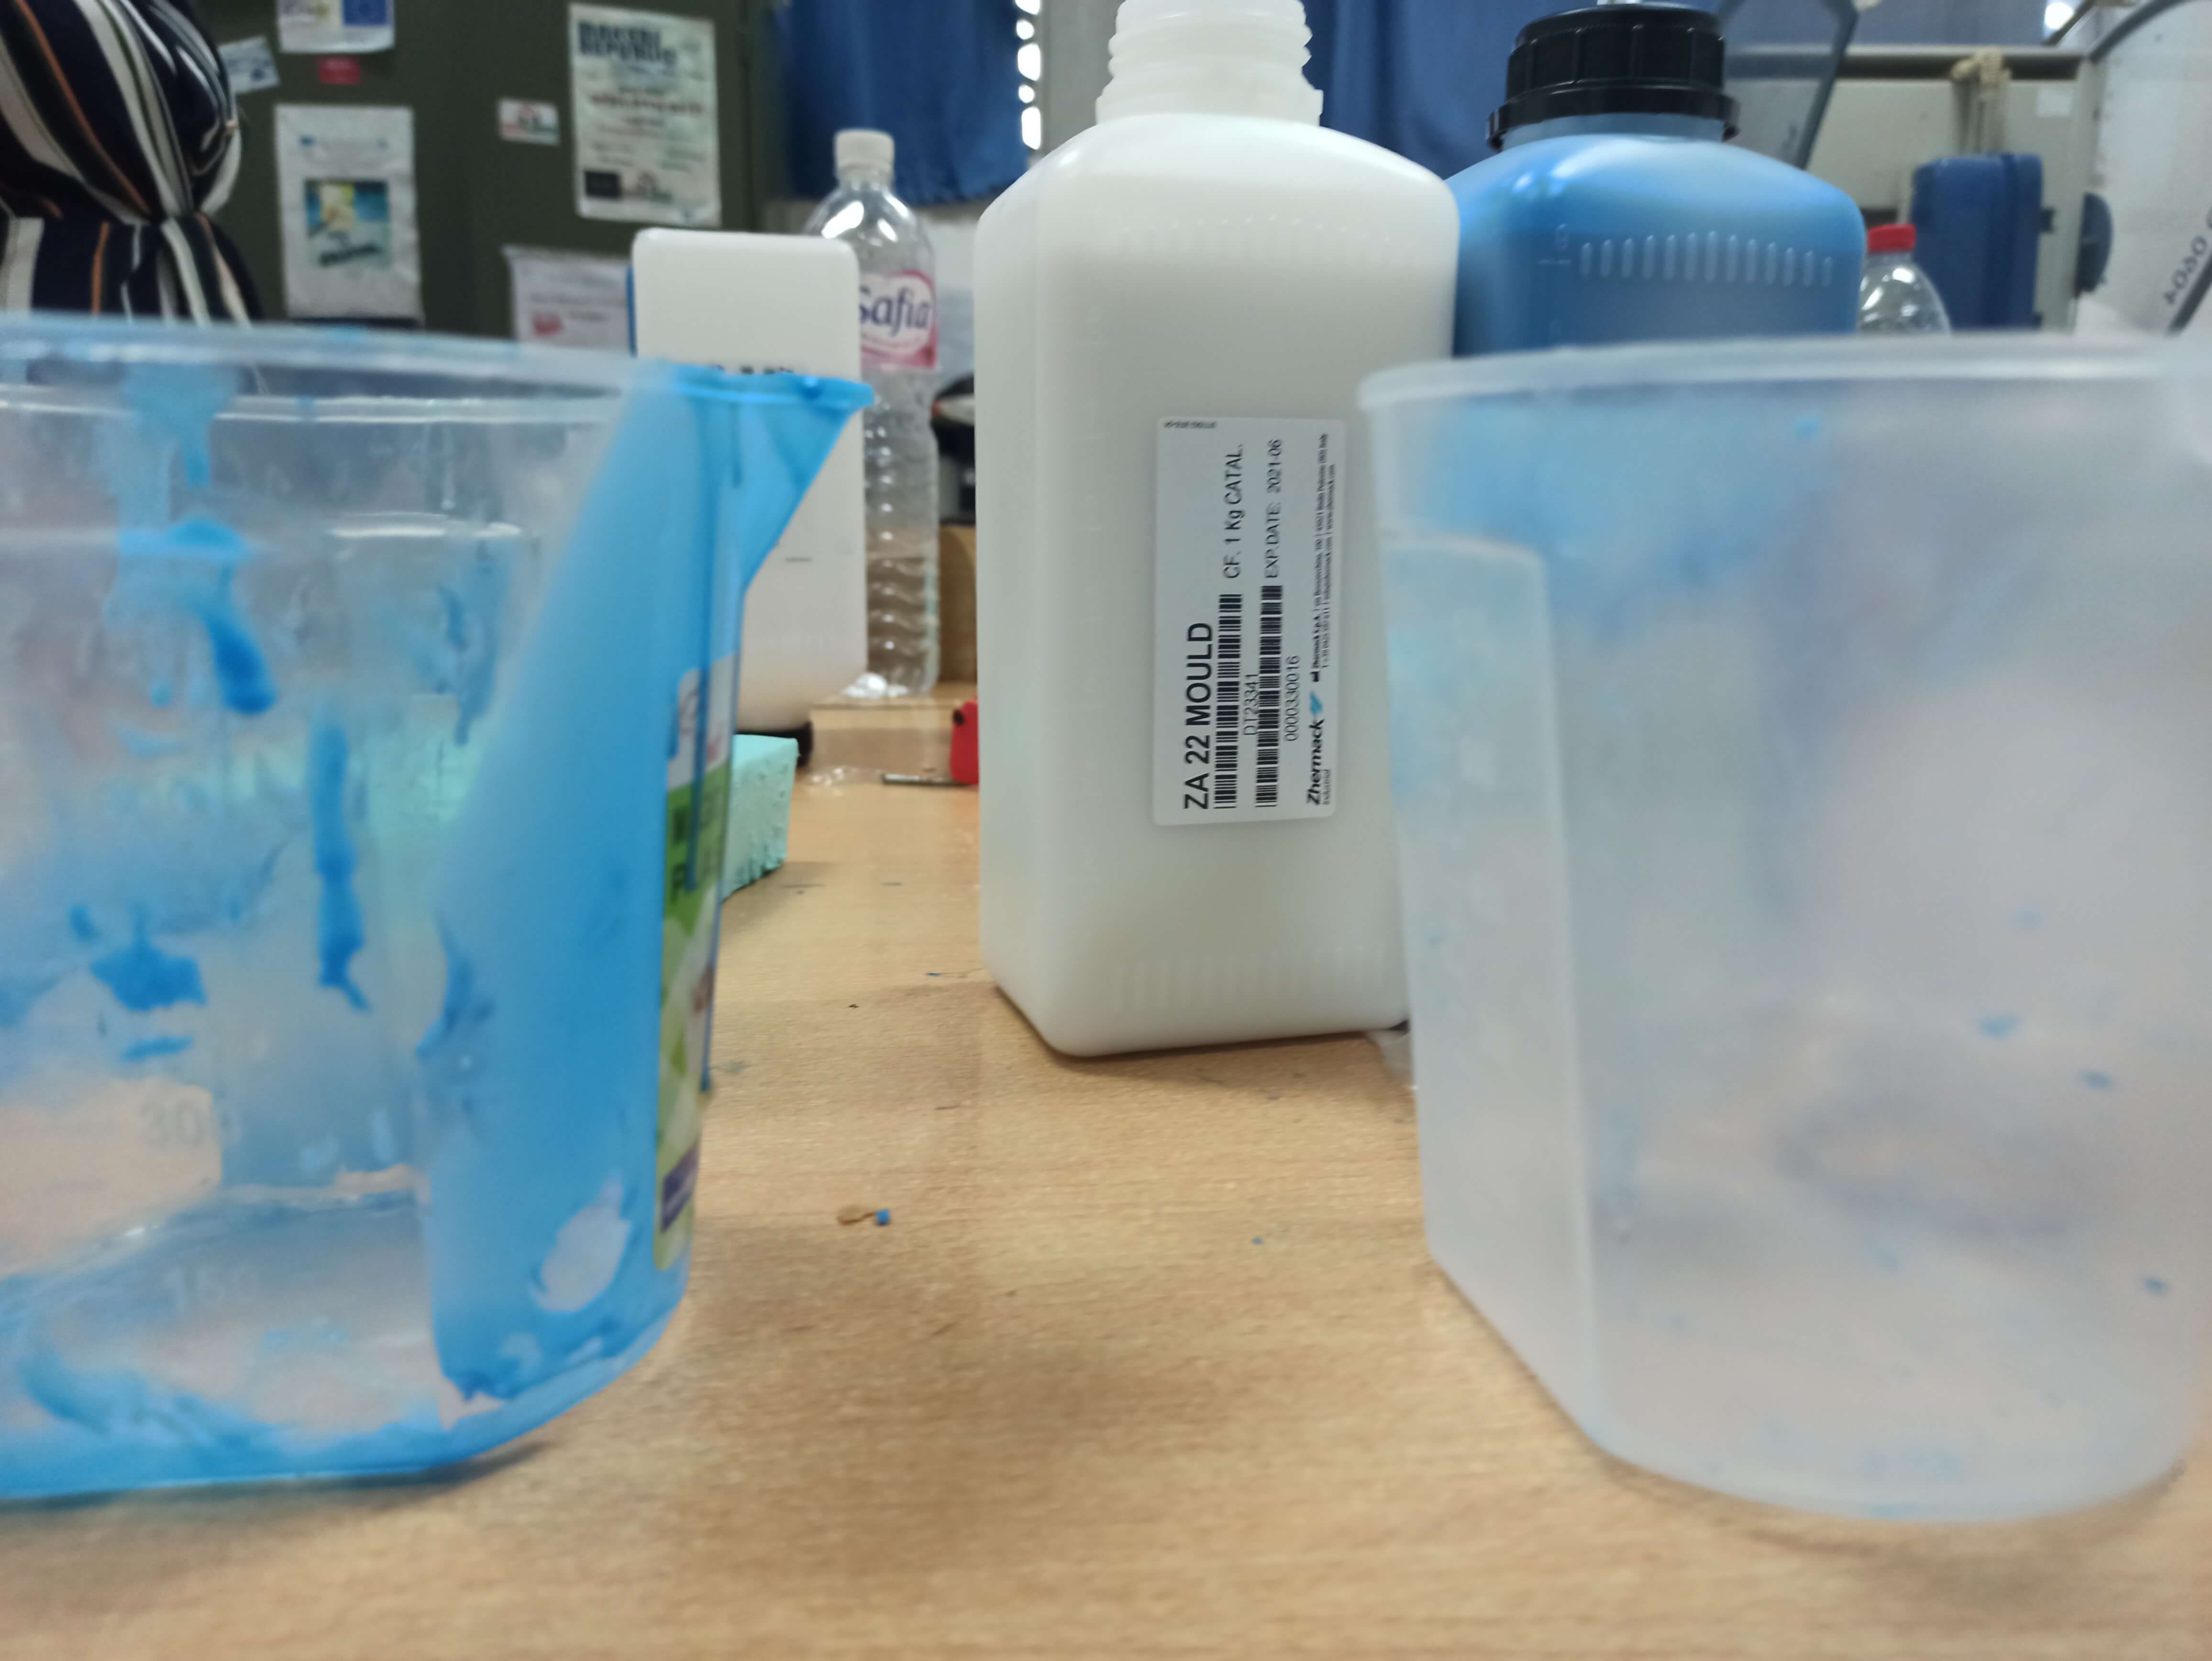
To use; we had to weigh an equal ammount (1:1) of the CATALYST and BASE
NOTE: you have to calculate the needed amount of silicon that you're going to pour,
(the length X the width X the height of the internal part)-the approximate size of the central shape
Well, at first I mixed the amount of 150ml to 150ml
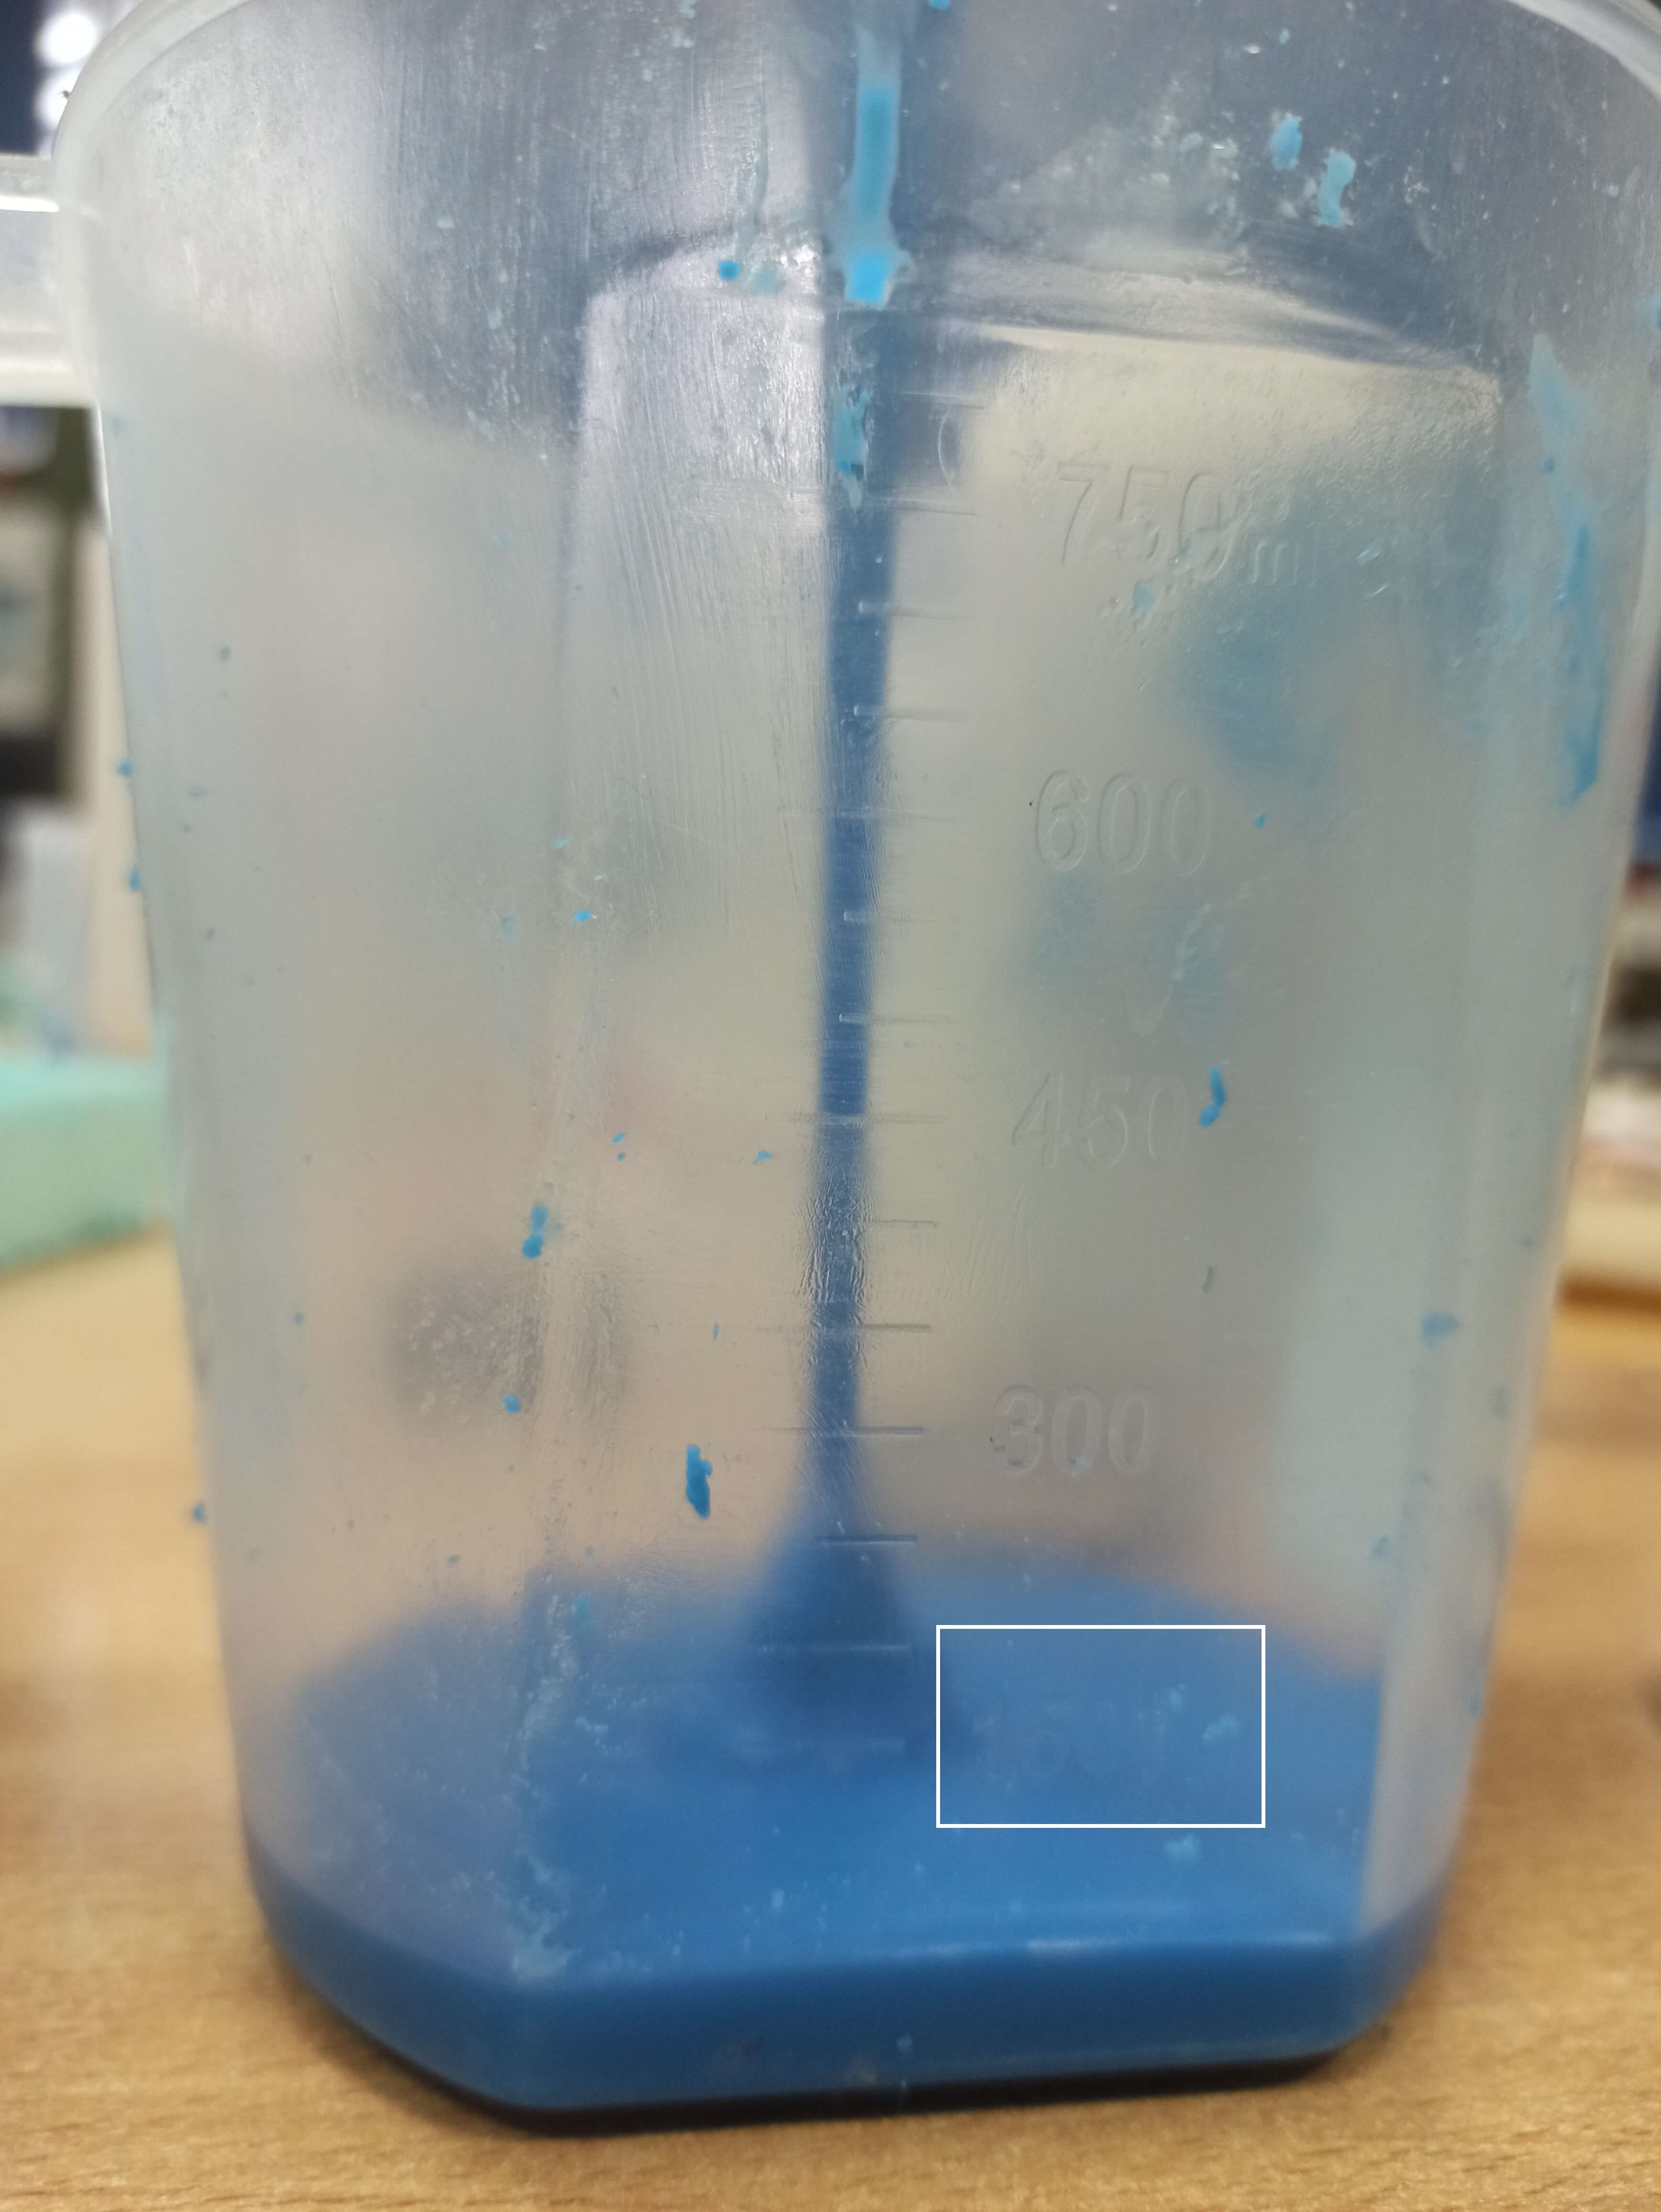
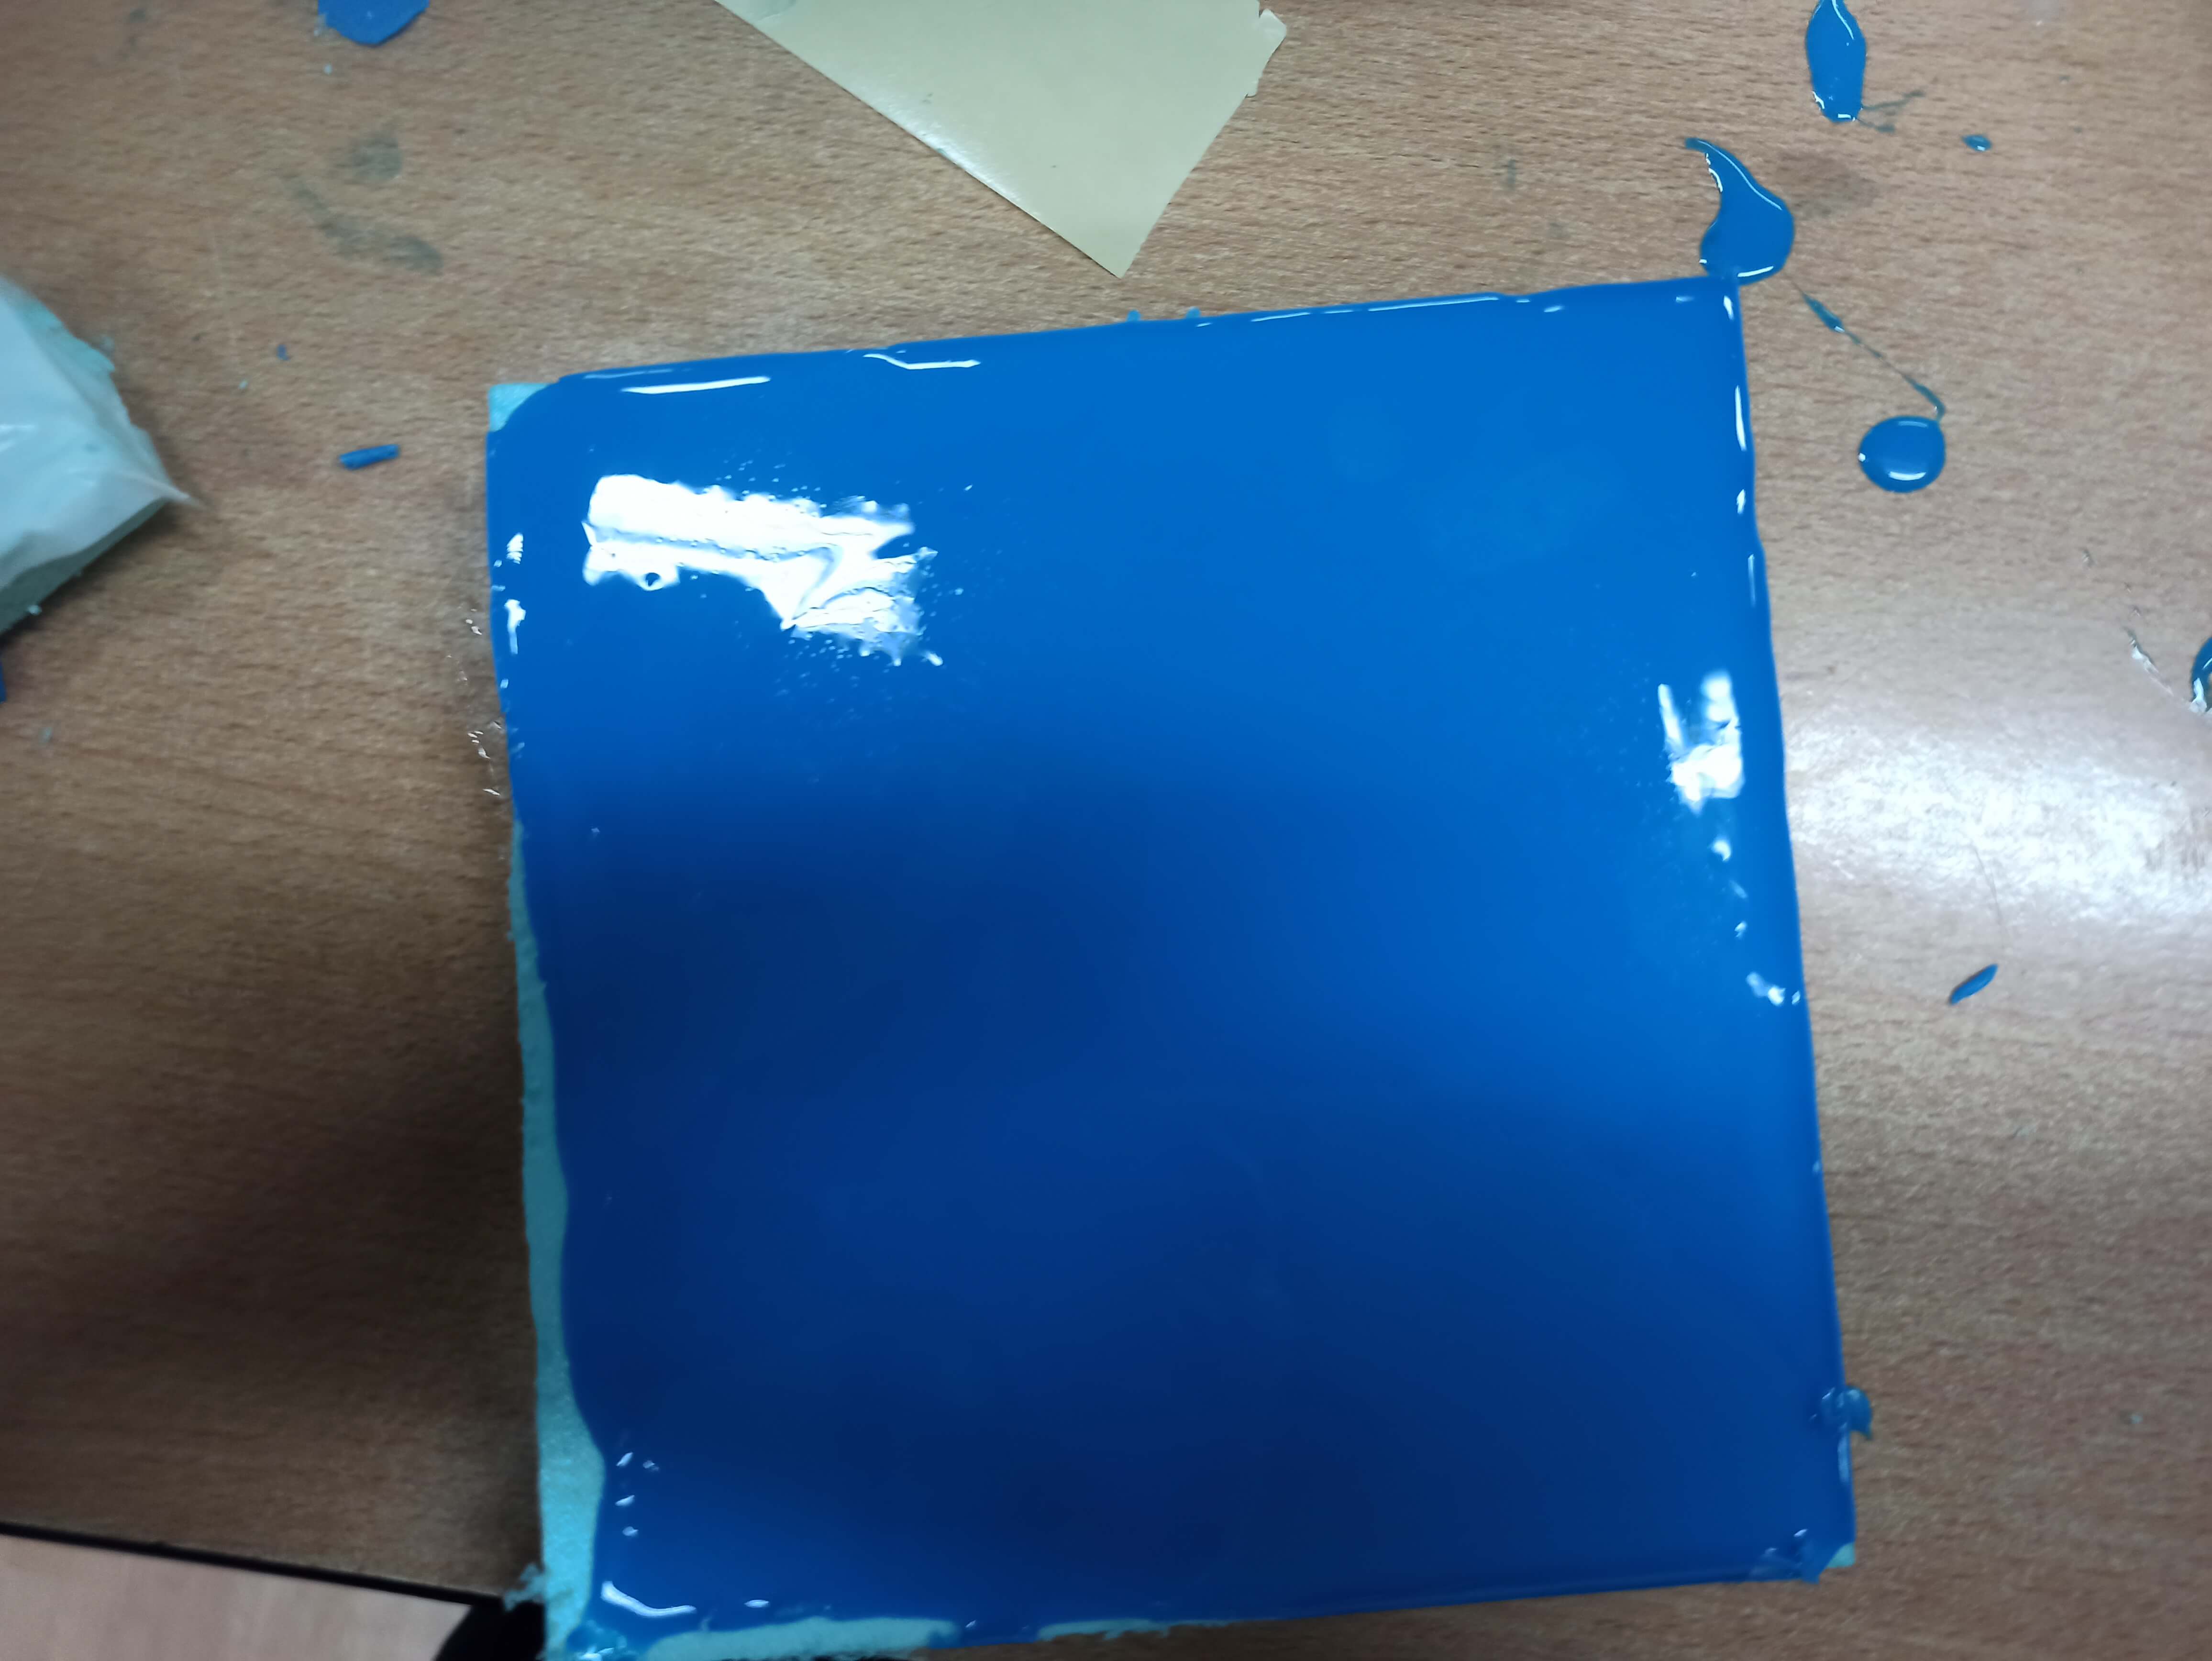
and then I mixed it until I got an homogeneous color
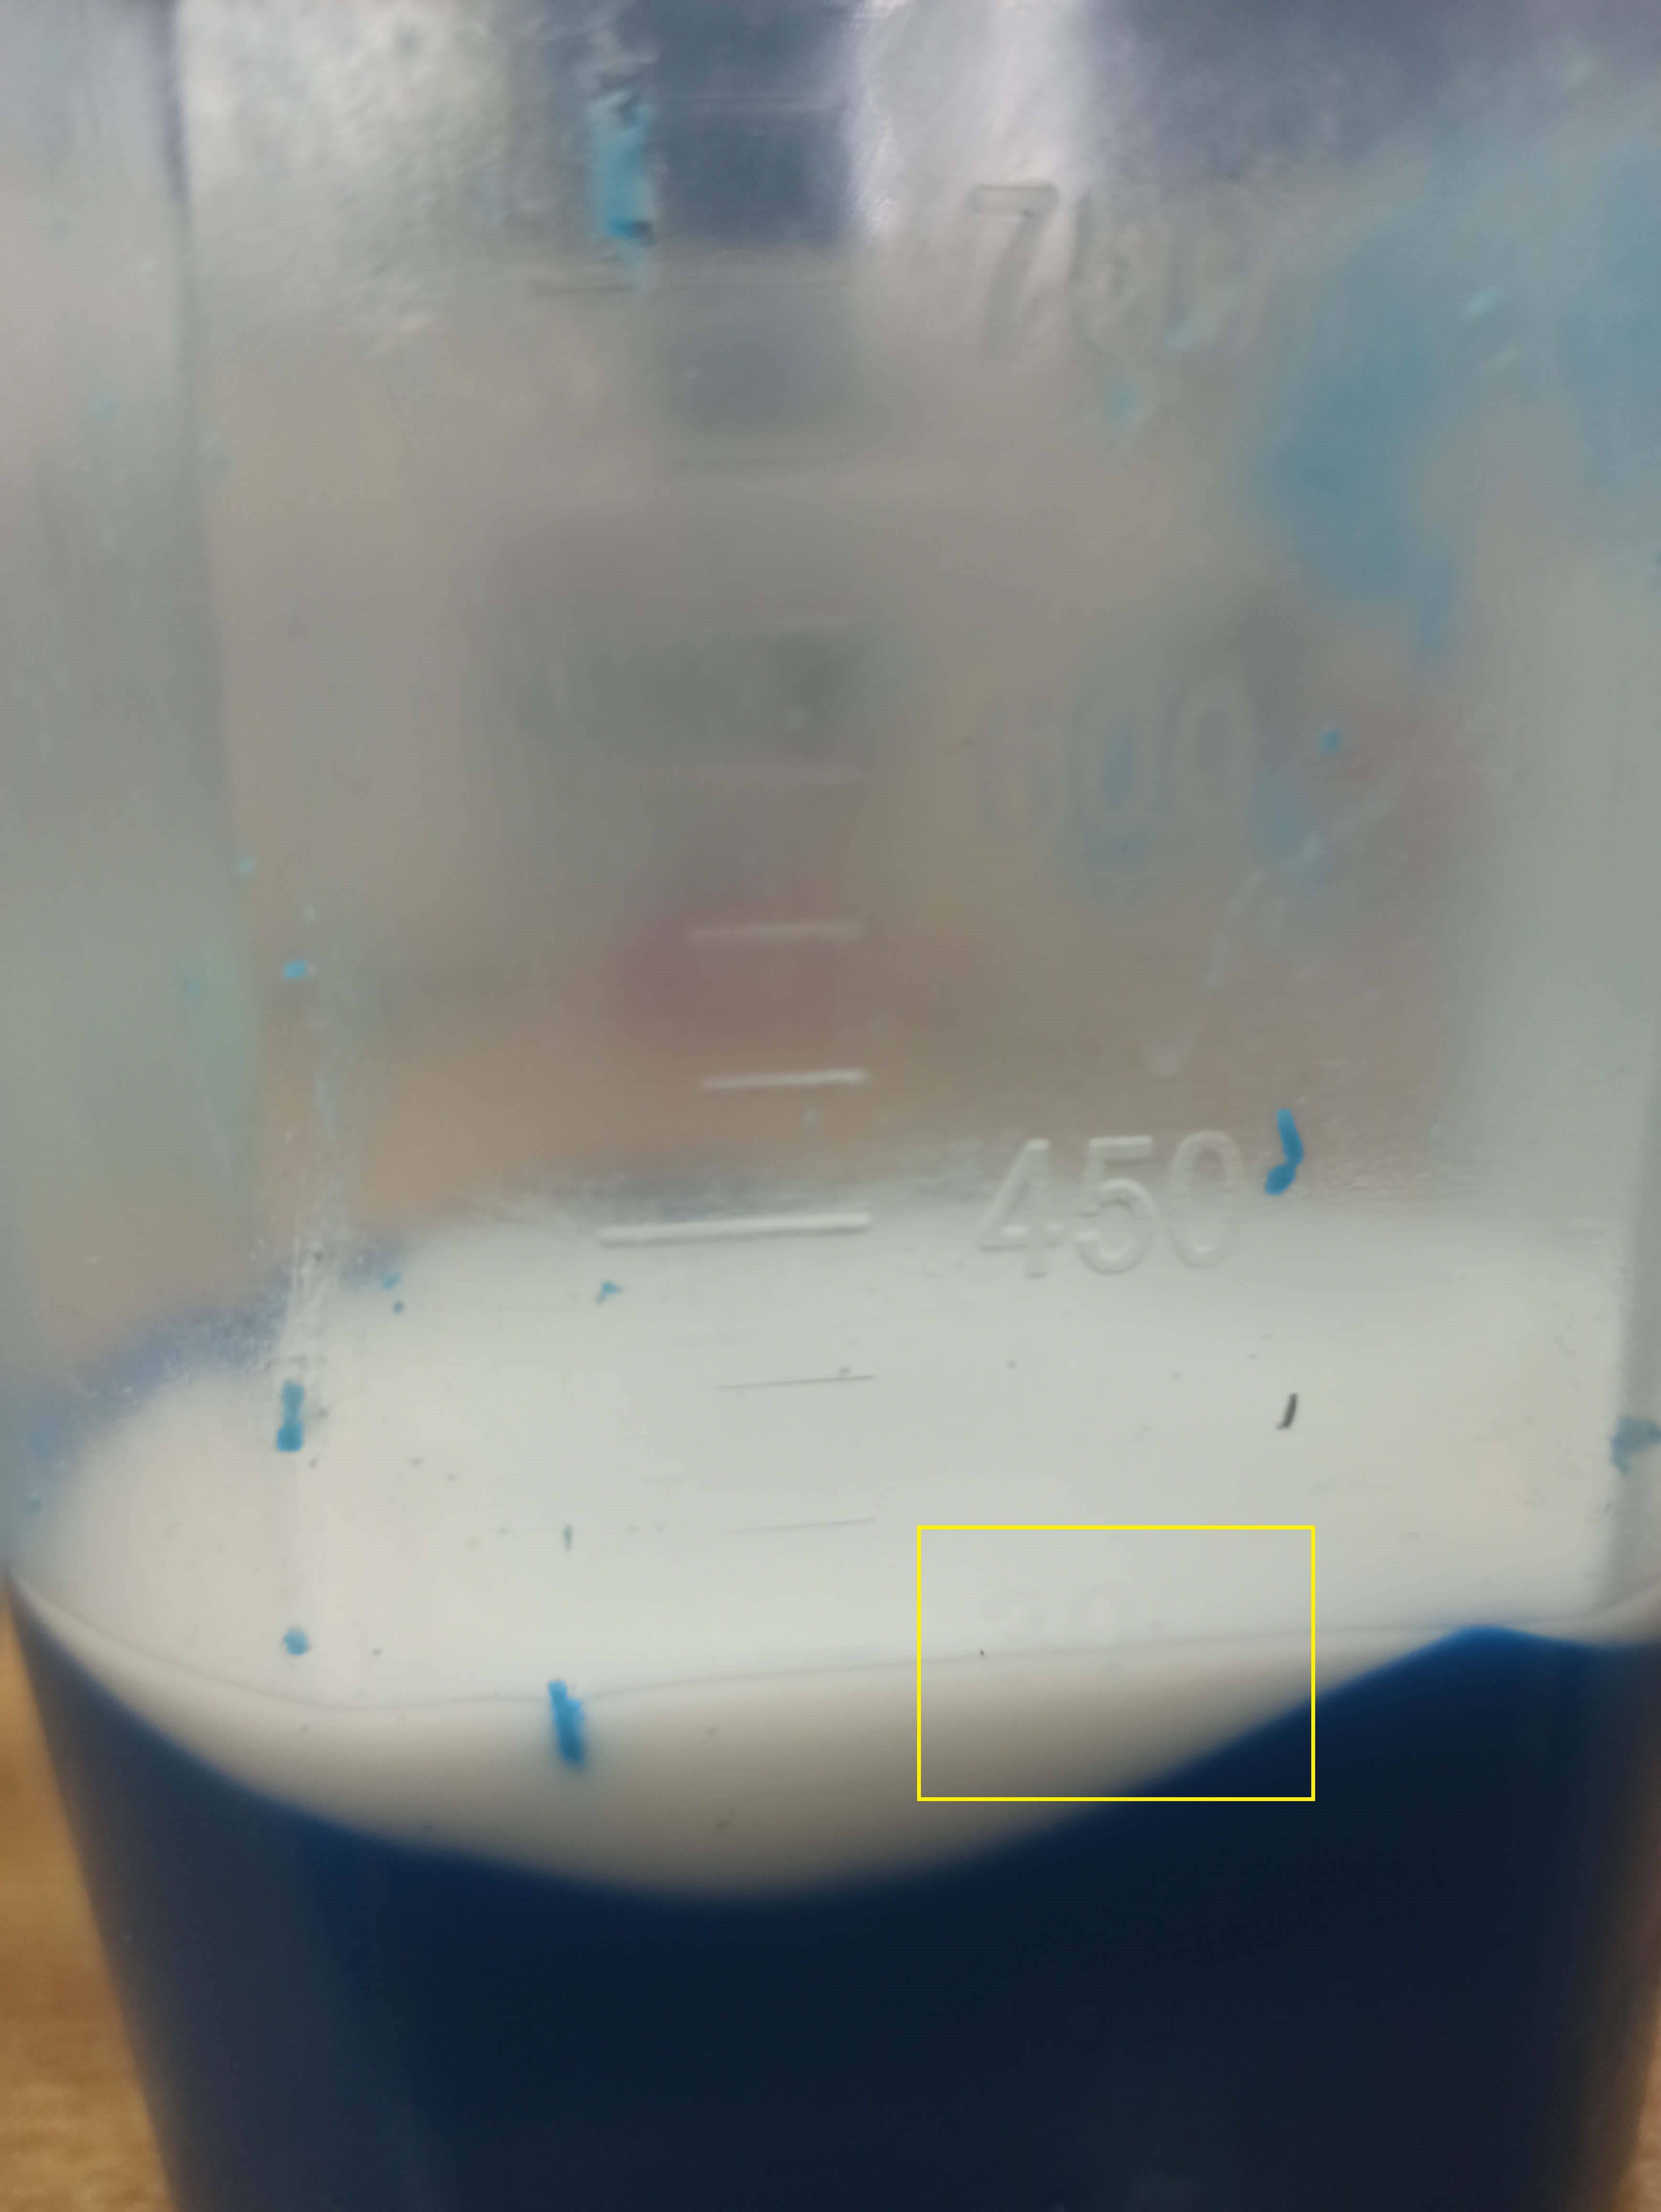
but after pouring it into the mould, it turned out that the poured product is not enough!
So for this we added some parts here and there and mixed about 50 ml to 50ml of the silicon and poured it again!!
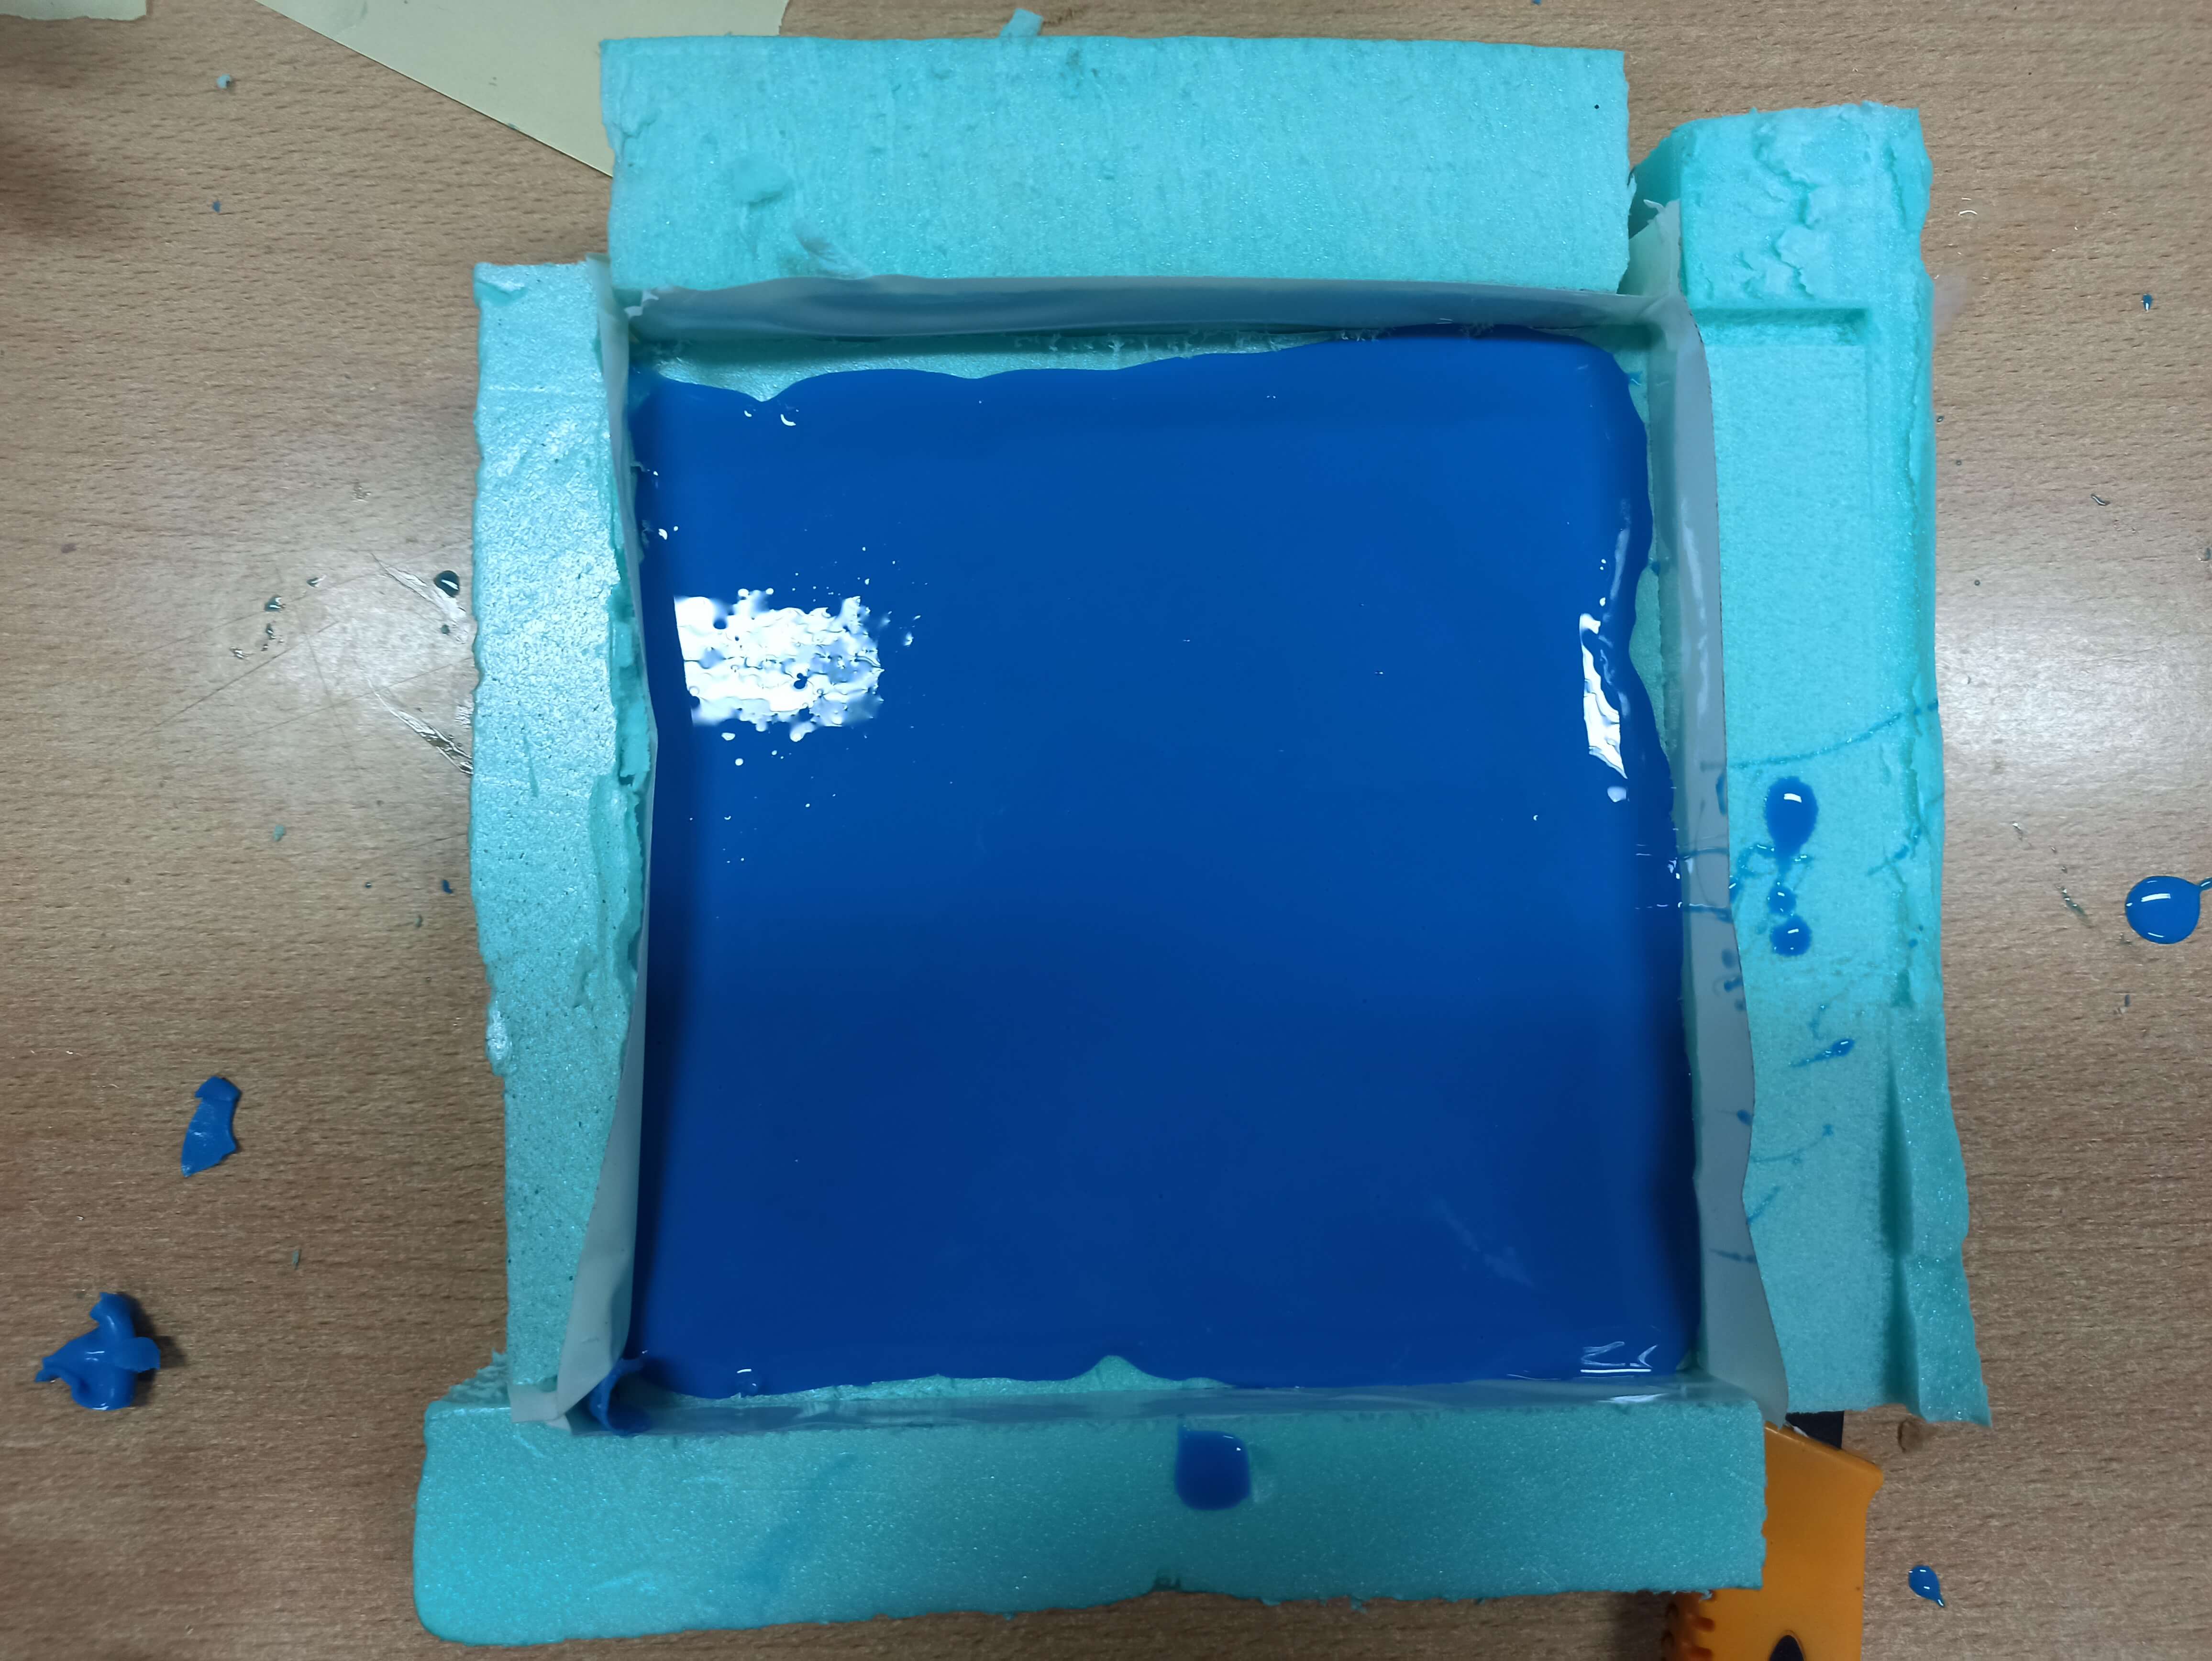
then I waited more than half hour for the silicon to solidify and then I removed the silicon mould!!
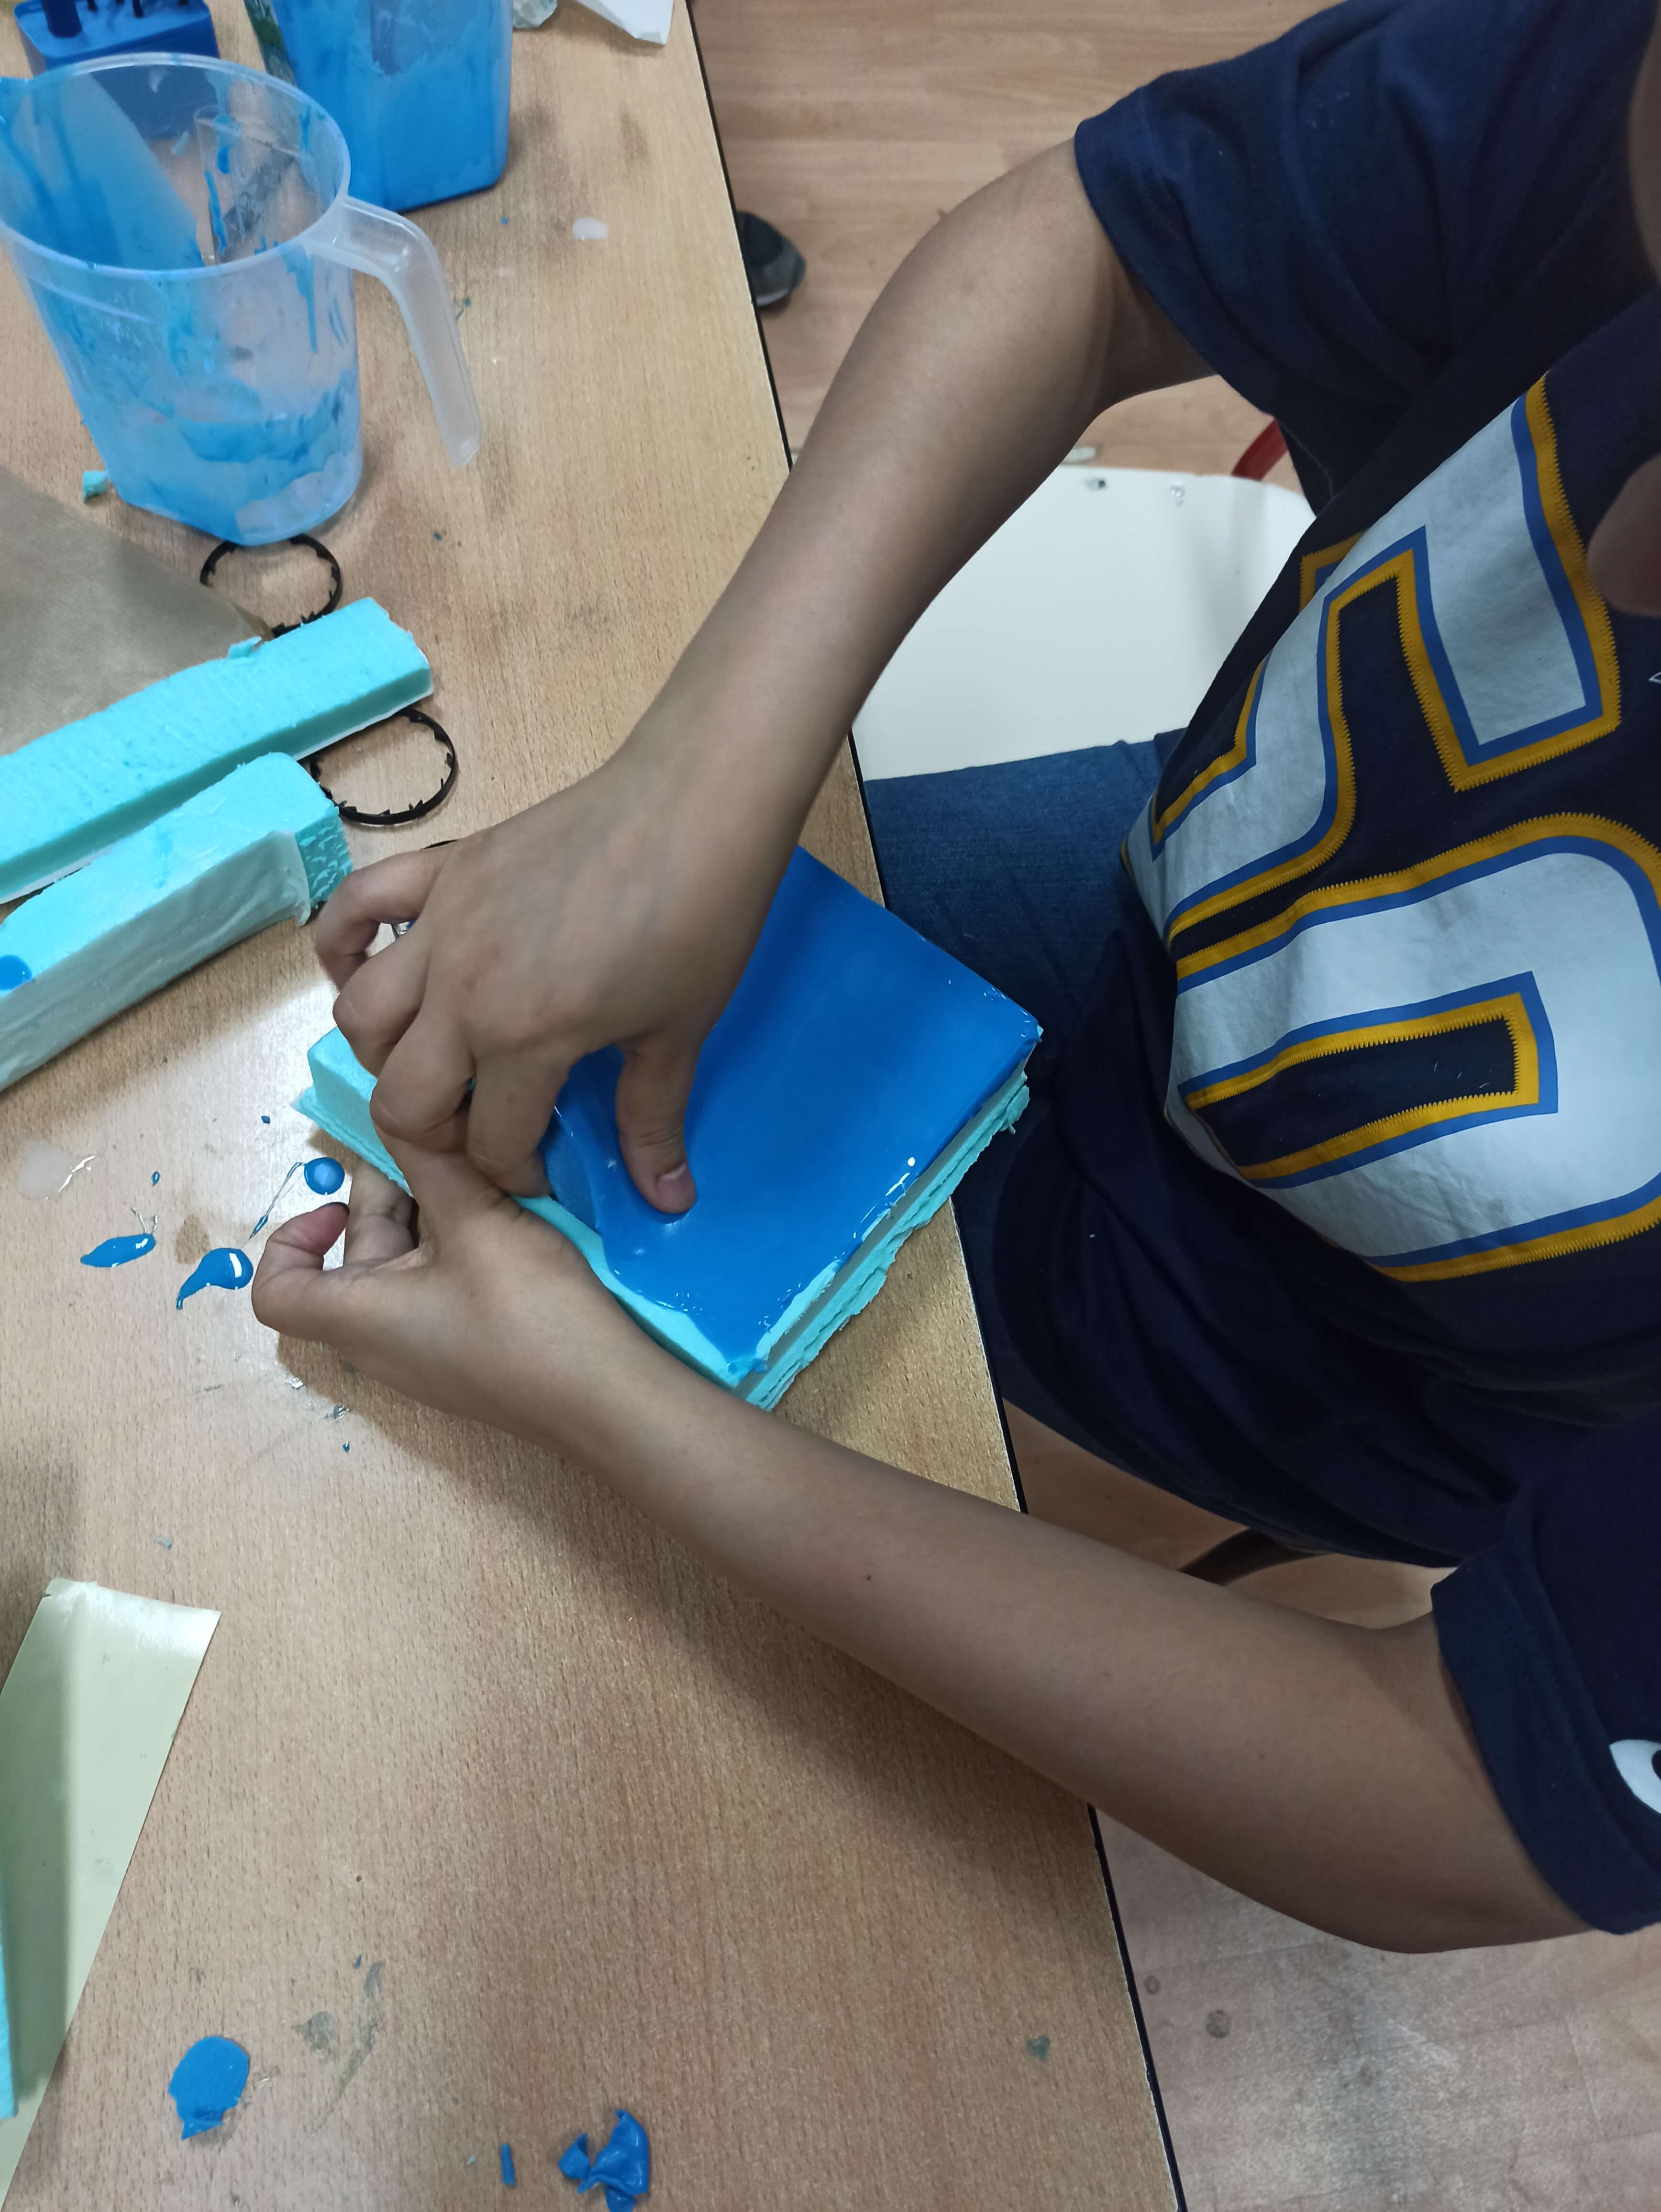
and that's the result!!
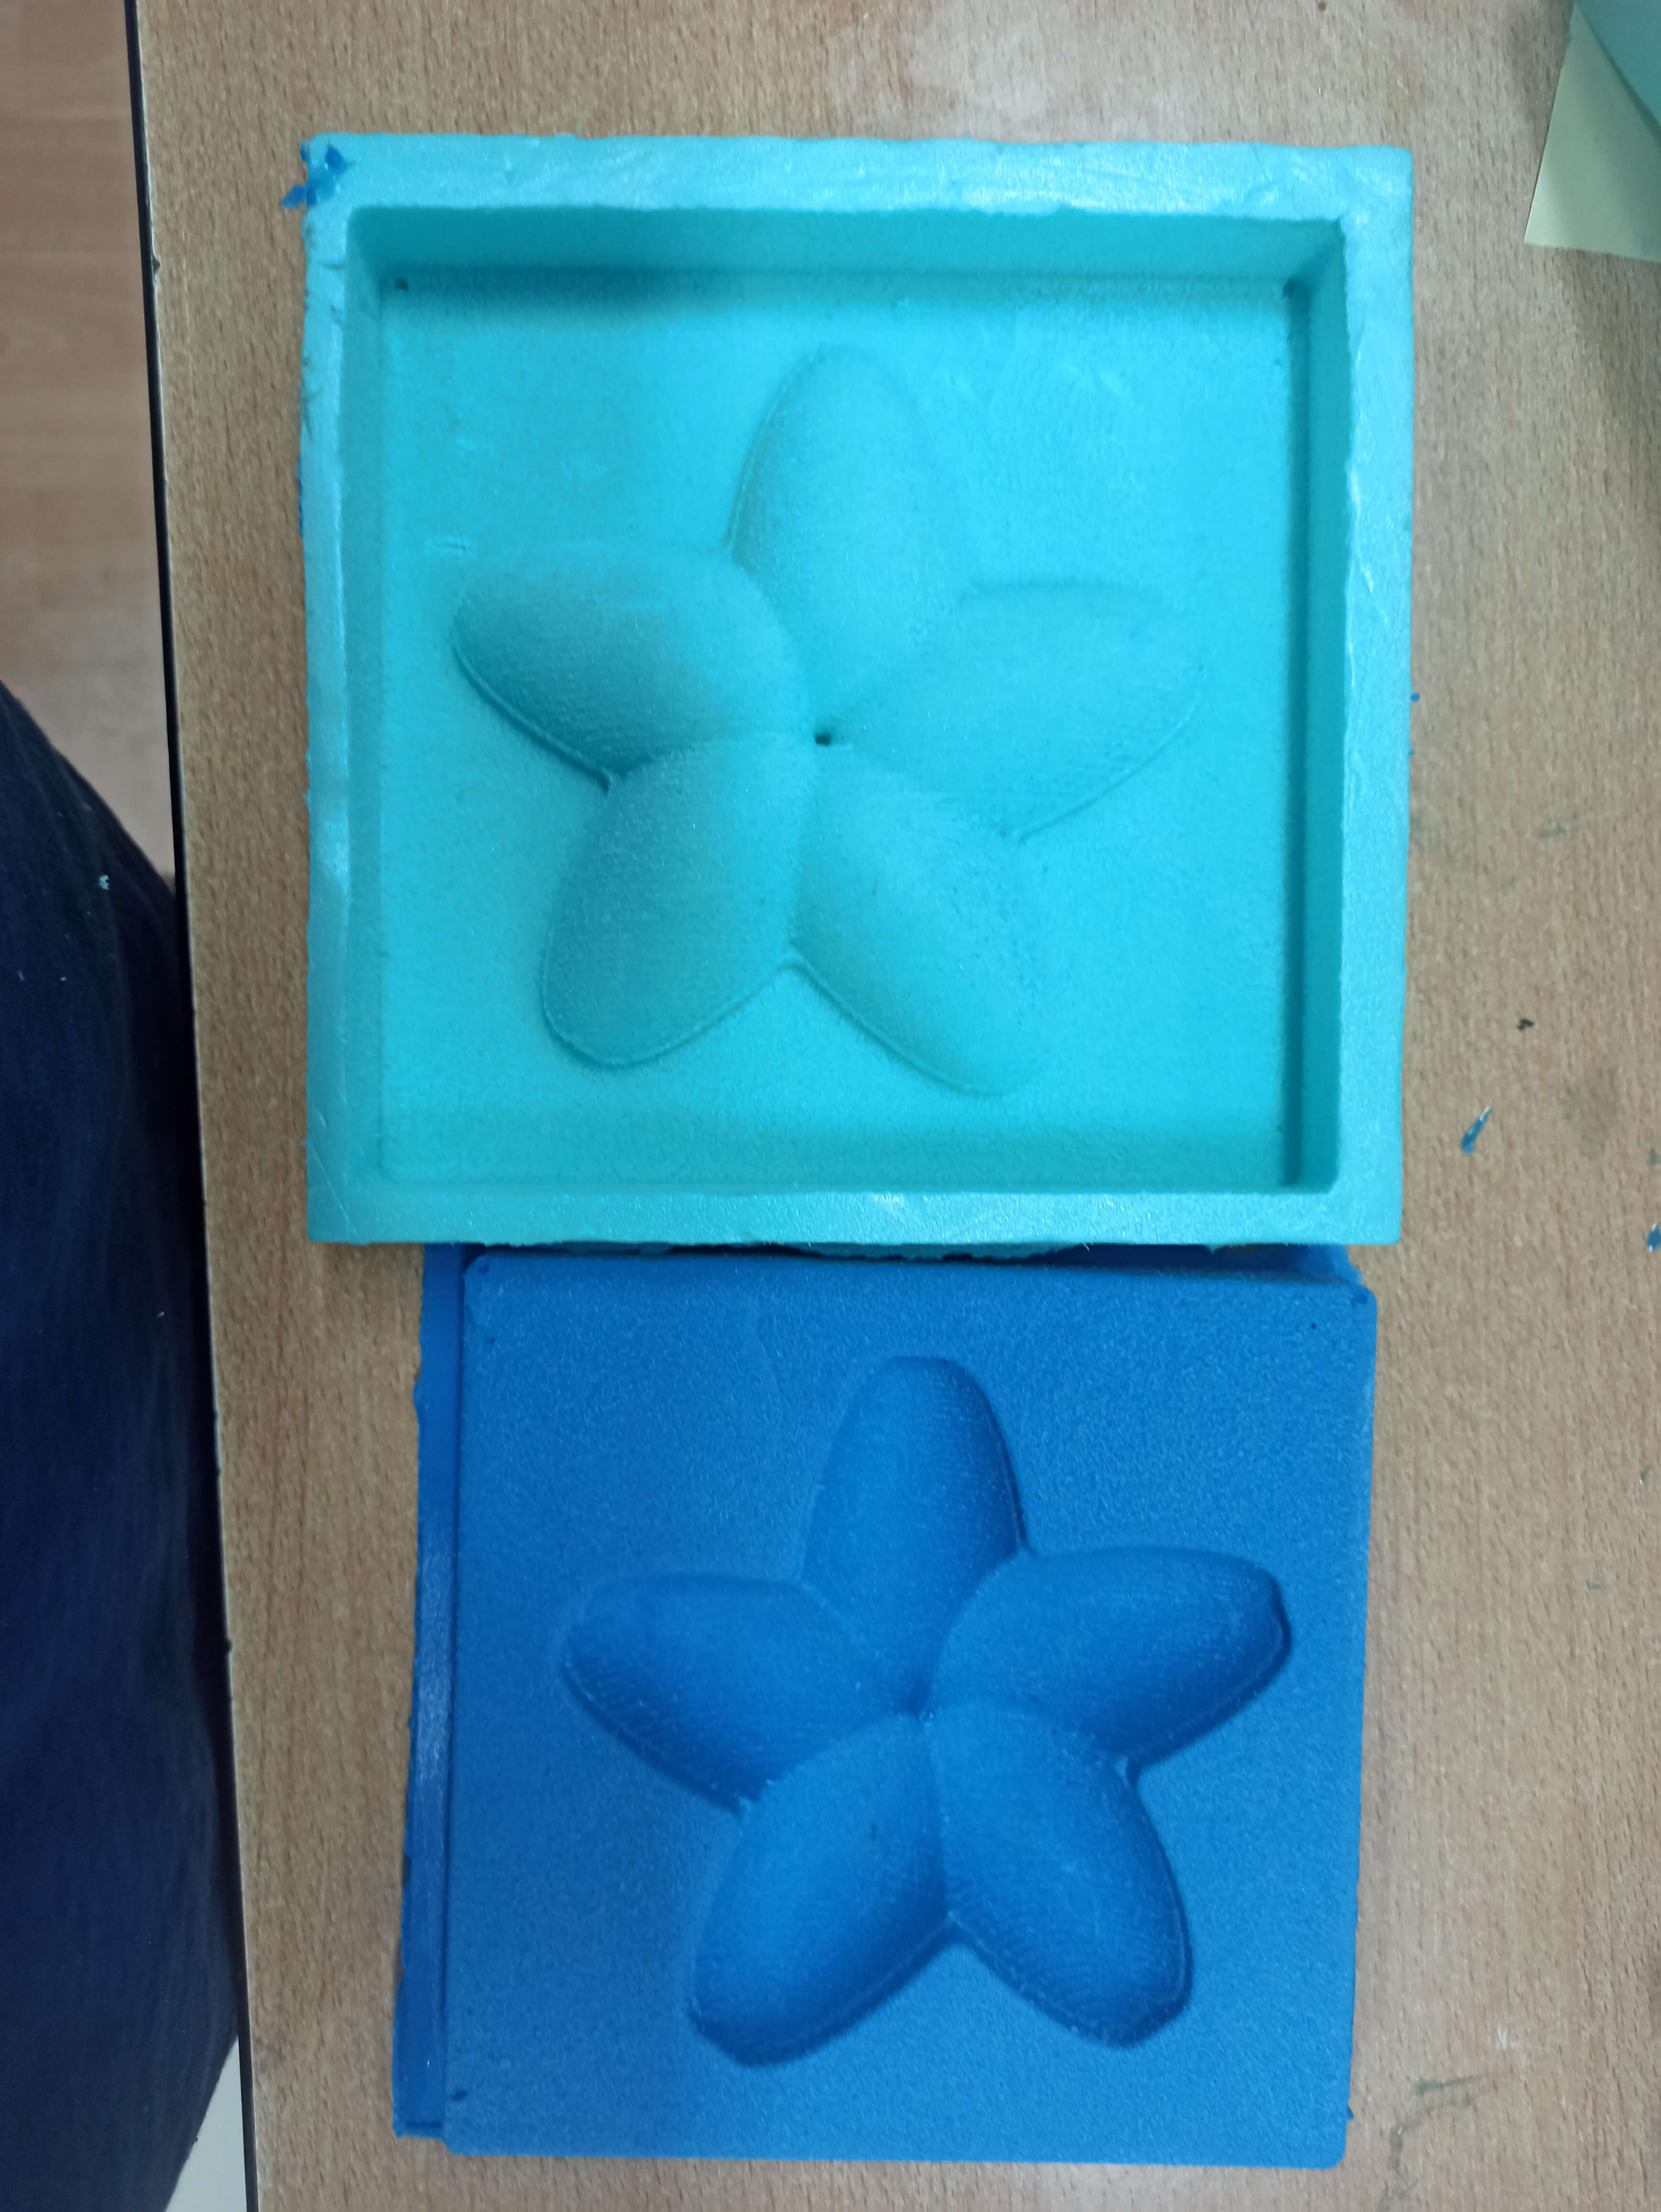
andit turned to be so FINEEEE !!!!!
The casting
So it's time for the casting here.
I choose working with wax, which I got it from melting down a bunch of candels!!
Step#1: Melt the wax
.jpg)
Step#2: pourit into the mold
.jpg)
.jpg)
Step#3: let it rest
.jpg)
.jpg)
.jpg)
Step#4: TADA
.jpg)
.jpg)
Group assignment
For this part of , here's the direct link for the assignment.
The objective of the group assignment this week is to review the safety data sheets for each of the materials we will be using to mould and cast our objects.