Programming and testing
OLED
Like any other codes, I had to try everything alone and then combine them together !!
and I started with my OLED display
For the OLED, I wanted to try something, not that fancier but it could be better than the just boring letter and numbers.
and I quites struggeled with the code since it can be too long
#define SCREEN_WIDTH 128// OLED display width, in pixels
#define SCREEN_HEIGHT 64 // OLED display height, in pixels

#define humid_width 35
#define humid_height 48
CRGB leds[NUM_LEDS]; // Define the array of leds


static unsigned char humid_bits[] U8G_PROGMEM = {
   0x00, 0x00, 0x03, 0x00, 0x00, 0x00, 0x00, 0x07, 0x00, 0x00, 0x00, 0x80,
   0x0f, 0x00, 0x00, 0x00, 0xc0, 0x1f, 0x00, 0x00, 0x00, 0xe0, 0x1d, 0x00,
   0x00, 0x00, 0xe0, 0x38, 0x00, 0x00, 0x00, 0xf0, 0x78, 0x00, 0x00, 0x00,
   0x78, 0xf0, 0x00, 0x00, 0x00, 0x38, 0xe0, 0x00, 0x00, 0x00, 0x1c, 0xe0,
   0x01, 0x00, 0x00, 0x1e, 0xc0, 0x03, 0x00, 0x00, 0x0f, 0x80, 0x03, 0x00,
   0x00, 0x07, 0x00, 0x07, 0x00, 0x80, 0x07, 0x00, 0x0f, 0x00, 0xc0, 0x03,
   0x00, 0x0e, 0x00, 0xc0, 0x01, 0x00, 0x1c, 0x00, 0xe0, 0x01, 0x00, 0x3c,
   0x00, 0xe0, 0x00, 0x00, 0x38, 0x00, 0x70, 0x00, 0x00, 0x78, 0x00, 0x78,
   0x00, 0x00, 0x70, 0x00, 0x38, 0x00, 0x00, 0xe0, 0x00, 0x38, 0x00, 0x00,
   0xe0, 0x00, 0x1c, 0x00, 0x00, 0xc0, 0x01, 0x1c, 0x00, 0x00, 0xc0, 0x01,
   0x0e, 0x00, 0x00, 0xc0, 0x03, 0x0e, 0x00, 0x00, 0x80, 0x03, 0x0e, 0x00,
   0x00, 0x80, 0x03, 0x07, 0x00, 0x00, 0x00, 0x07, 0x07, 0x00, 0x00, 0x00,
   0x07, 0x07, 0x00, 0x00, 0x00, 0x07, 0x07, 0x00, 0x00, 0x00, 0x07, 0x07,
   0x00, 0x00, 0x00, 0x07, 0x07, 0x00, 0x00, 0x00, 0x07, 0x07, 0x00, 0x00,
   0x00, 0x07, 0x07, 0x00, 0x00, 0x00, 0x07, 0x0e, 0x00, 0x00, 0x80, 0x03,
   0x0e, 0x00, 0x00, 0x80, 0x03, 0x1e, 0x00, 0x00, 0xc0, 0x03, 0x1c, 0x00,
   0x00, 0xc0, 0x01, 0x3c, 0x00, 0x00, 0xe0, 0x01, 0x78, 0x00, 0x00, 0xf0,
   0x00, 0xf0, 0x00, 0x00, 0x78, 0x00, 0xe0, 0x01, 0x00, 0x3c, 0x00, 0xc0,
   0x07, 0x00, 0x3f, 0x00, 0x80, 0x1f, 0xc0, 0x0f, 0x00, 0x00, 0xff, 0xff,
   0x07, 0x00, 0x00, 0xfc, 0xff, 0x01, 0x00, 0x00, 0xc0, 0x3f, 0x00, 0x00 };


void drawHumid(void) {


  u8g.setFont(u8g_font_unifont);
  u8g.setPrintPos(0, 10);
  u8g.print("HUMIDITY     ");

  u8g.setFont(u8g_font_fub25);
  u8g.setPrintPos(10, 50);
  u8g.print(String(int(dht.readHumidity())) + "%");

  // Humidity icon
  u8g.drawXBMP( 90, 16, humid_width, humid_height, humid_bits);

}


uint8_t draw_state = 0;

void draw() {

  switch(draw_state ) {
    case 0: drawHumid(); break;
    case 1: drawHumid(); break;
  }

}
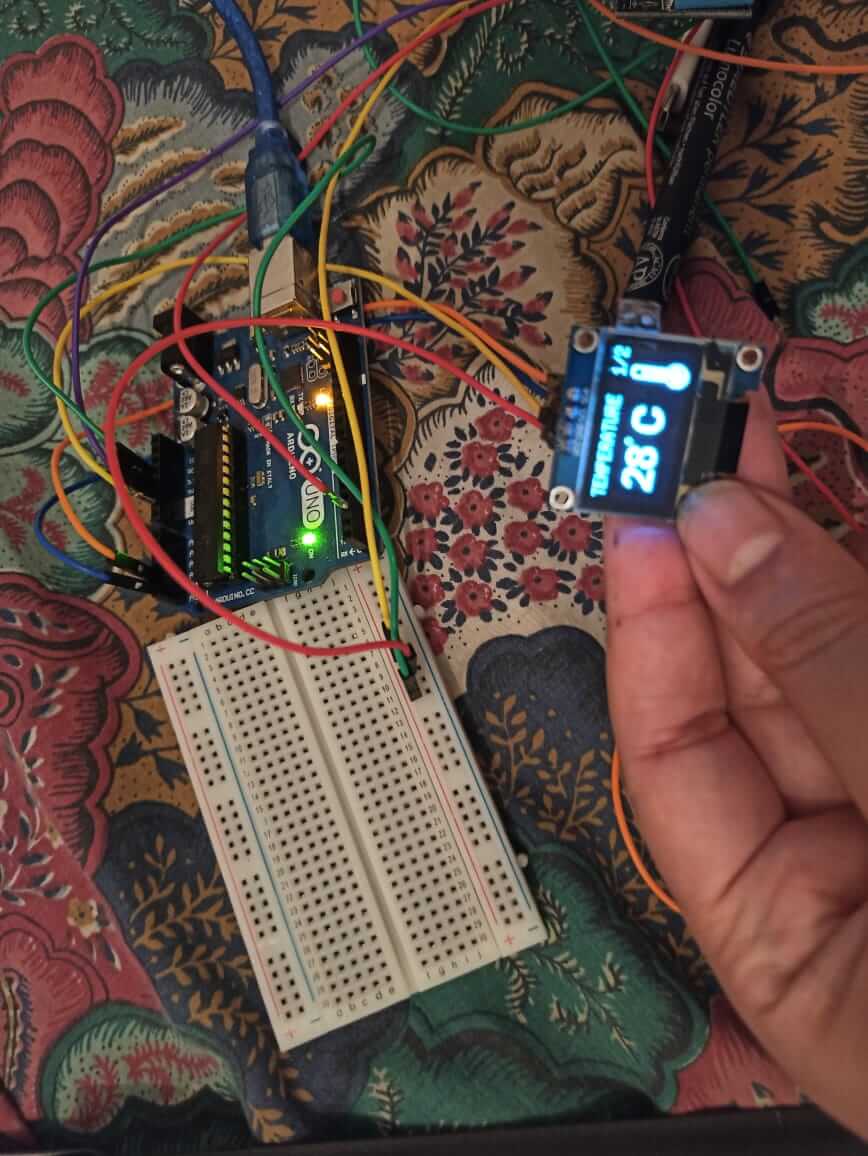
Atomizer platethis is simply the version of the code to show that small thermometer symbol with the humidity values!!
.jpeg)
.jpeg)
for this part I faceed some problems, especially with the Oled code when I tried to combine all of them, the memory of the microship was not enough to hold all of the code, since I wanted for the oled to show pictures when the temperature and the humidity are displayed!! and it was so much for it to handel!
Further steps of the project
As I said earlier, I had to change all of my plans:
Uploading the code using the Arduino
.jpeg)
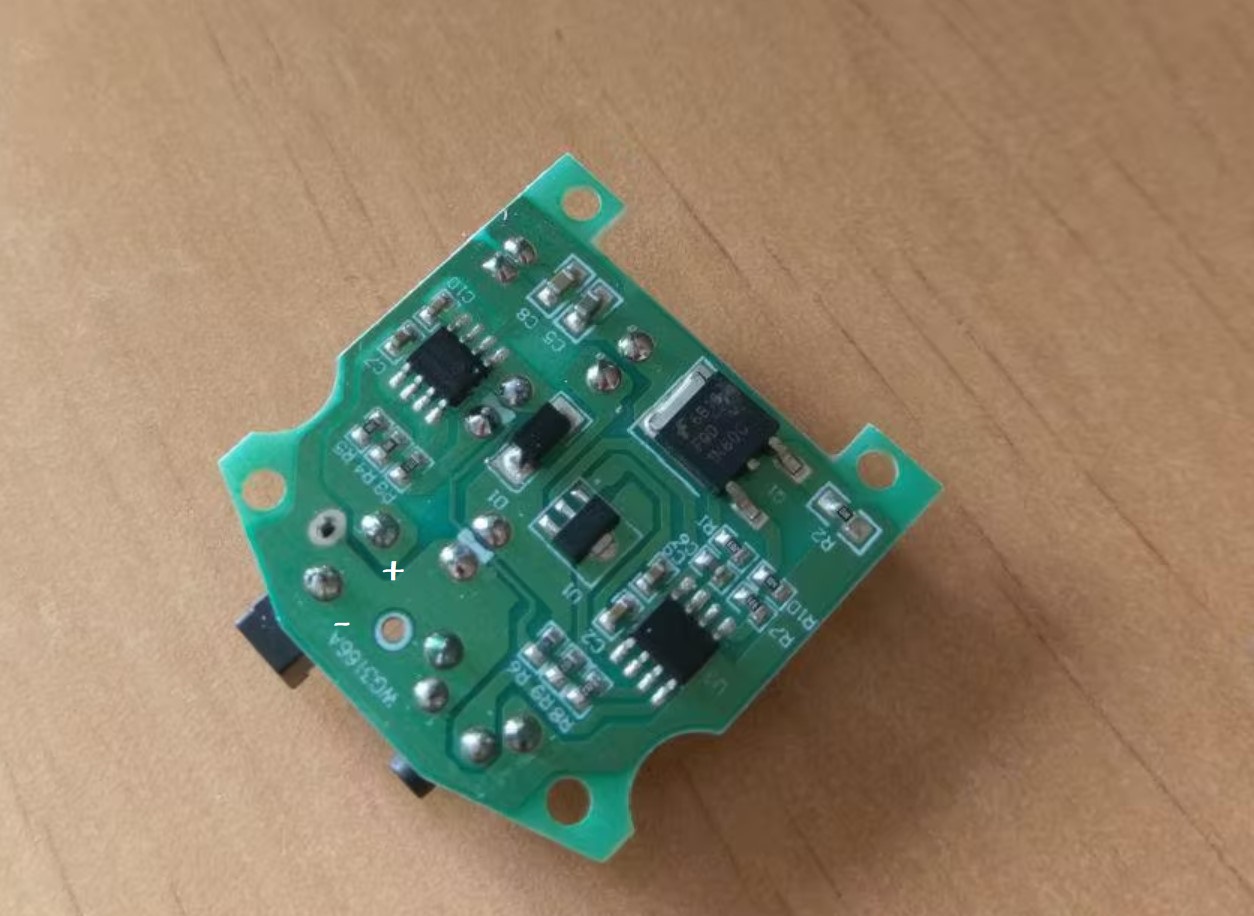
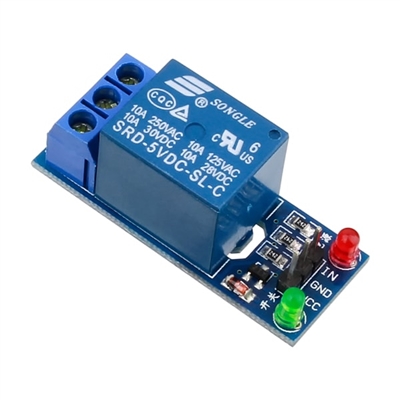
I had to solder two wires out of the atomiser module (+&-) since I needed to link it to something that can control it depending on the humidity levels, and for this task comes the mission of the Relay module
if(Humid < 90){//hedhi bech el relay module ye5dem
  digitalWrite(module,LOW);
}else
{
  digitalWrite(module,HIGH);

}
Here if(Humid < 90) I tried the code in a place where the humidity levels too high, thus I needed to put a higher number
Ps: when I wanted to make a nicer photo for my final project in my home, I could'nt make it works since I found that humidity levels were more than 90
.jpeg)
.jpeg)
.jpeg)
the thing is I didn't notice at first that the humidity levels were high, thus I wanted the humidifier to work when the levels are under 80%, and I noticed that the relay makes noise and doesn't want to work , I thought that the problem was in the wiring, so I tried to redo it again and againit was without any improvement. I changed the Relay and did the same thing allover but the same problem persisted
however I noticed that Humidity level were high (<= 80%), so basically the humidifier stopped since the humidity were too high!! so I changed the value to the highest it can get 90%
The button of the module needs to be pushed down whenever it stops
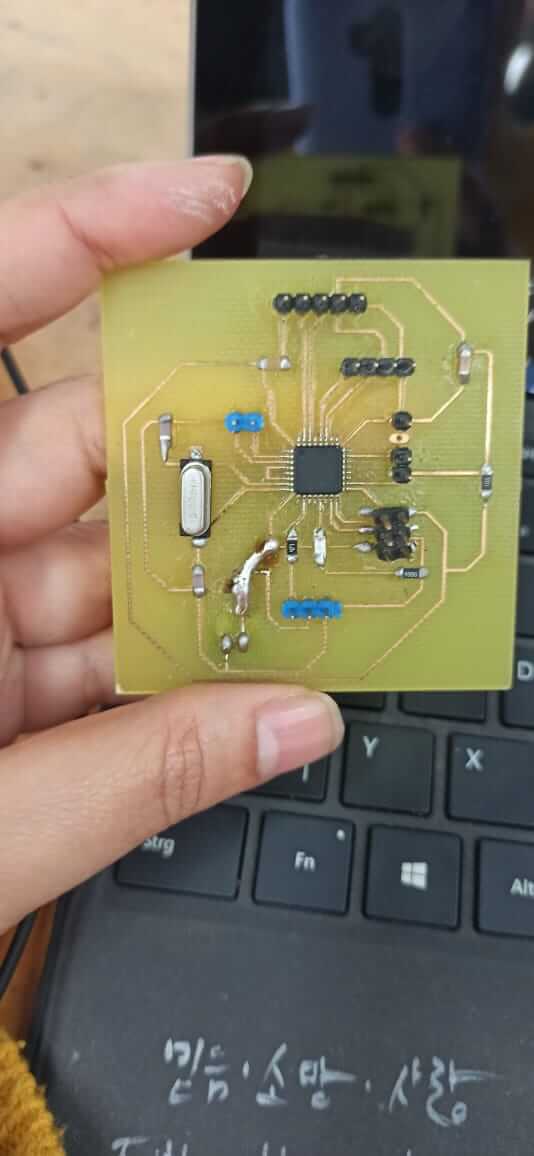
Uploading my code in my board

So the moment of truth was very successful, everything went so smooth

.jpeg)
.jpeg)
So after uploading the code into the board. However I noticed that I still in need of 2 more GND and 1 VCC pins, however after I removed the wiring with the arduino, there were more free pins, and I used the FTDI pins too.
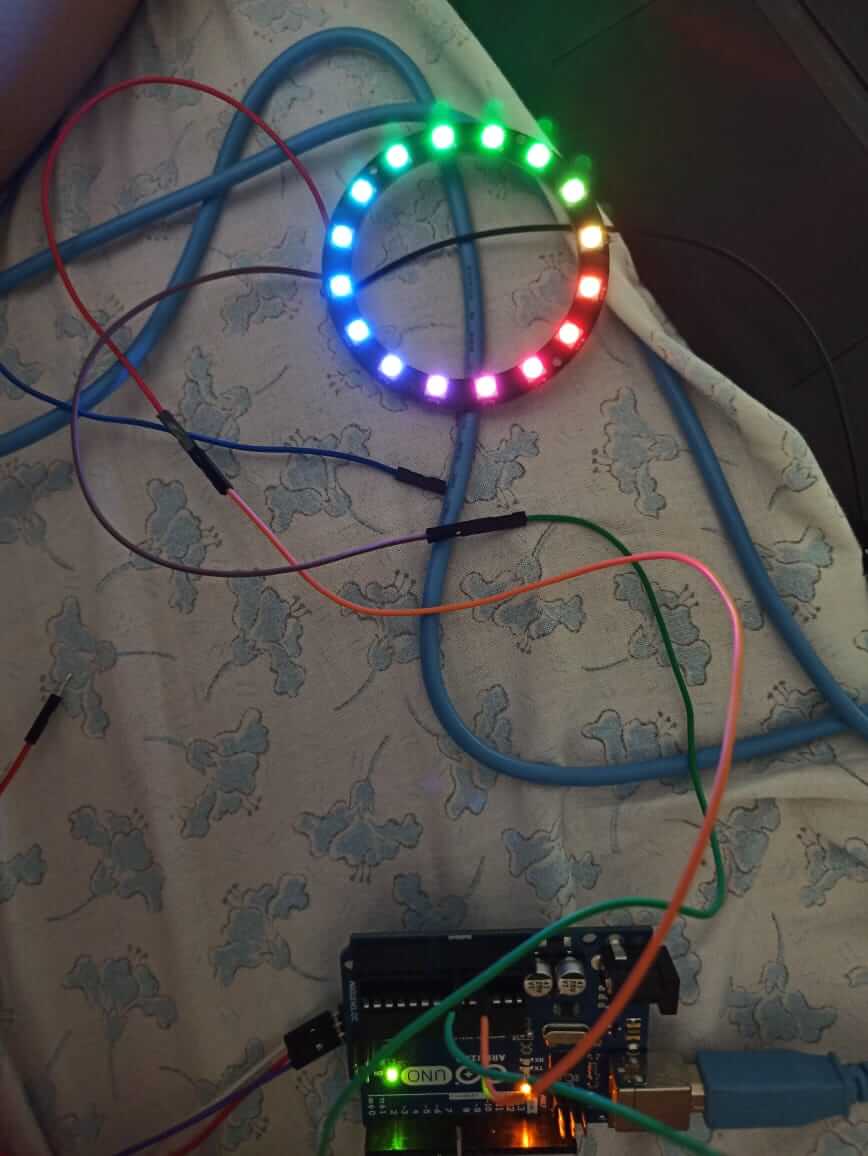
if (Temp <= 23.66) {fill_solid( &(leds[0]), NUM_LEDS , CRGB::Turquoise);
     FastLED.show();
  }
  else {
    fill_solid( &(leds[0]), NUM_LEDS , CRGB::Brown);
    FastLED.show();
  }
}
and since the temperture was less than 23.66, the color of the Leds turns to Turquoise
Files
the CODE of humidifier