3D Printing and Scaning
Group assignment:
- Test the design rules for your 3D printer(s)
Individual assignment:
- Design and 3D print an object (small, few cm3, limited by printer time)
that could not be made subtractively
- 3D scan an object (and optionally print it)
Group Assignment:
We printed a test part to configure the printer's limitation:
3D printers works by adding layers on top of layers,the more the thicknes of the layers schrinks the higher the quality and the surface of the desired part come out smoother.
For curves that don't take support:
First let me explain what is support and why we use it:
when there are missed layers in between the design for example a hollow shape,
we put support:
"Which means putting a thin light layers that are temporary and after printing we can remove it easily"
to build upon it .
We tested the following critirea:
Bridging
Highest thin thickness
Thinest groove
There were a lot of retraction fillament that could be solved by lowering the temperature.
Individual assignment:
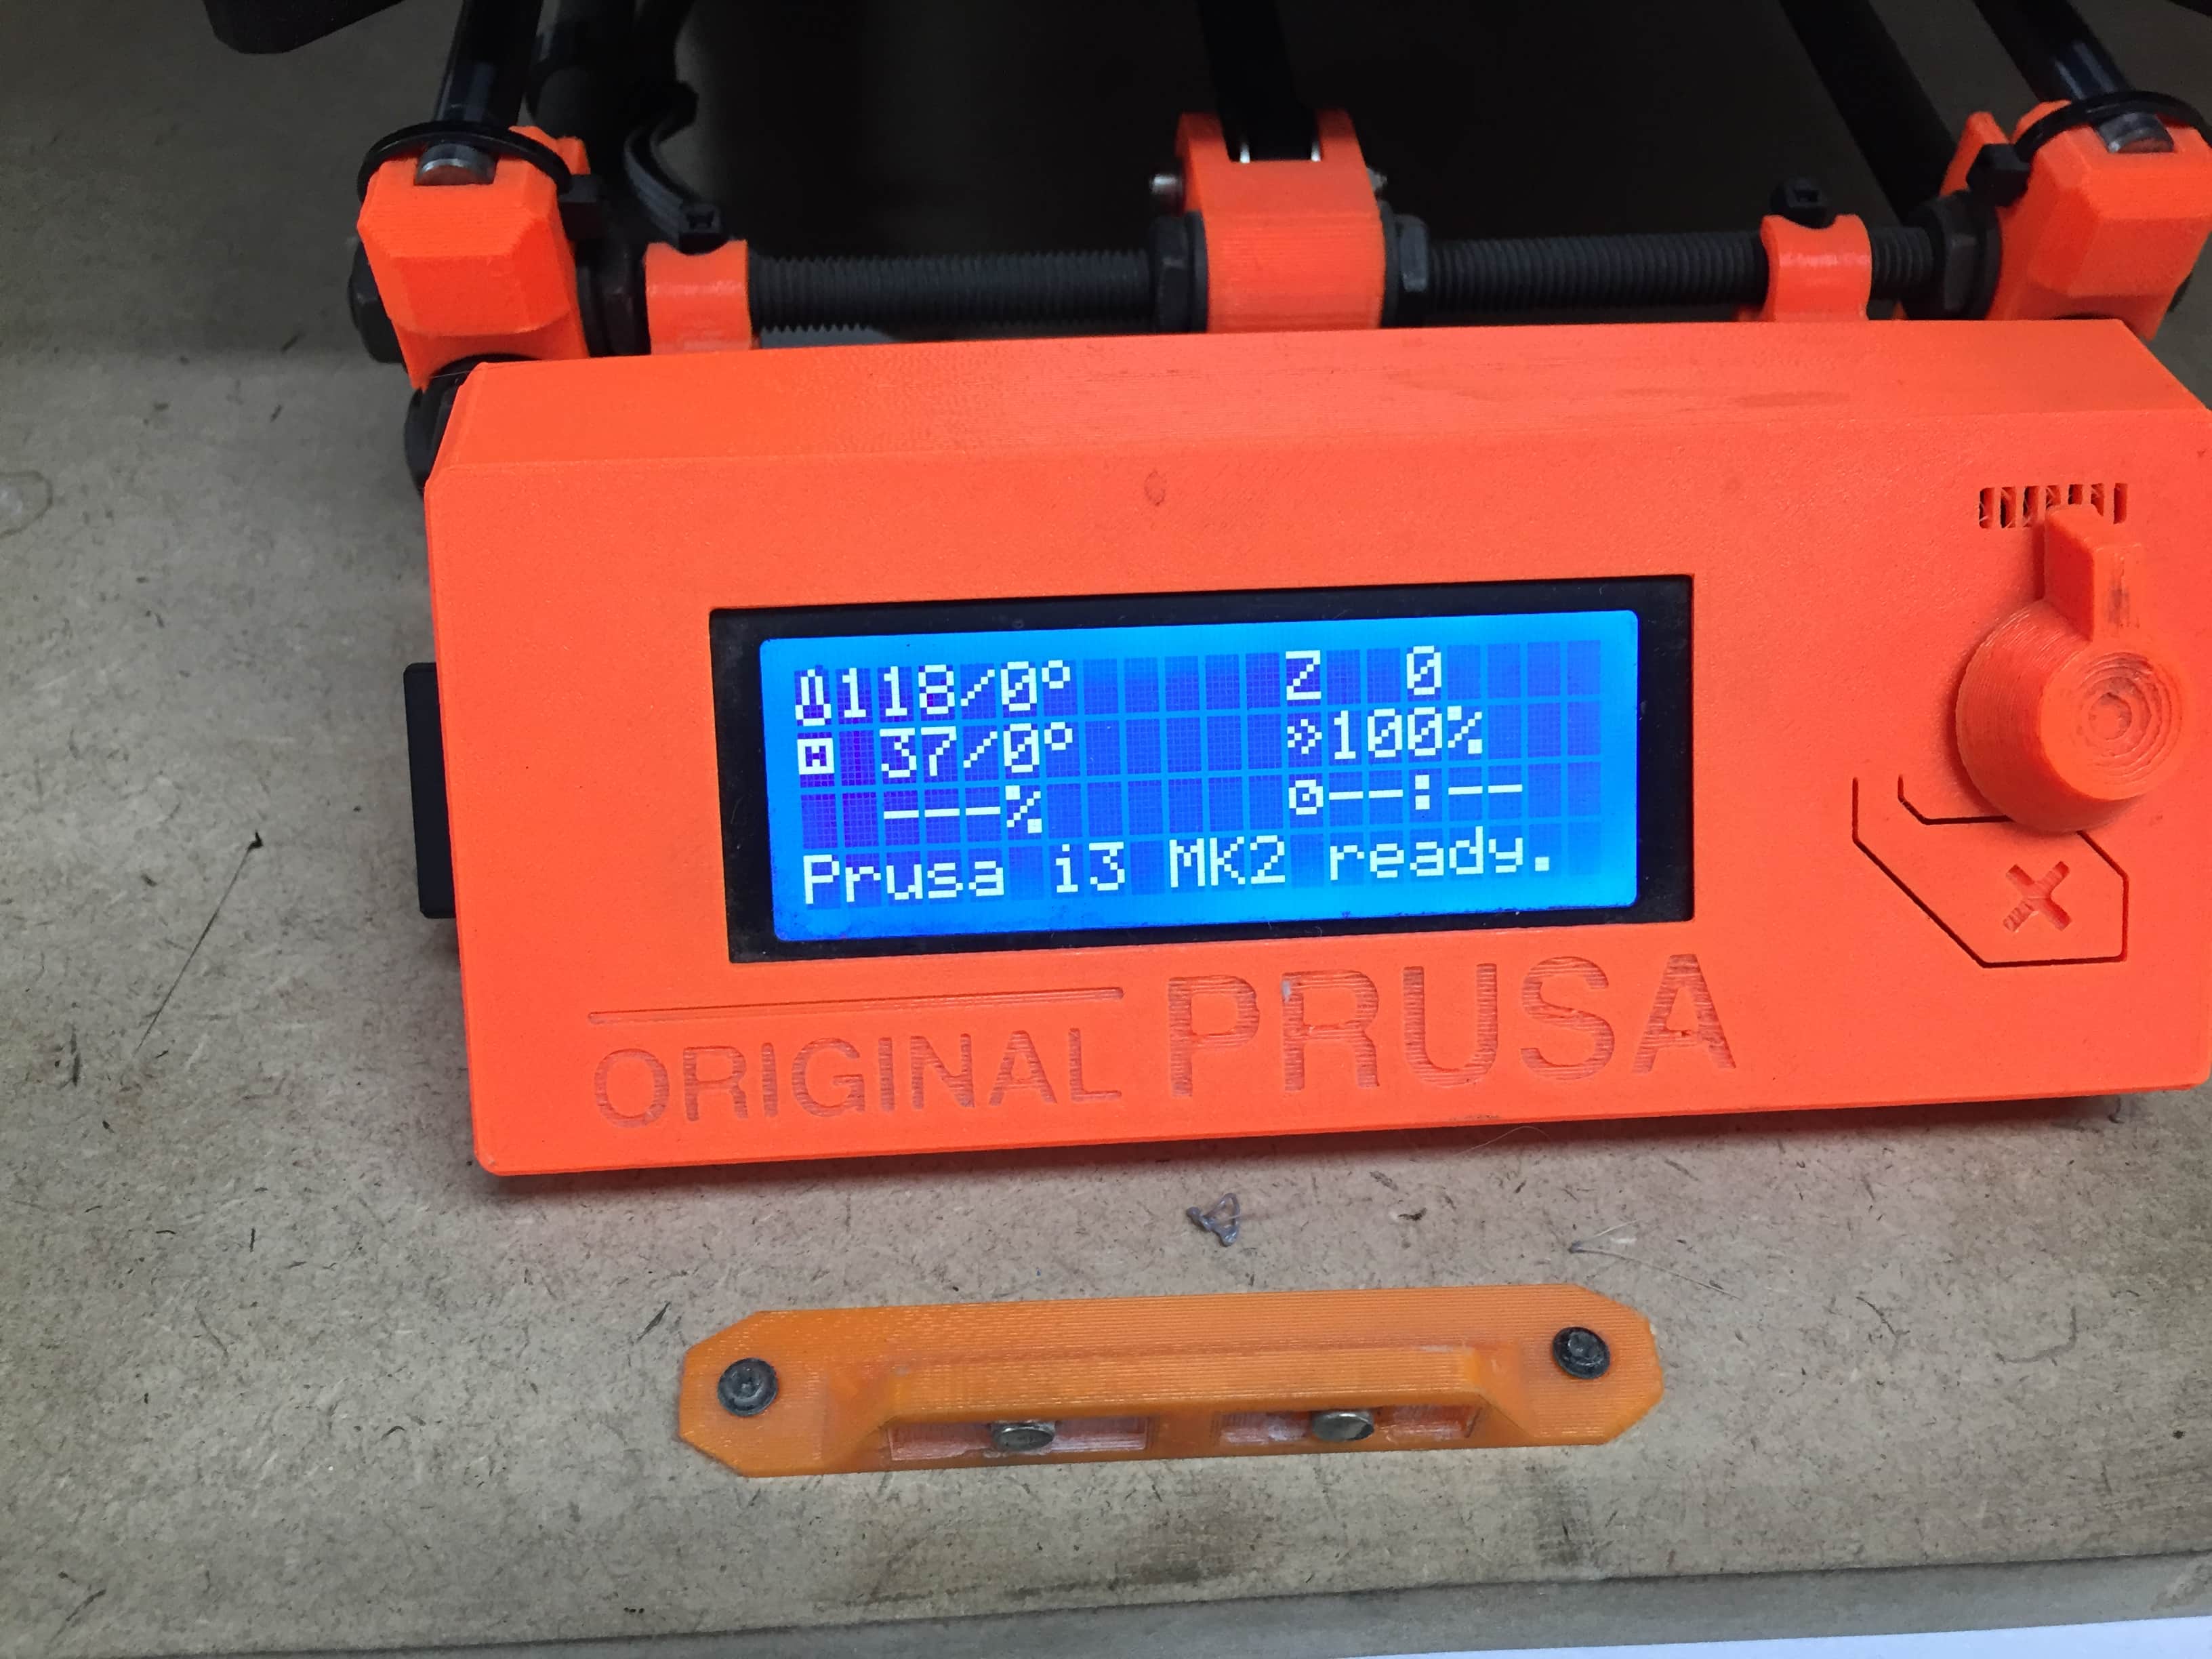
For printing:
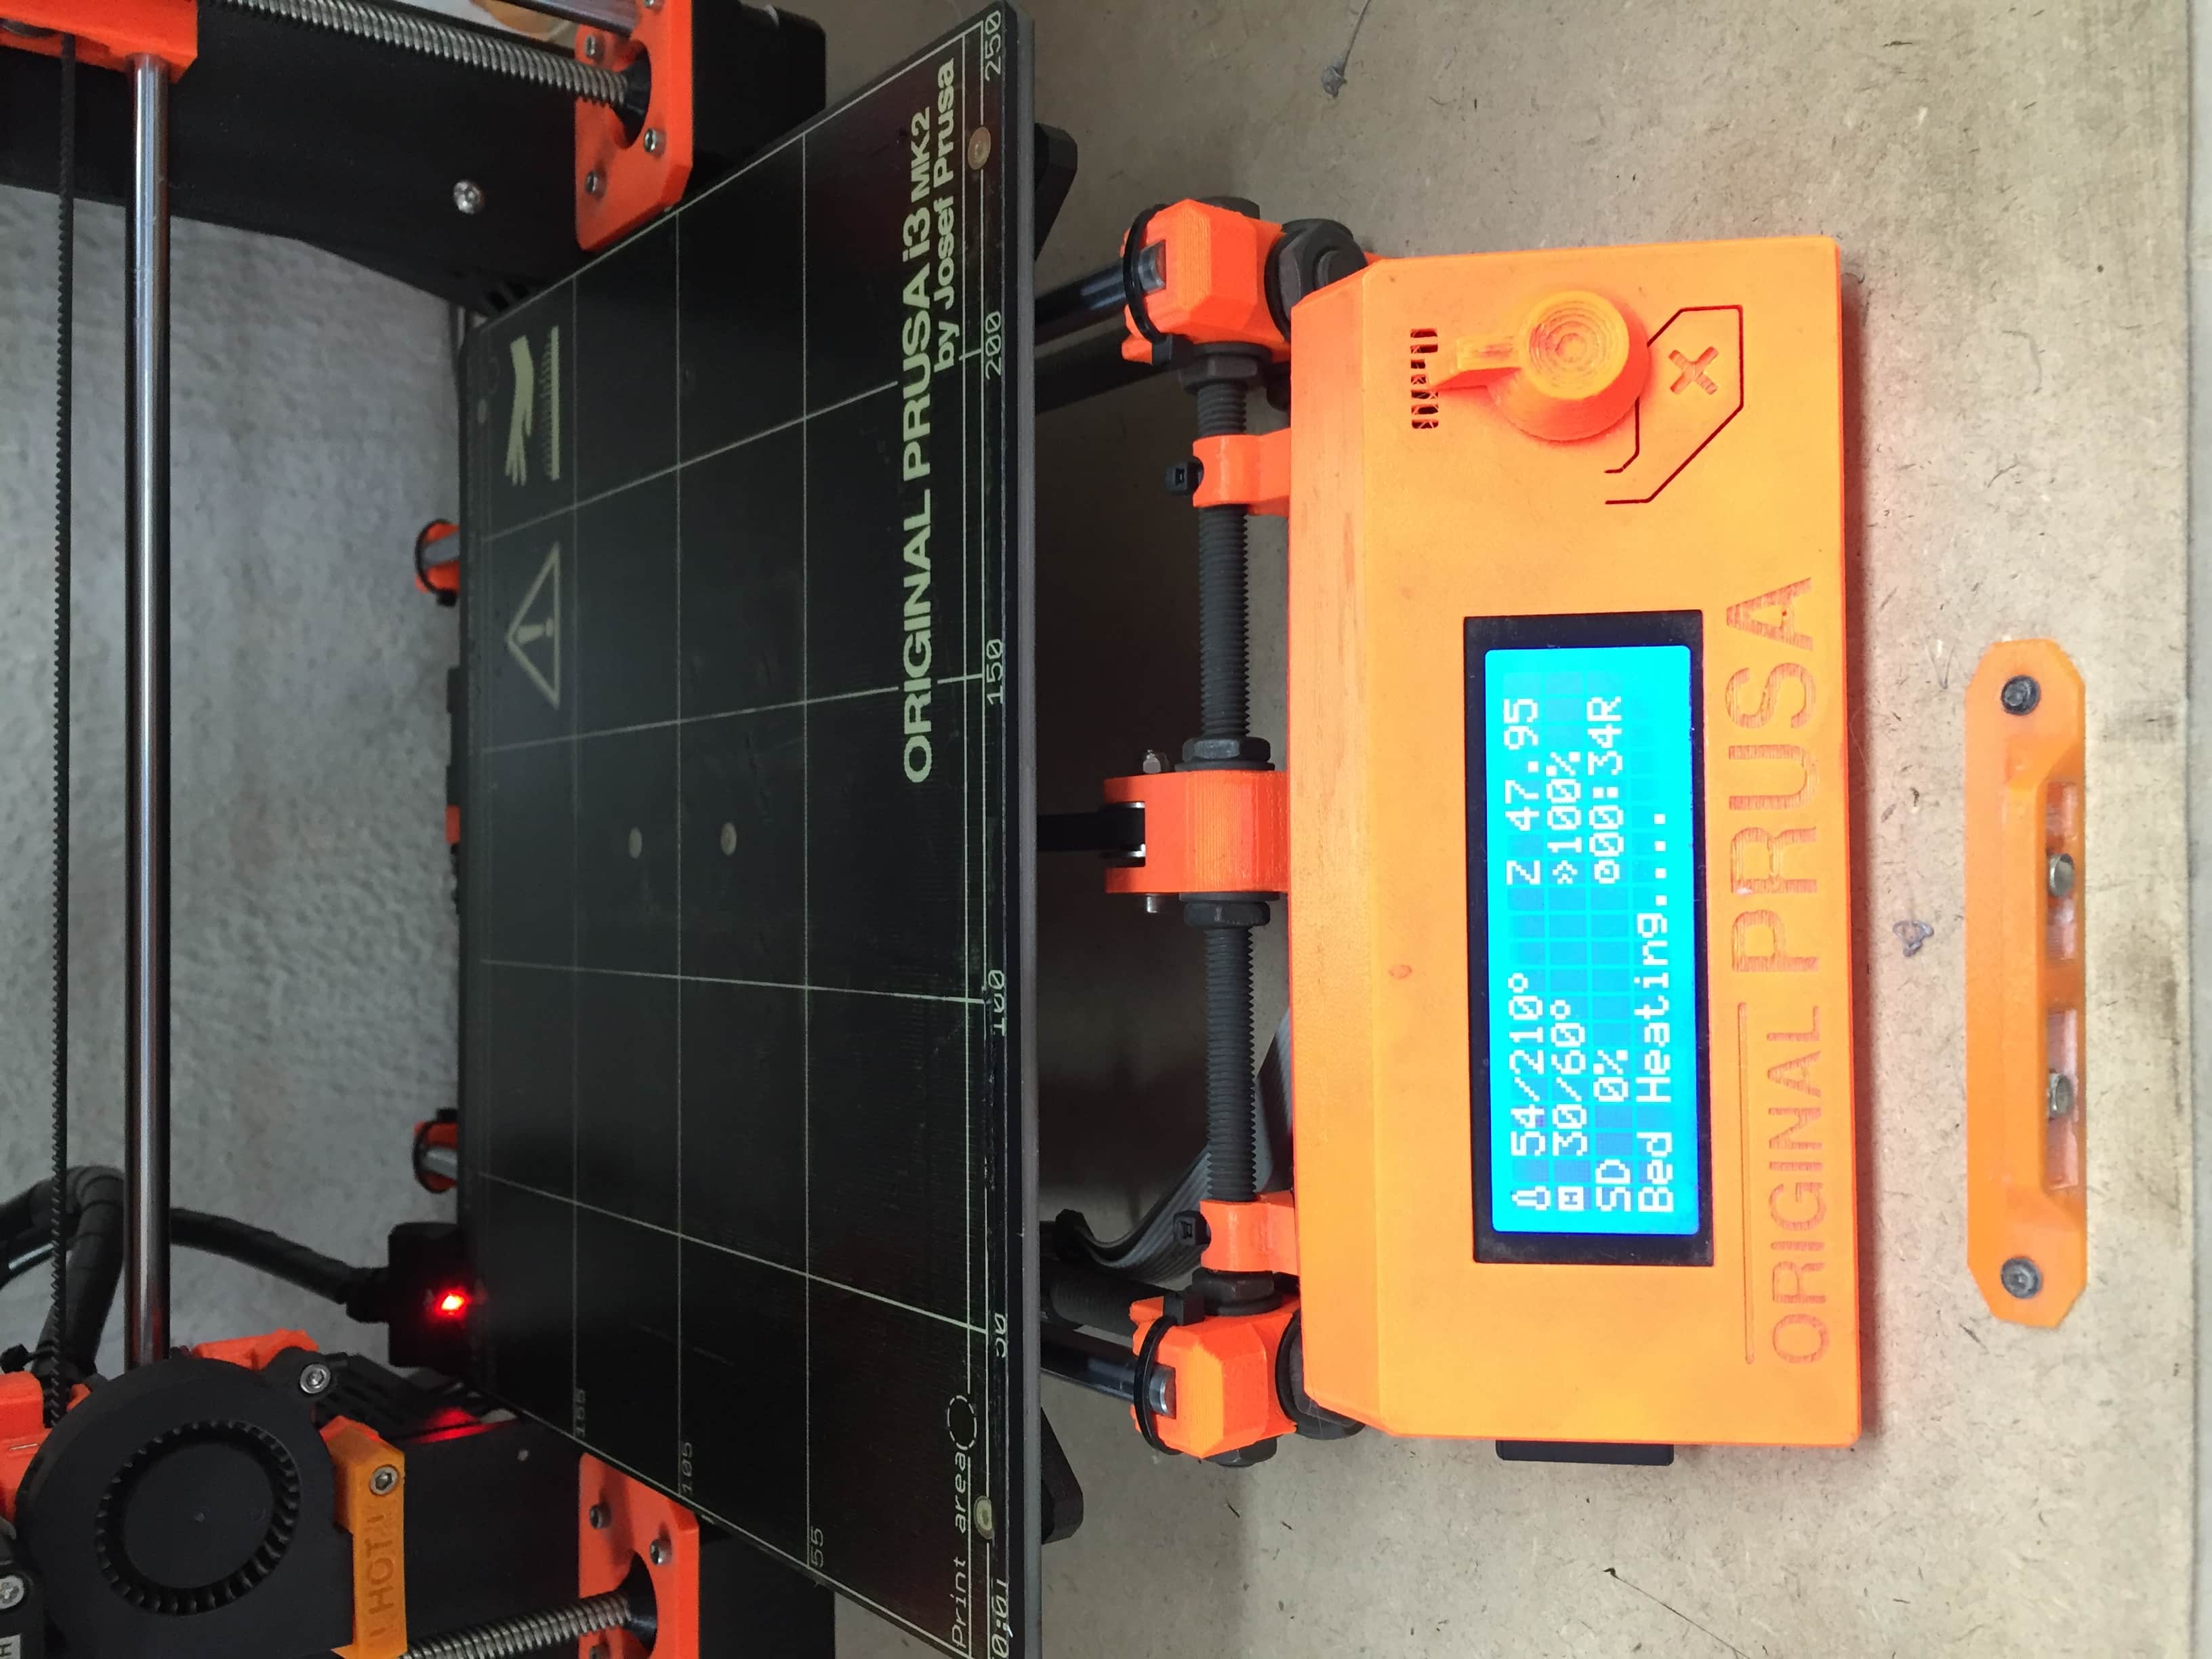
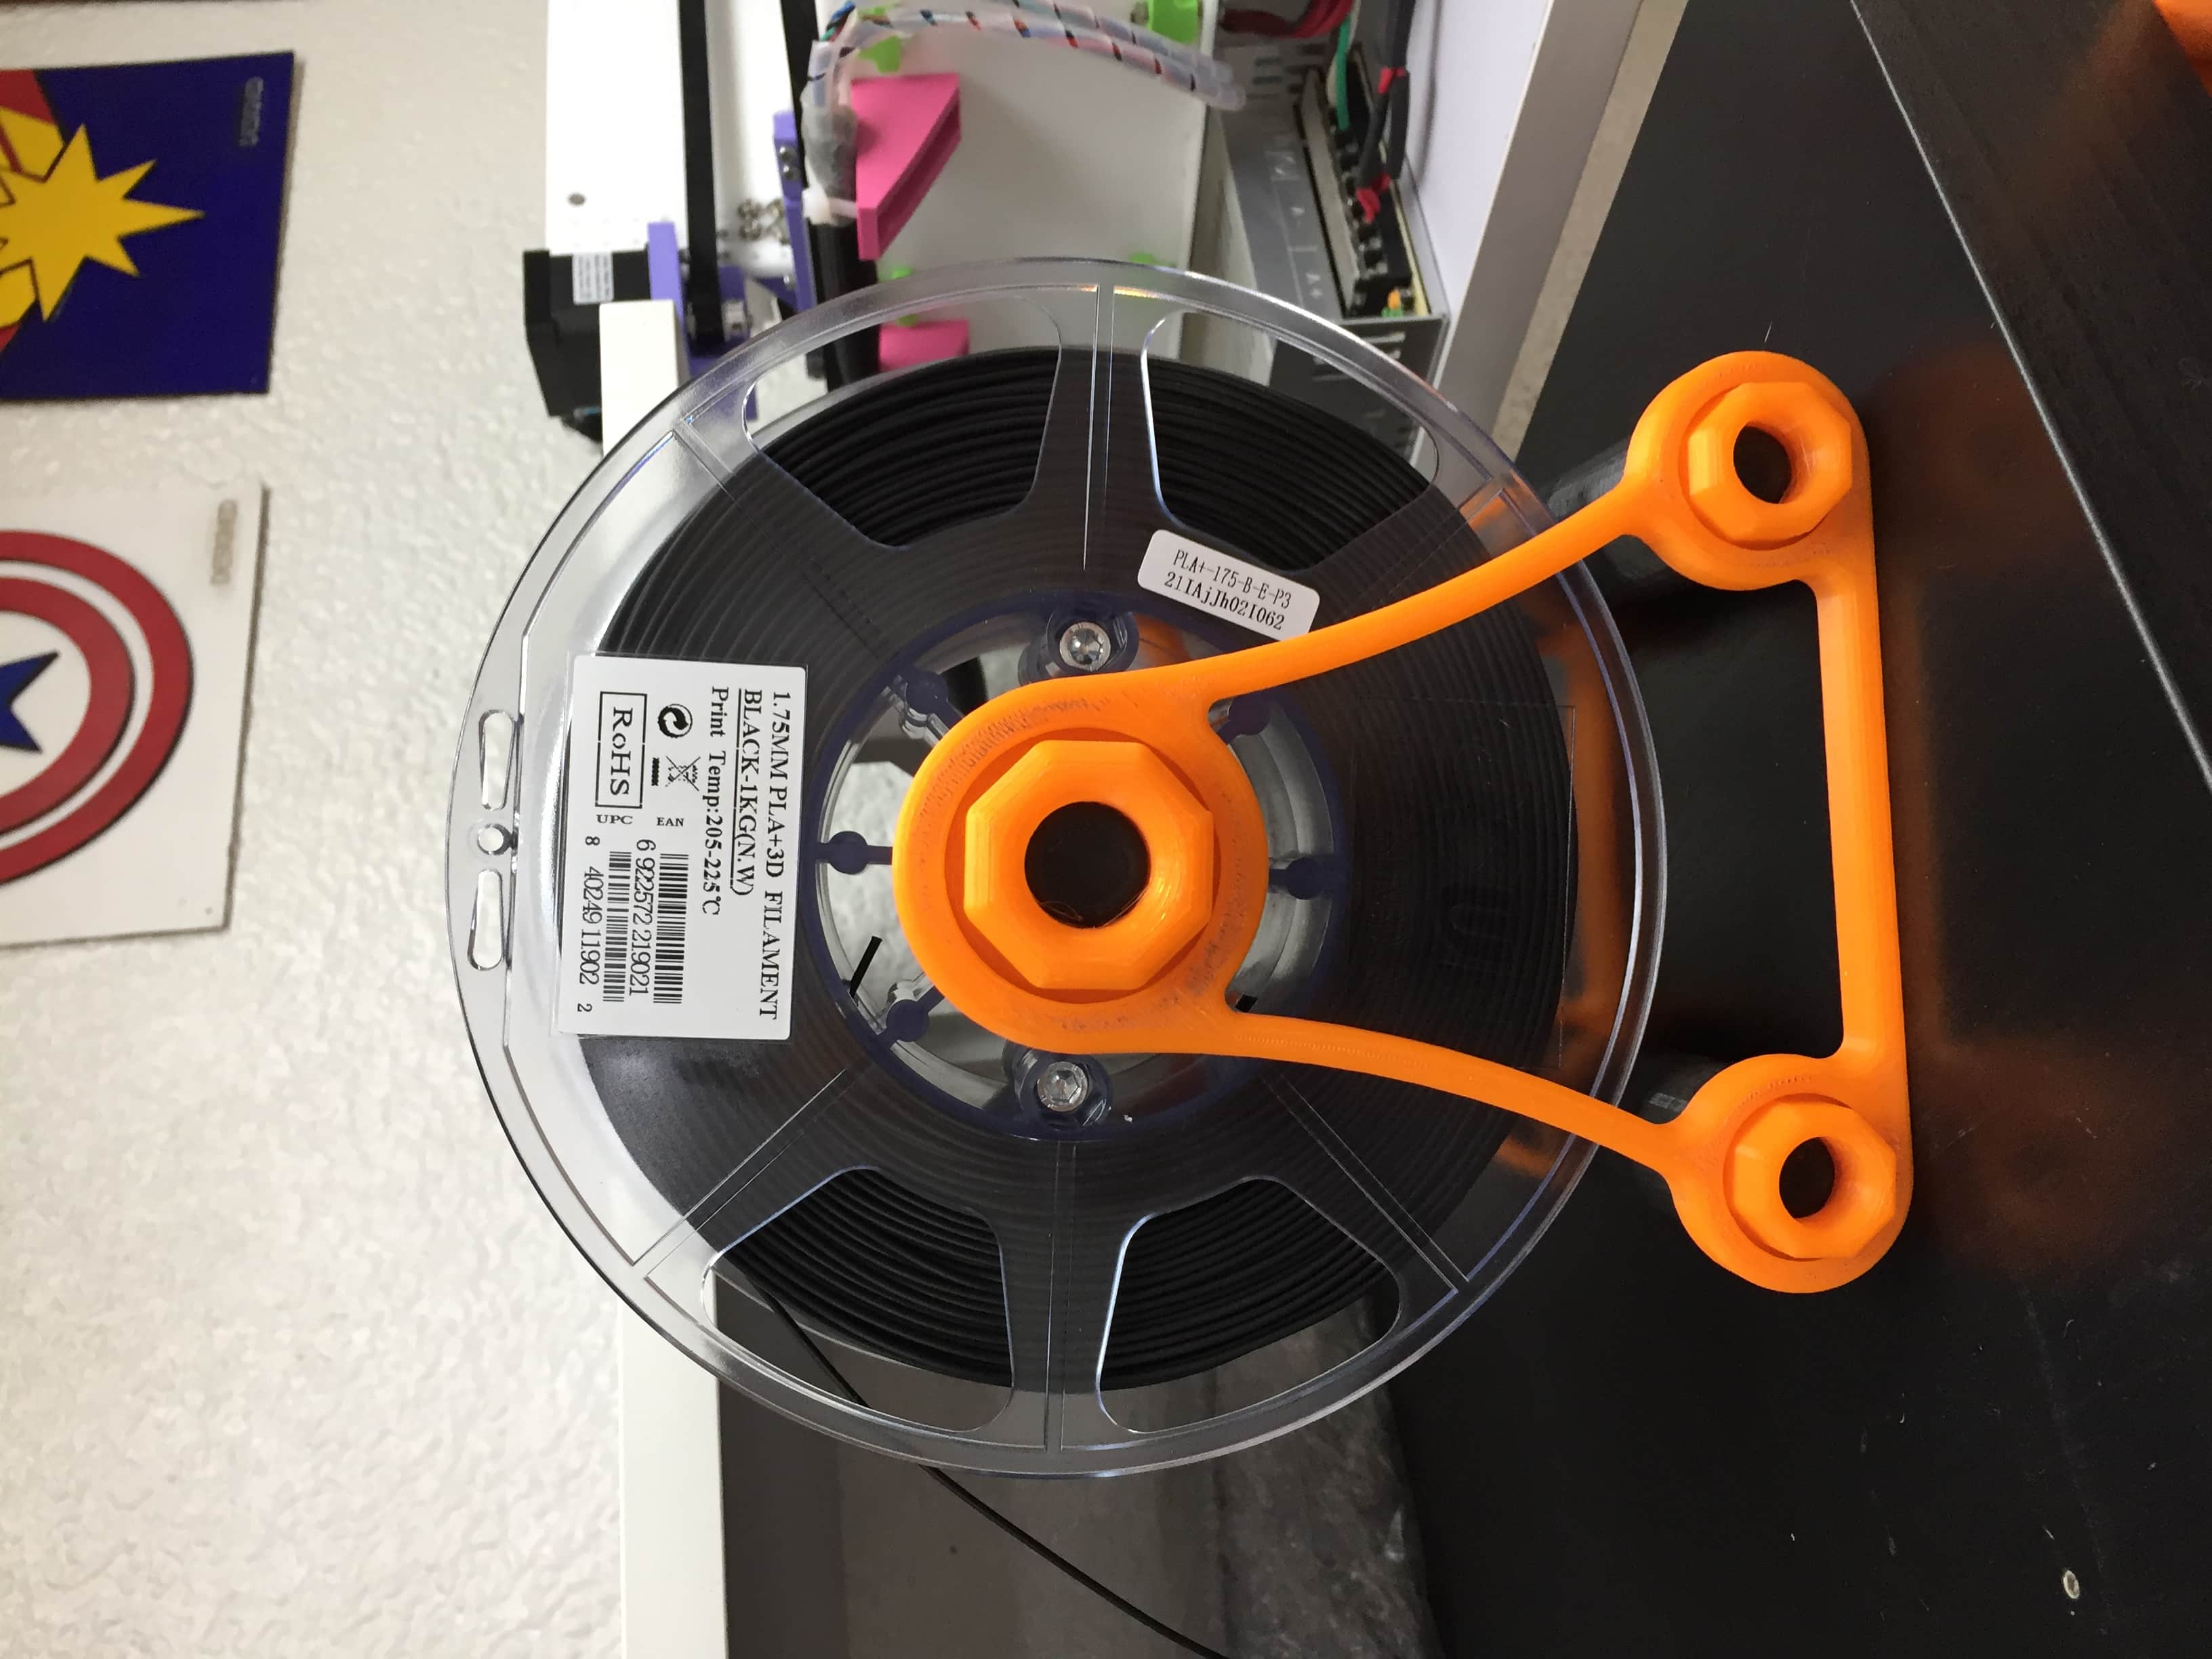
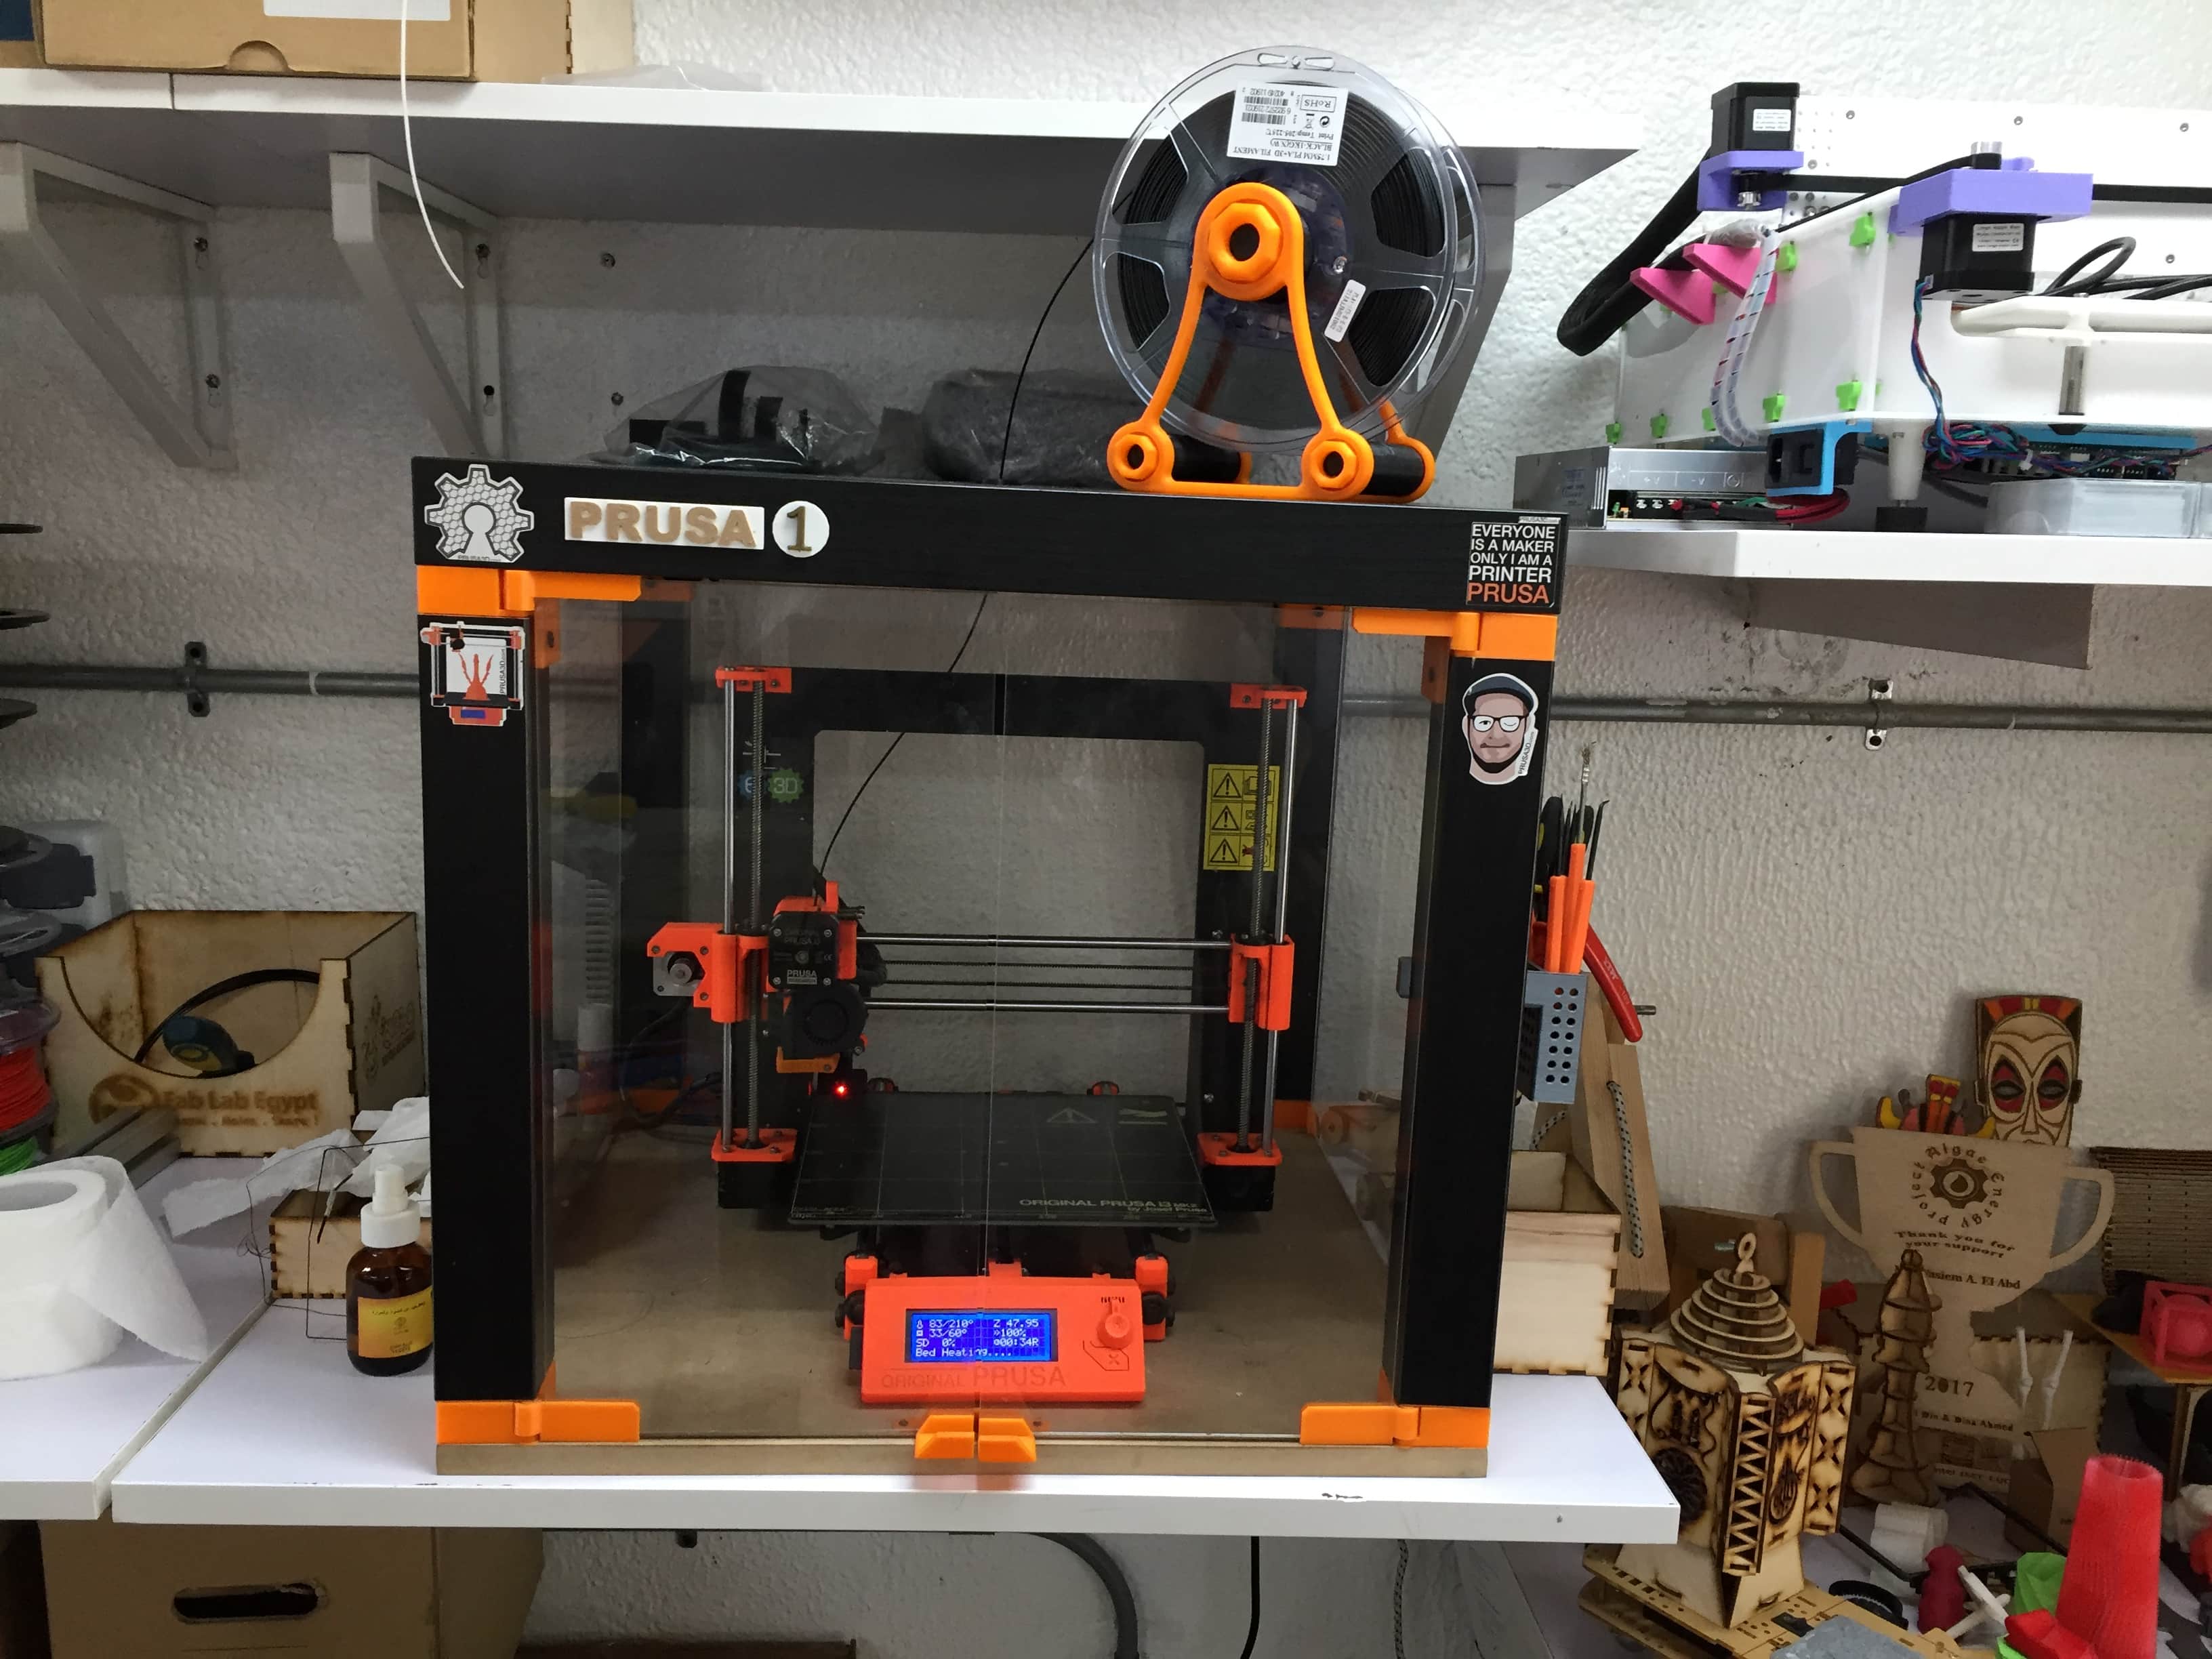
I used Prusa 1 3D printer,which is an
FDM machine which means:
Fused filament fabrication (FFF),
also known under the trademarked term fused deposition modeling (FDM),
is a 3D printing process that uses a continuous filament of a thermoplastic material.
Filament is fed from a large coil through a moving, heated printer extruder head, and is deposited on the growing work.
The print head is moved under computer control to define the printed shape.Fused filament printing is now the most popular process
(by number of machines) for hobbyist-grade 3D printing.
Other techniques such as photopolymerisation and powder sintering may offer better results, but they are much more costly.
There are other types of 3D printers like Ultimmaker and Sindoh.
Refrences:
Wikipedia
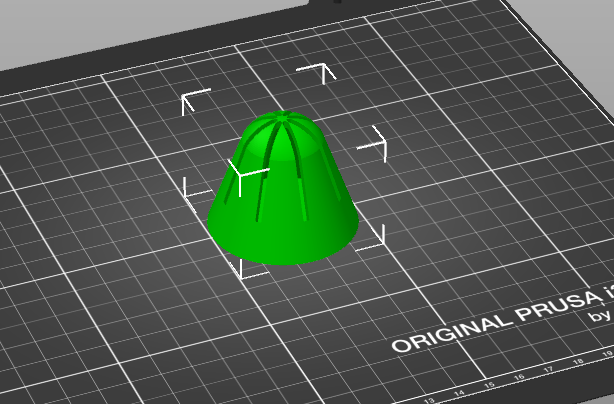
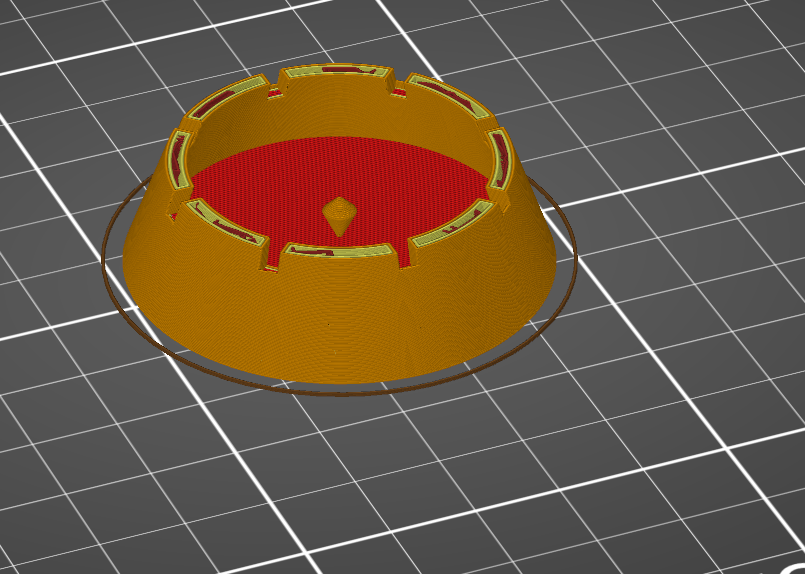
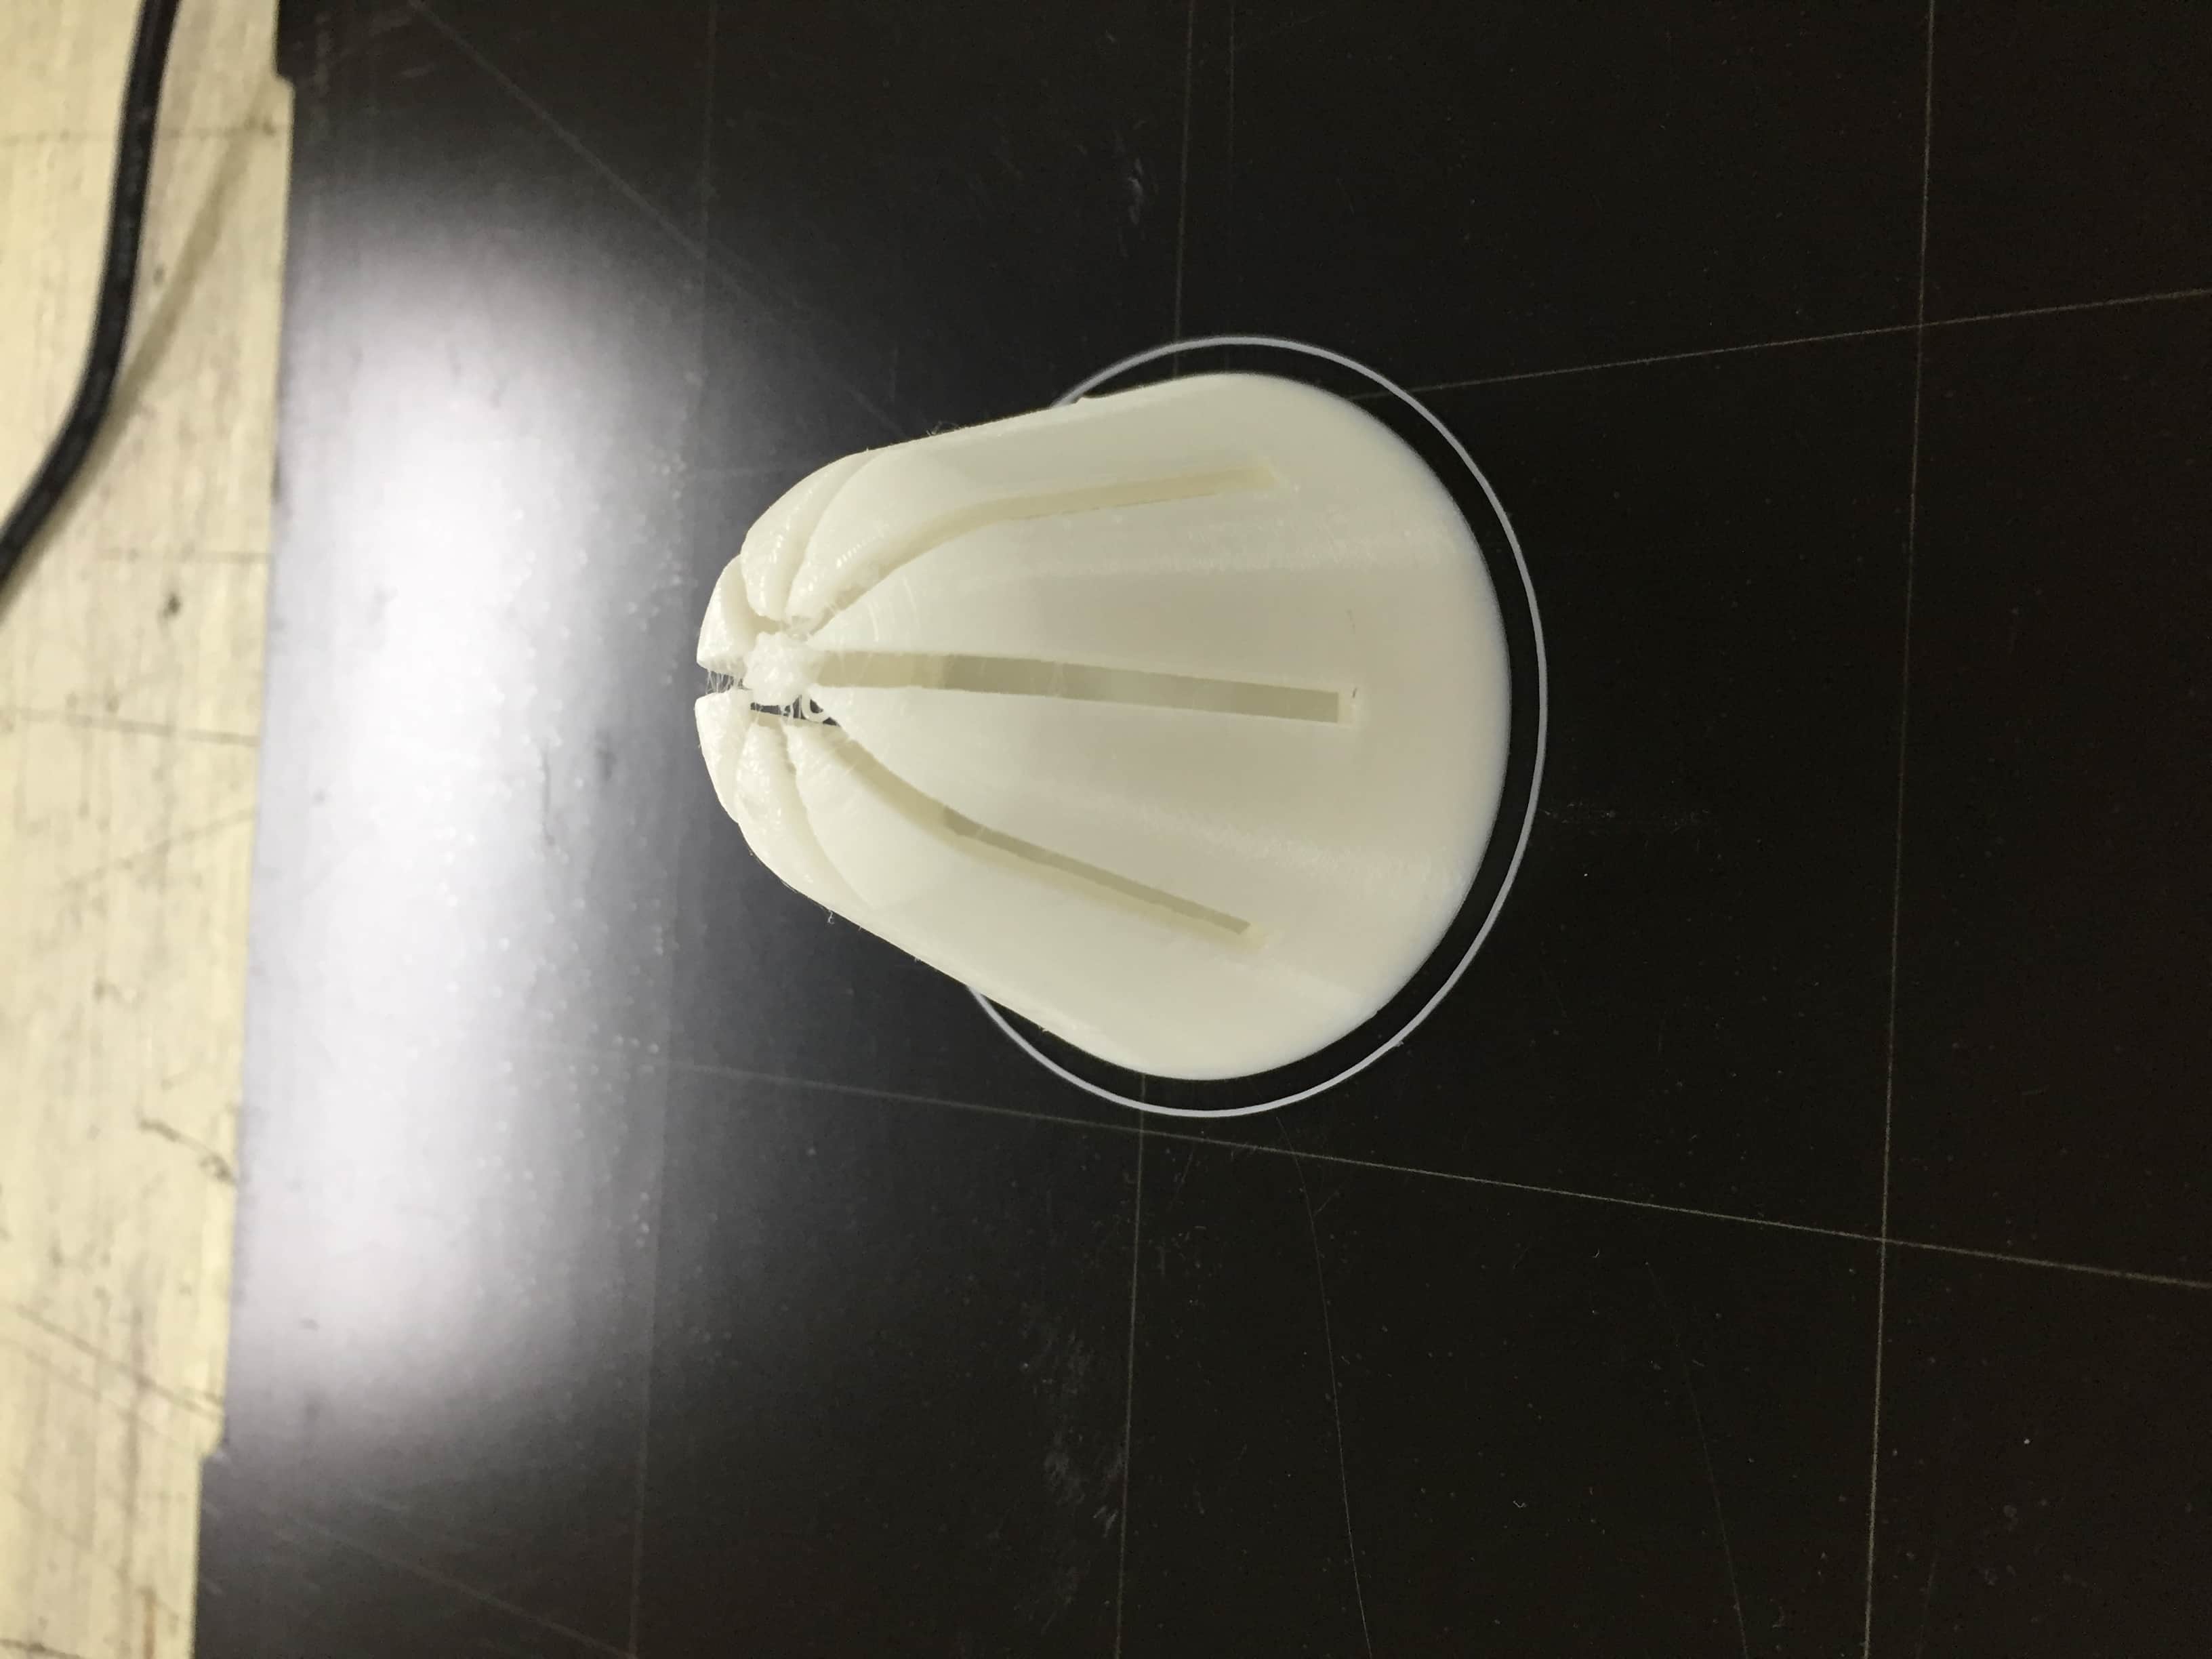
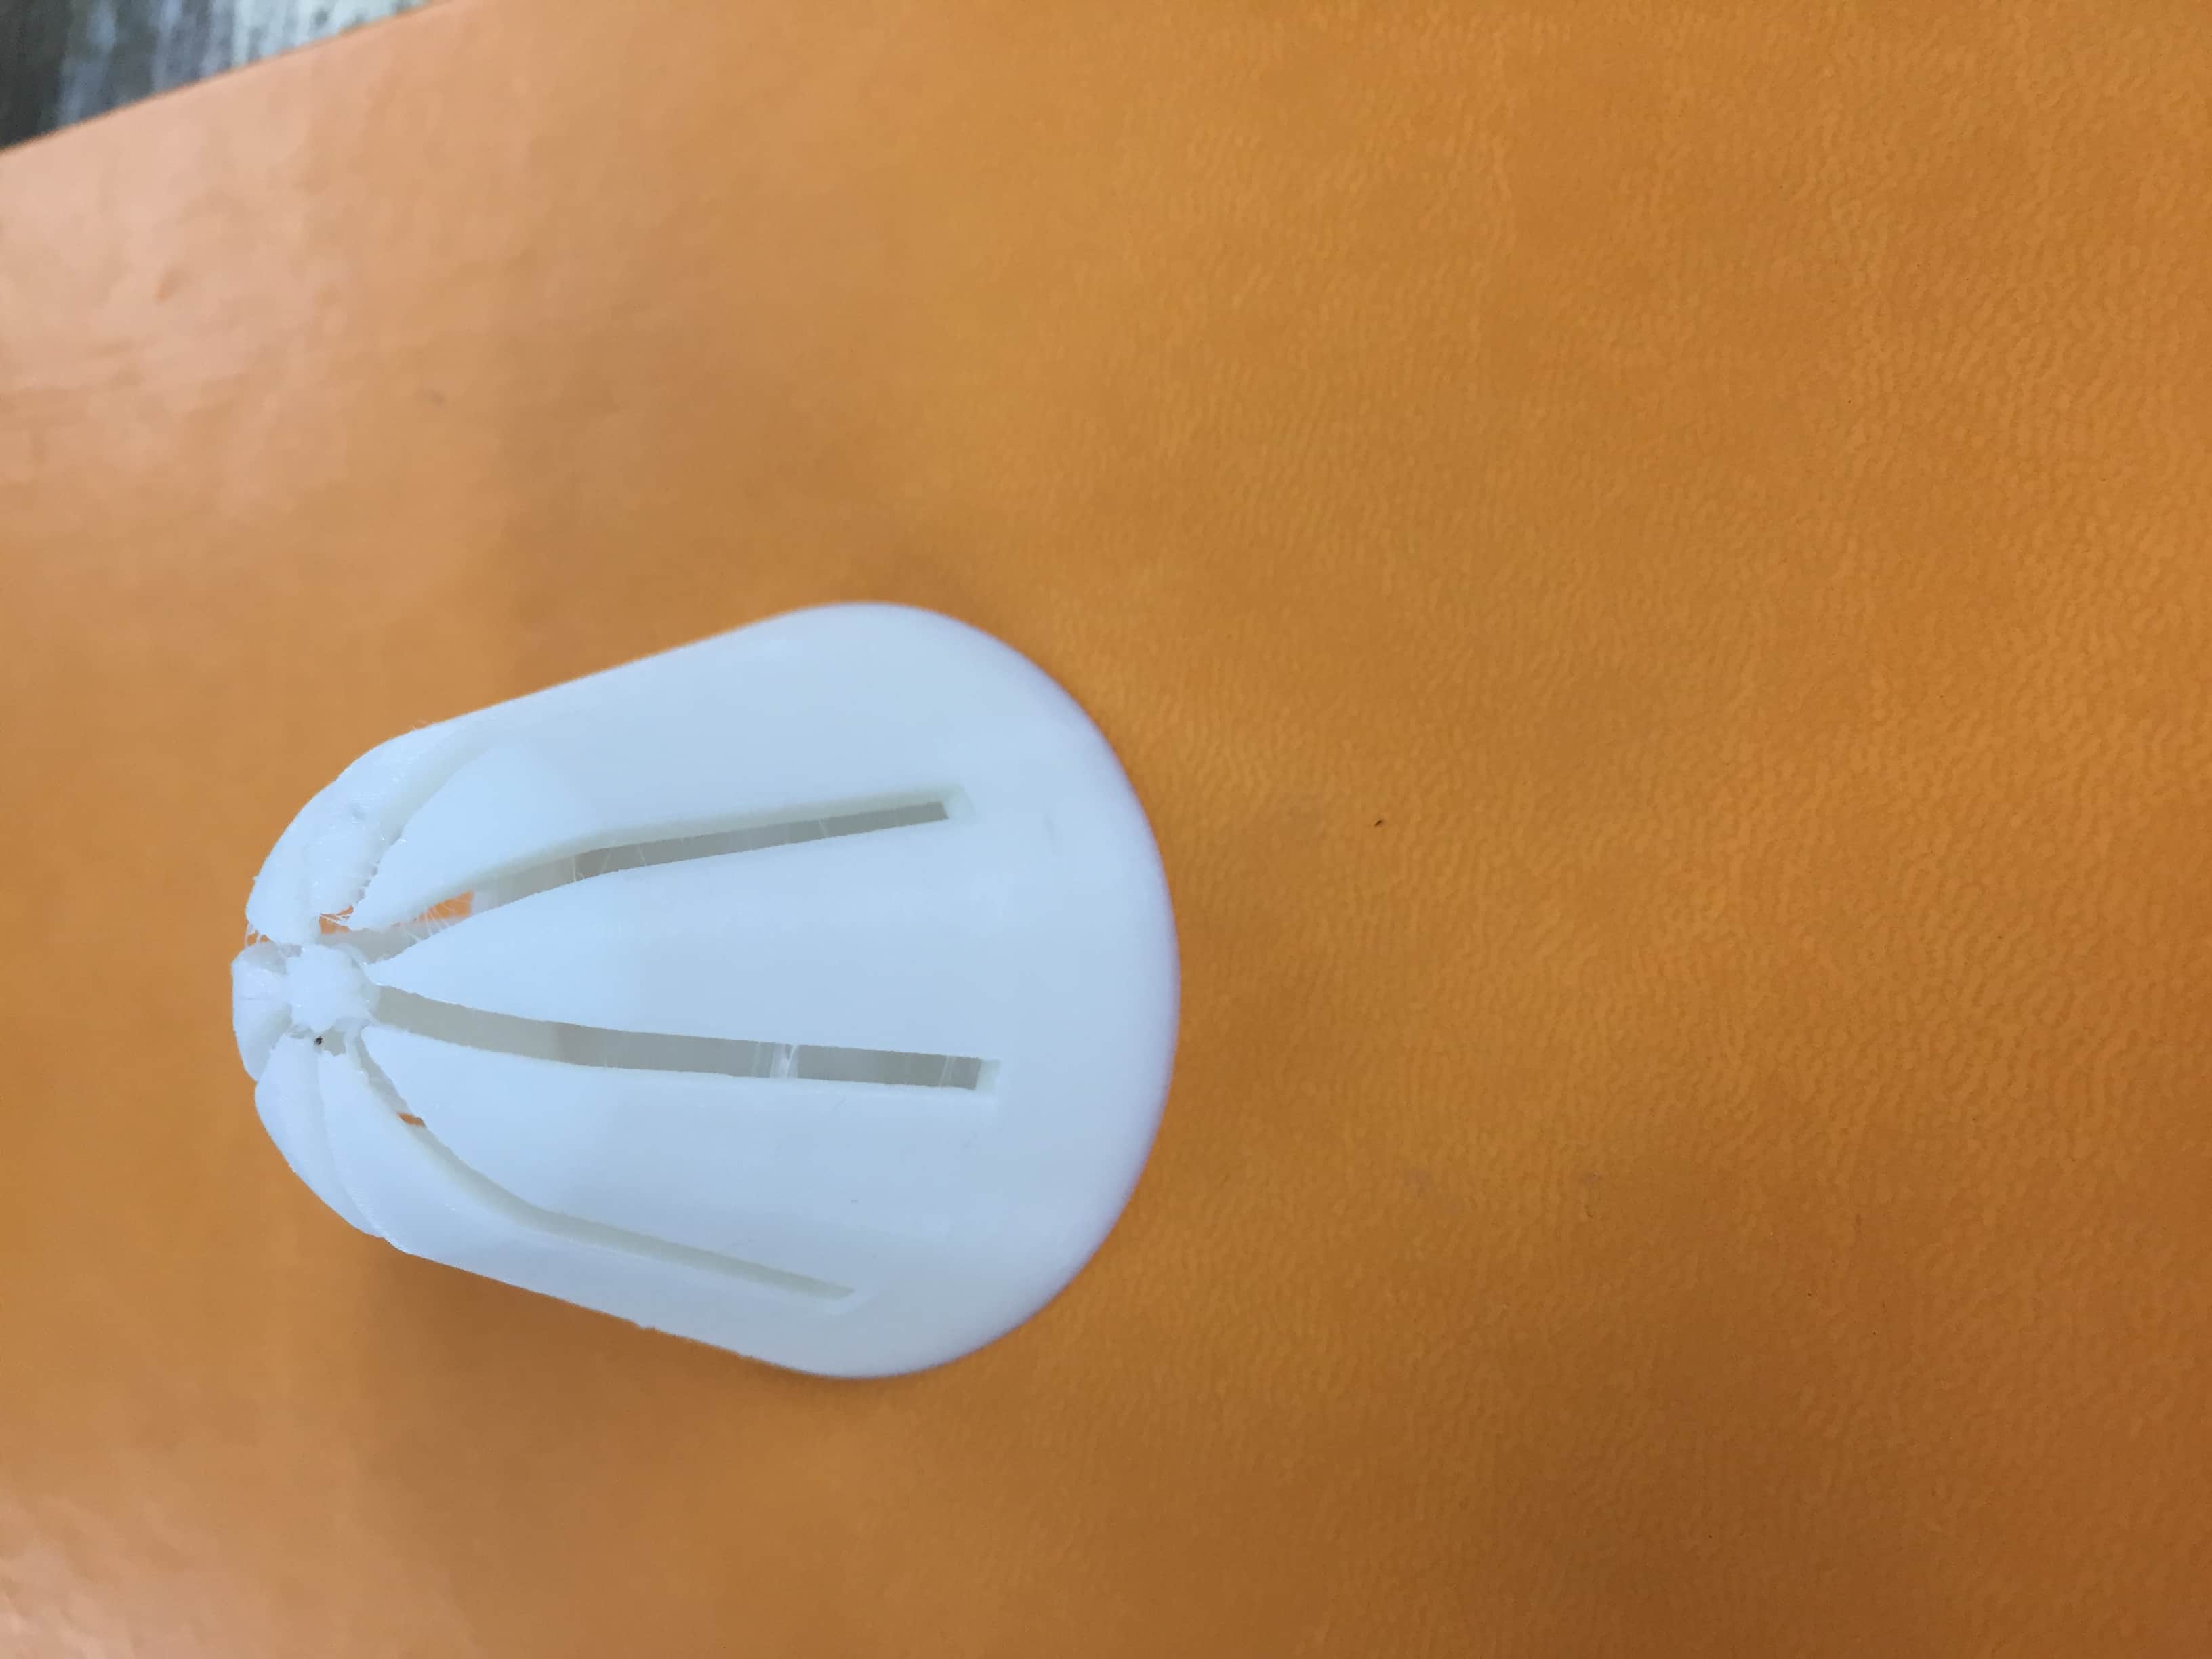
To make a part that could not be made
subtractively I decided to print the following design ,
Here are the steps how I made it using Fusion 360:
First I made a sketch:
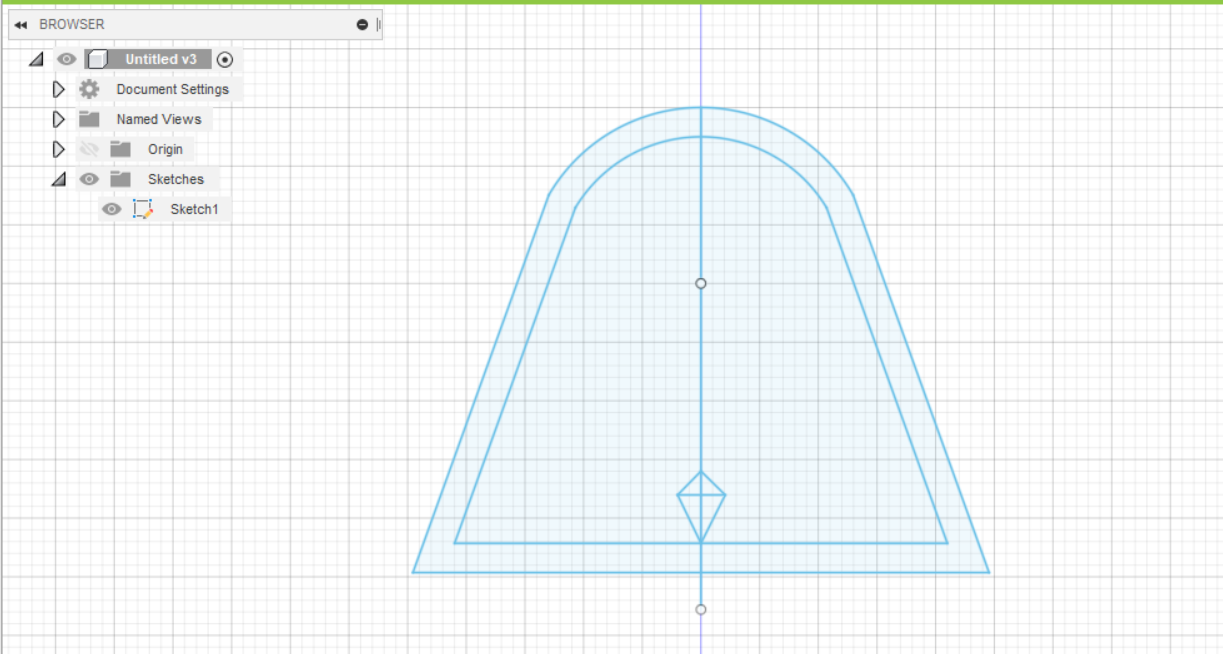
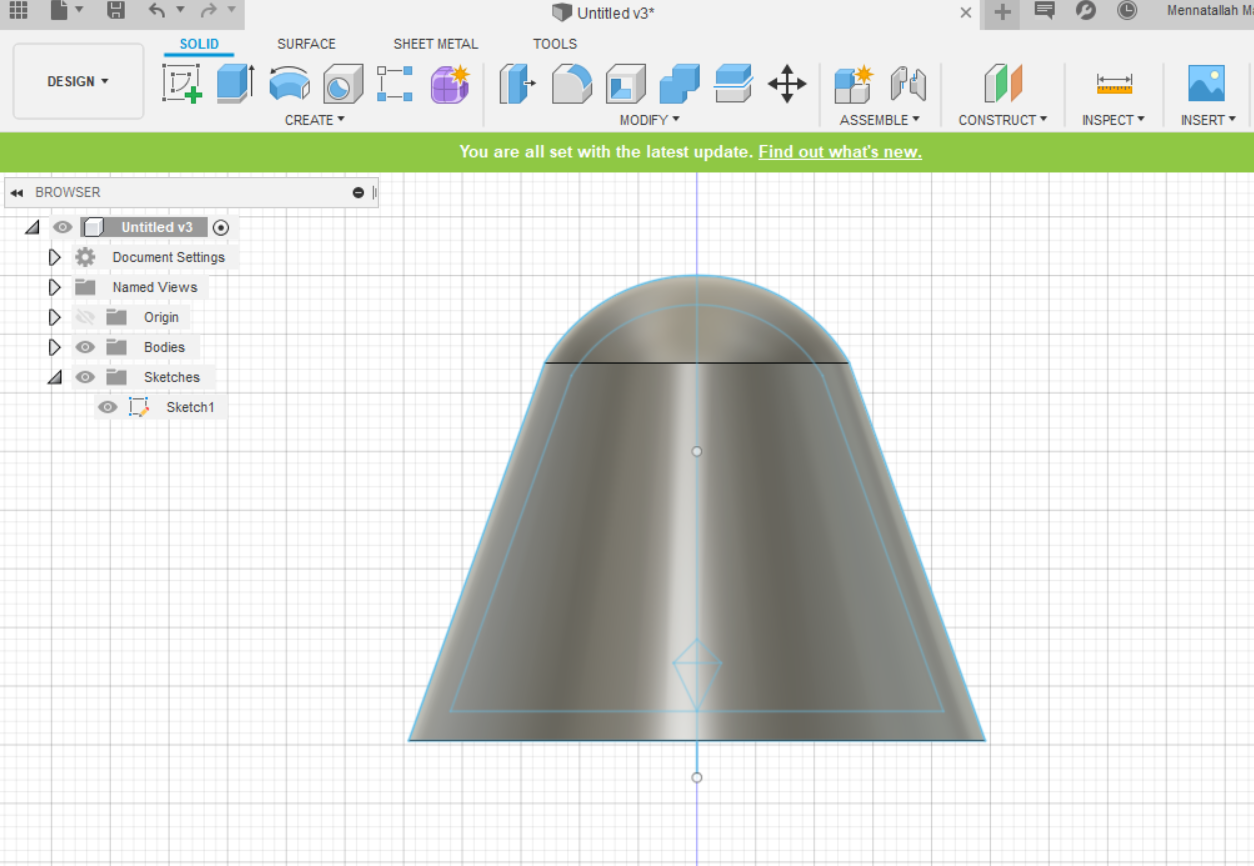
Then I used the revolve feature:
Then I made an offset plan and drew on it:
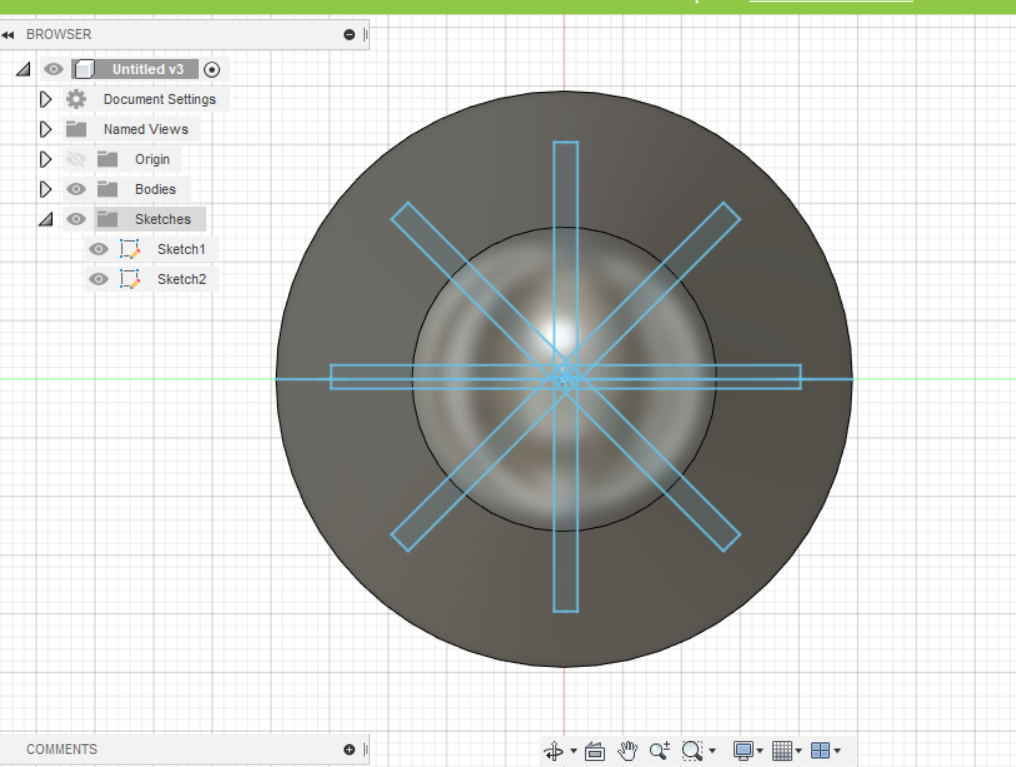
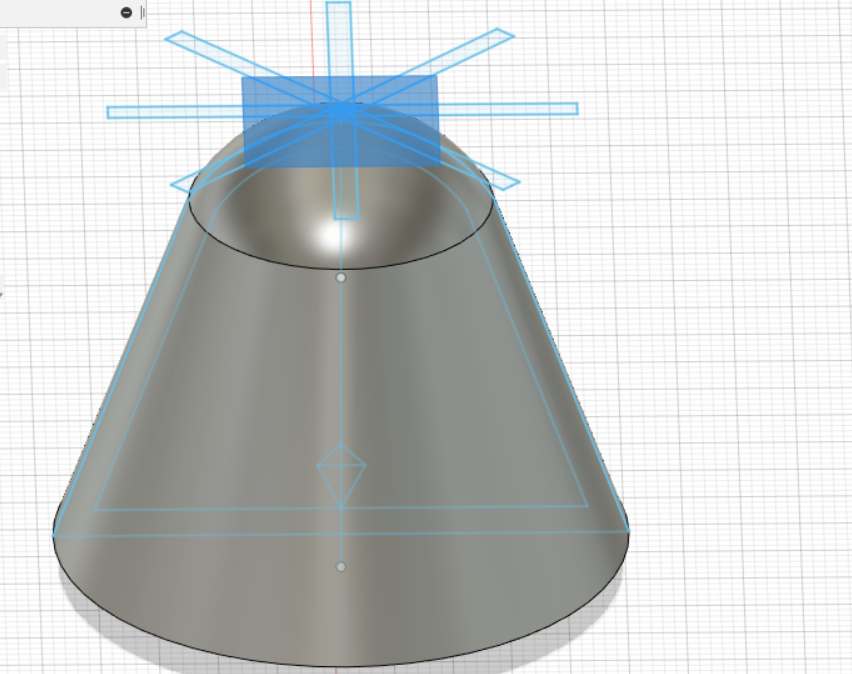
I made extrude cut:
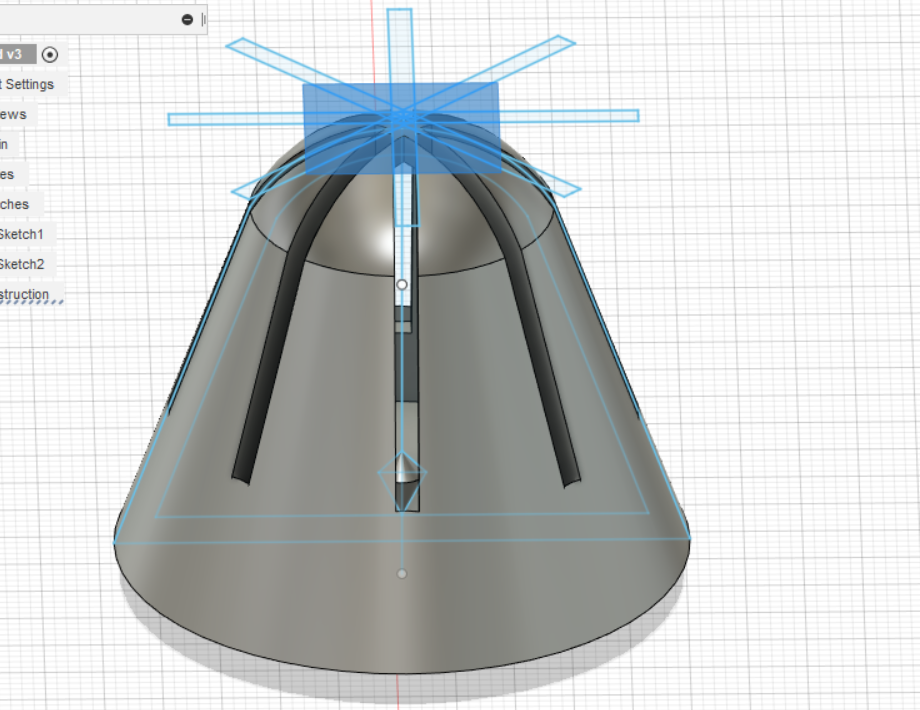
Inside the hollow body there is another body that has the shape of a diamond:

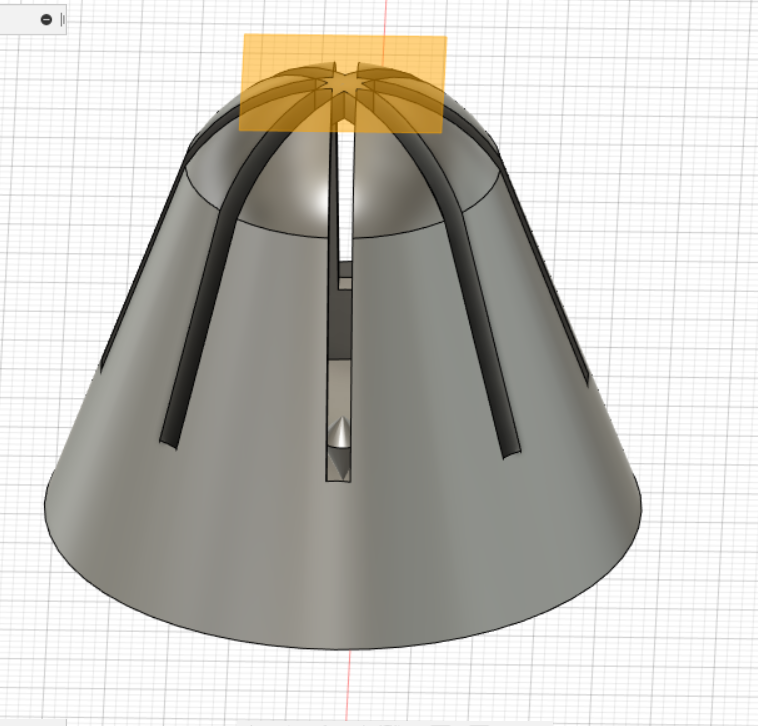
The main idea is making a body that is mainly hollow and it consists of another object inside
,but we can not split the body and do subtractively the operations ,it has to be one part.
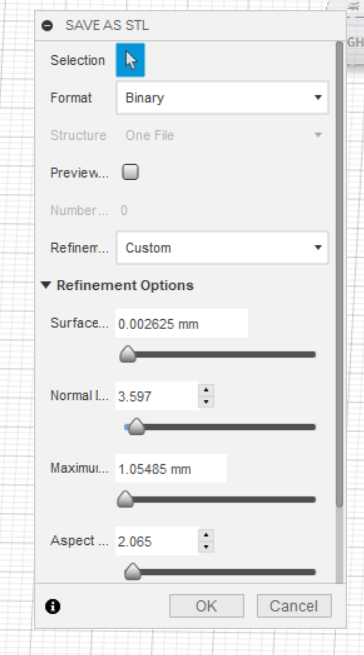
After designing comes the slicing :
I saved the part as STL file in order to 3D print the part.Here is a brief on STL format: as mentioned in the lecture STL means that the design get divided into small triangles to be processed by the slicing program.
Then I exported the design as STL:
Then this program take the body divide it to layer by layer and generate a Gcode so that the
printer can produce it.There are many programs that can preform the previous task .
Here are some examples and comparison between 2 slicing programs that I use.There is also another program that is called mesh mixer,
that was introduced to me by Kidwany
,I wanted to included it in this assignment but for the sake of limited time ,that wasn't possible.
NB: I would like to thank
Ahmed Kidwany for introducing to us the new programs for slicing
1) Cura:
-Those are themain features:
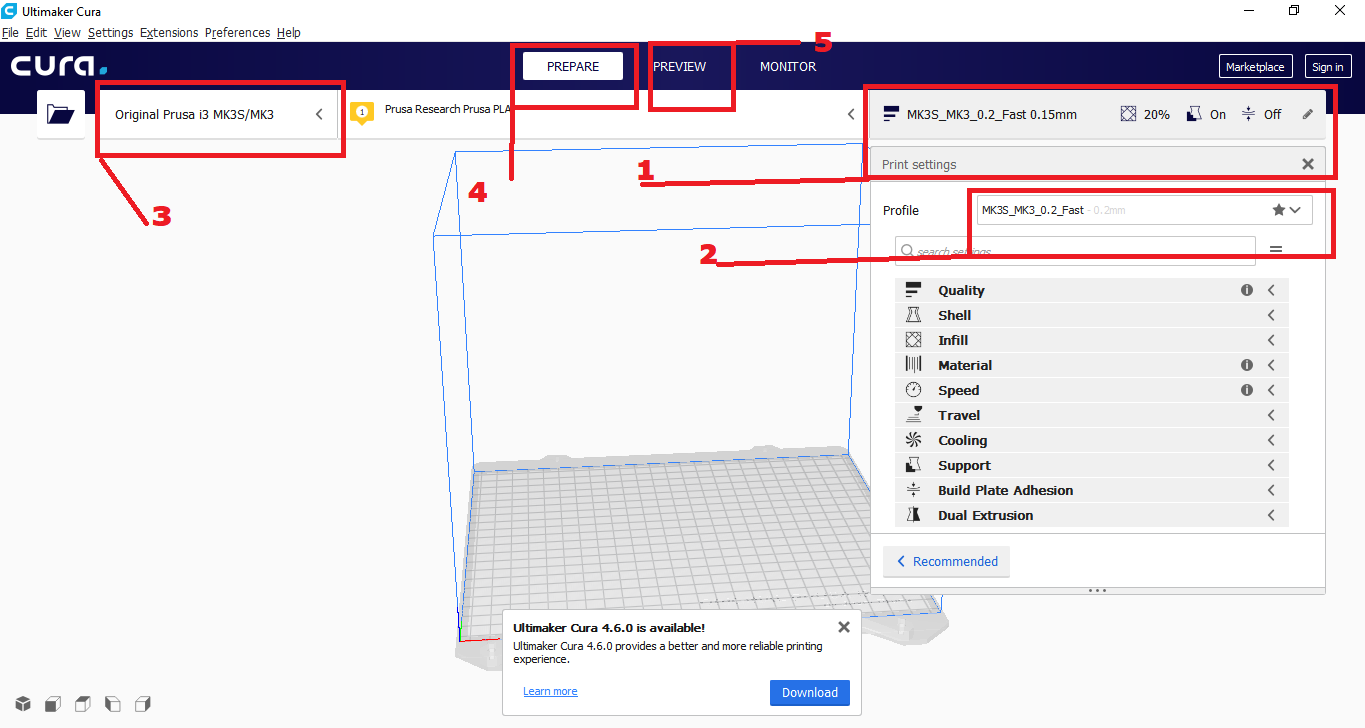
1) using which quality.
2)Using which profile.
3)Which machine.
4)prepare to set the settings of the slicing.
5)Preview :to see after slicing the part layer by layer.
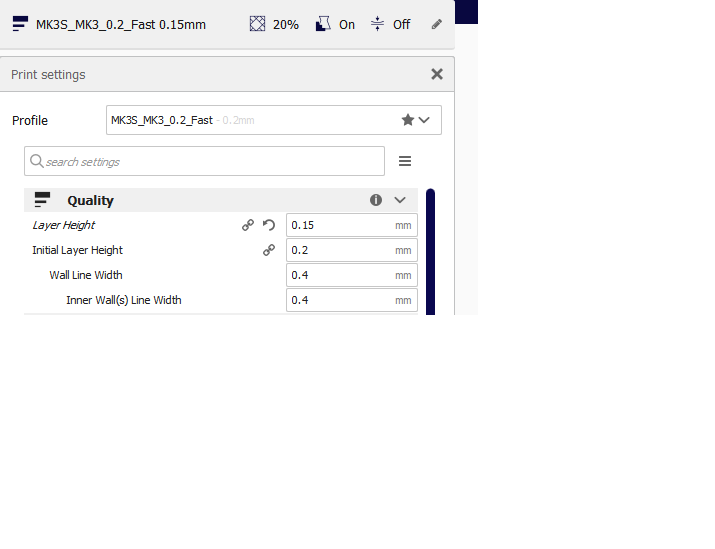
-Those are the settings in Cura which we can use:
This quality settings which means changing layer height:
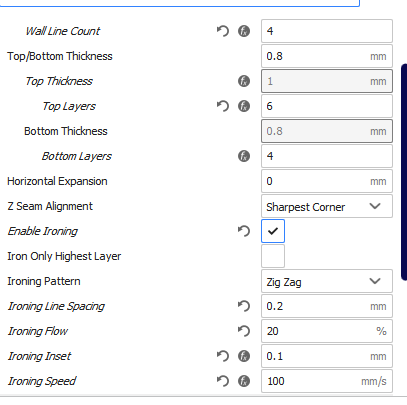
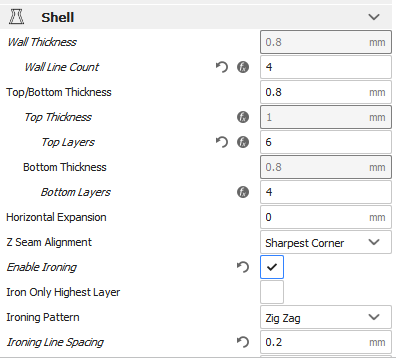
This is Wall line count and Ironing : change in ironing change the surface quality of the part:
This is for shell settings:
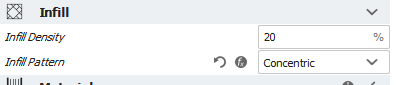
This is the infill which means how much material to fill the part:
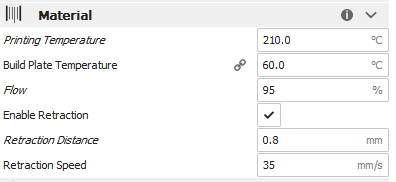
For each type of filament there are different settings like the temperature of the extruder and the bed:
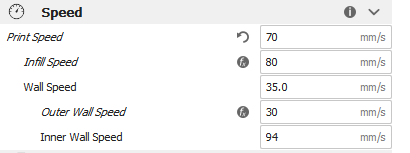
This is for the speed in printing:
And for the support which means when printing ;there are missed layers in the
part that need to be compensated by a support material because the printer builds layer on top of layer:

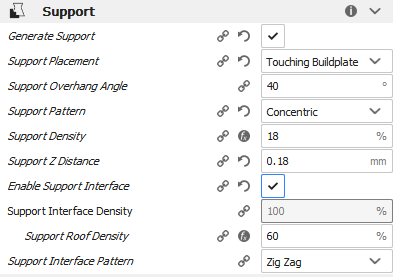
Then how we want the base to be supported:

2) Prusa Slicer:
-Main features:
There are many comon features between prusa slicer and Cura but in prusa slicer there is this feature where
you can make divers layer height at the same body ,depending on the details and the complexity of the part.
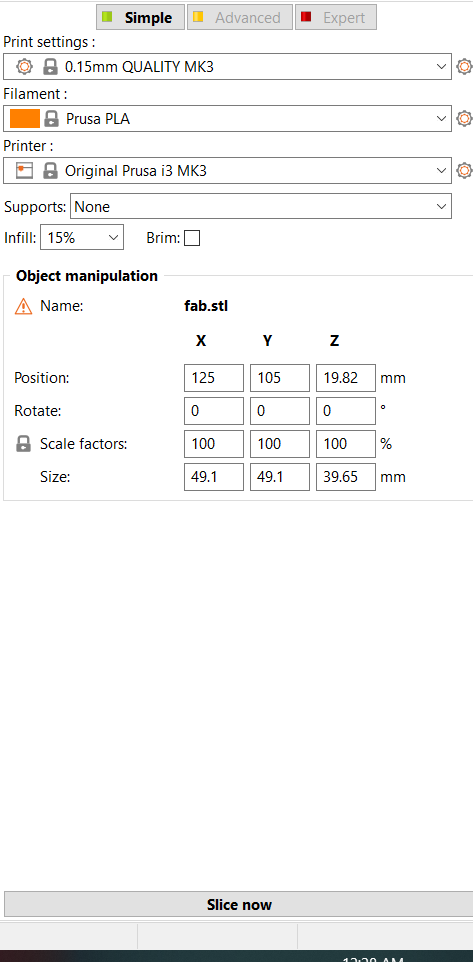
I did the slicing of my part on prusa slicer and here are the steps:
1)I imported the part.
2) I made the settings:
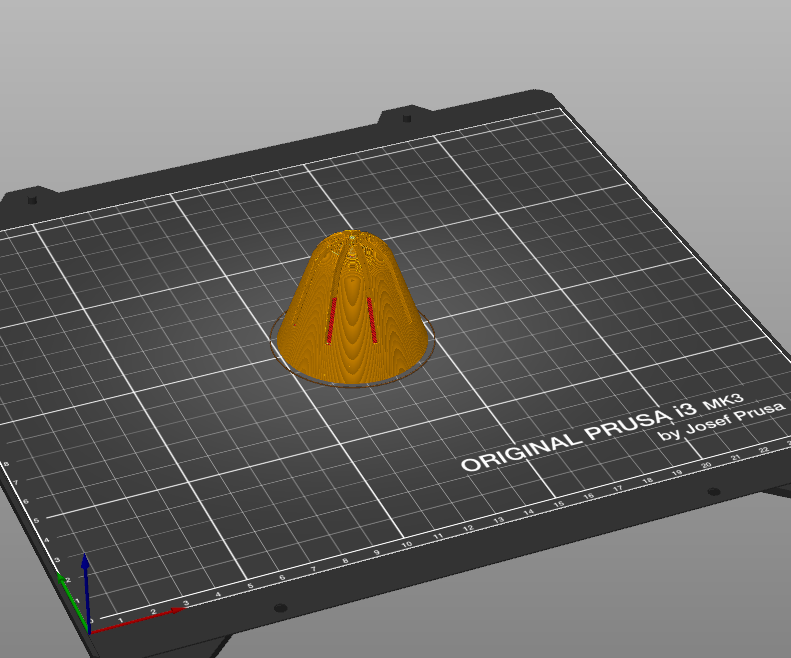
3) I sliced the part then switched to layer mode to view demo of the part sliced.

4) Here is an estimate of the weight and time to be printed.

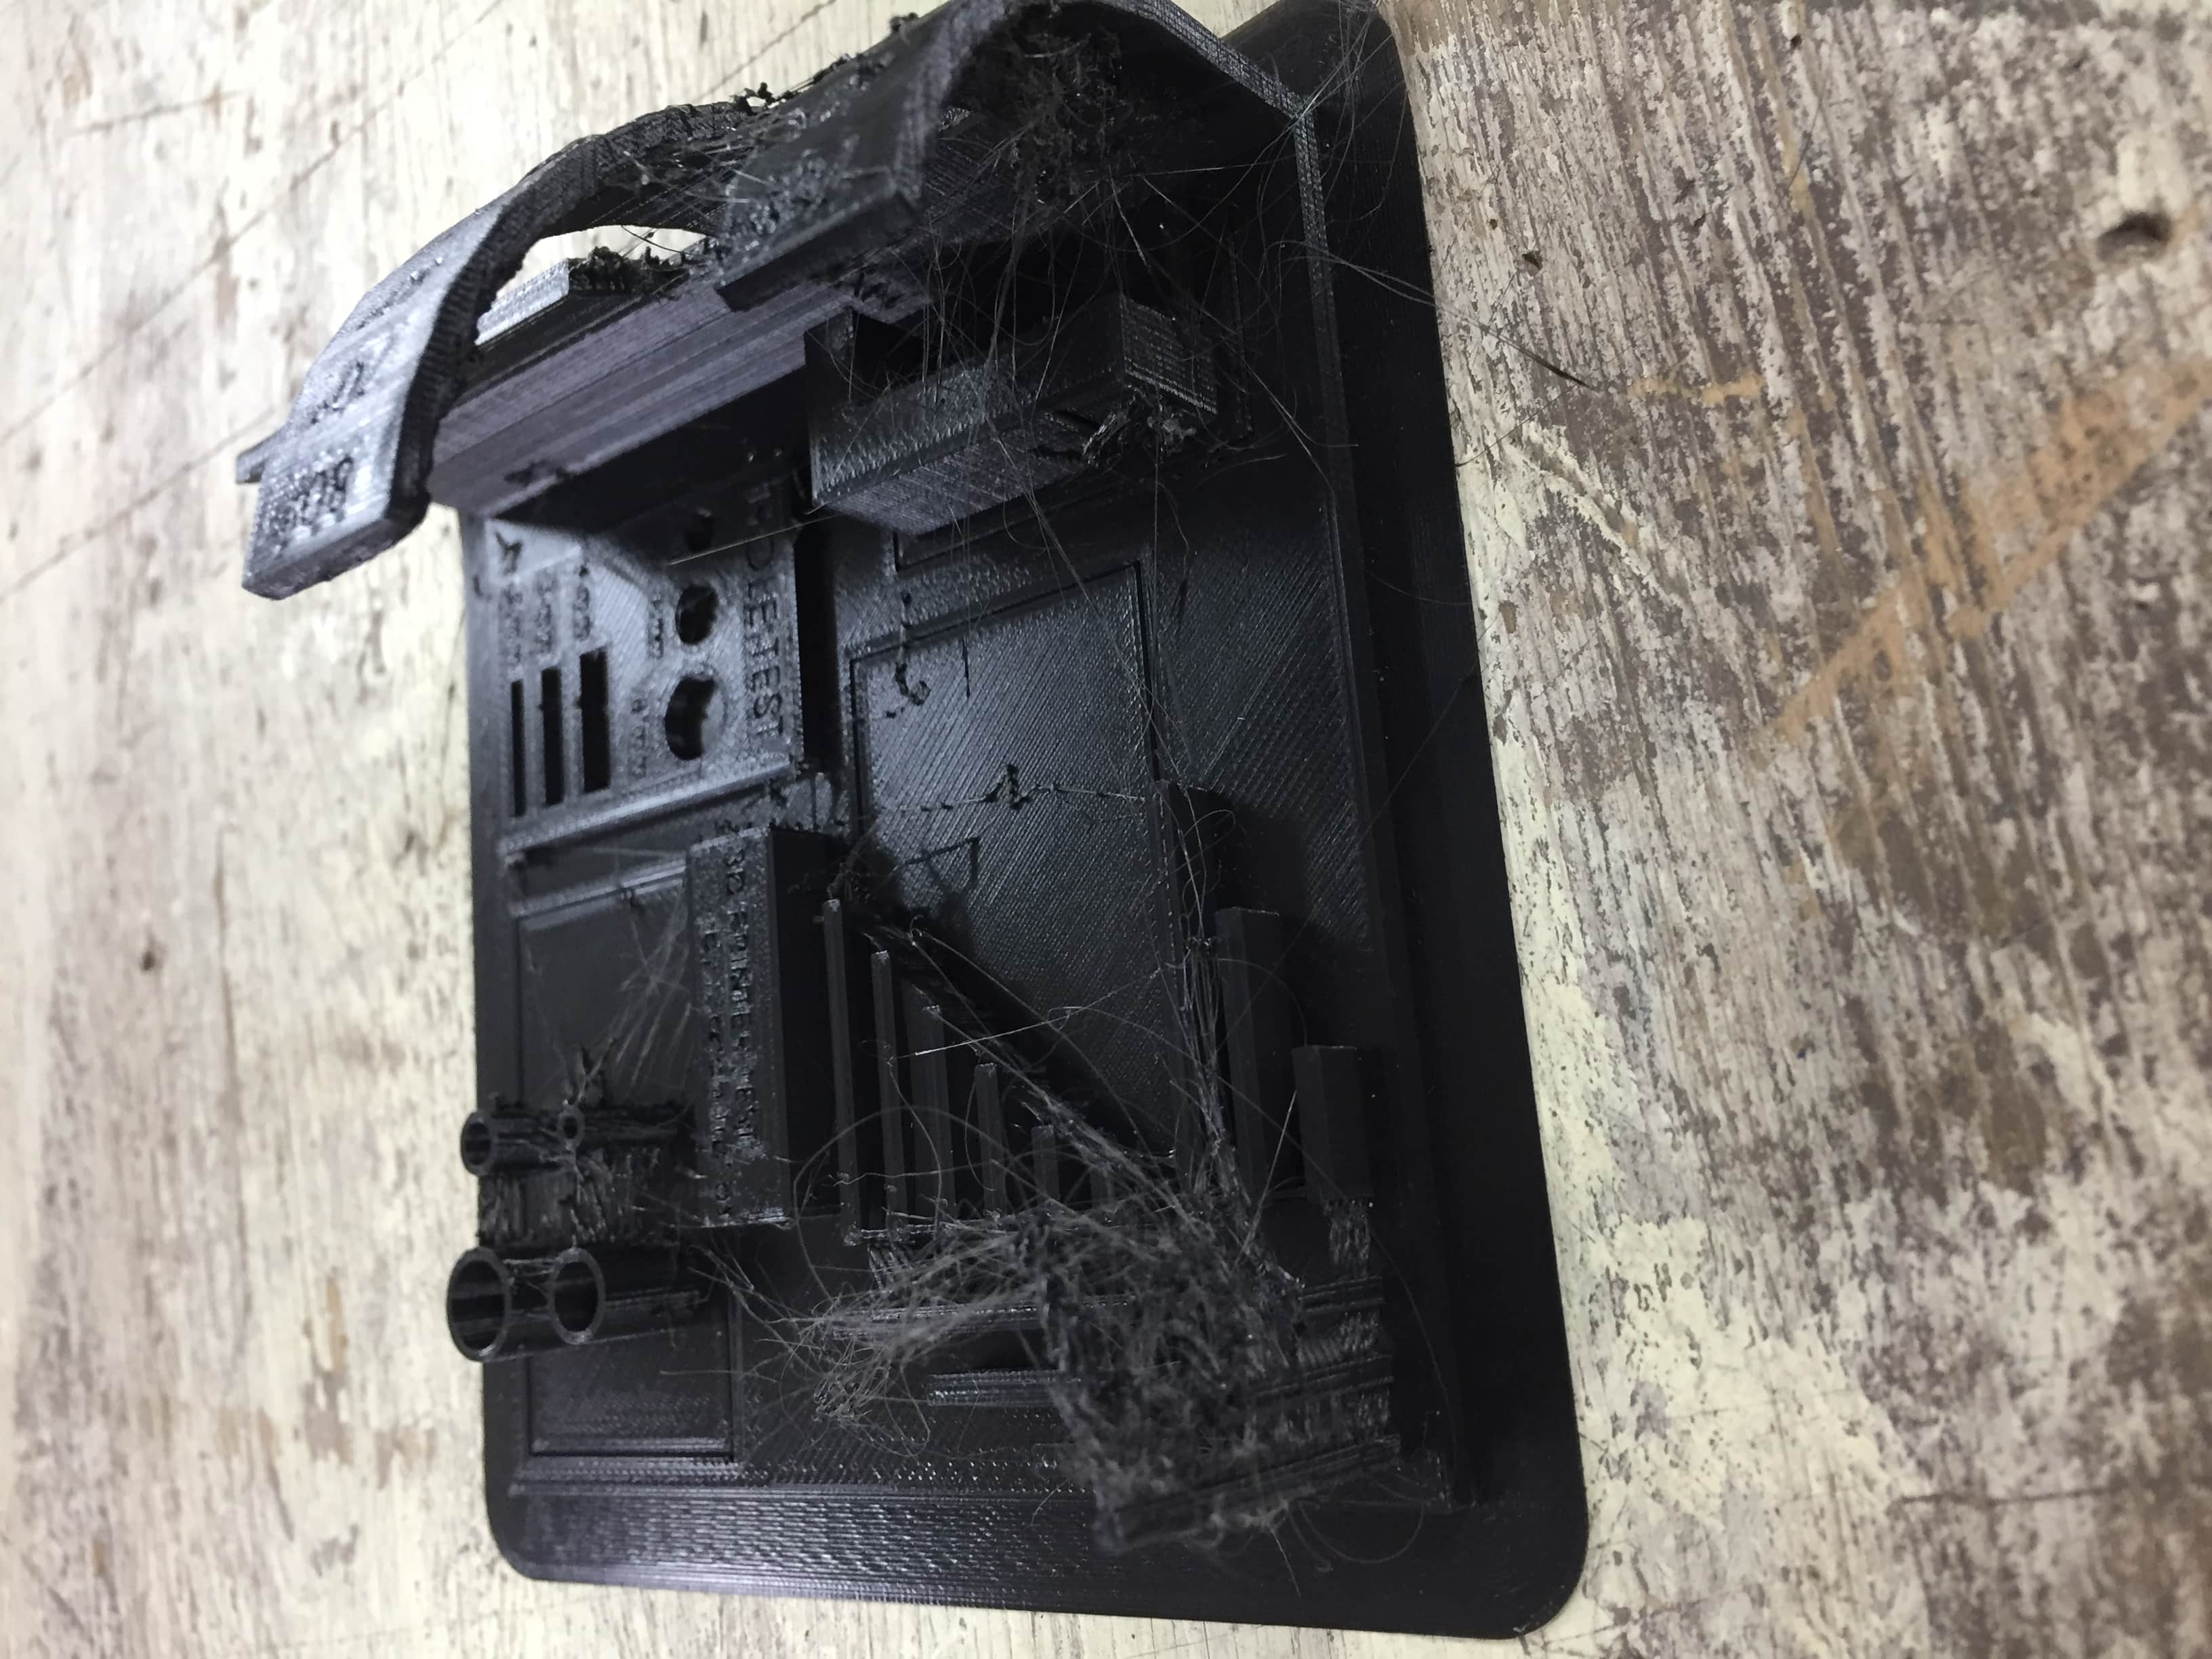
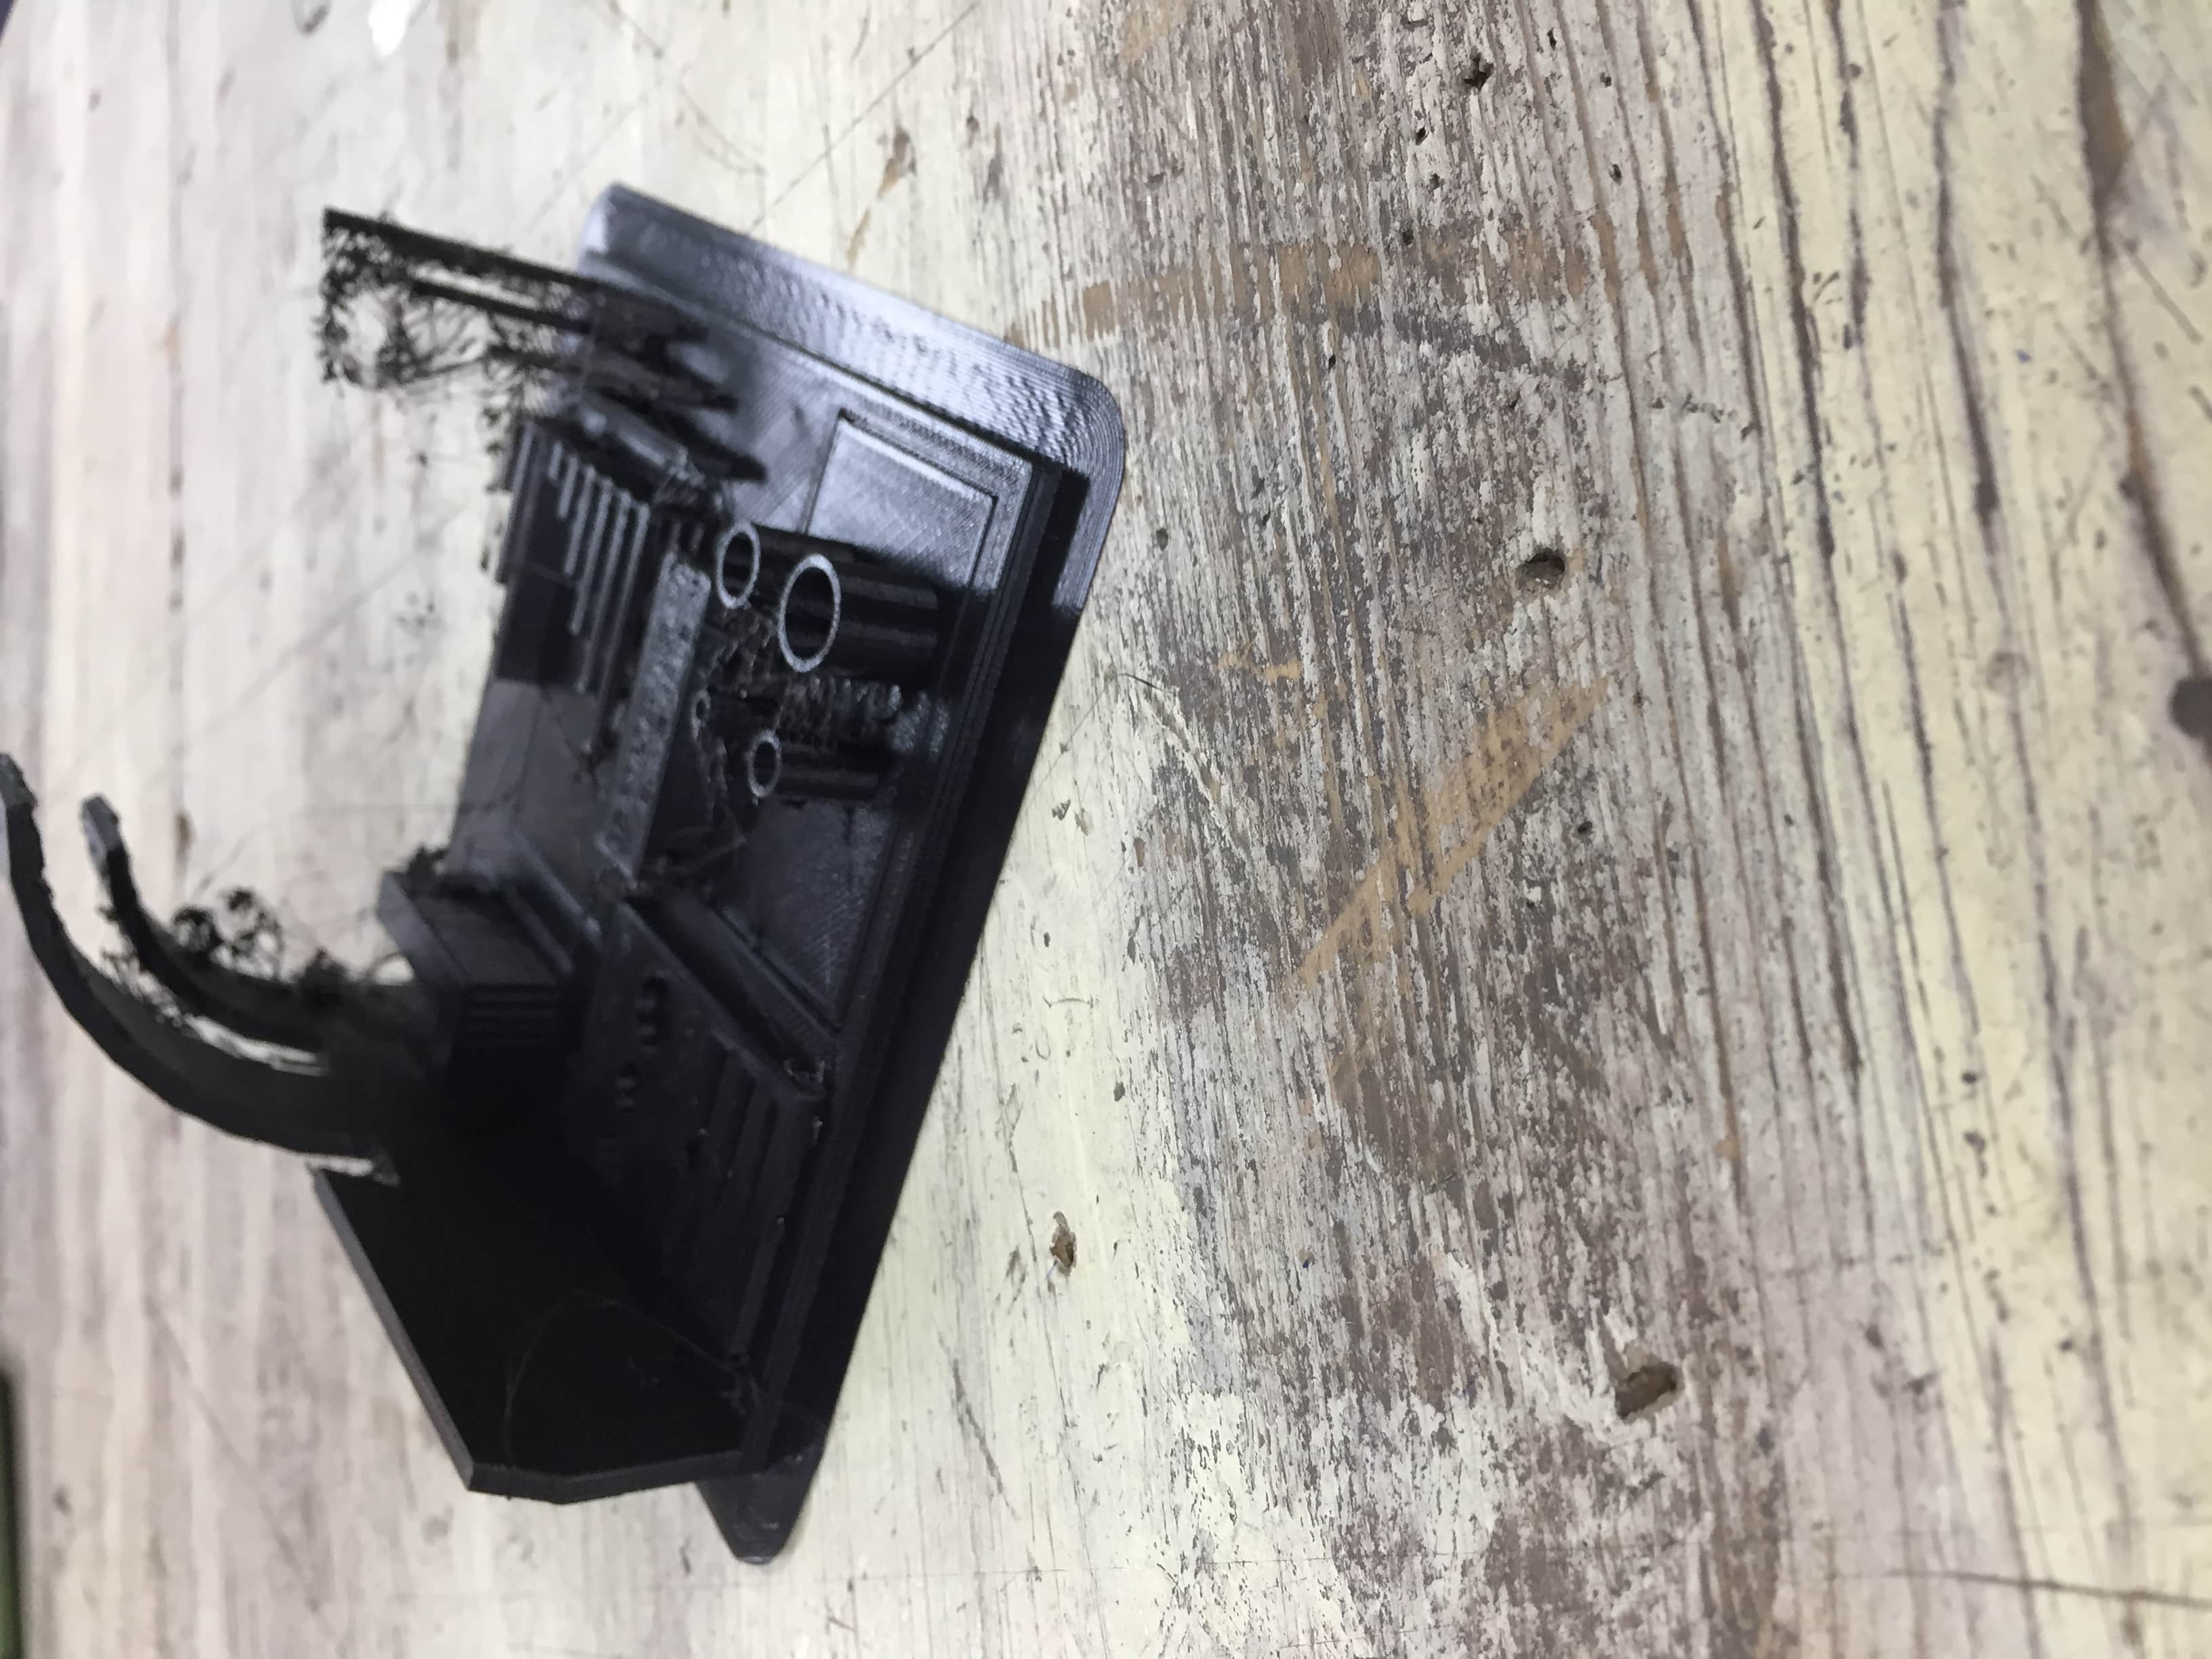
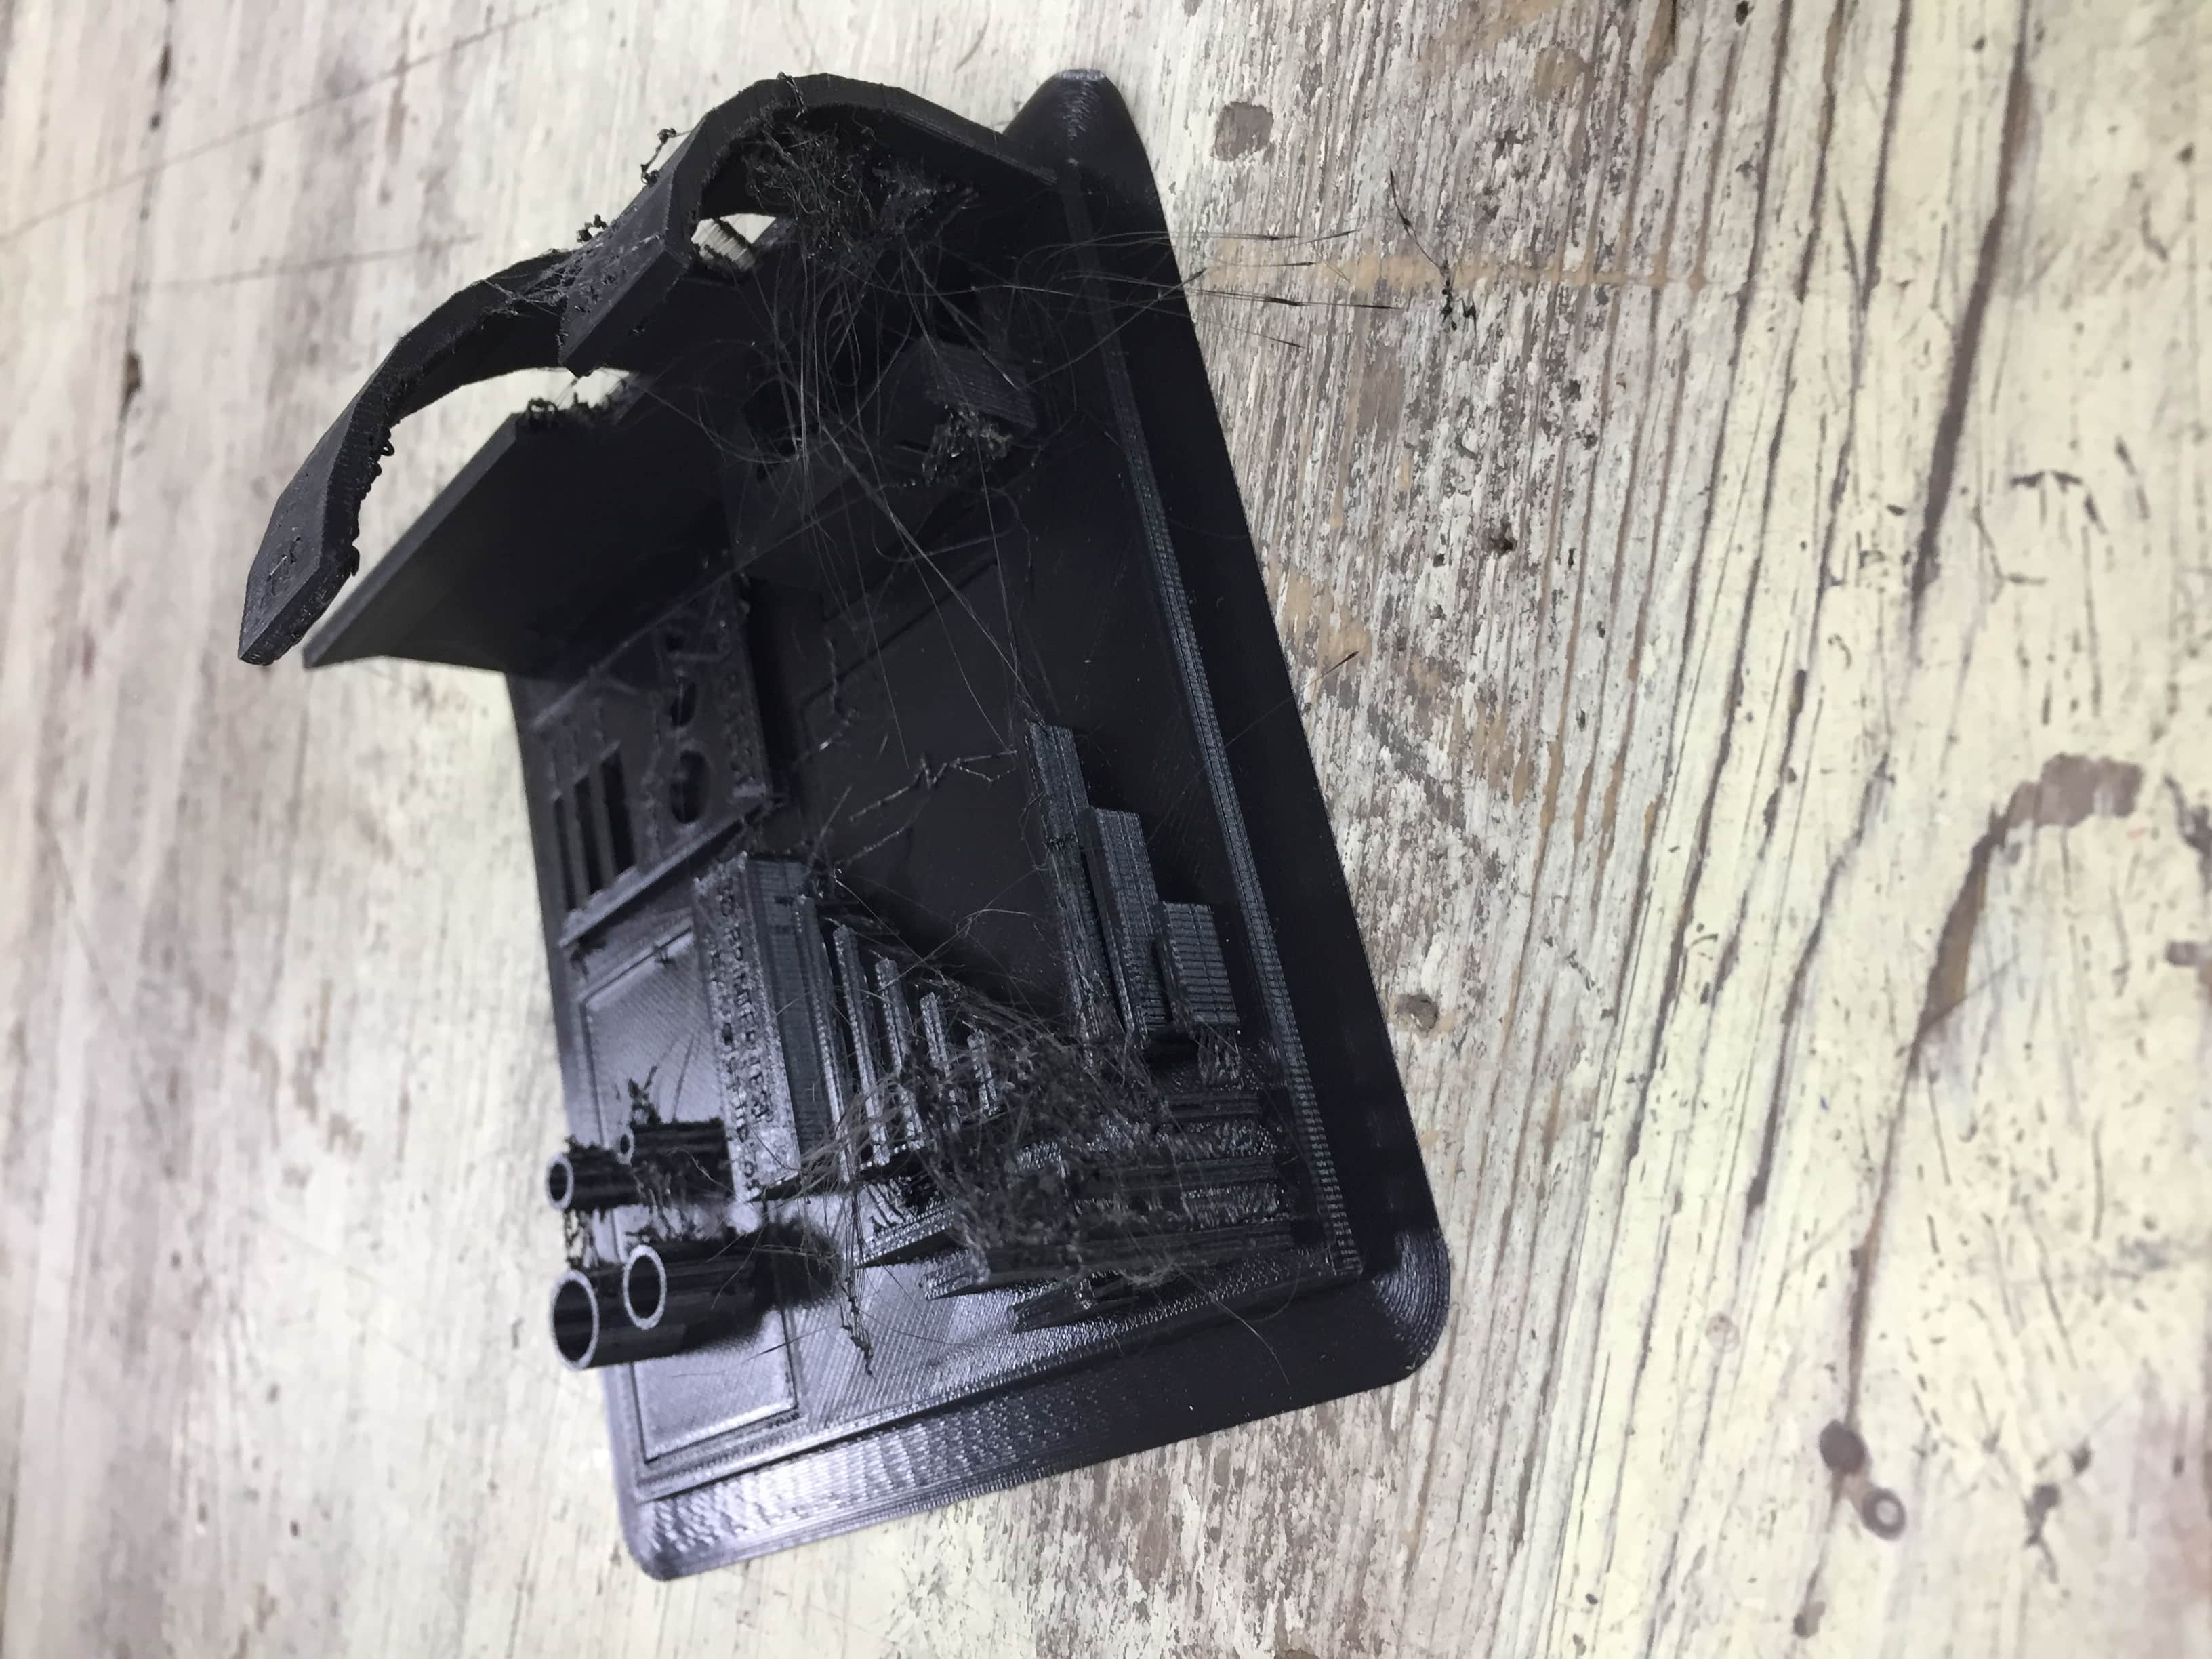
Here is my part during and after being printed:


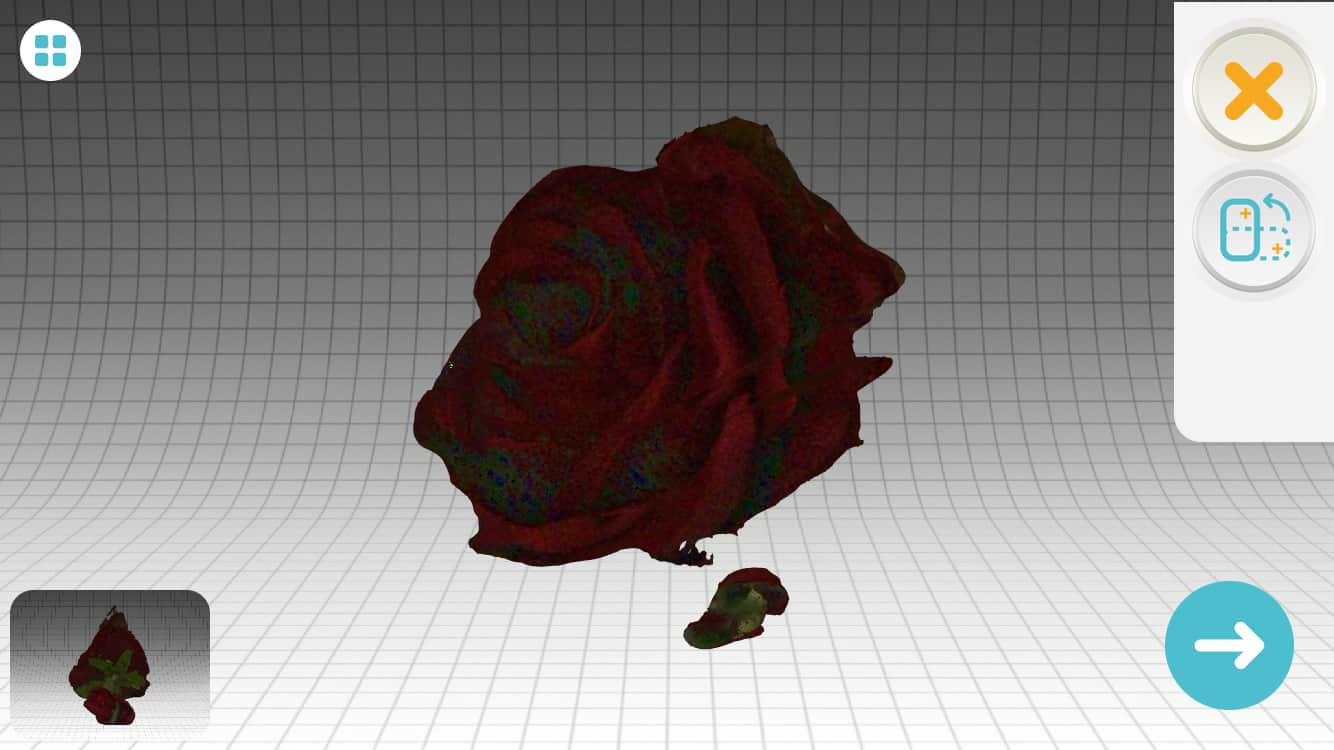
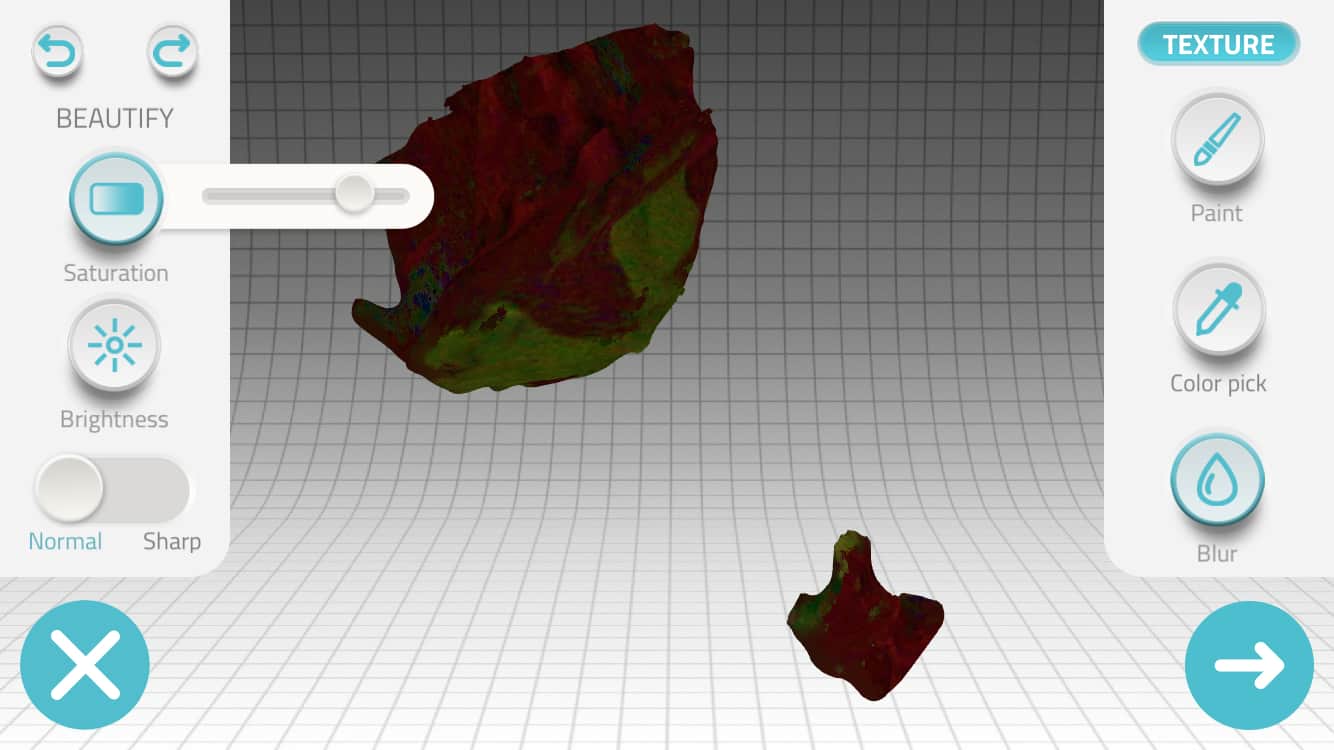
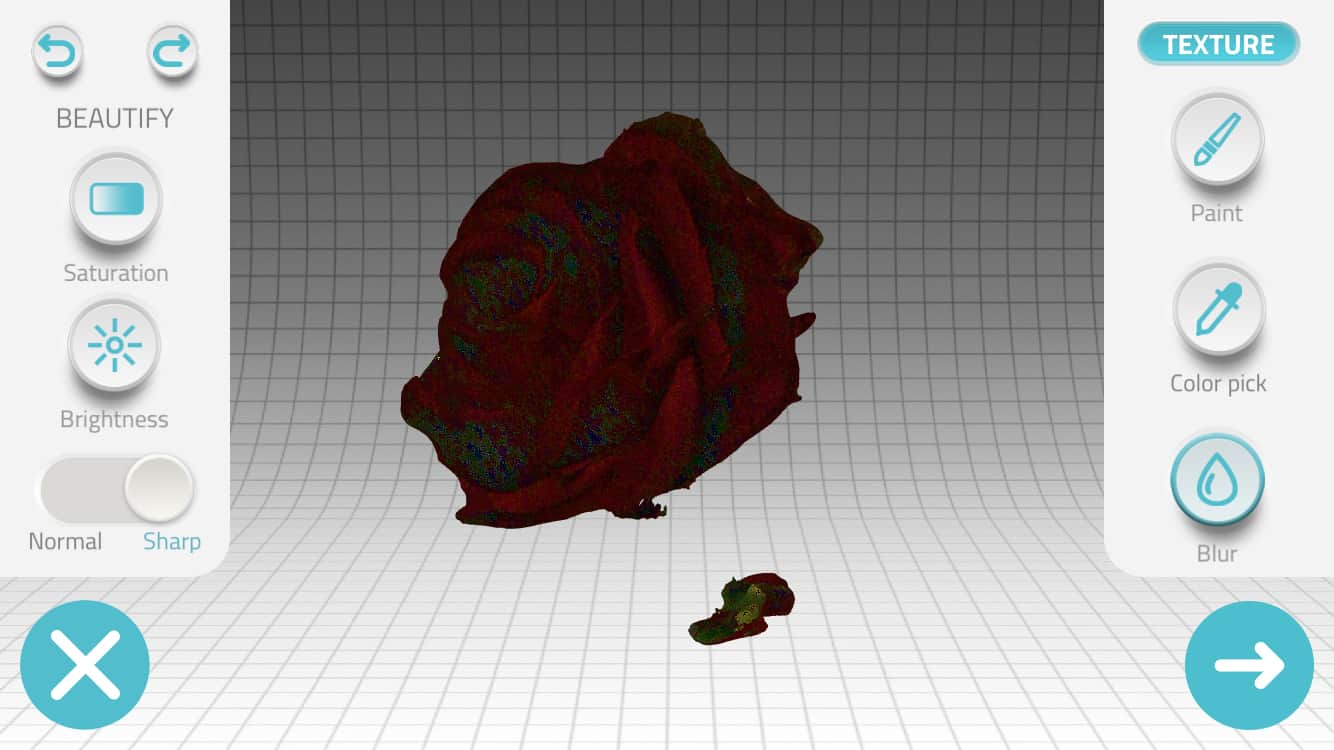
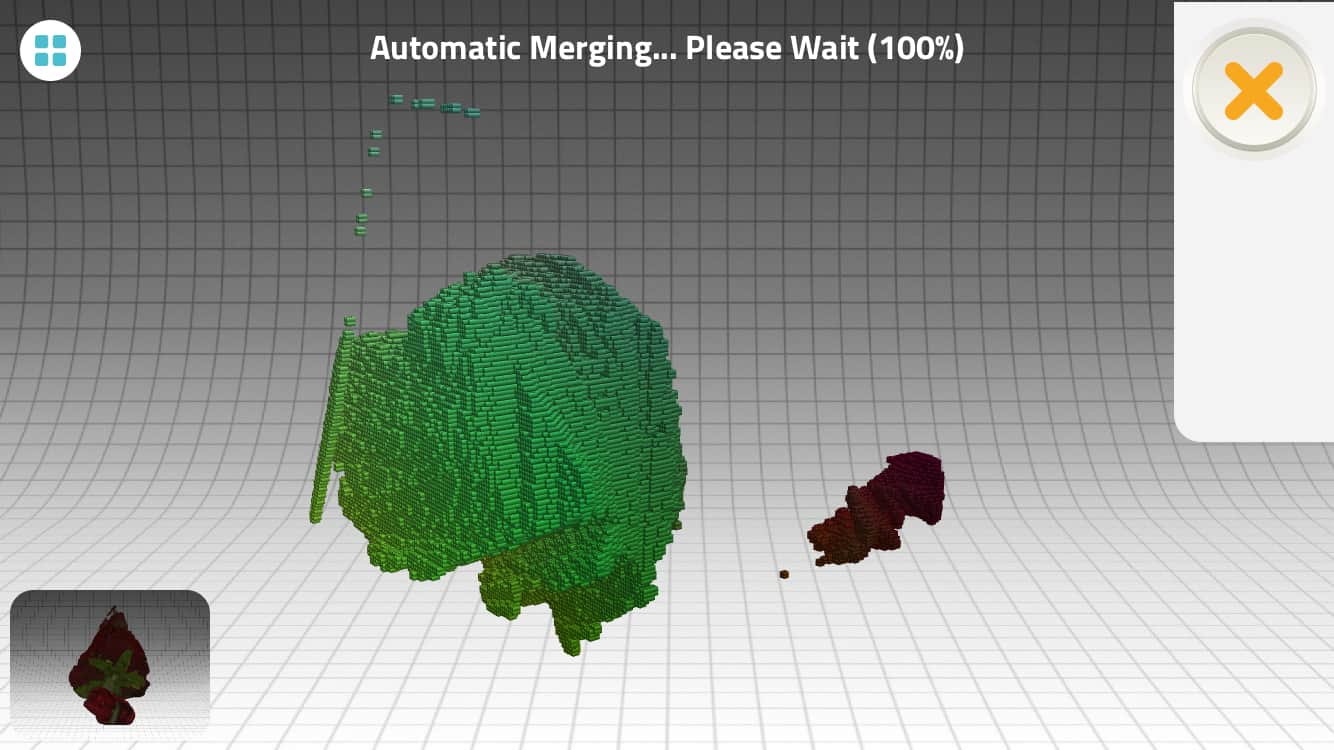
For scanning :
I downloaded Qlone on my phone and used it :
I printed the mat.Then I opened the application and started scanning the following:


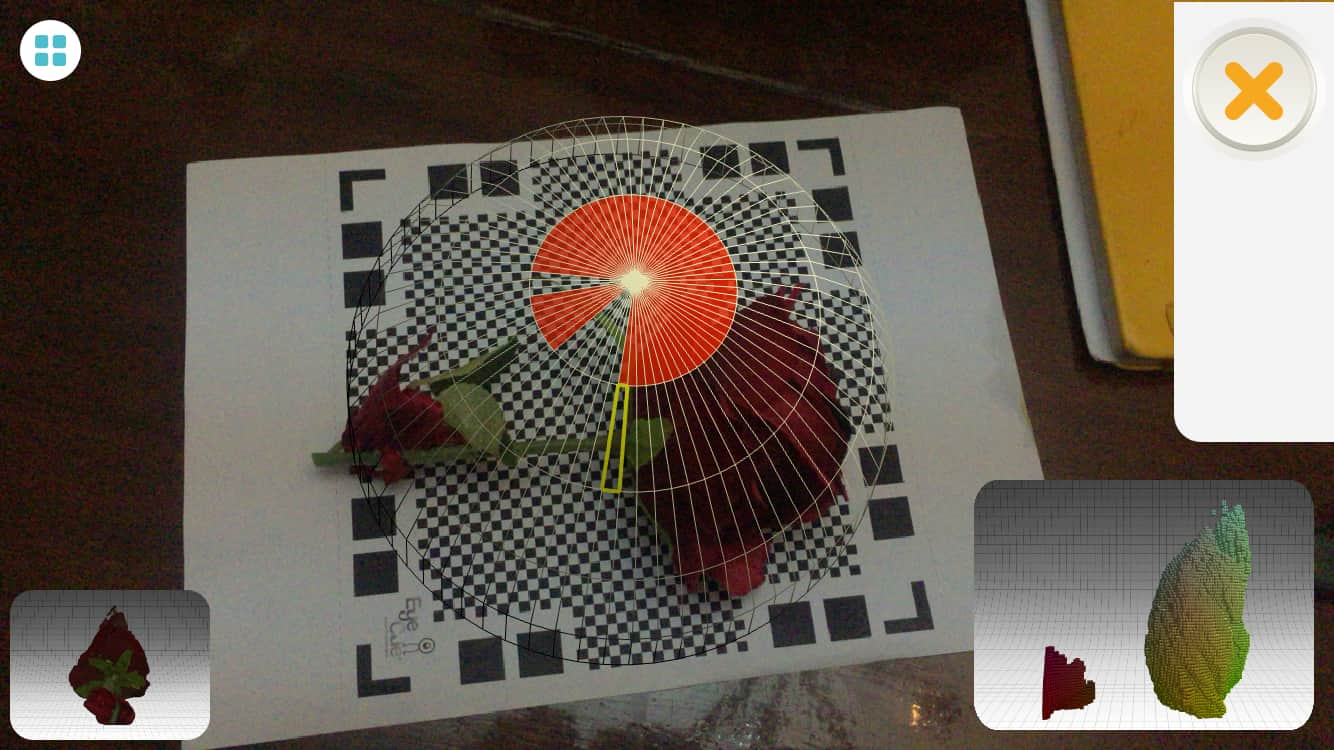
Then I did a second position and it started merging the two scans :

Then it came out like the following: