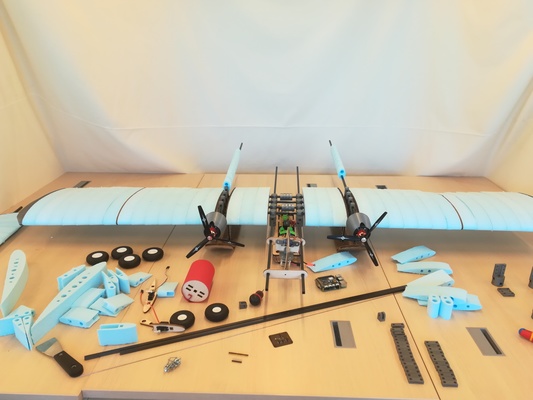
This page presents the assignments for week 7 of Fab Academy 2020: “Computer-Controlled Machining”.
To do list:
Group
- test runout, alignment, speeds, feeds, and toolpaths for your machine
- make (design+mill+assemble) something big
Week 7 CAD files:
Wing.scad (own work)
3Dmodel.scad (own work)
5x3prop_CW.scad (DMeyer work, details inside)
Carbon_Tube_Square.scad (own work)
Naca4.scad (Rudolf Huttary work, details inside)
Parameters_CDM.scad (own work)
BatteryCentral.scad (own work)
RaspberryPiAndNavio2.scad (own work)
Carbon_Tube_Square.scad (own work)
Junction_Carbon_Carbon_Part_1.scad (own work)
RibBatteryCentral.scad (own work)
RibCentral.scad (own work)
RibExternal.scad (own work)
RibExternal_2.scad (own work)
Nose_Front.scad (own work)
MotorMount.scad (own work)
FuselageModulePart3.scad (own work)
FuselageModulePart4.scad (own work)
TailJunction.scad (own work)
RibTailVertical.scad (own work)
MainFullDroneV3.scad (own work)
Fuselage.scad (own work)
Wing.scad (own work)
Motor.scad (own work)
3D_printed_parts.scad (own work)
Junction_Carbon_Carbon_Part_1.scad (own work)
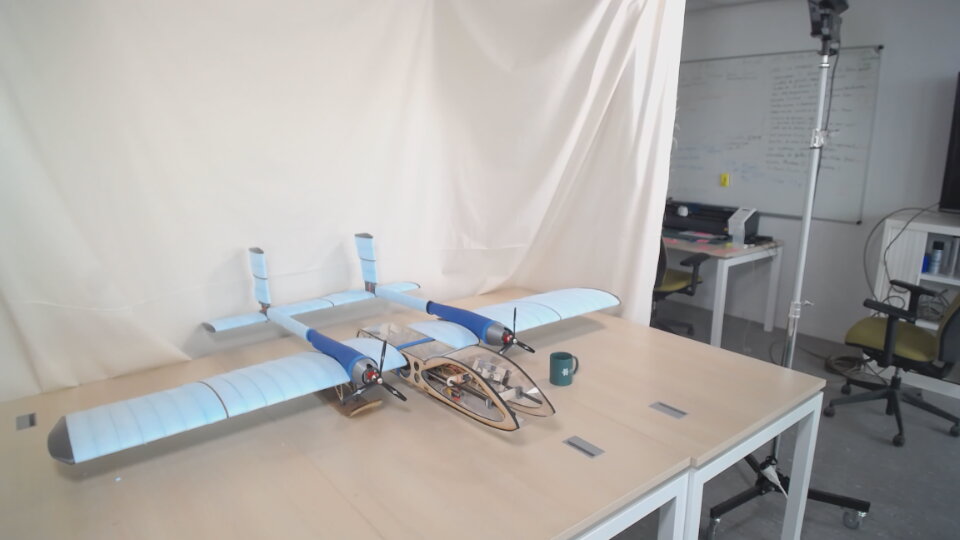
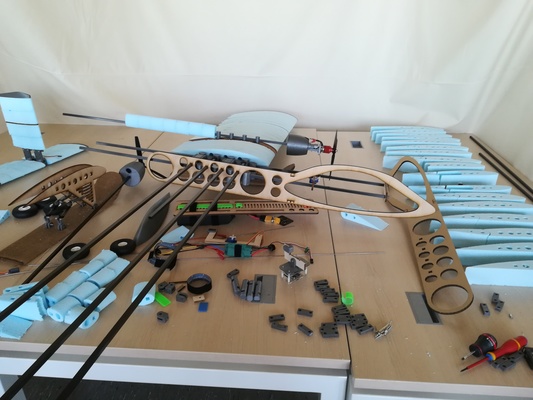
Week 7 "hero shot":
Group assignment
This section presents tests for the CNC machine of the Fab Lab Digiscope.VCarve Pro
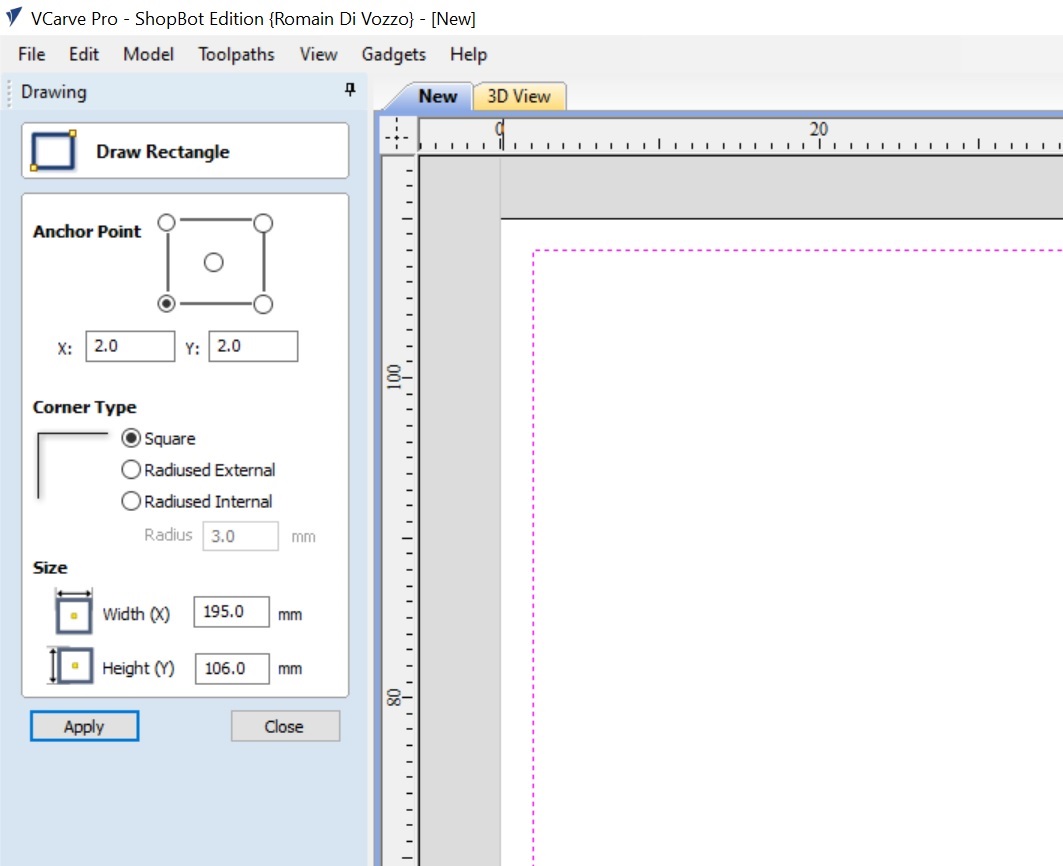
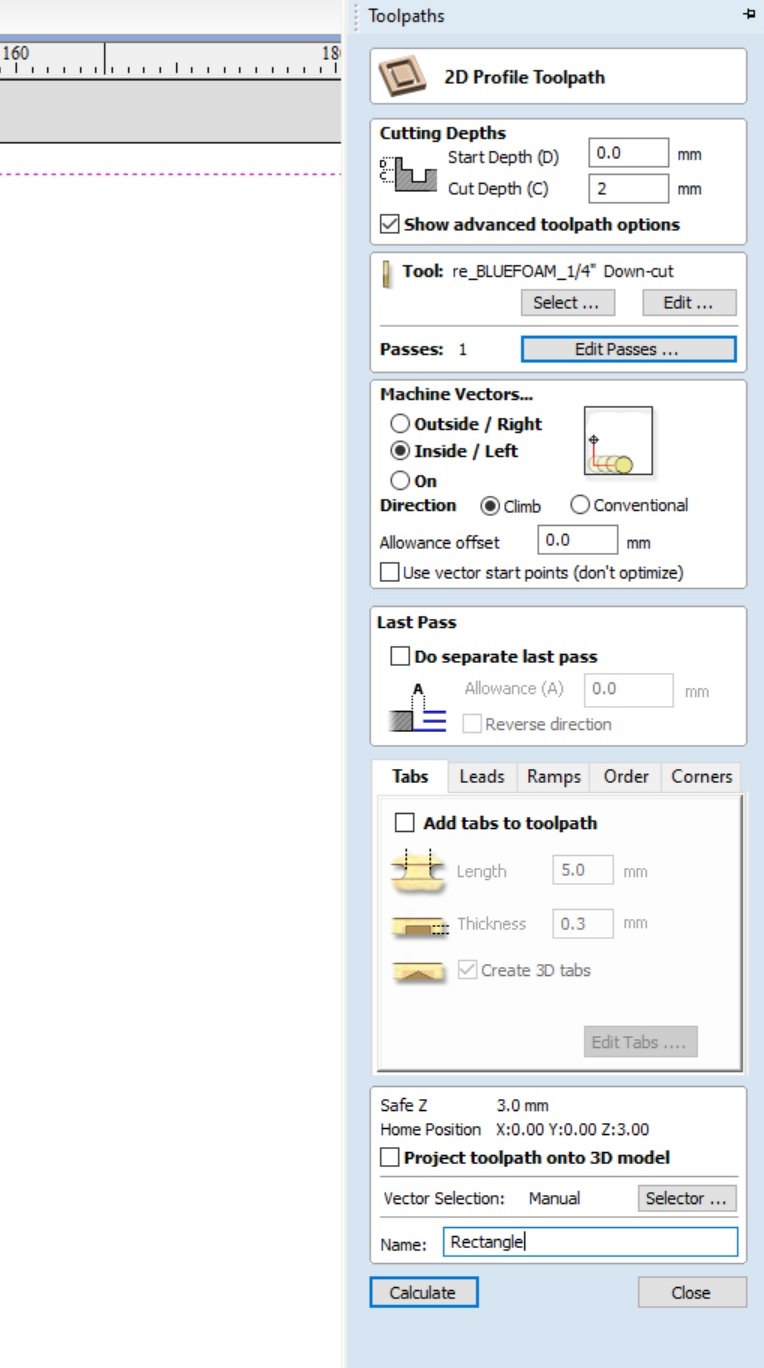
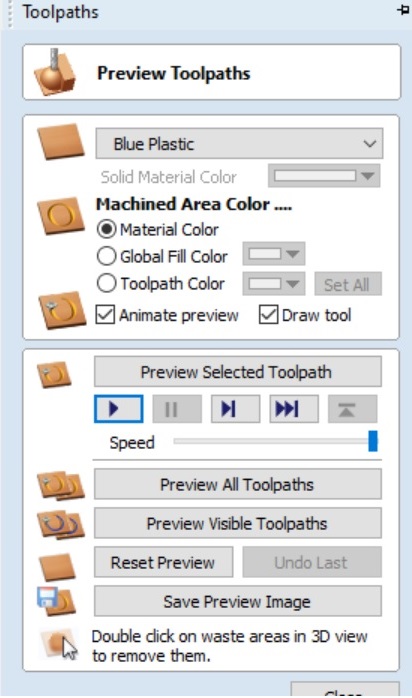
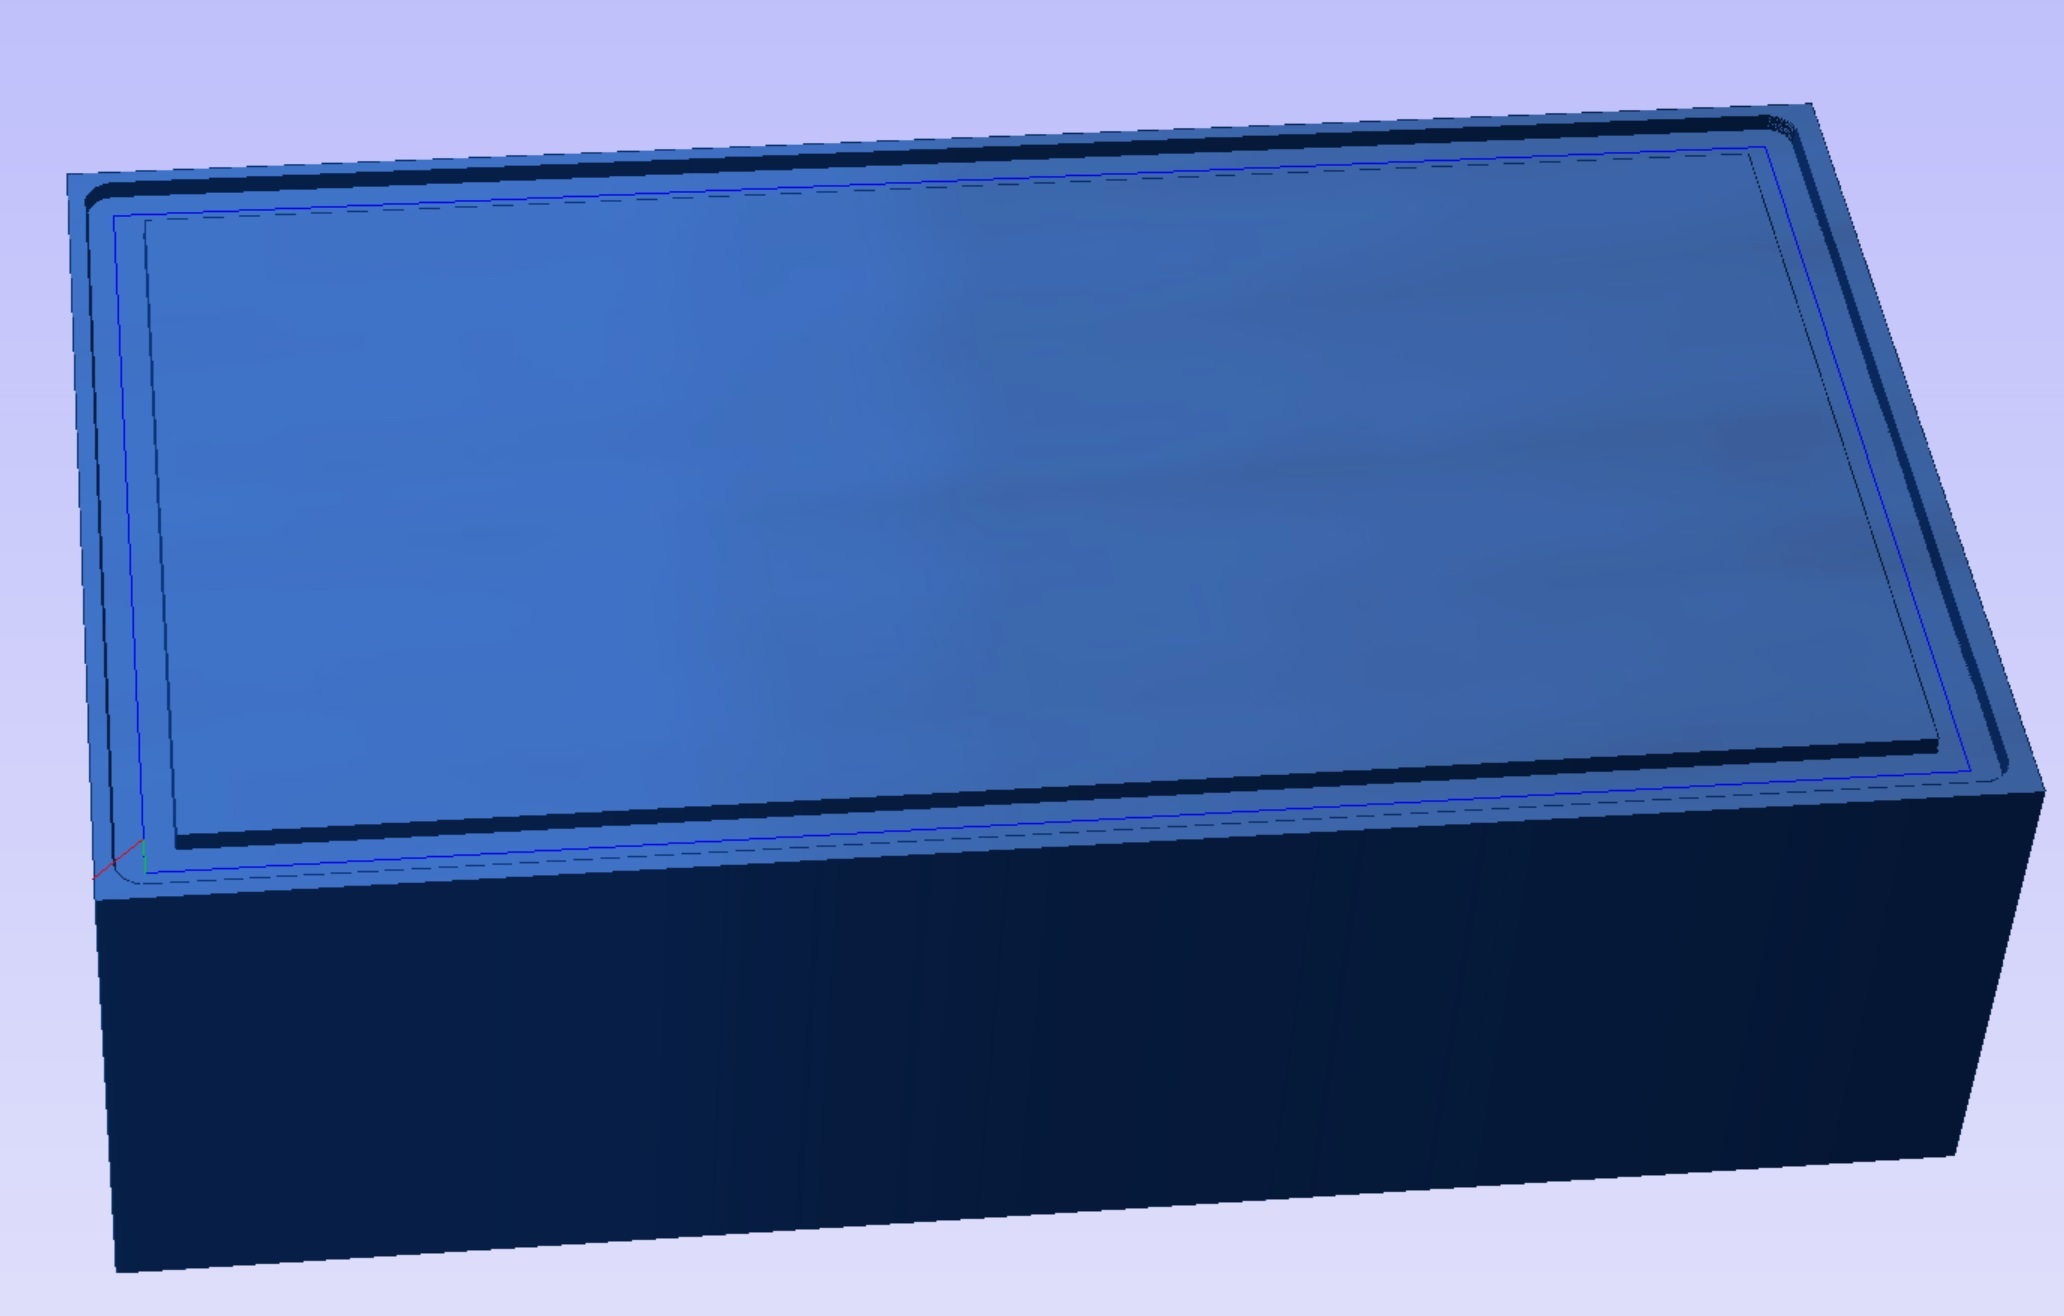
First we need to enter the bloc dimension as shown in figure 1. We than choose a cut depth of 2 mm as shown in figure 2. Using the Preview toolpath we can generate a 3D preview as shown in figures 3 and 4. We can save a .sbp file and a .crv file.
Shopbot
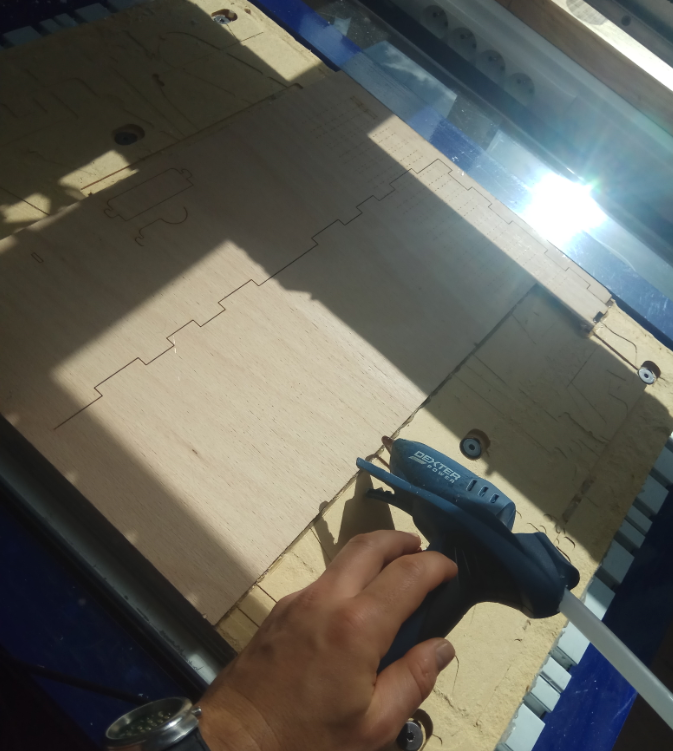
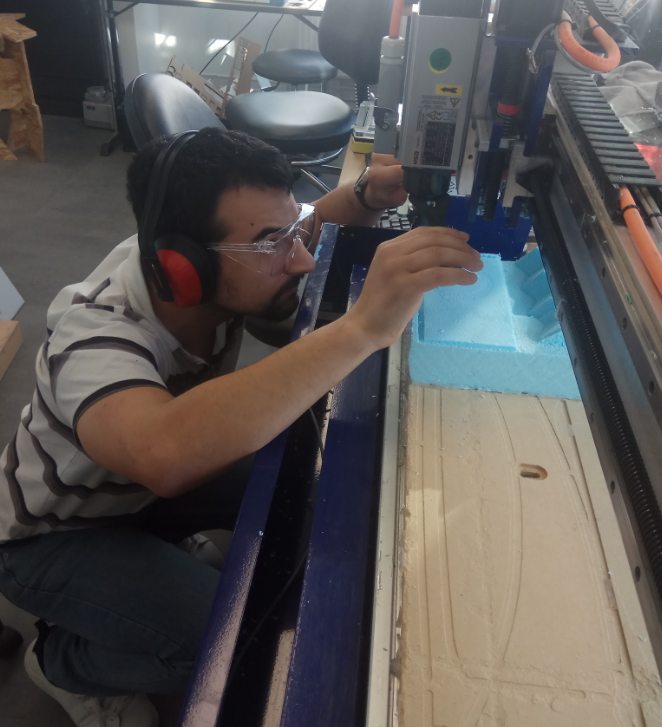
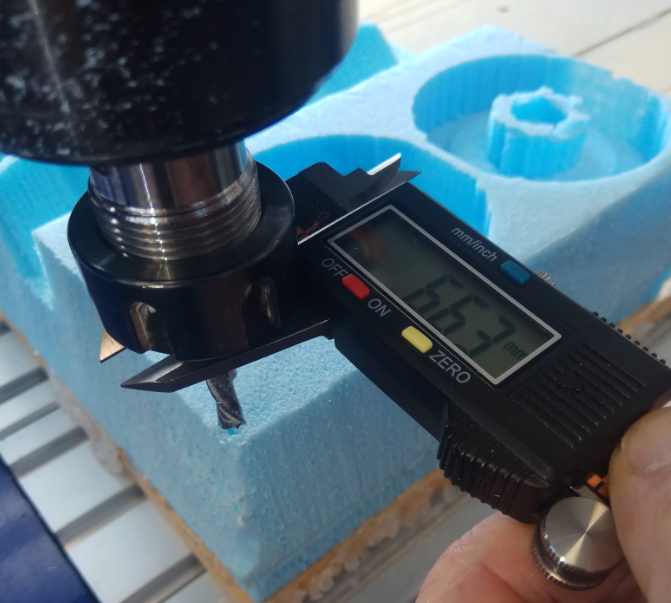
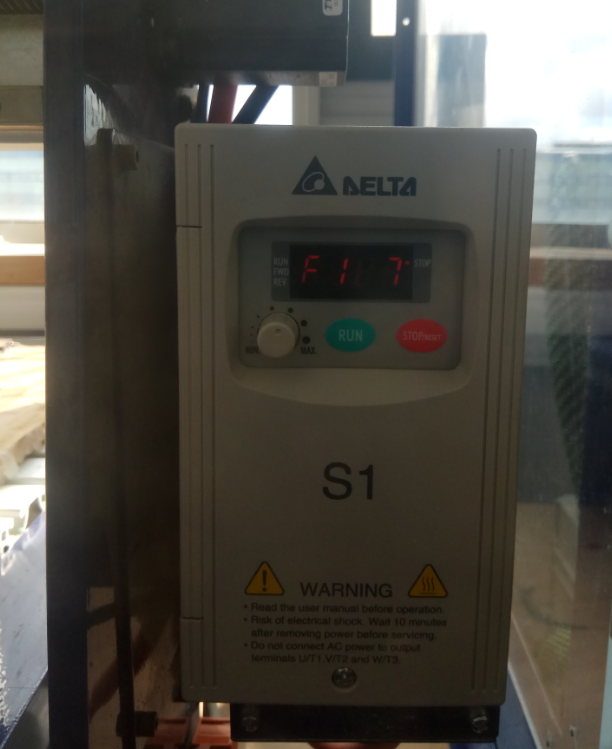
We glue the sacrificial layer to the bottom of the shopbot machine as shown in figure 5 We instal the flute as shown in figure 6 We check the flute size as shown in figure 7 We set the rpm on the shopbot as shown in figure 8.The display go from 0 to 300, with 300 corresponding to 18000 rpm.
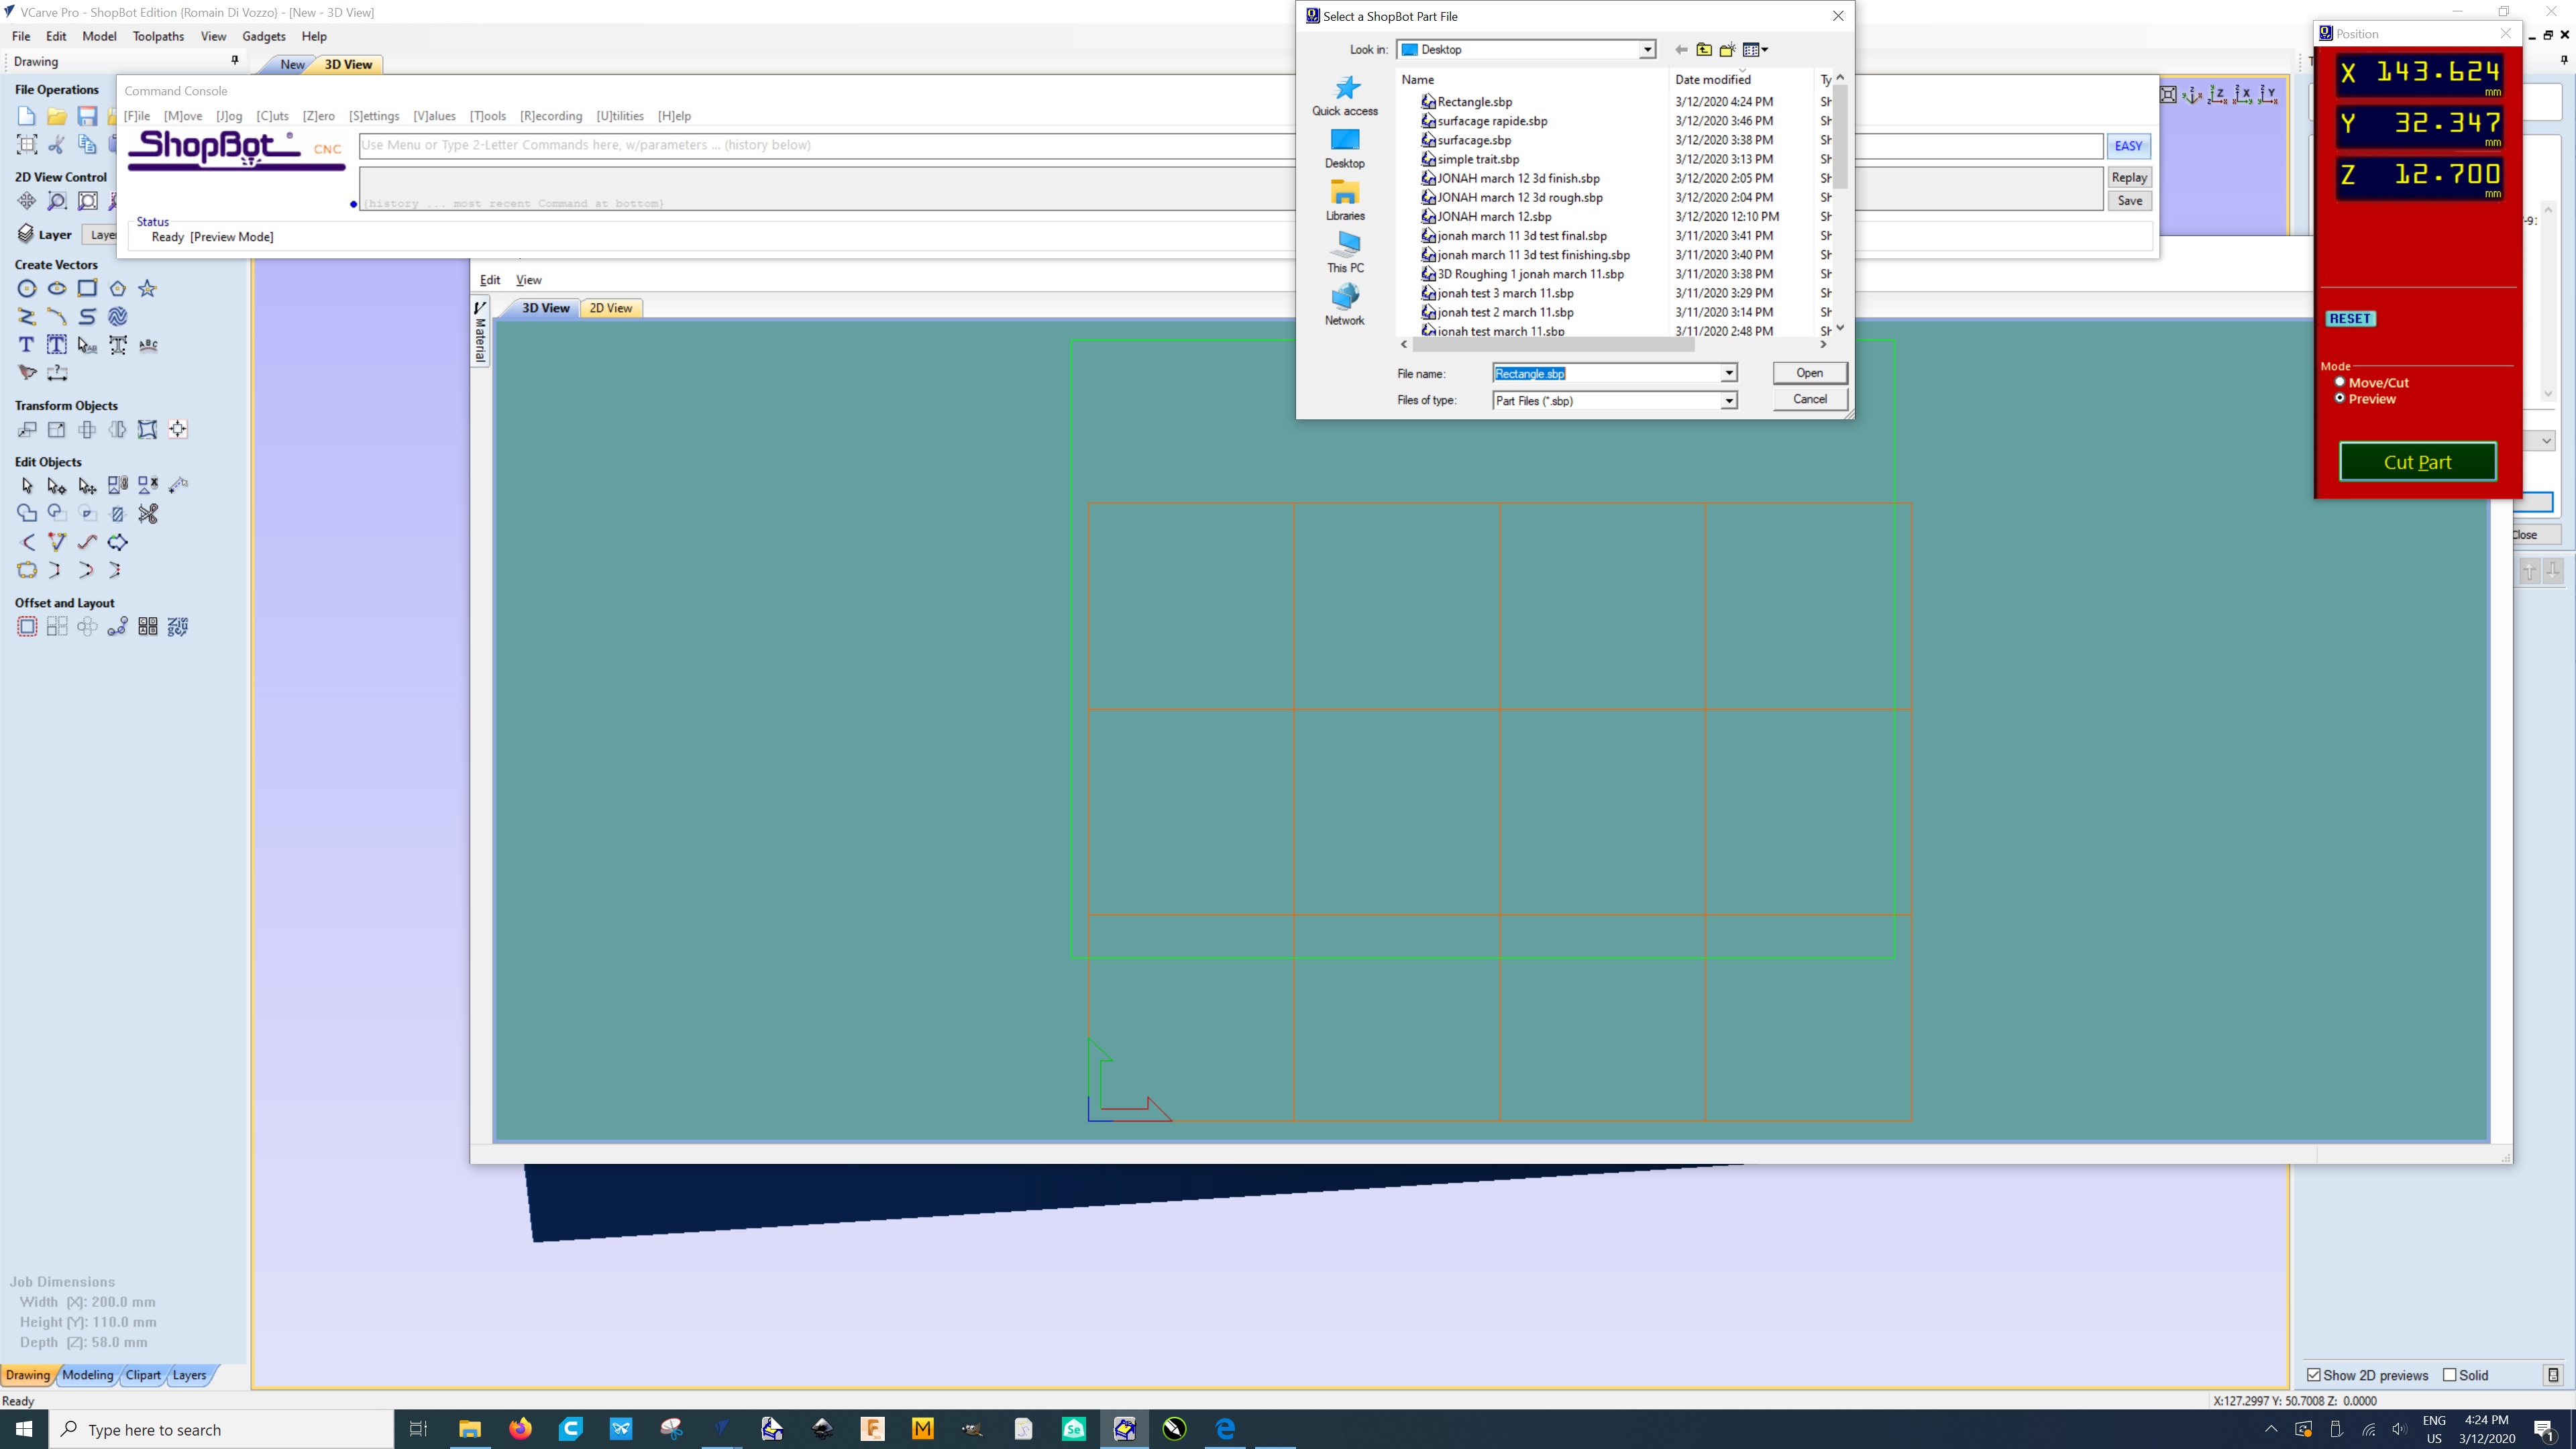
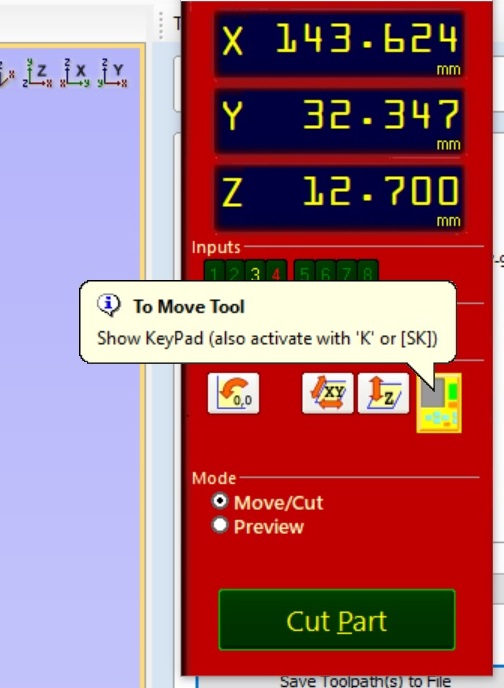
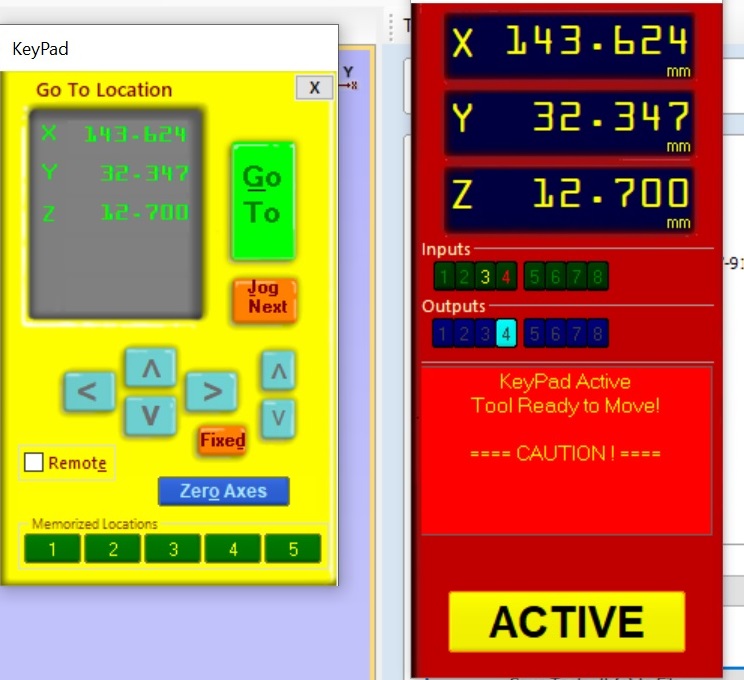
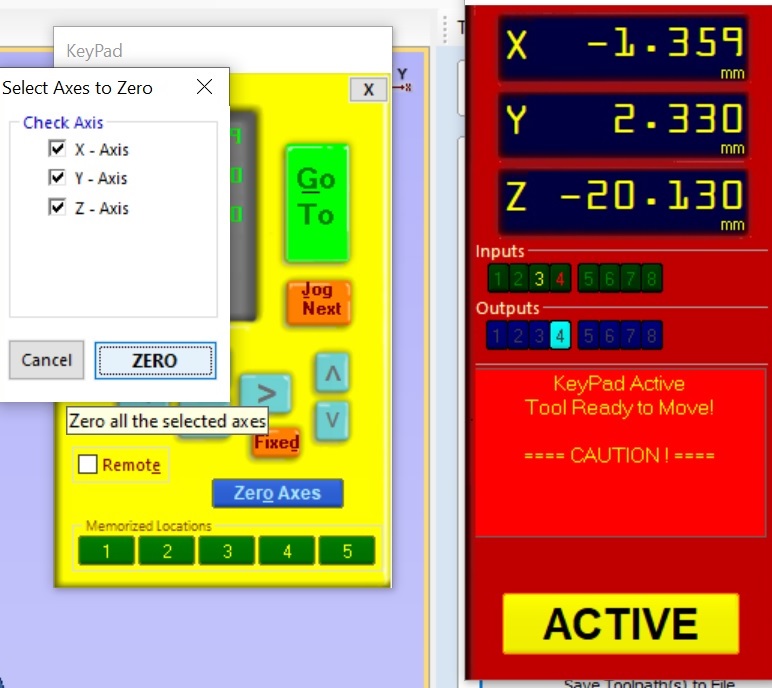
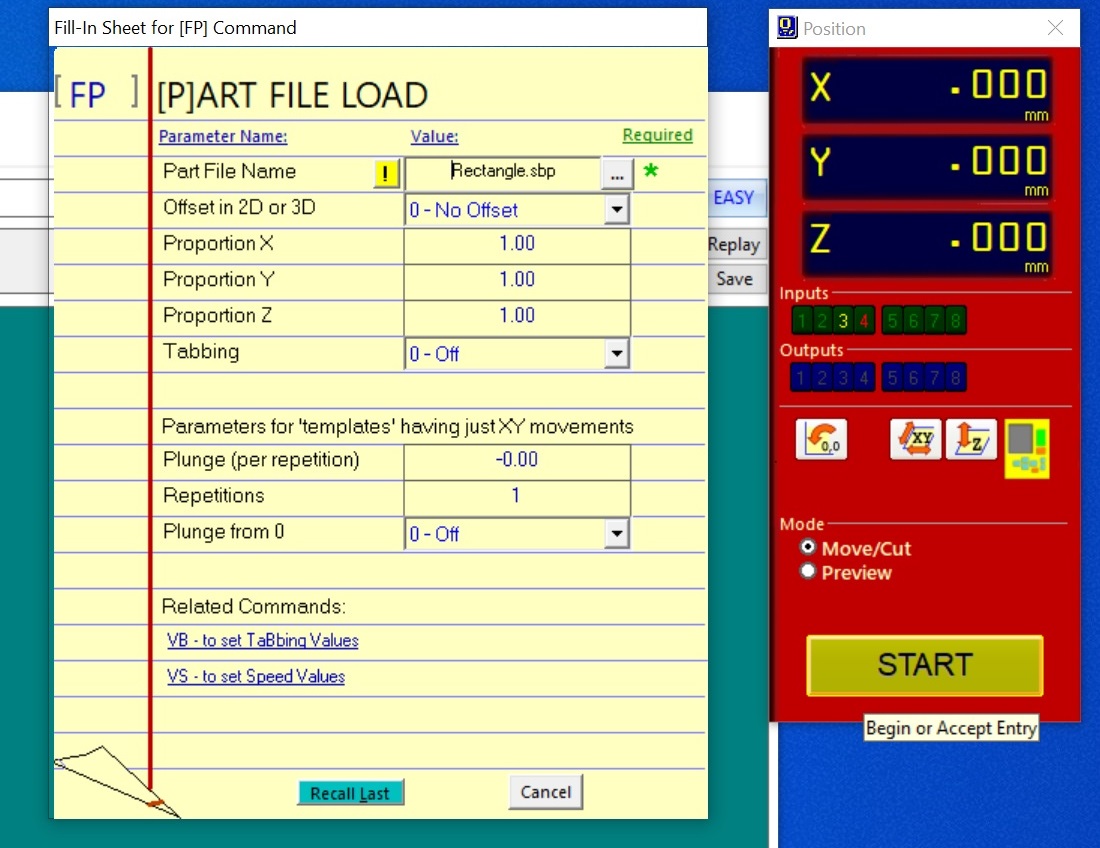
We want a rpm of 10000, so we set the display to 167. We open the .sbp file in shopbot as shown in figure 9 We chose a z-zero at the top of the plane by clicking Move Tool as shown in figure 10 We adjust the mill head to the position we want, as shown in figure 11 We set the position by cliking on "ZERO" button, as shown in figure 12 We than click the start button to launch the milling job, as shown in figure 13 We remove a block of styrofoam as sown in figure 14
Individual assignment
Foam parts for the drone
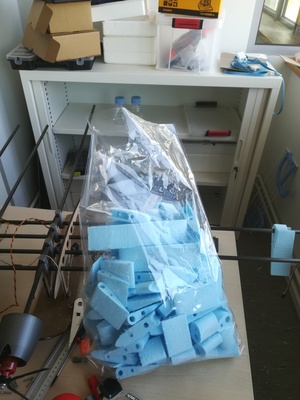
For my final project I need to mill a lot of foam parts for- the wings,
- the ailerons,
- the horizontal stabilizer,
- the vertical stabilizer,
- the boom.
Milling the foam
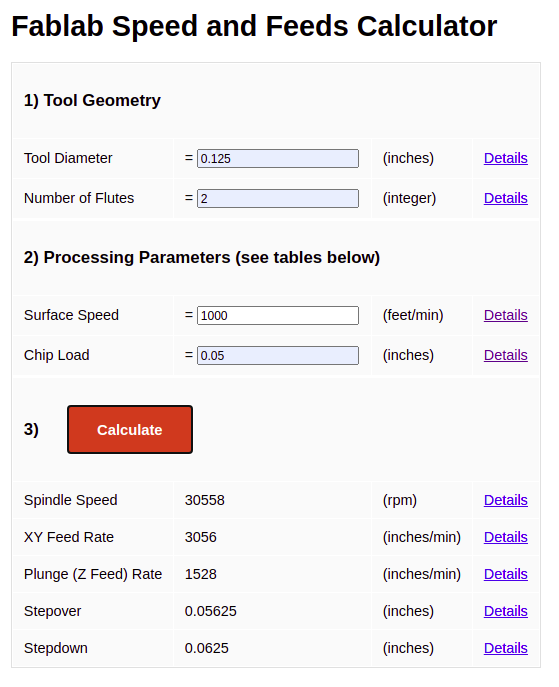
I used the following speed and feeds for the shopbot: In OpenScad I have created STL files for each part.In VCarve Pro I have imported the STL using the command "Import a Component or 3D Model" in the "File".
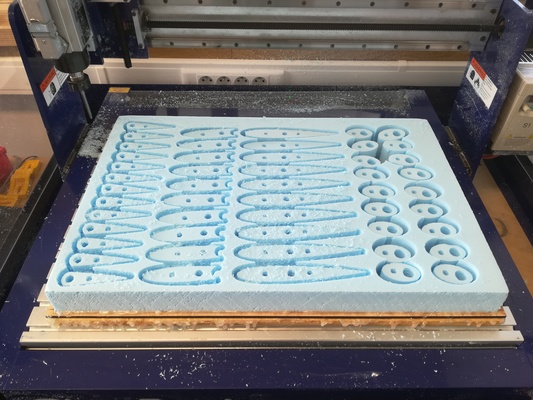
I them choose the approtriate orientation to stack as many parts as possible in a piece of foam. I then used a "2D profile Toolpath" as the one shown in figure 2.
I set the start depth to 0 mm and the cut Depth to 100 mm.
I have made a laser cut frame a little larger then the foam block.
I glued the frame on the martyr of the CNC.
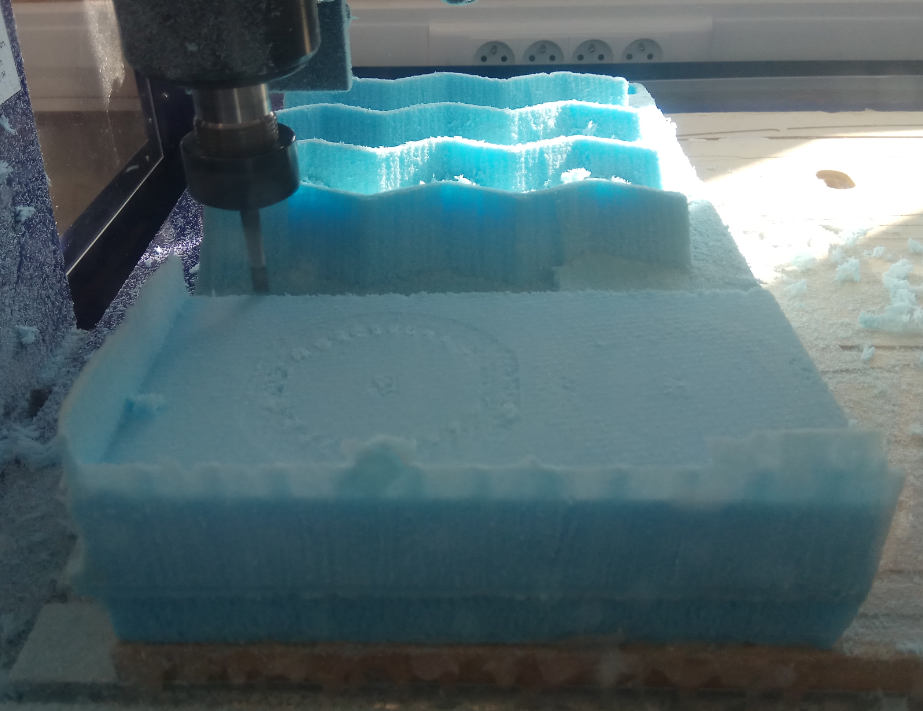
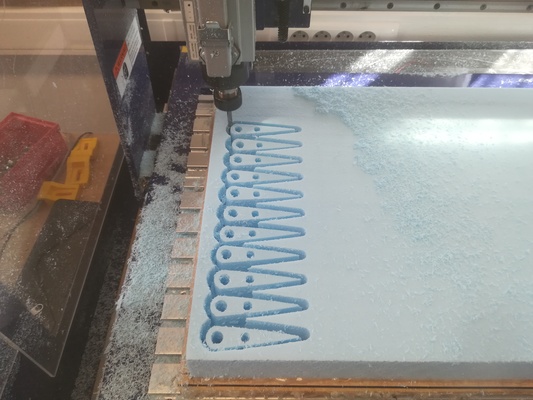
I then glued the foam on the frame. As shown in the two figures below. This allows me to cut all the way down to the foam.
After several test I realize that I don't need tabs to hold the piece as the bottom part is the last to be cut. It is only true with foam. With wood, one really need the tab to keep the piece from flying away.
Video 3 shows the milling process.
Video 3: Milling foam with the shopbot
