This page presents the assignment for week 2 of Fab Academy 2020: “Computer-Aided Design”.
To do list:
Individual
- Model (raster, vector, 2D, 3D, render, animate, simulate, ...) a possible final project
- Compress your images and videos, and post it on your class page
Week 2 CAD files:
3Dmodel.scad (own work)
5x3prop_CW.scad (DMeyer work, details inside)
Carbon_Tube_Square.scad (own work)
Naca4.scad (Rudolf Huttary work, details inside)
Parameters_CDM.scad (own work)
BatteryCentral.scad (own work)
RaspberryPiAndNavio2.scad (own work)
Carbon_Tube_Square.scad (own work)
Junction_Carbon_Carbon_Part_1.scad (own work)
RibBatteryCentral.scad (own work)
RibCentral.scad (own work)
RibExternal.scad (own work)
RibExternal_2.scad (own work)
Nose_Front.scad (own work)
MotorMount.scad (own work)
FuselageModulePart3.scad (own work)
FuselageModulePart4.scad (own work)
TailJunction.scad (own work)
RibTailVertical.scad (own work)
DroneAnimation.blend (own work)
DroneRenderTest1.blend (own work)
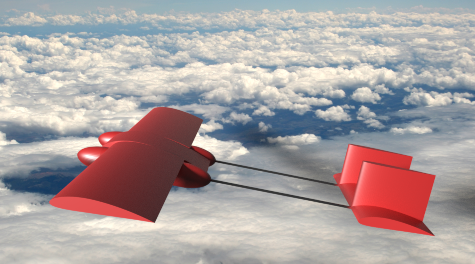
Week 2 "hero shot":
Table of Contents
Individual assignment
Diagrams of the final project
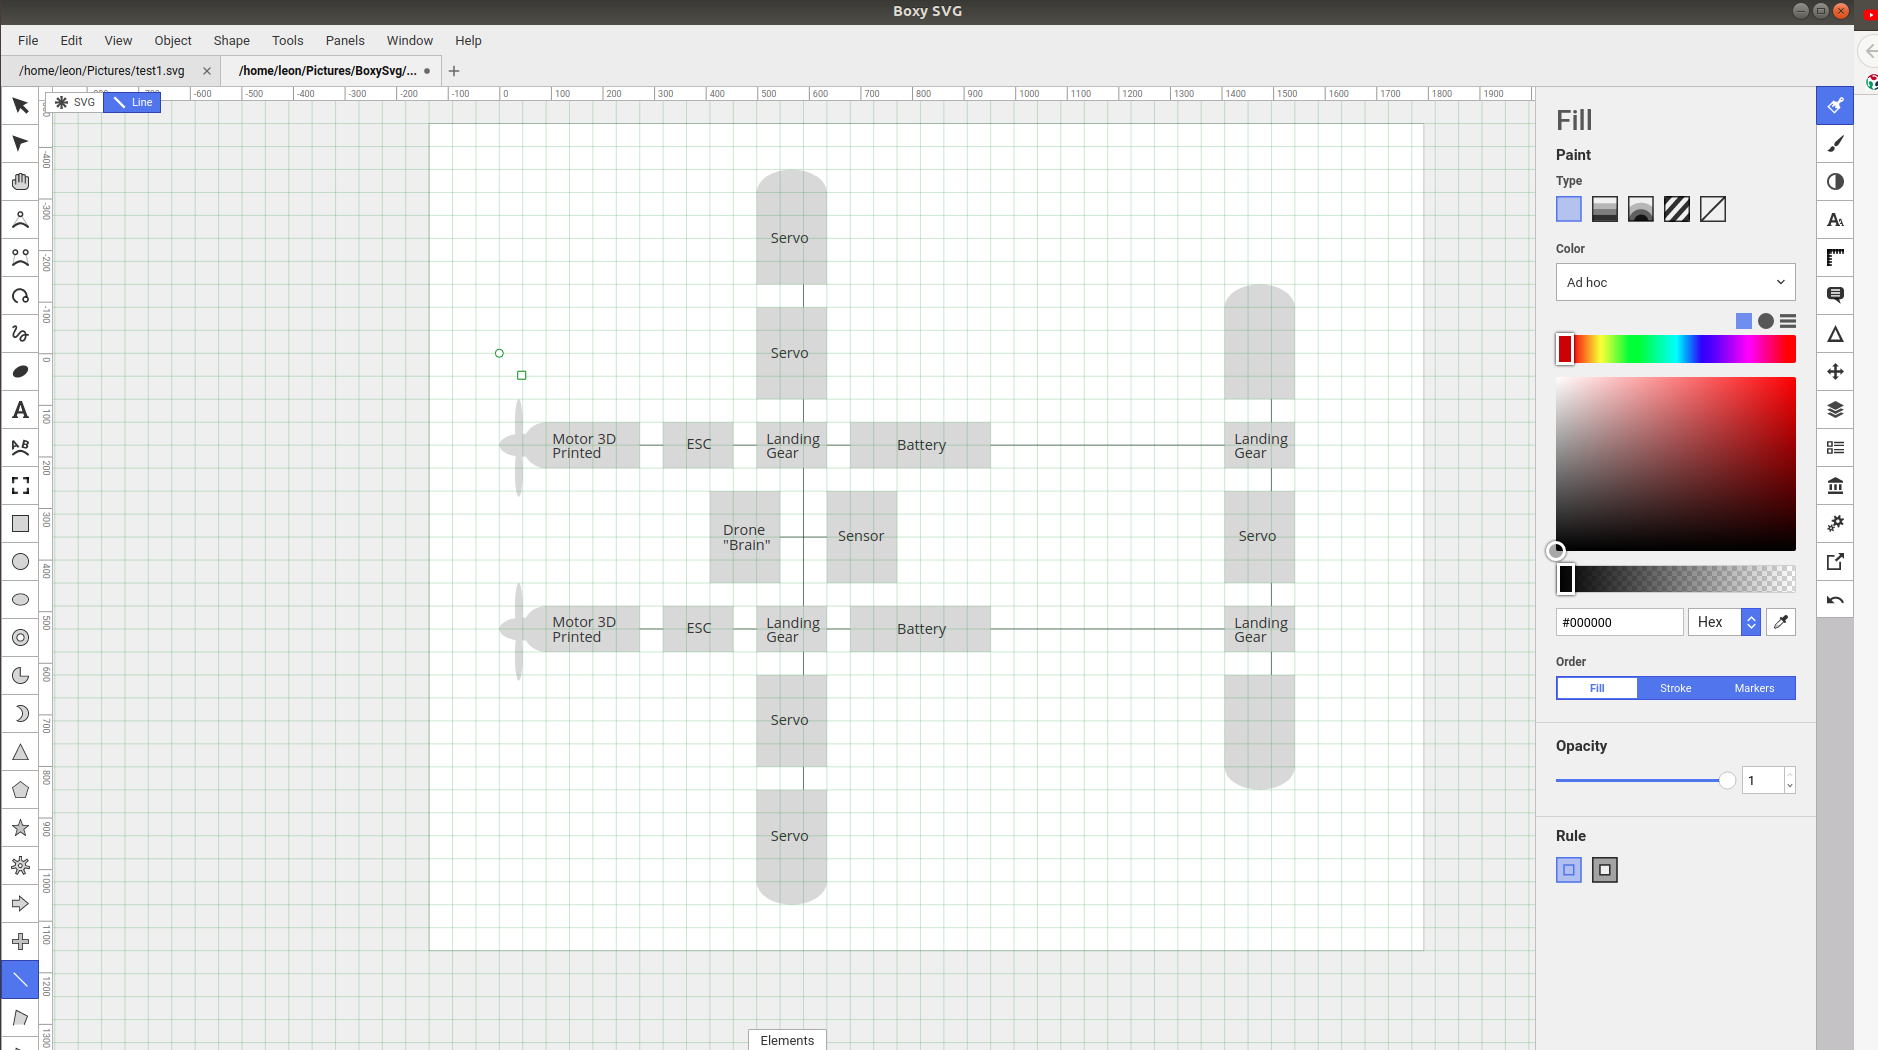
With BoxySvg
Figure 3 shows the process of creating a simple diagram of the components inside the drone within BoxySVG.
Bellow in figure 4 is the resulting svg.
With Inkscape
Figure 5 shows the process of creating a simple block diagram of the final project in Inkscape.Bellow in figure 4 is the resulting svg.
2D Model of the final project
With GIMP
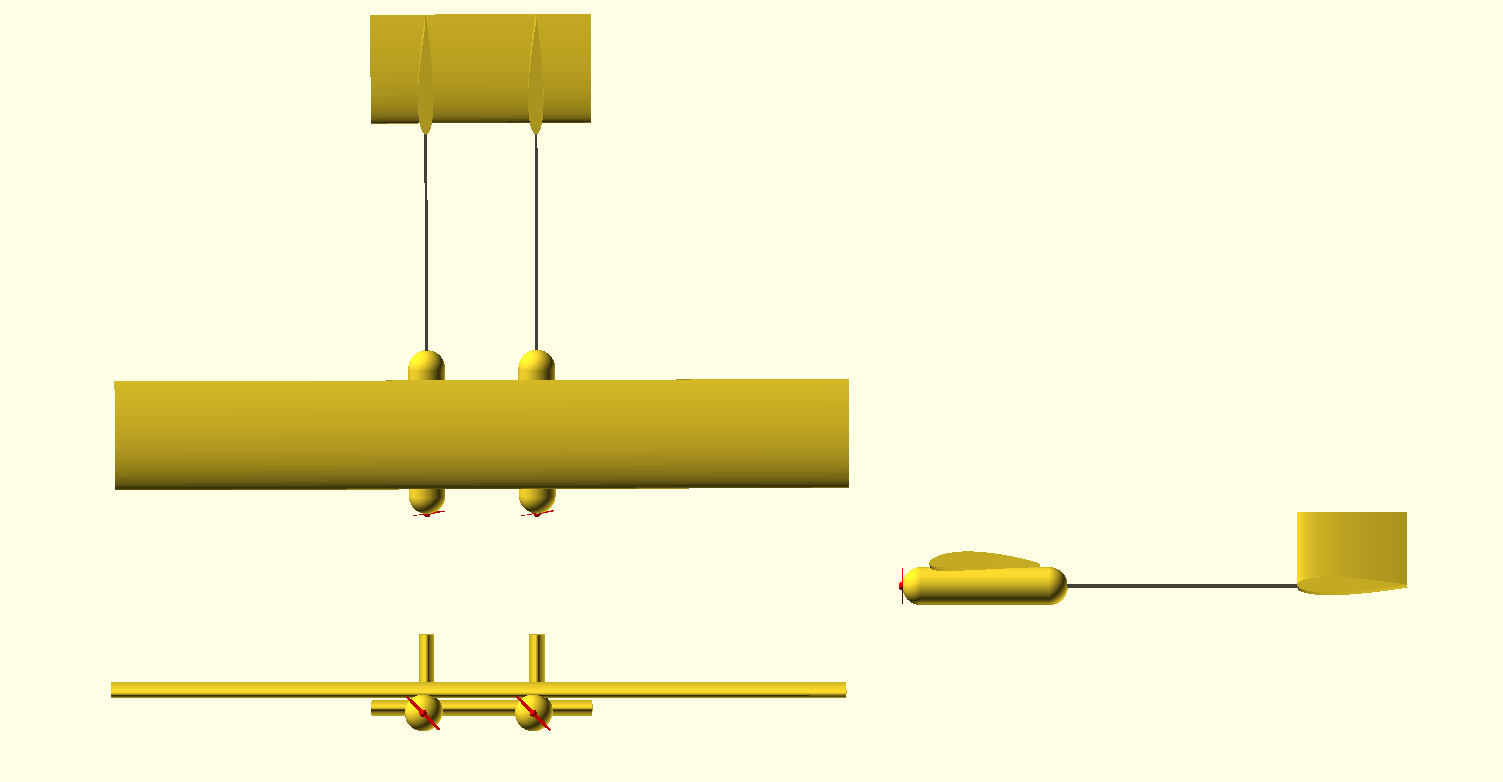
Figure 1 shows the process of merging 3 png file into one to create a simple blueprint within GIMP.The resulting png is shown in figure 2.
3D Model of the final project
With OpenSCAD
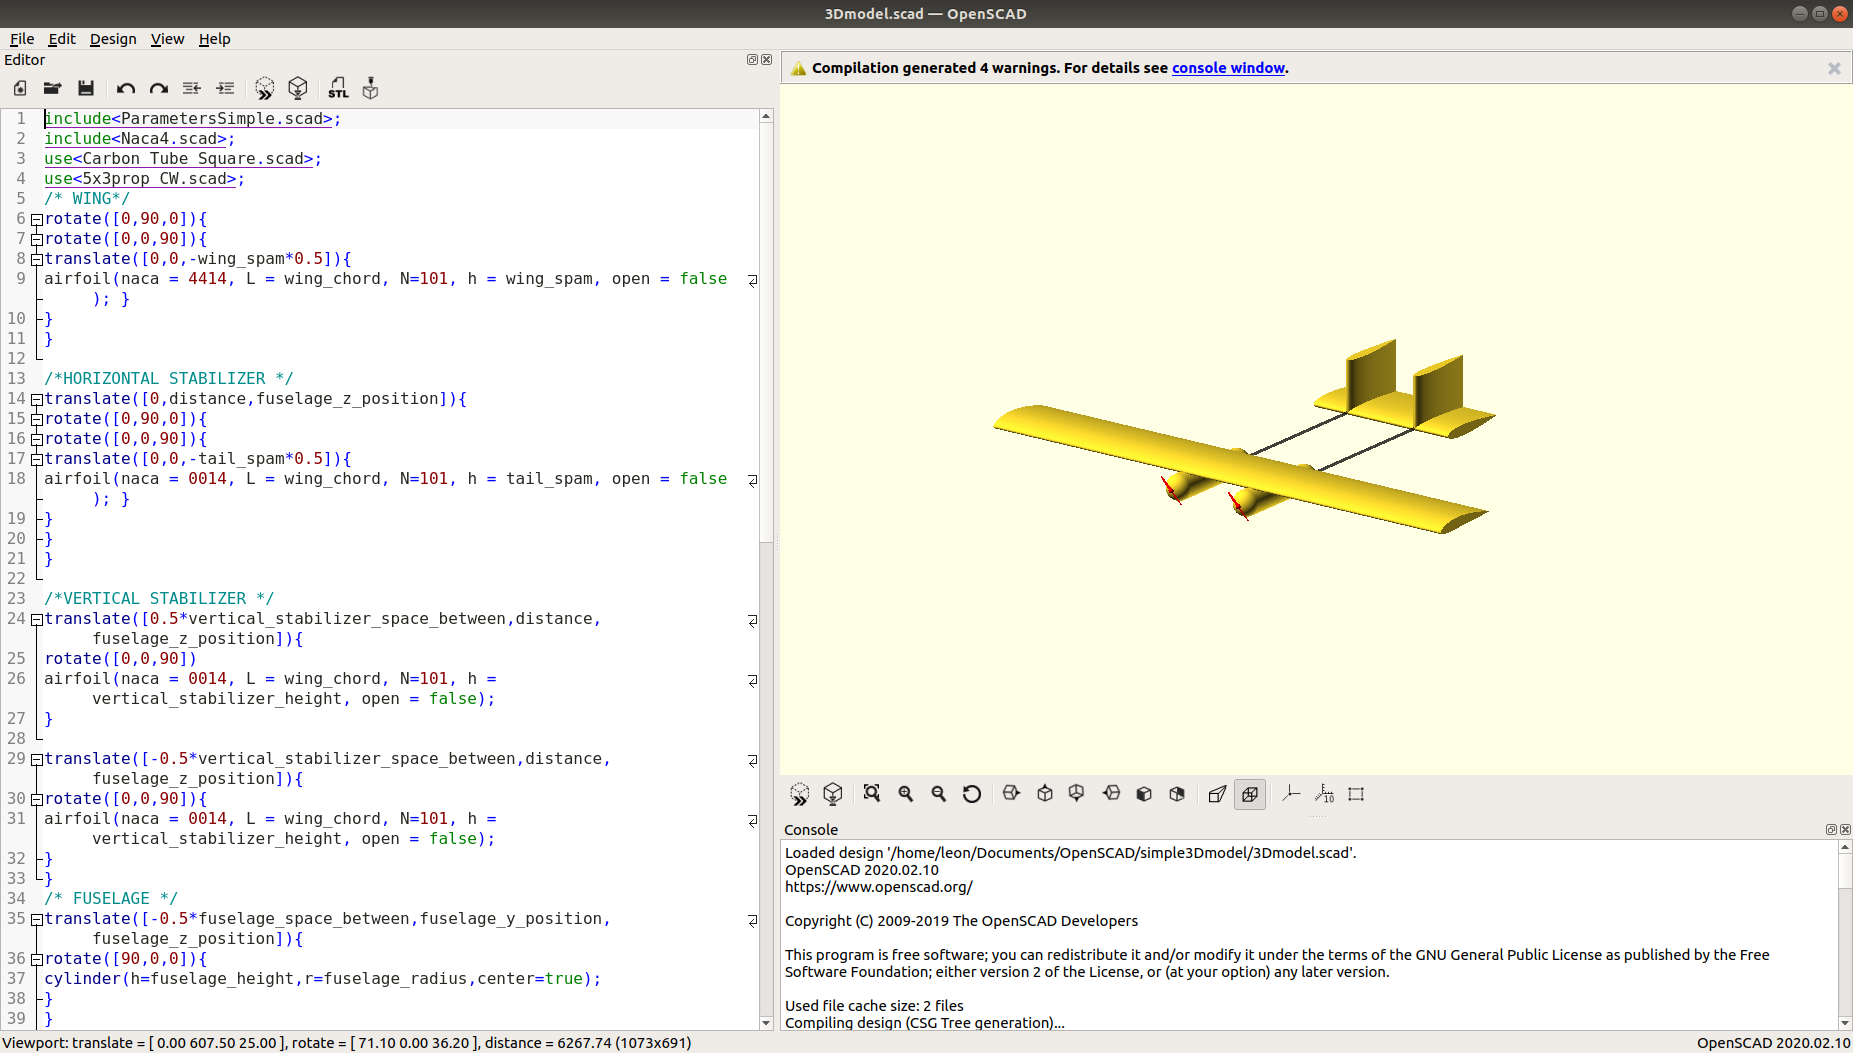
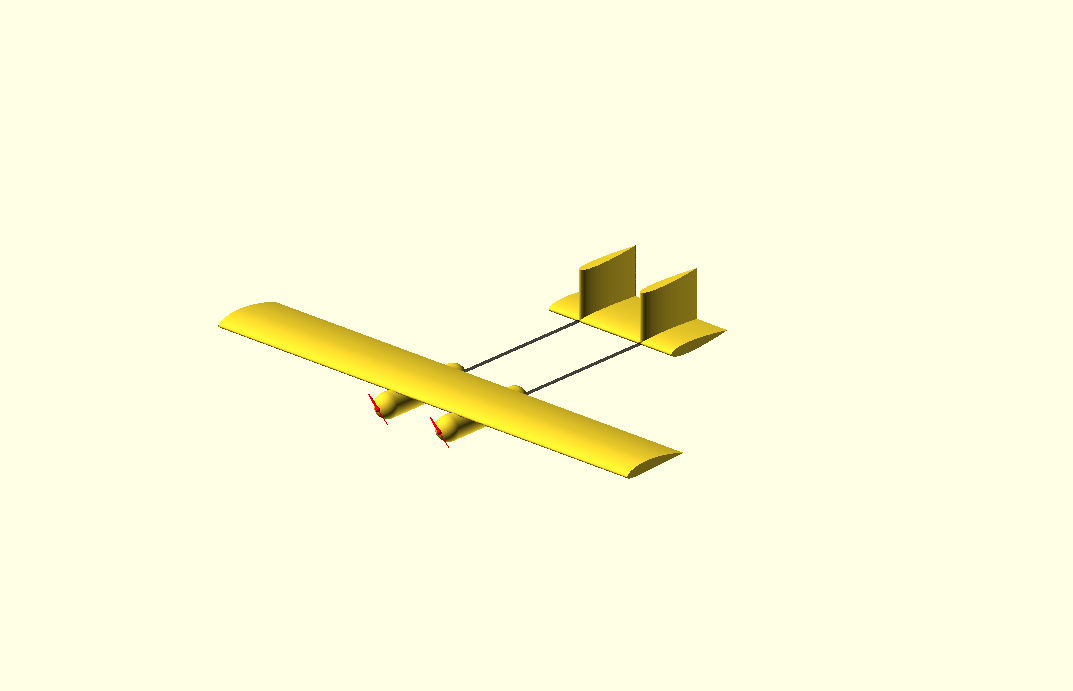
First simple 3D Model
Figure X shows the process of creating a simple 3D model of the drone in OpenSCAD.Figure X shows a screenshot of the 3D model
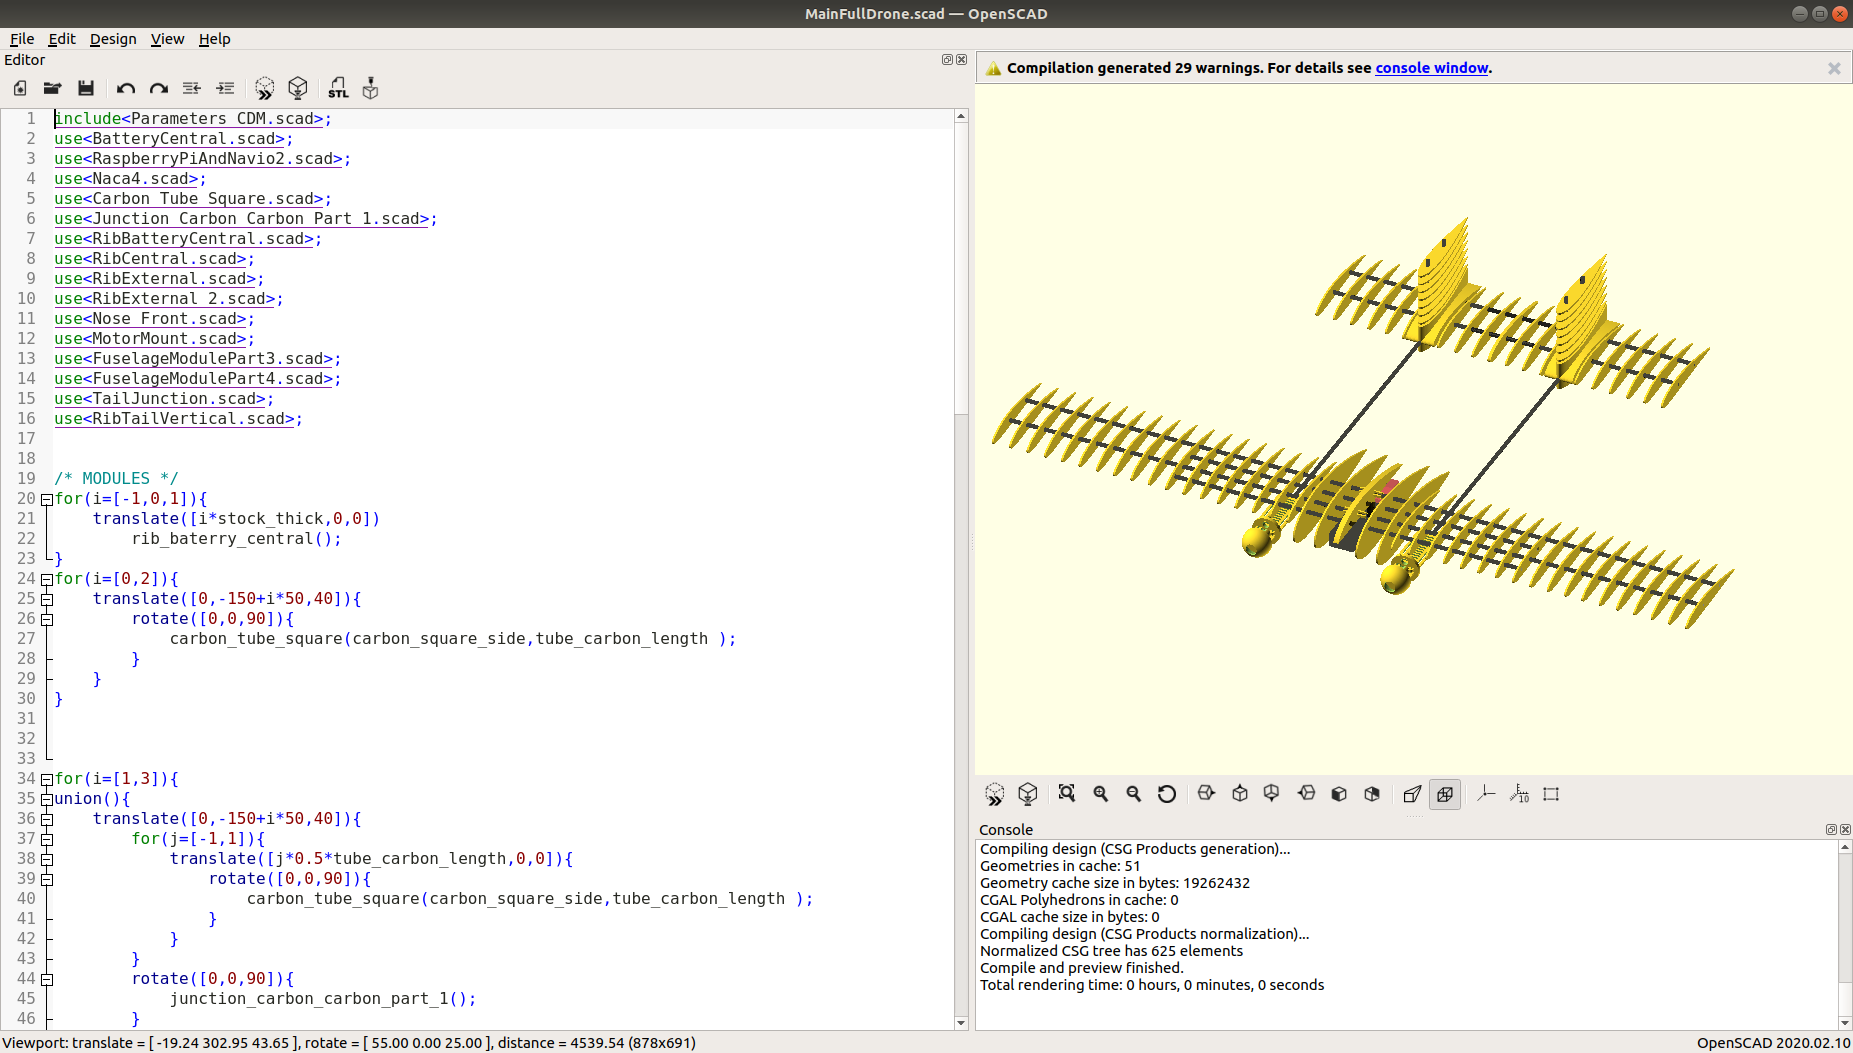
Second drone 3D model
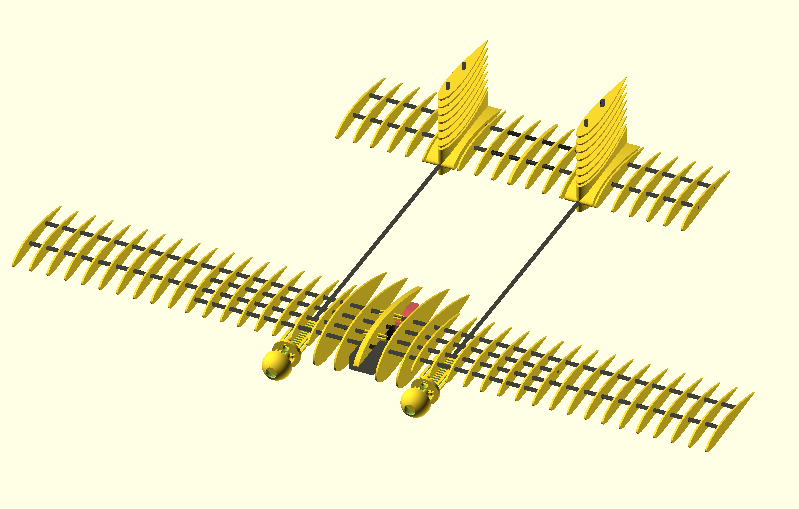
Figure X shows the process of creating a more complex 3D model of the drone with OpenSCAD.Figure X shows a screenshot of the 3D model
Figure X allows to interact with this more complex 3D model.
Render of the final project
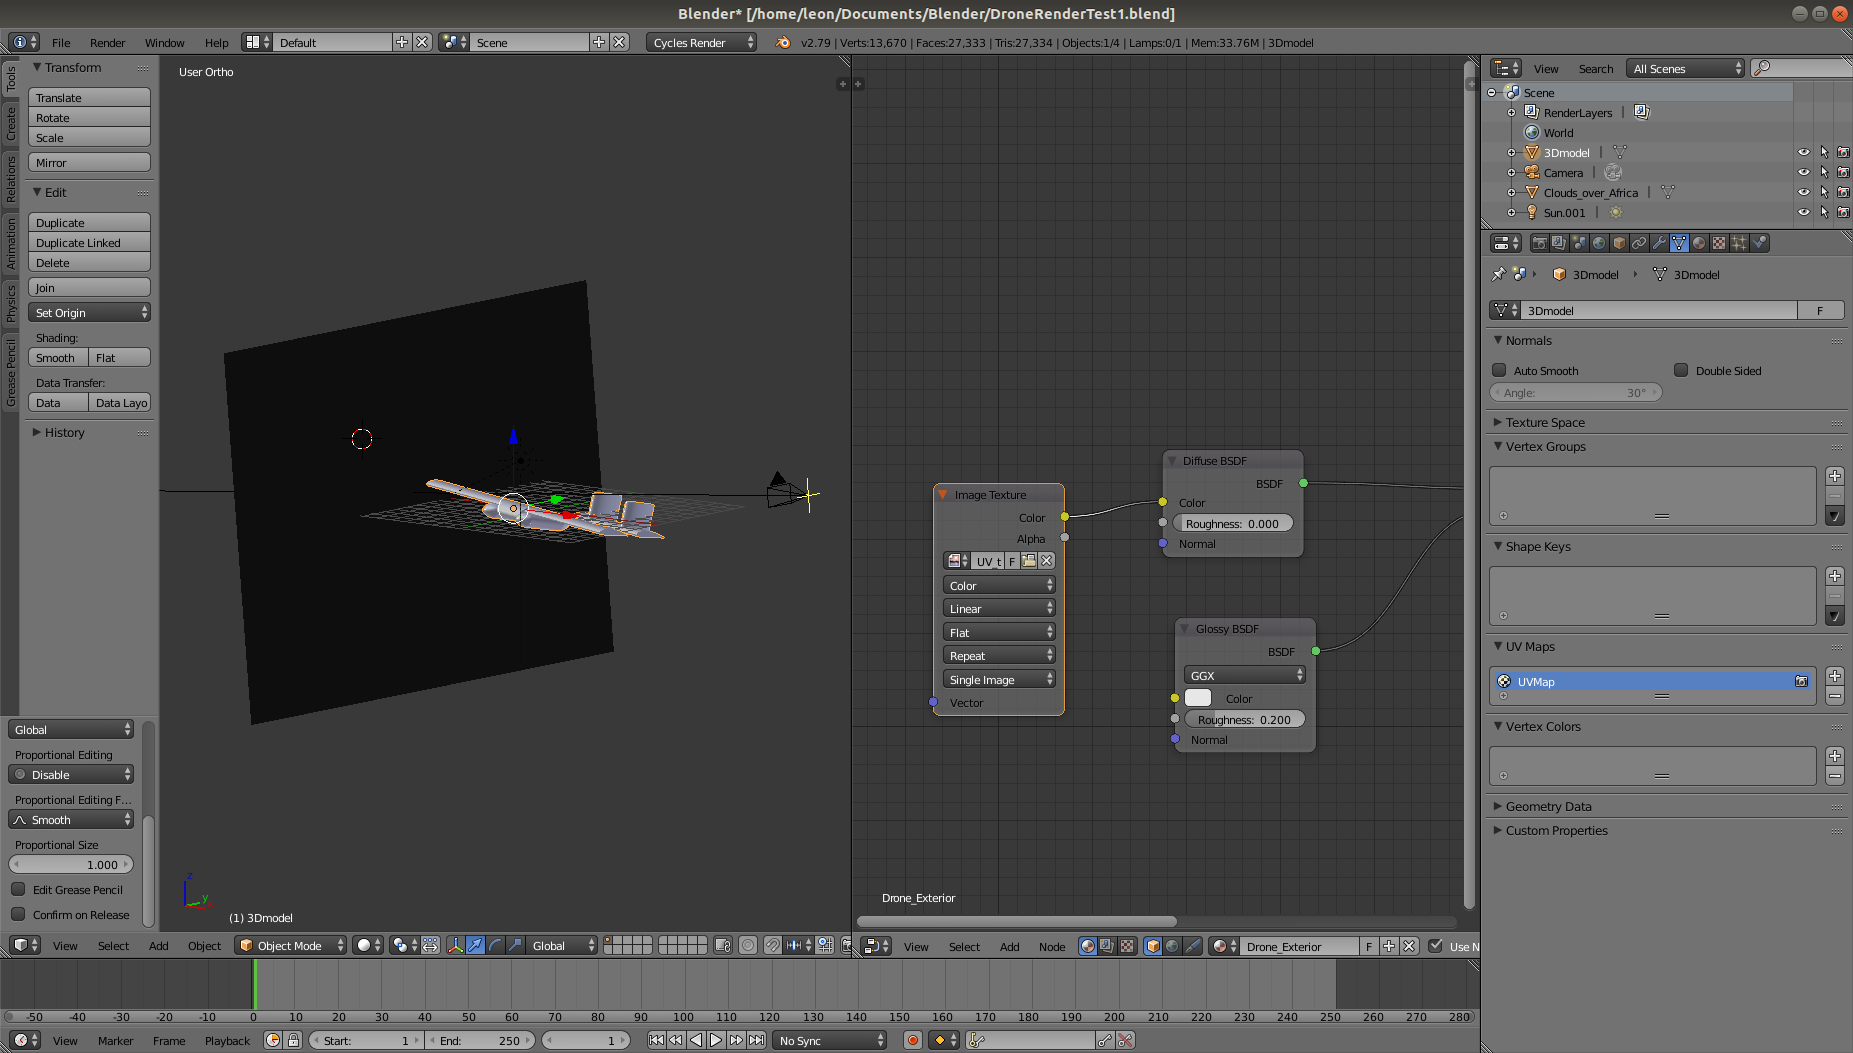
Using Blender
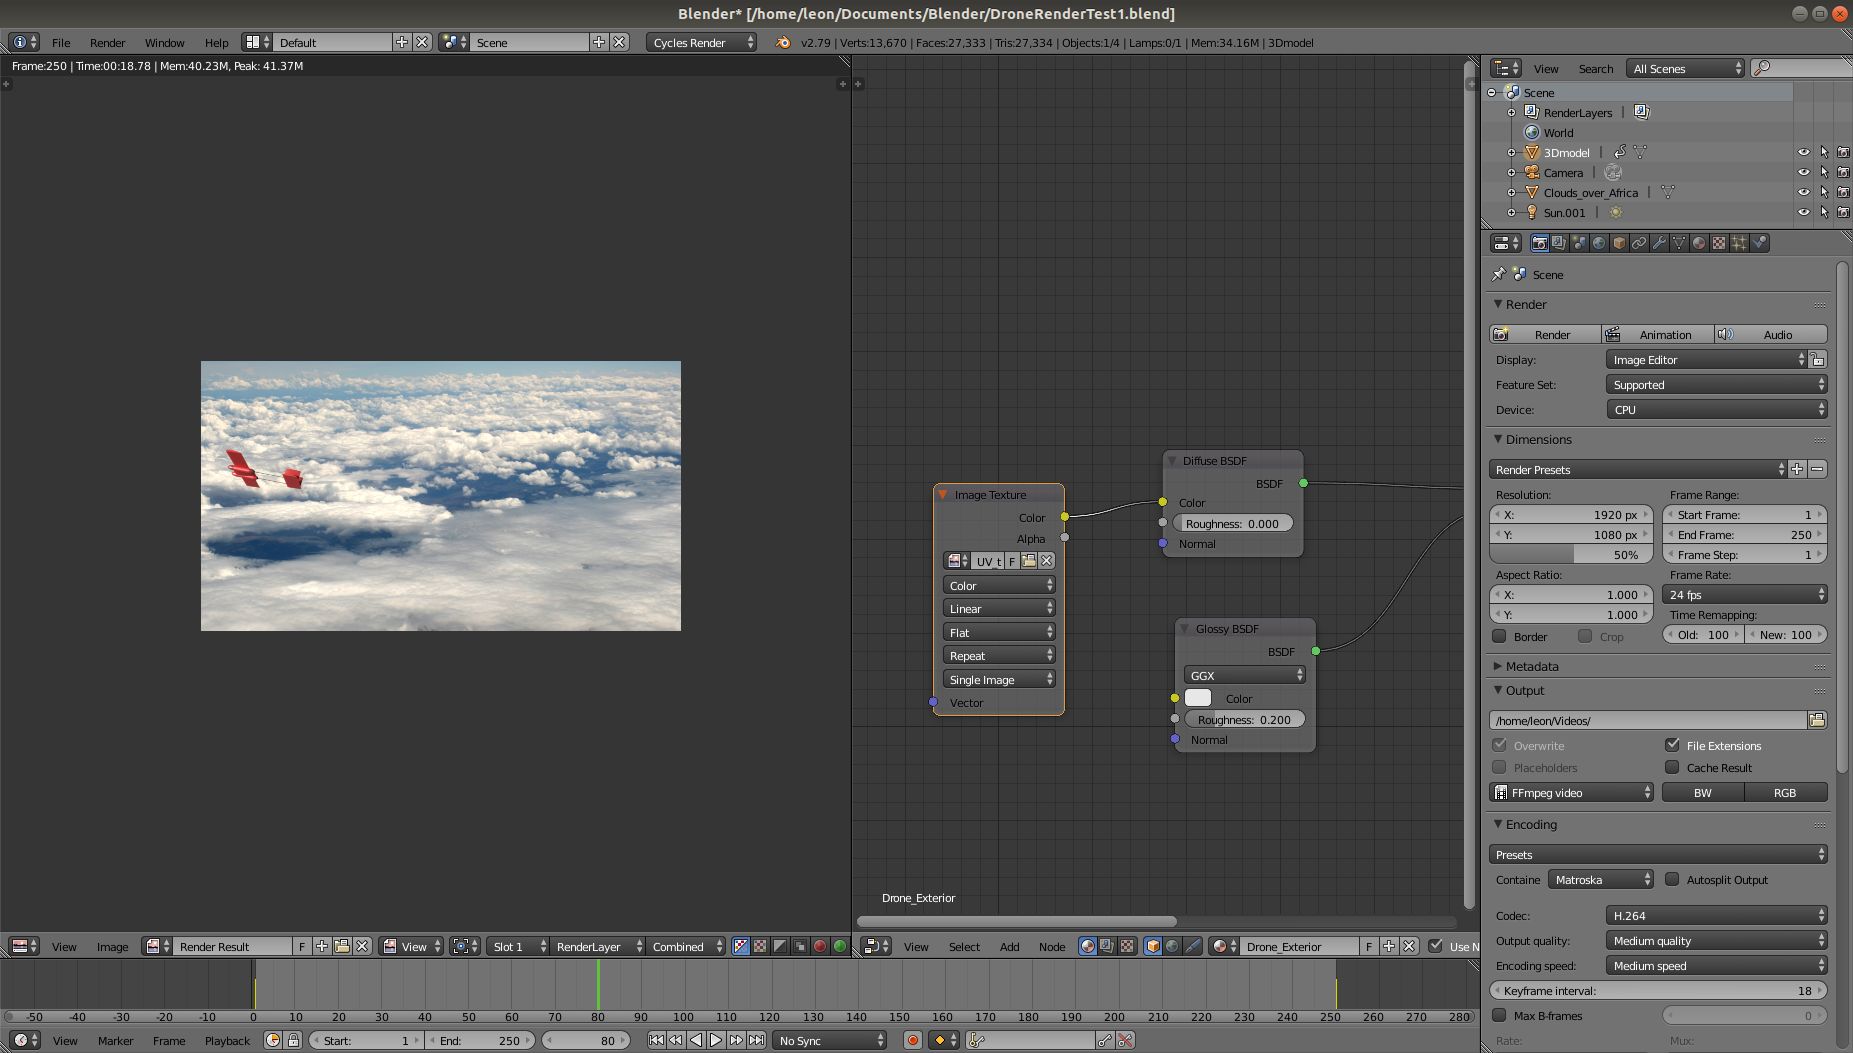
Figure X shows the process of creating a simple render using blender.Figure X shows a simple render of one drone flying.
Animation of the final project
Using Blender
Figure X shows the process of creating a simple animation using blender.Video 1 shows a simple animation of one drone flying.
Simulation of the final project
Using Matlab
Video 2 shows a simulation of a fleet of 4 drones, equiped with camera, cooperatively patroling a marine protected area.Video 2: Matlab simulation of 4 drones cooperatively patrolling a marine protected area (accelerated video)
