This page presents the assignments for week 17 of Fab Academy 2020: “Mechanical Design” and “Machine Design”.
To do list:
Group
- design a machine that includes mechanism+actuation+automation
- build the mechanical parts and operate it manually
- document the group project and your individual contribution
- actuate and automate your machine
- document the group project and your individual contribution
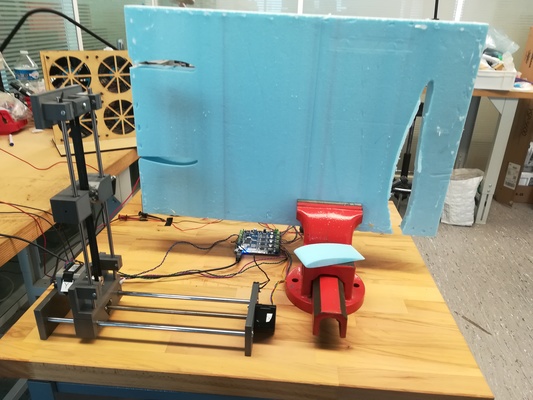
Week 17 "hero shot":
Table of Contents
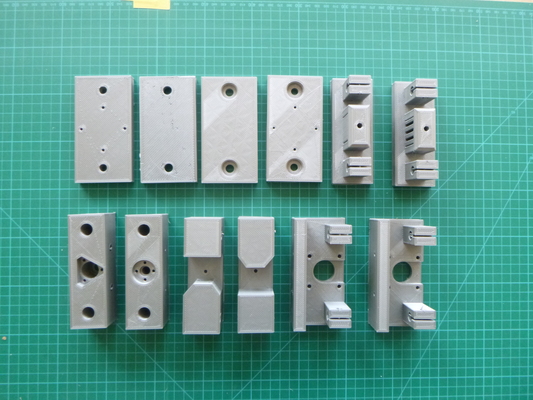
motor_block.stl (group work)
end_block.stl (group work)
carriage_block.stl (group work)
Group assignment
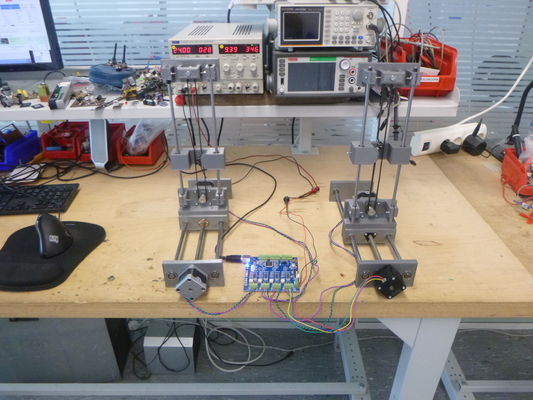
This week I worked with Jonah on machine design.I was interested in the design of a foam cutting machine to be able to cut wing section for my final project.
Besides, Jonah already made a nice Instructables on how to make a hot wire machine
Trying modular kit
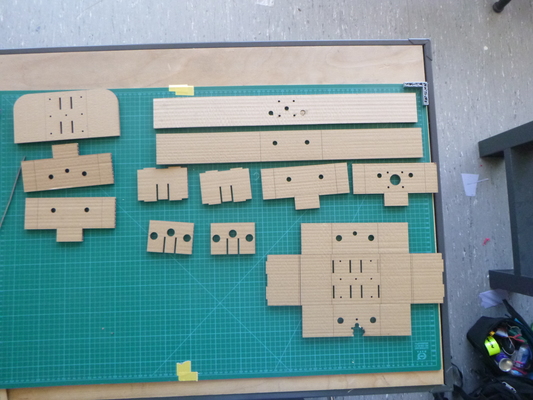
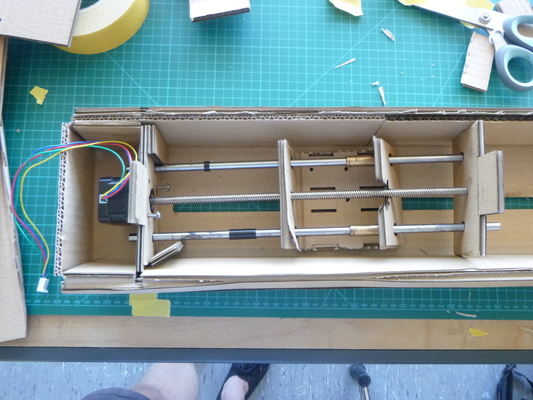
I first wanted to reproduce Nadya Peek modular foam cutter, but then realise that we cannot easly machine metal at the Fab Lab.So I wanted to try her cardboard kit version of the foam cutting machine to build the machine.
The design are available on this page
Laser cutting the cardboard part
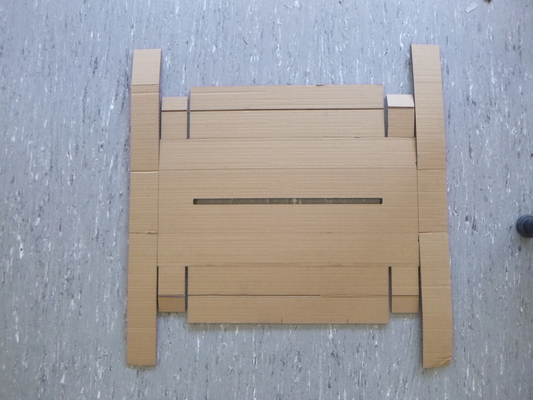
Laser cutting the parts was easy and fast.Folding the cardboard parts
Here the two-fold cardboard available at the Lab didn't reacted well to the folding. We then decided to stop testing this cardboard module to manage time well.If there is some time left I will try to make other test with tri-fold cardboard.
First design
I used OpenSCAD to design a foam cutting machine from scratch with inspiration from the modular cardboard kit machines of Nadya Peek.Second design
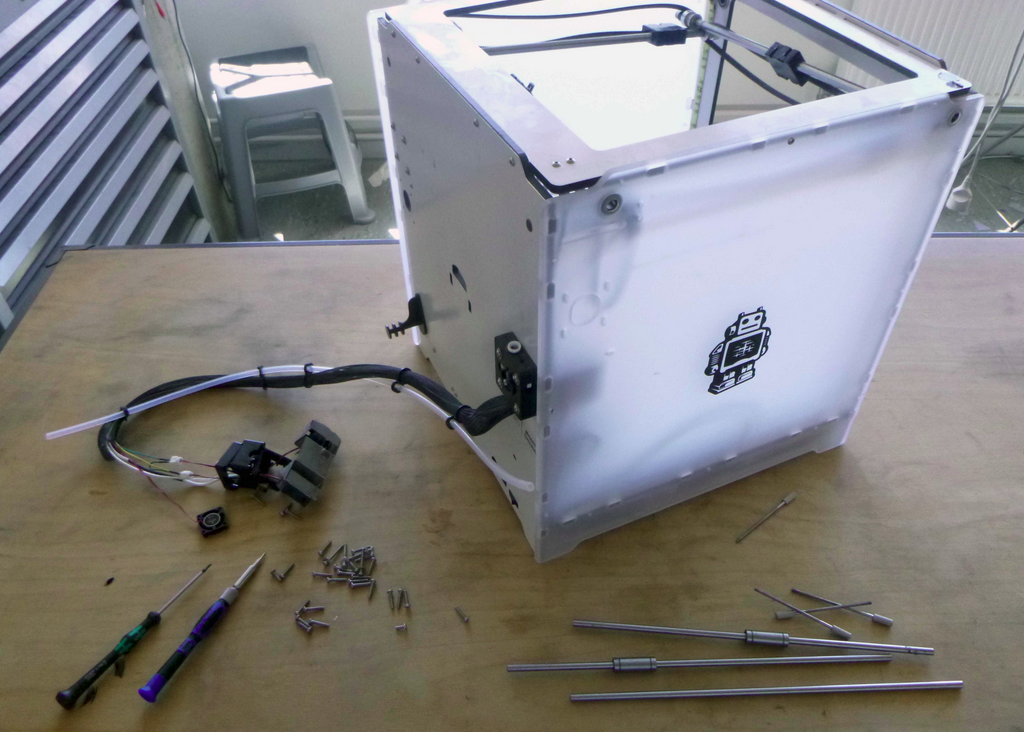
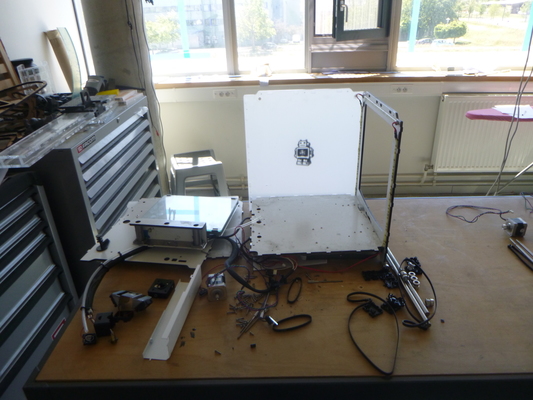
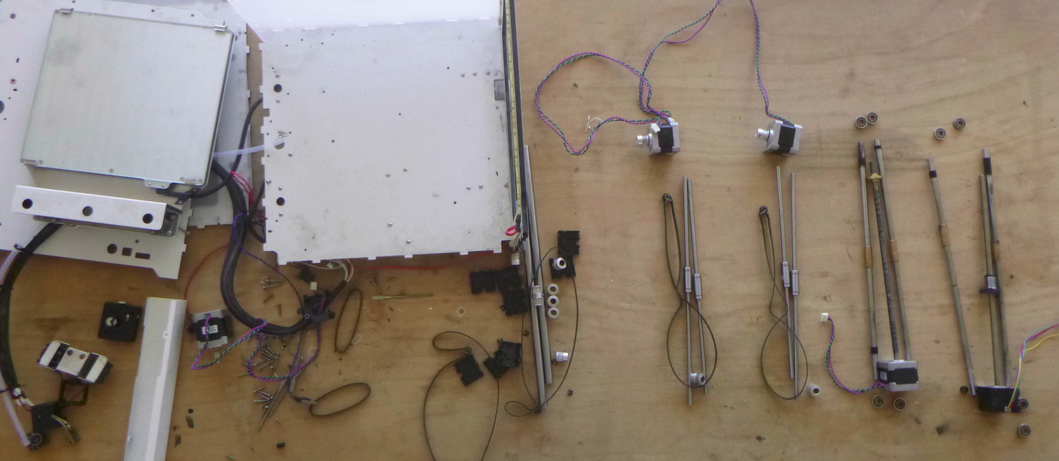
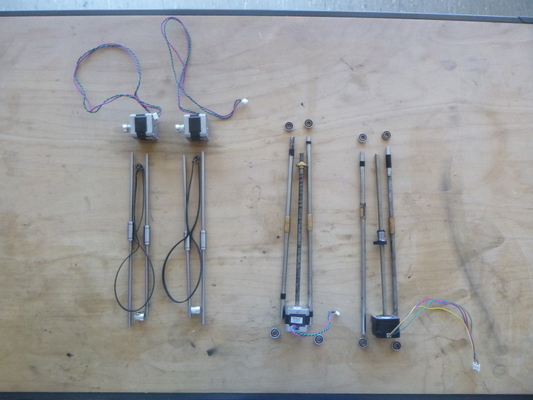
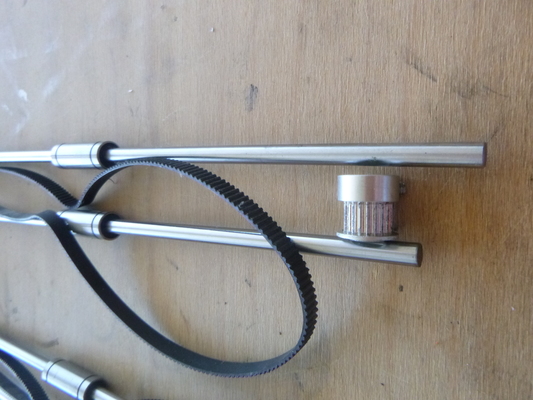
Given the time frame for this week and following Jonah advises we adapt design around already existing parts of a machine.Scavanging
So we first check the parts we could use from an old and unused Ultimaker 2.0 at the Fab Lab Digiscope.Design
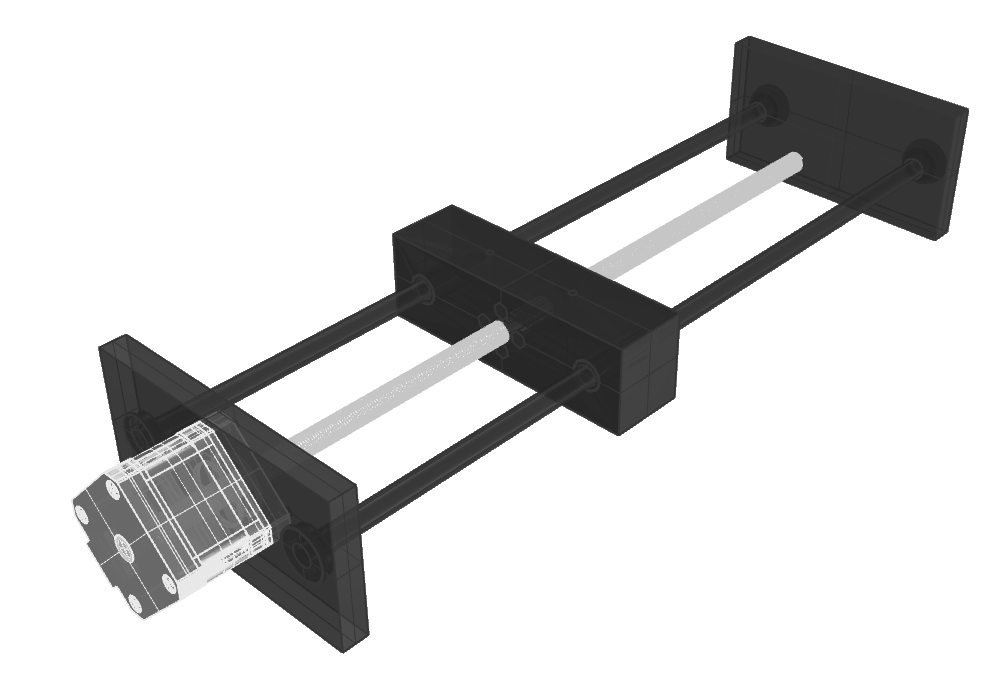
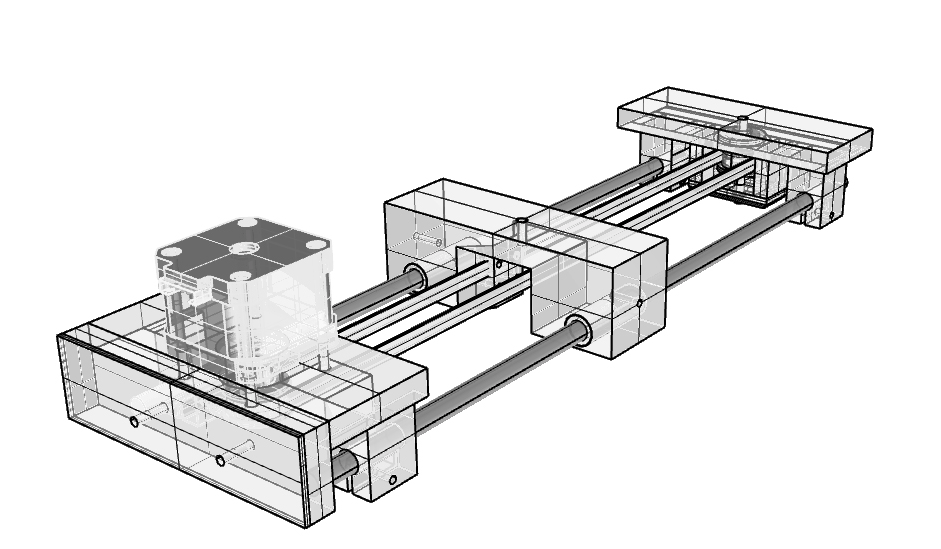
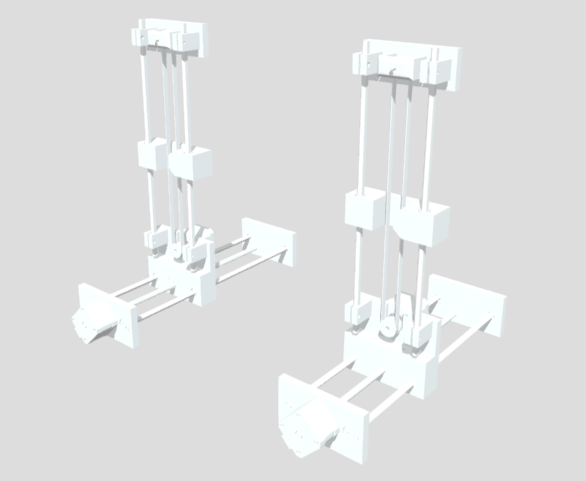
The figure below show the design step of the foam cutter: We designed the parts to addapt to the scavenged pieces from the Ultimaker 2.0.3D model visualization
A 3D model visualization is available on scketchFab!3D printing
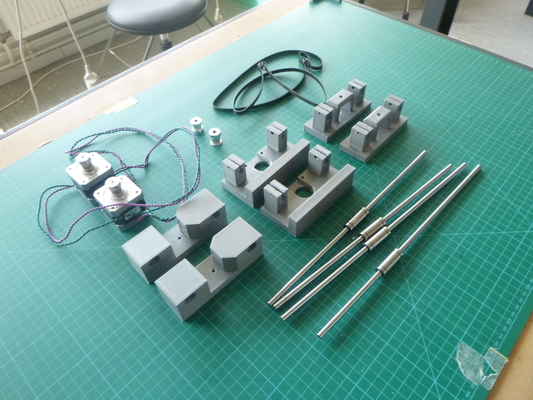
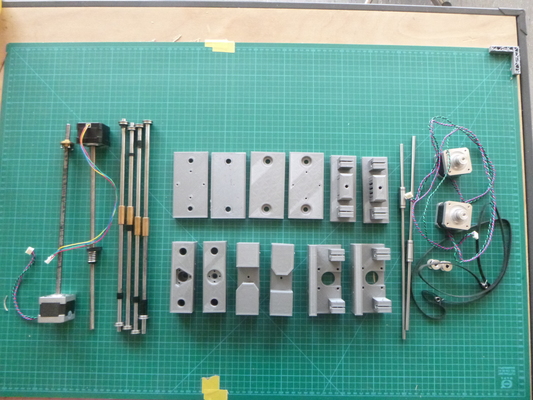
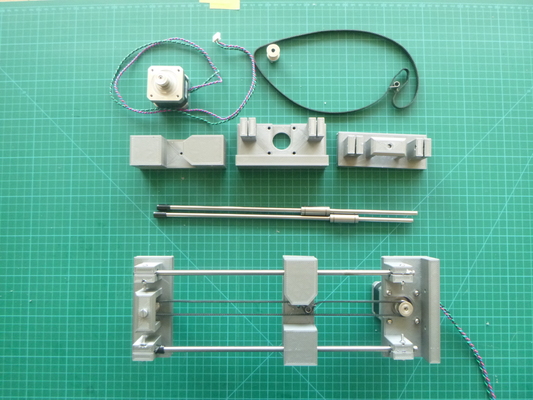
We use the 3D printer to make stiff and custom frame parts.Assembling the frame
Electronics
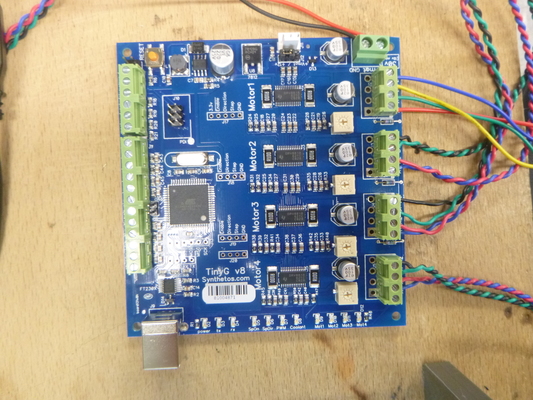
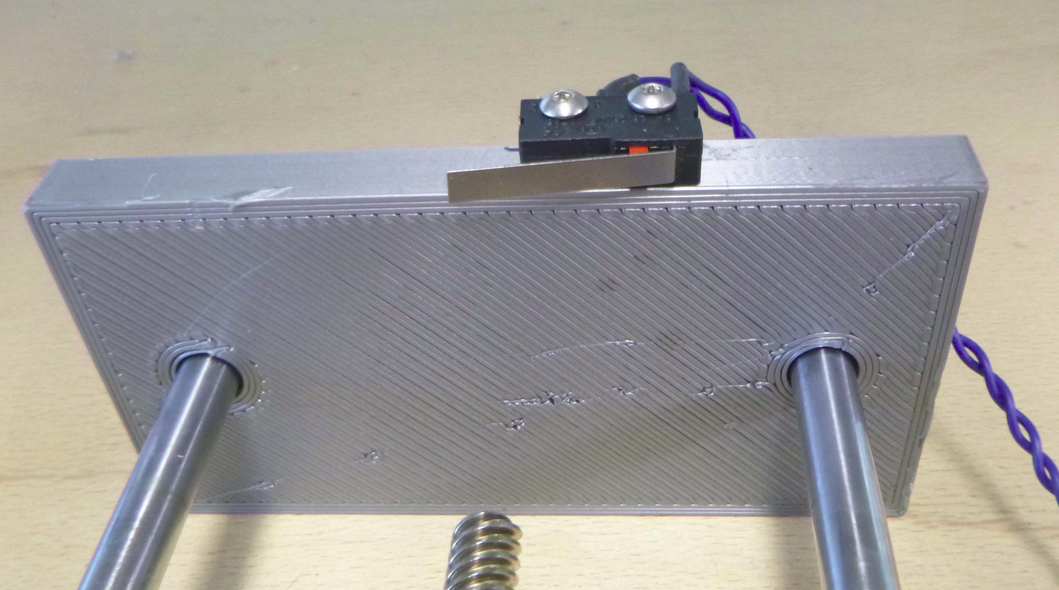
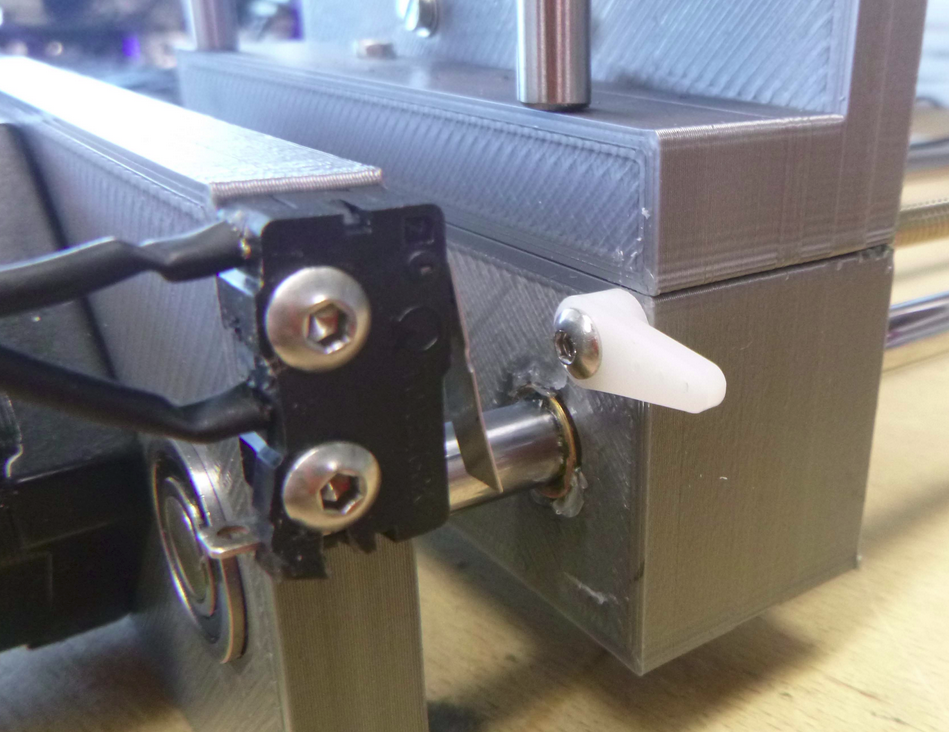
We use a pre made controller board for the nema motors : the TinyG.Jonah added some limit switches.
We used the stabilized alimentation of the lab to power the TinyG and the hot wire.
User interface: webpage CNC controller Chilippeper
We used Chilipeppr for the user interface.It is a webpage CNC controller.
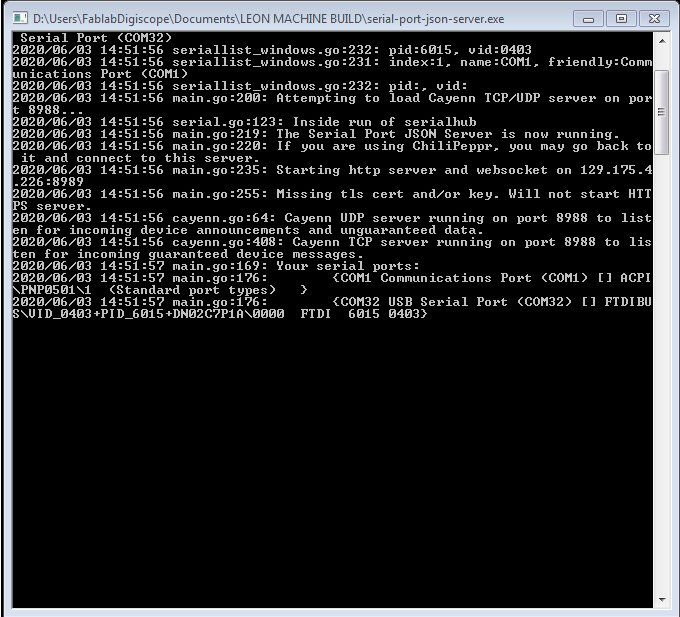
We run a local JSON script to allow the website to acces the COM ports.
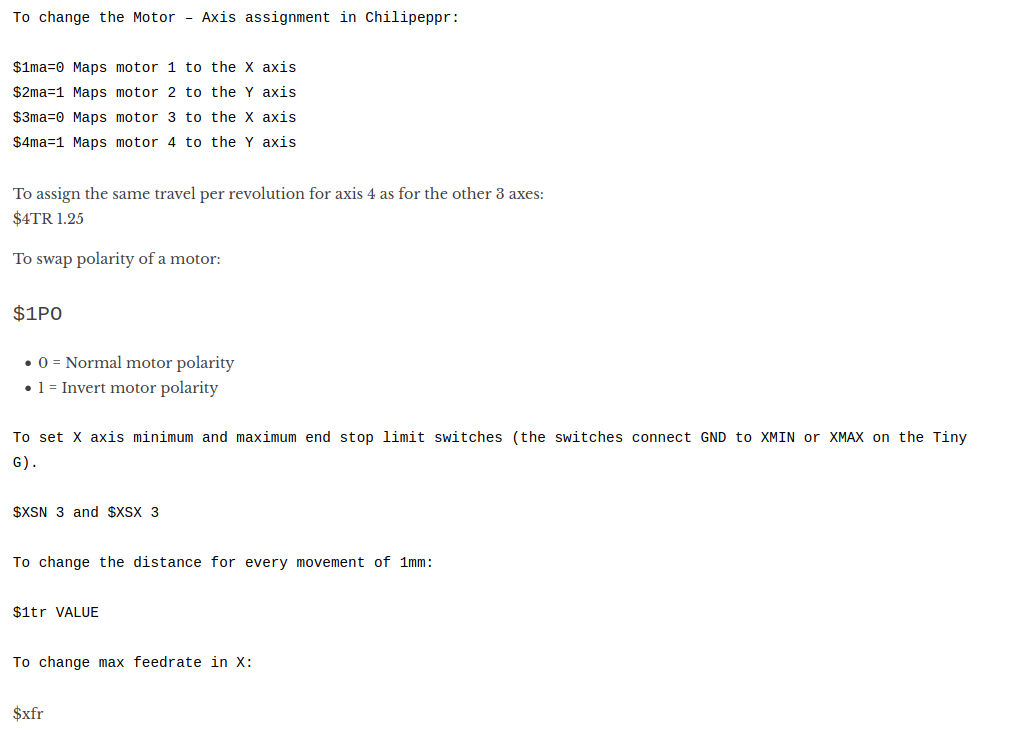
We followed this github tutorial for TinyG Configuration for Firmware Version 0.97.
Testing
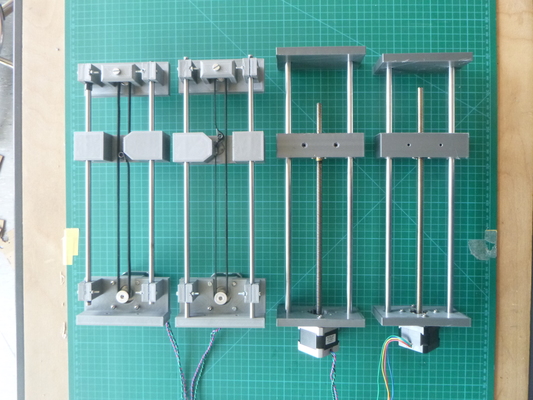
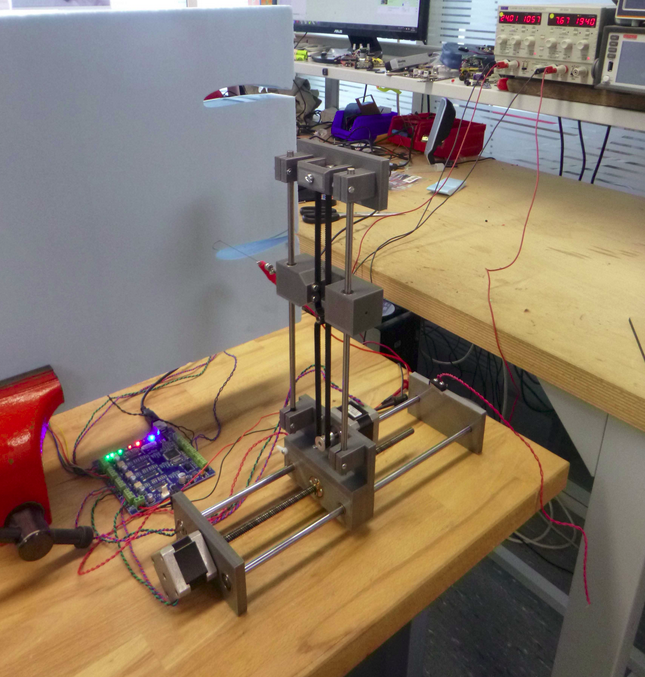
Testing belt linear actuator
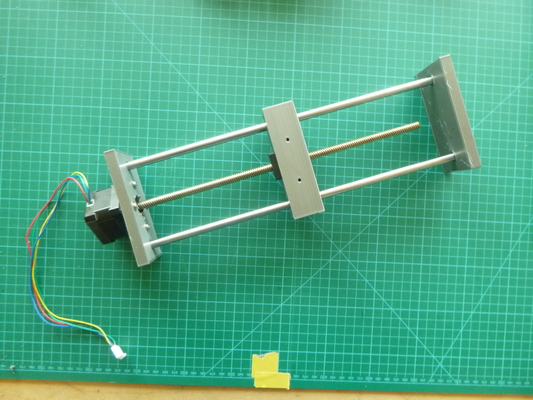
Testing threaded linear actuator
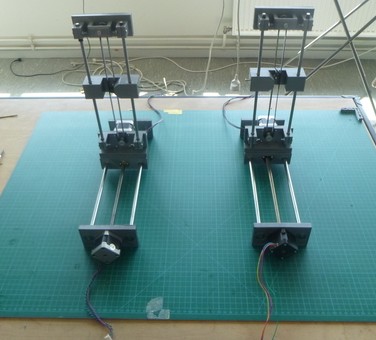
Testing all modules
Cutting a little foam wing section
To test that everything worked to we wanted to cut a simple wing section.I used OpenSCAD to produce a .dxf file of a wing section.
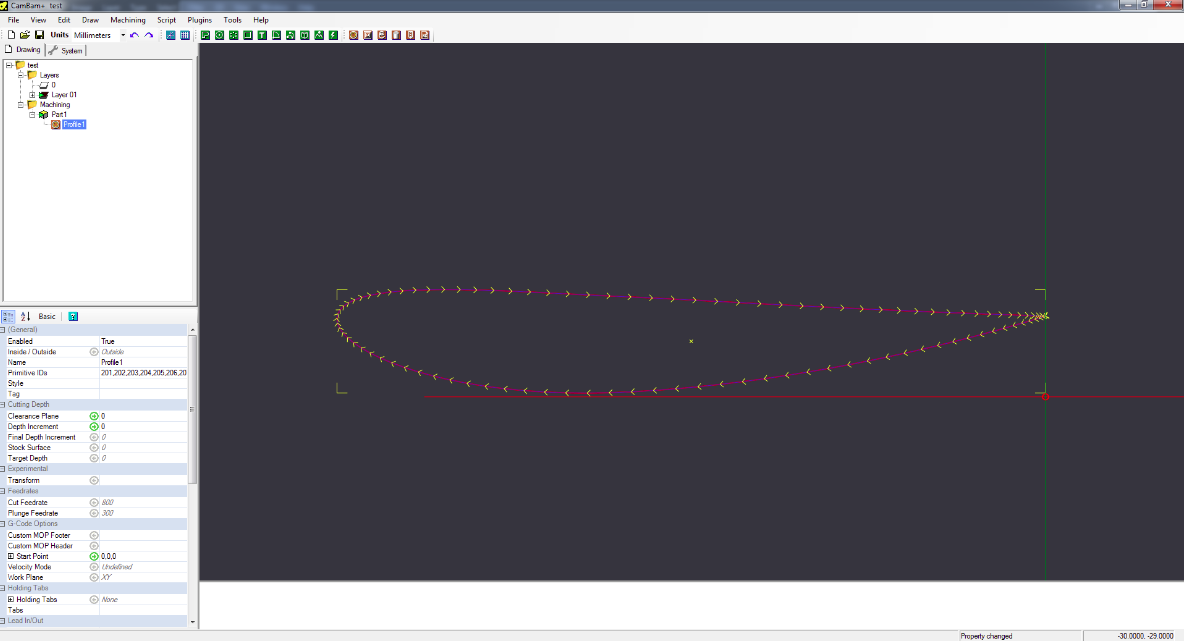
Jonah then use the software Cambam to generate a Gcode from the dxf file.
He then make everything related to the Z axis zero, and set the start point.
Wing rib cutting (10 times faster)
Chilipeppr interface (10 times faster)
