This page presents the assignments for week 16 of Fab Academy 2020: “Wildcard Week”.
To do list:
Individual
- Design and produce something with a digital fabrication process
- (incorporating computer-aided design and manufacturing)
- not covered in another assignment,
- documenting the requirements that your assignment meets,
- and including everything necessary to reproduce it
- Possibilities include (but are not limited to)
- composites,
- textiles,
- biotechnology,
- robotics,
- folding,
- and cooking
Week 16 CAD files:
composite.scad (own work)
laser_cut_parts.scad (own work)
Week 16 "hero shot":
Table of Contents
Individual assignment
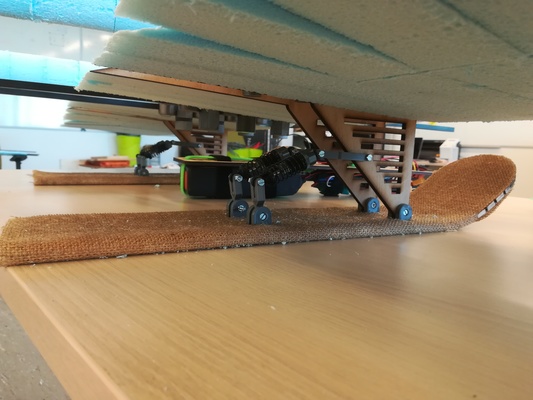
This week I wanted to make a "skate" lower part for the landing gear of my drone, using burlap and epoxy.Specification
This lower part should- allow the drone to land on snow and ice,
- be easily removable from the upper part of the landing gear, to change for sea/earth landing gear
CAD
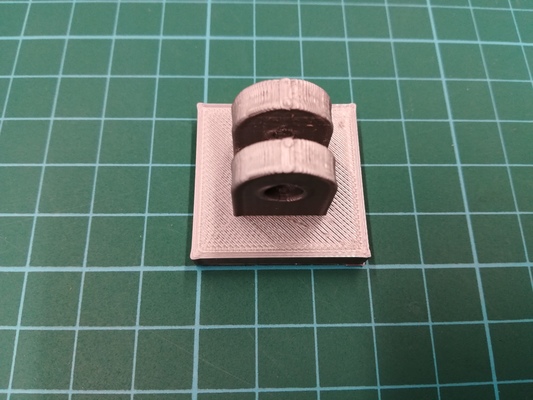
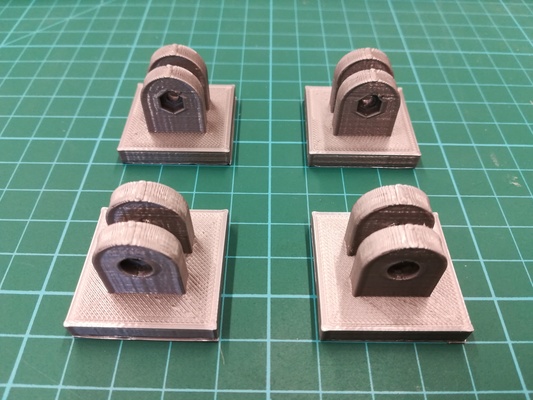
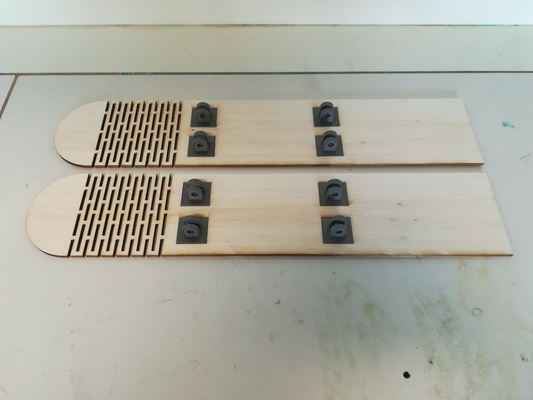
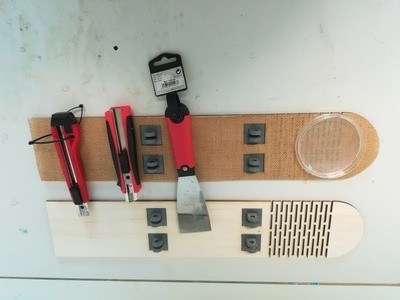
I used openSCAD to make the design of the skate landing gear.I used balsa wood and 3D printed connectors inside the burlap and epoxy composite. The 3D printed connectors are secured to the upper part of the landing gear with screws and nuts.
The balsa board allows to maintain the 3D printed parts at their designated locations.
3D printed connectors
Laser cutting
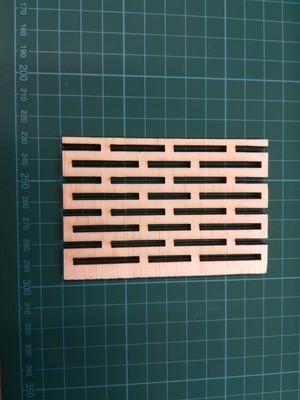
The balsa board
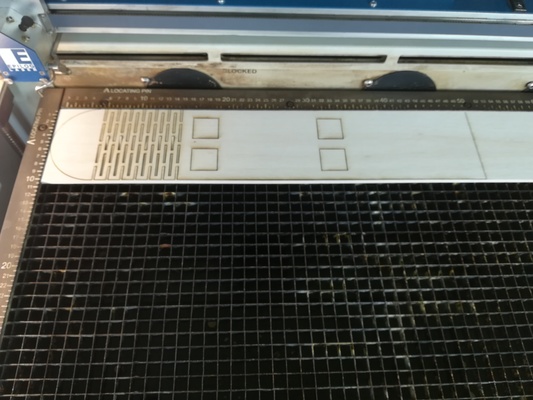
I used the laser cutter to- create live hinge on the balsa board,
- create the holes for the 3D printed connectors.
We want the hole for the nut to point toward the interior of the skate.
It will allow to easily screw and unscrew from the outside.
The burlap
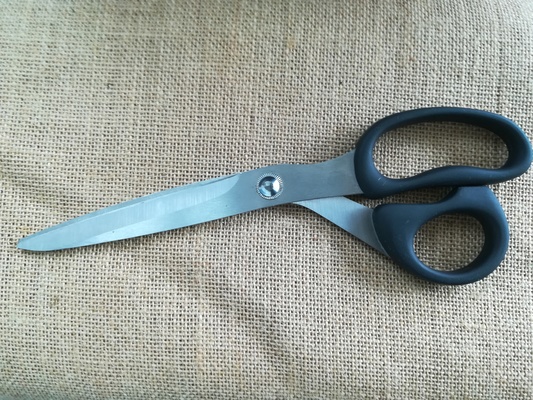
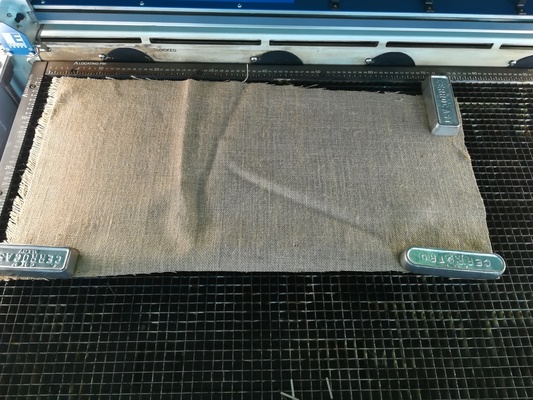
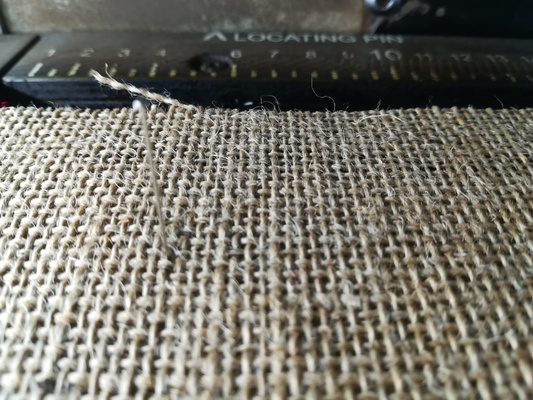
I used the laser cutter to cut the exact pattern to fit on the balsa board.Applying epoxy to the balsa board and burlap
Epoxy Resin Greenpoxy 56 + Hardener SD Surf Clear
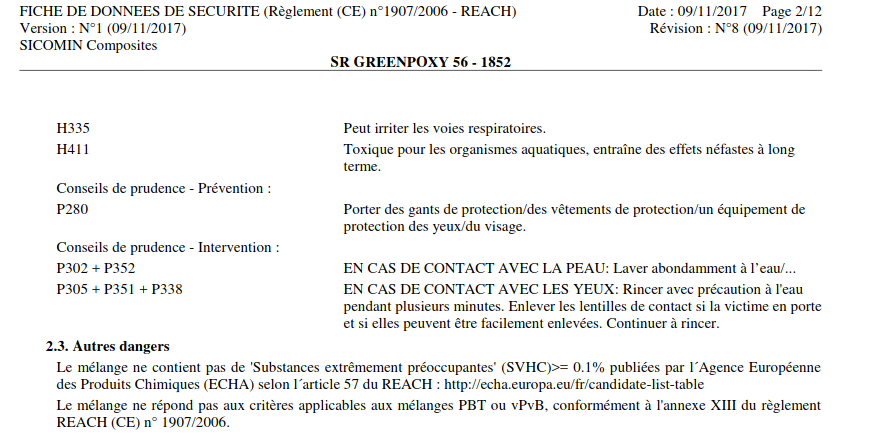
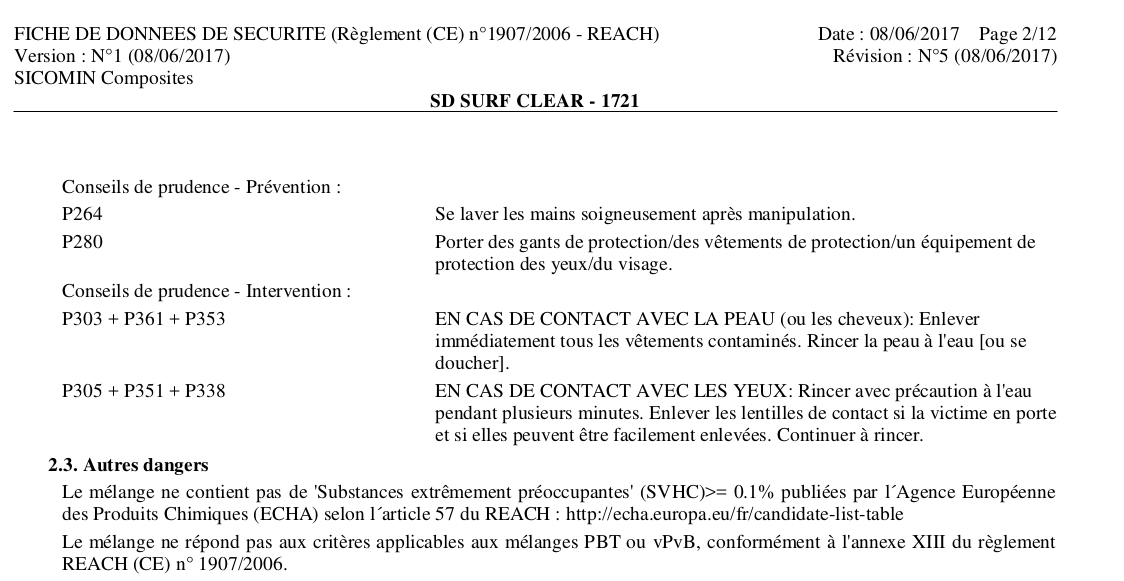
The safety data sheet of Epoxy Resin Greenpoxy 56 and Hardener SD Surf Clear from Sicomin (French producer) are available to download on their webpage (here).Epoxy Resin Greenpoxy 56 is hazardous for the environment (aquatic) as shown in the figures bellow. It also has a moderate risk of irritation of the skin,eyes and lung.
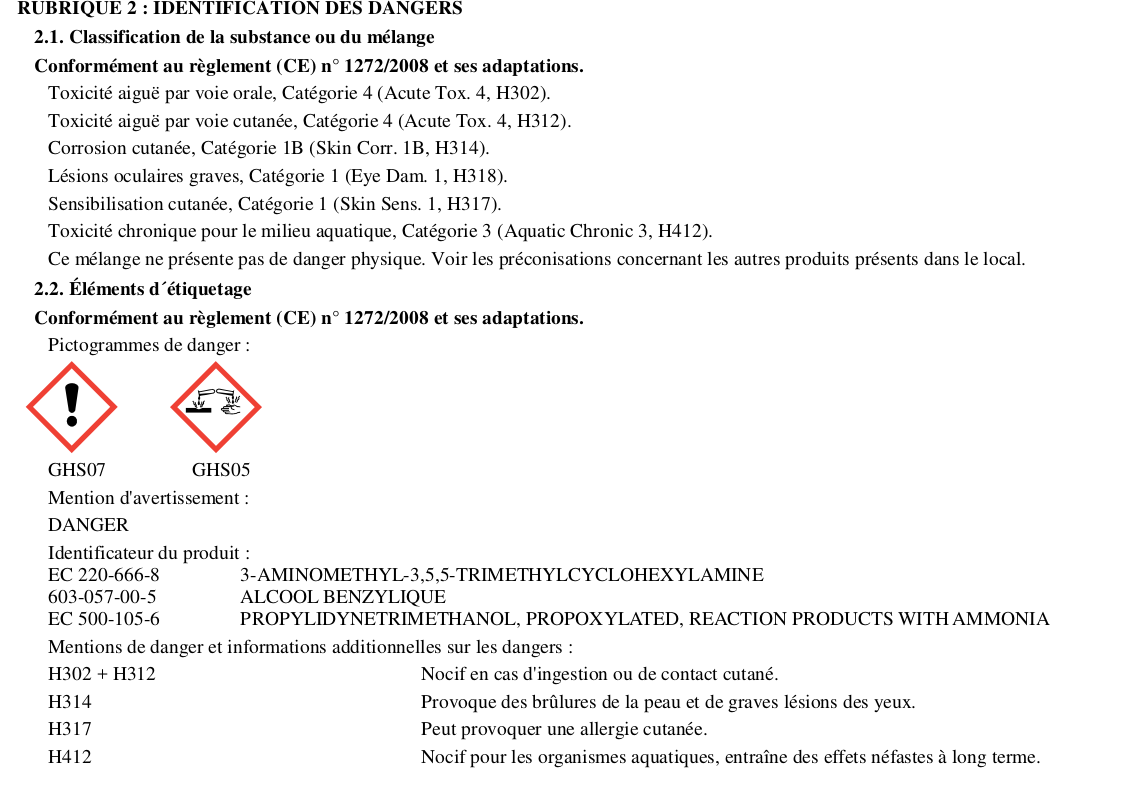
Hardener SD Surf Clear is very hazardous for the lung, eyes as shown in the figures bellow.
I used the fume hood of the Lab, a mask and gloves to make the mixture and pourring.
Setting up
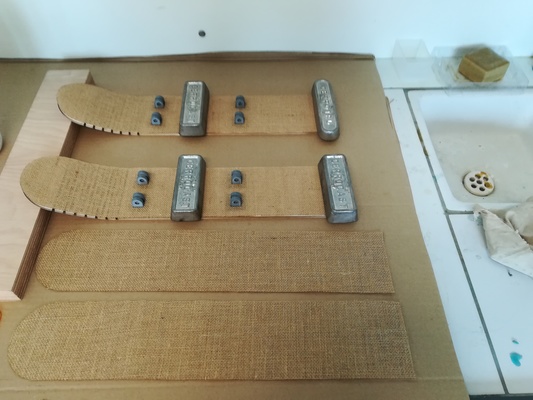
As the epoxy components are hazardous, I make the epoxy coating under the fume hood of the Bio Lab using glooves a mask and glasses.Coating
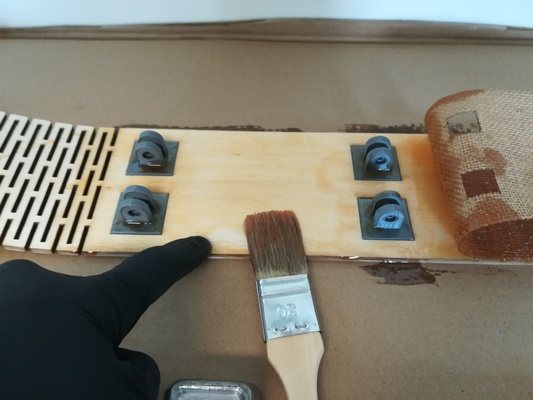
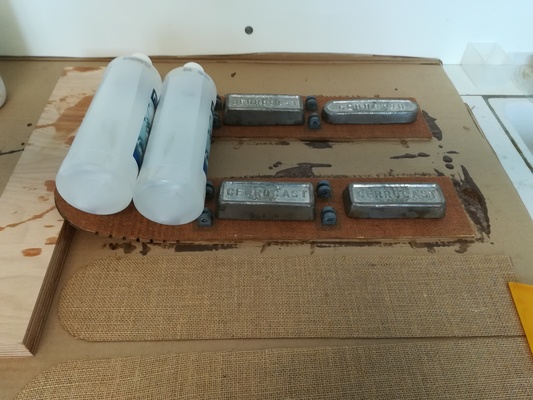
First the balsa board top with the 3D connectors inside are painted with one layer of epoxy.Then the cutted burlap is fitted on top.
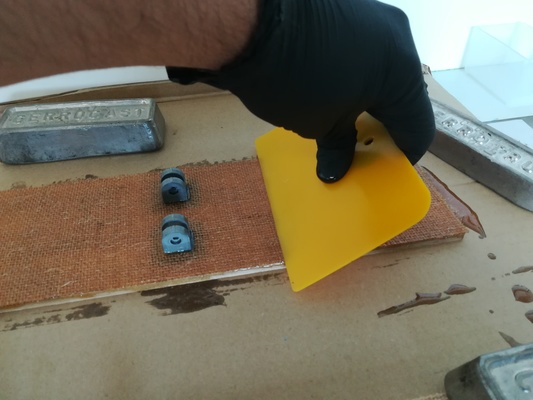
One final layer of epoxy is then added to the burlap. I didn’t used compaction in all the surface of the skates, because I lakced time to design and produce approtriate weights to fit on the skate.
