This page presents the assignment for week 1 of Fab Academy 2020: “Project Management”.
To do list:
Individual
- Plan and sketch a potential final project
- Work through a git tutorial
- Build a personal site in the class archive describing you and your final project
Week 1 "hero shot":
Table of Contents
0 Agreement0 Agreement
**Fab Academy Student Agreement***The Fab Academy is responsible for:*
- Teaching principles and practices of digital fabrication
- Arranging lectures, recitations, meetings, and events for the class
- Evaluating and providing feedback on student work
- Offering clear standards for completing assignments
- Certifying and archiving student progress
- Supervising class preparation
- Reviewing prospective students, instructors, and labs
- Providing central staff and infrastructure for students, instructors, and labs
- Fund-raising for costs not covered by student tuition
- Managing and reporting on the program's finances, results, and impacts
- Publicizing the program
- Promoting a respectful environment free of harassment and discrimination
*I am a Fab Academy student, responsible for:*
- Attending class lectures and participating in reviews
- Developing and documenting projects assigned to introduce and demonstrate skills
- Honestly reporting on my work, and appropriately attributing the work of others
- Working safely
- Leaving workspaces in the same (or better) condition than I found them
- Participating in the upkeep of my lab
- Ensuring that my tuition to cover local and central class costs is covered
- Promoting a respectful environment free of harassment and discrimination
Signed by committing this file in my repository,
Léon Reboul
1 How to manage a project with Gitlab
In this section we will go trough a step by step tutorial on how to use Gitlab for project management.
1.1 Register to Gitlab
Step 1
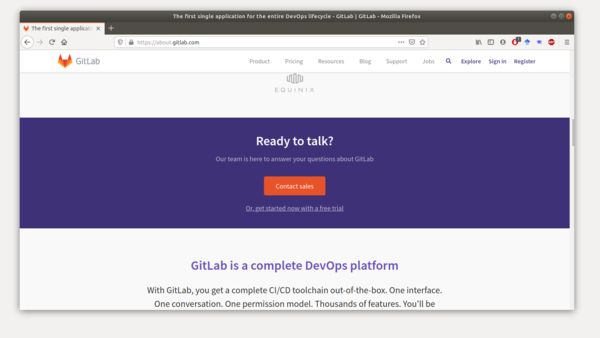
Using your favorite web browser, go to Gitlab Home page, you should arrive to a web page similar to the one in figure 1.
Step 2
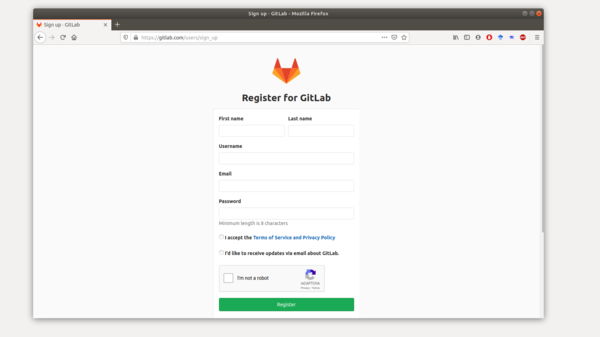
In top right corner of the home page click on “Register”, you should arrive to a web page similar to the one in figure 2.
Step 3
Enter your First name, Last name, Username, email, and password.
Read the Terms of Service and Privacy Policy and then accept them. Click on the CAPTCHA checker and then on Register.
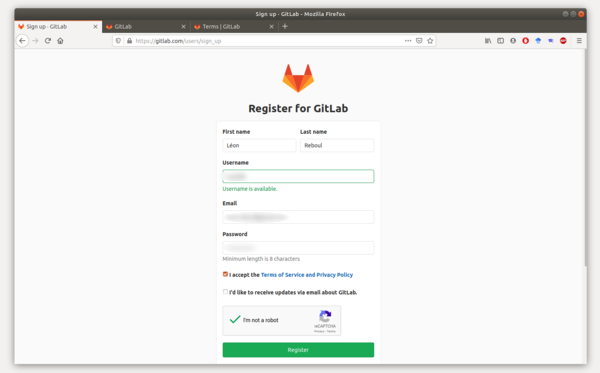
You should arrive to a web page similar to the one in figure 3.
Read the Terms of Service and Privacy Policy and then accept them. Click on the CAPTCHA checker and then on Register.
You should arrive to a web page similar to the one in figure 3.
Step 4
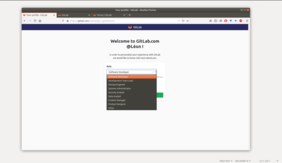
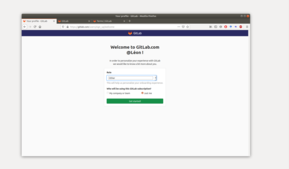
Choose one role from the role menu and answer the question “who will be using Gitlab”, then click the “Get Started!” button.
You should arrive to a web page similar to the one in figure 4.
You should arrive to a web page similar to the one in figure 4.
Step 5
To confirm your account, go to the email you used in figure 2, open “Confirmation instructions” from gitlab@mg.gitlab.com and then click on “Confirm your account”.
1.2 Create a new project
Step 1
On the web page similar to the one in figure 4, click on create project. You should arrive to a web page similar to the one in figure 4. .
Step 2
Give your project a name, a description, and a visibility level.
You should not tick the “Initialize repository with README.md” if you want to push and existing repository (like a static HTML website) and tick it otherwise.
You should not tick the “Initialize repository with README.md” if you want to push and existing repository (like a static HTML website) and tick it otherwise.
1.3 Add an SSH Key to your profile
This section follows the steps of this tutorial.
Step 1
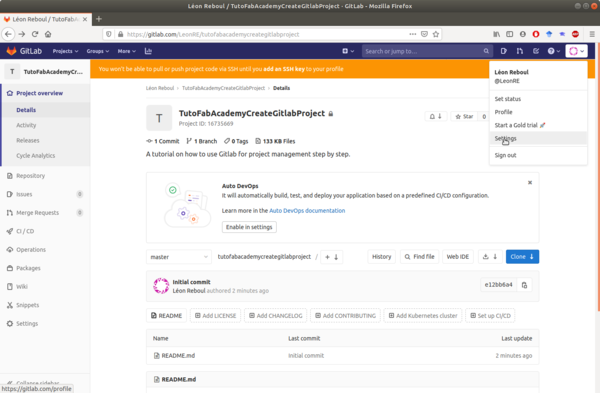
Step 2
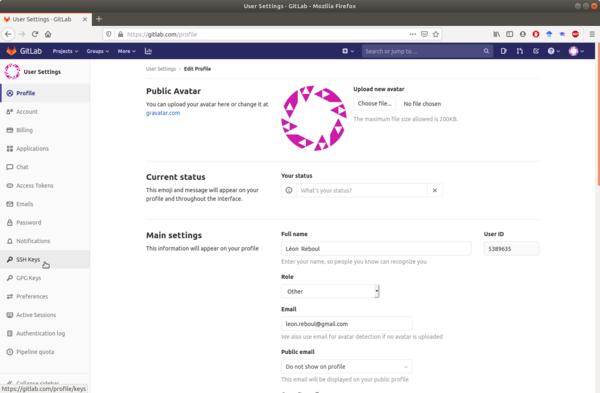
Then click on SSH Key, you should arrive to a web page similar to the one in figure 7.
1.4 Upload files to the archive
Step 1
In a terminal, cd to your project location as shown in figure 9Step 2
Type "git add -A" to add all new contents to the archive, as shown in figure 9Step 3
Type "git commit -m "Type your relevant and self-explanatory message here" to commit the new contents to the archive with the message, as shown in figure 9Step 3
Type "git push" to push the new contents to the archive, as shown in figure 92 How to build a personal website
2.1 Follow an online tutorial
- follow a progressive lesson
- test html and css code online in their simulator with real time rendering.
2.1.1 On how to create a website with your own .html and .css files
2.1.2 On how to create a website using bootstrap
I have run out of time for week 1 to try all the other way listed in the Web development section.
I am pretty sure that if you ask your navigator nicely, it will lead you to a tutorial on the topic of your choice.
2.2 Personal choice for Fab Academy 2020
- Lyx to automatically produce .xhtml and .css files. This allow me to focus on the content rather than the looks.
- Atom to make minor modification to already created .xhtml and .css files. By modifying
3 How to use Lyx as an .html or .xhtml files generator
3.1 First what is Lyx?
One simple way to describe Lyx is to cite their homepagehomepage:
“Lyx is a document processor that encourages an approach to writing based on the structure of your documents (WYSIWYM) and not simply their appearance (WYSIWYG).
3.2 Why you may want to use Lyx to process documents?
- LyX is released under a Free Software/Open Source license
- Lyx runs on Linux/Unix, Windows, and Mac OS X
- Lyx is available in several languages
- Lyx allows you to use math macros
- Lyx has preview box for tikz
- Lyx natively supports svg
- Lyx can export to a wide range of format:
- Lyx allows you to preview your document in the format you choose
- Lyx has a lot of shortcutsshortcuts than you can customize
- Lyx has built in documentation with numerous tutorials in the “Help” menu (shortcut: ALT +H)
- Lyx has a built in spellchecker (crucial option for me)
3.3 How to export from .lyx file to .html or .xhtml file
Here is where the magic happen, thanks to the development of Richard Heck for conversion from .lyx file to .xhtml file .
Step 1
In your .lyx file open the “File” menu, then select “Export” then “HTML” or “LyxHTML”. Click and it is done!
Step 1 alternative
COVID UPDATE
As the FabLab have been closed for almost 3 months and the time is running out, I use directly Atom to write my documentation.One major drawback with Lyx is that due to a bug I was forced to manually rename every picture in the .html.
I am pretty sure it is possible to fix this bug with some hack, but I can afford to do it now.
Atom to website pages
Step 0
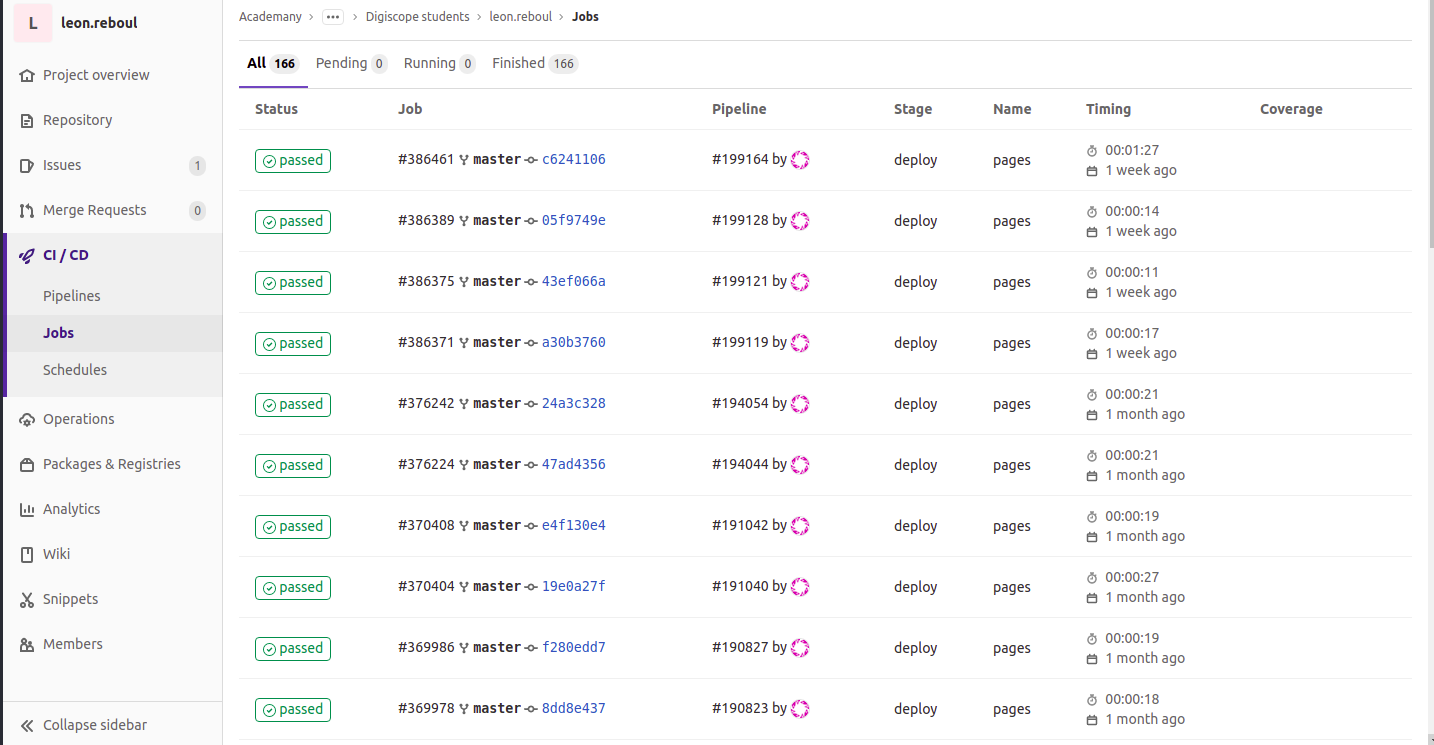
Modify the yml file on gitlab as follows:# This file is a template, and might need editing before it works on your project.
# Full project: https://gitlab.com/pages/plain-html
pages:
stage: deploy
script:
- mkdir .public
- cp -r * .public
- mv .public public
artifacts:
paths:
- public
only:
- master
