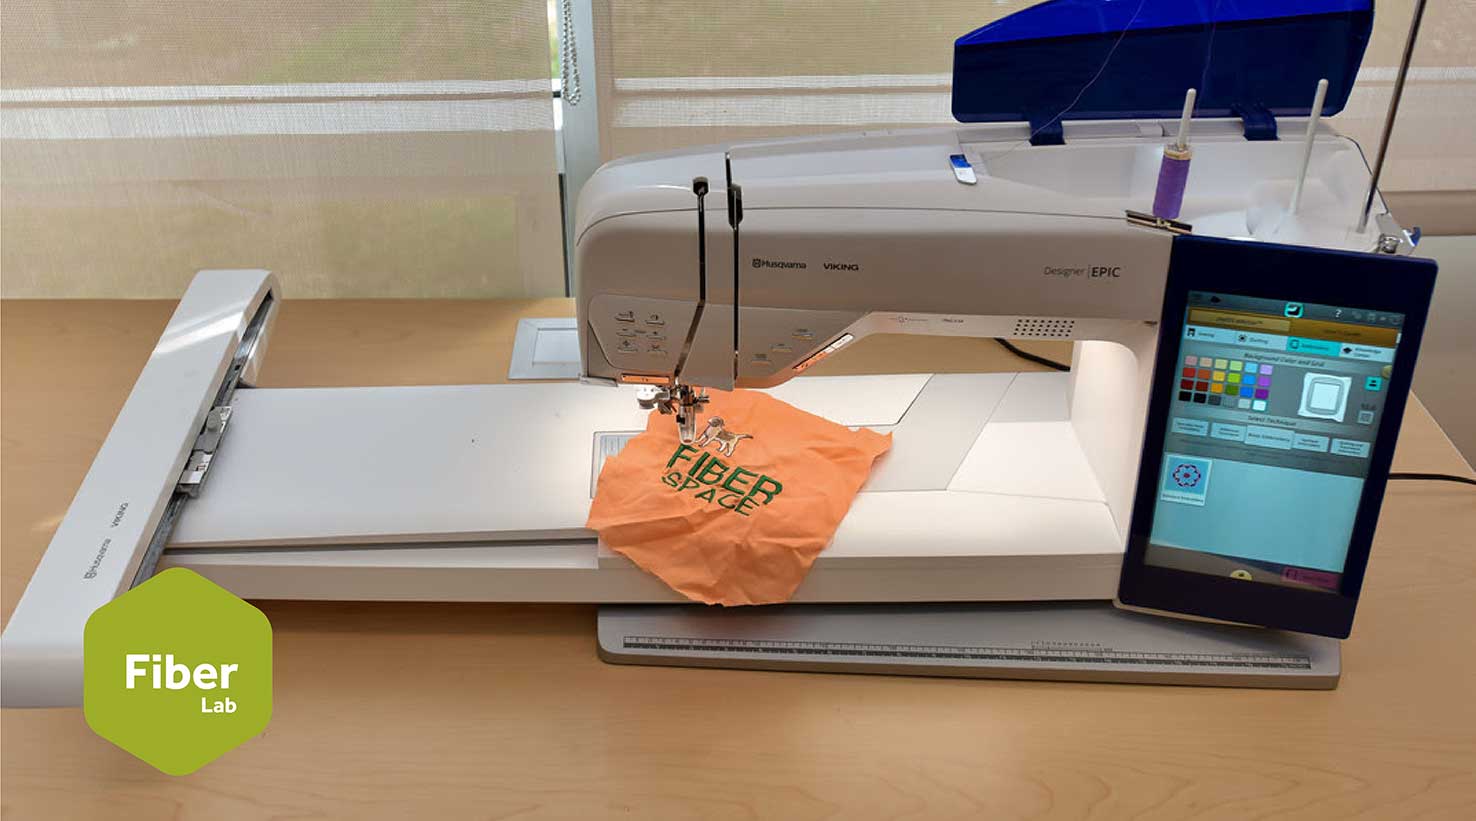
Digital Embroidery Machine
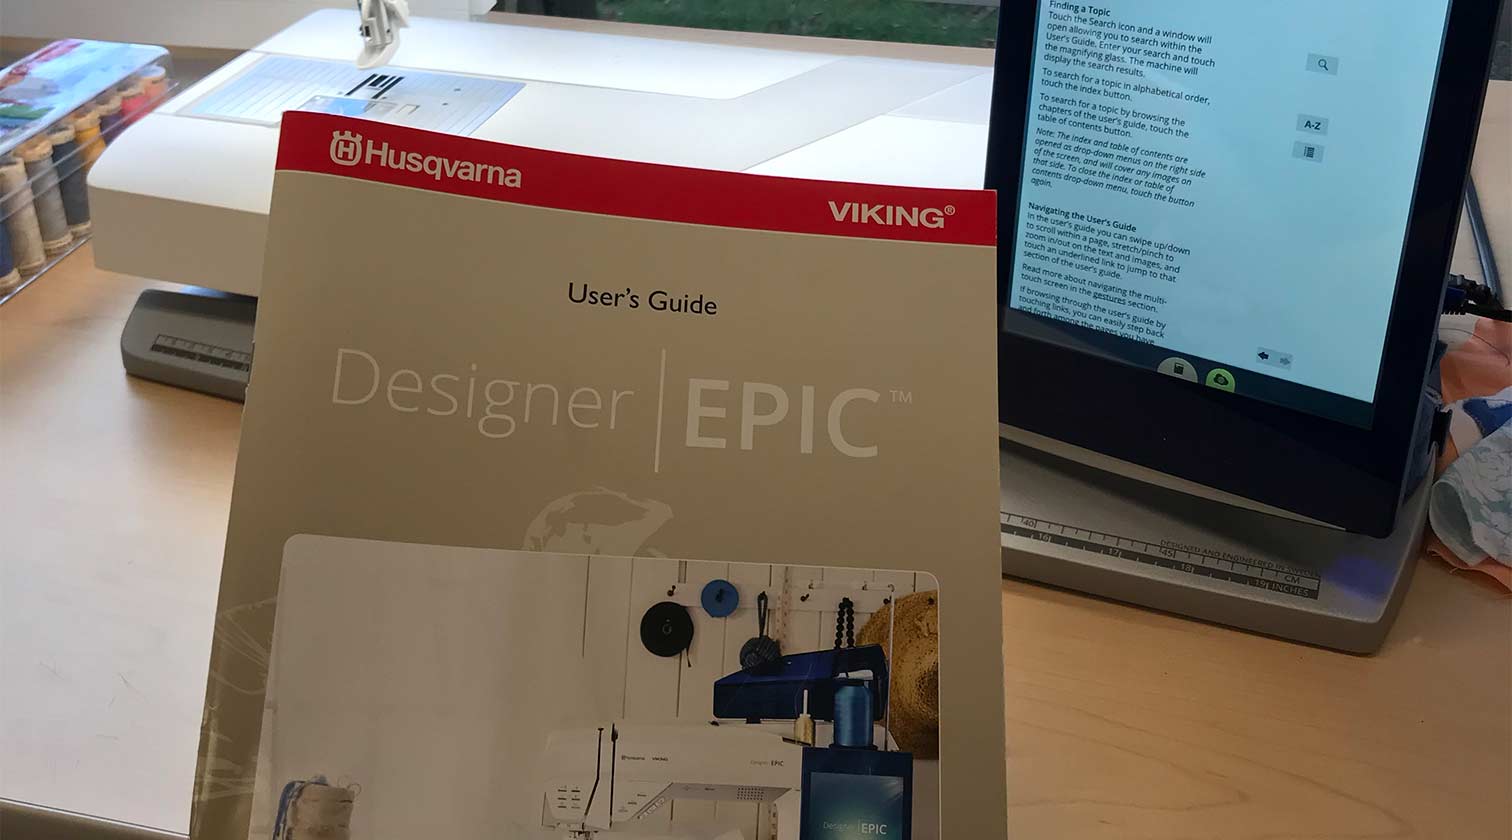
I recommend knowing how to use a sewing machine before attempting to use any digital embroidery machine. Some of the terminology is very similar and the workflow of actually sewing is very similar. This machine's official documenation can be found here. It's called the Designer Epic and is made my Husqavarna and Viking. The documentation on how to use the machine may be the best I've ever seen. Not only do they have a wealth of information on the linked guide but the machine comes with a guide and what's the best is the guide is also on the physical machine on the screen which makes it SUPER uder friendly. Also, while this is commonly referred to as a digital embroidery machine, it can do much more including regular sewing, button sewing, and more. This is the tutorial for how to use this tool... Linked here
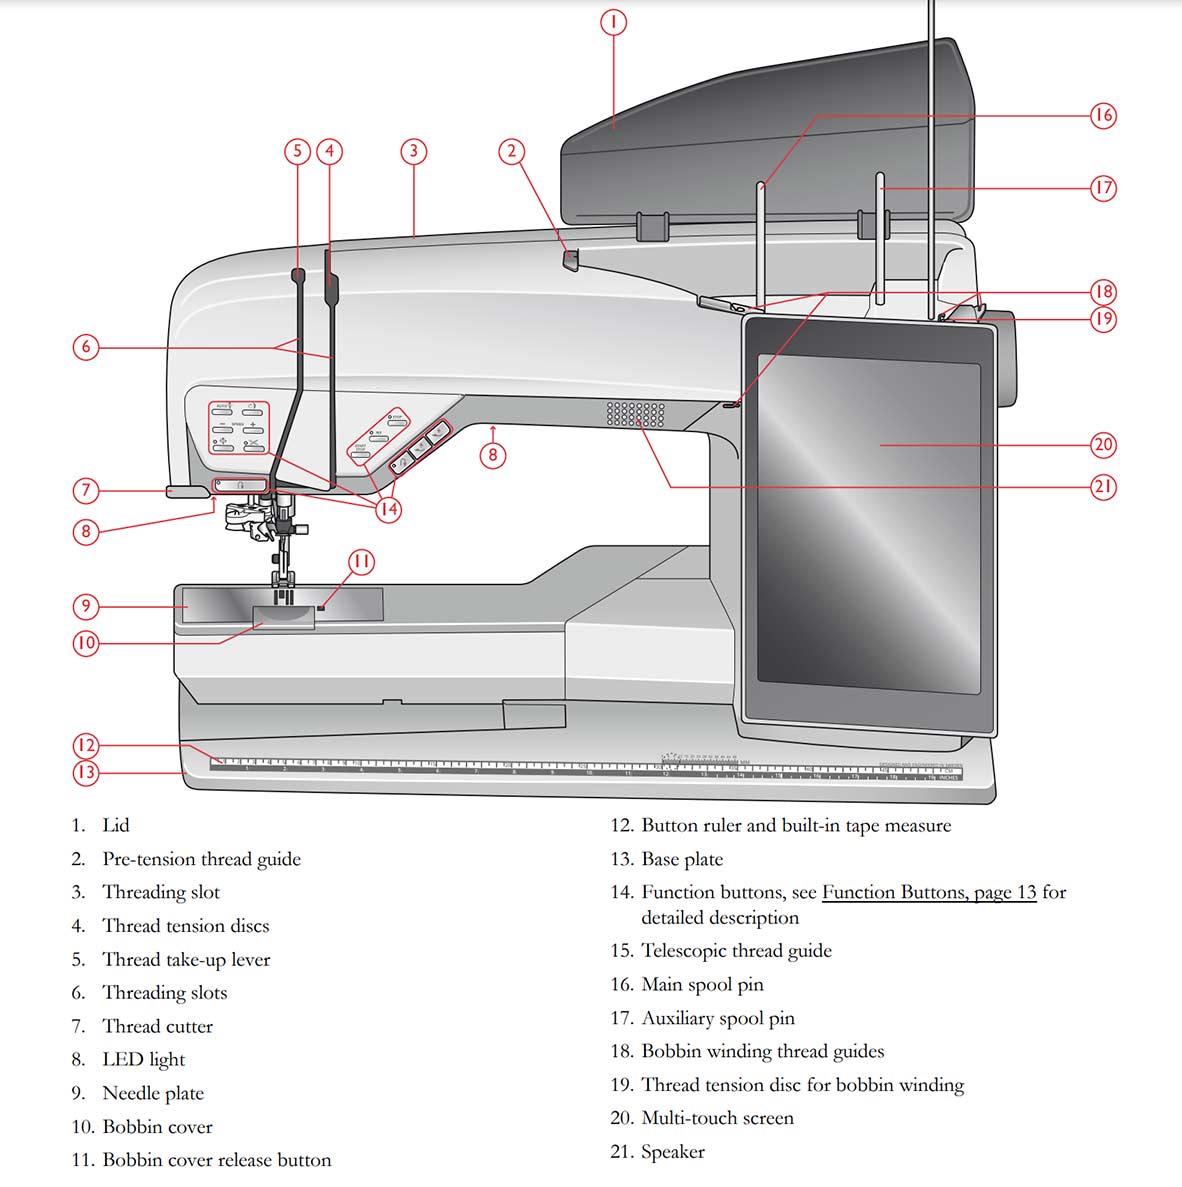
This is one of the first images in the guide and it's very important to familiarize yourself with the different components
Sewing mode
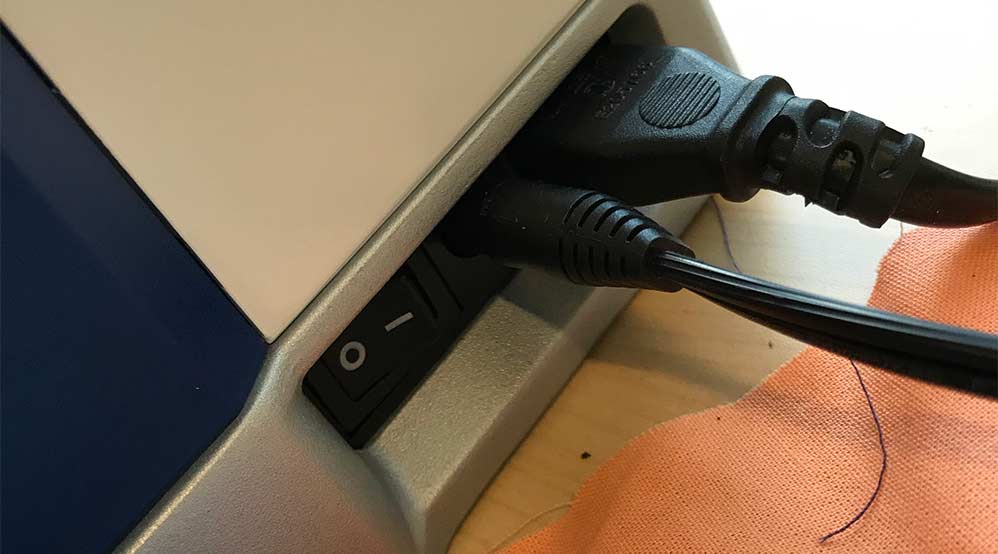
- Turn it on (switch is on bottom right of the ride side of the machine)
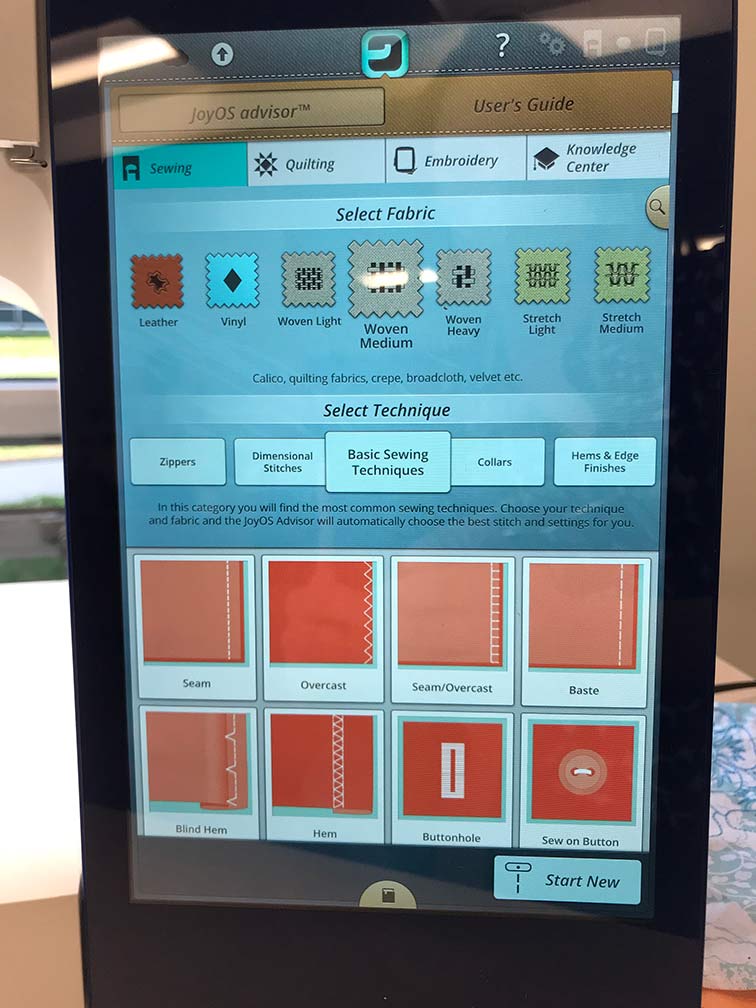
- Under the JoyOS advisor tab, select Sewing at the top
- Select the type of fabric you’re using (i.e. woven medium fabric for most standard cottons)
- Select the technique you plan on using (i.e. seam, buttonhole, etc.)
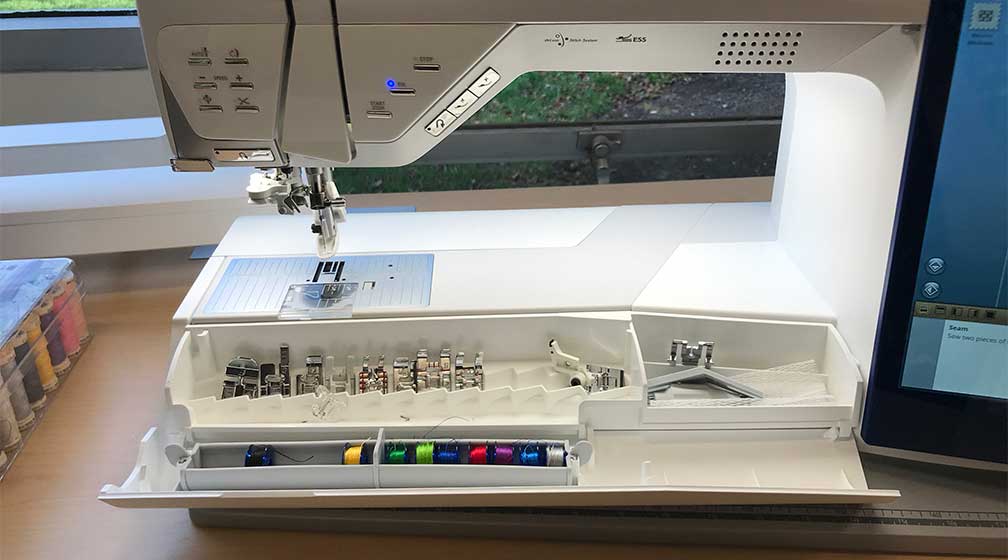
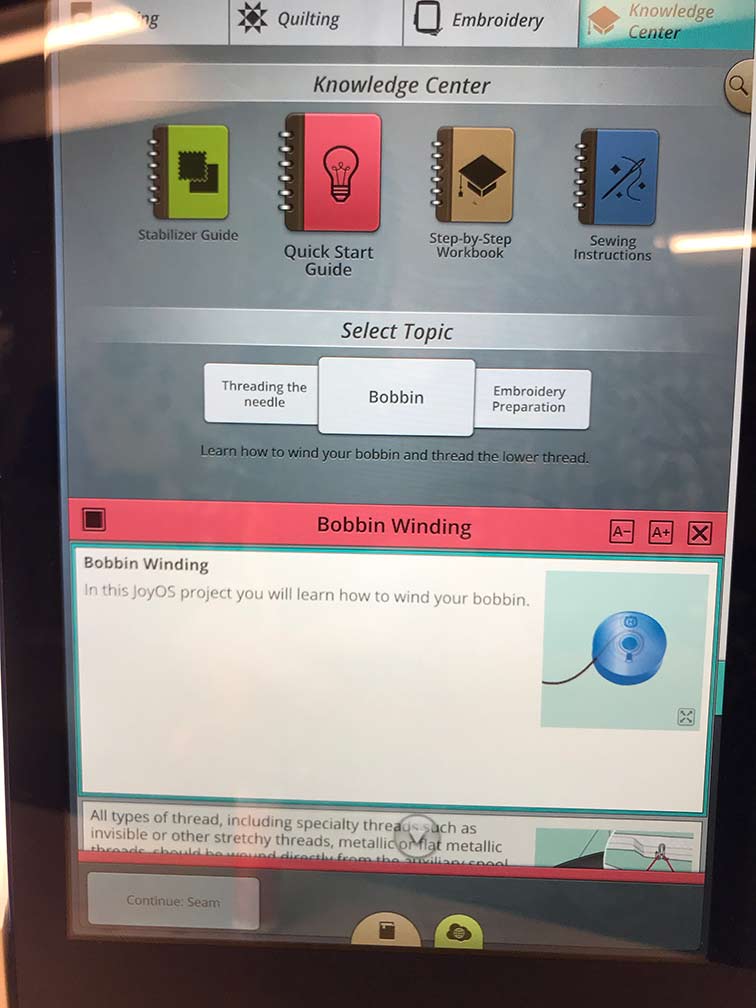
- THIS IS VERY IMPORTANT! Some people don't really understand that there are two threads at work in sewing machines. So if you want the colors to match, you frequently need to change the bobbin. Wind the bobbin and insert it. Also, note that there are top secret 007 style compartments on boths side of the base plate. This is where you will find many of the necessary tools.
- Thread the upper thread through machine and use automatic threader to thread the needle. This sounds easy and totally is once you get the hang of it. The coolest part is there is an AUTO THREAD!!!! If you've ever used a regular sewing machine... you should get that this is very helpful.
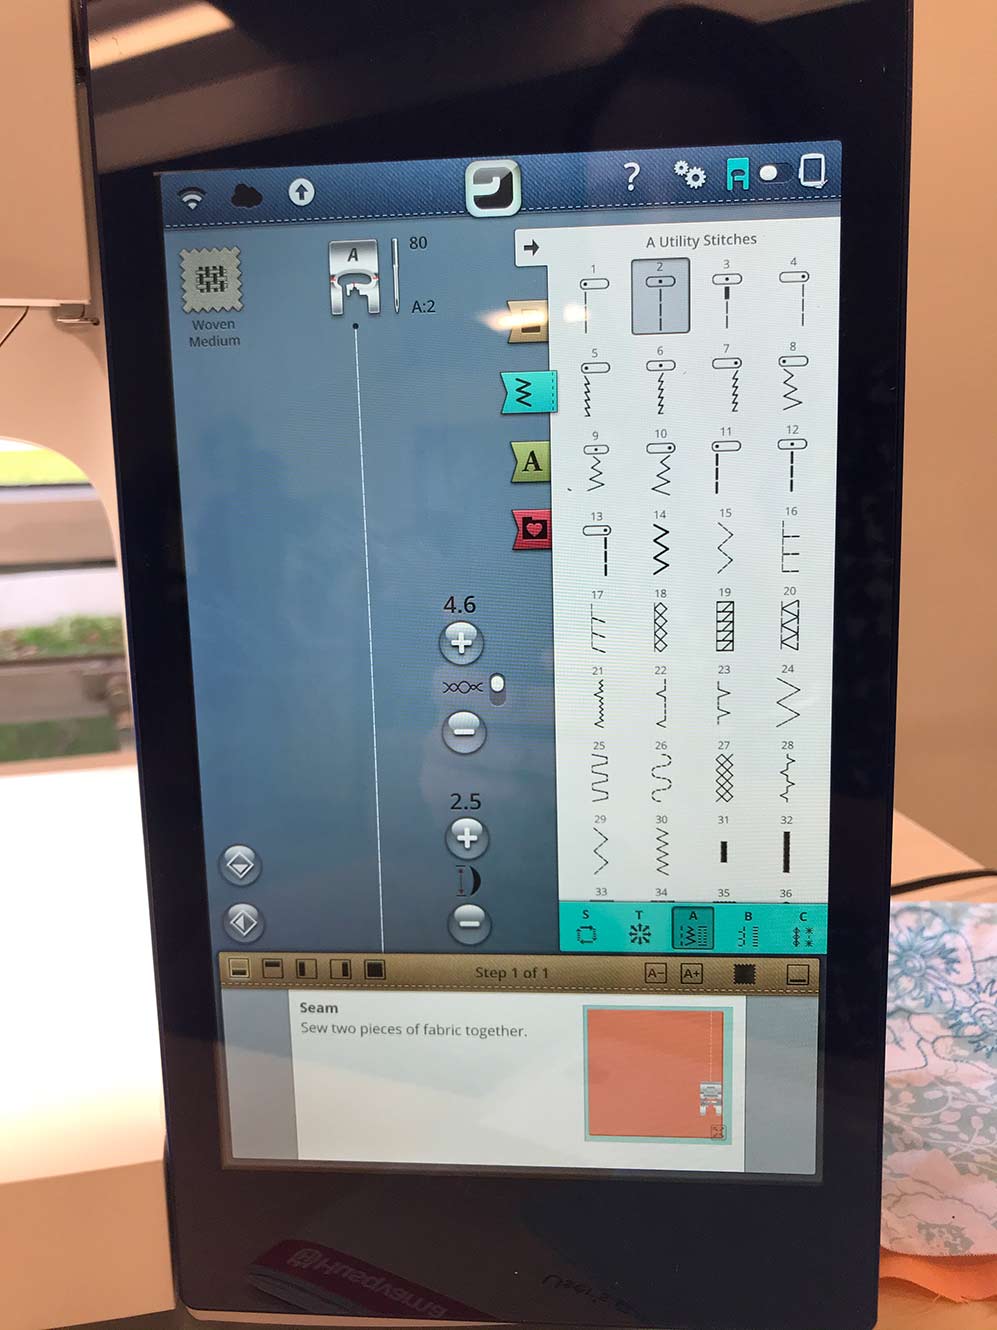
- The suggested stitch, stitch length, tension, etc. will be preset - you can adjust them if necessary - it also tells you the appropriate presser foot to use - A is the most common foot to use for most basic sewing techniques
- Align your fabric where you want to make the seem, hit the presser foot down button, and lightly push your foot down on the pedal to start sewing
- To do a backstitch (i.e. to secure the threads at the beginning and end of your seam), just press the reverse button -- you do not need to hold it down as you would on a standard sewing machine - press it again when you’re done with backstitching
- Press the scissors button and the machine will cut the threads for you and lift up the foot
- To change direction (like on a corner) without ending the seam, just like normal, lift up the presser foot, turn the fabric with the needle in the fabric, lower the presser foot and continue sewing
Embroidery mode
- Turn it on (switch is on bottom right of the ride side of the machine)
- Make sure it’s connected to WIFI. So key thing here is you need a PC which we didn't have at the time.
- Attach the embroidery unit
- The presser feet are located in the accessory unit
- The needle should be up in its highest position
- Remove the foot that’s already attached - if it’s the A foot, just pull it down, if it’s the Sensor One-Step Buttonhole foot, just unplug it and pull the foot down
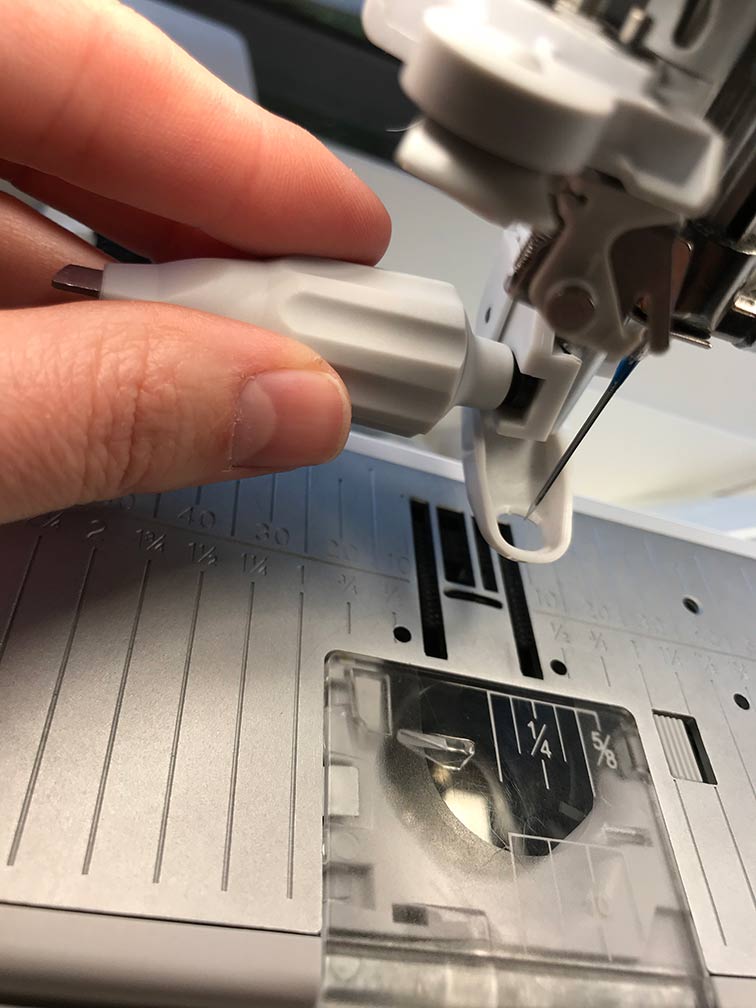
- Use the universal tool to unscrew the ankle (the white and black thing that the other presser feet attach too) -- the end of the presser foot is magnetic, so the screw can stay in there while you’re changing things out so it doesn’t get lost
- Line the Sensor Q-foot up to the metal part of the machine (that the ankle wasa attached to) and use the universal tool to reattach the screw
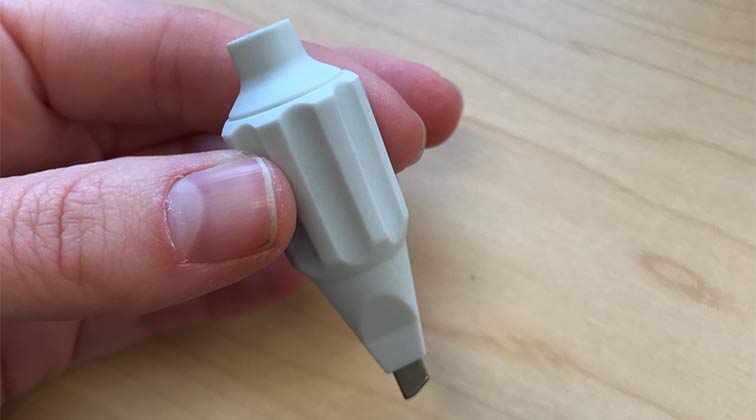
This is the universal tool.
Choose which hoop size you’ll use depending on how big your fabric is and how big you want your design to be (we currently only have stabilizer big enough to fit the smallest hoop, but we should be ordering more soon)
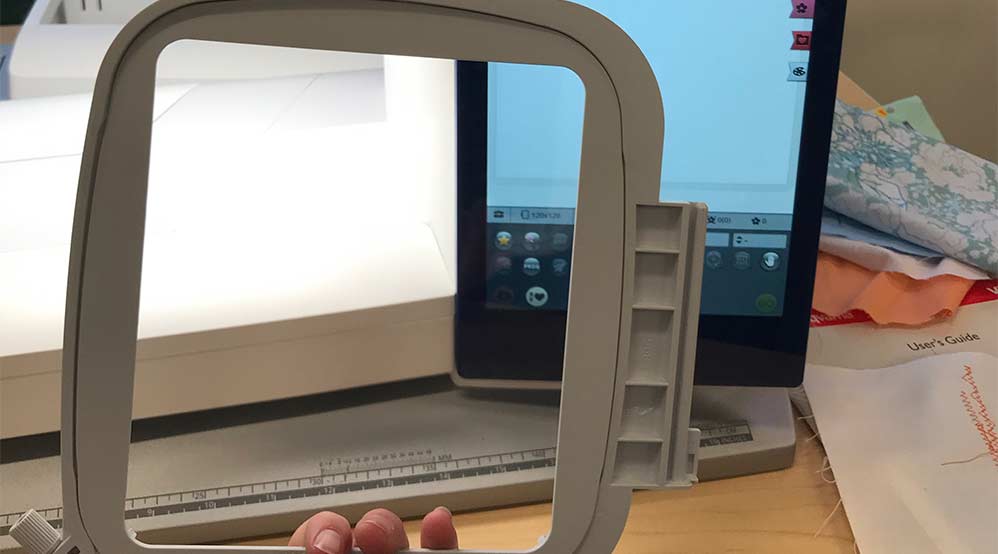
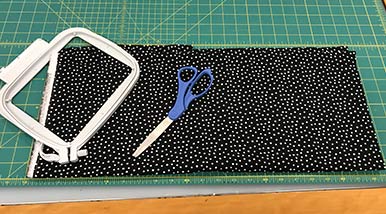
Once you choose your hoop, measure and cut your fabric.
Fit your fabric and stabilizer onto your hoop. The stabilizer goes under the fabric Pull out the lever on the bottom right of the large hoop to release the tension Put the largest piece of the hoop on the bottom with the side with the screw on the bottom right - put the stabilizer and fabric on top - then press the smaller piece of the hoop into the fabric, pull the lever back into its original position and tighten the screw Tighten the screw and pull at the edges of the fabric until it is taught Set the hoop aside while you design!
- Click the Embroidery tab under JoyOS advisor
- Click “start new” at the bottom of the screen. The arm will need to calibrate, so remove anything from the area so it can move freely (your hoop should not be attached yet)
- The screen shows your workplace - load your design images onto the workplace Select the hoop size you’re using by clicking icon showing a hoop with dimensions next to it in the bottom left (use 120x120 for trainings - the smallest hoop we currently have) Pre-loaded designs are under the pink flower tab on the left side of the screen -- scroll down to look through designs and there are categories (A through N) on the bottom of the tab To place a design on the workplace, press down on the desired design for a couple seconds and drag it onto the screen You can drag the image around, make it larger by dragging the corners, turn it by dragging the circle at the top of the image (certain designs can only go up to certain sizes) --- to override the pre-set size limit, select the image you want to resize, and then click the icon in the lower left corner that shows pink flowers growing in size The toolbox icon allows you to delete images on the workplace --- if you have more than one component on your workplace, click on the one you want to delete and hit the trash icon To increase the size of multiple components at equal rates, click the square icon that has three smaller squares inside of it (in the toolbox) and drag the outer boundaries to increase the size of both things simultaneously To mirror the image side to side, click the diamond icon with the white triangle facing the left (in the toolbox); to mirror the image top to bottom, click the diamond shaped icon with the white triangle facing down (in the toolbox) To duplicate the image, click the icon showing two solid white boxes overlapping (in the toolbox) You can precisely adjust the placement of your images (rather than dragging with your finger) by either clicking the triangles around the dial in the center of the bottom part of the screen or typing in the distance from the top/bottom and the distance from the right/left To center your image, click the icon in the middle of the center of the workspace dial that has arrows pointing towards a square
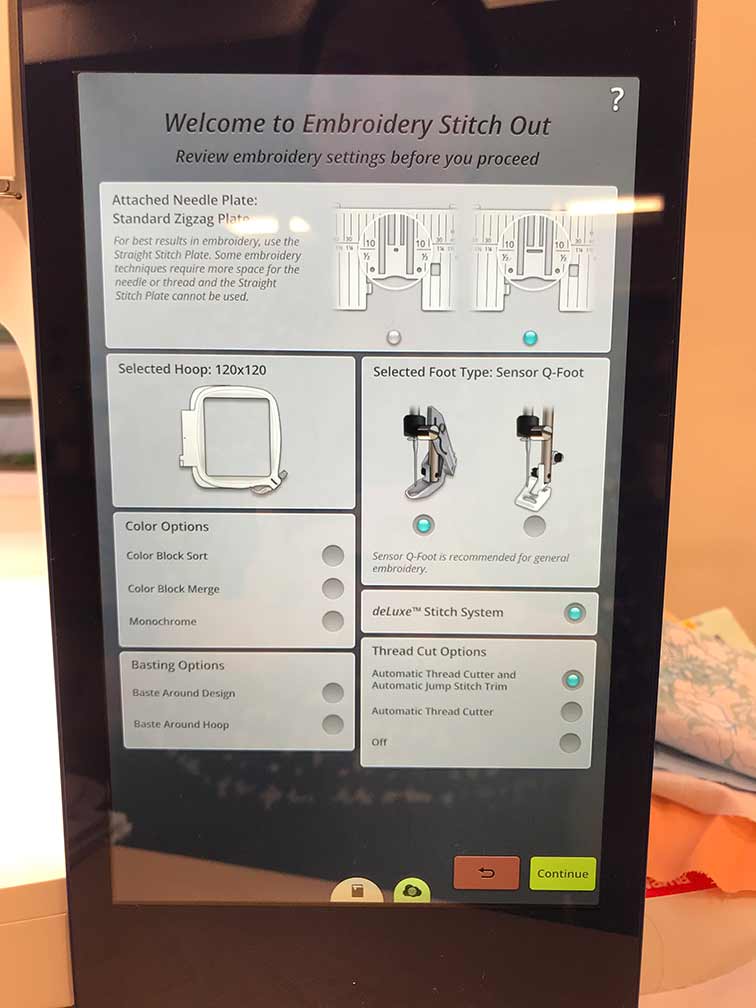
- Once you’re satisfied with the design on your workplace, press the GO button at the bottom right corner A pop up screen will appear showing the specifications of your project - click Continue The embroidery arm will adjust to its correct placement for the selected hoop size
- The Color Block List will appear showing the different steps the machine will take to stitch your design The order of the colors is the order in which the machine will stitch - the color at the top will be stitched first It will also tell you the estimated time it will take to stitch each part of the design The size of each color block indicates how many stitches the color block contains Load the bobbin and upper thread with the first color in the Color Block List You can change the color of the design just by loading your desired color of thread You may need to remove the hoop to load the thread if you didn’t do it before It’s important to load and run the colors in order they appear on the Color Block List so that the threads don’t overlap in a funky manner where they’re not supposed to be visible -- your finished product will be much cleaner if you do it in the order it lists You can also merge the blocks to eliminate the stops between identical thread color blocks, or activate monochrome embroidery (design will show in grey color) to just use one thread color for all components of your design
- When prompted, attach the hoop by sliding it into the slot on the right side of the embroidery arm - slide it away from you until it clicks into place
- If you’re at this stage and decide you want to change your design, click the reverse button on the bottom right corner of that page and it will bring you back to the workspace screen and you can make changes as before
- Press the START/STOP button on the body of the machine (located below the Husqvarna logo) and the machine will embroider the first section with the appropriate thread color you’ve loaded Once done, it will tell you so Remove the hoop by pressing down on the button where the hoop is currently attached and slide the hoop out, pulling towards you Remove the current bobbin and upper thread and reload with the next color
- Reload the hoop and press start again. Continue this way until you’ve done the last color, and a message will pop up on the screen saying the project is done
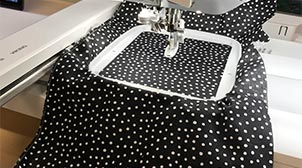
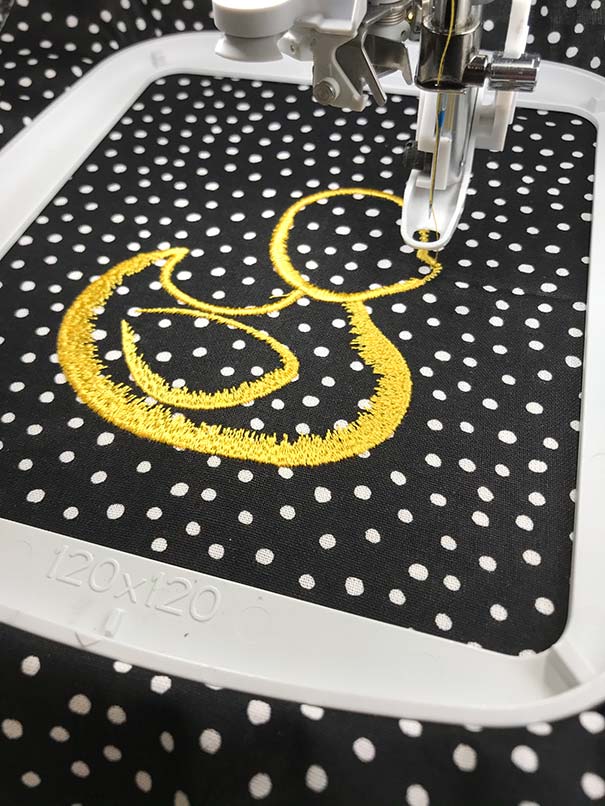
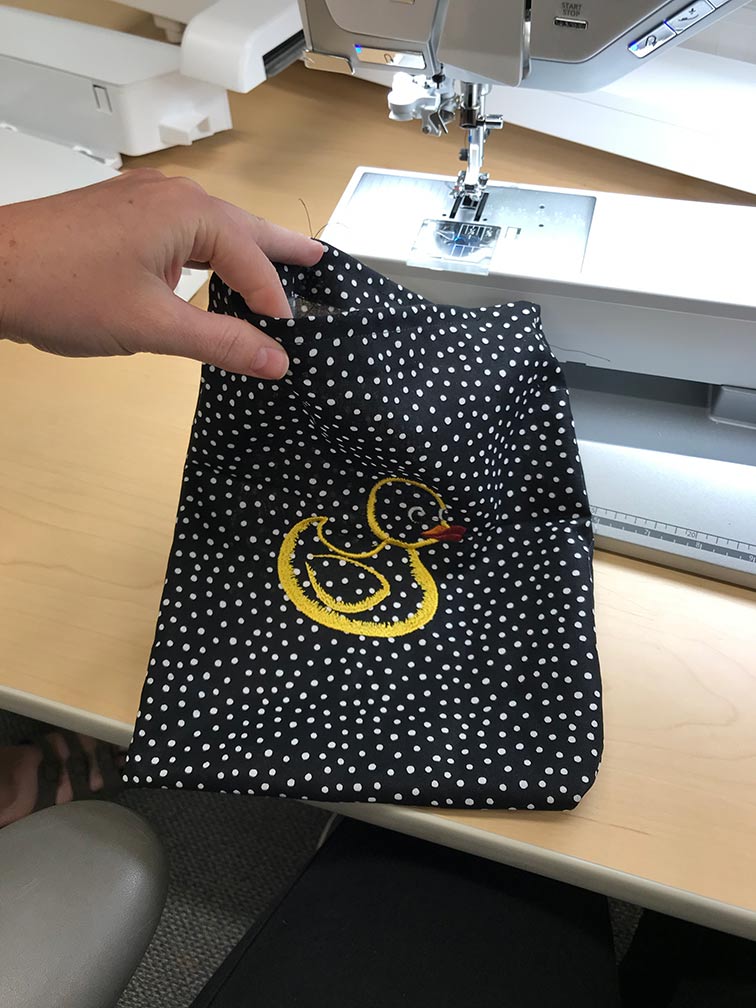
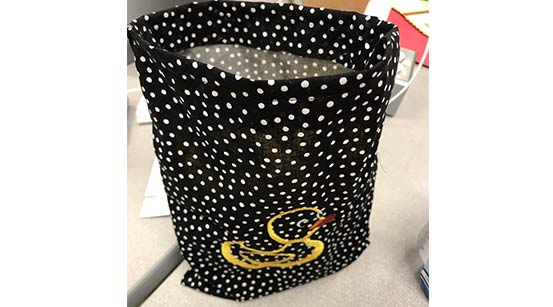
THIS IS AWESOME! So after the embroidery was done, I went back into sew mode and stiched the sides and now it's a small bag with seams and all!
Button time
The other thing I learned how to do was make a button.

Most actions require different feet. This one is located in the 007 compartment on the back and need to be delicately pugged in on the back of the machine.

The first thing you need to do is choose a dope button. Then, because Viking is the most amazing company and has literally thought of everything, you just measure the button ON THE MACHINE! There is a special space on the front base for you to measure your tiny button.
The first thing you need to do is choose a dope button. Then, because Viking is the most amazing company and has literally thought of everything, you just measure the button ON THE MACHINE! There is a special space on the front base for you to measure your tiny button.

After you attach the new foot you will need to rotate the red wheel so the white marks are aligned.
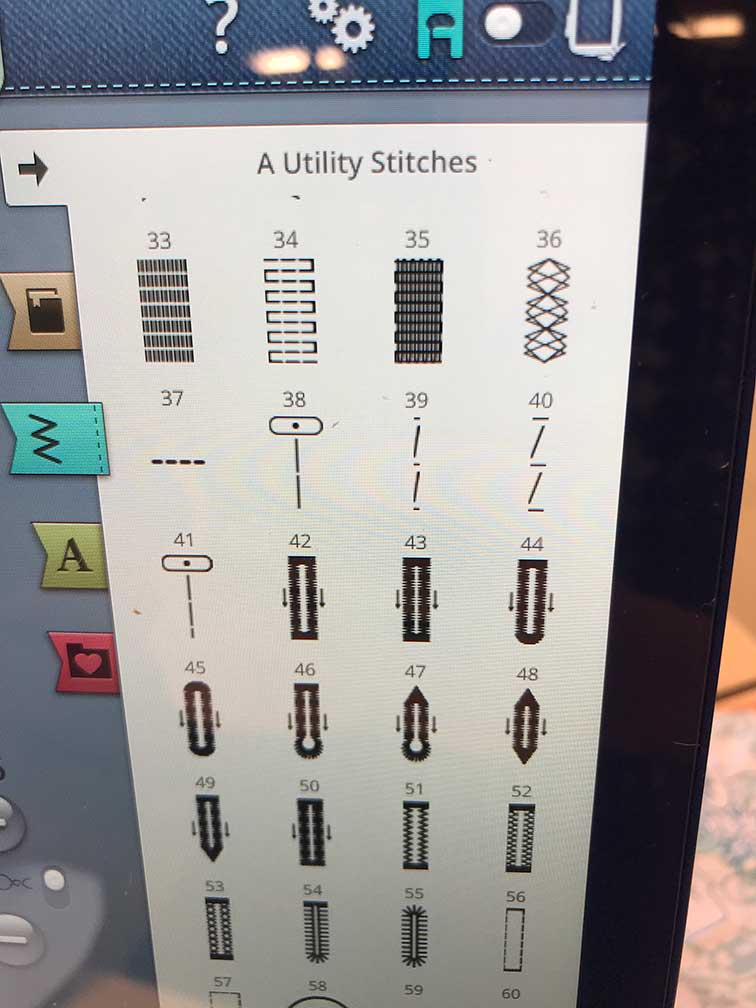
Now yu can choose the type of slit you'd like.
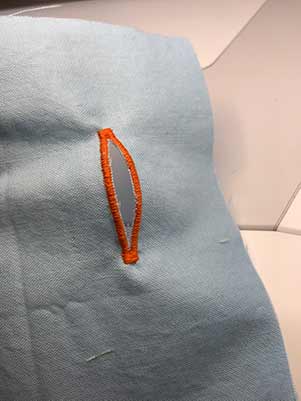
Once the embroidery is done, carefull cut the slit using an exacto knife.
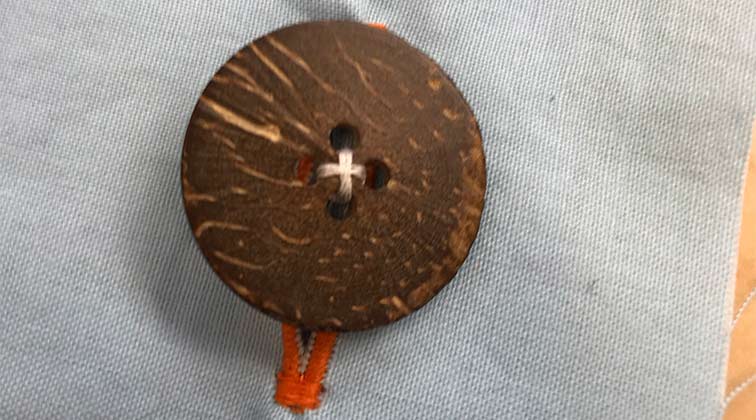
:D VERY satisfying
Darning
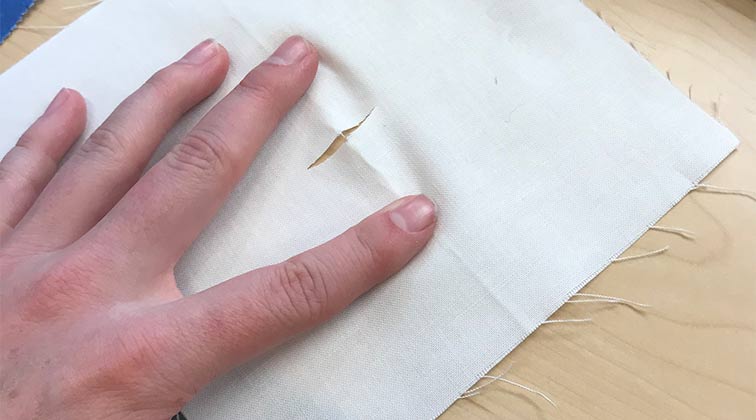
Darning
