Update: My cohort is still spread all across the world and we still don't know when we are going back to the lab. We also only have our Arduino and no working boards.
This week was only a minor brain explosion...
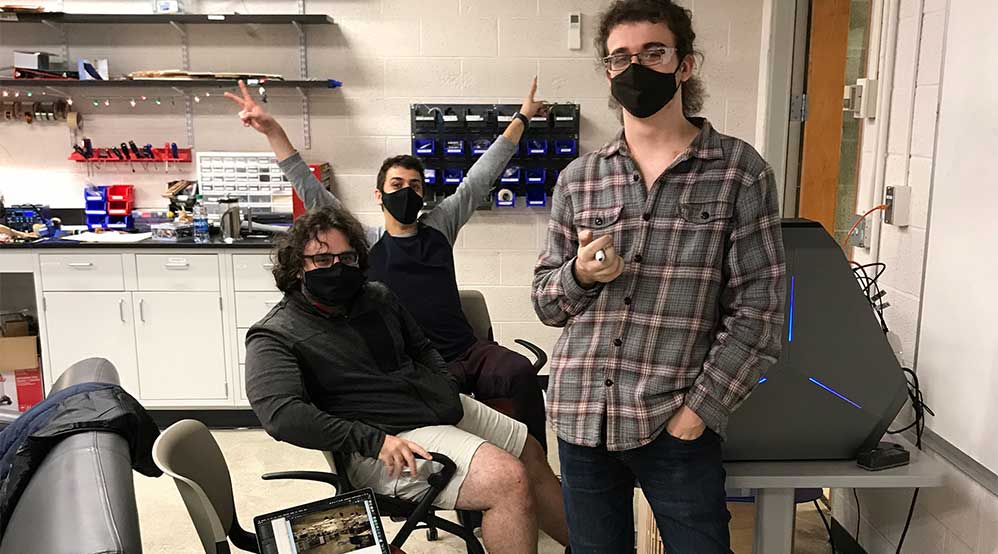
Let's hear from the experts.... Kevin (left- always breaking things and then fixing them) and Javi (middle- hands up and always full of energy) and Noah (right... and always right!)! These are the folks in the photo above. Without their help, I wouldn't be where I am. They explained a few key things to me in a language I understand. I met them where I currently work and am pretty lucky for that reason.
Let's start by going over a few key terms. What is a bus address you might ask? Turns out, it's not the physical location of a bus. An article by Technopedia was pretty helpful... "An address bus is a computer bus architecture used to transfer data between devices that are identified by the hardware address of the physical memory (the physical address), which is stored in the form of binary numbers to enable the data bus to access memory storage. The address bus is used by the CPU or a direct memory access (DMA) enabled device to locate the physical address to communicate read/write commands. All address busses are read and written by the CPU or DMA in the form of bits." Basically, this refers to transfer of data between two central processing units... right?... The other key thing here is that a serial bus can communicate with only a few wires. Pretty cool!
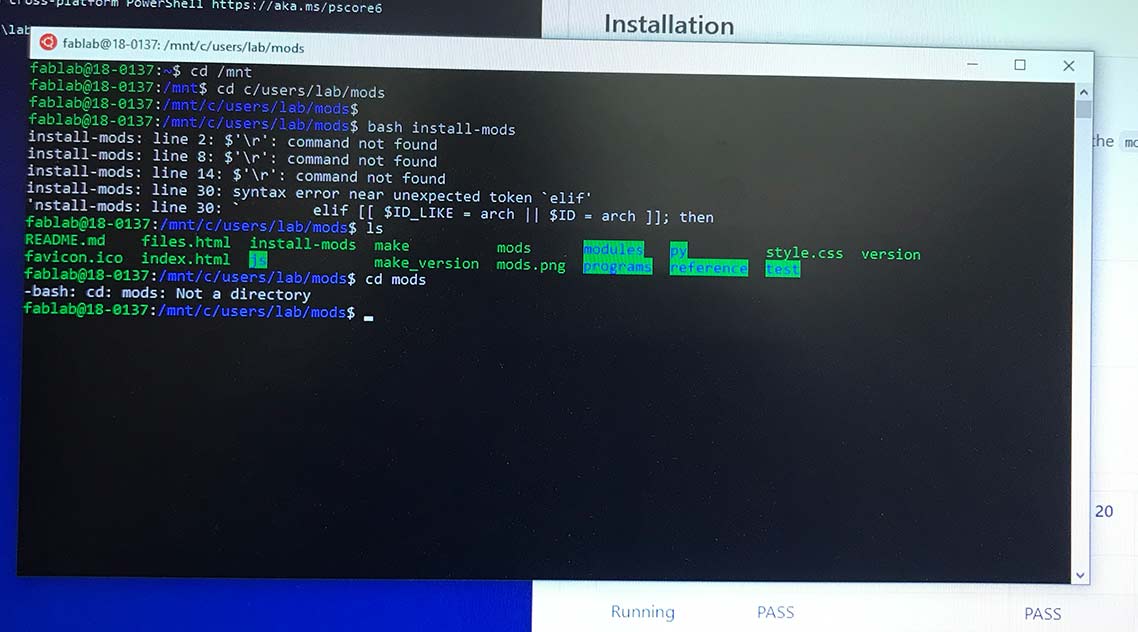
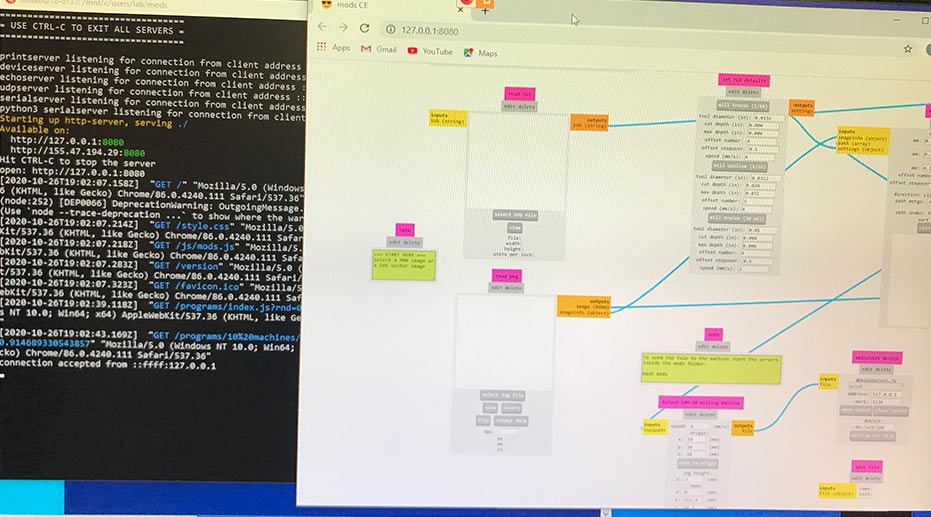
This kinda makes sense but I'm hoping this will become more clear as we continue. I also spoke with my instructor Luciano yesterday and at this point I am down to the wire and need to finish up this week's assignment. While I could use the board I've made for my final project... it's not really neccessary so I may just try creating some new boards following this Hellow Serial Bus tutorial. In order to do that, I need to get the precision mill at my lab working. We just got the funding to purchase it and it's currently only kind of working and only for some people. I told Luciano I was using Neil's version of mods and he suggested I use the community version which can be found here. So the documentation below begins with my journey to get the Roland SRM-20 working.
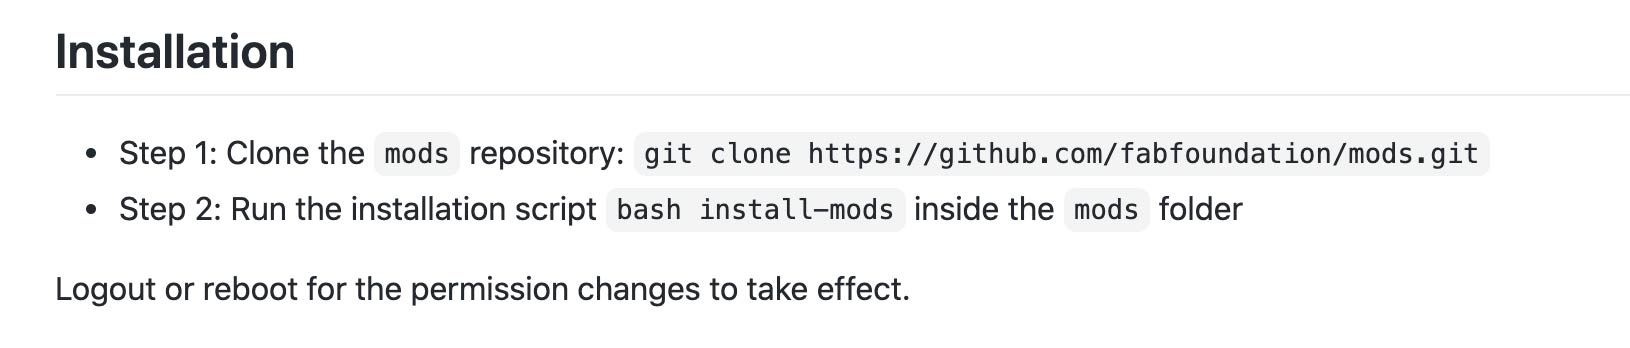
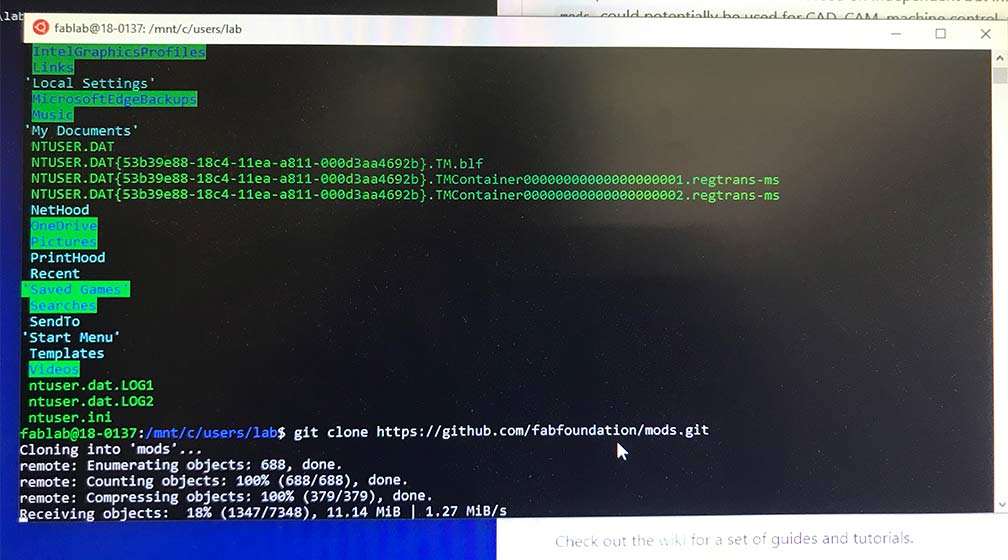
These are the directions. Which did help but are somewhat limited. THIS is the tutuorial I followed on "How to Install Linux Bash Shell on Windows 10".
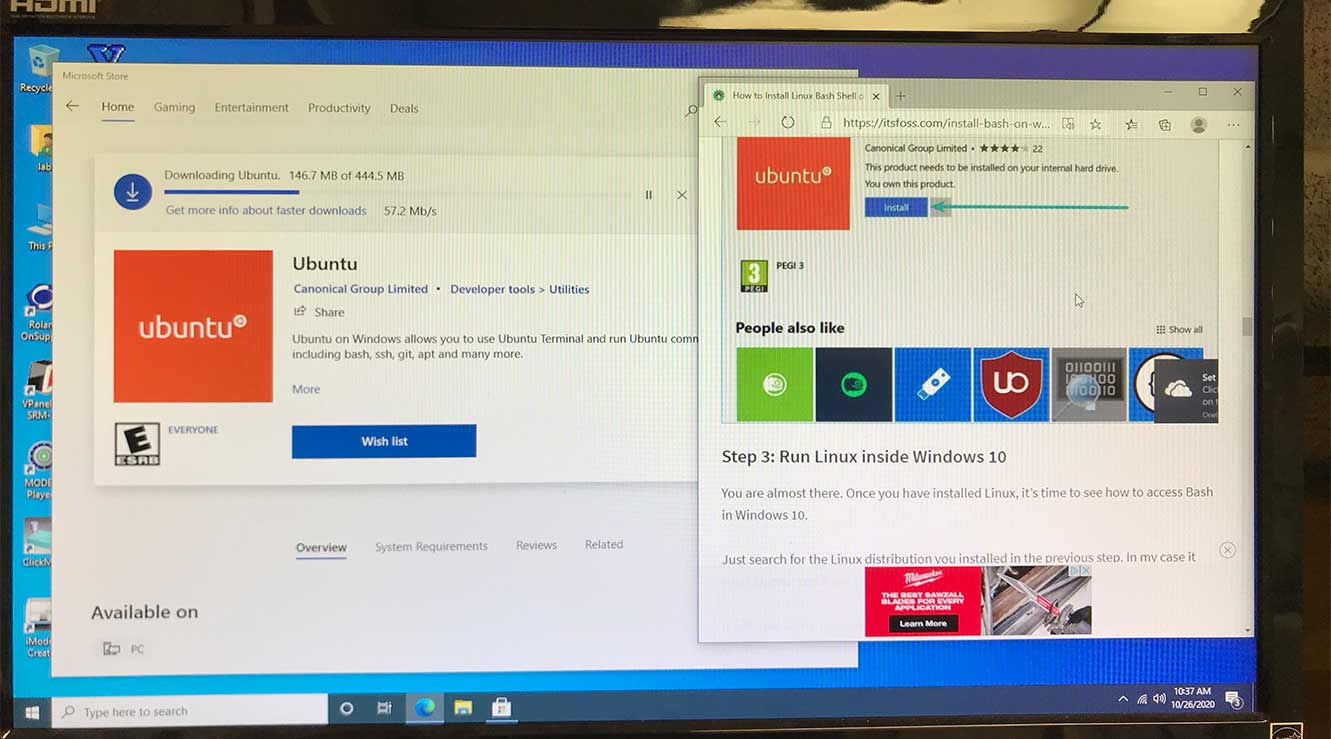
First step I did was to install Ubuntu.
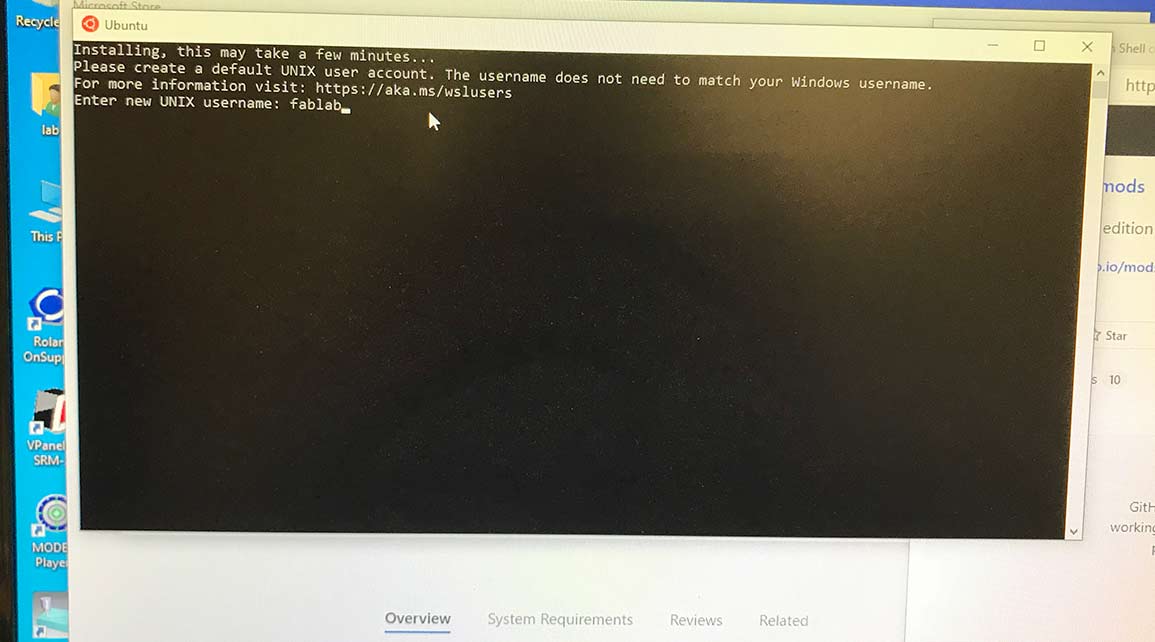
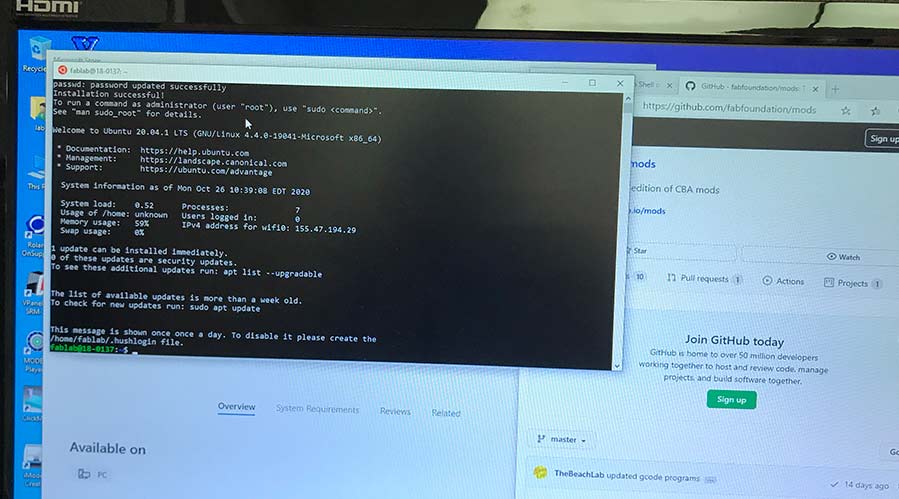
It asked me to create a new username and password.
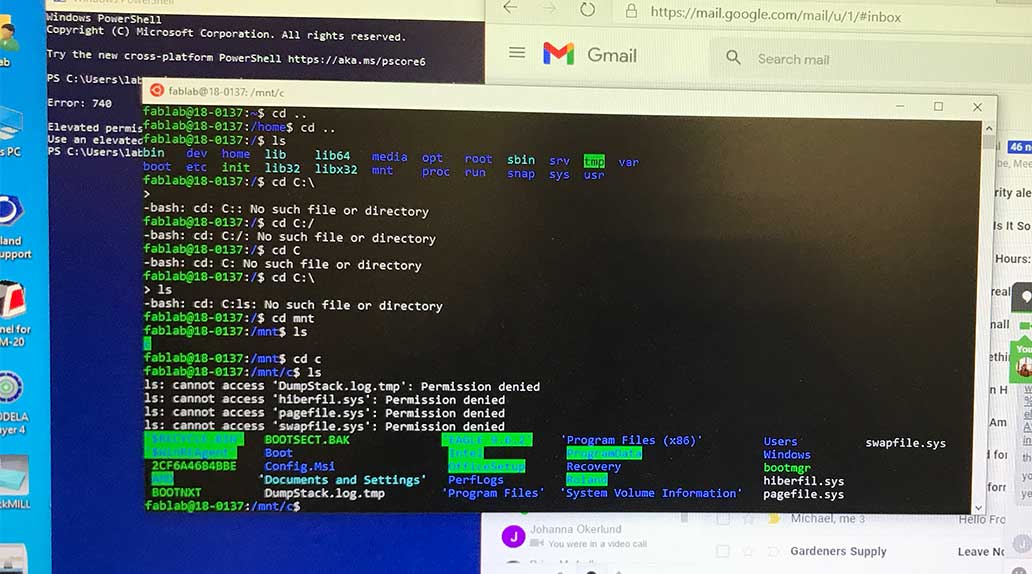
If you use the command "nano" it shows you more about what's going on...
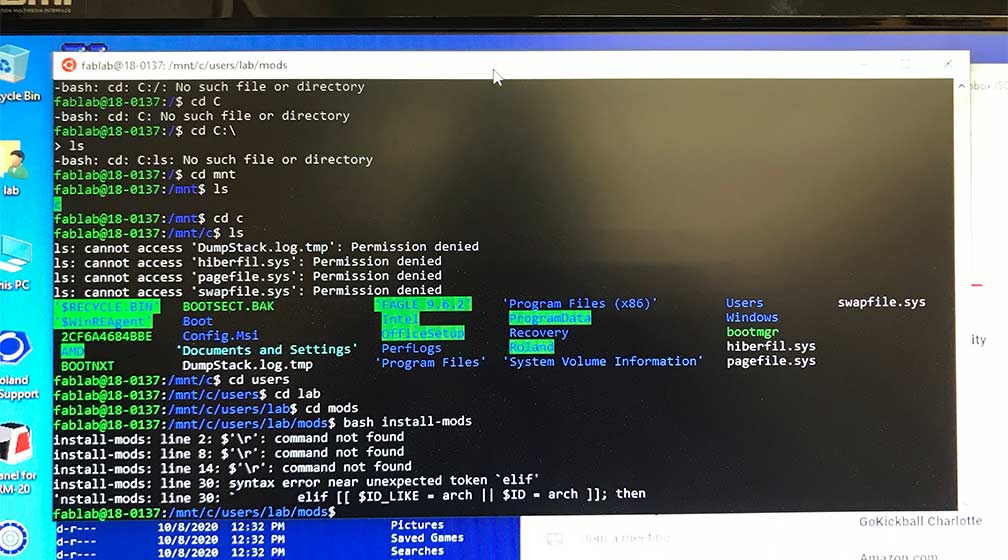
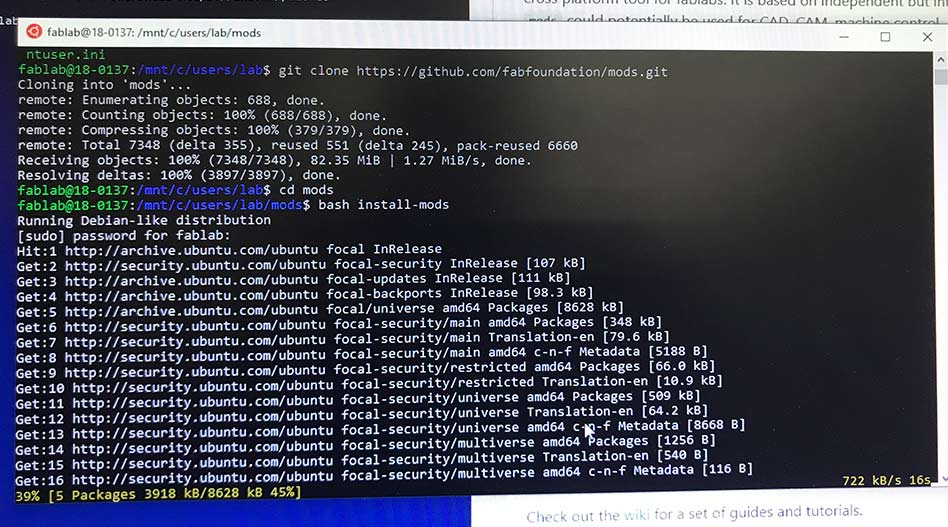
So here I'm using the command "bask install mods" and getting an error about different commands not being found.
I then find out it doesn't think mods exists...
I didn't find the answer to this problem here but it was nice to know other people struggle.. haha.

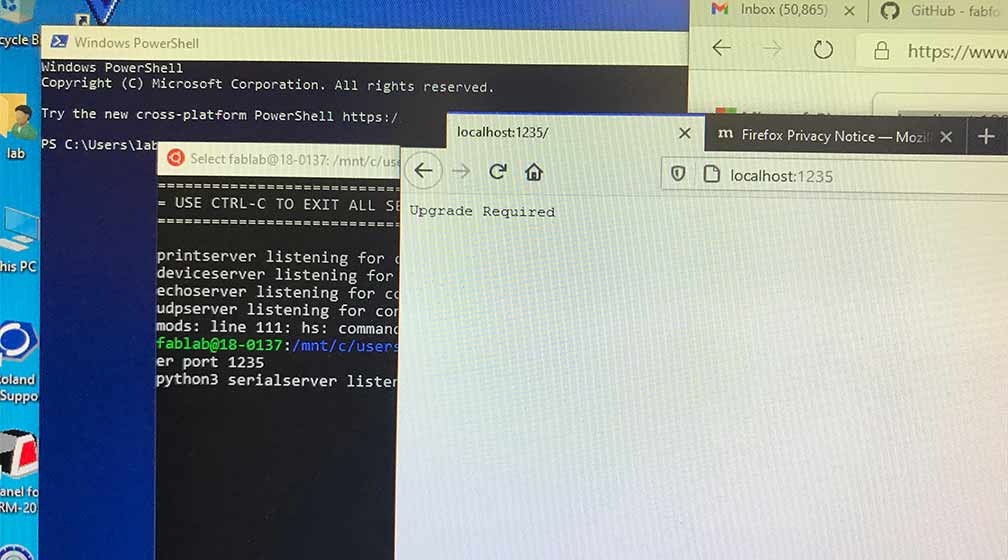
HA!!! So I went to the local host number and it said update required... at the time I started hysterically laughing.
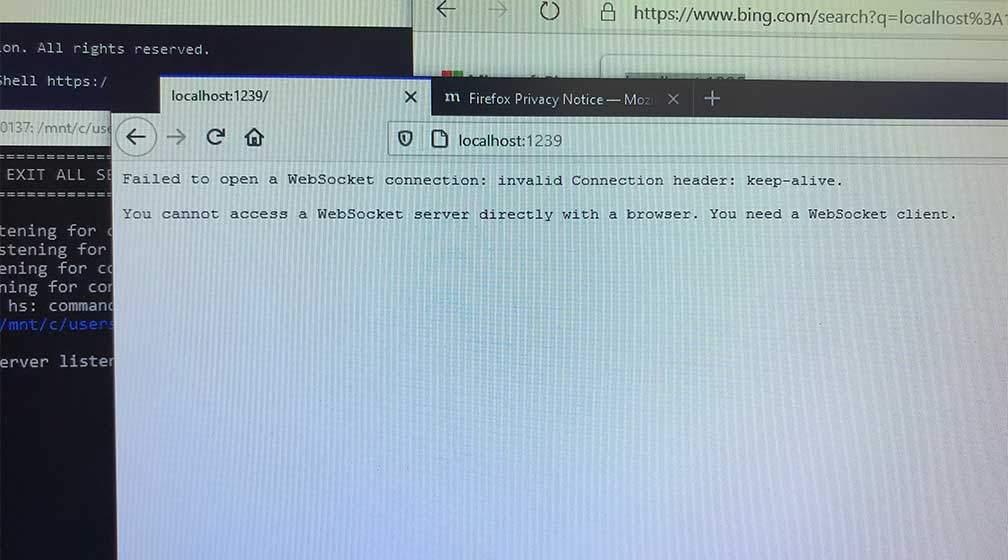
... it's working?

Nope, not yet... but I'm close!
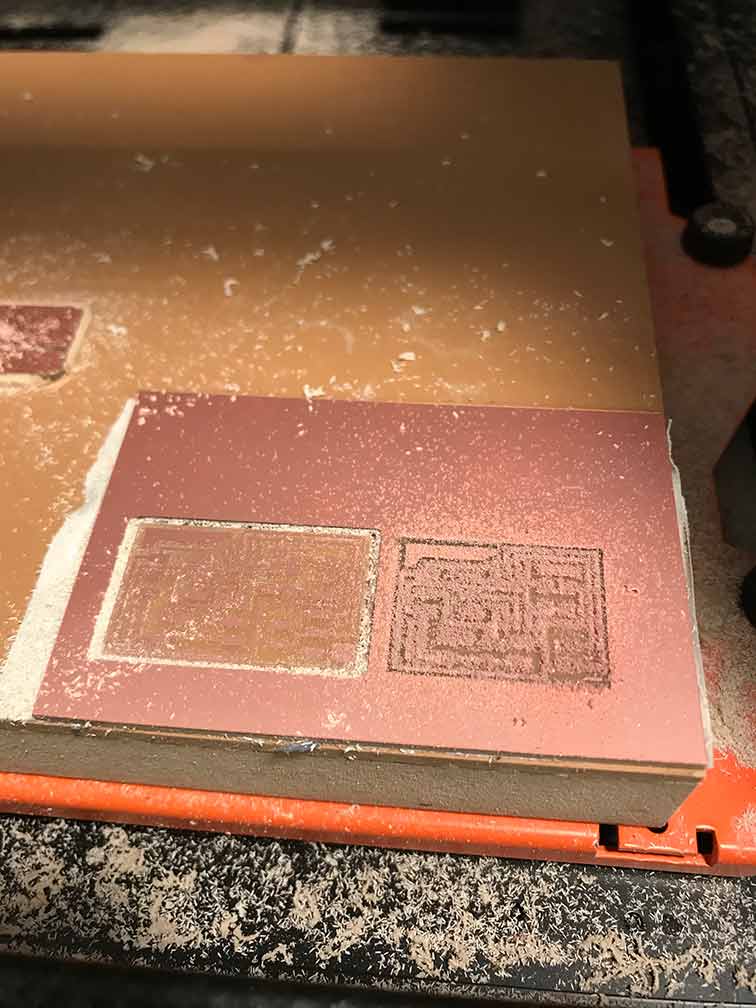
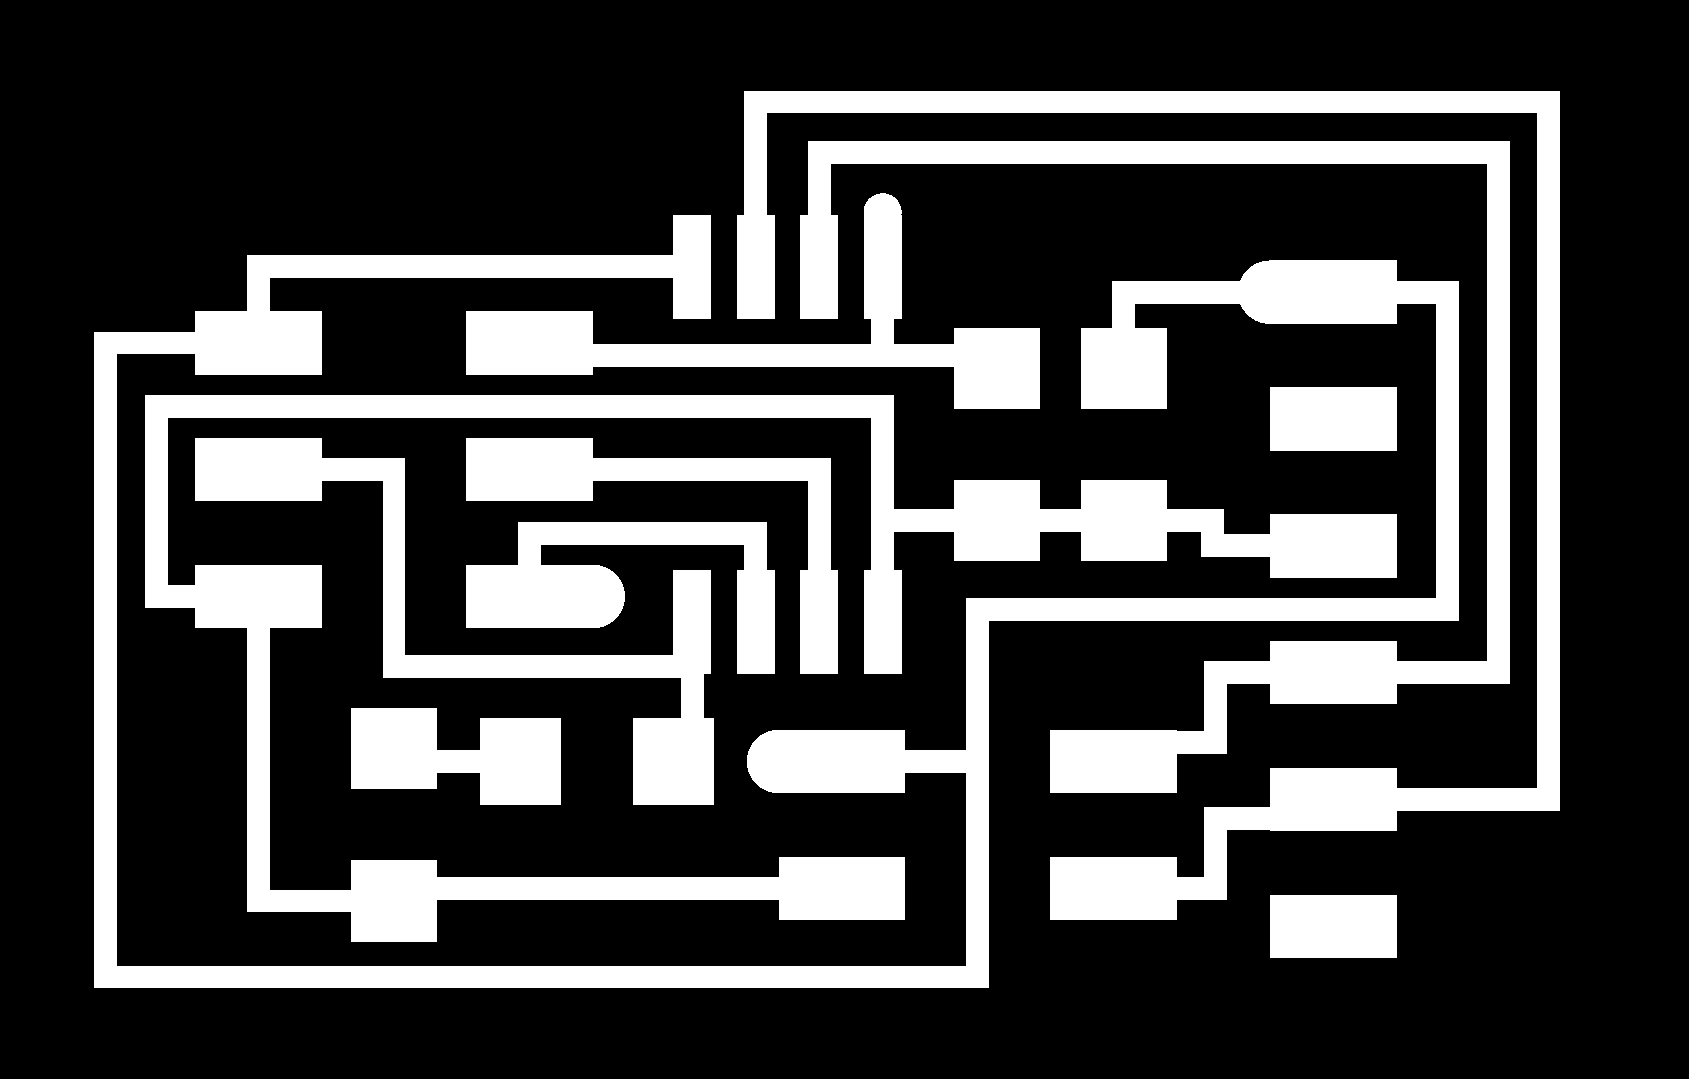
So you might be thinking, Madison is a genius and got the mill working using communitu Mods on a Windows machine! Not yet. To get these milled, I made a trip to Dassault. These boards are linked on Neil's class page. My goak is to make one node and one bridge. I could make multiple bridges but I'm sticking with this. You can see the NODE here, it's TRACES, and the CUT file. Find the BRIDGE board here, the TRACES, and the CUT here.
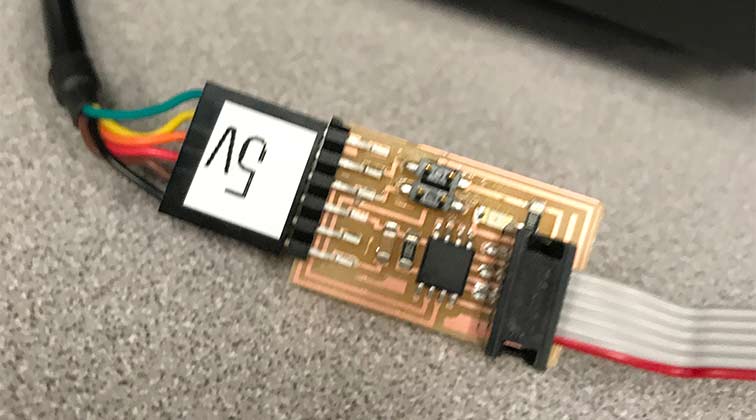
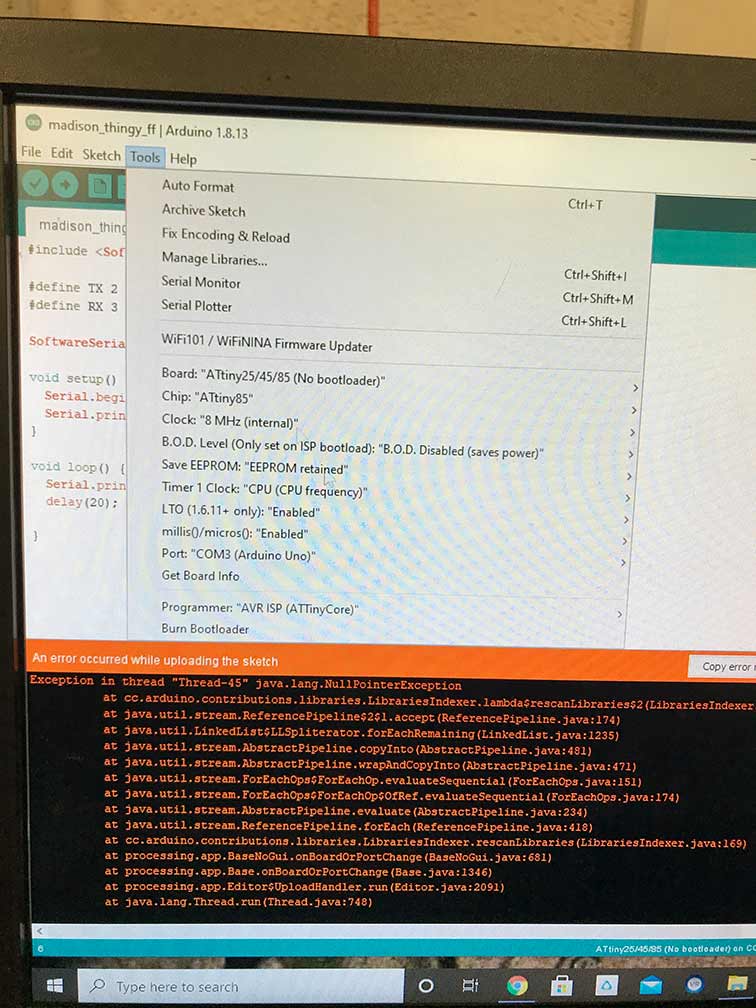
The error I'm having here is on a Windows machine. I did alot of continuity testing on my board and came to the conclusion it isn't a hardware issue but likely a software one. So I then took it over to a Mac in the lab and ran into similar issues.
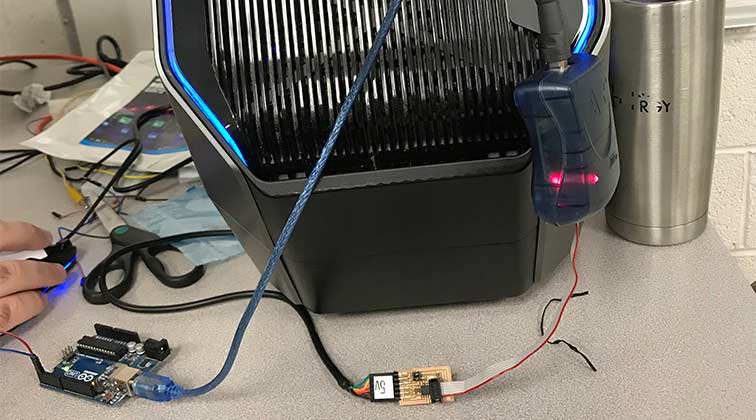
I used Luciano's AVR ISP to program the board and the Arduino to send a message.