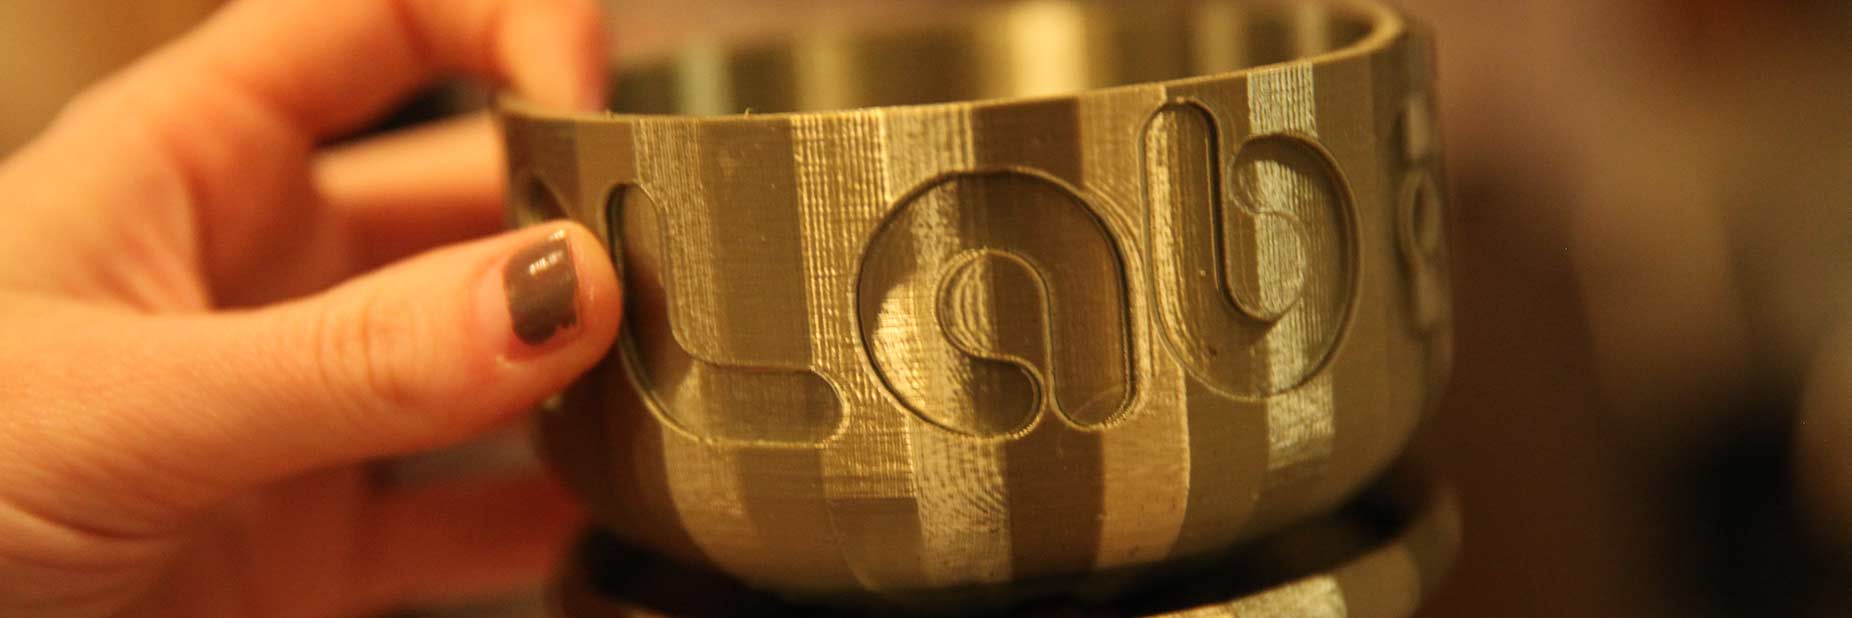
Notes from Robert's Lesson
Robert started by explaining what a slicer is. A slicer is a coding environment that creates an instruction set: move print here at this speed and this temperature. You have your C code, but you need a compiler which is your STL file but you need a compiler to make it into specific instructions that your machine can interpret. The diagrams I have referenced are from Obsessively Geek and are not my own.
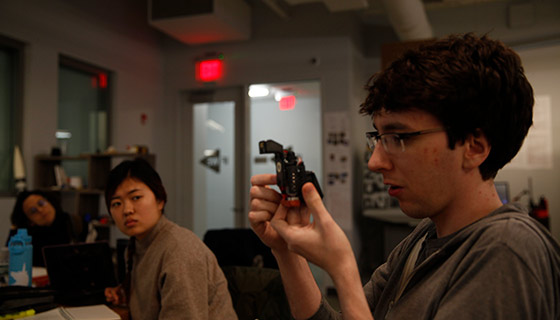
Robert showing us an extruder head.
How do SLA printers work?
SLA stands for steriolithography which is also the same thing STL stands for. This method uses lasers to cure photopolymer substrate. There is a tray of resin and lasers cure this photopolymer substrate one layer at a time. Underneath it traces the layer and so it seems like it's being pulled out of the resin. SLA printing can do some shapes much better than FDM. Downsides are cupping, supports, and attach points. Supports are somewhat obsolete... SLA printing uses attachments to make sure the object doesn't fall from the build plate. These attachments aren't supports.
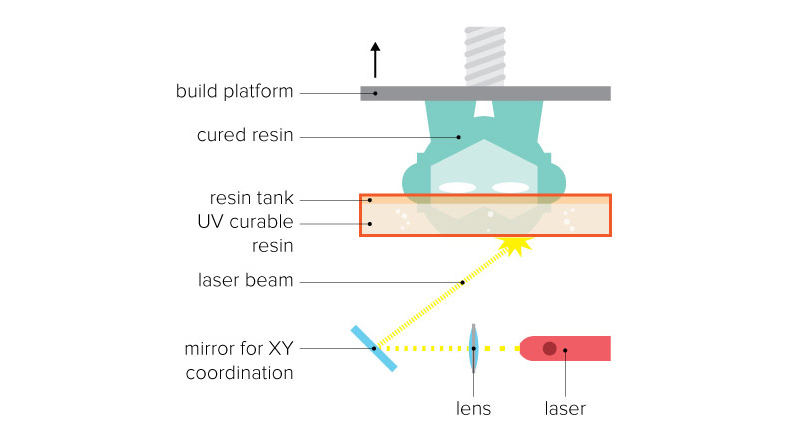
SLA Printing
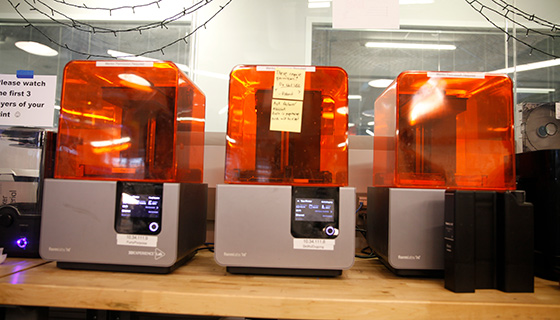
Form Labs at Dassault Systems.
How do FDM printers work?
FDM stands for Fused Deposition Modeling and it is the most widely used form of 3D Printing. FDM is actually trademarked so alot of printers that say they are FFM are just dodging patents. Imagine you have a hot glue gun and want to make a model... you lay hot glue down... wait for it to try... and then lay another layer down. A solid role of filament is fed through a hot cartiridge and then through a heated nozzle and then laid down in a predetermined path.
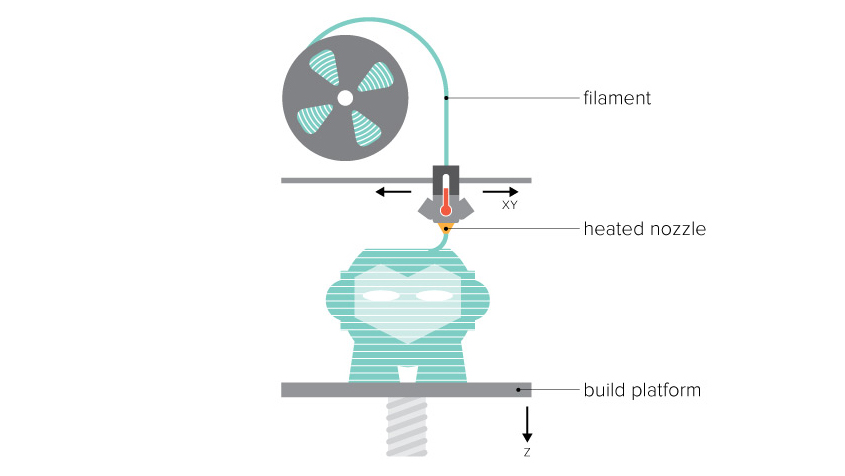
FDM Printing
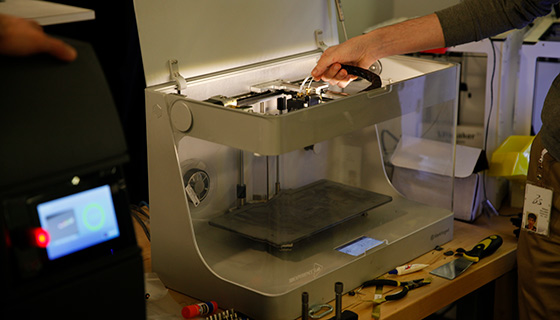
Continuous fiber injection.
This printer does not melt carbon fiber. There is a razor blade in the print head that cuts this material. Parts must be optimized to wide enough to run fiber ... the more concentric circles you get the stronger the part. This is great for making something tortionally strong - twisting. This wouldn't stand up to crushing forces. It's anisotropic...? Different properties in different directions.
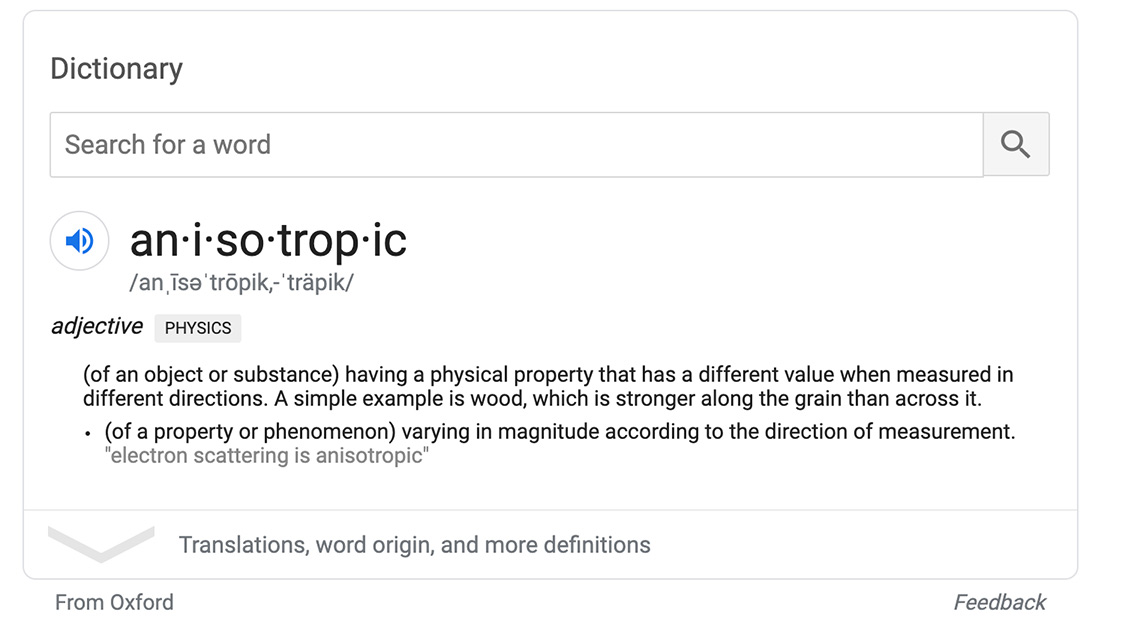
Neil and Greg both mentioned this property. I hadn't heard of the word and after looking it up... it makes so much sense!
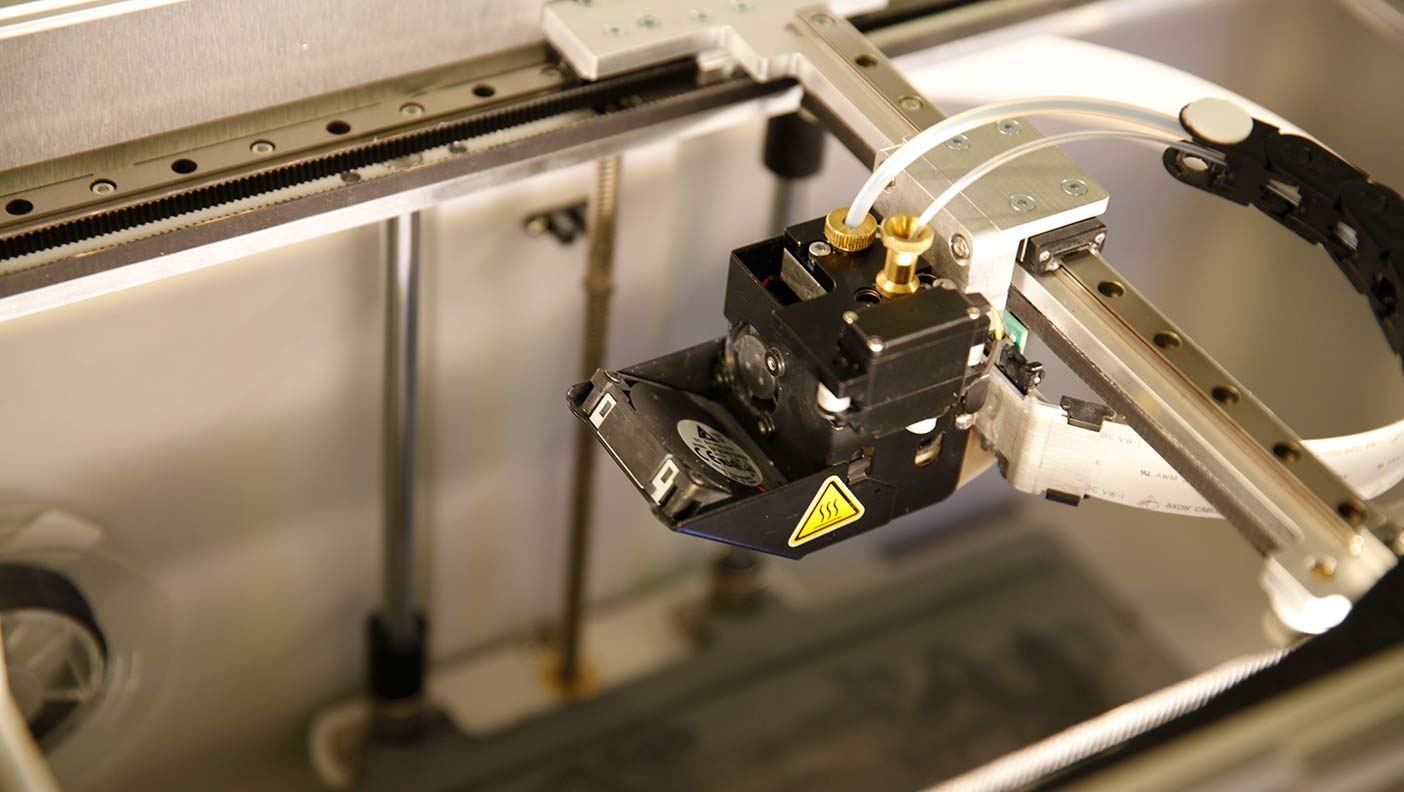
Inside the MarkdForge.
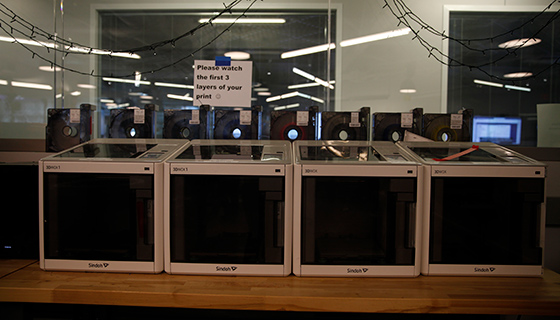
They have alot os Sindohs... also you must watch the first three layers of your print!
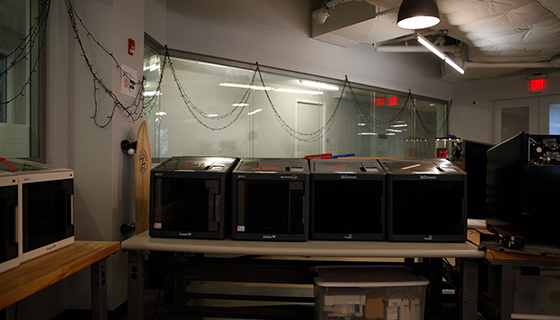
Like alot of Sindohs... lol
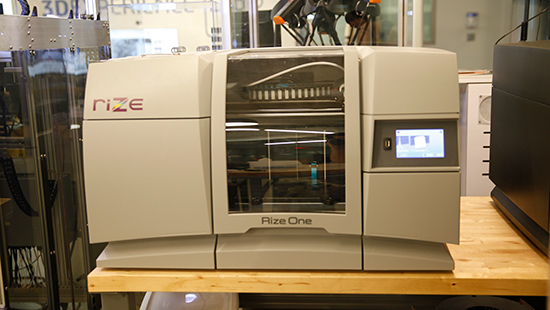
This is an FDM printer that prints with color.
How do SLS printers work?
SLS stands for Selective Laser Sintering. SLS uses a bed of feed material which is sintered together with a laser. Kind of like melting it. The downside is toxicity, clean up, etc. An upside is that you can pack parts three deminsionally which means it lends it self well for a 3D printing farming. On a microscopic level SLS molecules look like metal barbed wire and for that reason they are very bad for your health.
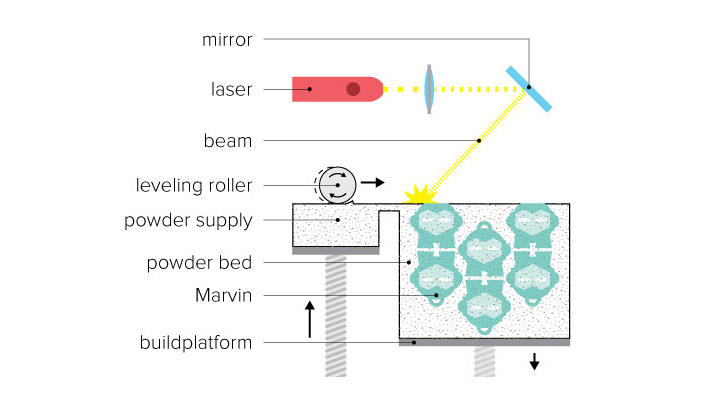
Greg's drawings always really help !
Let's print!
At the onset of this week, I thought I would make an instrument like a shaker... so I would start the print of a sphere with no infill, pause it, add coffee beans, and the resume it... then I realized that wouldn't end up getting used for anything. Then I thought about the plants in my house. Some are in containers with holes. When I water them, I have to take them to the sink or tub and keep them there for hours until they fully drain. So I thought to make a planter with a repository at the bottom to collect excess water. There are tons of these that you can buy and actually some stls ready for printing exist as well. But none quite my style.

I found this model by Majda107 which tests overhangs, bridges, stringing, extrusion, temperature, belt tension — this model tests them all.
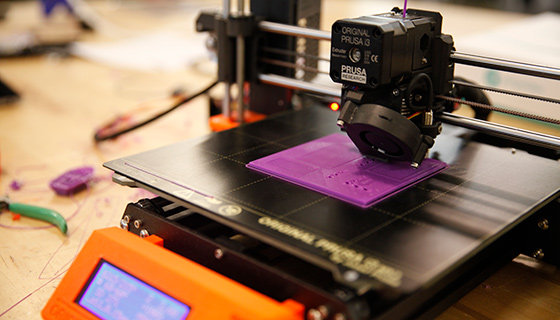
I started by getting this test model going at Dassult on their Prusa. It failed...
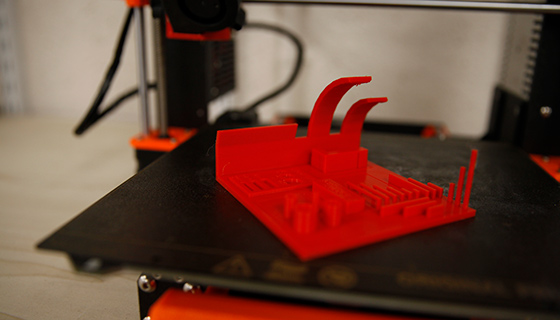
Then I got it work on the Prusas at my lab.
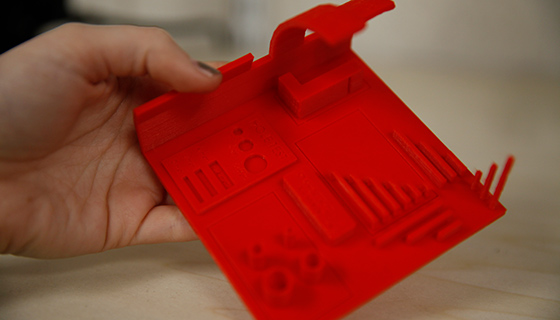
It turned out really nicely! This was on our i3MK3s.
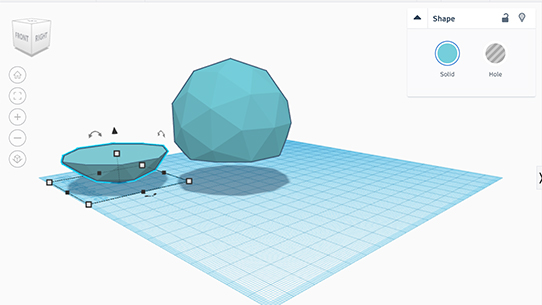
I started a model in Tinkercad.

This is a transparent view of my final model.
First model...
So, there are a few reasons why I think this would be impossible to create subtractivley. The angle of the base of the pot, the text inset on the side and the holes. The internal holes (for drainage) are easyiest to see in the transparent CAD drawing. The connect the but separate the top componenet from the bottom and are somewhat precarious which is why the first few pritns failed.

Starting the Print
I opted to see how it would do without supports...

Didn't do well...
It hit a 90 degree angle and started to fail so I stopped the print and decided to add supports.

With supports...
This was already working better!
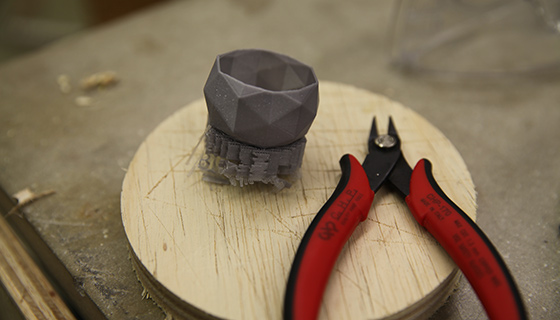
Time to remove supports!
This turned out pretty well.
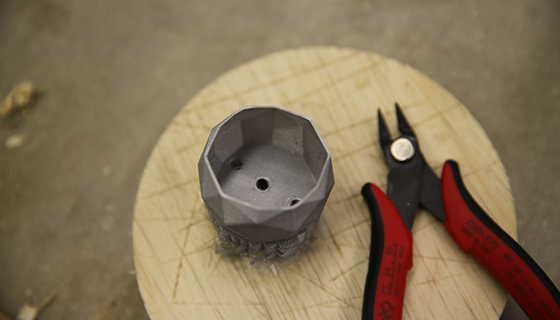
Closer look
In this photo you can more clearly see the mechanism and the holes used for drainage.
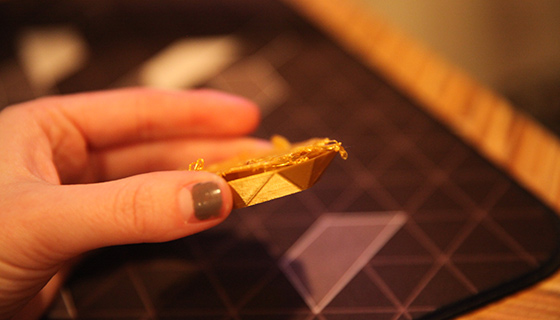
Fail
I tried to do the same print bigger and this time it started to fail once it go to the upper portion which holds the actual plant.
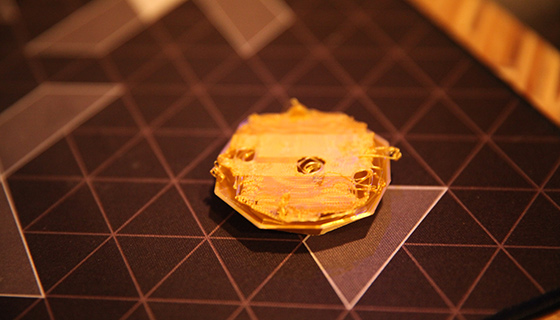
Another view
I think it failed because there was not enough below it to connect to.
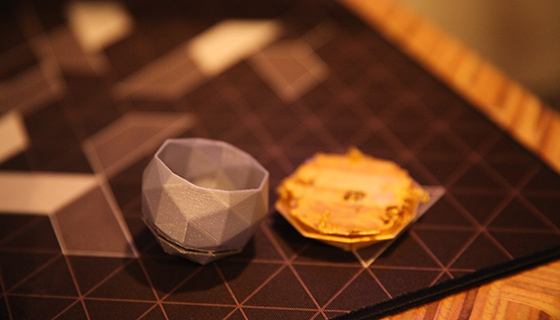
At least one worked!
I still have one working model.
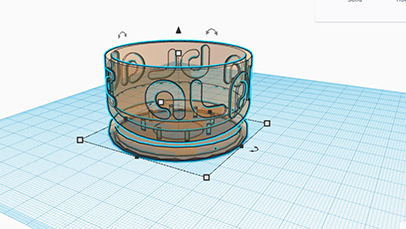
Another model...
This one has far less overhangs and bridging to be done.
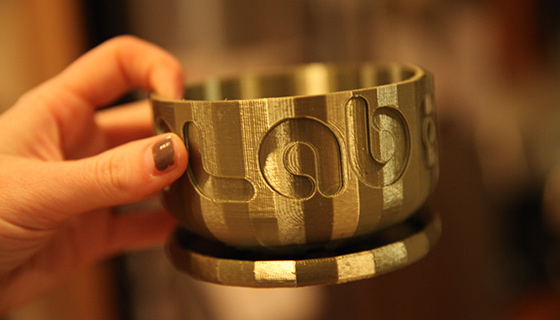
Printed
Turned out really well... though still not the aesthetic I was going for. But the mechanism works.
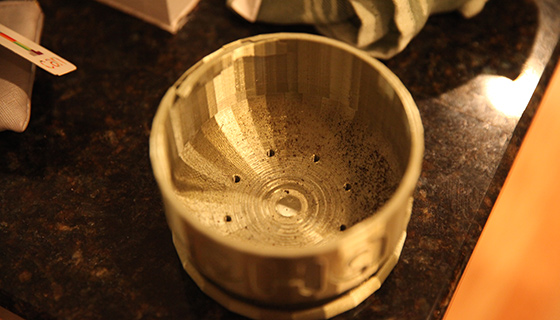
The holes
Another view of the planter.
Printing on Fabric
There are several innovative techniques for printing on fabric and I thought I could try out the "sandwhich" one. I don't really think this could be make substravtively... though maybe? I more did this because it's a different way to use a printer. But imagining a CNC router trying to cut around delicate fabric... does seem somewhat imnpossible.
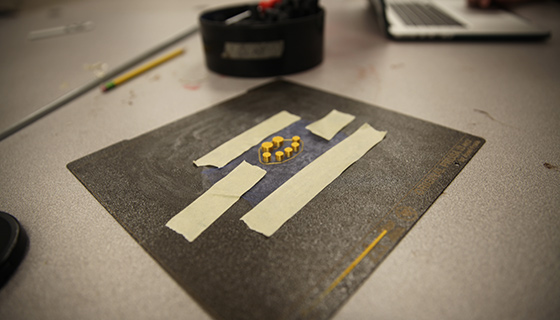
This is the print with the fabric tapped down to the build plate.
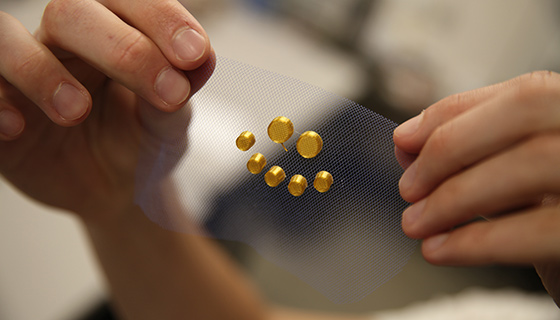
I love the way this feels and looks! Can't wait to keep experimenting.
3D Scanning
3D scanning is a process of collecting data from the surface of a physical object which should describe the shape in terms of three-dimensional space. A long time ago, I used a kinect to do this and it worked ok but I ended up needing to take the file (which was massive) into a post process software to retopologize it. Retopology is the process simplifying and clarifying polygons and is typically what is necessary still for many 3D scanners. In the lab we had two different ones, neither or which I had any luck with. I have documented those issues below. Ultimately I chose to use a free app on my phone and I was amazed by the results. I ultimately was heppy I went with the process beacause if you have a phone (that's not too old) you can do this which makes acces and potential for equity much higher than buying a $100, $500, or $5,000 scanner.
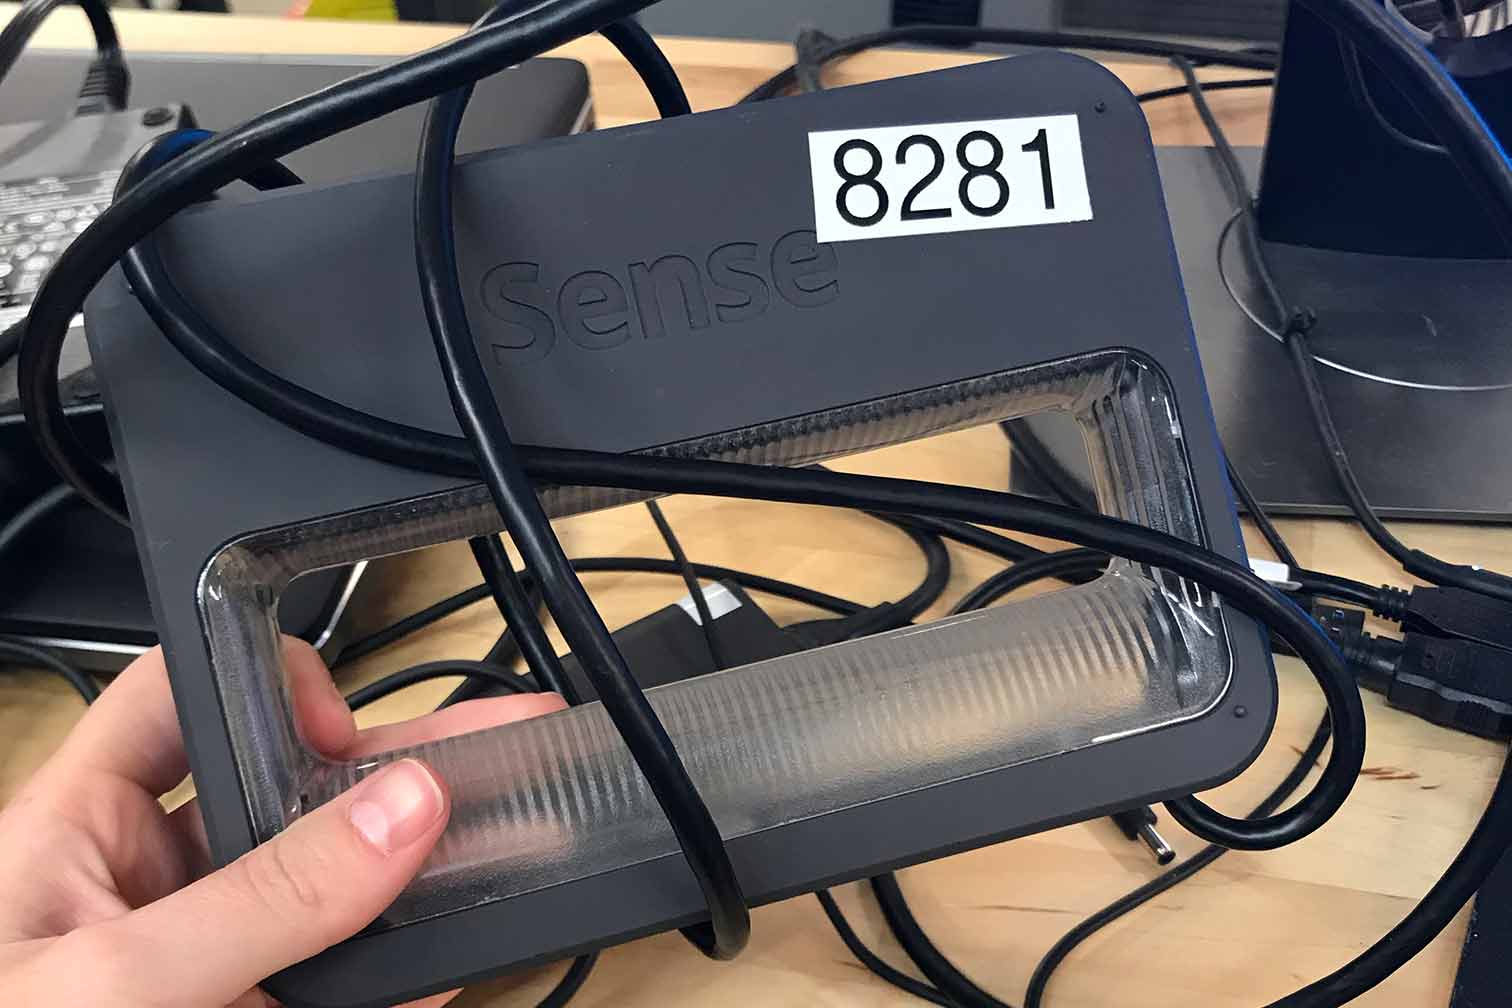
This is the Sense scanner and this is the user guide which wasn't much help with regards to connecting it to the actual computer.
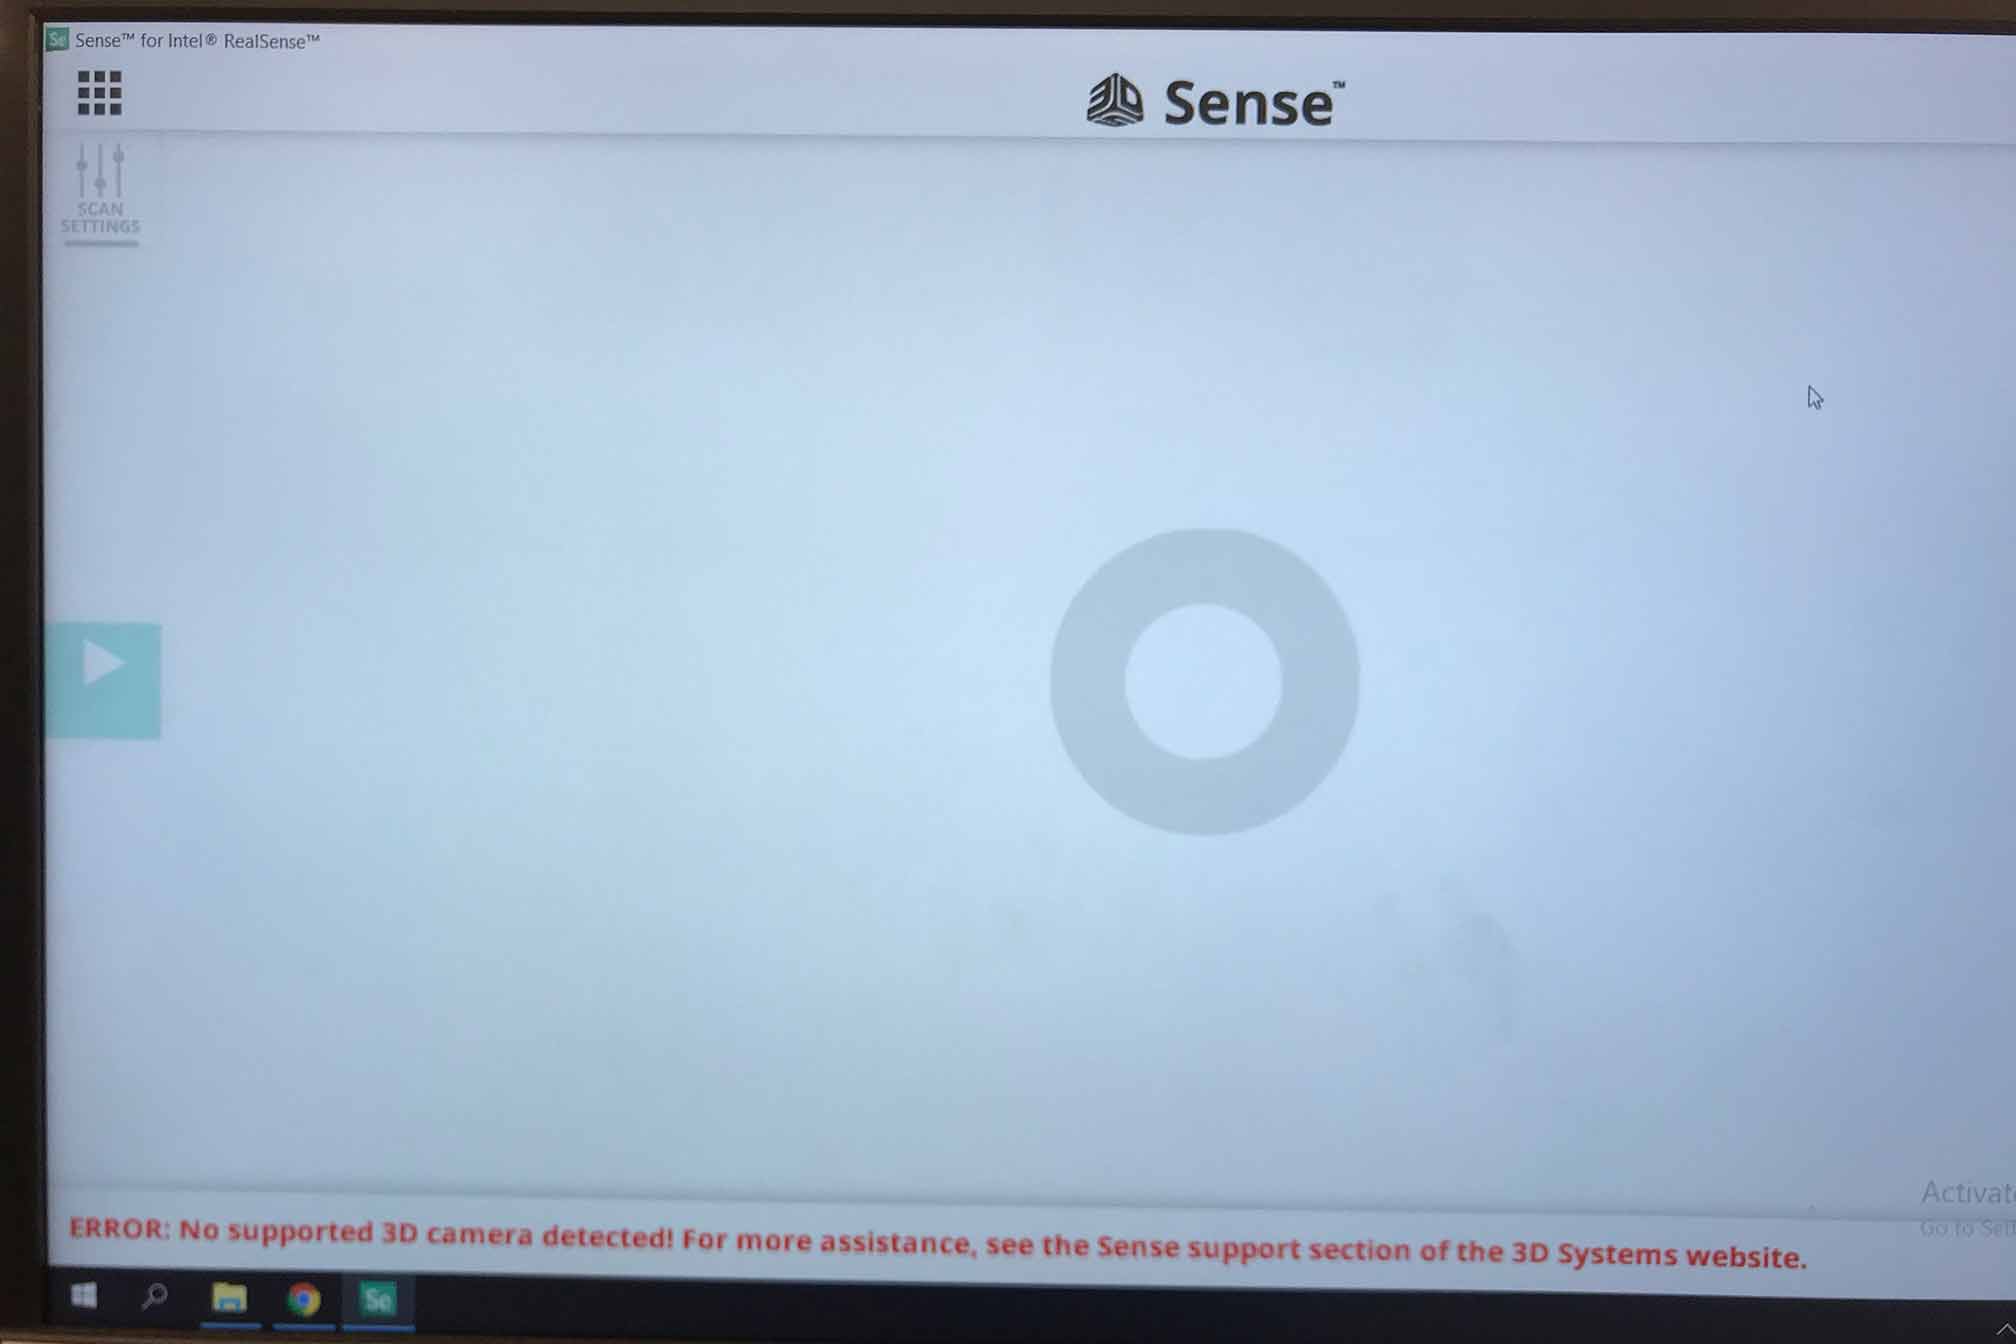
This is the error I continually got on every computer. I tried to re download the software, I also restarted the computer, and tried at least four different ones. My instructor Greg said I should try to find the computer that has the ability to process the large amounts of data so I asked the lab manager Abhishek and he directed me to some more computers and those didn't work either. It just wouldn't recognize the device so I moved on.

Then I read this article about apps on your phone and the first one I tried didn't work out since my phone wasn't up to date enough.
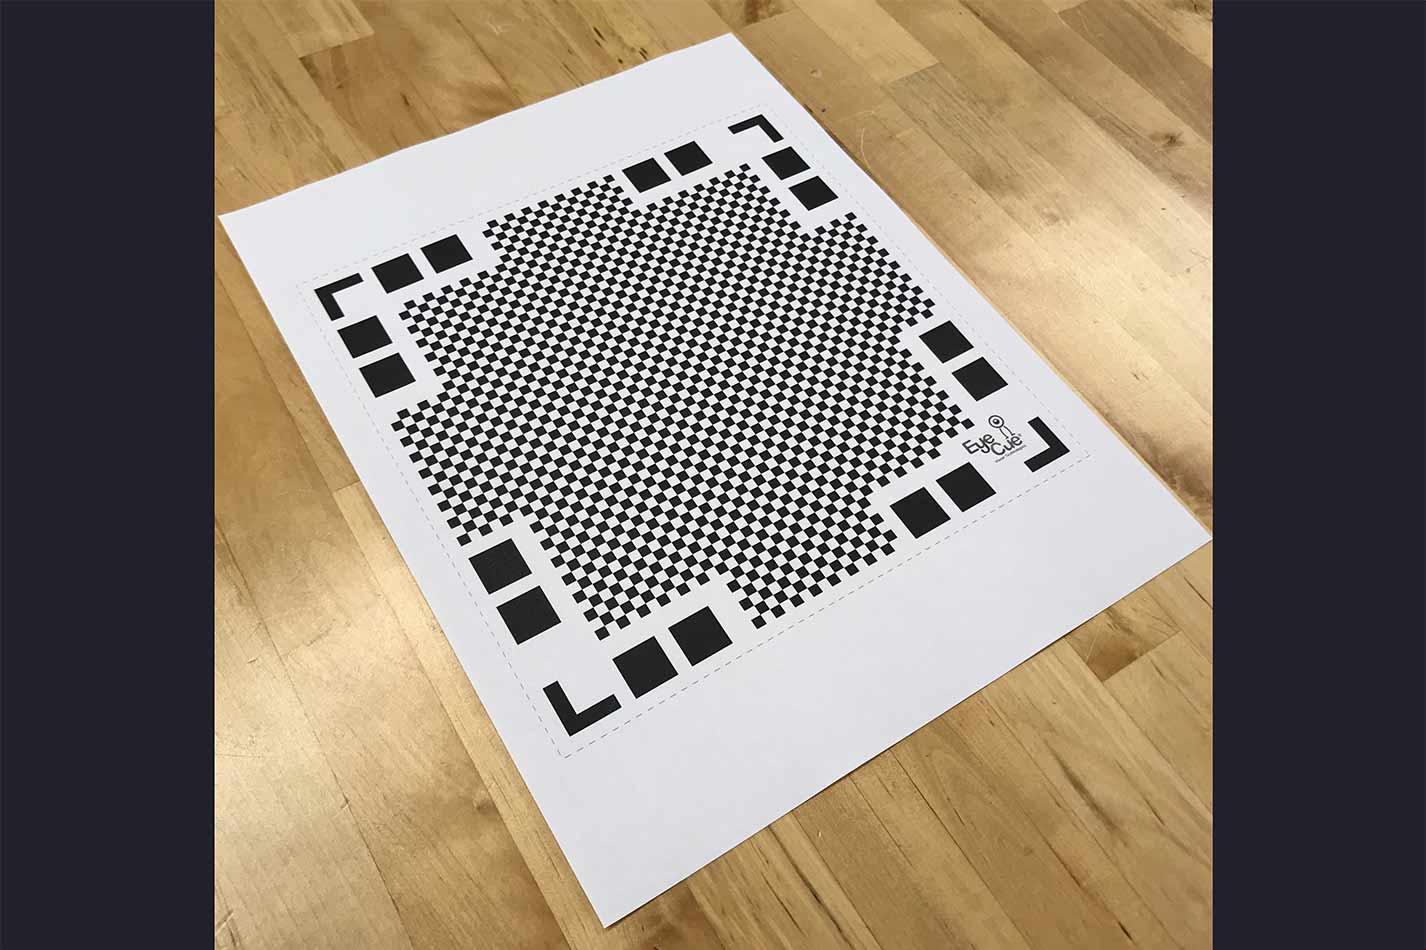
Then I found an app called Qlone which is SUPER easy to use! All I had to do was download the app which was free and print this off.
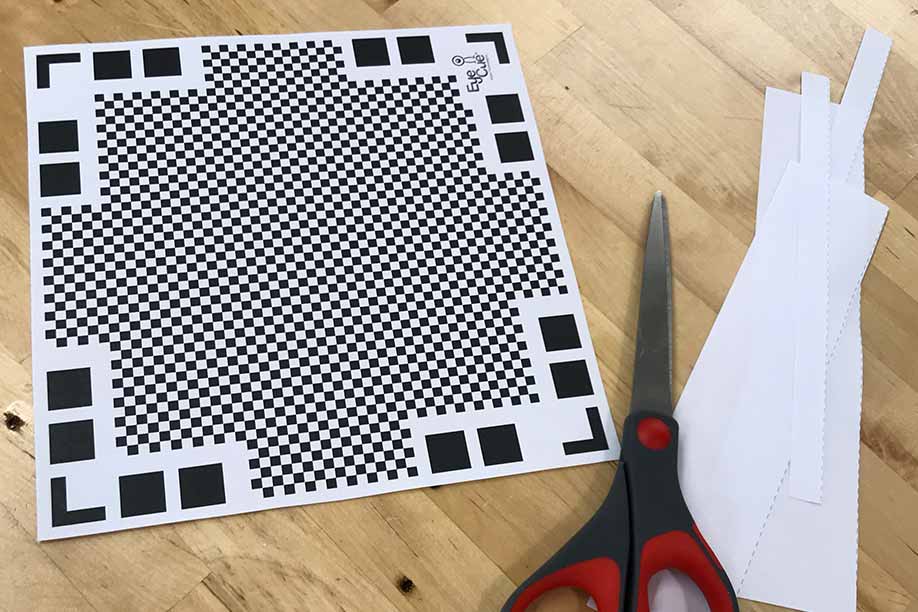
I ended up using this turn table and it was a huge help. It's pretty challenging to move around the object while holding the scanning device and on top of that dealing with the changing background so this was a life saver.
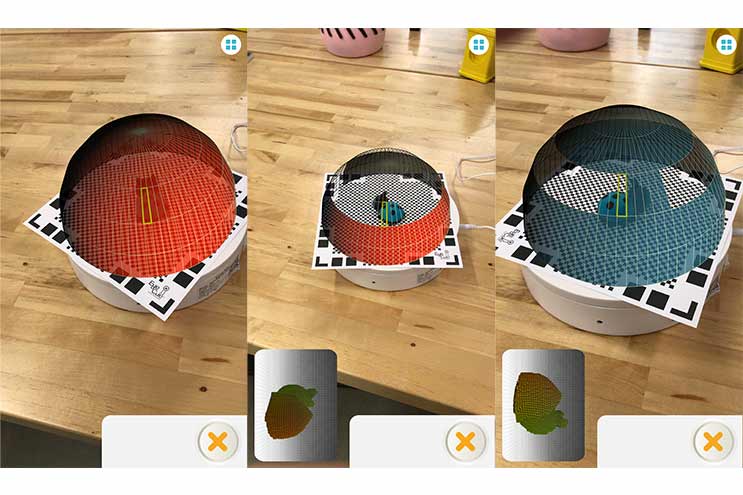
So this was the interesting part. There was an AR half dome around the object I was scanning and when it was red it meant it wasn't picking up data and when it was blue it was. I could see it happening in the live preview and the bottom as it continuallhy generated layers. It took about 10 minutes and I eventually decided to put it on the remote controlled turn table so I wouldn't need to move around it. Doing that also chaged the backround which made it more difficult so the turn table was a great solution.

It took about five-ish minutes to process.

And then it was done and with full color! I could move around the object and it did have the option to export as an .stl though it looked like that cost money...
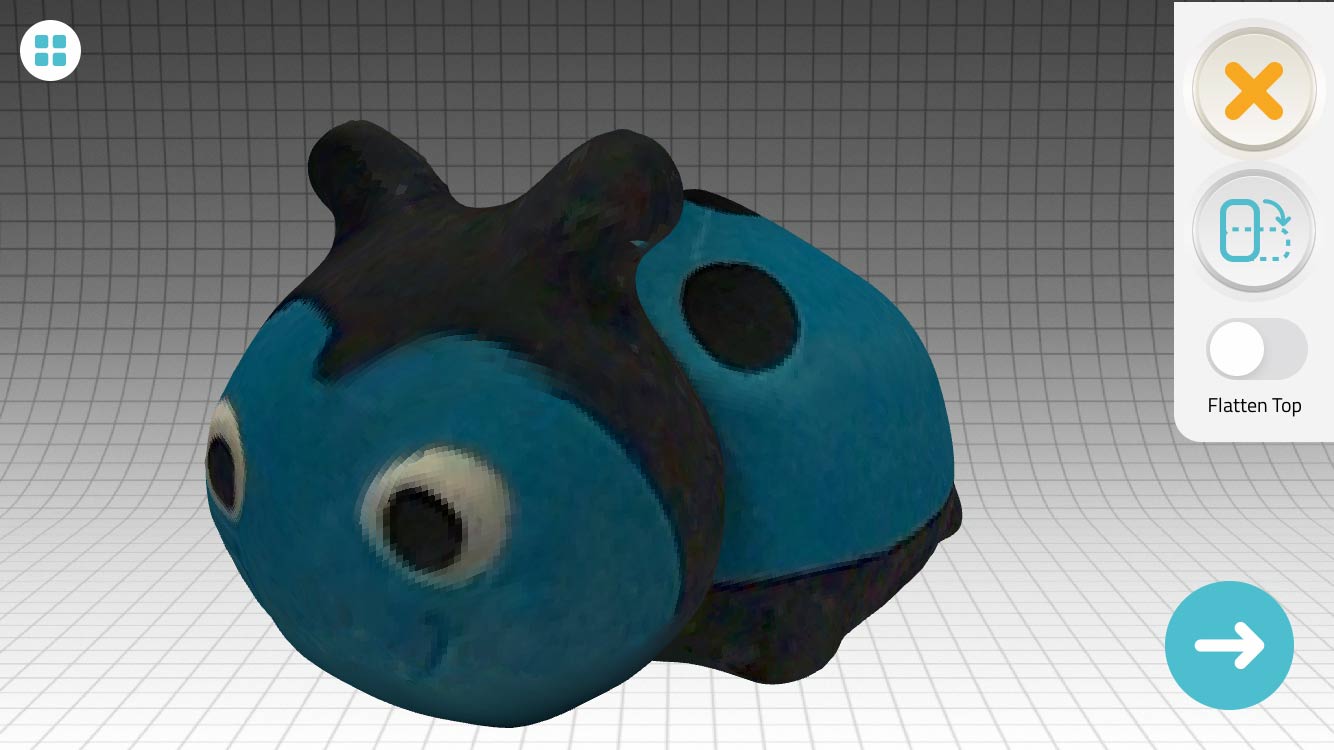
:D
