Group Assignment
I'm going to go through our findings during the group assignment. First off, check out the signs. Most labs have signs and they probably have them for a reason.
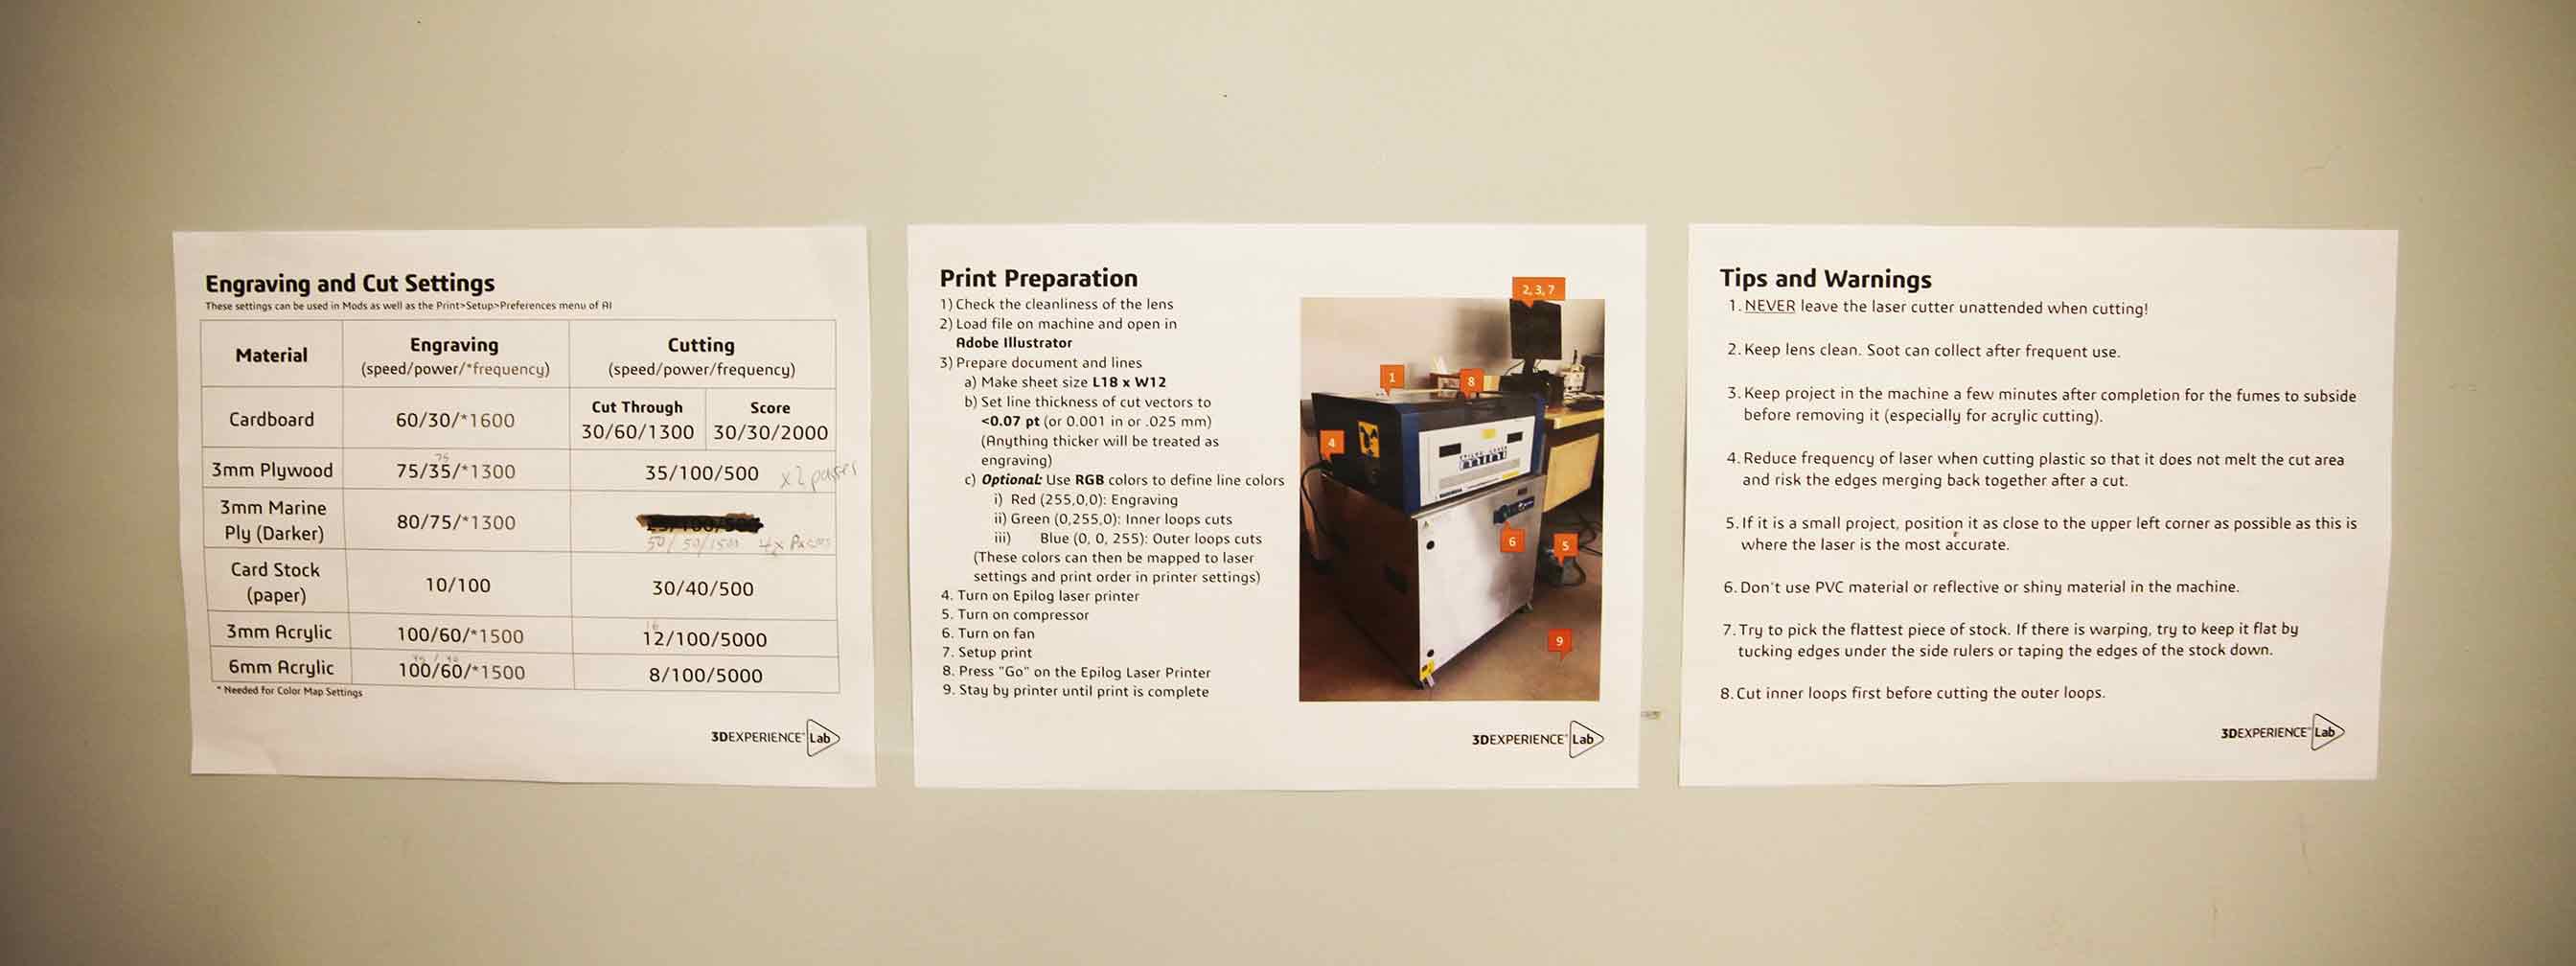
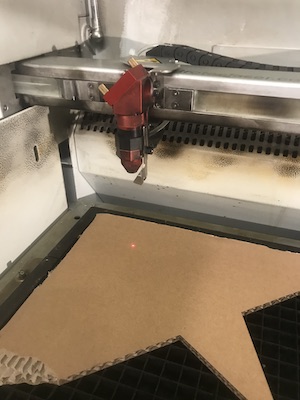
The posters above cover "How to NOT start a fire 101". This week my goal is to explore the vinyl cutter and laser cutter with the group. I will also be cutting something on the vinyl cutter and laser cutter independently parametric in nature.
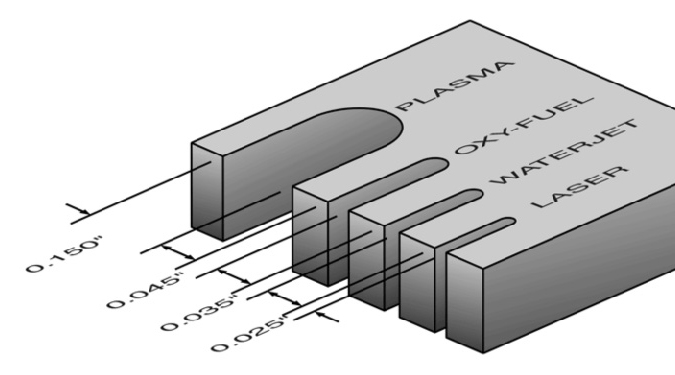
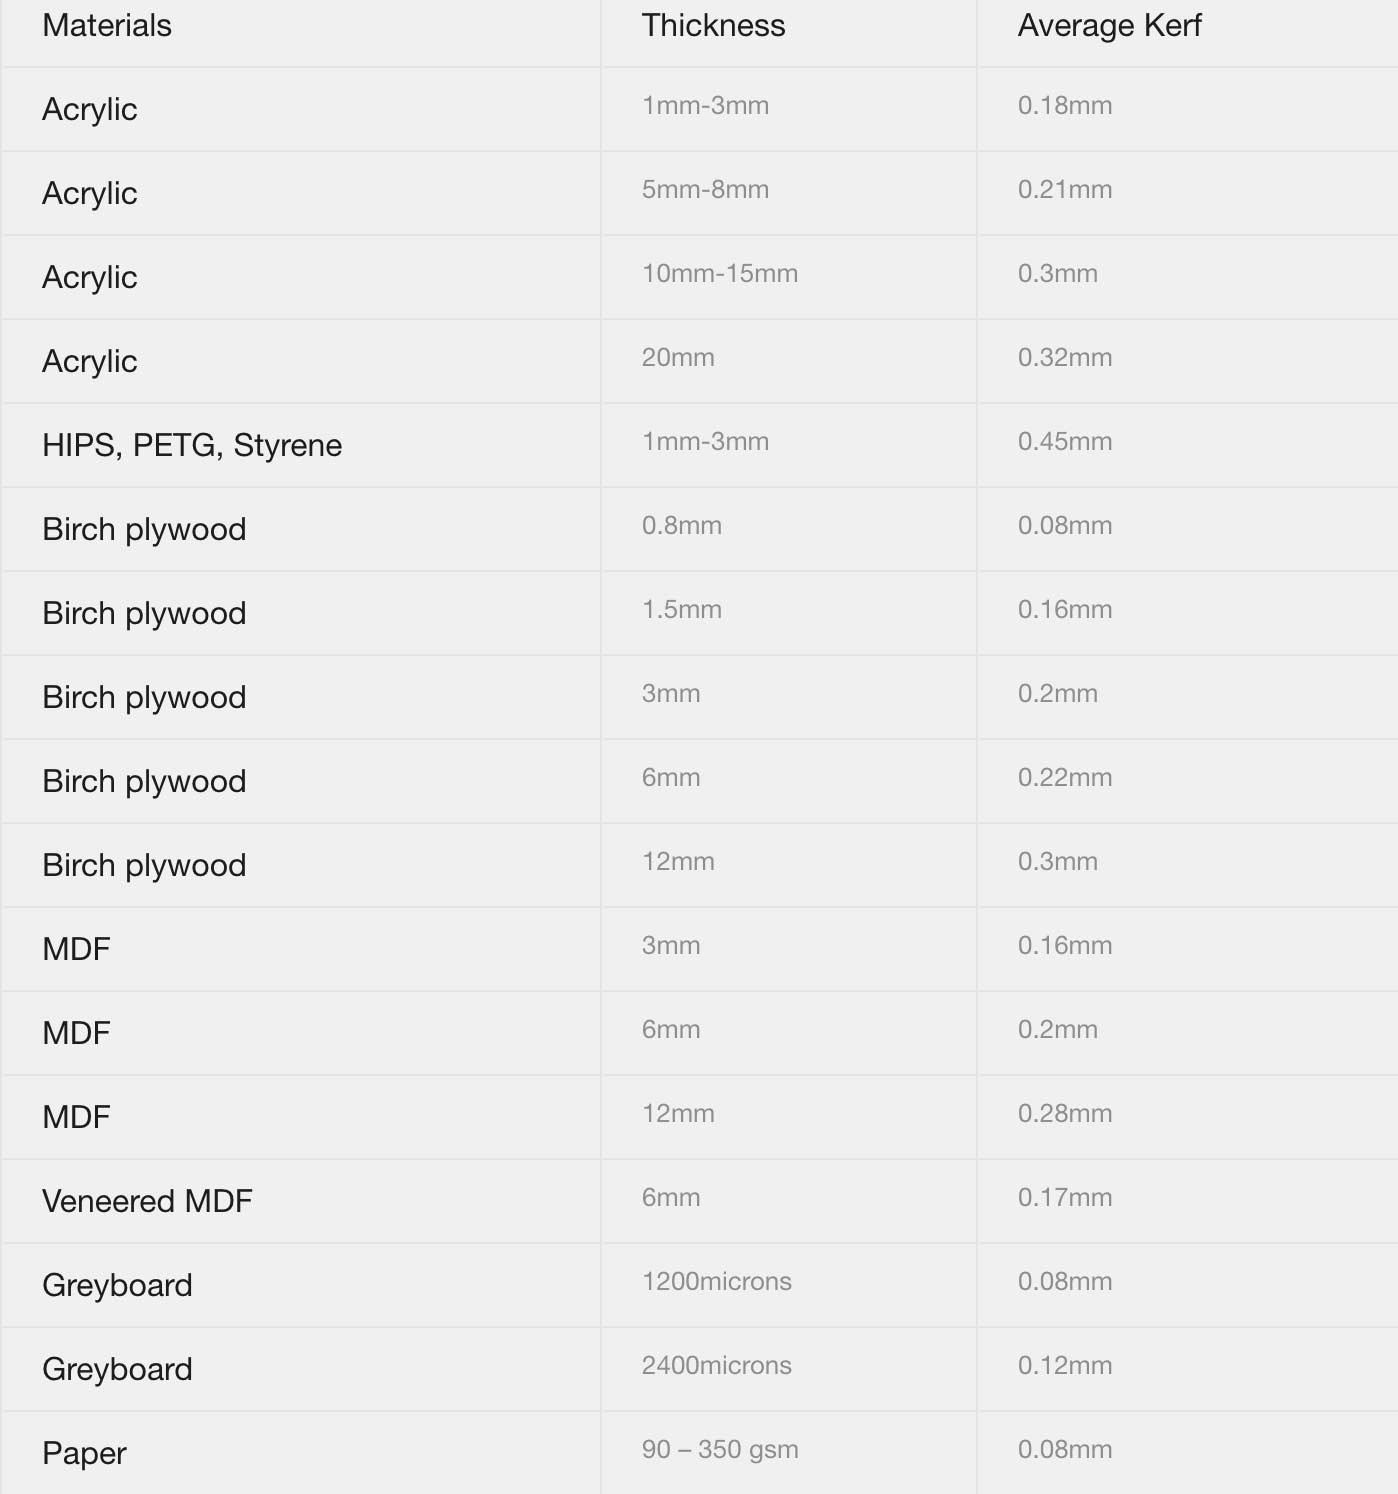
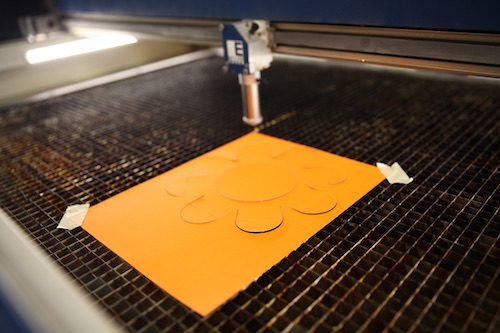
So what is kerf? Great question. The laser burns away a some of material when it cuts through. It doesn't just dissapear (thank you for clarifying Neil... I did actually wonder where it went and I guess it makes sense that it literally comusts). When the laser (or any tool that cuts) removes material in the process of cutting, it's called kerf. While each laser is different the laser kerf and ranges from 0.08mm – 1mm depending on the material type and other conditional factors. It's always a good idea to figure out exactly what kerf your laser or machine has.
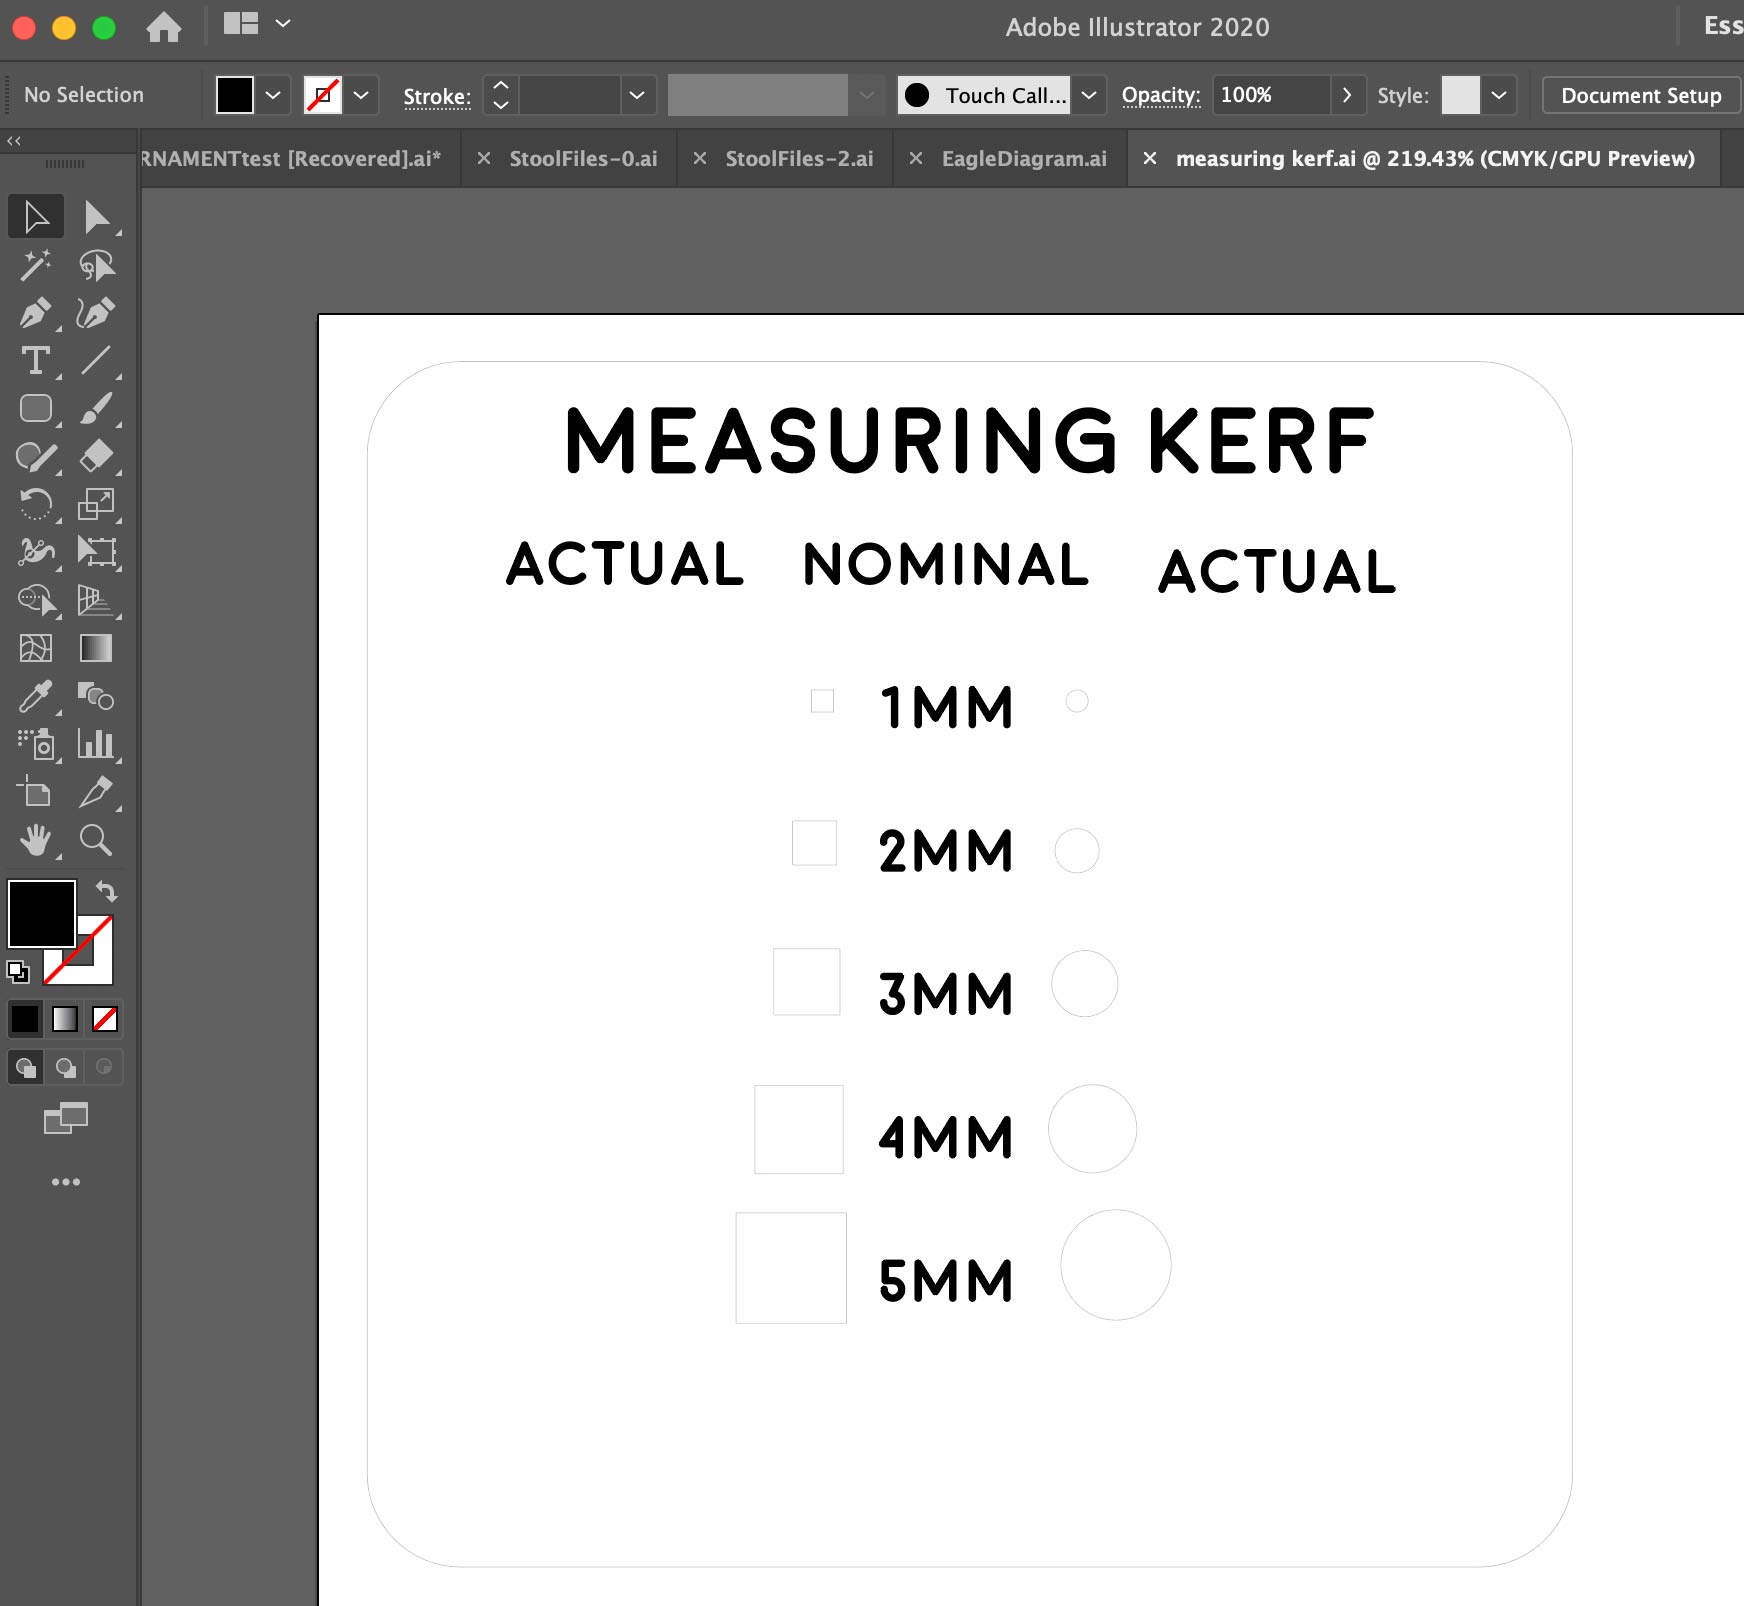
For this part of our group assignment, I actually decided to follow the footsteps of our instructor Greg and you can see his original page here I was pretty confused about how to do this at first since plenty of softwares guess at this for you. Essentially in Ai, I created a file with two different shapes and then laser cut it in cardboard.
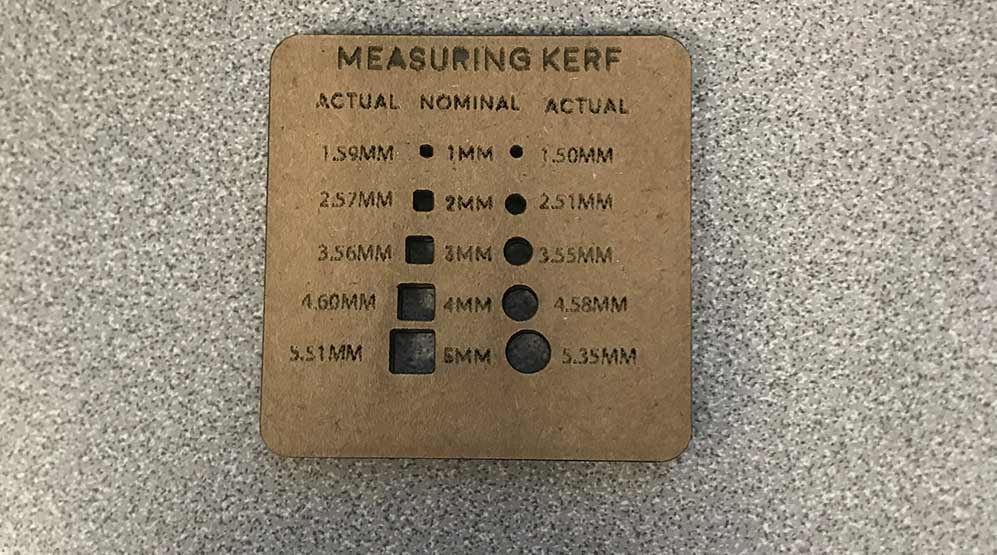
Measured... pretty off. Though I think there was some error using the calibers in such small spaces. Also, may our calibers are off? On average there's a significant-ish kerf.
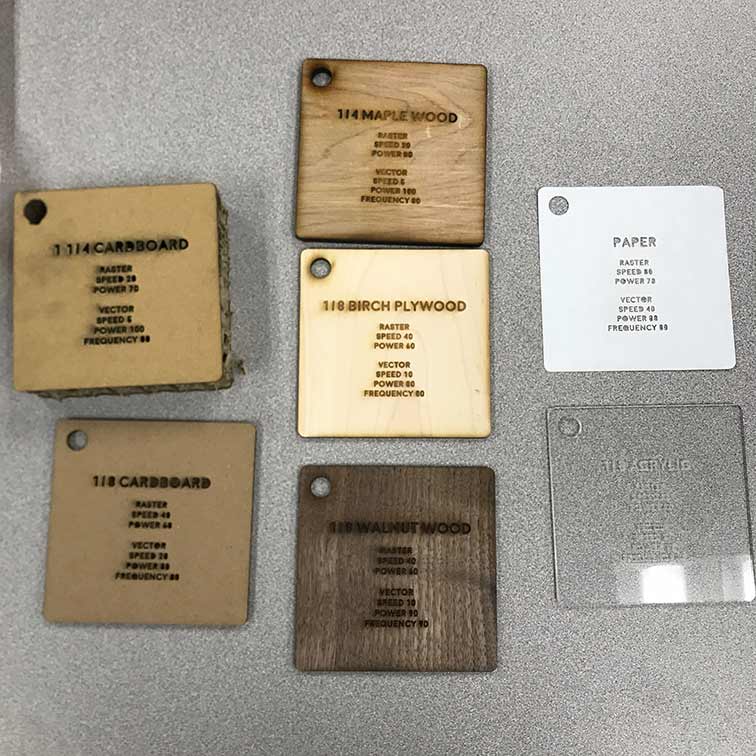
Also founds some good settings for the laser with a vareity of materials.
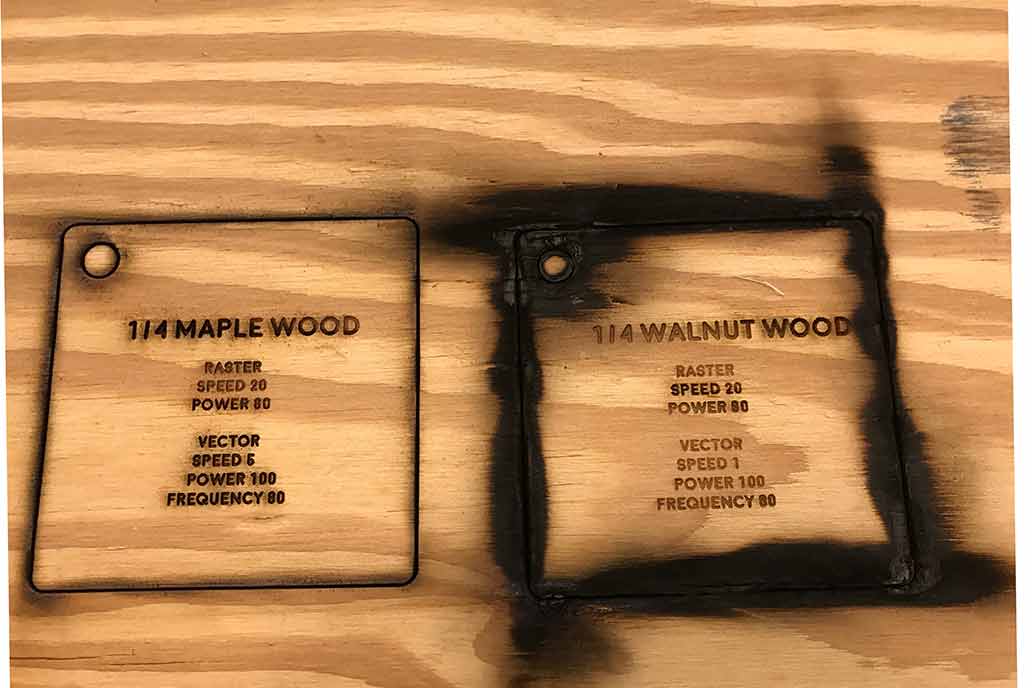
Turns out a speed of 1 doesn't do super well...
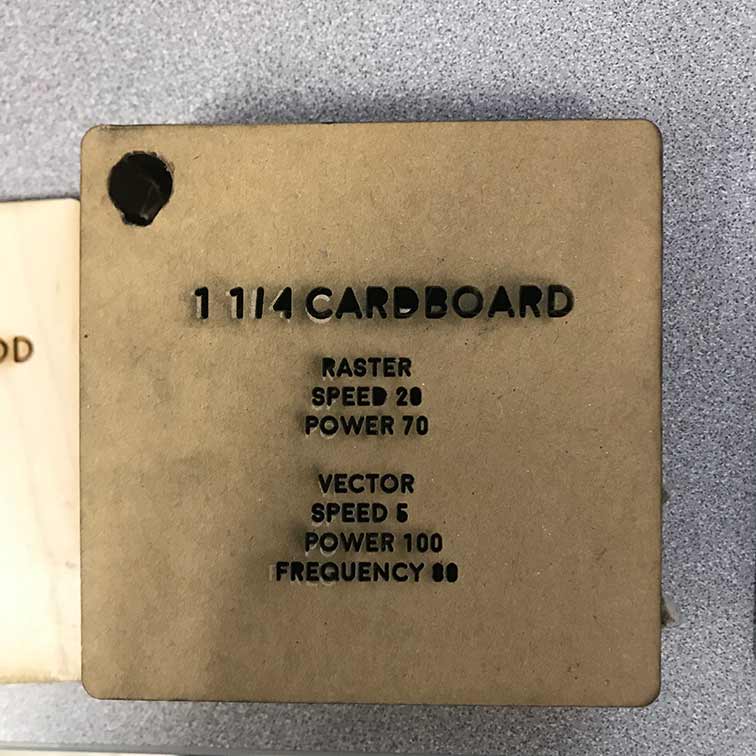
Crazy thick cardboard!
Onto Vinyl Cutting
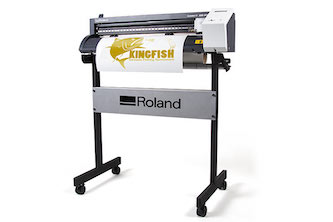
This is the type of vinyl cutter we have at Dassault Systems.
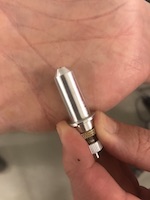
This is the vinyl blade.
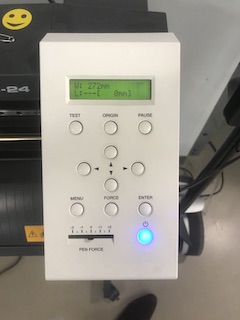
I thought the measuring feature was awesome. Essentially it measure our substrate.
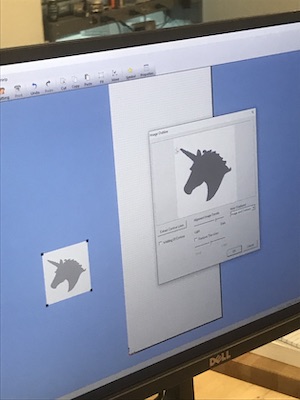
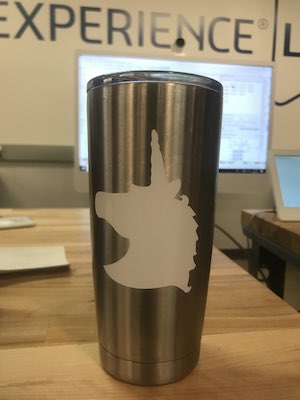
Then we used the Roland software to import a black and white image of a univorn which we then cut.
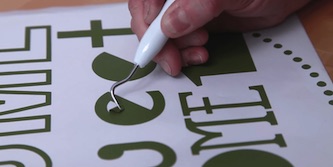
This is an image of someone weeding vinyl.
Weeding vinyl is the process of removing the unwanted vinyl from your cut design. You can think of it like weeding a garden: you carefully dig up all the little pieces that aren’t supposed to be there, without destroying any of your beautiful flowers.
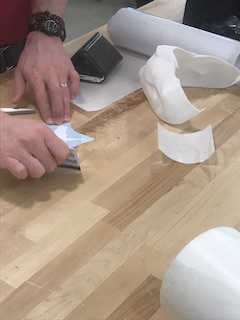
Greg then showed us how to attach the adhesive paper with a credit card.
Pretty hyped about it.
Tool Offset
I wanted to talk about this because I've always known this was a thing... but because most tools do this for you, I didn't really understand what it was. Tool offset refers to the allowance made by a machine for the size of the tool to cut a job. This definition is a paraphrase of the site below which was the most helpful explanation I could find. Neil discussed this term at length in our lecture as it applies to laser cutting, vinyl cutting, and CNC milling.
Laser Cutter
My own Laser Tutorial :D
I ended up filming my own laser tutorial for our FabLab. Check out the video below! This also has alot of information relevant to this assignment.On to the laser cutter. I LOVE to laser cut but until now it all seemed very sciency and confusing in terms of how it works. I watched a few videos to better understand how a laser cutter works. Essentially, lasers use a thermal separation method... which heats the subsrte strongly enough that it melts or completely vaporizes the material, causing it to seperate. Another thing about the laser is the directed monochromatic wavelength... Also that is uses stimulated emission... which is more complex. Essentially, I think I can better describe to people how a laser cutter works now.
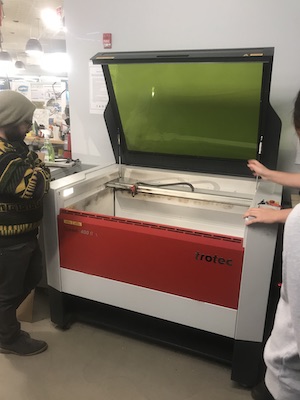
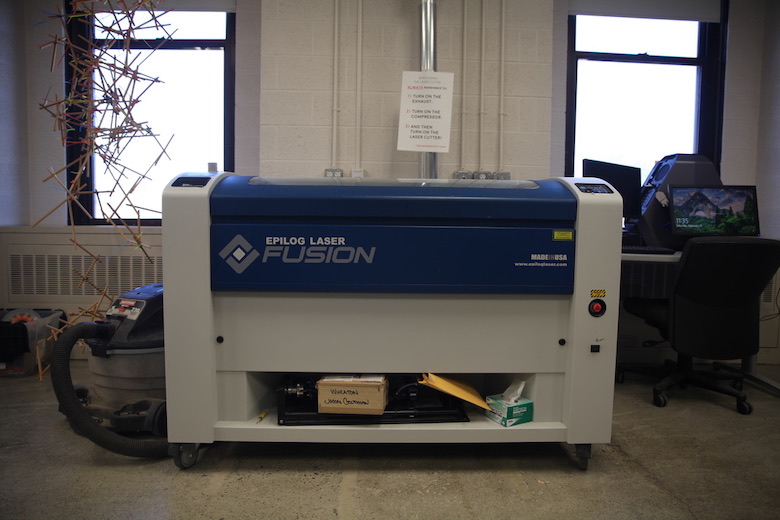
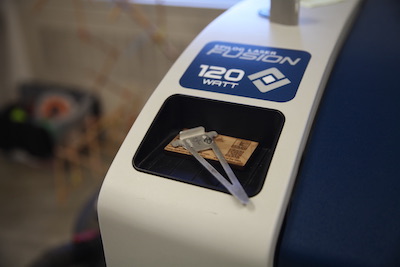
The laser cutter at Dassault Systems is a Trotec Speedy 400 Flex.
We were shown how to focus the laser. This has an auto focus but I personally prefer to manually focus.
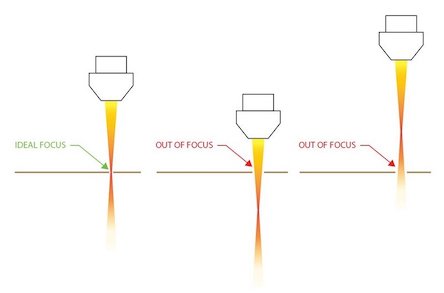
This is not my diagram but it helped me understand visually why it is important to focus a laser beyond just that your cut won't turn out as expected.
This is the laser I will end up using the most. It is at the lab I manage at Wheaton College in Norton, MA.
This is something one of the users created to hold warped materials down. I've also used magnets before and those work great as long as you don't laser cut them.
This is how we level our laser.
Parametric Construction Kit
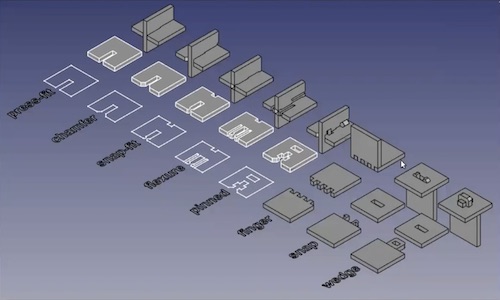
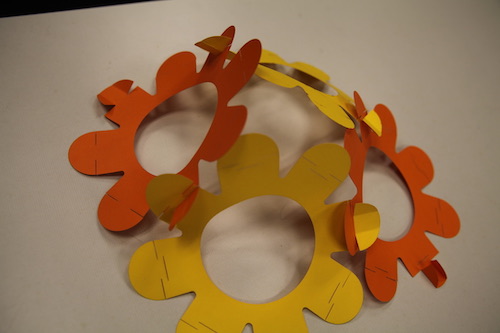
This assignment was hard for me to wrap my head around. During the lecture I asked Neil if we could use paper and his answer was "play with paper but for this week make a joint-have a consturction system where you can assemble the parts together"... I looked back at the image he showed about types of joints and I think the wedge joint is possible with paper. Parametric Design requires knowing relatively exact tolerances and is based on the defenition of the parameters (which is kind of like a formal variable). The word parametric is traditionally a mathematical term. In a way it's kind of like a really fancy spreadsheeet where you can change a few specific variable and get different outcomes as a reault. In my case, I changed the height, width, and thickness of the material. I also chnaged the angles and orientation. Parametric design was a thing a long time ago but the calculations were done manually and by hand. Now we have softwares like Grasshopper, Rhino, or Fusion 360 that do most of the more high level math for you. You could also think of it as a way to manipulate 3D forms using different variables. I think this ties into the concept of a press fit contruction set because alot of the processes (especially they one I used which is called interlocking slices) require precise tolerances so that it mostly stays together on its own. Mine does not have any glue or tape becuase I literally pressed it together and now it fits and stays in place.
This is laser cut paper that is jointed like a wedge.
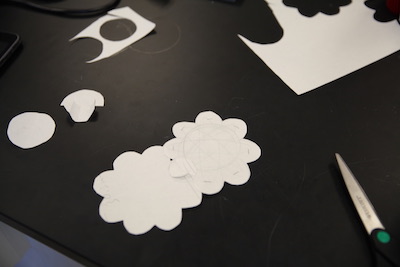
This was the idea I started toying with for my first parametric project...
I think drew up an idea on Ai and started to see how they could connect.
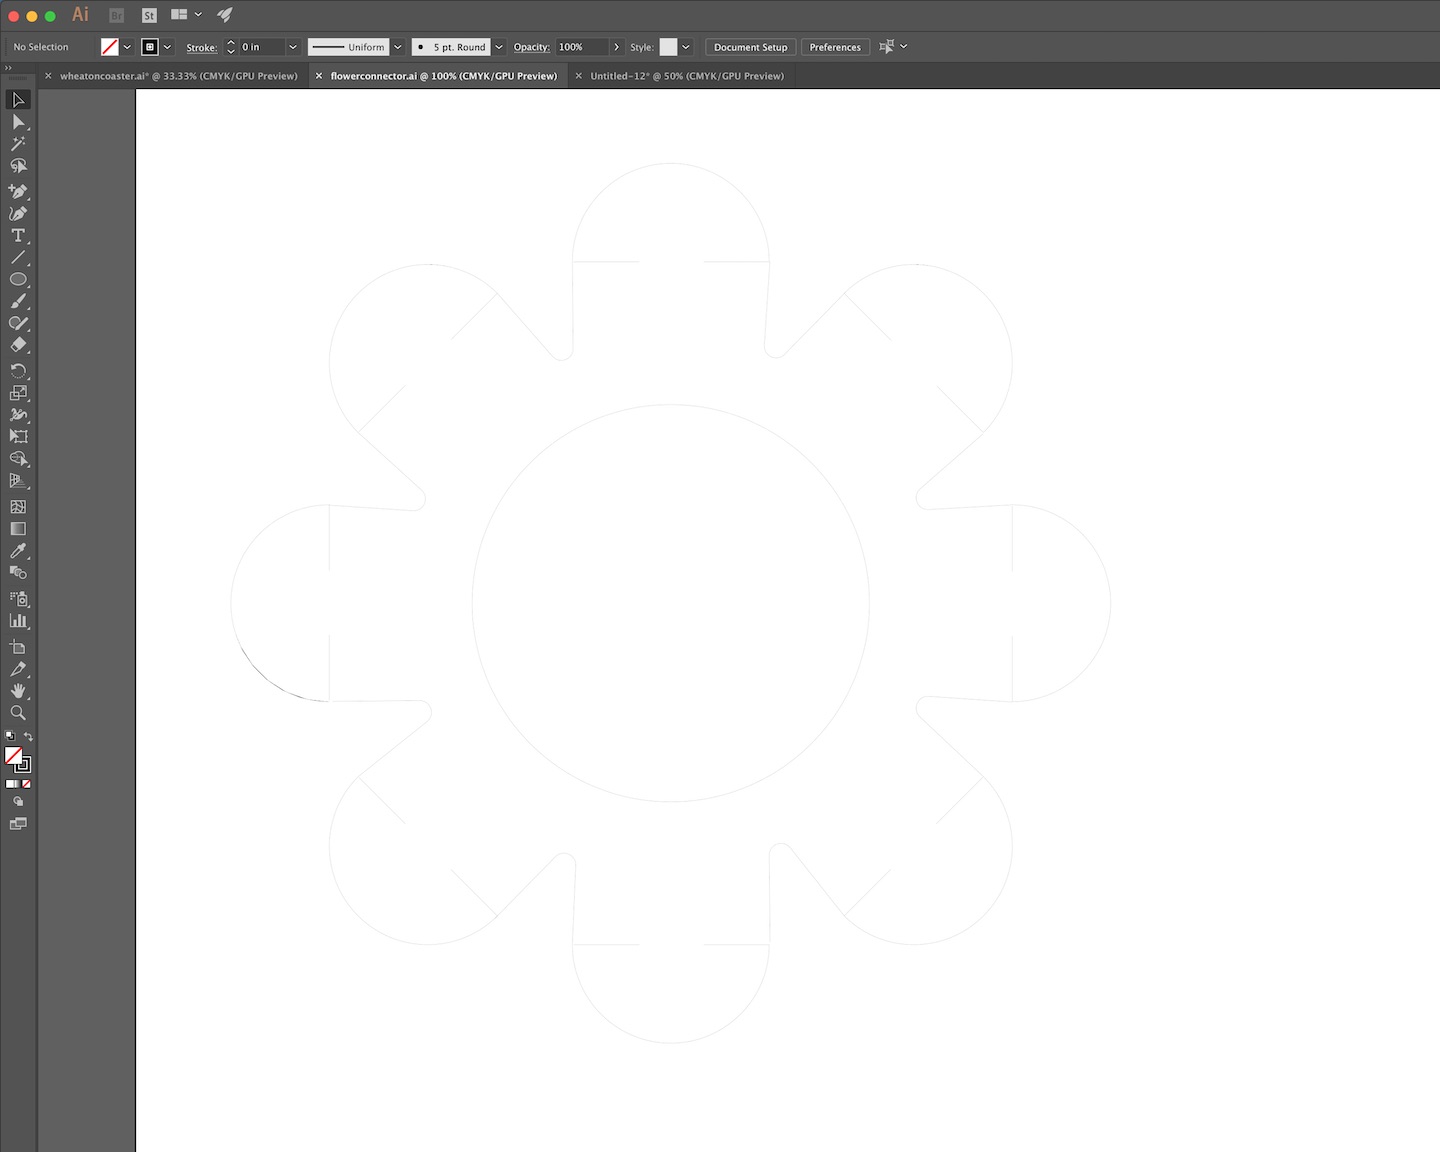
Illustrator drawing.
Came out nicely. Paper is so easy to cut!
Kind of interesting?
It wasn't until this point that the whole assignment finally clicked... I realized joints and parameters were important but so was tolerance and this type of joint is so easy to use and doesn't involve tolerances at that level... but it is Tuesday night now! I feel like this was a tough week but just understanding the assignment was a success in my mind.
Another one...
After months of thought, I decided to re do this assignment. I ended up modeling something simple in Tinkercad and then usling Slicer for Fusion 360 and then Ai to edit and nest files before then laser cutting it. I made a small version first and then a larger version.
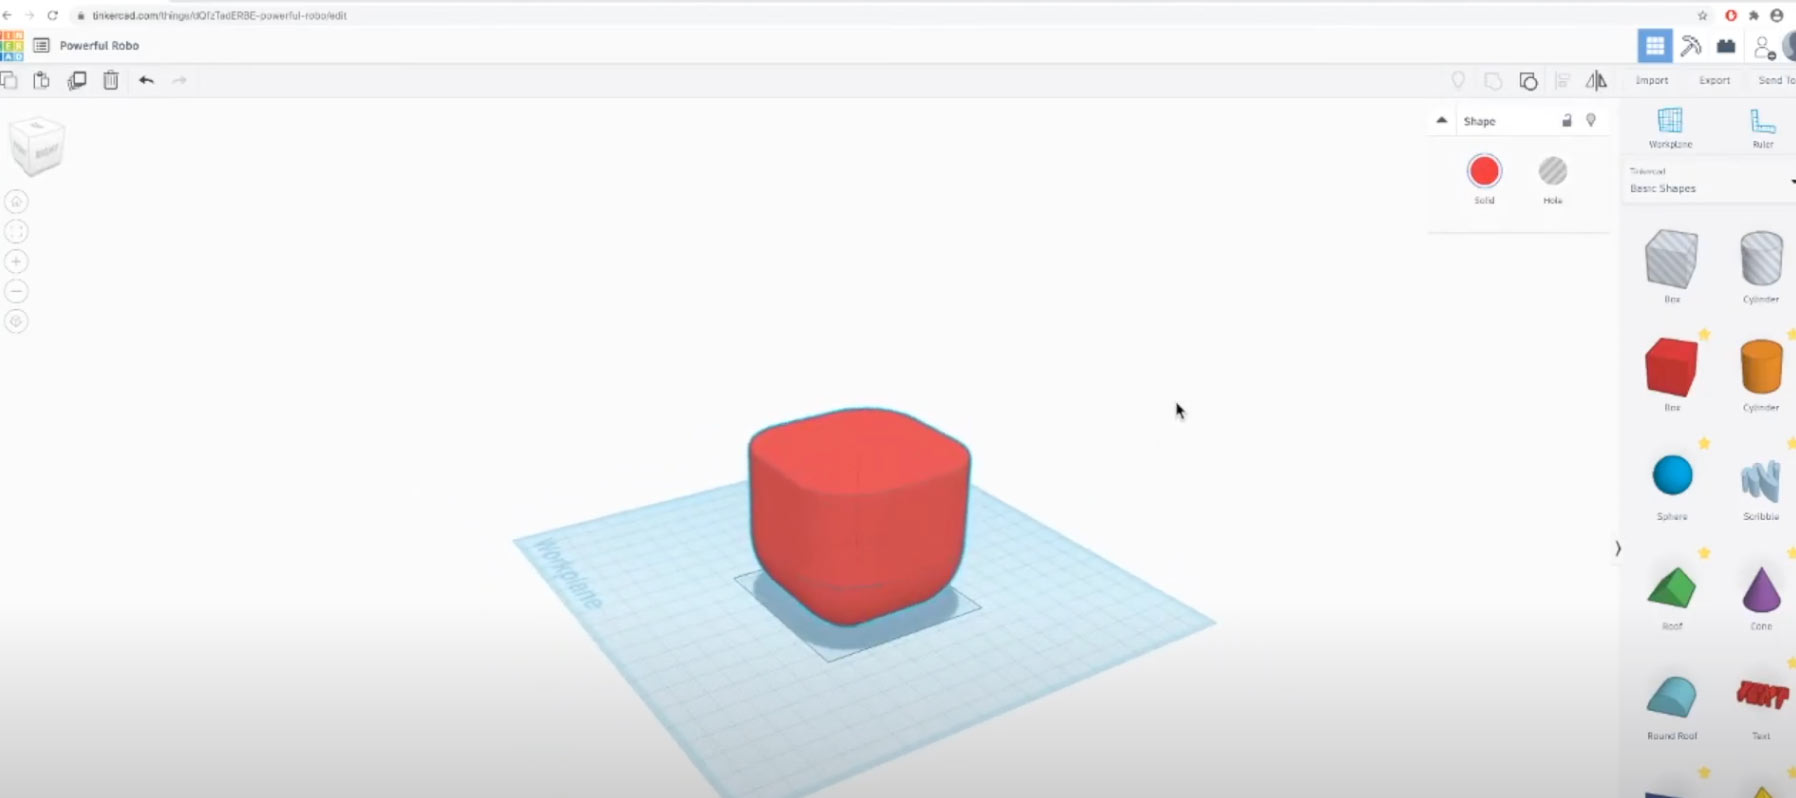
Quick model I did on Tinkercad.
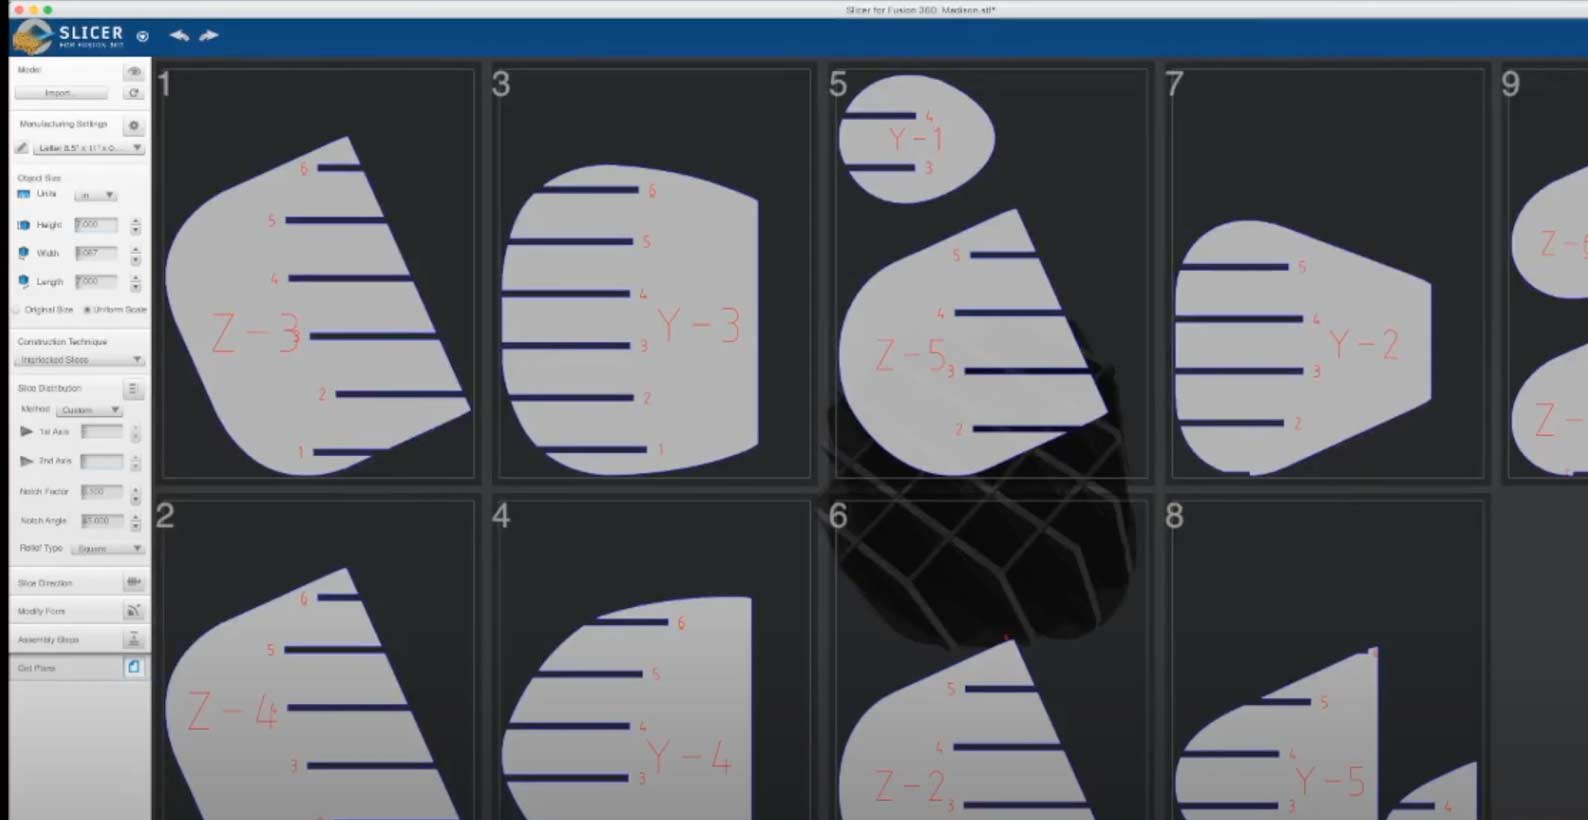
The slices typically look something like this and are never properly nested. After this, I import these into Ai and nest everything to save material. You can see those files linked in my design files below.
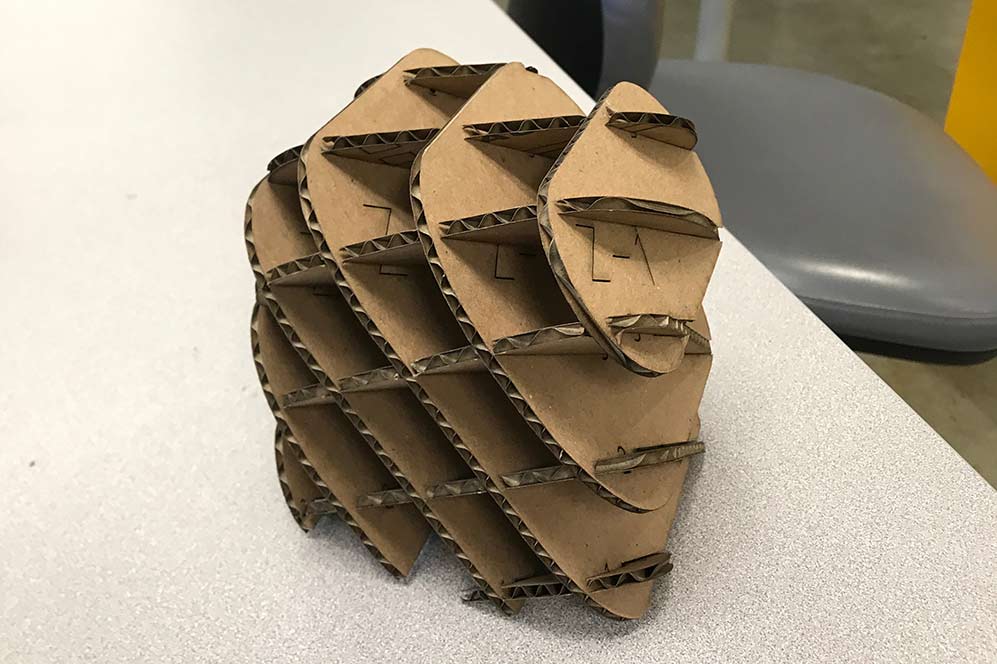
Laser cut and done! Fits pretty good!
Past work I thought was relevant...
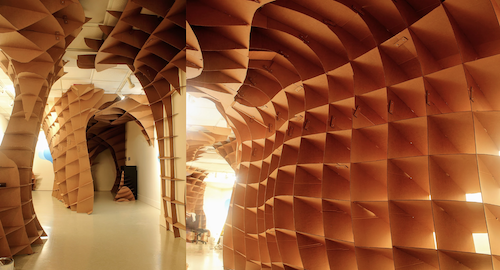
I made this several years ago. It's a cardboard cave about 8 feet tall and spanning a room... But this is not modular in the since that there is a right way to put it together. Like a puzzle.
I also wanted to share this. Below is a group of people who have participated in Statement Making which is a fashion show that instigates interdisciplinary collboration. The medium is predominantly digital fabrication, textile, and electronics. This assignment made me think of a previous project I worked on.

This is not my diagram but it helped me understand visually why it is important to focus a laser beyond just that your cut won't turn out as expected.

This is laser cut paper that is jointed like a wedge.