Flatbed cutting
This week I used a flatbed cutter to make an origami-folded laptop stand.
Contents
- Introduction
- Designing for Flatbed cutting
- Setup
- Cutting
- Folding
- References
- Design files
1. Introduction
A flatbed cutter is a convenient easy to use tool for prototyping and producing packaging, displays, textiles, and signage. With short set-up times, it can operate with a range of tools and add-ons making it very versatile for applications such as making commercial signage, display, packaging, PPE and other specialty manufacturing and cutting applications. It is widely used in rapid manufacturing and prototyping.
A flatbed cutter basically has a tool like a knife blade on a pivoting point to cut through material like paper, vinyl, cardboard, foam board, some plastics and films. It can also have other tools like a pen to draw in large format, a creasing tool, etc.
I wanted to learn about different basic operations of the cutter like cutting, half-cuts and creasing.
Half-cuts and creasing both allow for folding of a sheet in opposite directions. For this I chose an origami based project so I could explore folding in both directions - mountains and valleys.

I found this laptop stand design by Grape Lab that I thought was interesting to make.
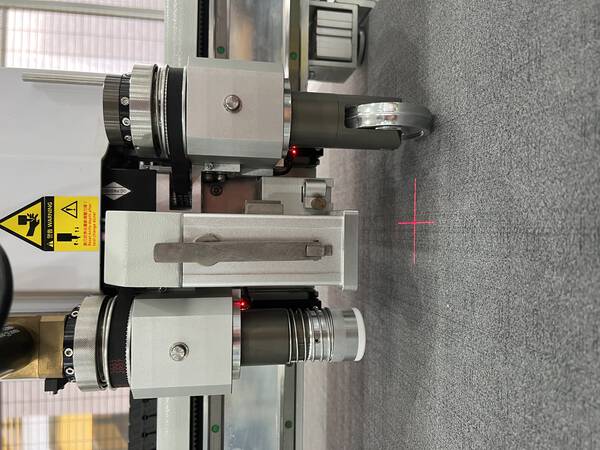
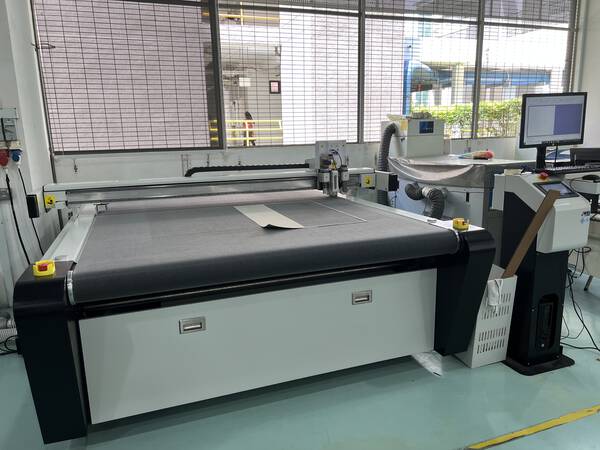
FabLabSP has a JWEI cutter that I used.
It has a precision of +/-0.01mm, and can be used with a variety of tools like oscillating knife, offset knife, rotary knife, snip knife, cursor, drawing… It can cut materials including UV material, outdoor printing fabric, light sheet, gridding cloth, flag fabric, stickers, KT board, PVC expansion sheet, corrugated paper, honey comb board etc. upto 50mm thickness depending on the material and the tool selected.
2. Designing for Flatbed Cutting
Unlike lasercutting and CNC milling, flatbed cutting doesn’t have any kerf, because the blade is simply slicing through material like a vinyl cutter.
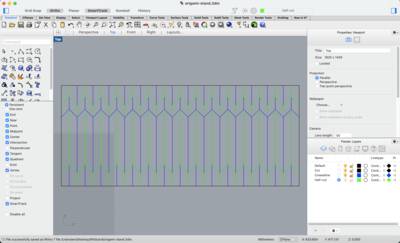
I made my CAD in Rhino. Separated different operations by layers of the correct names.
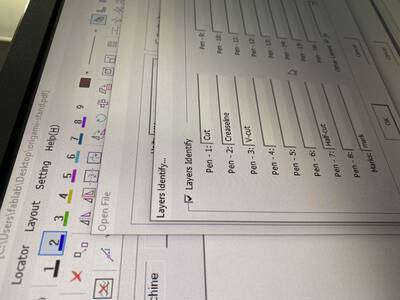
Note that for the software to recognize these layers, they have to be named exactly like defined in the Rolling locator software.
Meaning:
Tool K (Pen 1) - ‘Cut’ for cutting through
Tool K1 (Pen 2)- ‘Creaseline’ for valley fold
Tool K-half (Pen 3)- ‘V-cut’ for mountain fold
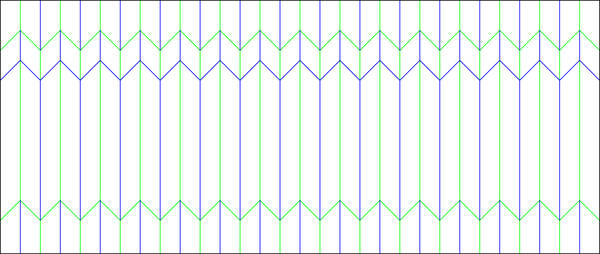
Import the file into the Rolling Locator software:
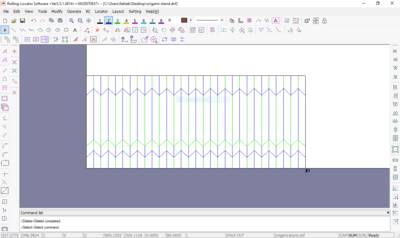
Here is the final file:
3. Setup
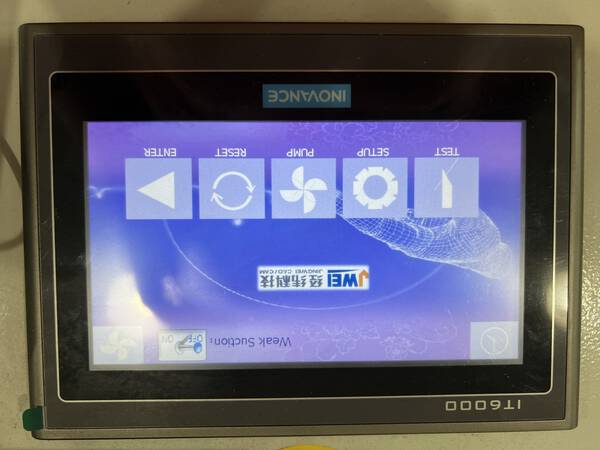
The homescreen of the machine looks like this.
In ‘Test’:
You can first set up the origin after placing the material on to the bed.
‘Pump On’ on the top right starts a vacuum pump that pulls the material and makes it flat on the bed.
You can use the up-down-left-right arrows to move the machine head. And on pressing ‘temp origin’, set the origin.
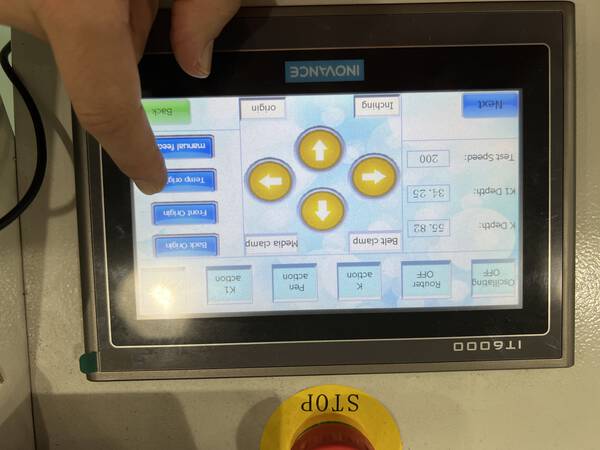
To move slowly, press ‘Inching’:

On pressing ‘Next’, you can set up the material thickness and the half K depth.
For 3mm cardboard I used K-half at 5mm.

For juteboard I used thickness of 0.5mm and tried K-half at 1.6mm. This is the +ve Z distance from the bed level.
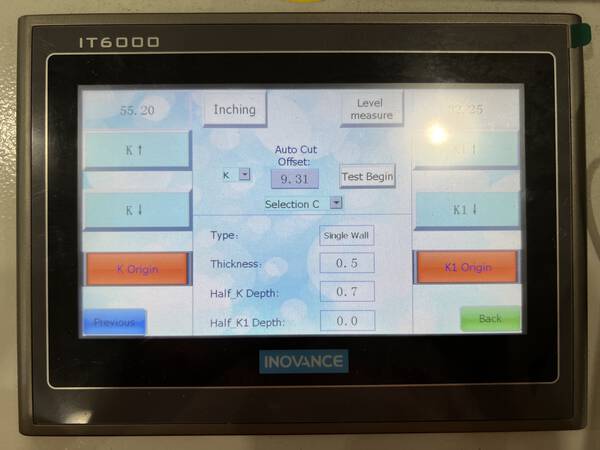
By pressing ‘K-action’ and then arrow keys, you can test the cutting and change material thickness to change blade depth accordingly.
Same for the creasing tool, press ‘K1 action’:
K and K-half is done with the same tool, but at different heights (z-axis).
Next, on the computer software screen, press ‘scan border’.

This will basically scan the boundary area of cutting.
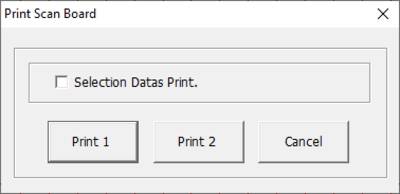
This is done to check it the file is at the correct scale and if it fits within the material that is loaded.
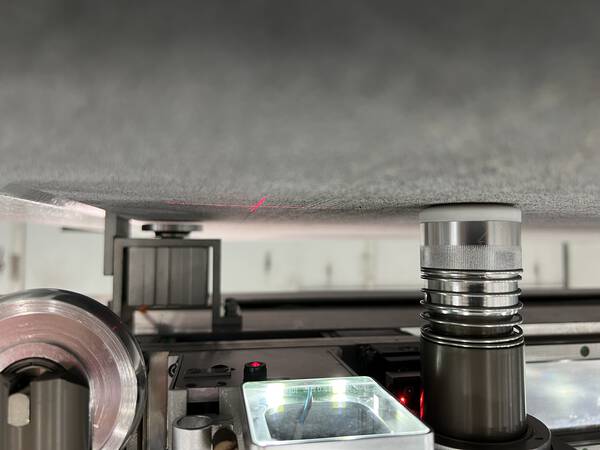
4. Cutting
After setting up the material, the thickness and the origin it is time to cut.
This is cutting in action:
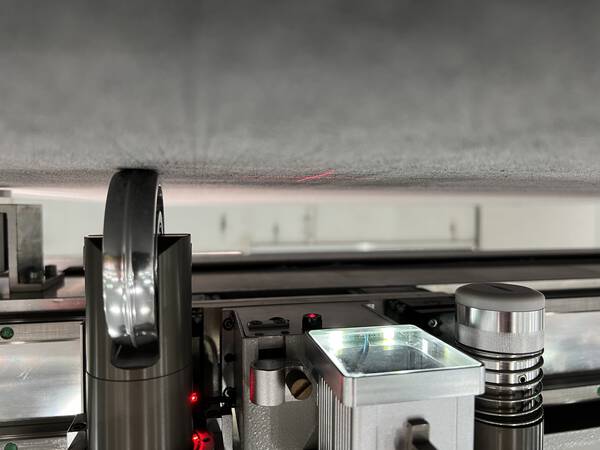
This is creasing in action:
I tried 0.7mm, 0.9mm, 1.1mm and 1.6mm thickness for the board.
1.6 worked the best…
Some experiments with different materials and different settings:
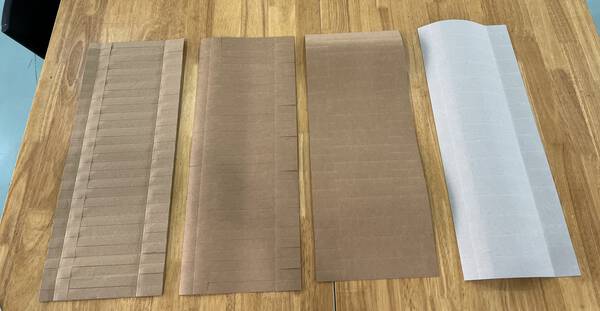
I also figured out the correct folding pattern along the way, and redid the design file.
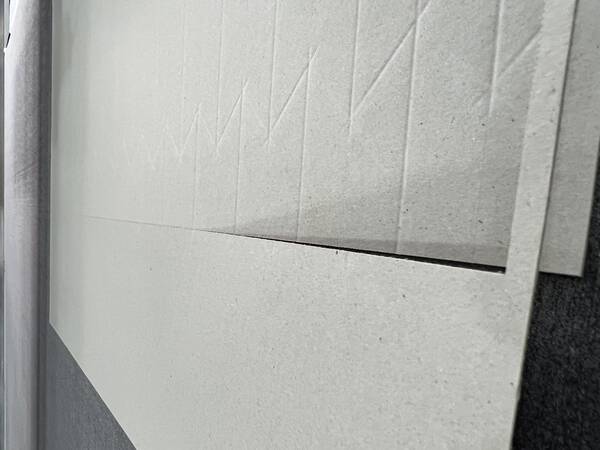
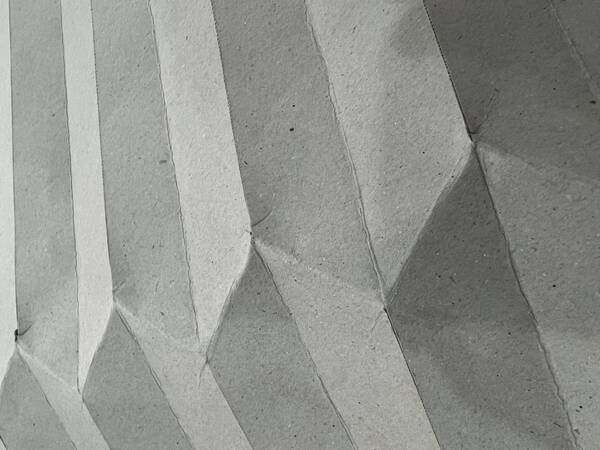
Here is the final cut:
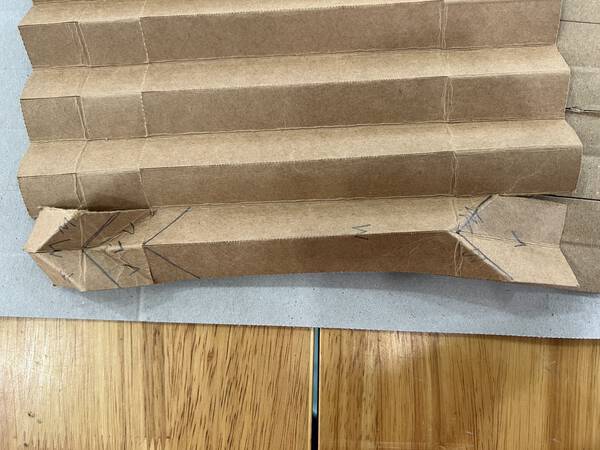
5. Folding
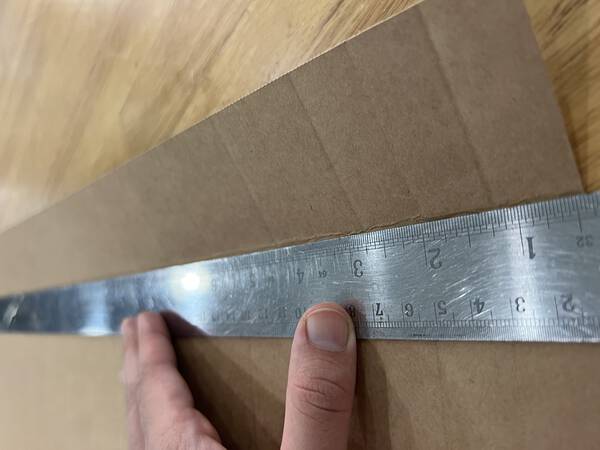
Folding the board is a little difficult. You can use a ruler to get straight folds:
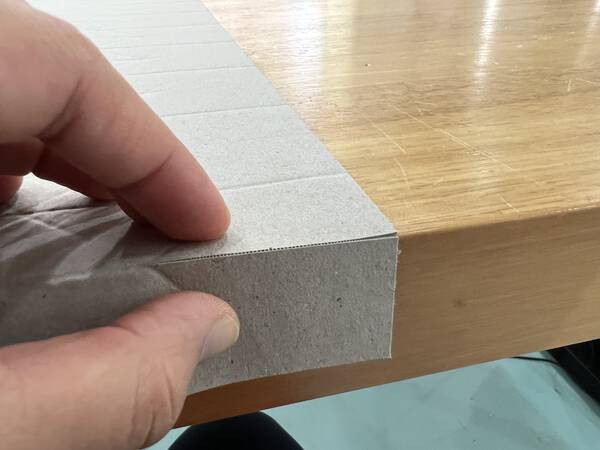
I found the easiest way was to use the pointy 90deg edge of the desk. Fold all individual lines once till 90deg.
The folding needs to be done in steps, not at the same time, or else the board will tear. Fold 1:
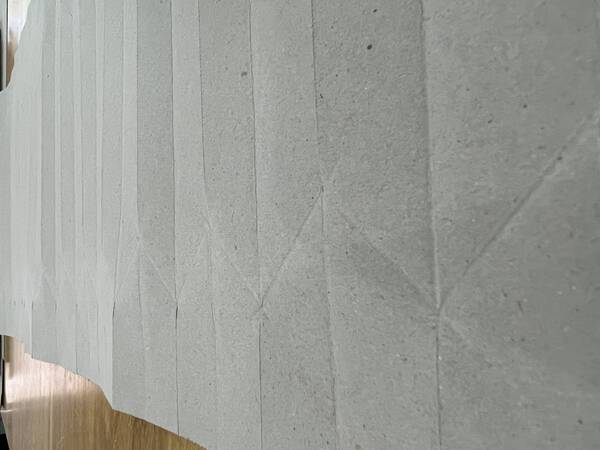
Start folding all all the way 360deg. This will define them more.
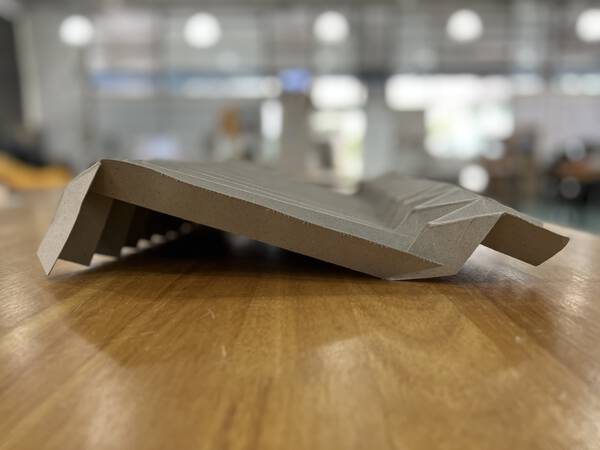
Finally pinch all joints and then it will start taking shape. Start on one side and gradually add fold towards the other end.
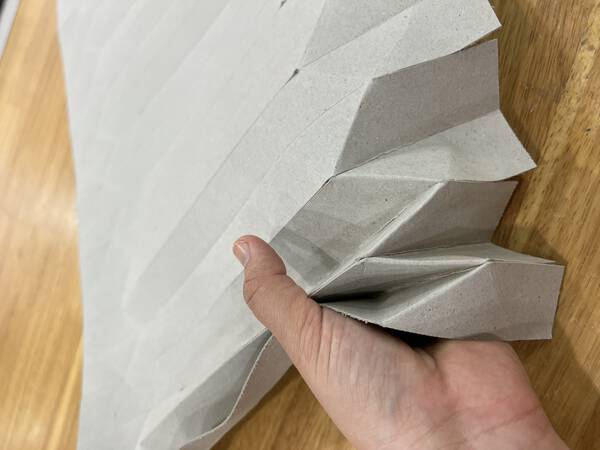
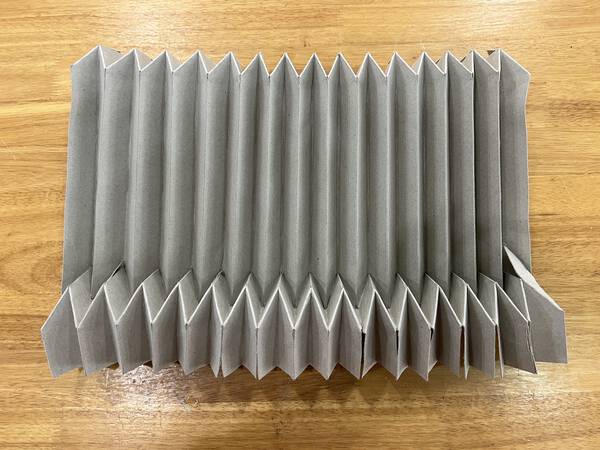
It can be compressed really small and on releasing it will stay in its form.
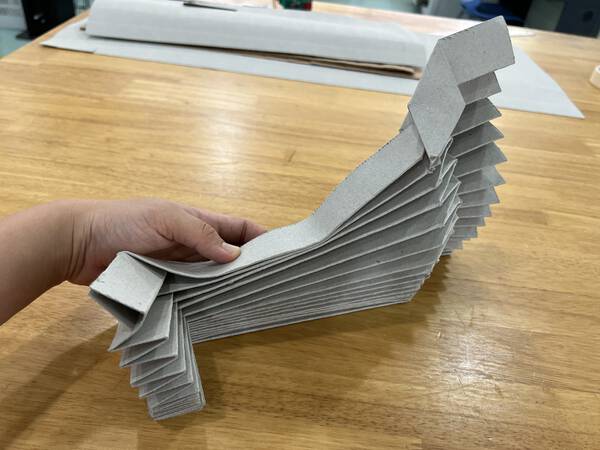
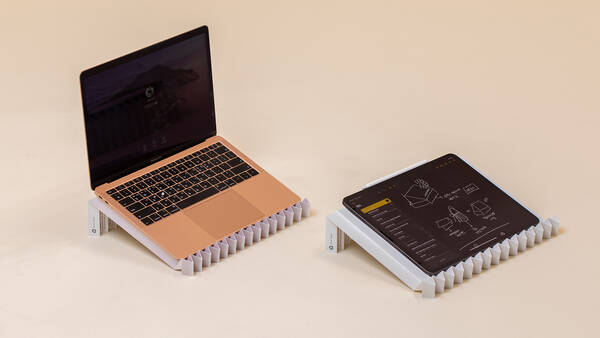
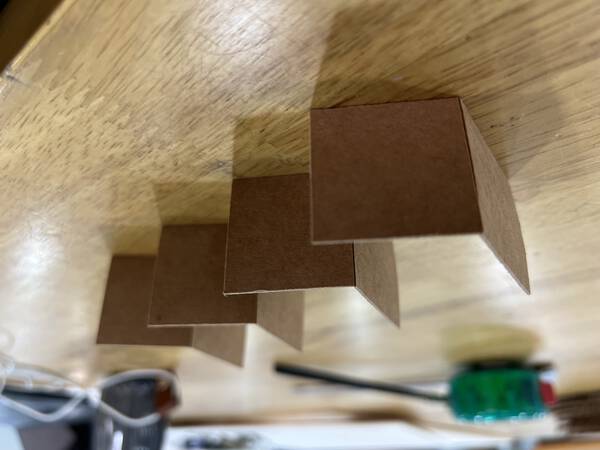
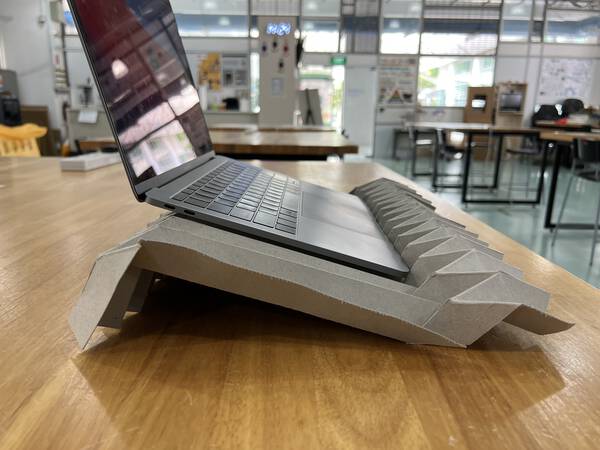
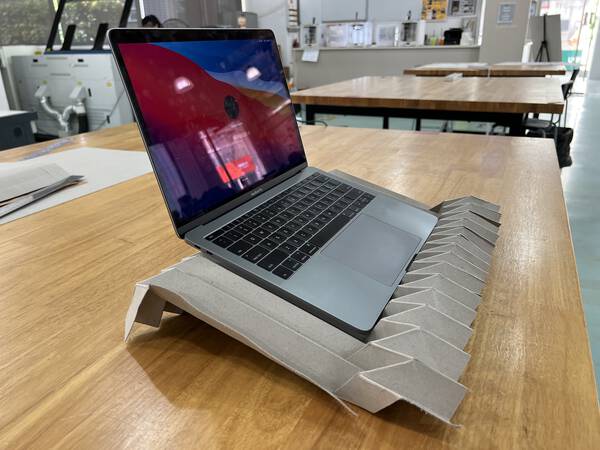
Finally this is how the laptop-stand looks:
It can carry the weight of a laptop easily without bending and is pretty neat.
By adding some more into the ergonomics, I can make it better for use.
For now, I learnt how to use a flatbed cutter and define settings to make something new. It is a very versatile tool - I would like to make some cardboard packaging or furniture or toys in the future.
6. References
g.flow by grape lab
Folding Techniques For Designers
7. Design files
Origami stand - dxf
Origami stand - pdf vector
Origami stand - 3dm