COMPUTER AIDED DESIGN
Raster and Vector
The difference between vector and raster graphics is that raster graphics are composed of pixels, while vector graphics are composed of paths. A raster graphic, such as a gif or jpeg, is an array of pixels of various colors, which together form an image. A vector graphic, such as an .eps file or Adobe Illustrator? file, is composed of paths, or lines, that are either straight or curved. The data file for a vector image contains the points where the paths start and end, how much the paths curve, and the colors that either border or fill the paths. Because vector graphics are not made of pixels, the images can be scaled to be very large without losing quality. Raster graphics, on the other hand, become "blocky, " since each pixel increases in size as the image is made larger. Source: fivetalents.co
GIMP
GIMP is an image editor. We can modify and play with the images as we want. I wanted to use this editor as the image resizing as i have to resize a lot of images. so i went through a tutorial. Here i wanted to use it frequently to resize the image.
The interface of Gimp looks like this.
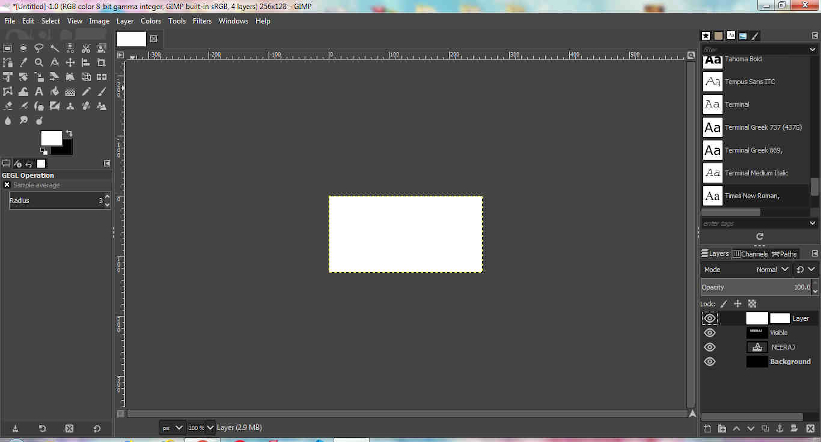
the steps to resize the image are as follows:
1. Upload the image on Gimp by FILE-->OPEN
2. Export the image as JPG file
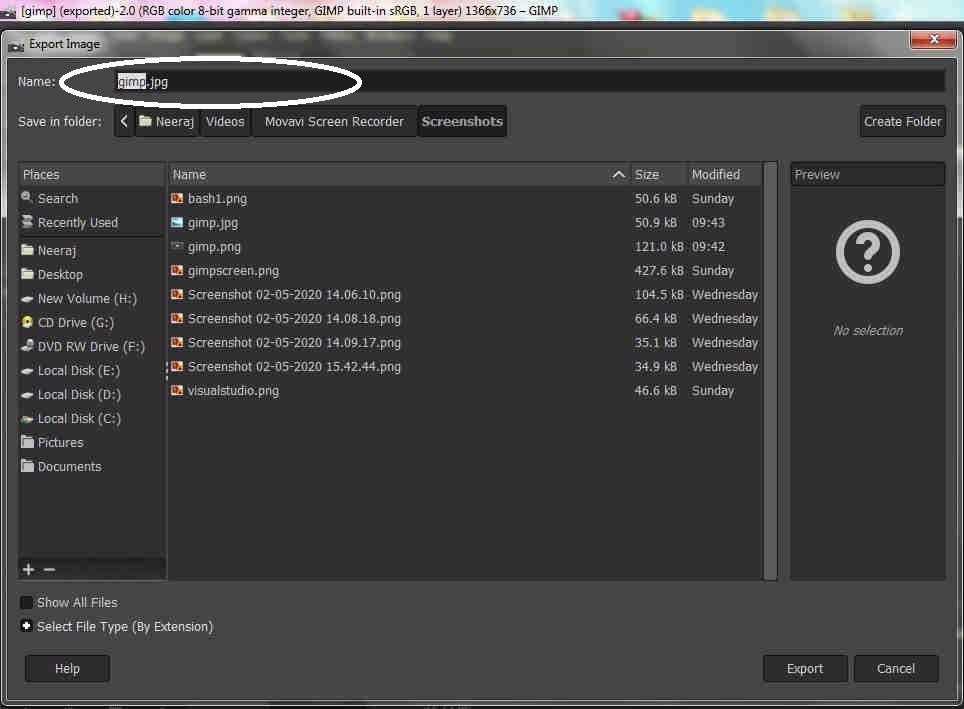
3. click on Export
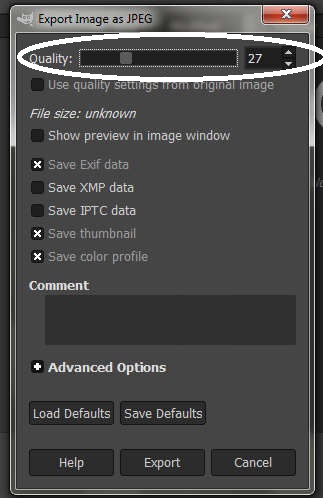
4. Lower the quality of the image then it will lower the size of the image without changing the
dimesion of the object. But many times the quality goes too low and the text is hardly seen so it is
necessary to have
a have appropraite quality also.
5. Export it and the image will be resized without much quality degradation if the quality parameter
is not too low.
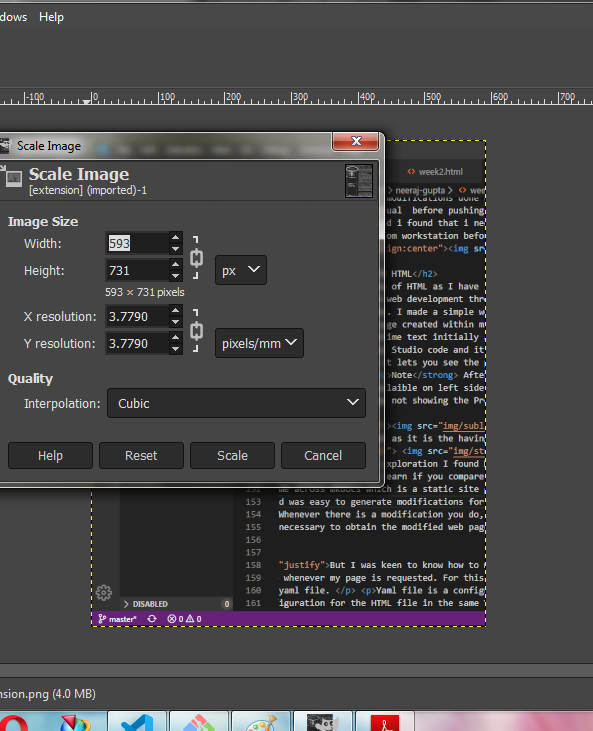
6. The dimesions can also be changed. For this you need to go to Image-->Scale Image and the image
can be changed by changing
the horizontal and vertical commands
Work on Inkscape
Inkscape is a free and open-source vector graphics editor. This software can be used to create or edit vector graphics such as illustrations, diagrams, line arts, charts, logos, business cards, book covers, icons, CD/DVD covers, and complex paintings.
I tried to make some shape by using inkscape and i found that the interface
of inkscape is better than the GIMP. Many of the commands in inkscape are availaible on the
keypad itself which is a better feature. Inkscape is a software having a lot of commands which will
only be aquired by practising
over it. I had used Paint only before using inkscape and GIMP. I now realize that working on
all these tools will help over the period of this course. I need to see a lot of video tutorials to
have a grab
at this software.
Note: The inkspace software has a lot of commands as compared to Microsoft Paint and picture editors which will only be learnt through practise.
The inkscape has features like difference, unite, duplicate and the user friendly arrows
which allows for easy drawing and these commands makes it different from others.
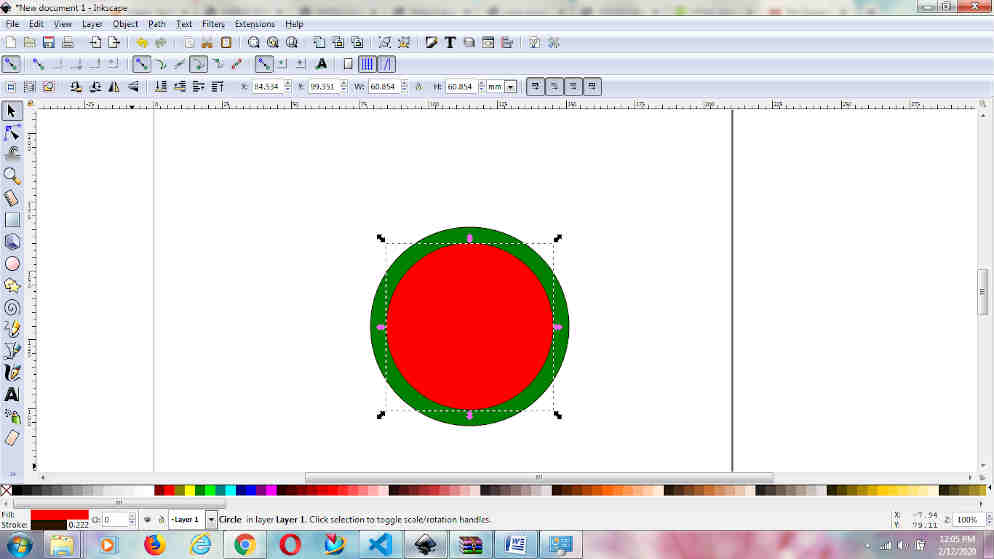
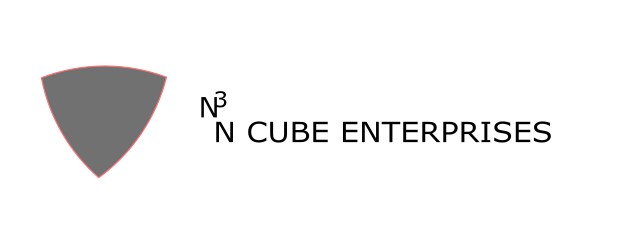
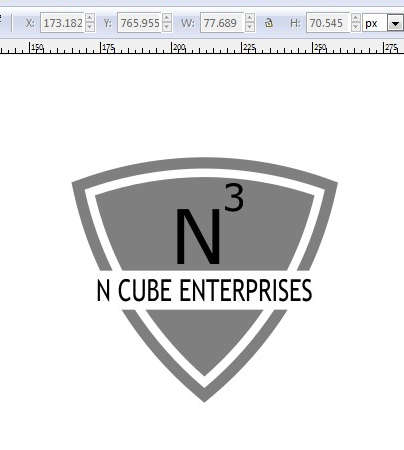
I tried to make one more design on Inkscape which is going to be the logo of my company. I made it by following this video lecture.
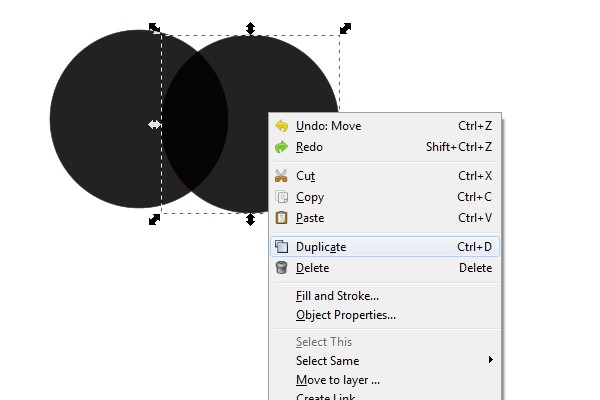
The circle option is selected from the toolbar present at the left of the screen. The circle can be copied and duplicated and can be moved by moving the left click of the mouse.
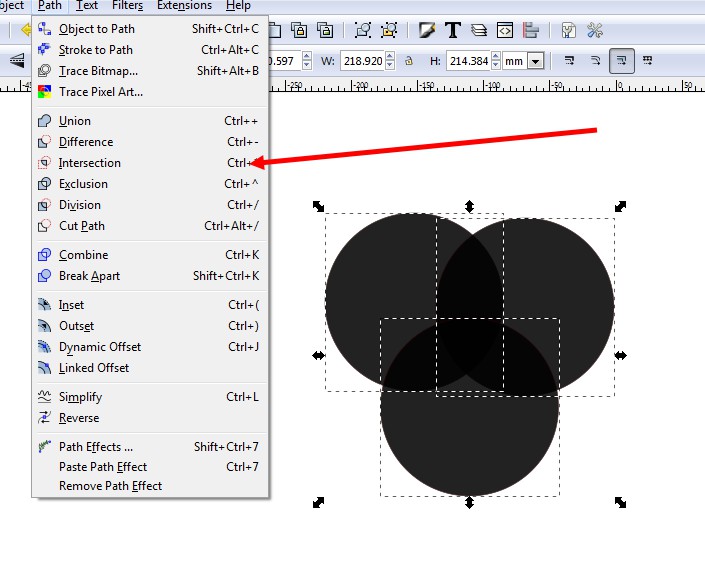
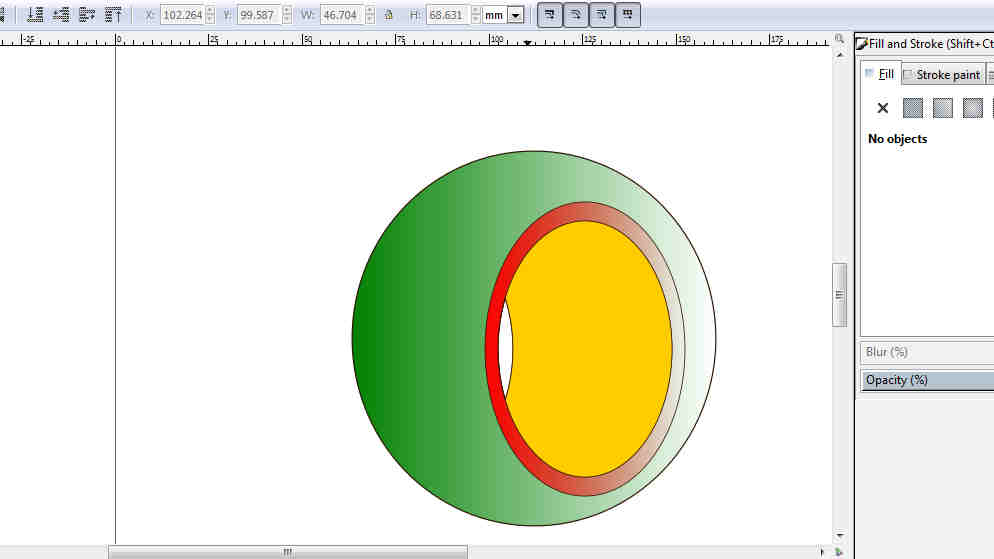
The circles are arranged to create a shape required. The required shape is obtained by joining the three circles as shown in the image.
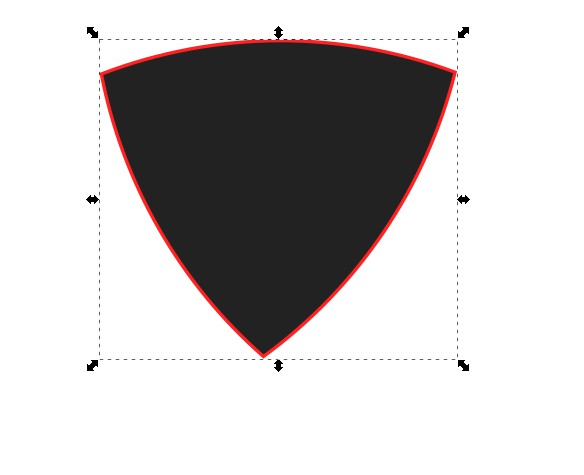
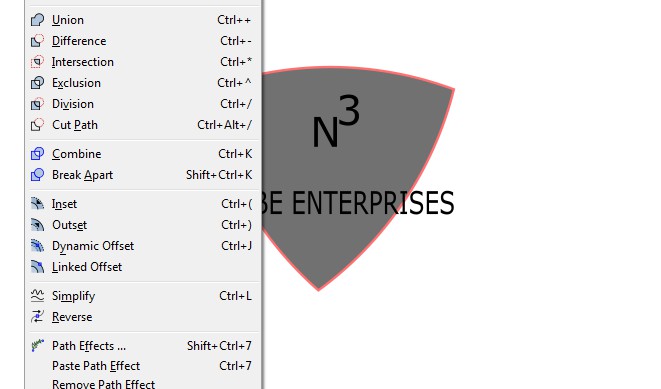
There are options in the tool bar which is used to chose intersection, addition, difference and through those options we can chose the shape we want. The combine and Breakapart option is used to combine and break the shapes to different ones.
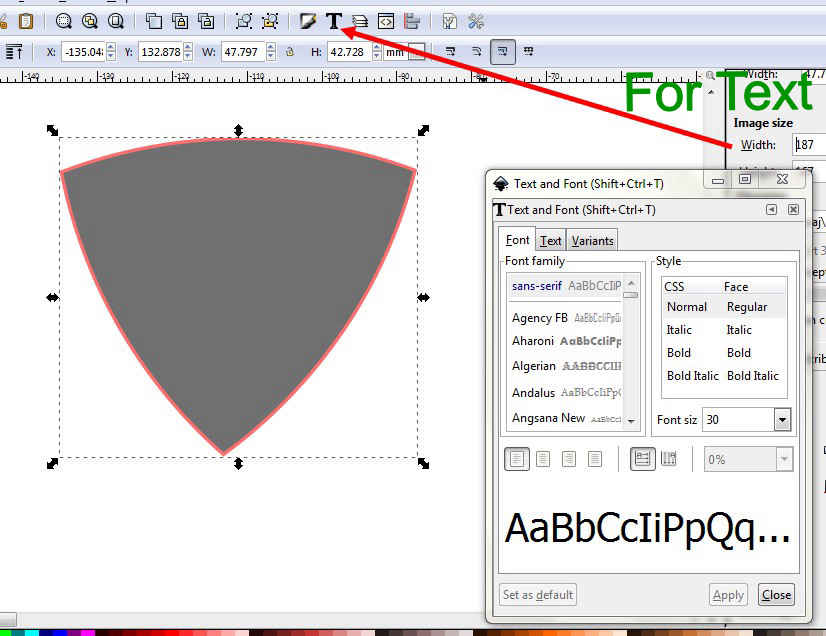
The text option is also availaible in the toolbar which facilitates to write and put it on the shape created.
Download inkscape file
Working on Onshape
Onshape is a computer-aided design (CAD) software system,
delivered over the Internet via a Software as a Service
(SAAS) model. It makes extensive use of cloud computing,
with compute-intensive processing and rendering performed
on Internet-based servers, and users are able to interact
with the system via a web browser or the iOS and Android apps. Source: wikipedia
It is very easy to work on Onshape because you do not need to install
any software since it is a software as a service application.
you start working on it as soon as you sign up with your account details.
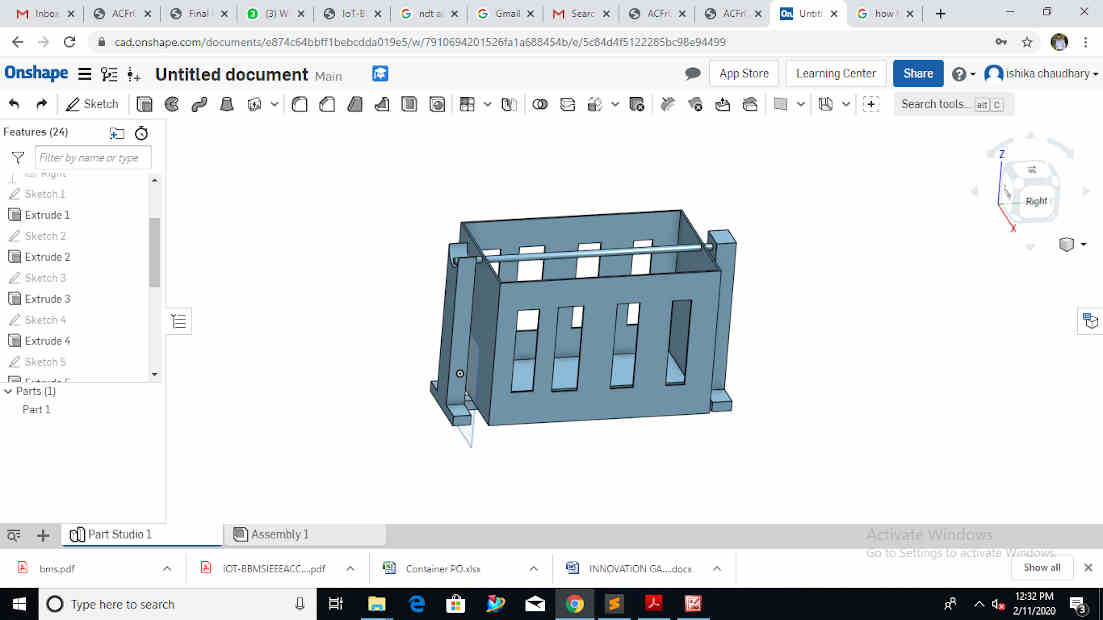
The interface is also very user friendly. I tried to make a solid model of my project
and if you have used any other software before then it makes better experience working on it.
The link for the onshape model is this
Note:The server of ONSHAPE
I tried to make a model by applying the commands:
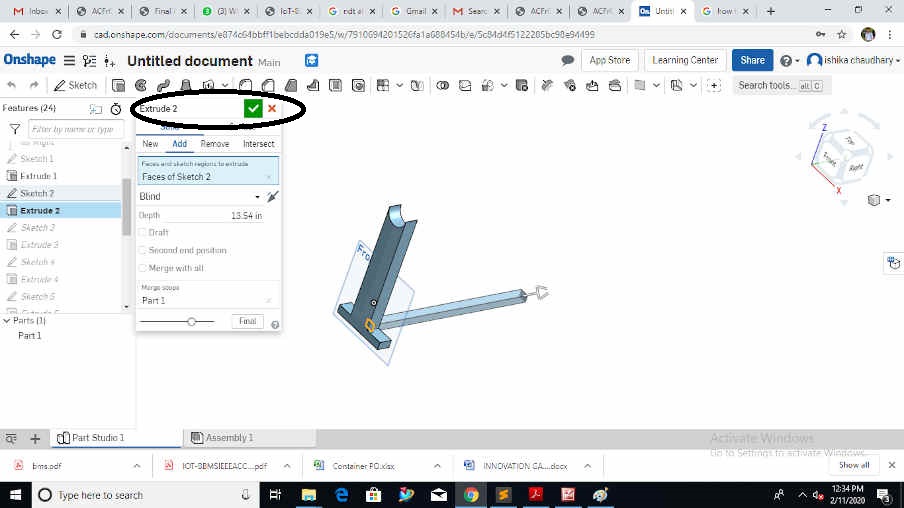
While working we should not click on the tick mark option before completing the drawing.
If you click the tick option then it means that your drawing is complete.
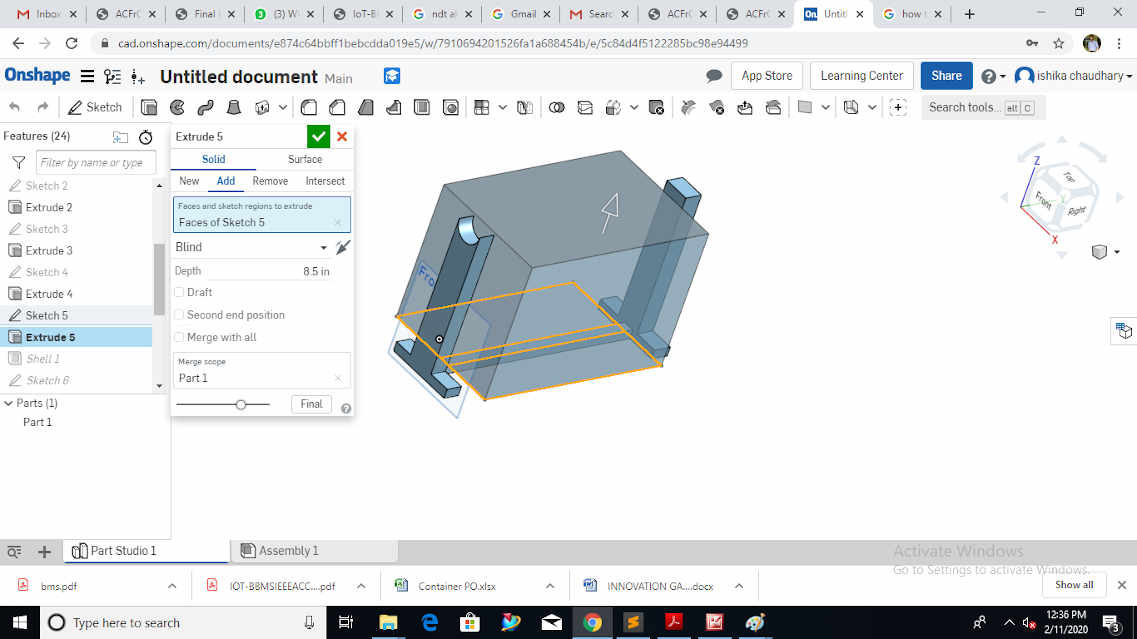
The commands used to make the model are sketch, rectangle, arc, extrude, shell.
Sketch command was used to make the sketch.
Extrudecommand was used to make the 2d into a 3d shape.
Shell is used to make a body hollow from a given surface of a certain width.
Onshape is very user friendly. the model is made using all the basic commands of the software. Extrude command is availaible on the toolbar and it asks for the depth which you want to give to the model. The 2D shape is converted to the 3d body with the feature of providing user defined thickness. The other parts of the cradle are used and they are aligned using the Plane command. With the use of this command a plane can be chosen on any angle and the drawing can be made. Shell command is used to provide an internal shellwith a user defined thickness. The extrude comaand is also used to remove the material from the part by using subtarct command already present in the extrude command box.
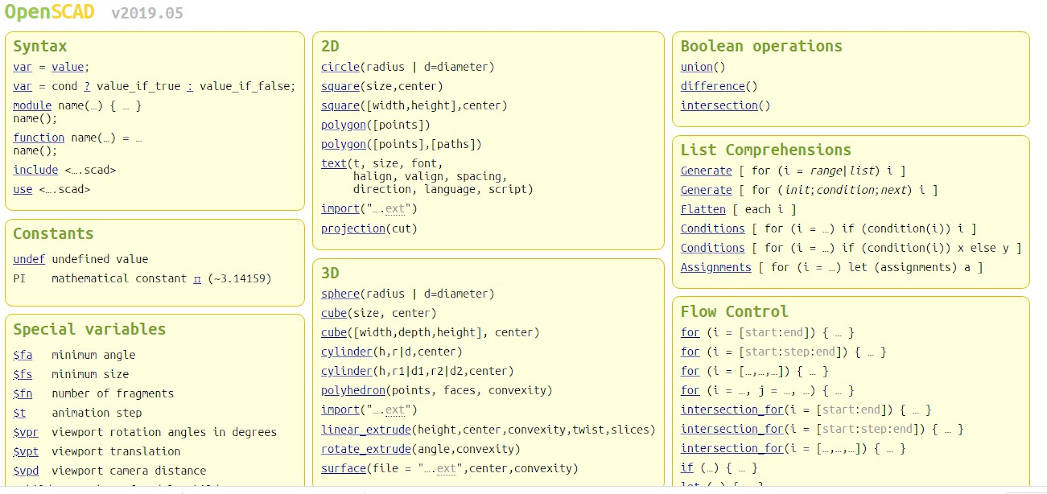
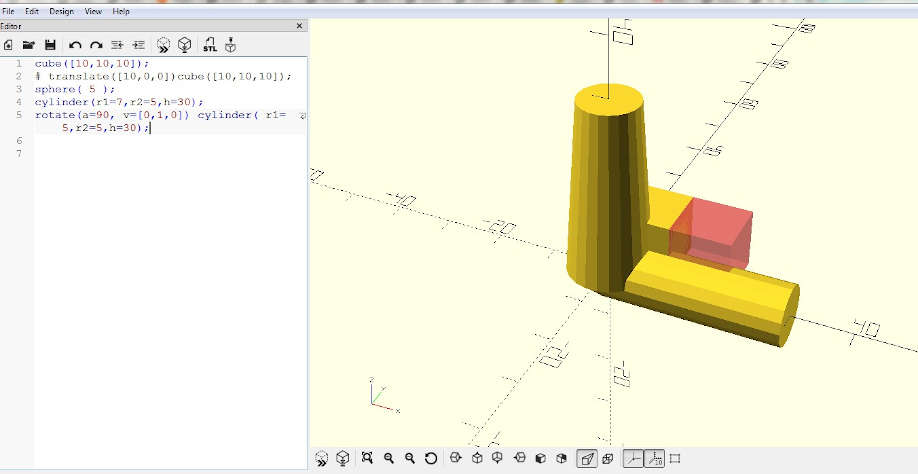
WORKING ON OPENSCAD
OpenSCAD is a free software application for creating solid 3D CAD objects. It is a script-only based modeller that uses its own description language; parts can be previewed, but it cannot be interactively selected or modified by mouse in the 3D view. An OpenSCAD script specifies geometric primitives and defines how they are modified and combined to render a 3D model. As such, the program does constructive solid geometry (CSG). Source:WIKIPEDIA
But i found it less interactive and user friendly. It involves the writing of the command to make any shape which is quite tougher as compared to the GUI of other softwares.
Download OPENSCAD AND ONSHAPE file
WORKING ON NX11
Siemens NX software is a flexible and powerful integrated solution that helps you deliver better products faster and more efficiently. NX delivers the next generation of design, simulation, and manufacturing solutions. The license version is availaible at AKGEC fablab. Akgec has a MOU signed with Siemens.
The interface of NX11 is much better as it provides all the tools to be used when opening the new file itself. as you open the window there are options asking about the Modeling drawing simulation and other advanced design options.
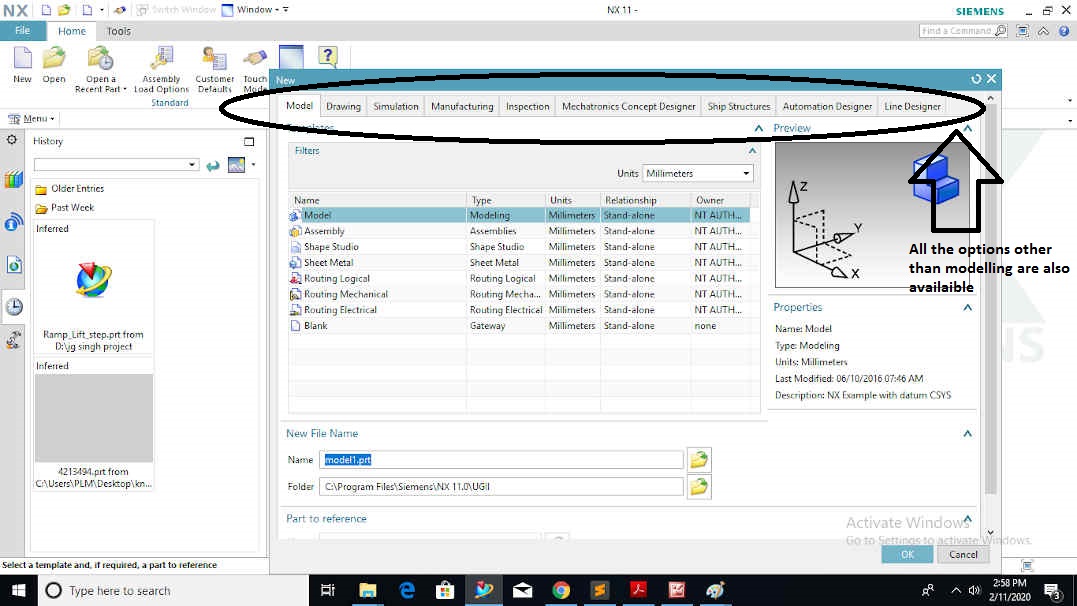
When you click on the modelling page, you will get confused to see so many options to work with. But as you move forward with tutorial. then it will be very easy to make basic designs.
Download NX file
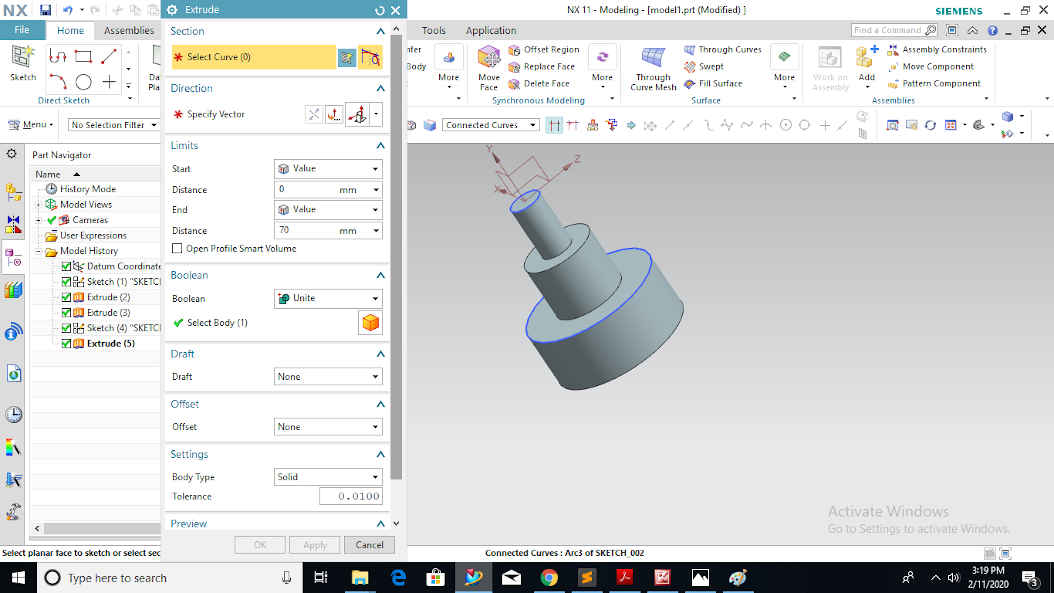
I made a small model of a tapered bar by using commands. you can easily change the dimensions of every small entity of the feature by selecting that feature. There are some of the things which should be taken care while designing using NX.
Always remember to click finish sketch only after you hav emade your design.
If you open the sketch option then there will be several icons of sketch1, sketch2 and that will confuse you. The best thing about the NX software is that it provides you with the option of Synchronous modelling. Synchronous modeling allows manipulation of solid bodies without a need for a history or feature tree. Solid geometry imported from a Step, IGES, Parasolid, or another CAD system can be manipulated using commands like Move Hole, Delete Feature, and Offset Face.
There is a history which the tree on the left side of the screen shows about the model which you are making You can always have the access of all the small features which you have made from that tree.
Comparison of Different Designning softwares
The softwares which i used are NX11, Openscad and Onshape.
Onshape is a free source designining software
and it has a large community as well. you dont need to have its installation and licensing is not necessary.
The interface of the Onshape is quite easy. the problem with onshape is that since it is online the speed of
processing manytimes goes very slow.
Openscad is not a parametric design software and it invloves programming. the person who has worked on
parametric interface will find this software frustrating as the editing part and the typing of the program becomes cumbersome.
It is also availaible freely online. It can be downloaded and intalled to the system.
The NX11 is a licensed software which provides modelling,sufacing, sheet metal,PMI, assembly, simulation and rapid protoyping.
The interface is very easy. I have the licensed version since my workplace has the licenses for working on NX11.
This software provides the option of synchonous modelling also which is a special feature of this software and which made me use this for all my future designs.
Conclusion
Gimp and Inscape are very new to me. Raster and vector are understood and their applications also.I was already having some experience of working on NX11 and it is also the reason for chosing this software and using of Onshape is also a good experience.