compare the performance and development workflows for other architectures
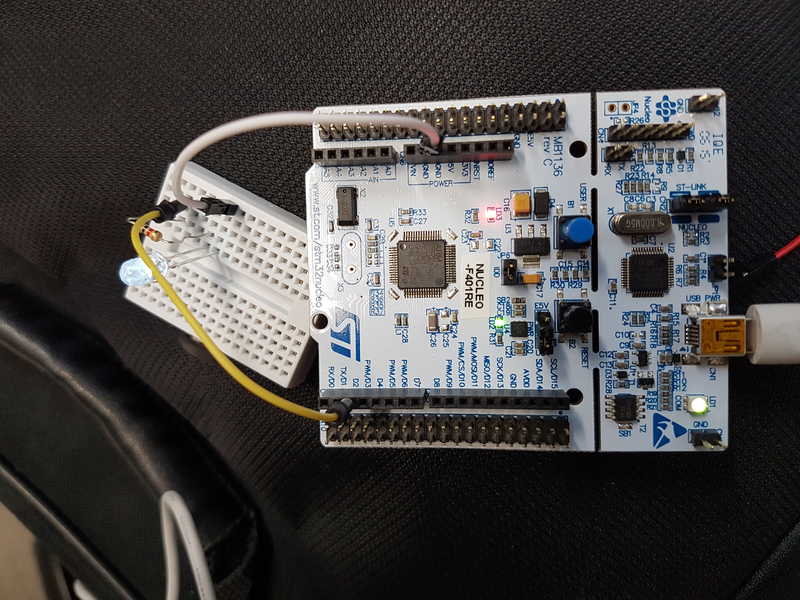
1.STM32 Nucleo-64 development board with STM32F401RE MCU
2. Rasberry Pi 3 Model B
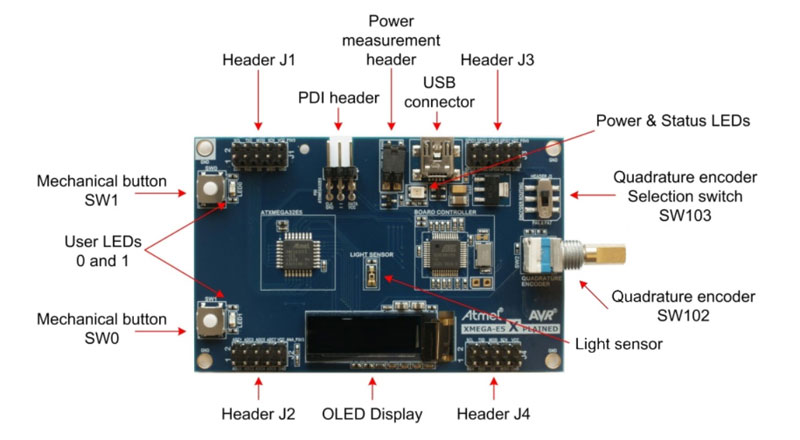
3. We experienced Atmel XMEGA-E5 Xplained with Atmel Studio
The set of instructions a CPU can understand and execute is called ISA (Instruction Set Architecture). An implementation of an ISA for a CPU can be classified according to its complexity.
The two main types are CISC (Complex Instruction Set Computing) and RISC (Reduced Instruction Set Computing).
CISC was developed in the 60's, as a way of standardizing how the computers were programmed, and thus make code compatible for different computers.
CISC offers a set of complex and specialized instructions; they have longer execution time (more CPI or Cycles Per Instruction) but group several low level operations. This results in smaller and simpler programs with not many accesses to memory.
RISC was developed in the 70's, and proposes a totally different approach. RISC offers a set of simple and general instructions;
this allows to have shorter execution time (fewer CPI) but may need to execute several instructions for a complex task.
This may result in longer and more complex programs with more accesses to memory. But may lead to less power consumption
Raspberry Pi uses an ARM processor. ARM stands for Advanced (originally Acorn) RISC Machine.
The STM32 is a family of microcontroller ICs based on the 32-bit RISC ARM.
ATtiny 44 is an AVR RISC architecture
Intel family and Motorola 68000 family are CISC
Rasberry Pi was the easiest one to do the groupwork with. We followed the instructions in a raspinews website It only required to find suitable components for and a breadboard for testing,
because the Rasberry Pi had already python-rpi.gpio and python3-rpi.gpio installed. The components were 1 kOhm resistor and white led. The code we used was also in the instructions,
but we had to modify the indented error. There was spaces in all the lines of code and it didn't work right out.
It worked perfectly and the Rasberry Pi turned the led on for one second and then it was off for one second. This was looped until the program was ended.
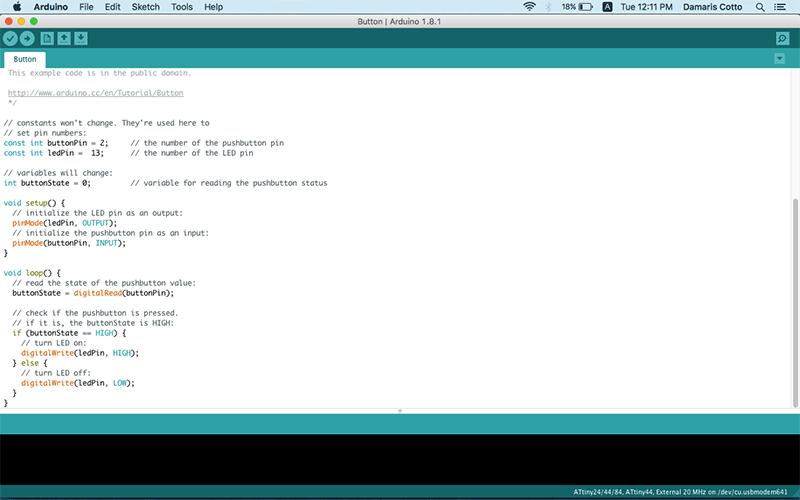
Nucleo-F401RE was easy to work with as well. There was good documentation for its programming with Arduino IDE.
In the Arduino IDE, you just needed to add Additional Boards Managers URLs: https://github.com/stm32duino/BoardManagerFiles/raw/master/STM32/package_stm_index.json.
Now there is at the bottom of the list STM32 Cores in the Tools -> Board menu -> Boards Manager. Click install button to install it.
Now you can select Nucleo-64 board and board part number: Nucleo F401RE.
Now you just have to create Nucleo_map folder in Arduino libraries and put remapping of the pins in there, both HEADER
and CPP.
The code was added to Arduino IDE, compiled and programmed to board and it worked. It was blinking internal led on board and our external led on breadboard.
Read a microcontroller data sheet.
Attiny datasheet
Program your board to do something, with as many different programming
languages and programming environments as possible.
Arduino IDE
1.Breadboard
2.LED
3.USB cable
4.10UF
5.Arduino Mega
6.Male to Male jumper cable
First of all I reviewed the ATtiny85 microcontroller data sheet in order to learn its features and the pins
distribution to be able to connect and program the Hello-World board and do something with the button and LED.
Name Value
Program Memory Size (KB)
8
CPU Speed (MIPS/DMIPS)
20
SRAM Bytes
512
Data EEPROM/HEF (bytes)
512
Digital Communication Peripherals
1-SPI, 1-I2C
Capture/Compare/PWM Peripherals
5PWM
Timers
2 x 8-bit
Temperature Range (C)
-40 to 85
Operating Voltage Range (V)
1.8 to 5.5
Pin Count
8

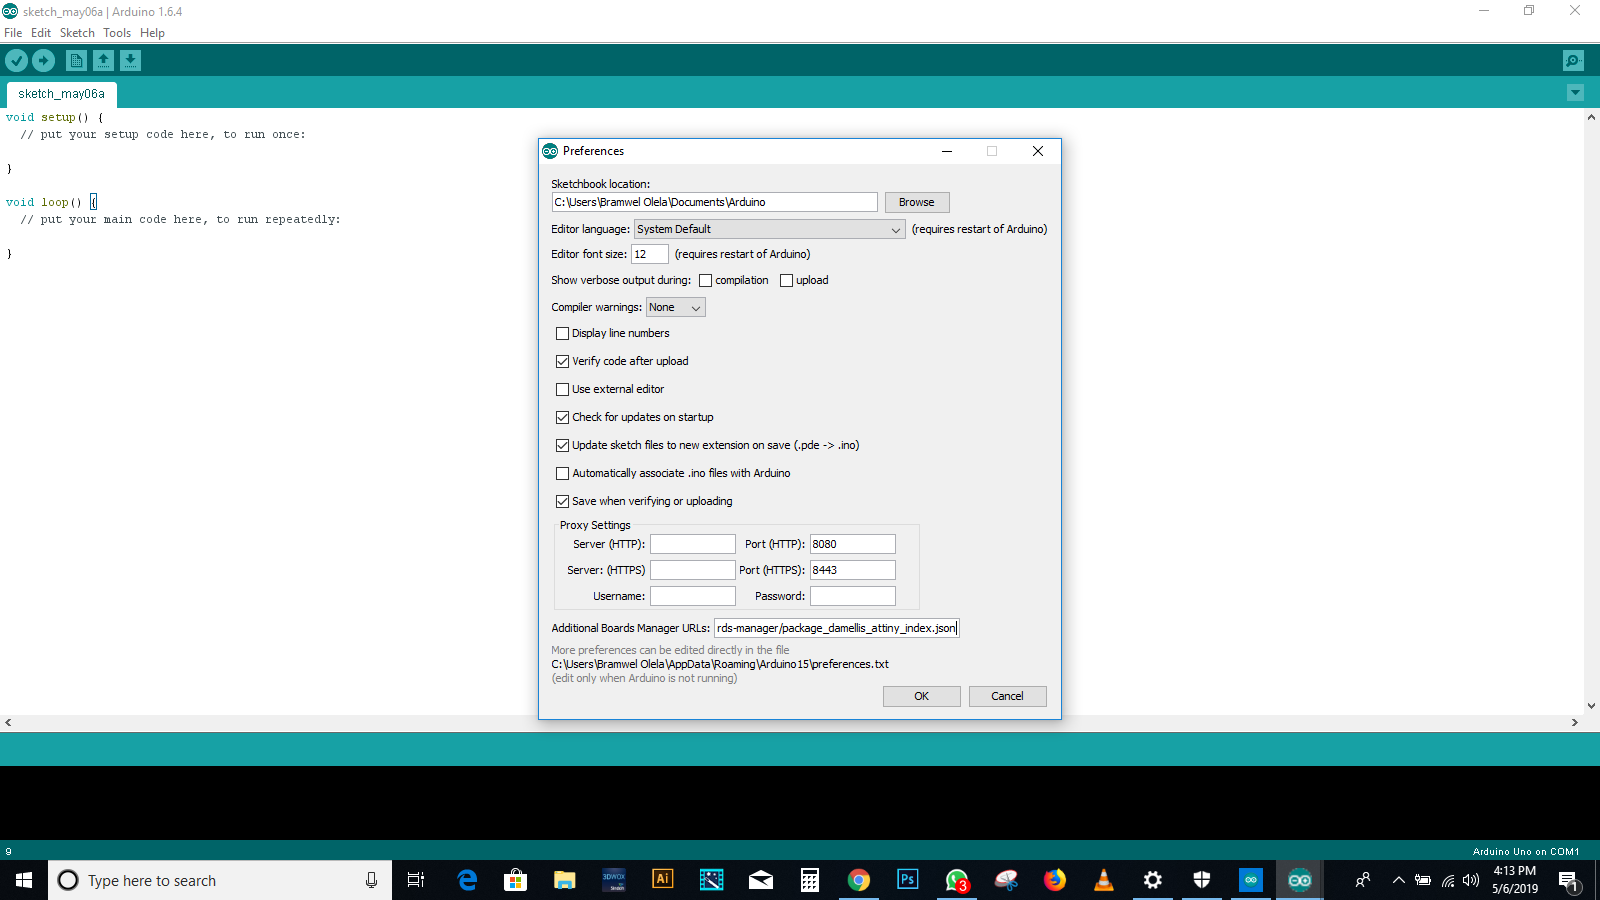
1. Once installed the software, in menu Arduino-Preferences copy and paste the link
https://raw.githubusercontent.com/damellis/attiny/ide-1.6.x-boards-manager/package_damellis_attiny_index.json
in Additional Boards Manager URLs blank space to be abele to download al the ATTiny configuration.
2. In menu Tools - Boards Manager scroll down until find attiny and choosing it, will appear an install button.

3. Once the installation finishes, go to Menu - Tools - Board select ATTiny85.
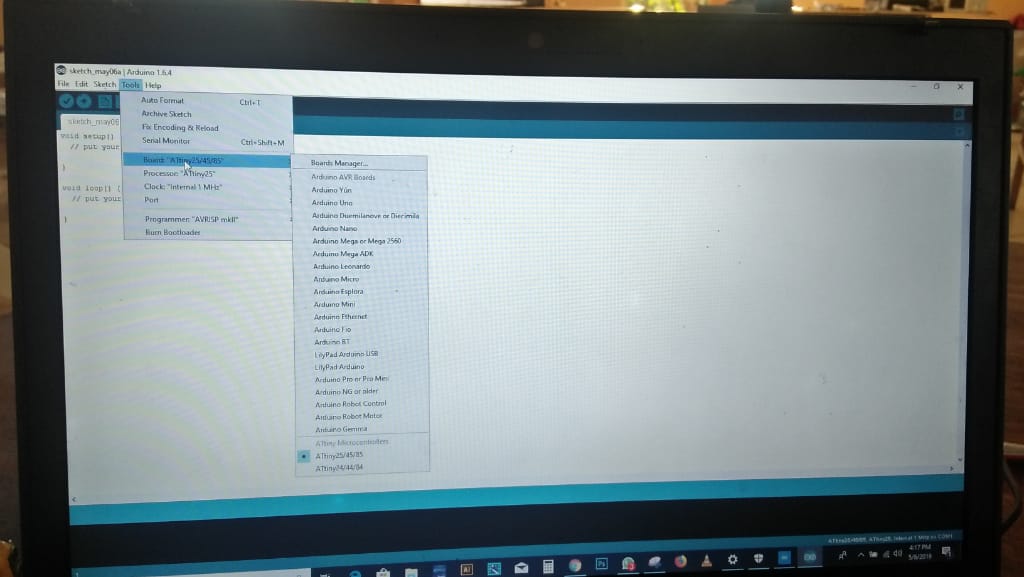
4.Then in Menu - Tools - Processor select ATtiny85.
Sending the code to the microcontroller
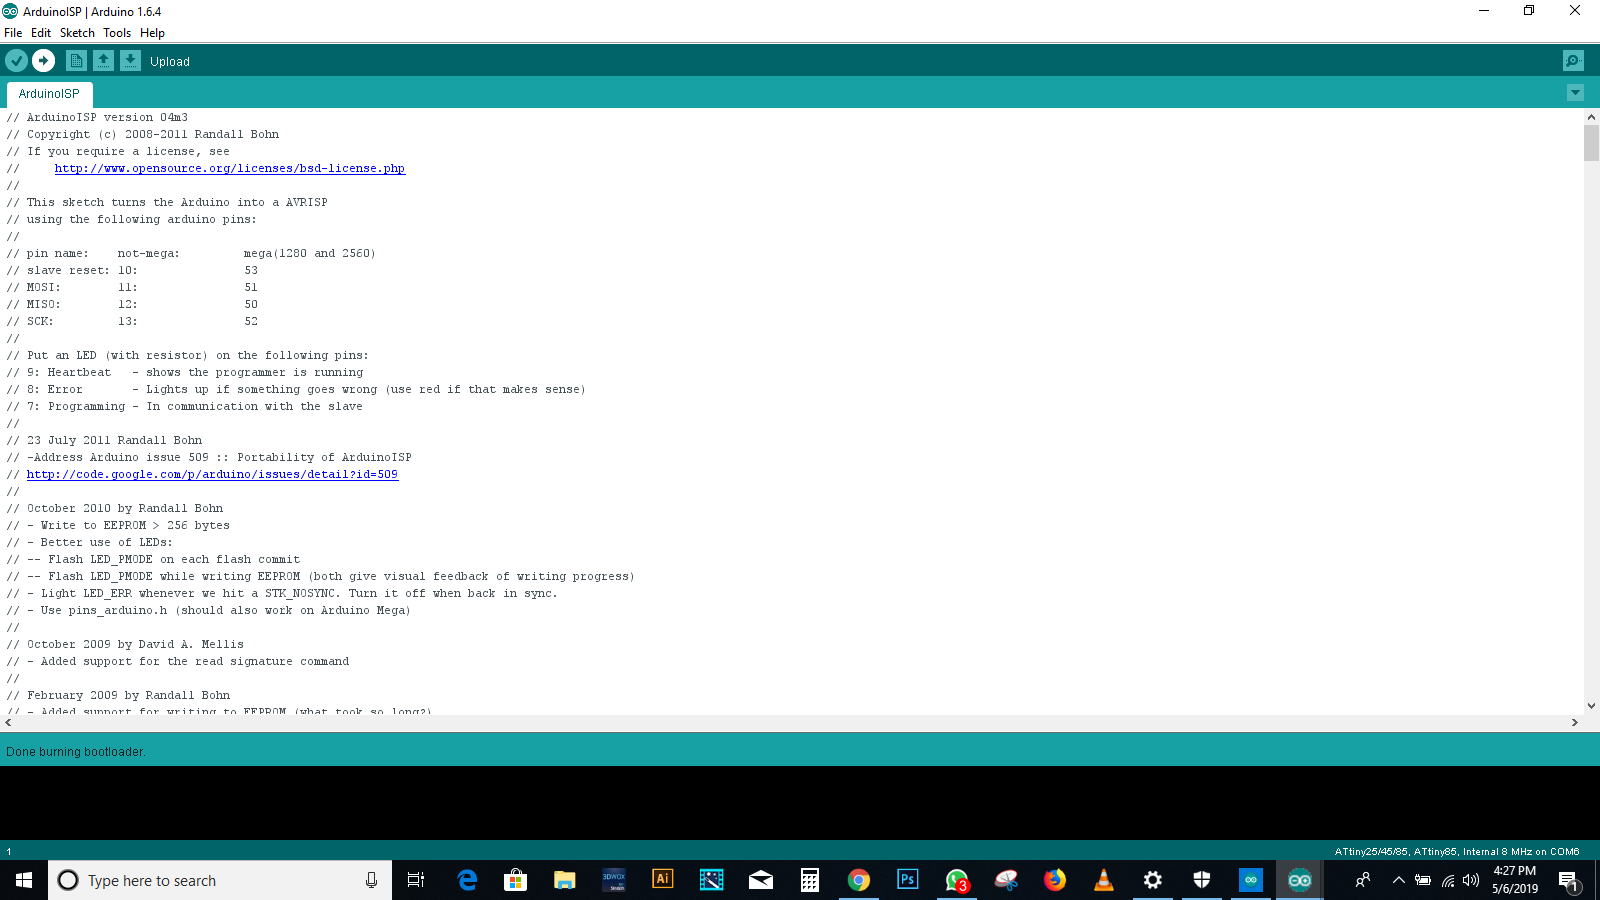
USBtinyISP for the USBtinyISP, FabISP, or TinyProgrammer, etc).
Next, i used the ISP to upload a program to the ATtiny:
1. Open the Blink sketch from the examples menu.
2. Change the pin numbers from 13 to 0.
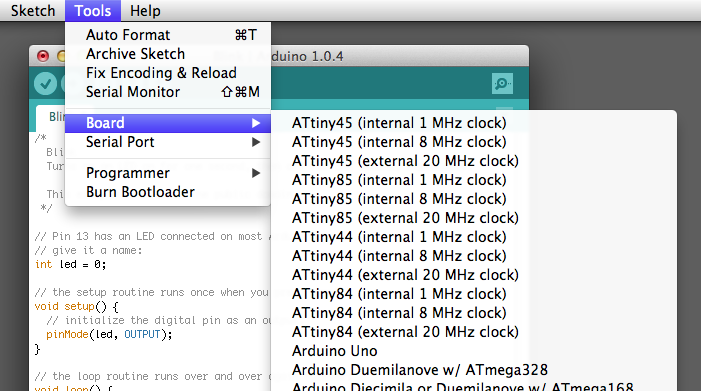
3. Select “ATtiny” from the Tools > Board menu and the particular ATtiny you’re using from the Tools > Processor menu.
4.(In Arduino 1.0.x, these options are combined in just the Tools > Board menu.)
Select the appropriate item from the Tools > Programmer menu (e.g. “Arduino as ISP” if you’re using an Arduino board as the programmer,