
This week, we had to make a programmer. In this case, I chose to use the FabOptimus as my template in Eagle. However, I wanted to add two LEDs in it. One LED that is switch on when our board receives power, and the other one, that is switch one when the programmer communicates with another board. Additionally, I made my board a bit bigger because in my first attempt to make my board, I had many difficulties trying to weld the components.
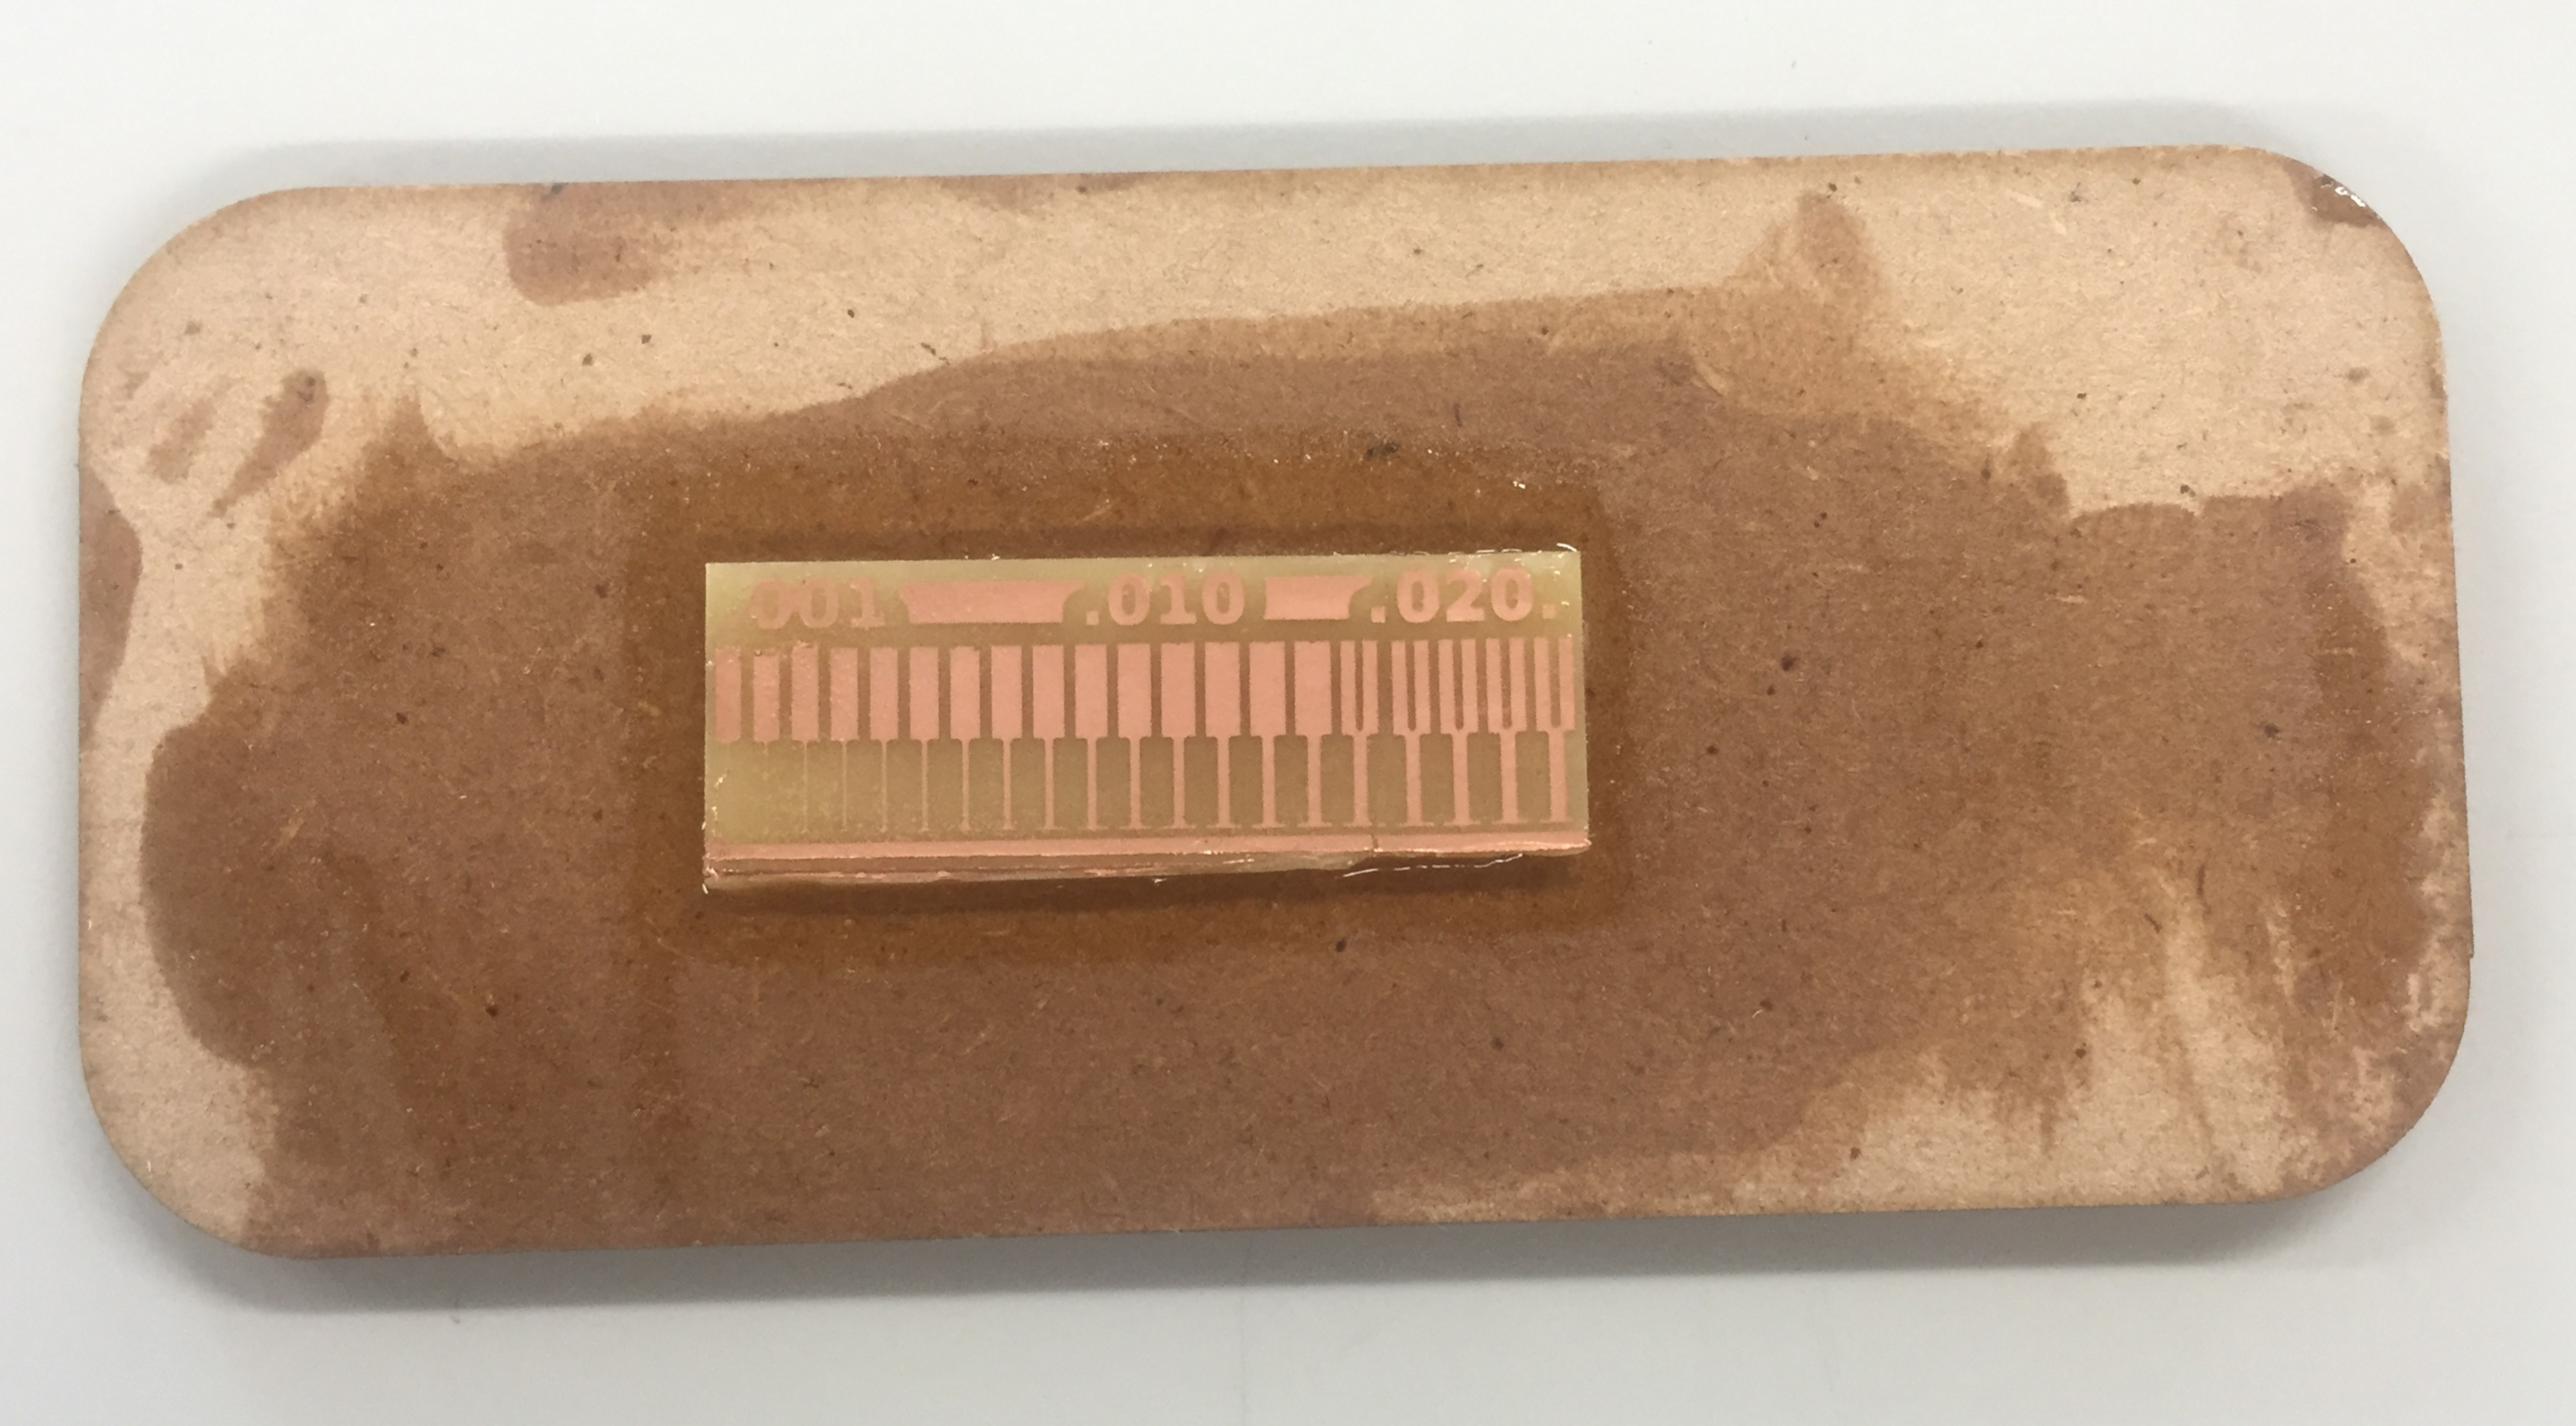
At the beginning when we made traces tests in our Roland, we had very bad results for many reasons, the first one is that we were working with quite big pieces of copper clad fixes to the machine with screwed pieces of aluminum, and the other one is that we were using a 1/64" V drill. After changing that to the small copper clads fixes with double tape and a classic 1/64" drill, the results were simply awesome.

As I said before, my design is made with Eagle, and it is basically a FabOptimus modified to contain two LEDs,
one for the power and the other one attached to the MISO. For that, I basically add the LEDs and two resistors,
a 1000ohm resistor for the power and 500ohm for the MISO. Finally, I made the board a bit bugger to make it easier to weld it.
Download: Schematic Board

When I used the FabModules for the first time, it looks very complicated but when my instructor teach me how to use it, it became very easy to be used. In Eagle, I had to export my design as a monochrome picture with 15000 dpi, after that I erase in gimp any kind of text that for some reason was part of the top layer, and after that I import it as a PNG in the FabModules, choose GCODE as the output format, and for the process, PCB traces, having the care to change some parameters, as the DPI (3000), RPM (4500), Coolant (OFF), Tool (depends) and finally cut depth (0.15).
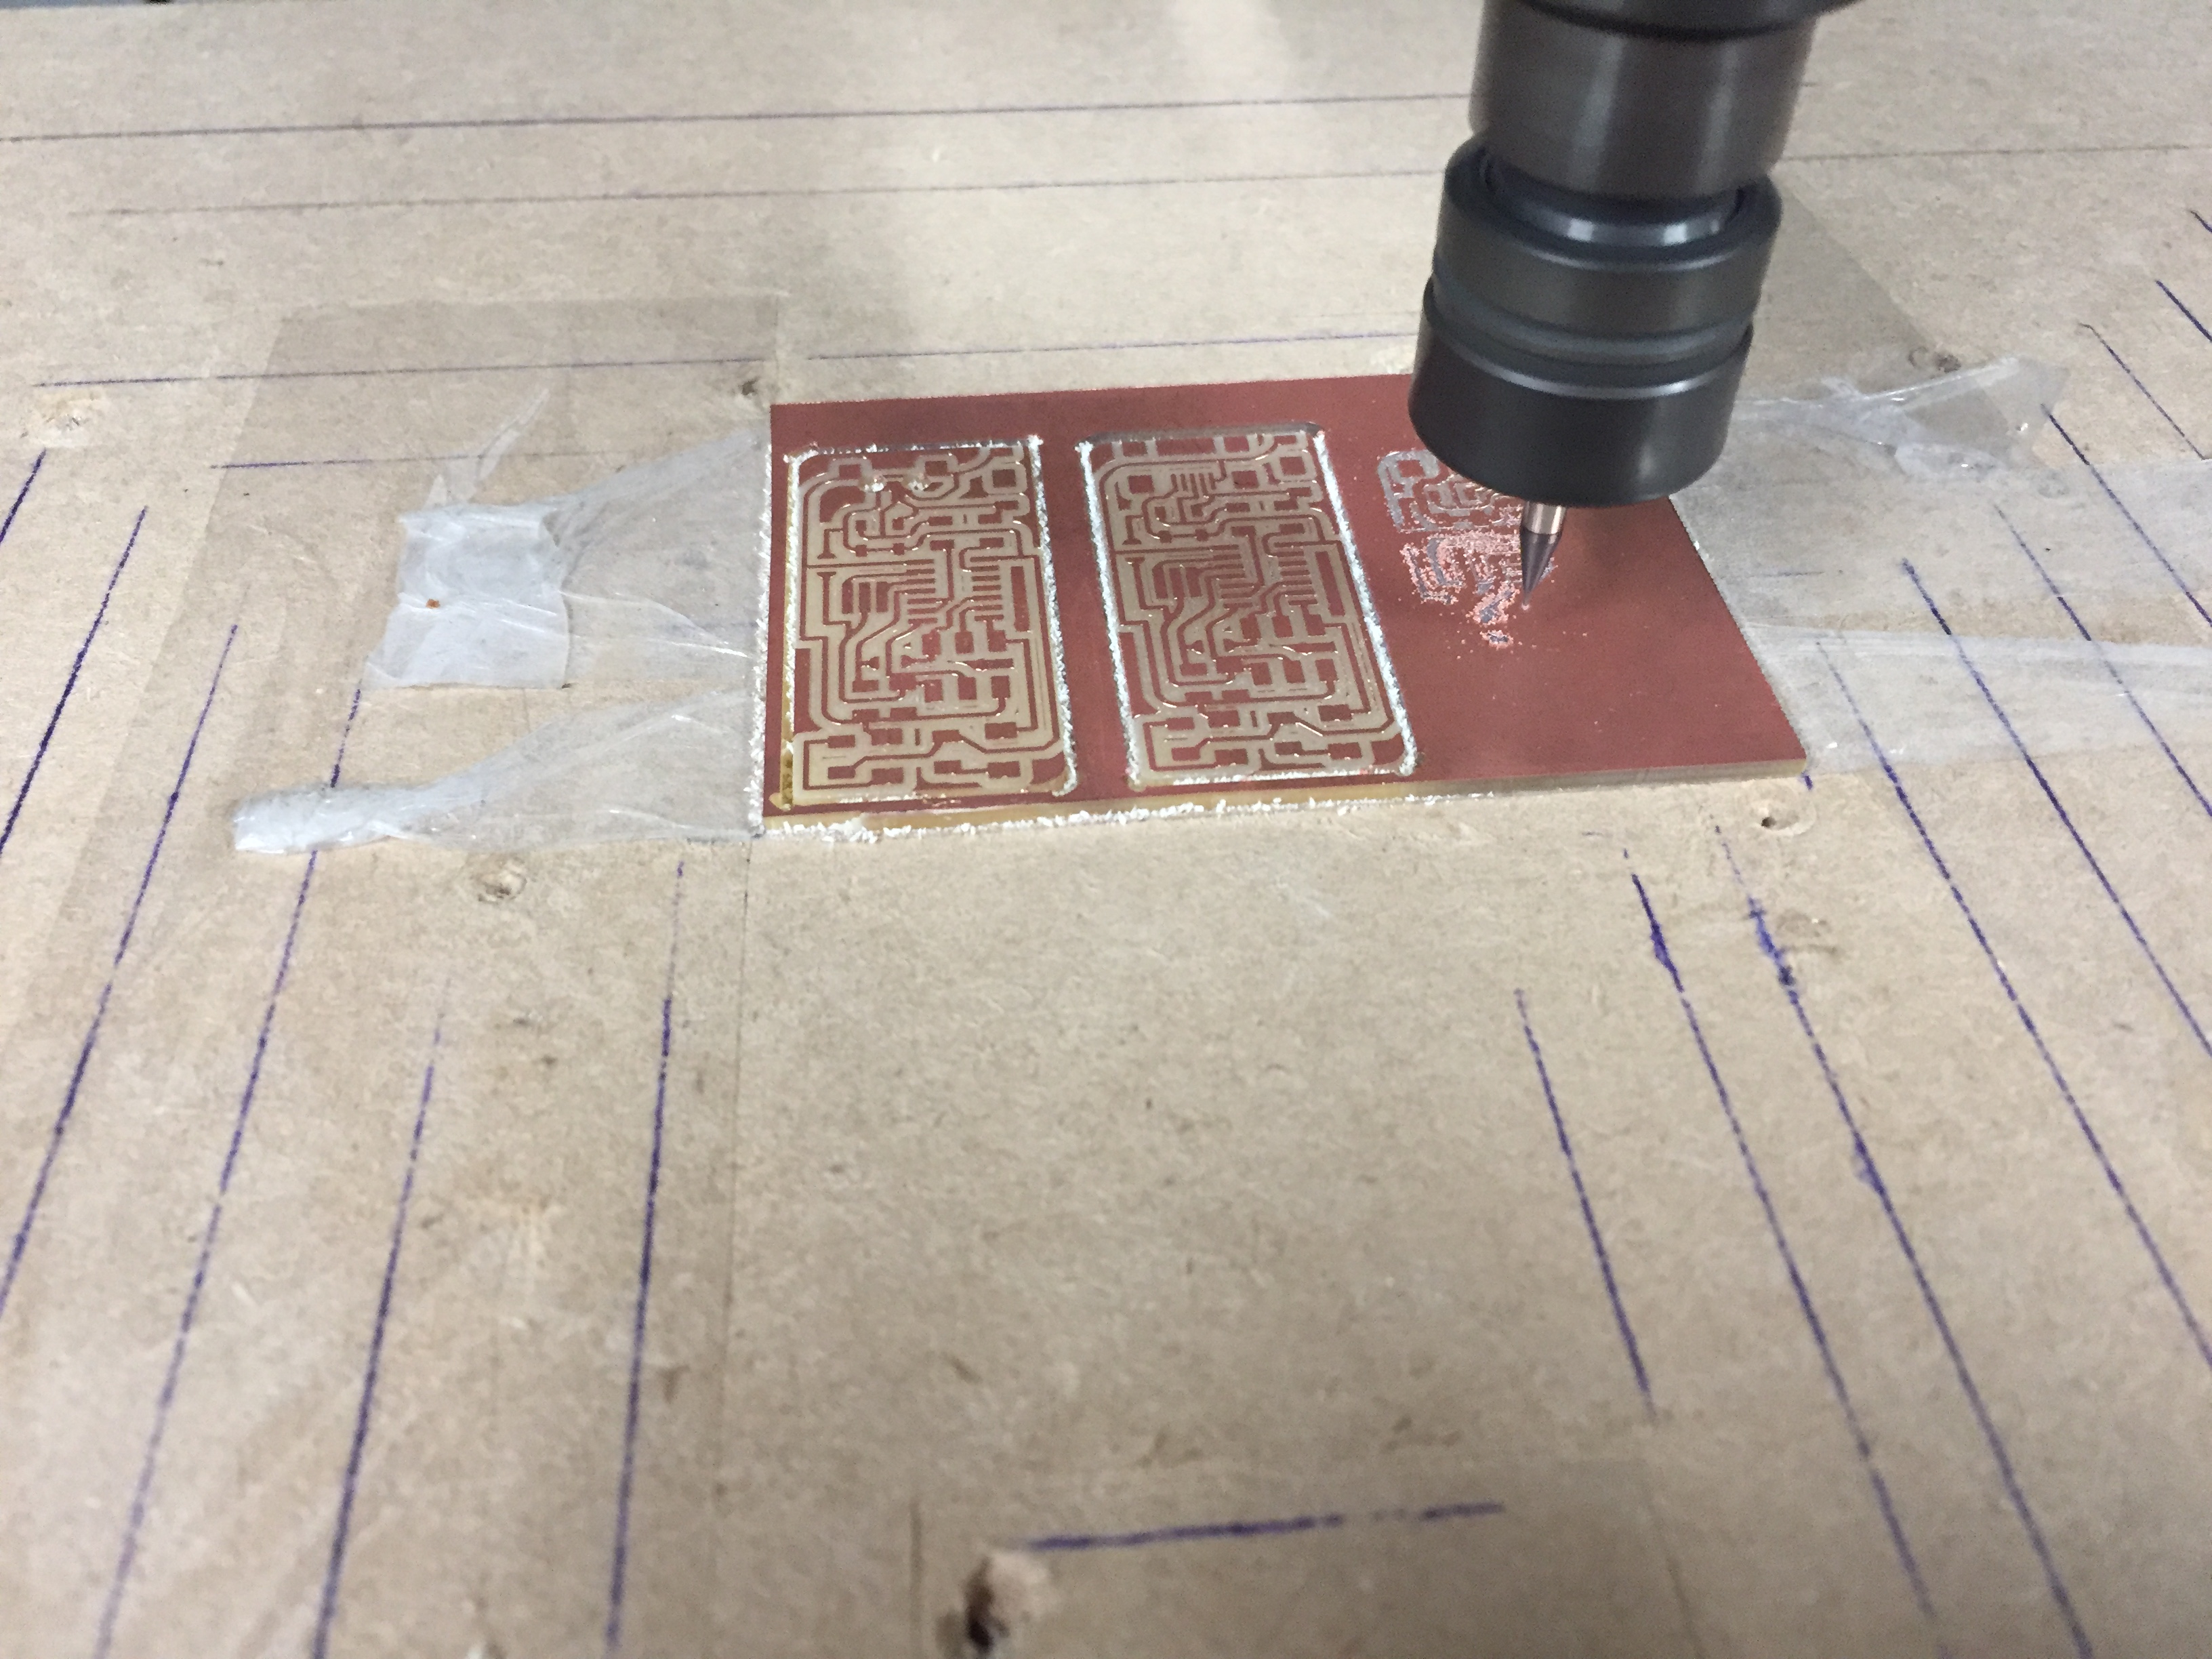
For the milling process, I respect all the tips that I discover at the beginning with the CNC tests, I made my traces of 0,014" or 0,015" Because in the CNC test I saw that it was at this width that they look good. Finally, for the borders, I used a 1/32" drill and use the default 0.6mm cut depth parameter. Result
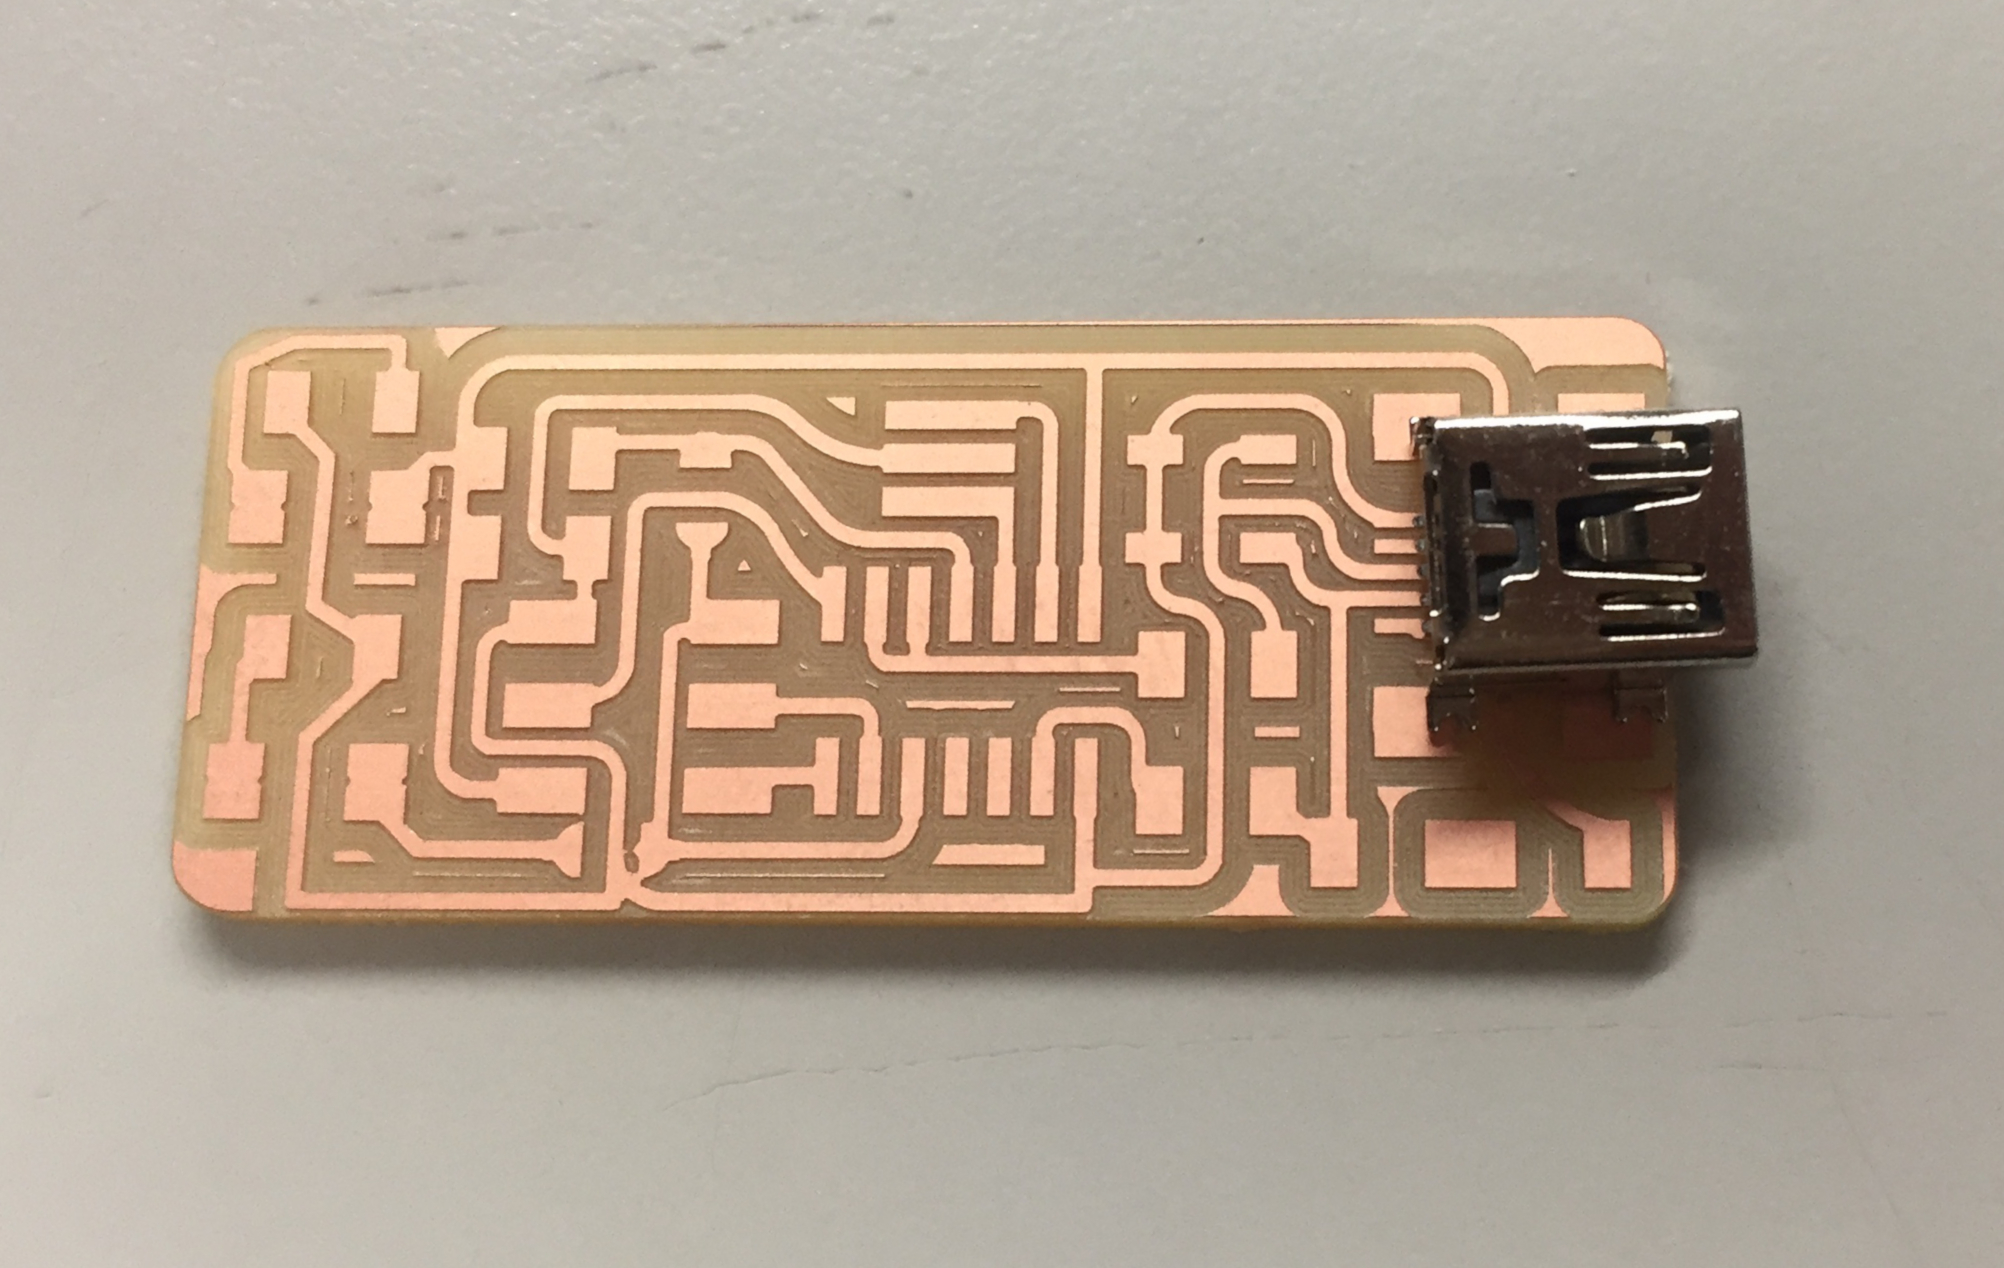
For my first prototype, it has been quite dificult to soldered all the small composant because it was my first time working with SMD components. For the second prototype, I made it in around 30 minutes and with much better results. Please take care of some important details, in the case of the LEDs, the green line represents the cathode. And in the case of a diode, the white line represents the cathode.
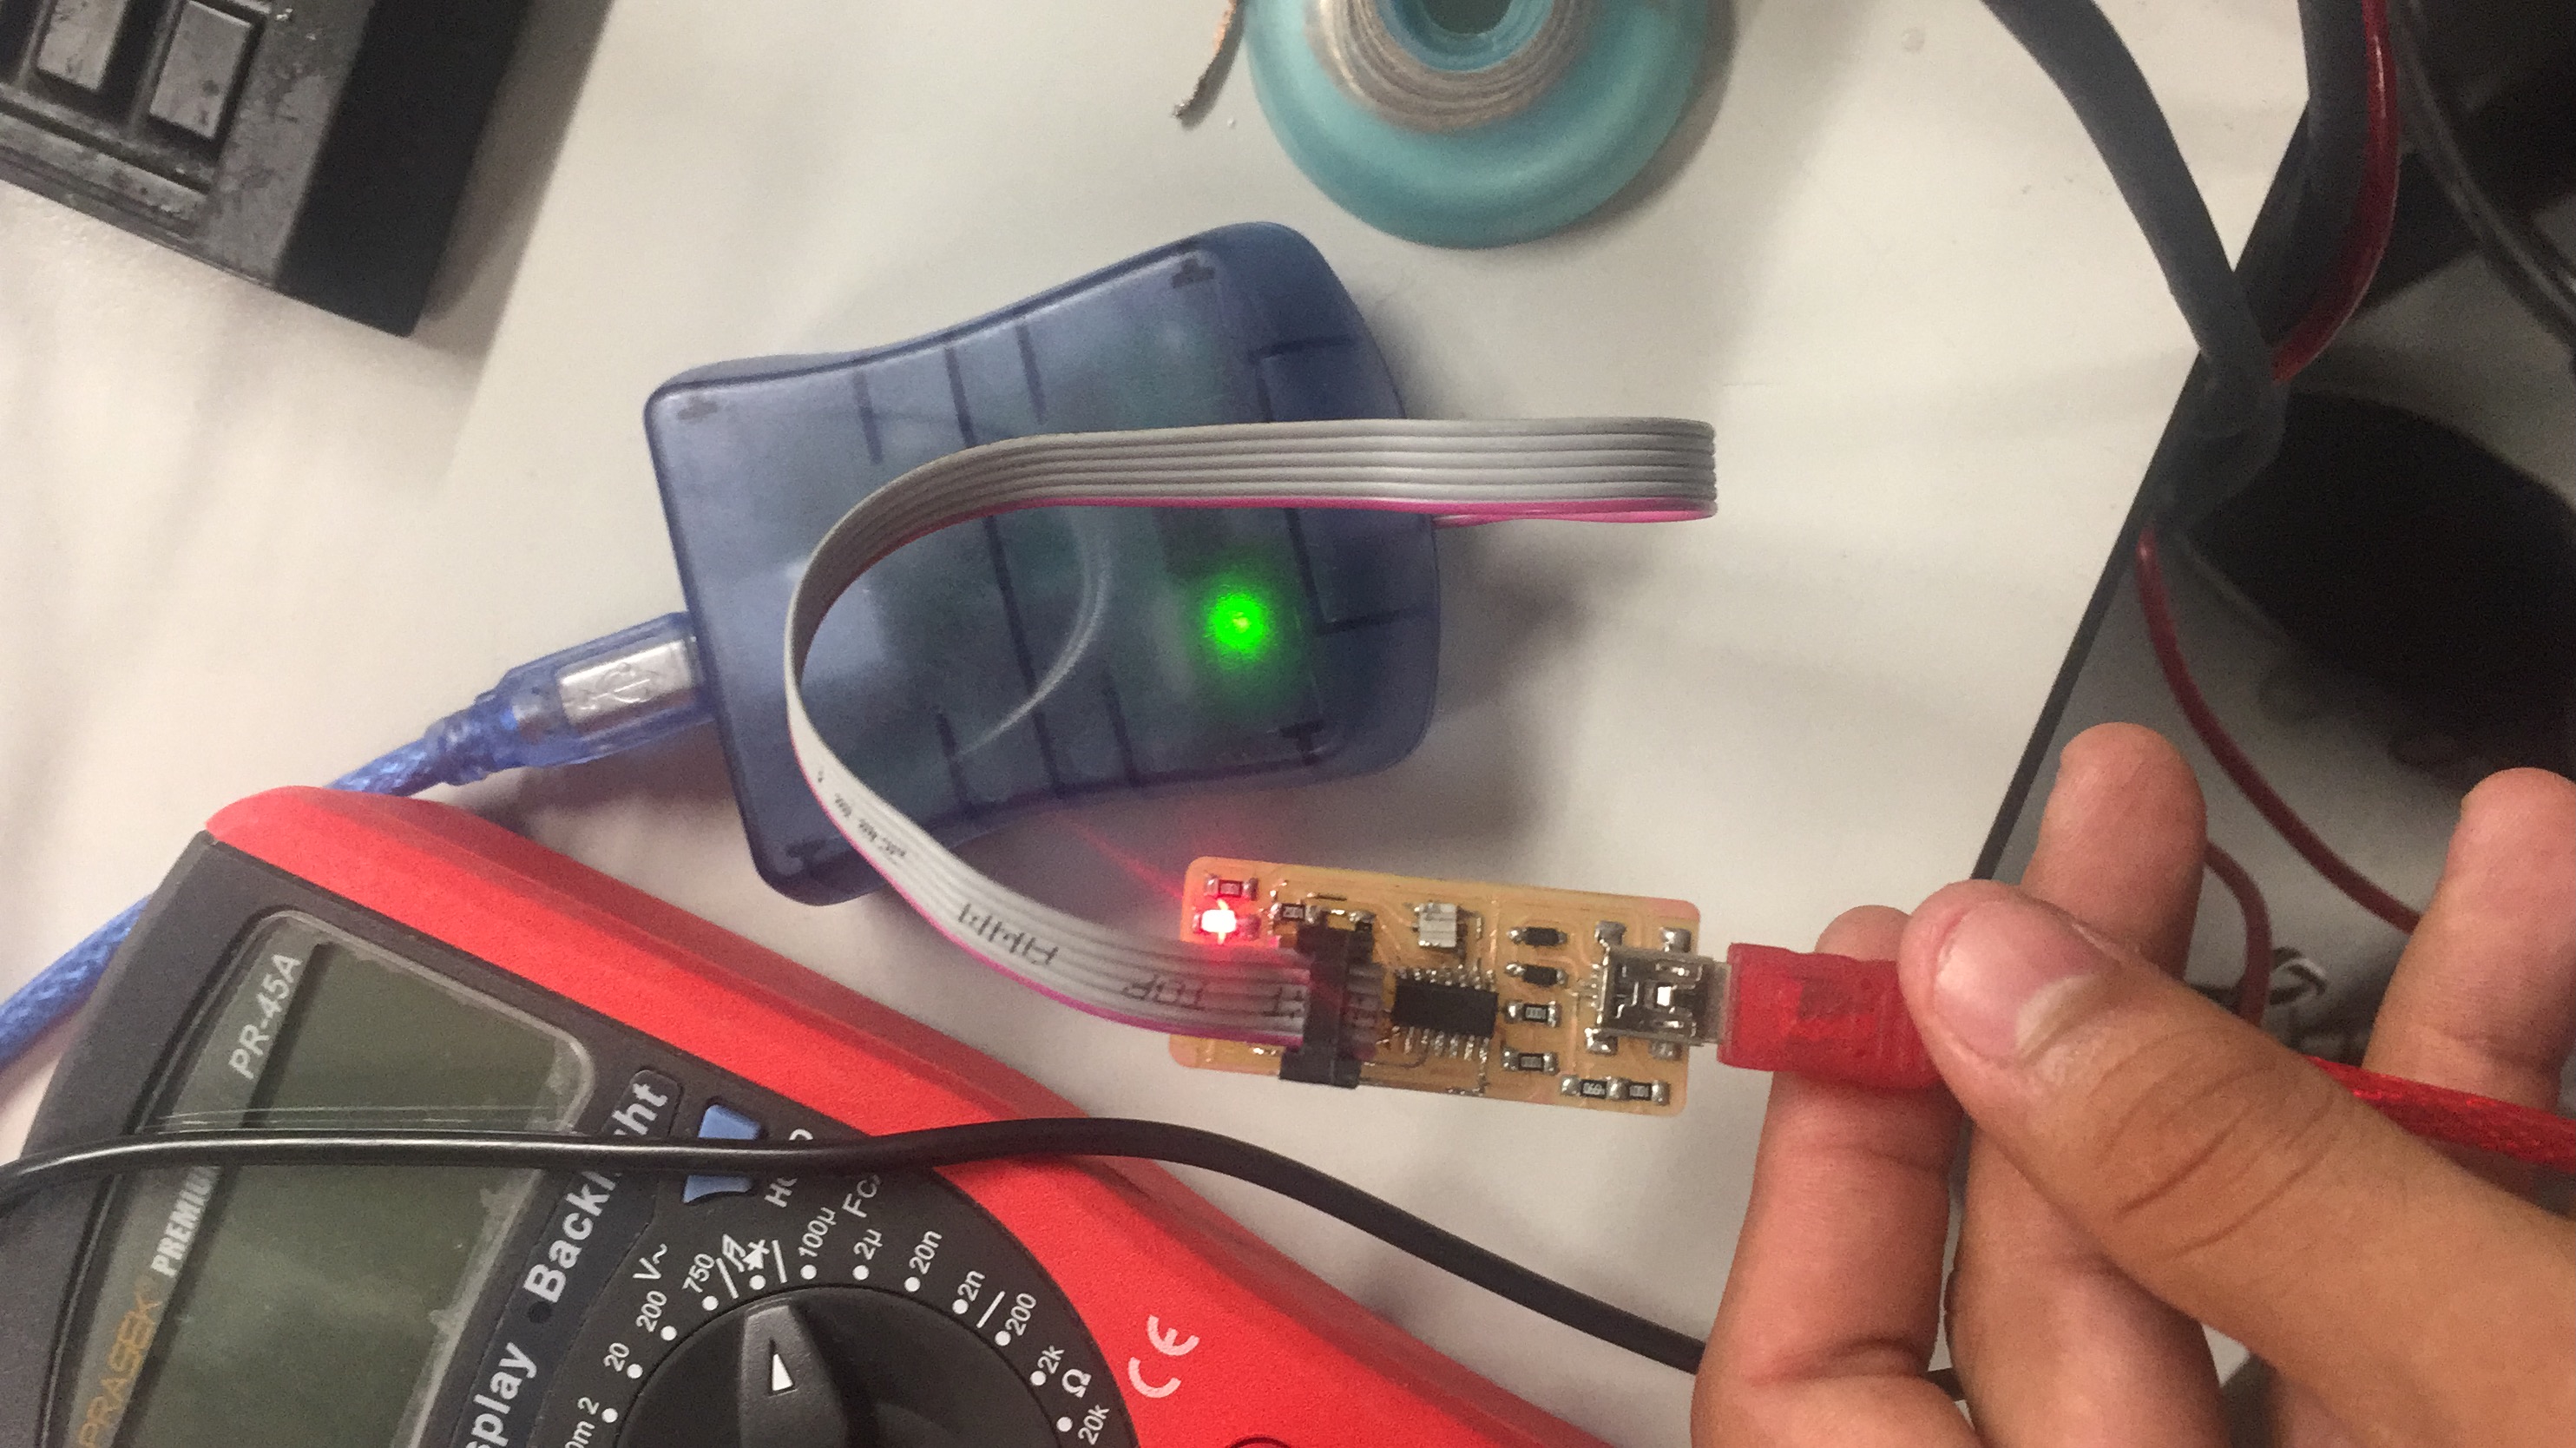
To connect my programmer to the ISP AVRISP mkII, I connect both of them with the six pin cable, and connect both of them to a computer with Linux because when I started with MAC, it didn't work, I received an error when trying to Fuse.
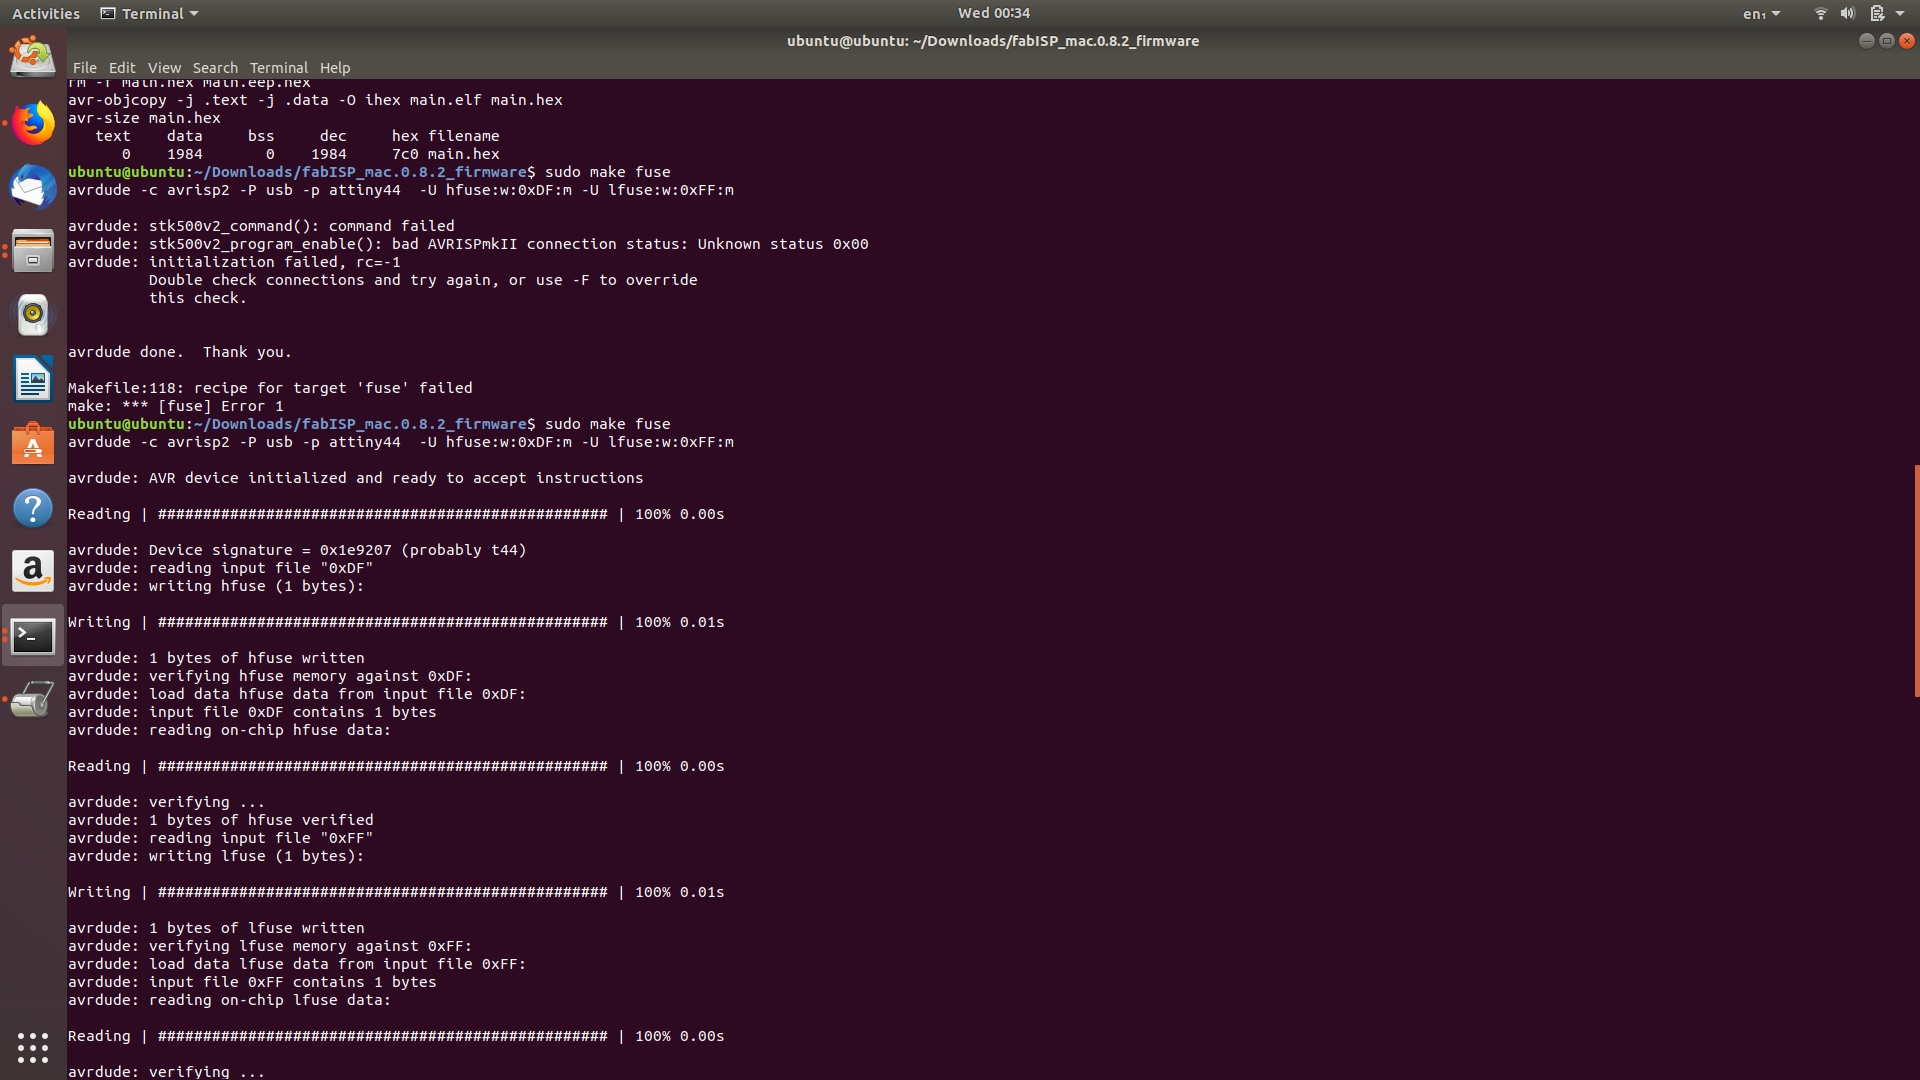
To program my programmer…, my instructor and I installed Linux on a USB drive and boot on a computer.
We followed a tutorial that I will join in the bottom, and basically once we installed everything,
run three important commands, cd (the repository where you have your Fab ISP), make clean,
make hex (please you have to access the access the makefile and choose if you are using a AVRISP mkII programmer or another tiny programmer,
in this case, you have to remove this hashtag from there and put it in the front of the AVRDUDE) :
#AVRDUDE = avrdude -c usbtiny -p $(DEVICE)
# edit this line for your programmer
AVRDUDE = avrdude -c avrispmkII -P usb -p $(DEVICE) # edit this line for your programmer
After that, you just have to write make program to make your ATtiny a programmer.
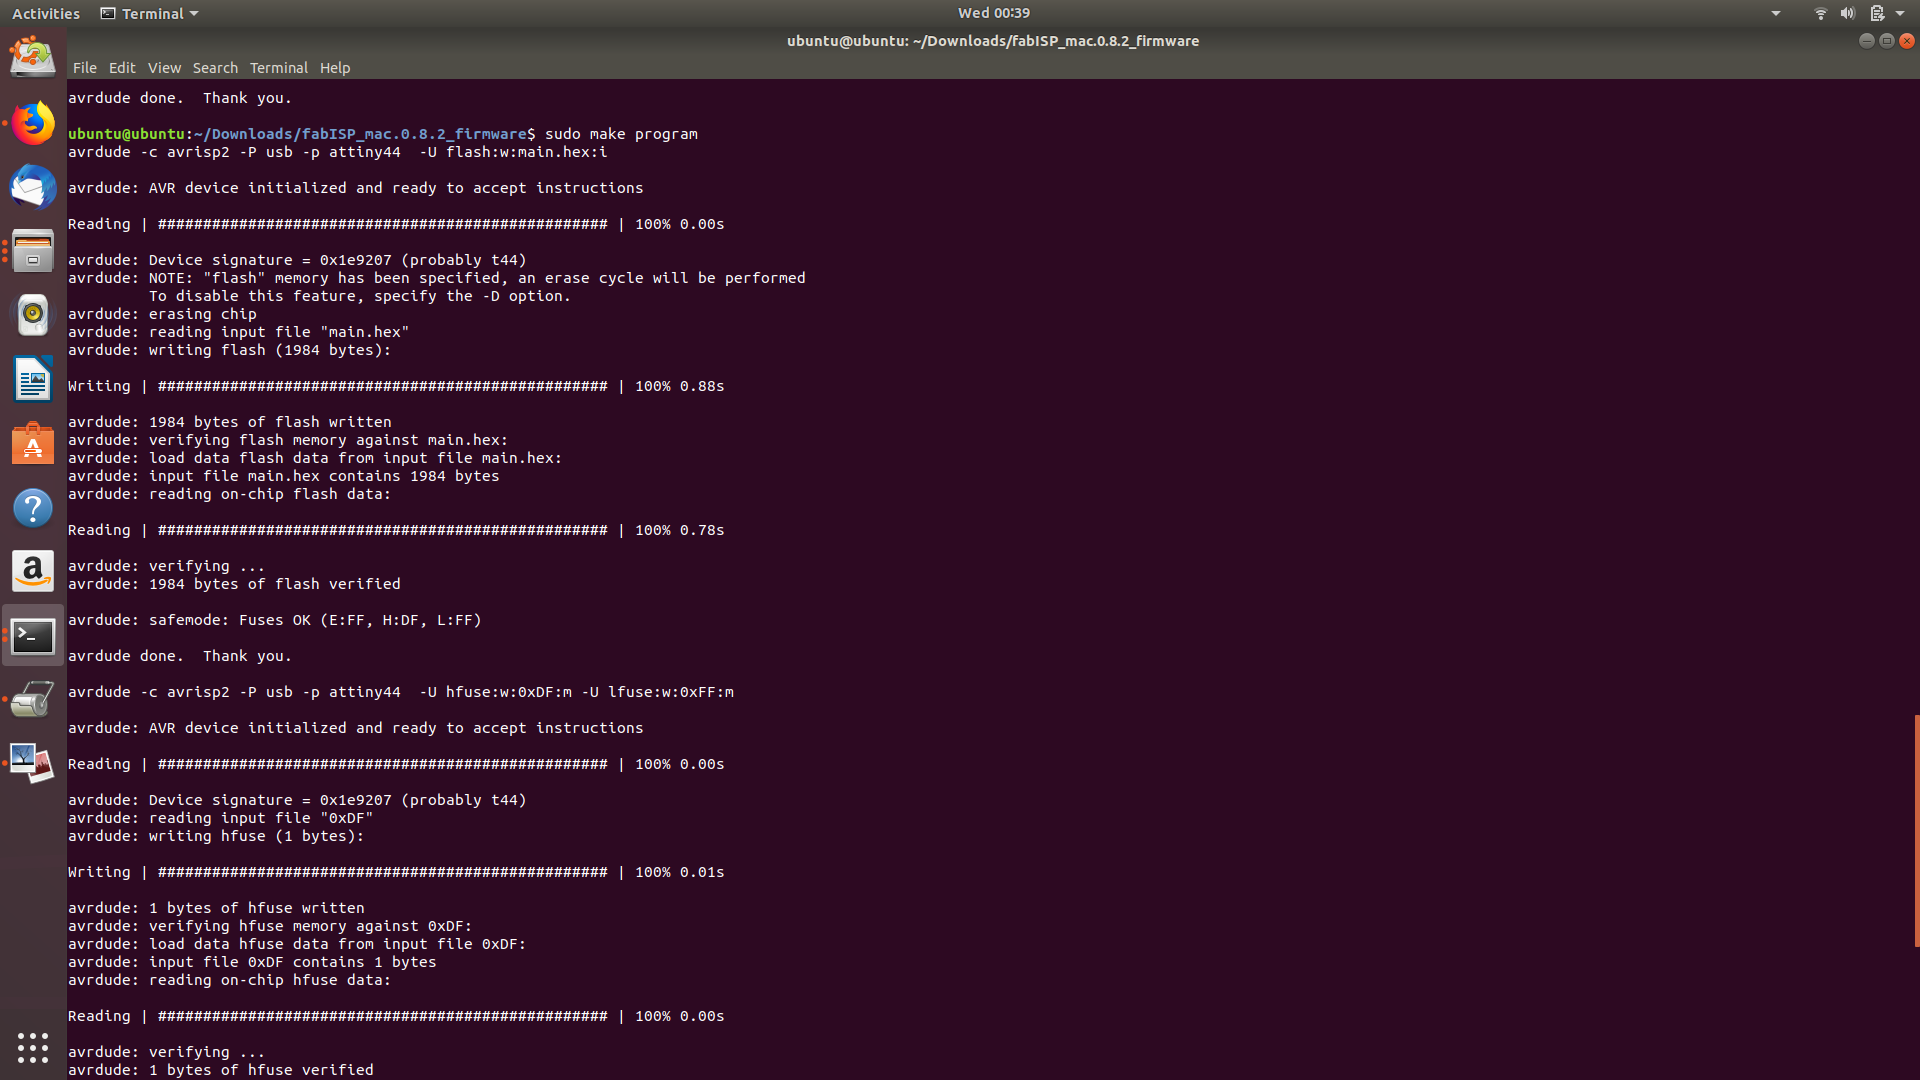
Once the make fuse process worked fine, you will see this kind of message.
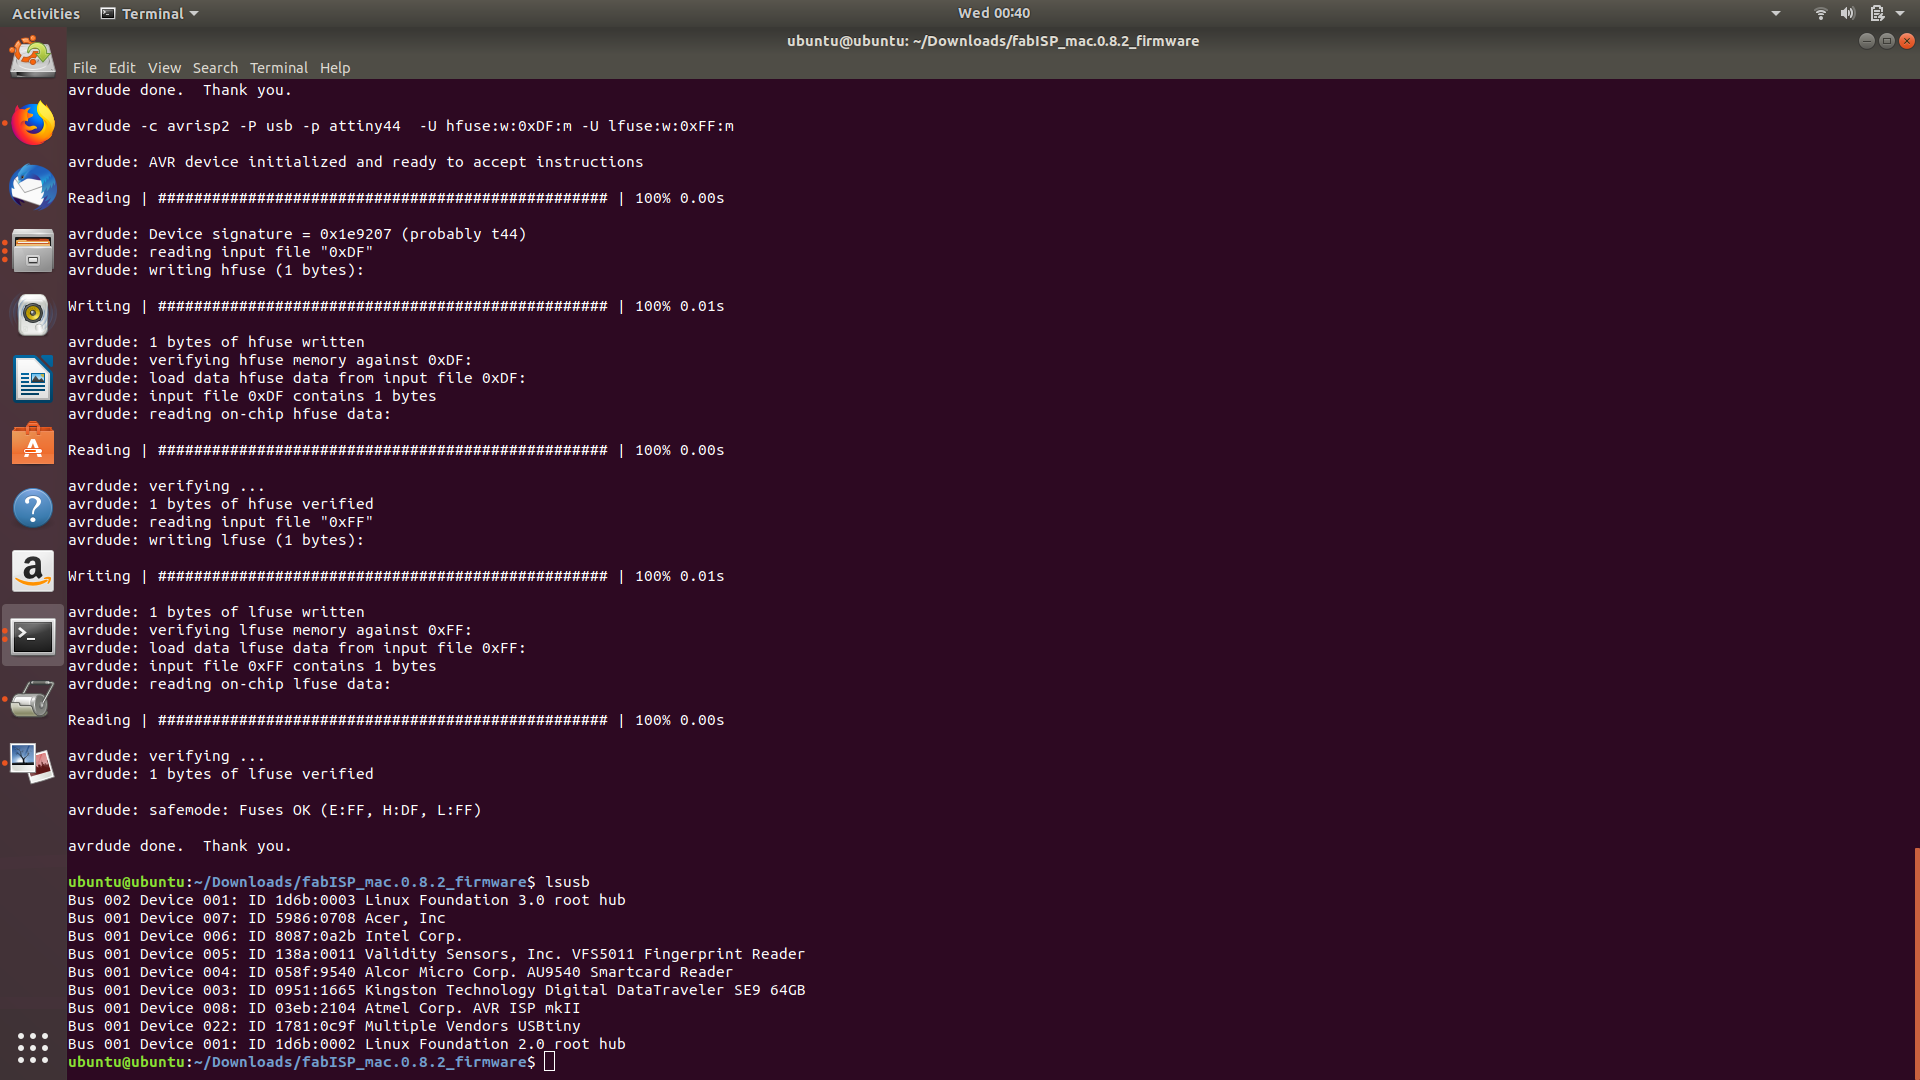
As you can see, the computer now detects, perfectly fine the Multiple Vendors USBtiny which is our programmer.
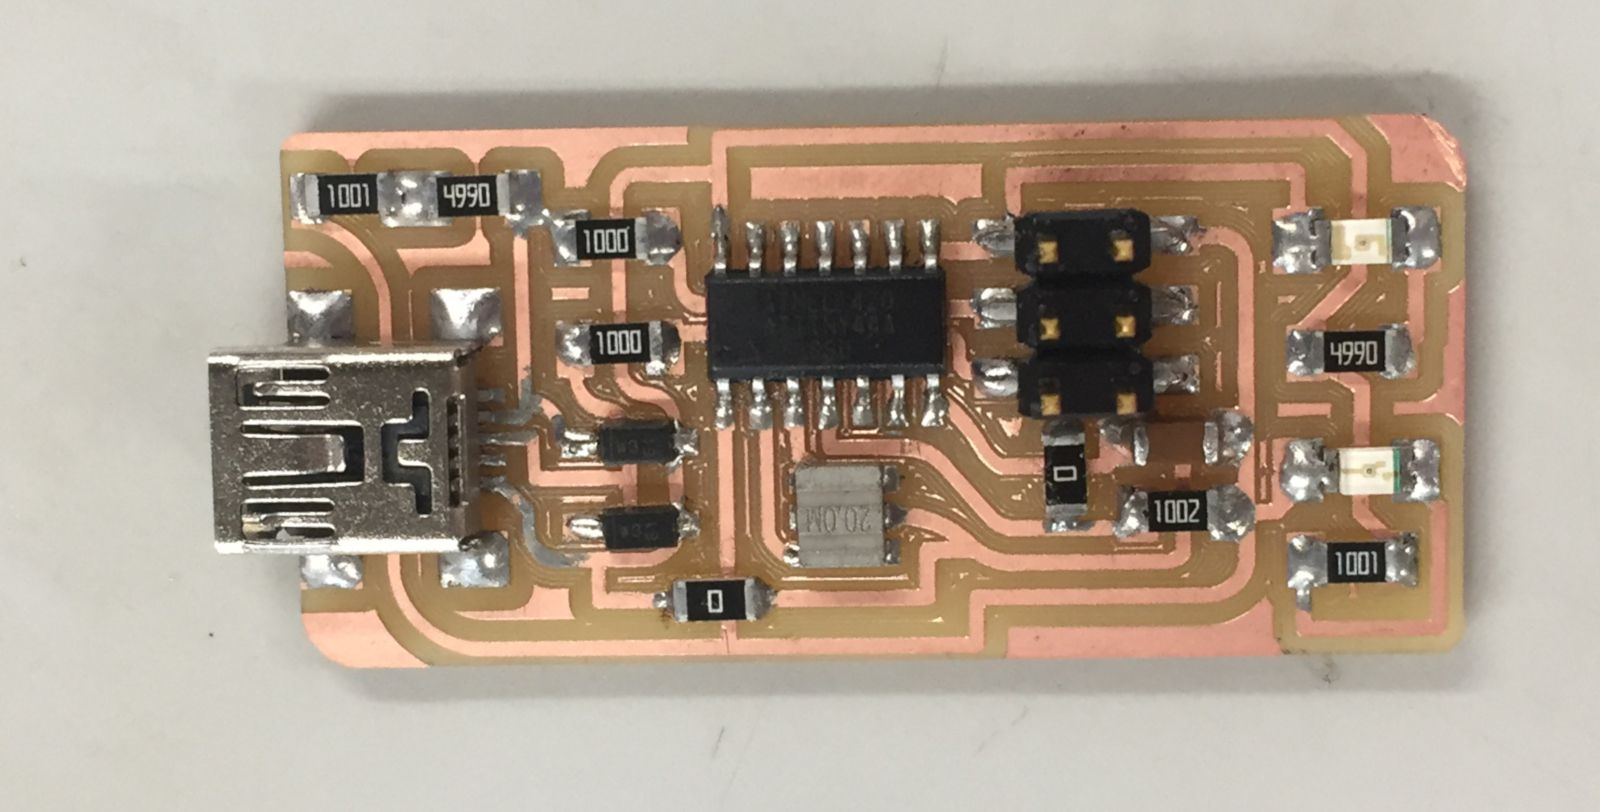
Finally, this is my programmer, well soldered and programmed.
Please Contact Me For Any Collaborative Project