For this week assignments, we had to cut something with the vinyl cutter, So I decided to cut once for all the logo for my Longboard. In the beginning, I thought that it would be possible to also cut the grip from the longboard with the vinyl cutter but because the grip was quite hard, it didn't cut it. Searching on the internet, I found somebody that cut the grip with a laser machine very similar to ours, so I decided to keep it until I finished the press-fit design to cut it all together. For the press-fit design, I had no ideas about how to practice and looking more carefully I found some pictures of a Press-fit Briefcase, So I decided to make one for my 13' MacBook Pro Retina with touchbar but with the dimensions of my case and a bit more robust because it had to lift my computer without any risk of breaking at any moment, and finally I added a line in the front to help the computer to leave out of the box. Finally, I made a shelf of 3 levels to keep my electronic materials in the university, that I built in fusion 360 with parametric design as with the briefcase.

In this part, I had to cut my logo and the arrow to show to the longboard user which is the side to accelerate. For that, I had to unify both designs made with affinity designer to a SVG file in Corel draw from the computer of the Lab, because it already had all the software to use The Roland vinyl cutter. At the beginning, we made some test in the vinyl cutter but we had to make a lot of pressure to cut the vinyl, so we decided to change the knife. After that, the vinyl cutter worked much better than before.

This part of the process has been very interesting because with the help of a clamp I had to take off the parts of the vinyl that I didn't need. Also, the use of the Roland Camm-1 has been an interesting experience. I used Inkscape to to send the file to cut and basically used in the machine those parameters, for the force: 130gf and for the speed 20cm/s. In my case for th pen force I used 0 because the vinyl was not that hard. Don't forget at the beginning when you switch on the machine to select if you are only using a piece of vinyl or an entire roll.

After that, I apply transfer paper to the vinyl.
Applying Vinyl and Grip to the Longboard

To cut the grip, I had to use a Laser Cutter because it was impossible to do it with the vinyl cutter. Because half of my longboard is Black and the other part will be grey, I had to know which part of both would touch the logo, so to make me an idea, I made an SVG file in Affinity Designer to know how the disposition would be, and also to see which part of the logo will be cut because it will not be exactly horizontal, it will have a small angle. SVG File

For the design of my briefcase, I first used affinity designer to make a quick draw, and for the parametrical design,
I used fusion 360. Basically, I understood that in parametrical design, I had to make a design that fits the changes made in other measurements.
In Fusion, it is very easy to make that because you can express one measure in function of other measures that you already did,
and it will appear as a variable for example "b4".
Thank to that I did my parametrical design and learn during the process that it is quite important and useful to reference your design in the intersect of two axes.
First Draw - SVG File
Upper Face - f3d file
Underside - f3d file
Lateral Support - f3d file
Bottom Support - f3d file

For the press-fit kit design, I basically made a intersect peace that could be mounted in many ways, and some sticks that could fit in,
as well as square pieces of MDF, because in my case, my objective was to make a shelf.
Thank to the fact that I used parametrical design when I had to change the width of the MDF from 4mm to 3mm,
it basically took me 5 seconds because all the measures changed automatically when I changed one of them.
Hand Drawn
Intersections - f3d file
Columns - f3d file
Support - f3d file

To use as most as possible the space in our MDF board, we export in DXF all the sketches and put them in one DXF file with the size of our board. Thank to that, we only used one and a half board of MDF. Sketch - 2

Because our Lab laser cutter was not working, we went to cut it outside the university. The machine was quite powerful 100W and it only needed to apply 50% of power and the speed was quite fast. The laser cutter had a kerf of 0,15mm, to calculate it you have to do take a ruler and measure something that you have cutted, compare its dimension with your design and the difference is your kerf. For example, to make the cover of my Longboard Case, I cut it with this laser cutter and the width was 154,85mm and the fusion one was 155mm so the kerf is 0,15 which is in my opinion, very acceptable and it will not affect the use of my project. For the focus the process was simple, the person that worked there, had a piece of mdf of 5mm, and he used it to make sure that the head of the laser cutter was at 5mm of th grid. In case it was not, he had to unscrew the "axis" and move it, otherwise, the laser beem would be too thick and could even cause problems when trying to cut because the power would not be that concentrate.

This is the result of joining the grip cut with the laser, and the vinyl cut earlier.

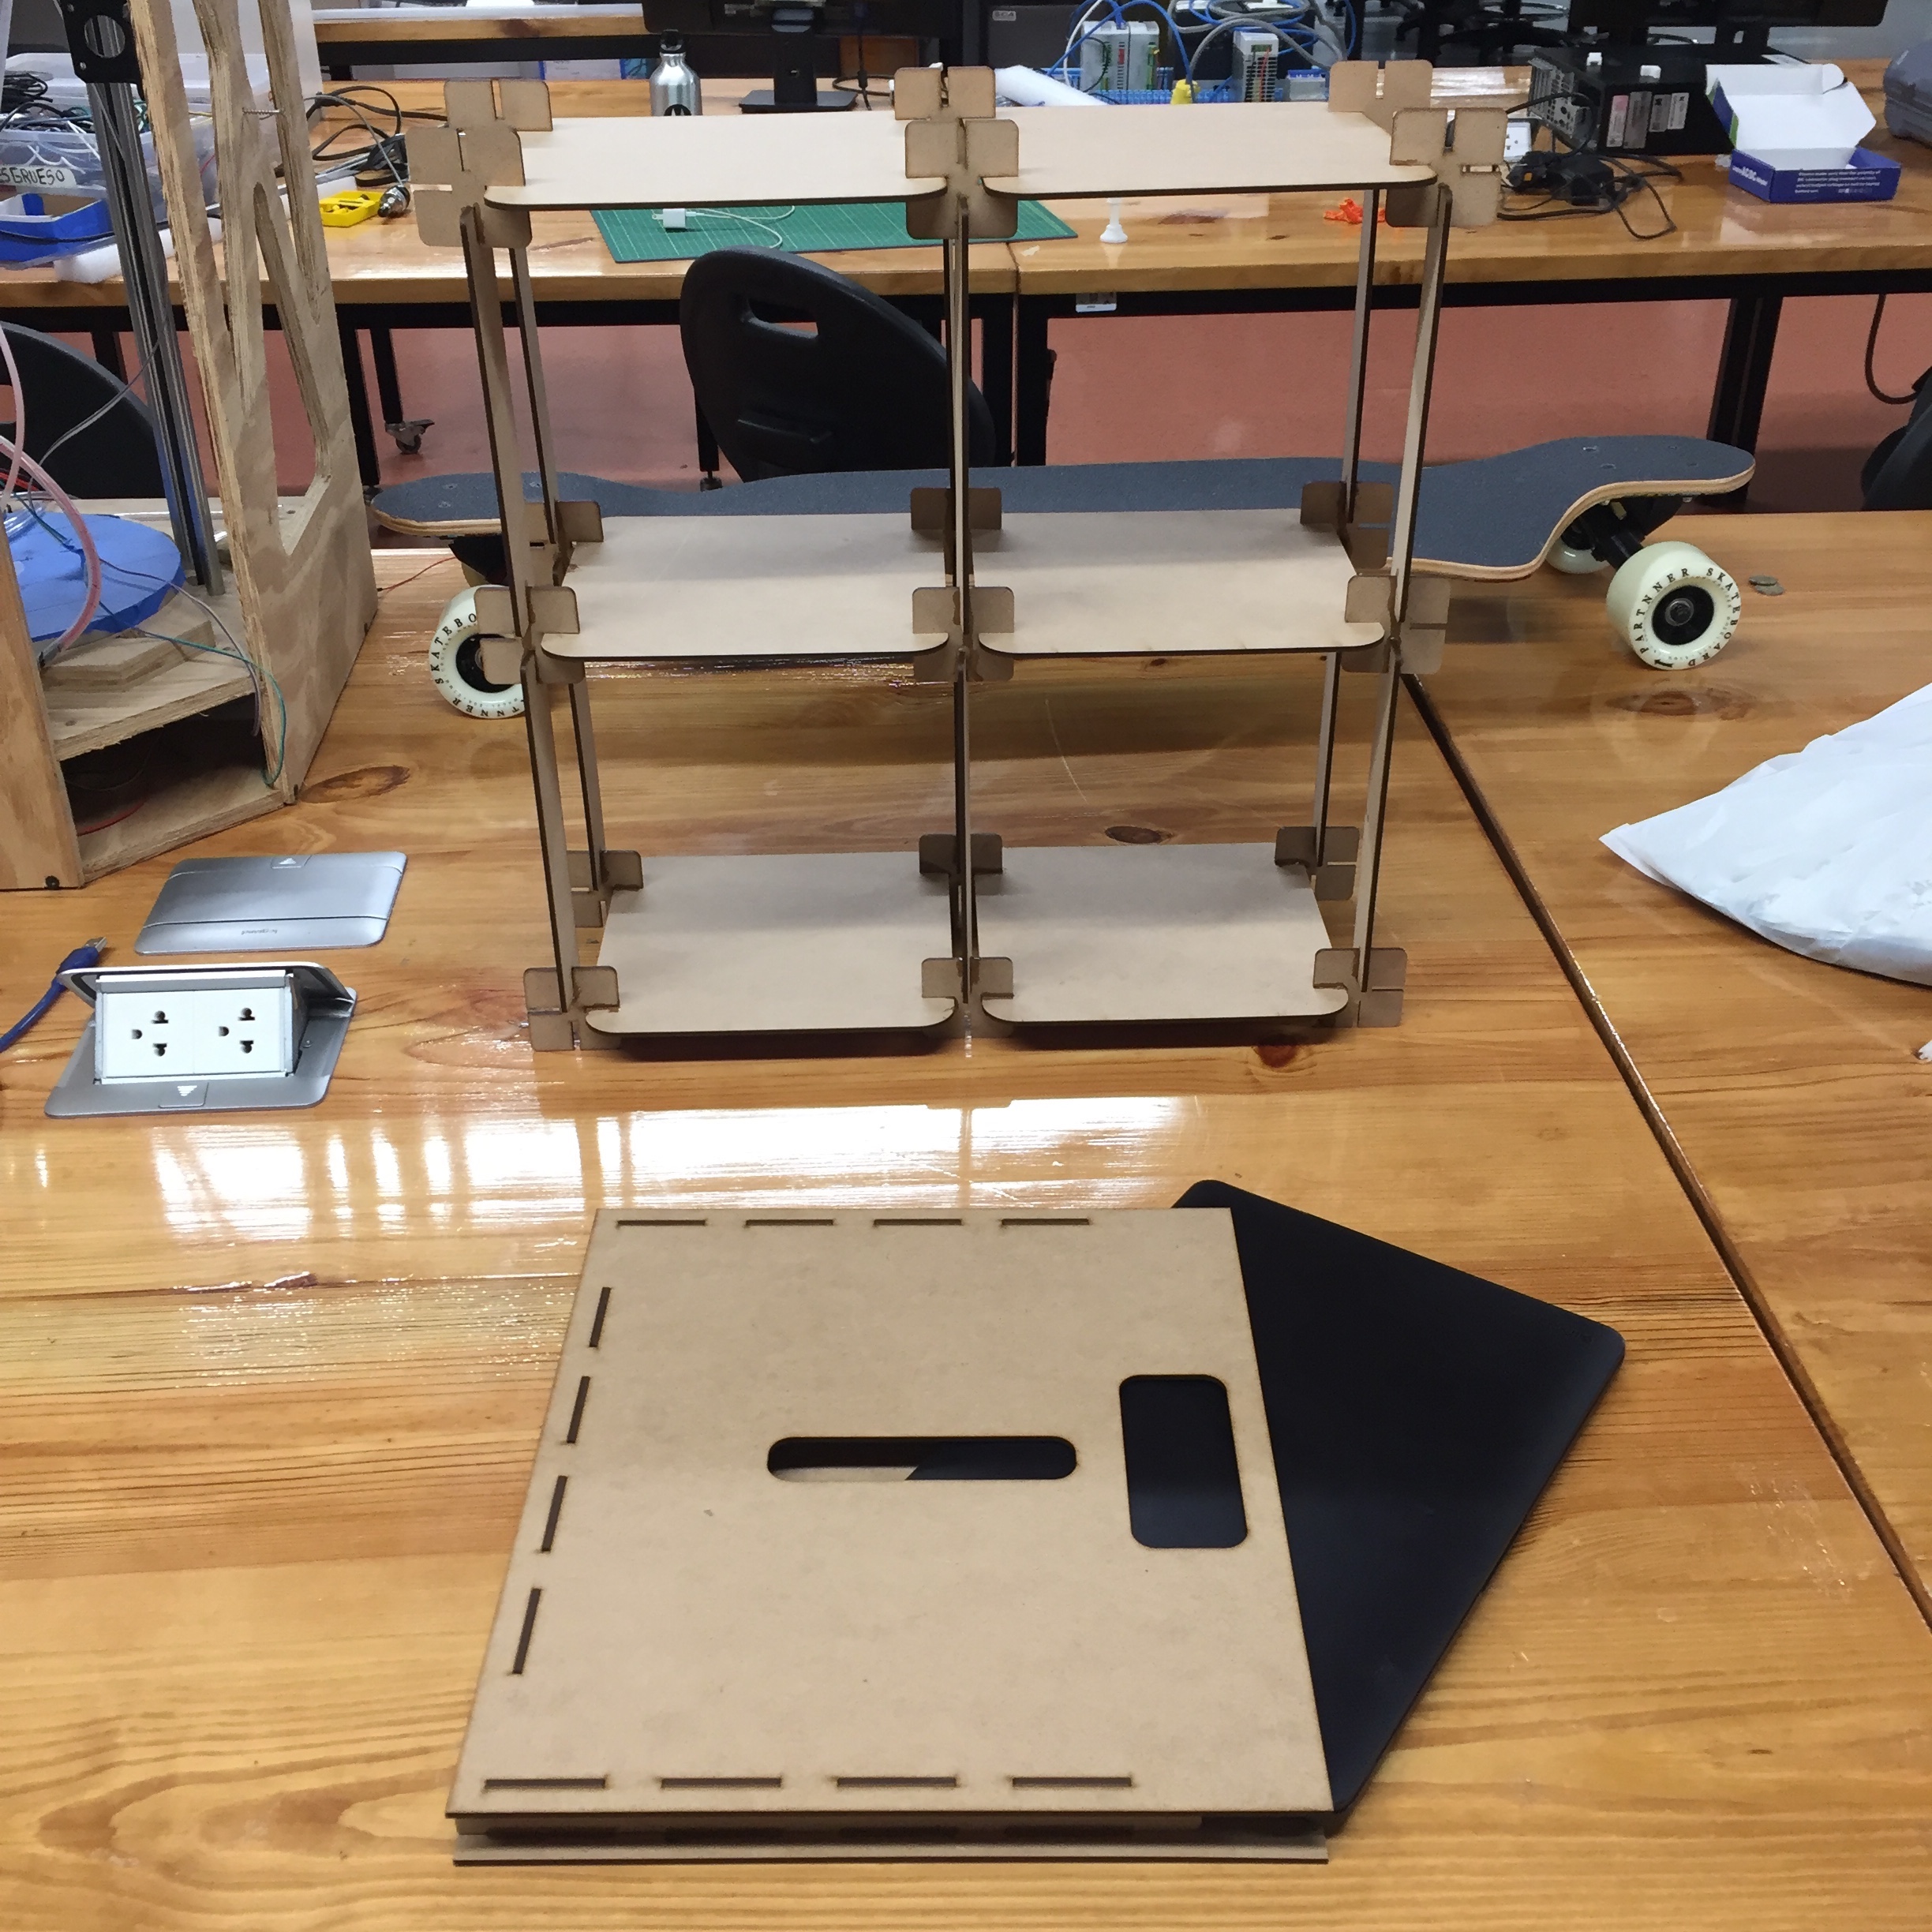
The result of the press-fit shelf was quite nice, we put some serious weight on it and it looked Ok. Using IT !
Please Contact Me For Any Collaborative Project