For this week, I decided to be classic and stay with composite materials. As you know, my final project consists of an electric longboard, so I need the board. In week 3, I made the design in fusion 360, but now I had to design a mold, cut it in the Shopbot, make the composite material, press it in the mold, cut the borders, polish it and test it. In my case, some important details to check during the testing process were, that the board was hard enough to do not make the case for the electronics to touch the ground when you are on the board or jumping a bit.

The design process of the mold, has been complicated but not because it consists of a lot of steps, but because you have to think a lot about how to do it.
At the beginning, I wanted to create a base for the mold, put the longboard on it, project it and use this projection to extrude and like that,
I would obtain my first face on the mold. However, after hours working on that, it didn't work so I decided to create a sketch of my longboard,
on an offset plane, it mean at a distance of my 3d longboard,
to extrude it and with the help of the curve that I made to give the shape to the longboard, I used the revolve process to cut the shape of the longboard inside the mold.
Once I did that, I created a new sketch where I drew rectangles at both sides of my mold to create the surface where I will put pressure when I will be doing my longboard.
Longboard Mold - f3d

To make the mold I had to glue two MDF board of 30mm, the dimensions for the board are 1m*27cm. The glue I used is synthetic glue called (durol cola), I am very happy with it because it is very strong and at the end the result was like those two board was one. You have to put many clamps and repeat the process two times because the mold is divided in two pieces.

The two end-mills that I used for this process, have been quite big because the level of detail is not that important and also because otherwise, the machining time would be too long. The first end mill have been used for the rough cut and it was a Onsrud 57-367 1/2" and those where the parameters used. For the finishing process, I used a 6mm ball nose wish is perfect because it makes the curves in a very precise way and those were the parameters used.

At the beginning I suffered a very important problem because I confused inches with cm and I sent the plunge speed to 1\2"/min instead of the 1\2cm\min, reason why it started to sound very loud, and I had to stop the machine and change the plunge speed and everything started again much better. You have to have care with Vcarve because you can change the unit which is very useful but sometimes it can induce you to an error.

As you can see, the milling process has been very long and divided in two steps because we have to change the end mill and because of the strength of the machining, I also had to add some wood angles because if the mdf moves, I am in some way losing the origin and the result will not be as expected. It is important to know that you have to take care with the Spindle because it is working at 14000 rpm in the rough cut and at 12000 rpm in the finishing process which can be very dangerous. Sometimes, you have to stop the whole process to clean a bit because everything will be full of wood and if it entries in the mechanics of the Shopbot, you could have bad results.

At the end of the rough cut process, as you can see the shopbot leaved this pattern,
which I think is very interesting because it looks very similar to the one leaved by the modela when I made a small version of the mold to check if the design was ok.
Here I leave you the link to the picture of the small mold.
Simulation of the Rough Cut and Finishing Process

As you can see, the finishing pattern of the shopbot, is very particular because it makes circles that become bigger and bigger until they are all at the right level. However, which is awesome, is that in reality the mold has not only one level because it is curve, so in reality when doing the circle, it changes the z axis, which in my opinion is awesome.

Finally, after hours of work, the mold was done, and I had to repeat the procedure a second time with the other part of the mold. The result is very interesting, and really, I can't say that the result of the modela is much better than this one, which in my opinion is unbelievable because the shopbot is much bigger. Do you think that I could mill some PCBs in the ShopBot… ?

To protect the mold, and be able to use them again is the future, I decided to wrap them with some plastic film because imagine what could happen if the epoxy was stick to the MDF. I also cut my 10 meters of bamboo in two sizes. In total I had 10 meters of bamboo of 1mm. The width was 24 cm and I cut 8 layers the rest in small pieces of 24 cm because I read on the internet that 80% of the fibers had to be vertical and 20% horizontal to make it much stronger. Also, I cut some fiberglass, but later I found out that it was not the good one, I had to use the "roving fiberglass", and I probably didn't had to use the carbon fiber which has been very expensive, difficult to find and at the end, basically added two more days of work.

As an epoxy, I used the one that we had in the lab which is called pox bak. In reality, I am very happy with the result because it has very good mechanical properties (flexible but at the same time very strong). I used 600g of it to make the first part of the longboard and for the second part, I used nearly 250g of epoxy. The proportion is basically for 1kg of A, you have to use 200g of B. To apply it, I used a brush and with a stick, I mixed it very well before applying it to the bamboo or fiberglass.

My instructor told me that he had never been able to unmold very well something when doing composite materials, but in my case this option was impossible because I want to be able to use it again to make more Longboards, so I decided to buy a lot of vaseline, and apply it on the plastic film to act as a protection layer on it. Here you can see the size of the knob that I used.

When applying the first layer of bamboo, you will have to take care to align it correctly because otherwise the longboard could be incomplete. Don't worry if you start to see you plastic film changing its color to yellow because it is the reaction when the the vaseline touch the epoxy. As I said before, you have to apply a first complete layer of bamboo, epoxy, fiberglass, epoxy, horizontal pieces of bamboo, and you have to continue like that until you don't have more horizontal pieces of bamboo. Once those finished, you have to alternate between fiberglass and vertical fibers of bamboo.

Once everything is finished, you have to make basically a sandwich with the other part of the mold. You close it, you put some clamps of the same type that I used (yellow ones) and only to add some more pressure (but really they don't work very well) you can use clamps like the ones that I used to cut the edges (blue). Remember that if you one a thin longboard, but at the same time strong, you have to apply a lot of pressure. Finally a last advise is to obviously protect your work area because when you will apply pressure, the surplus of epoxy will fall from the mold.

Finally 24 hours later, I open the mold and everything looks very well, the composite was very strong but at the same time flexible (probably too much). As you can see in the picture, the mold made its job and we are able to see that the board is curved and we can basically see the shape of the board on the material. The main problem, is probably that the borders had the layers a bit exposed and "tall", so it has been very complicated to cut this part with the jig.

The cutting and polishing process are in reality simultaneous when you are near the border of the shape, you have to alternate between both of them. But basically, to cut the composite, I used a jig with two models of Bosch Knife. I first started with the t144d for a fast clean cut of the obvious parts. Once I finished with the obvious part, I need some more precision, so I decided to use the T119BO which is smaller, so it gave me more ability when moving in the curves. But as always, don't forget to use gloves, glasses and a mouth cover because the carbon fiber powder is extremely irritating (if you can, cover yourself completely).

The polishing process, has been basically a way to make the curves more curvy, and in some case a way to hide some imperfections of the pressing process. For this process, I used a sandpaper for metal (100-1 1550), because the others rapidly field all the space with epoxy until saturation and became useless. Obviously, don't forget to make the holes on the sandpaper to make all powder goes to the small bag at the rear of machine because otherwise, even this sandpaper will be rapidly saturated.

And finally, after two days working on the composite, more two days making the molds, the final result. We had to make the four holes and for that I basically had to make some measures and ask a friend of mine where he thought was the best place to put the truck but this is not something constant and you can put it wherever you think it is better. To make the holes, you should use a drill press as me, but really it is not completely necessary. For the end mill, in my case it was a 5mm wood end mill but it can vary with the truck model.

But because things are never perfect since the first try, the longboard had a problem, it was too flexible. Sometimes when someone heavy (around 95kg) was jumping on the longboard it even touch the ground which can be fun for some users but in our case, because we had to install the case with the battery that is not flexible, we had to have a longboard with a high level of resistance. So yes, we had an important here and I will try to talk with Neil to see what he thinks about it.

I talked with Neil and he said me that the carbon fiber can be an option, and the only thing to be aware of, is that the the layer where I am going to put the first layer of epoxy, has to be very clean, otherwise the old part will want to separate from the new one. So here we are, with 1,28m*1m of carbon fiber which is enough to make 5 pieces of 1m*0,24m. To cut those, I put some tape to make sure that the lines was straight, and that the fibers doesn't fray when cutting them.

However, because I am so impatient, I had already glued the grip cutted by laser on the Longboard, so I had in some way to protect it against the epoxy. For that, basically I used a lot of masking tape and for the borders, some duck tape to obtain a very professional result !

From this point, I basically repeated all the process explained before, I applied a first layer of epoxy, a second one of carbon fiber and I alternated like that until I finished the carbon fiber. It is important to have care and put lot of epoxy in the border and edges because it is in those parts that you have a more important probability that the two parts separate themselves (I had this problem in one corner, and I had to add some contact cement and use clamps to make sure to have a good adherence). Once you did that, you repeat the process, you close your mold, press it, open it, cut the borders, polish the whole thing, reopen the holes and voila.

Finally here it is, a strong bamboo, fiberglass and carbon fiber longboard. The result is a strong board that is as we wanted a bit flexible. The carbon fiber finish is beautiful, however in the center, the epoxy took the shape of the plastic film and made those lines that doesn't look that good. I think that in the future, it could be a good option to add a last layer of epoxy once it is out of the mold.
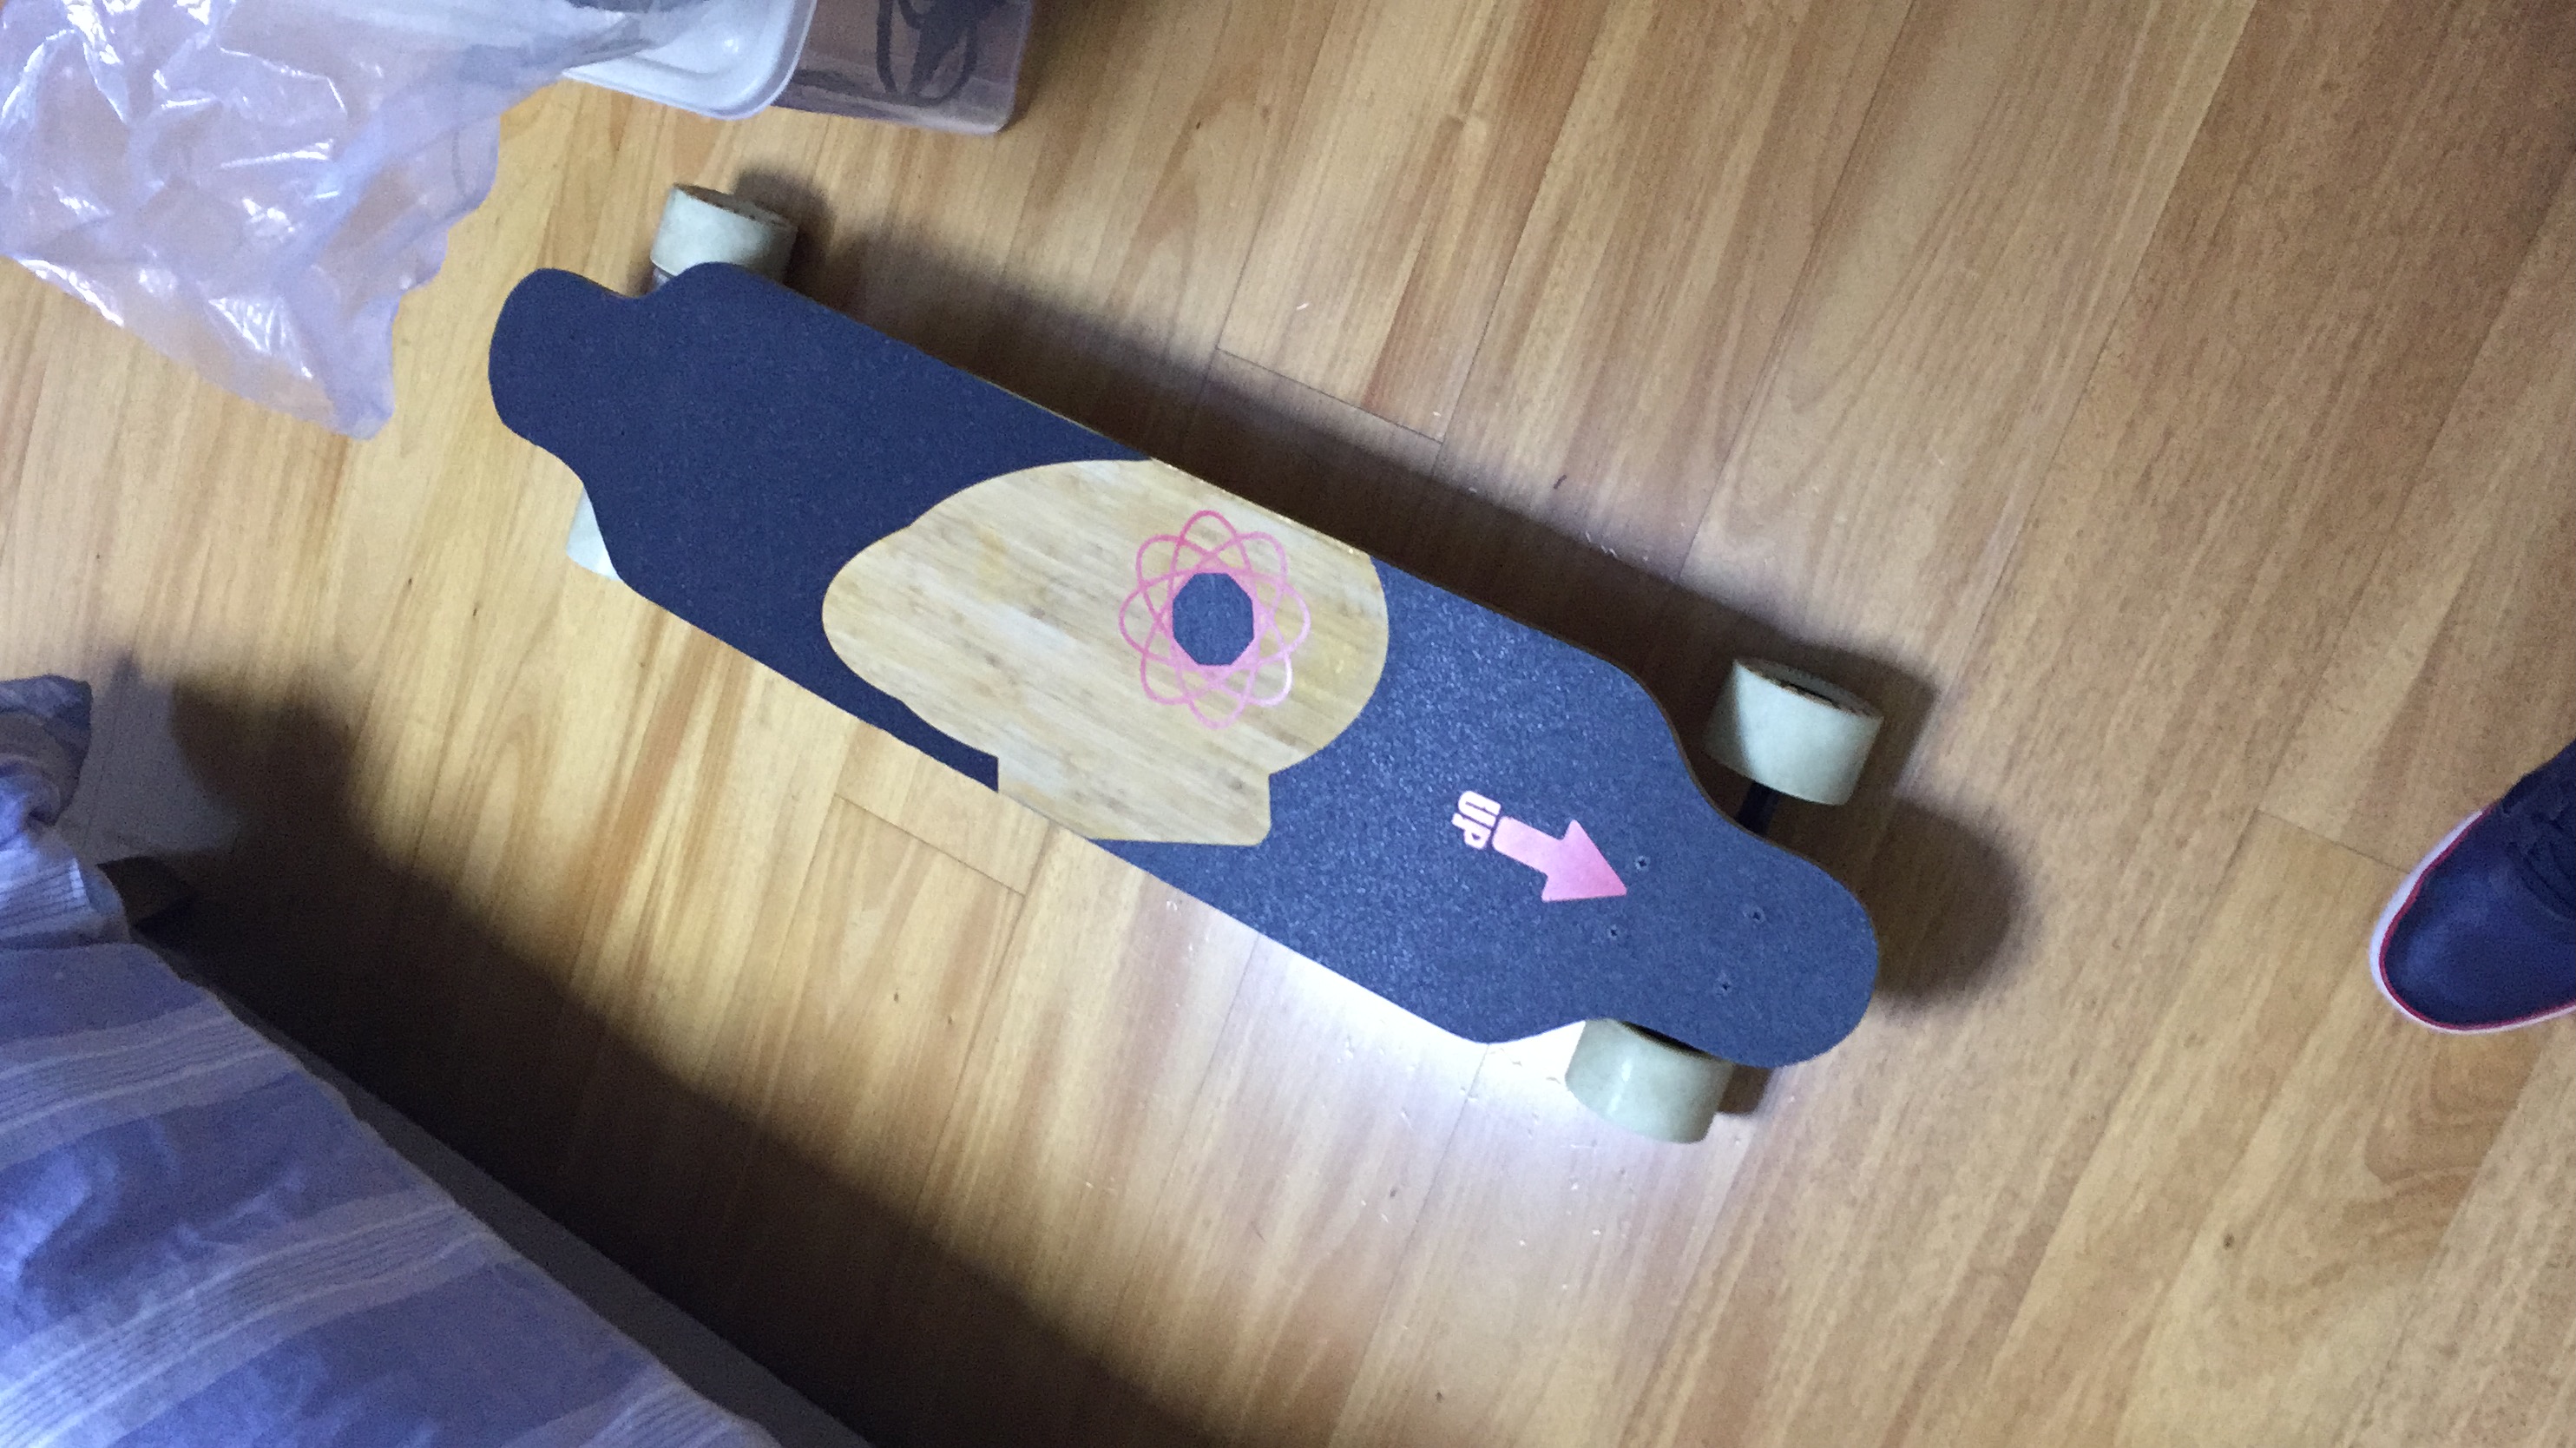
This is the test of my Longboard before applying the carbon fiber, the final result will be available in my Final Project page.
Please Contact Me For Any Collaborative Project