This week, we had to make a mold and cast it with some material. As always, I wanted to make something useful for my final project. As part of my final project, I had to make a wheel pulley to create the traction between the BLDC motor and the wheel. It is the reason why I started making my mold for that, even if in reality I was thinking to mill directly in aluminium my pulley in a machining center. You will later see that I am using a Silicone that gives me the opportunity to cast my piece with metals like the Tin, which could be an interesting starting point.

At the beginning, I really wanted to make my own design of the pulley, but when I tried to take the measure of the wheel,
it was so difficult and imprecise that I decided to look for one in internet. Very quickly, I found a couple of interesting designs in Thingiverse for example.
Here you can find the link where I find the designs: Thingiverse.
I am saying designs because there is two versions, one with 44 teeth and the other one with 48 teeth. In this case we are using the 48 teeth.
You will find at the end of this assignments a post about how I reproduced this design in fusion 360 to accomplish with the requisites of this assignment but also
to practis and use nice functions as revolve.
STL: 44 Teeth Design
STL: 48 Teeth Design

At the beginning, I was preoccupied, because we had a block of wax special for milling that was of the exact height of the design, and in my opinion it might not be enough. It is the reason why I decided to use this block that was much taller. But because things happens when they have to, the Modela send me an error saying that the block was to tall (it is also because the sacrifice bed, is a bit tall). So finally I decided to use the other block, and by chance it was ok! To fix the block to the Modela, I am using double tape but also, some small pieces of metal that I screwed to the sacrifice bed. Remember that it is very important to fix it well because if it moves a bit, it will not be a precise machining.
")
For the rough cut process, I used a Super 'O' 6mm end-mill that only have 1 flute. This end-mill, in my opinion is the perfect one because the result is super precise, and should gives you a good result very fast. The only problem, is that it was not very long, and we just finished to mill the design with a 0mm margin. So please, take care of the height of your end-mill. This process, took around 45 minutes and it was that good, that if you only need a fast prototyping, it could be enough.

When we thought that everything was ok with the rough cut process, we started to have errors from the Modela saying, that there were to much force applied in the X axis, after that, to the Z axis, and it happened a couple of time even if we were reducing the plunge speed and the milling speed, so we decided to stop everything to put some grease on the ball screw because in the manual it was specified that it could be because of that. It was an interesting experience and it took me around 30 minutes but after that, everything was ok, at the same speed than before.

The end of the rough cut process has been ok, even if we were always checking that the piece of metal that hold the end-mill was not touching the mold while trying to make the hole at the middle. If that happened, it would destroy everything.

When the rough cut process finished, the end-mill was just above one of the teeth, and when I tried to move it, I turned the wheel on the modela remote, to the wrong side, and I broke one of the teeth. But at the end, I have been able to glue it with some Superglue. So please, have care and use instead the Vpanel to move the end-mill to a safe place.
")
For the finishing process, I used a 1/8" extra long end-mill with 4 flutes. This part of the process has been VERY long, around 3 hours and a half but really the result was very nice. In this part of the process, I was not very preoccupied for the height of the end-mill because it was longer than we need. I could have used a 1/16" to have even better results, but it was not the amount of details needed here and it would take so much time.

The borders of the mold, was really a problem because as you see here, I had to broke them because it looked like the part that hold the end-mill could touch them in the rough cut process. So later, I just added some cardboard in the borders with some scotch and it holds the silicone very well, without any liking (probably helped by the fact that the silicone was very dense).

The silicone I decided to use for my mold, is from Smooth-On. It is the Mold Max 60, a silicone that resist temperatures up to 294 celsius to cast materials as the Tin.
In this case the Silicone is very dense and much harder than the traditional silicone.
As part of the group assignments, we had to check the safety data sheet of the products used. In my case, the resin used came in transparent bottles because the lab buy it in quantity and it doesn't has a brand or something as you can see in "Casting Process with Resin" part.
However, the silicone I used has a very well detailed documentation, where we can read (Not a hazardous substance or mixture according to United States Occupational Safety and
Health Administration) which is in my case very important because it is well known that the United States have strict regulations.
Finally, we can read some recommendations in case you have some of those incidents:
Inhalation: Remove source(s) of contamination and move victim to fresh air. If breathing has stopped, give artificial respiration, then oxygen if needed. Contact physician immediately.
Eye Contact: Flush eyes with plenty of water. If irritation persists, seek medical attention.
Skin Contact: In case of skin contact, wash thoroughly with soap and water.
Ingestion: Do not induce vomiting unless instructed by a physician. Never give anything by mouth to an unconscious person.
But please you can avoid those using protection equipment as gloves, a mask and a lab coat.
We can read in the documentation:
Precautions for safe handling: Use good general housekeeping procedures. Wash hands after use.

This silicone comes in two parts, part A and part B. The proportion to follow is: 100A:3B. In my case, I used in total 370g of A and 11.1g of B. It sounds a lot because it is a lot, as I said earlier, this silicone is really dense and that caused me some problems later because it keeps a lot of air bubbles even if I managed to remove a lot of them. Finally, you probably don't understand how I could know how much silicone to use, in my case I started with three rounds of 100g, until arriving to 370g. Don't forget to use a scale with a good precision, otherwise you will have to wait too much time for the silicone to be hard or it could become hard too fast.

It is very important to mix very well part A (red) and B (blue) to be sure to have the good chemical reaction. In my case I used a wood stick.

When pouring the silicone, what I use to, is to pour in one corner until I fill the whole thing. However, in this case, the silicone was so dense, that I had to pour it by layers on the whole mold. I am thinking in the future to use another technique to reduce the amount of air bubble, but I am not sure how yet.

Time to wait! This part of the process is quite easy because you just have to wait. However how much time? Well in 8 hours you are most the time sure that the object is dry. But in reality Smooth-on tells us that it takes 24 hours to arrive to Shore 60A which is a scale of hardness for Rubber Materials. To have an idea, normally silicones have a hardness of 30A (based on mold max 30). Here you can find join the: Durometer Chart.

To remove the Mold, I first removed the borders, and after that tried to pull out the silicone mold, however it has been very hard, and I had to apply some force.

Finally here was my mold. The result was good, but with some errors. Some air bubble on the teeth of the gear (but it is ok because it will be a material to extract which is always better that material that is not here), the part were the screws will fit, has been blocked by some air bubbles, but it was ok because they were mistakes that can be fixed very quickly in the casted piece.

As you can see here, probably because of the force that I made trying to pull out the mold from the wax, I now have 4 teeth broken. I have been able to put them back with some Superglue but the wax model will never be that precise again. So, really make sure to make a good mold from the first try because the wax mold is very fragile (even more if you are going to use the Mold Max 60).

For the casting process, in this case I used a Polyester resin that the FabLab buy locally in important quantities so we didn't really have a reference but I knew that for one mix, you had to have around 3 to 5% of catalyst inside. As for the mold, I used a scale and a wood stick to mix the whole thing.

To have a better idea of the details, I wanted to add some color to the mix. We had a kind of dye in powder with a shiny pearl color. So I added some and the result was quite interesting.

In this case, the pouring process was much easier because the mix was more liquid and I just put some in one corner until it files the whole mold.

After an hour, it looks like the casted piece is solid, but a bit sticky. After two hours, it is solid and dry.

To unmold the casted piece, I suffered a bit because the central hole was very difficult to unmold. I had to separate it a bit and put some alcohol, put some force, and after nearly 20 minutes, it started to become much easier to unmold.

Finally, here it was, the result of my casting process. The result was much better than with the silicone. There were some mistakes caused by the mold by itself. With the help of a Dremel and a Cuter, I finished the holes and make the piece ready to be installed.

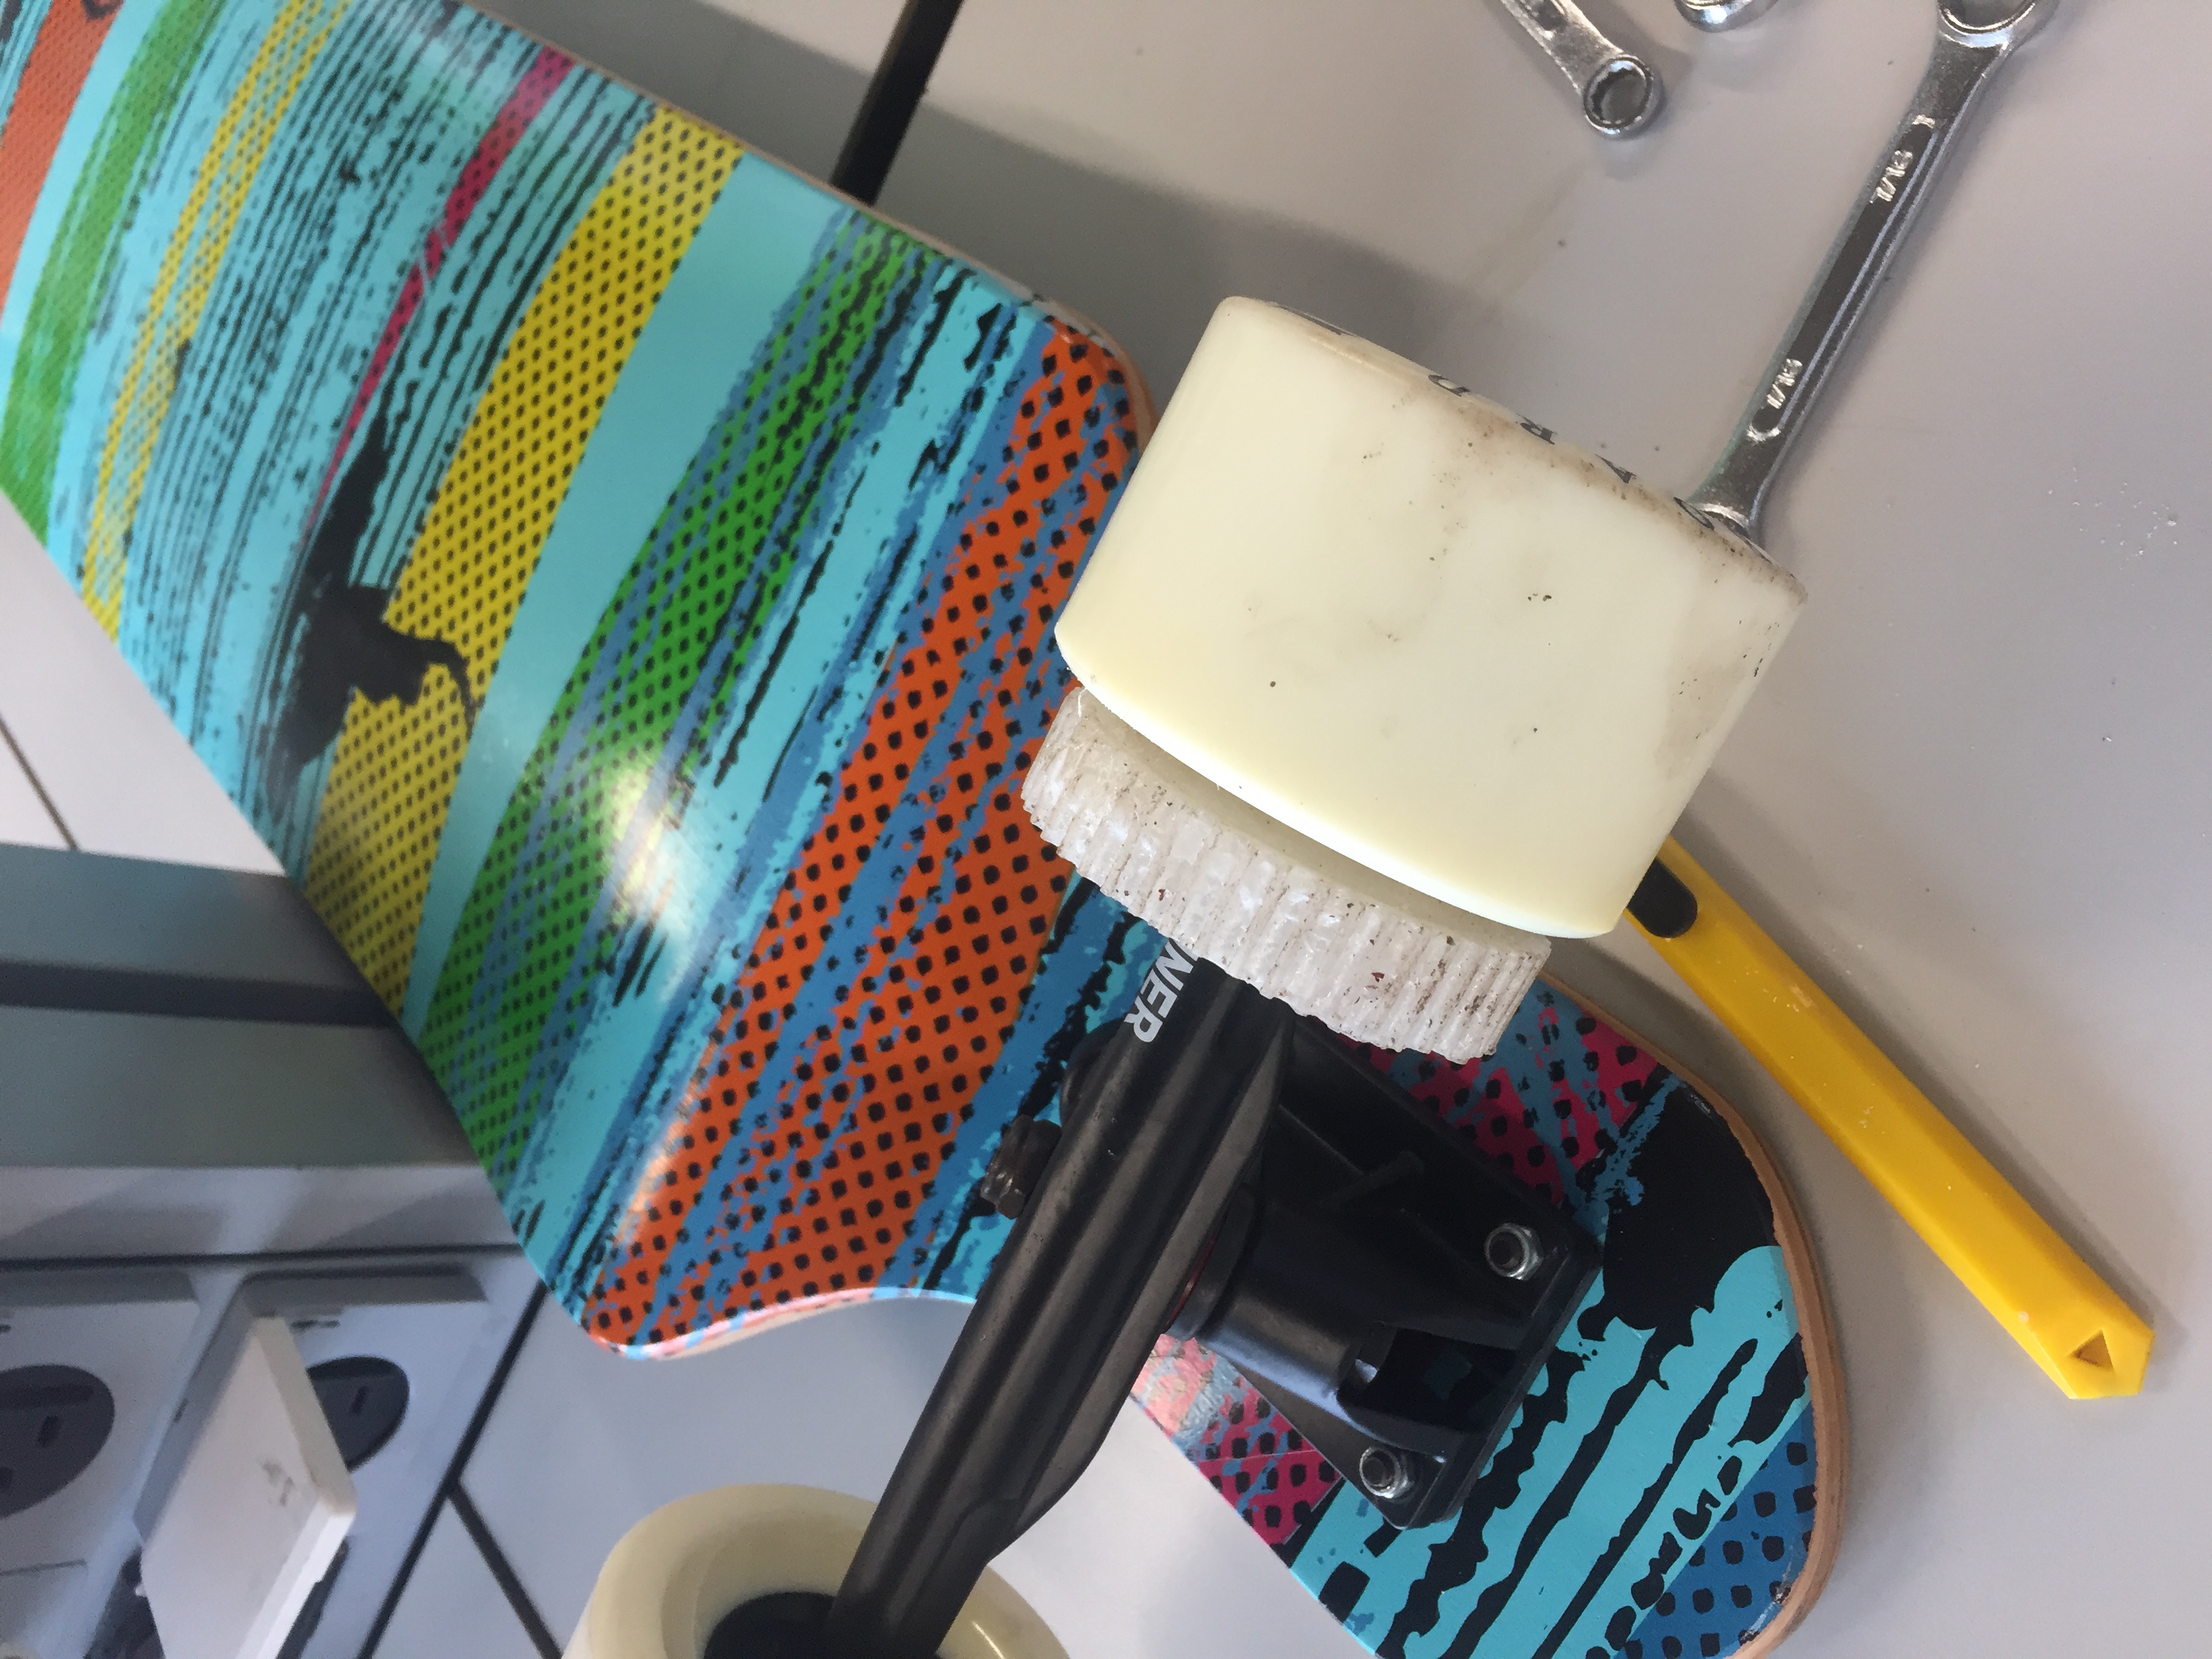
As you can see in this picture, the result was quite good, it fits perfectly well on the wheel and I have been able to take some feedback from the experience. For example, I saw that this wheel pulley had a diameter to important, so in the future, it would be better to use a 44 teeth model. In the other hand, I find that, it could be difficult to work with casted pieces because the teeth of the gear, need a long process of cleaning to make it possible to connect it to the belt without having it leaving each 10 minutes.

After this process, I decided to print with a 3D Printer the 44 teeth model to see the size of it, but also to compare the level ol detail of both process. I finally decided that the 3d printed model, looks much better, so in a prototyping process, it could be better, but in case of a production process where you want a Tin gear for example, it is obviously a good option to use a molding and casting method.

The process of 3D-Design, has been very long and tedious. It was the first time that I was doing something with that much amount of details but very interesting because it was the first time that I was doing a gear. As you will be able to see in the f3d file that I linked a bit earlier, I used some interesting techniques to accomplish the design. For example, I used revolve which help me to transform basically a triangle into a this circular detail that is around the Pulley. An important tip when you are trying to reproduce an STL into a 3D design, is to first 3d-print it and only after that with the help of a vernier, measure everything. For the gear it is important to investigate which is the diameter of the circles that are going to make tooth, in my case it was 3mm. You will be able to check the final result as an STL at the bottom.

The CAM tool I used is called SRP Player and in my opinion is one of the best tool I have seen for 3D machining. The software explains every options with simple representations, however sometimes it crashes when trying to calculate the path planning. As I said before, we used a 6mm end-mill for the rough cut, but the software doesn't always have by default the exact same end-mill than yours, it is the reason why you could need to configure them. After that, you could eventually need the parameters that I used but realy, if you follow the step by step of the software, you should obtain the same parameters than mine. I post here the parameters for the rough cut process, and the parameters for the finishing process. What you can see as a picture, is in reality the simulation of the result after the rough cut process, and as you can see, the rough cut and the finishing process, are essentials, they can't work one without the other (you could do everything as a finishing process but it would probably last much more).
This is the STL of the Longboard Wheel Pulley made in Fusion360.
Please Contact Me For Any Collaborative Project