 FabAcademy 2019
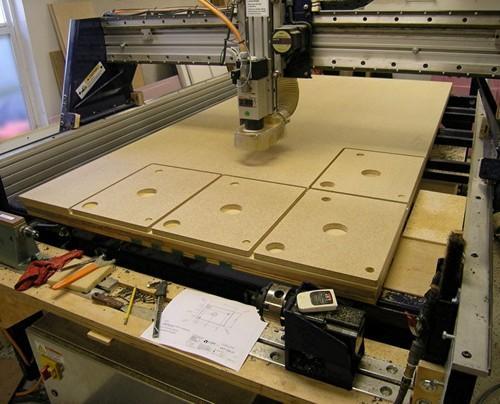
COMPUTER CONTROLLED MACHINING
The objective of this week is to manufacture "something big". Through the parametric design and with the help of cutting machines, we will try to achieve this goal.
1. Group Assignment
Test runout, alignment, speeds, feeds, and toolpaths for machine.
2. Individual Assignment
make something big
2.1 CHOICE OF DESIGN
I have three cats; they do not have a comfortable place to sleep. Choose any place to sleep, for example, on furniture, on walls. I want them to have a good place where they can sleep.

_
I look for many designs on the web. I found some that I liked. The first has the form of arches that are joined one behind the other, an anatomical design. The second is a geometric design, based on dodecahedron, a minimalist design wooohh ....

_
2.2 MAKING OF DESIGN
With the designs I found on the web, I was able to make the design sketch.

_
2.2.1 MODEL
- This consists of layers that are joined one behind the other forming a skeleton.
- These front layers are joined to 4 lateral supports.t.
- The front part; It is the entrance in the shape of a cat's face. And the rear portal has a window in the shape of a cat's paw.

2.2.2 LAYOUT
To obtain the DXF files, export them from fusion 360 and edit them in Adobe Illustrator software. Trying to cover the area of the material (Plywood of 15mm x 2400x1200mm).

2.3 MACHINING - SHOTBOT
In the Fab Lab Tecsup we have the SHOTBOT 5-Axis CNC machine, which allows us to machine different types of materials; For our assignment we will use plywood 15mm thickness and 2400x1200mm.Check this "ShotBot""

_
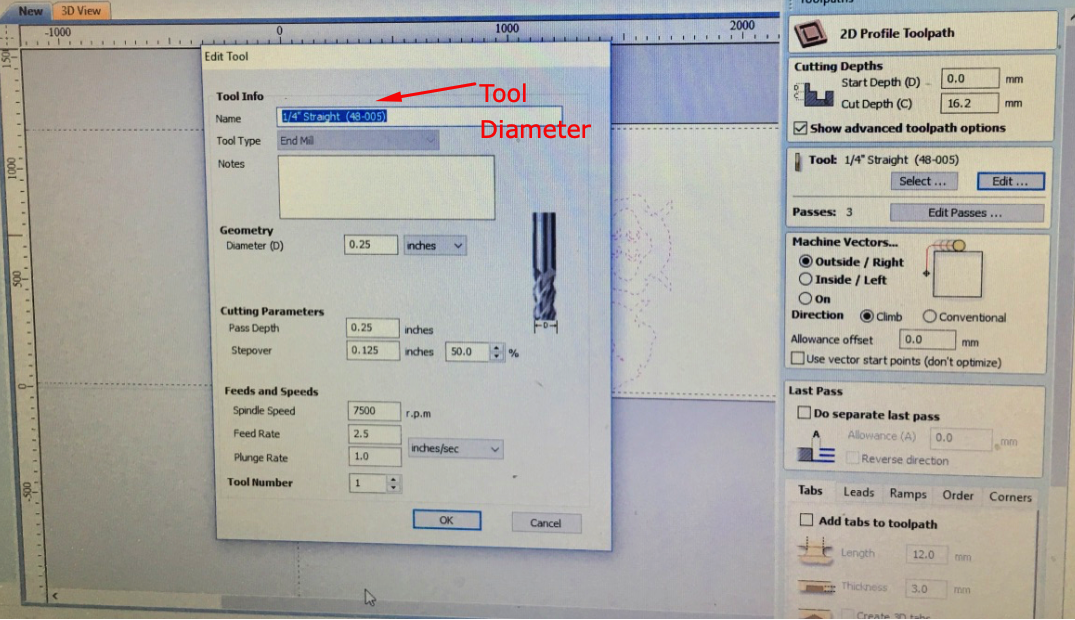
2.3.1 Design Vectorization
The design of the parts made in Adobe Illustrator, should be carried to a software that allows the communication of the machine "

_
2.3.2 Setting X,Y and Z axis
To obtain the DXF files, export them from fusion 360 and edit them in Adobe Illustrator software. Trying to cover the area of the material (Plywood of 15mm x 2400x1200mm).

_
2.3.3 Design cutting and assembly
The machine begins to cut piece by piece inside the support. WATCH OUT! You should always wear glasses and hearing protection when the machine is cutting, and never place your hand inside the cutting area. The cutting time varies according to the complexity of each design. My design took approximately 90 minutes to finish cutting.


_
2.4 RESULTS
In the end it turned out as I had planned. Although at the beginning for my cats it was something strange. In the end they ended up accustomed. Now they sleep all day in this design.


_
Contact Me
Feel free to contact me via email or phone.