3D Scanning and Printing
1. Test the design rules for your 3D printer.
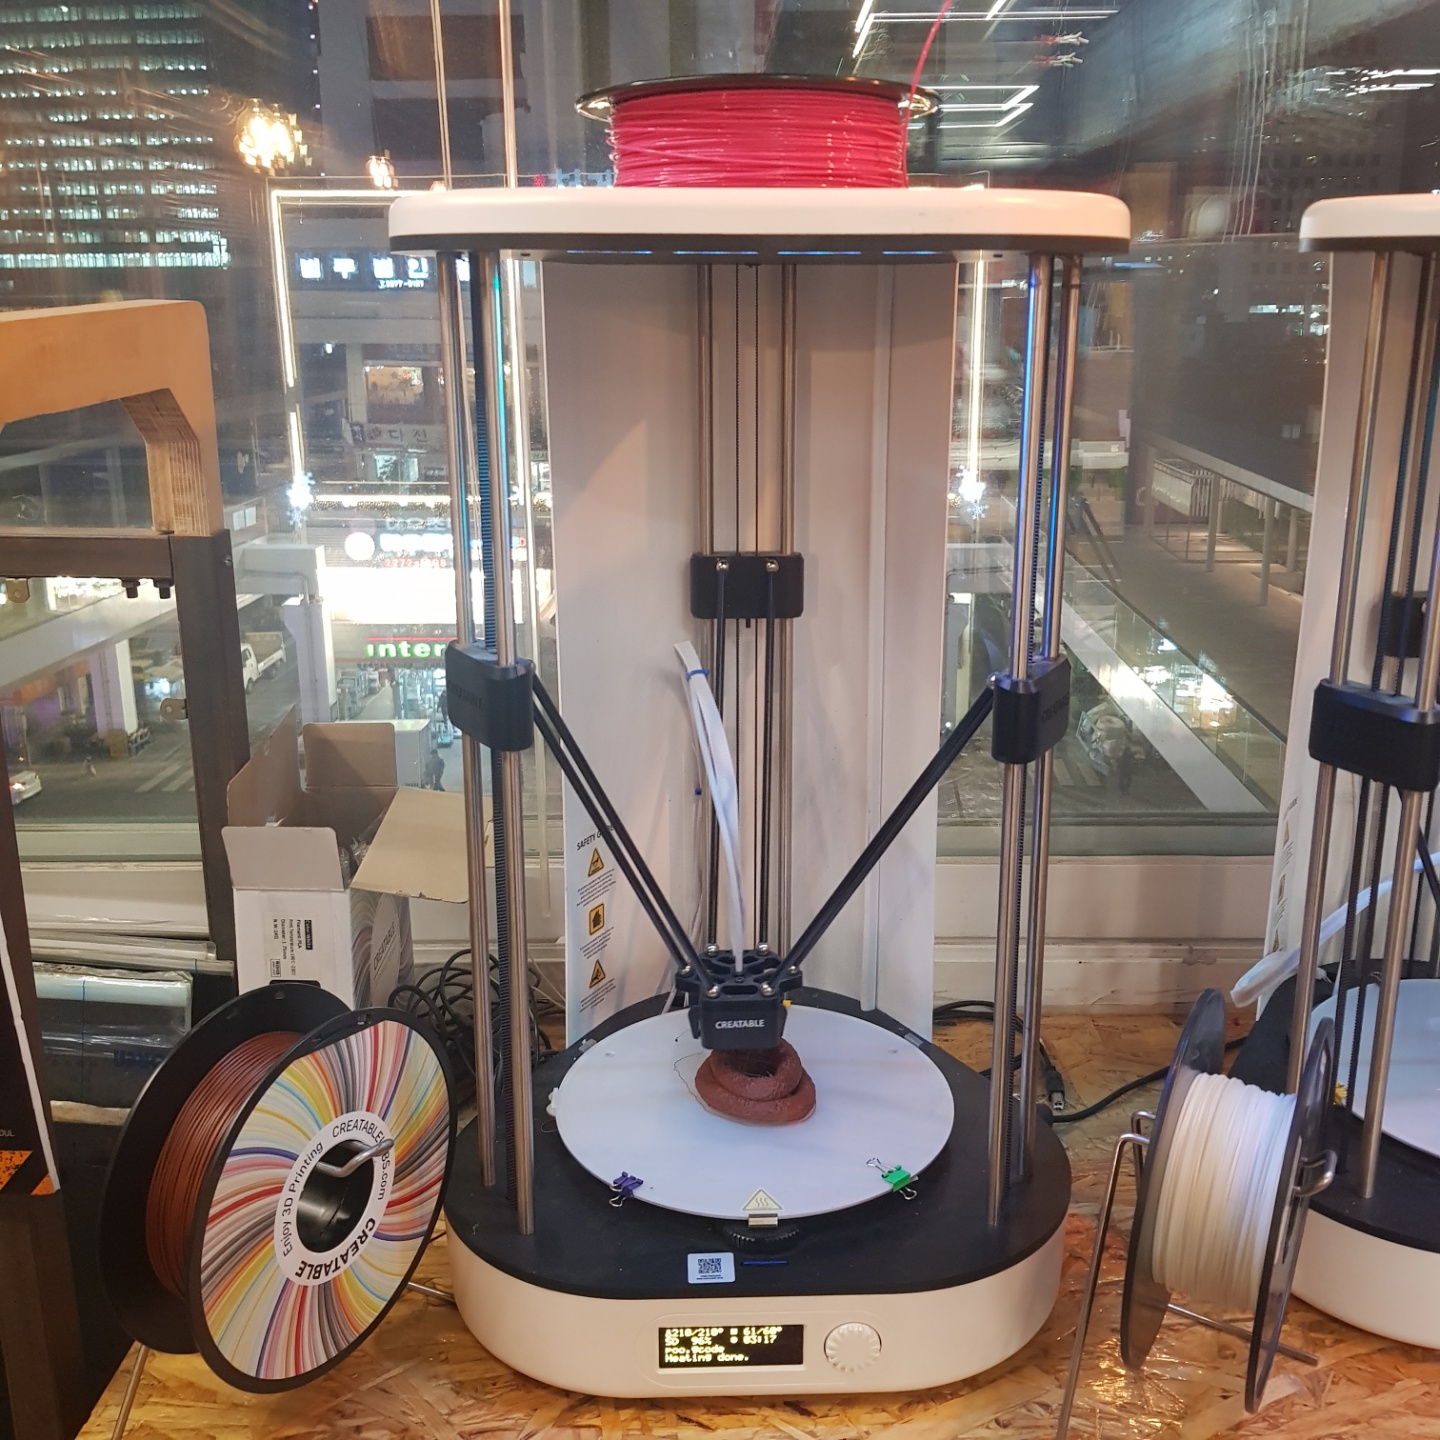
3D printing is a process for making a physical object from a three-dimensional digital model, typically by laying down many successive thin layers of a material. The machine for 3D printing is 3D printer. It constructs each layer of a object on bed by moving along the path while the melted filament, which can be thought as the ink of a pen, is coming out from the nozzle. There are two types of filaments, PLA(Poly Lactic Acide) and ABS(Acrylonitrile Butadiene Styrene). In Fab Lab Seoul, we use PLA, which is eco-friendly material and emits no smell. Typical range of temperature for nozzle and bed is required for each type of filament: For PLA, temp. for bed is 190℃ to 220℃ and temp. for nozzle is 20℃ to 70℃.
List of Machine, Materials, and SWs that I mainly used for this week's assignment
◾ CREATABLE D3: 3D printing machine in FabLab Seoul
(Someone was making poop with brown filament for whole week.)
◾ PLA filament

You can select the color that you would like to print your model. Various filaments of different colors were available in Fab Lab Seoul (much more than you can see in the picture!), though I used only Yellow and Light Pink one.
◾ CREATABLE CURA for D3: SW to save a design file as .gcode in SD card
◾ Blender: SW for 3D design - easy to use / has sculpting function Printed this yellow model for this week's group assignment: Failed on a first trial, and the expectation of experiencing 3D printing dropped at this point. 2. Design and 3D print an object that could not be made subtractively. I tried a new tool for 3D design this week, "Blender".
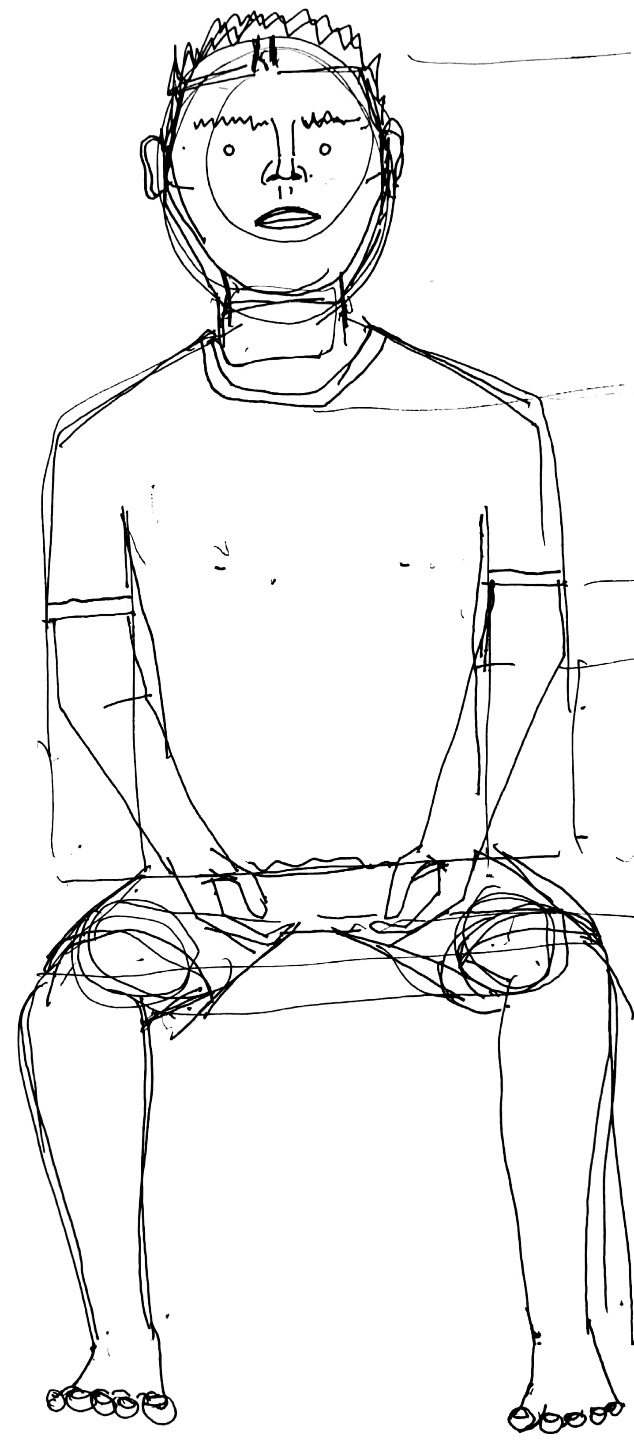
Using sculpt mode in Blender, I wanted to model a character for my final project, which look like this: Modeling a character in Blender seemed easy when I watched this video. Recommend this tutorial for beginners who want to make a character by scultping: ◾ Sculpting In Blender For Beginners - Tutorial
But after struggling a day to sculpt a ear, I realized that I should learn from the very basic principles
- like how to make a sphere, how to move and rotate objects, ...
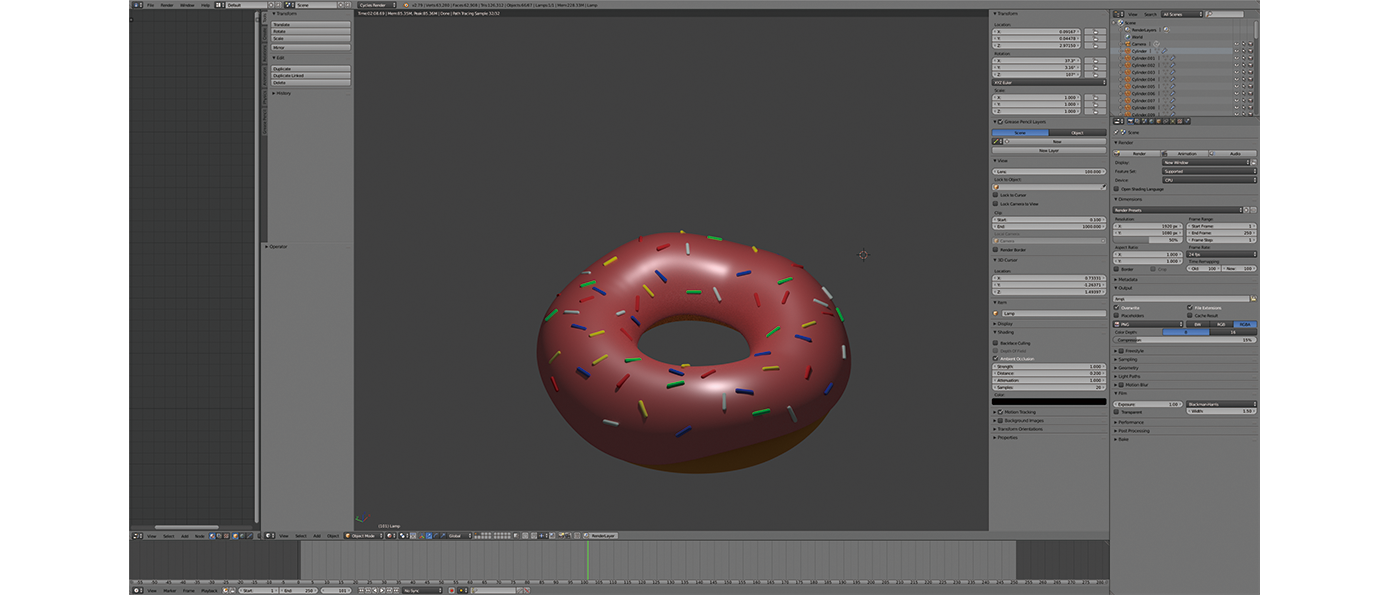
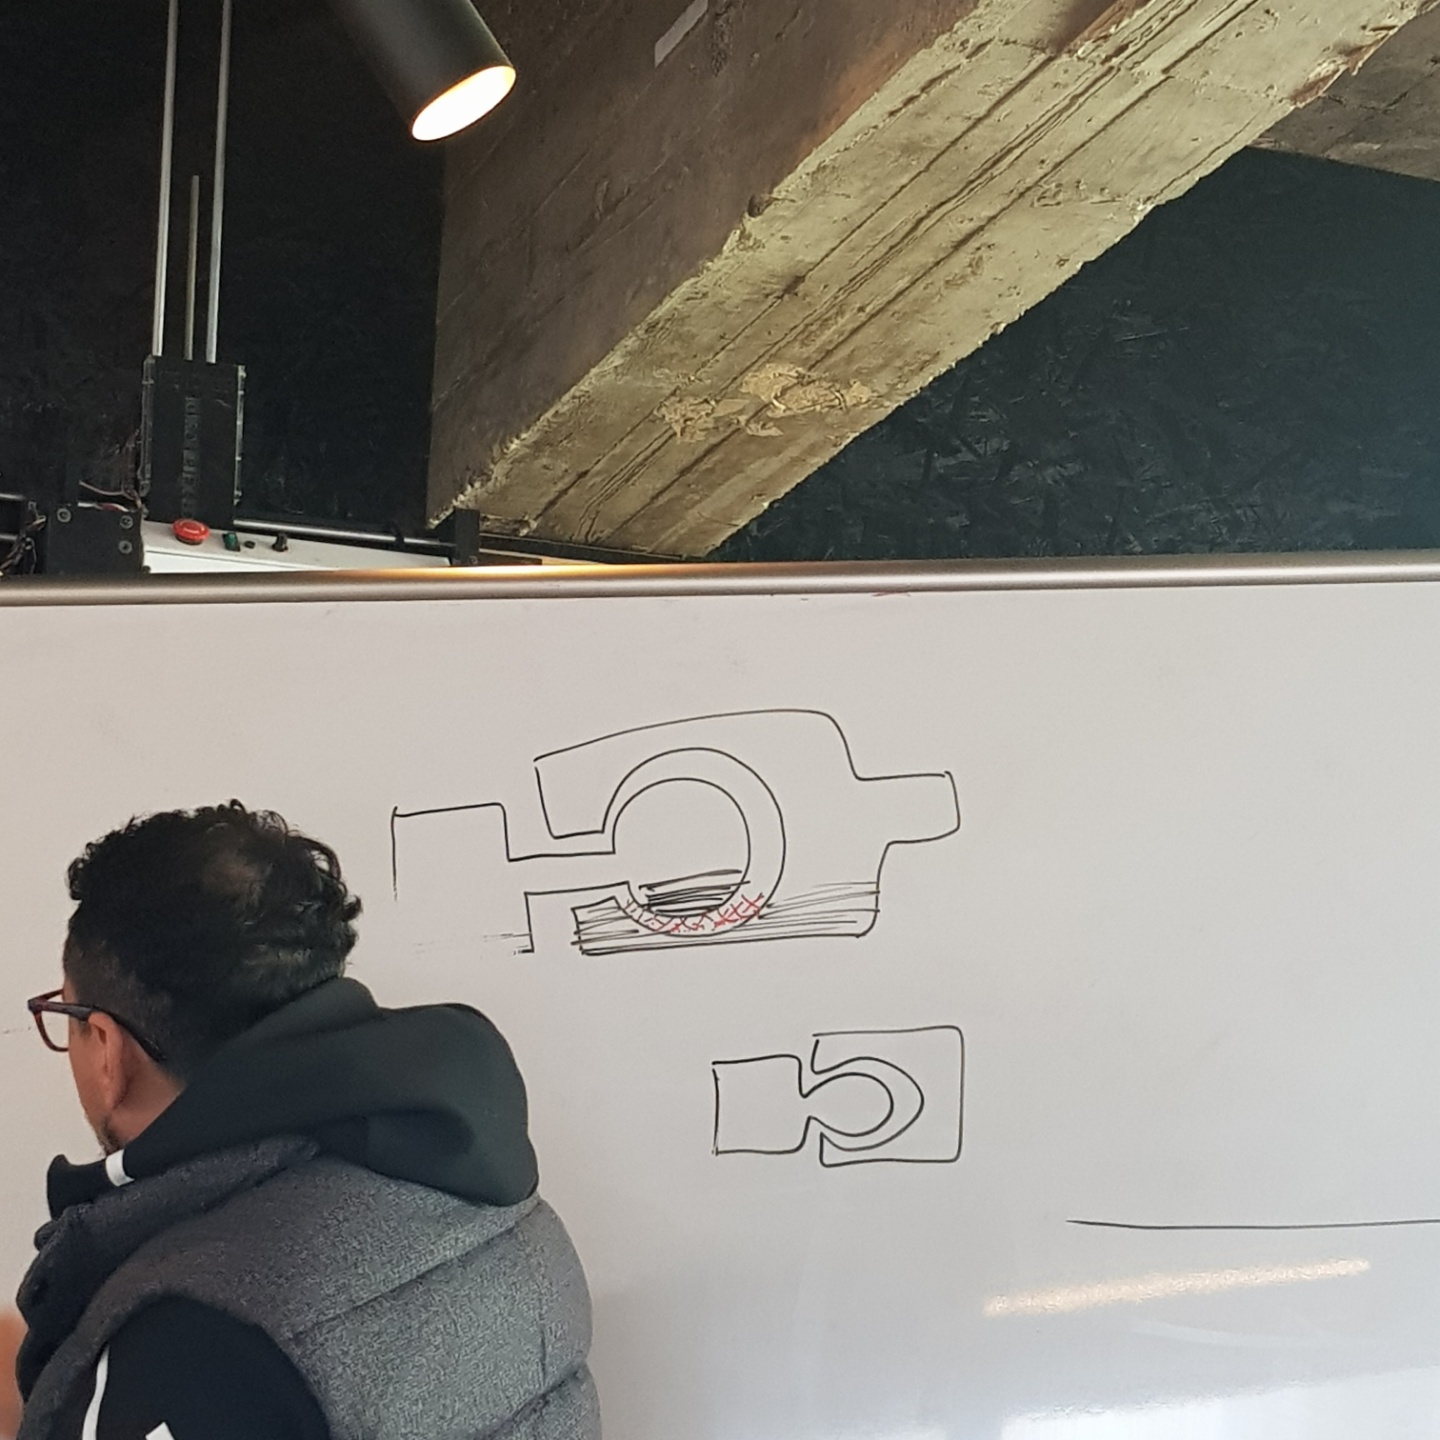
So this week I designed rather simple sketches: 1) a donut with lots of sprinkles on it, 2) a candy with face on it, and 3) a strange object with one joint: Tutorials that I followed to make a donut I strongly recommend this video series. The instructor kindly explains almost everything + he is fun. ◾ Blender Beginner Tutorial - Part 1: User Interface
◾ Blender Beginner Tutorial - Part 2: Moving, Rotating, Scaling
◾ Blender Beginner Tutorial - Part 3: Edit mode
◾ Blender Beginner Tutorial - Part 4: Material Nodes
◾ Blender Beginner Tutorial - Part 7: Particles The picture above shows the rendered view of a donut in Blender.
My instructor told me that donut is too simple, that it's not something that you can only make using 3D printer.
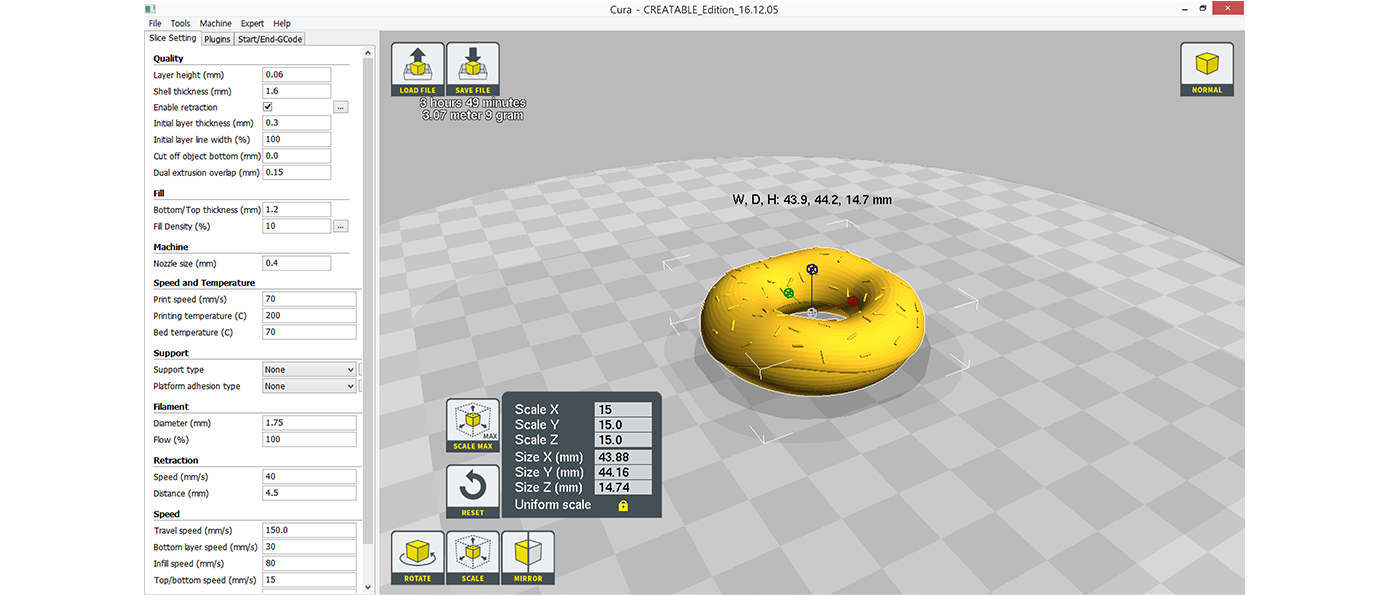
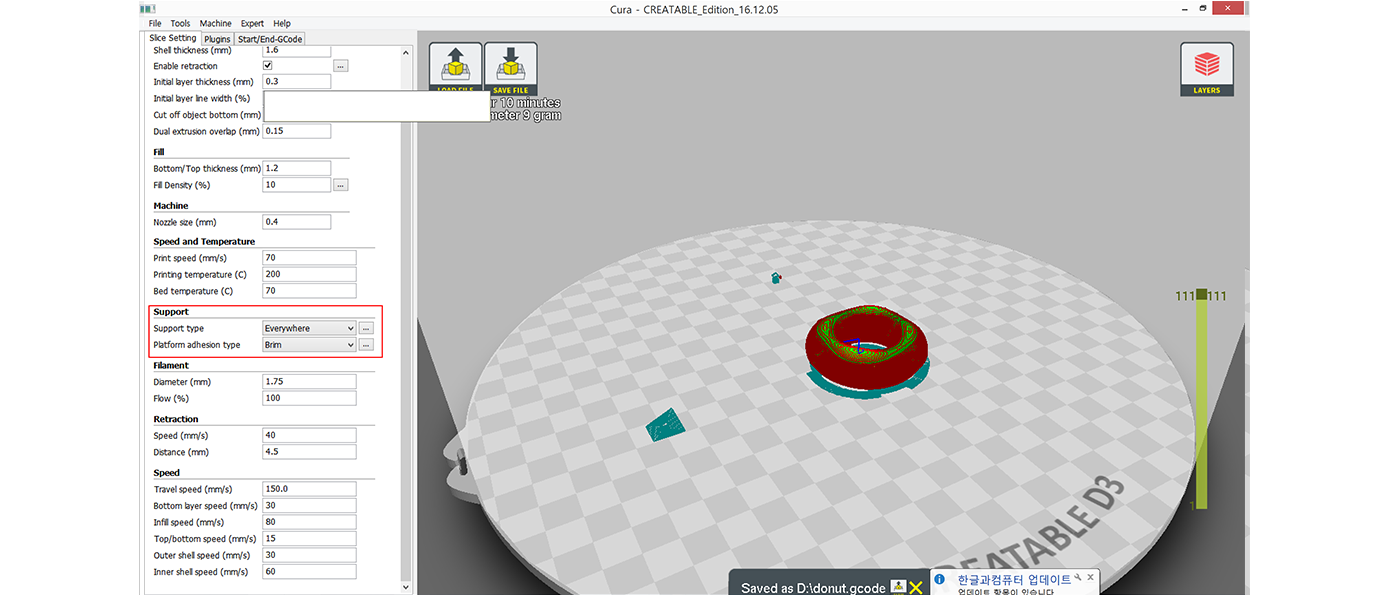
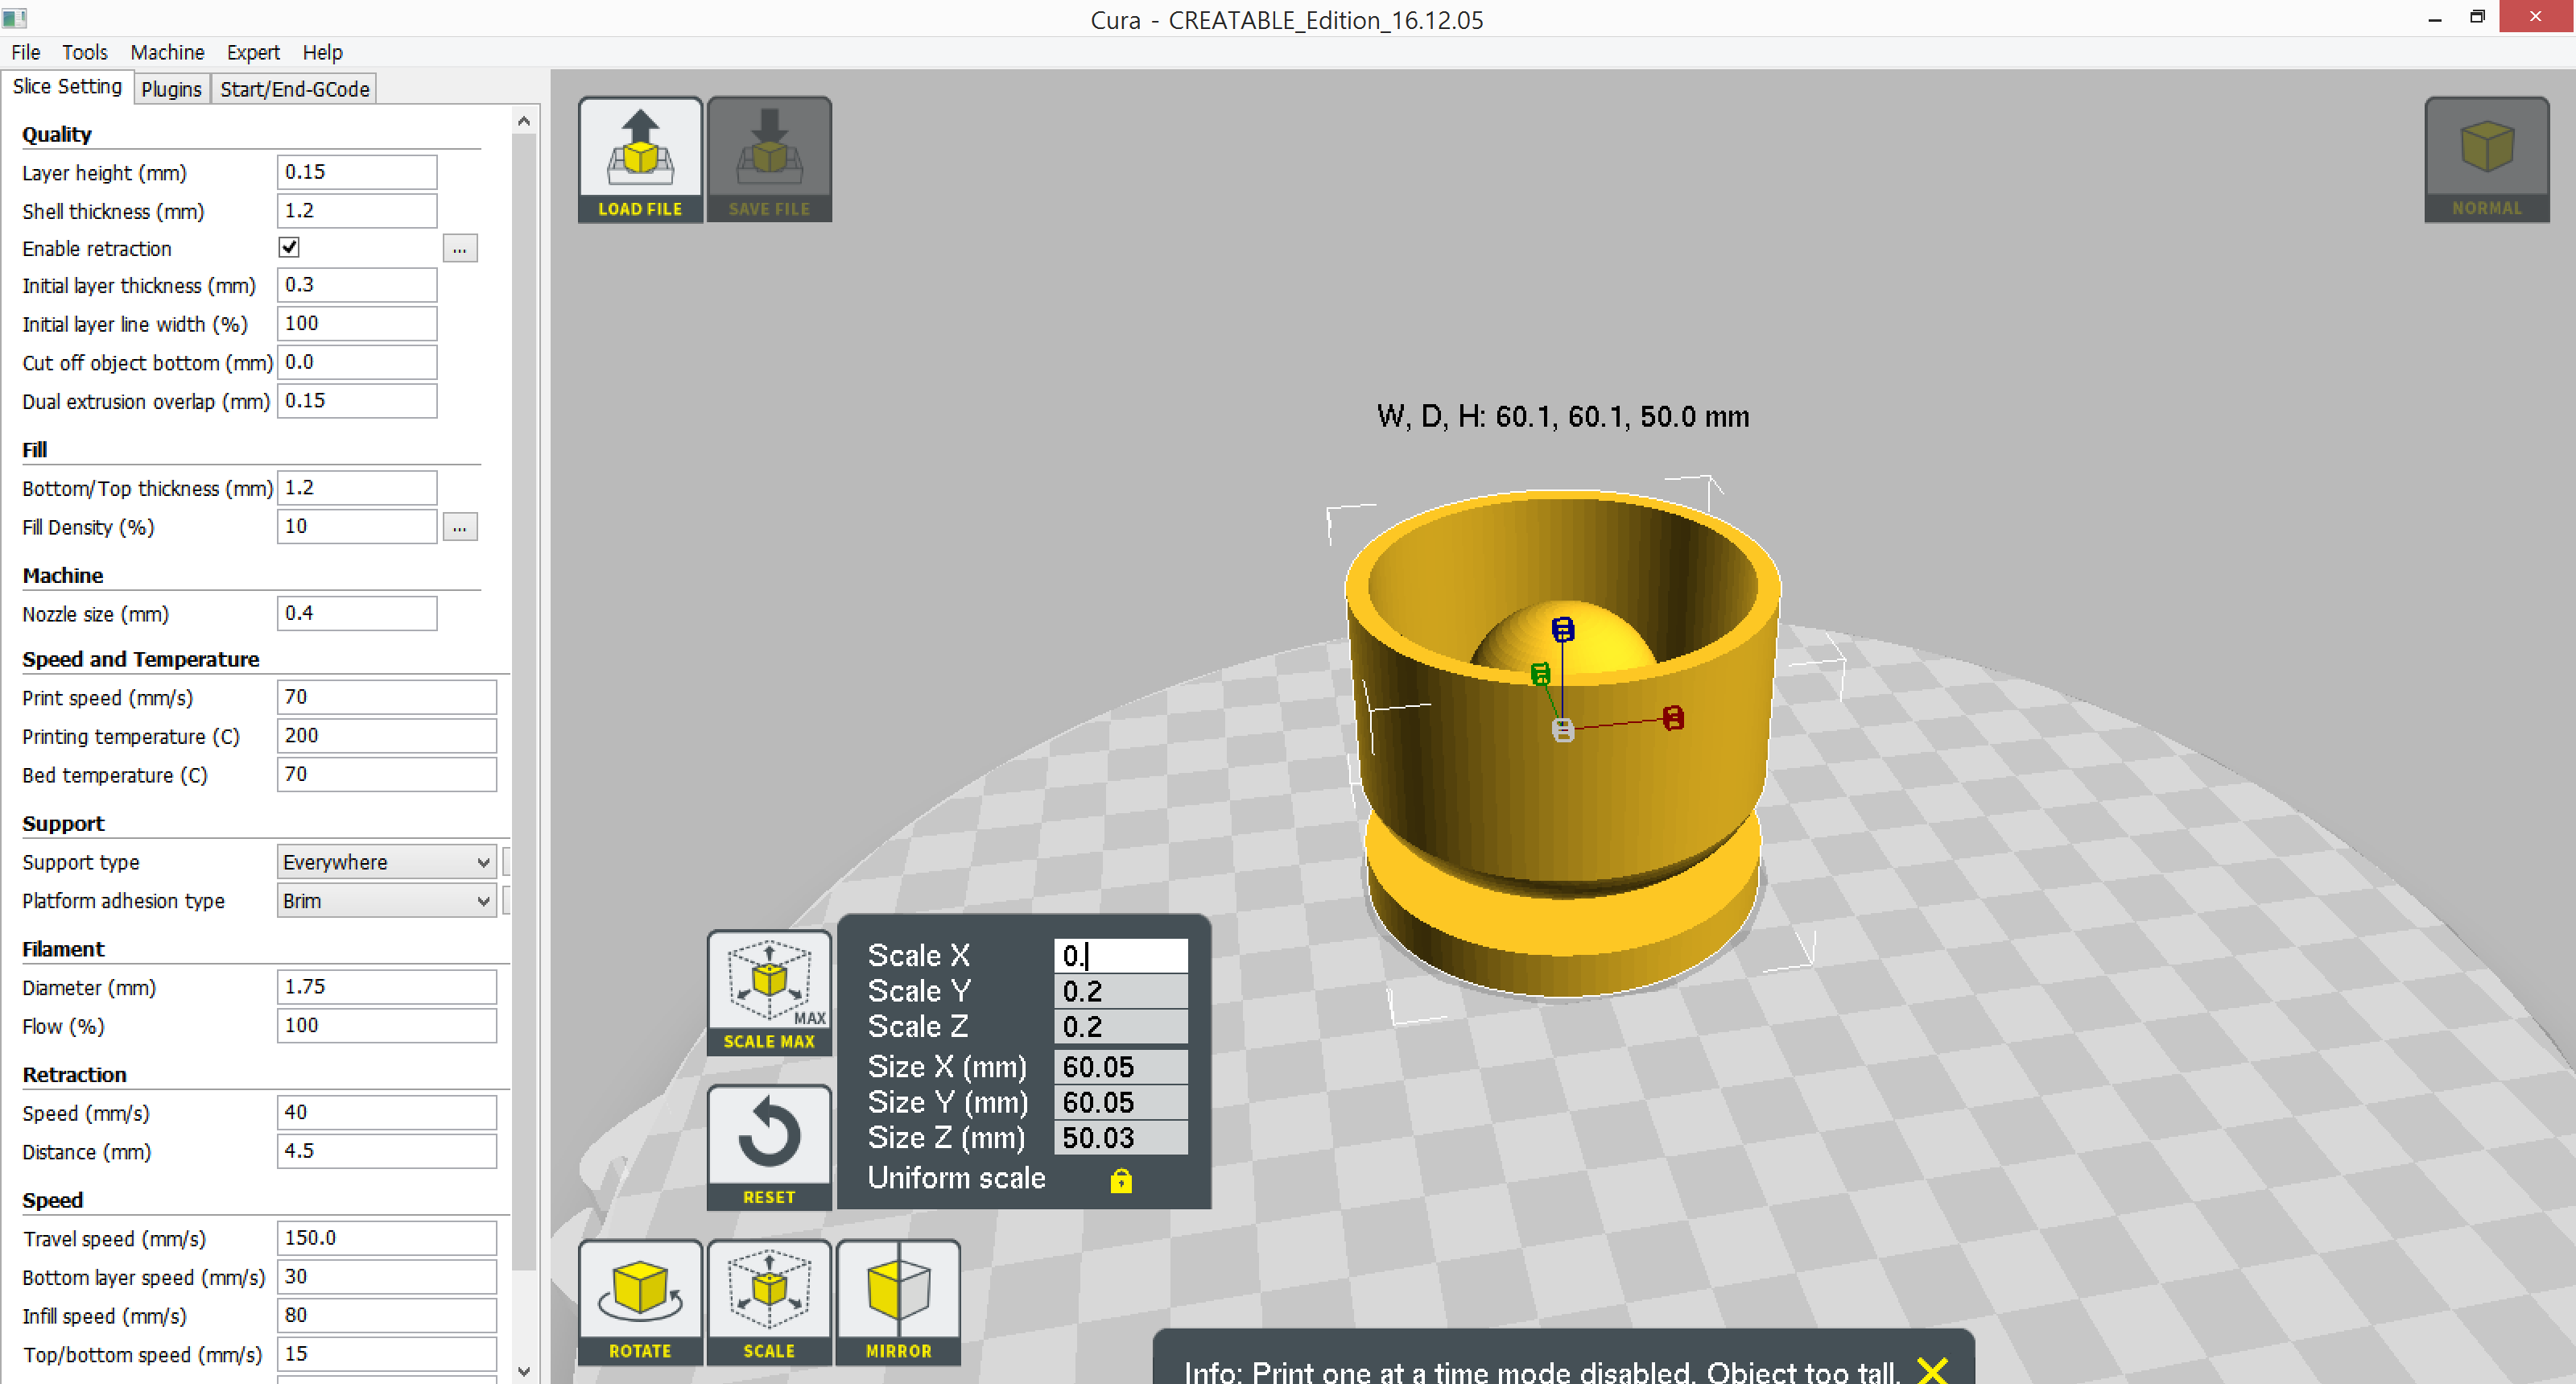
But anyway I did it to practice. Saved this model as .stl file. In CREATABLE CURA for D3, I imported .stl file and configured some values. 10% of Fill density is enough to make durable object.
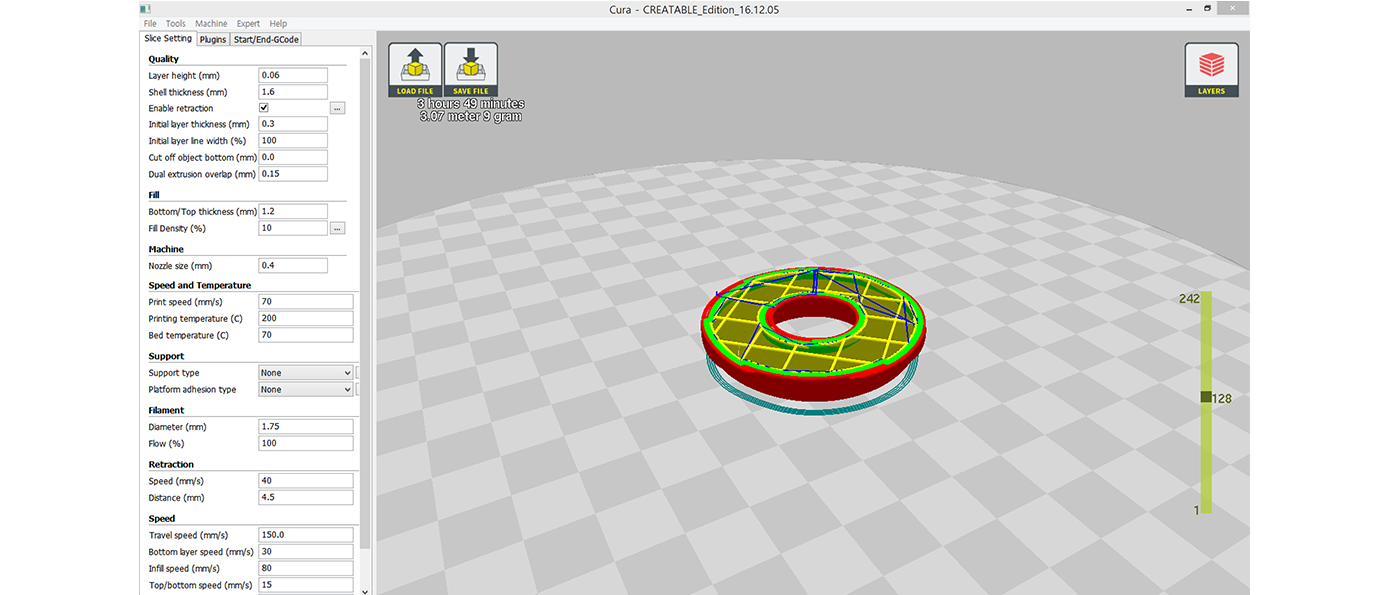
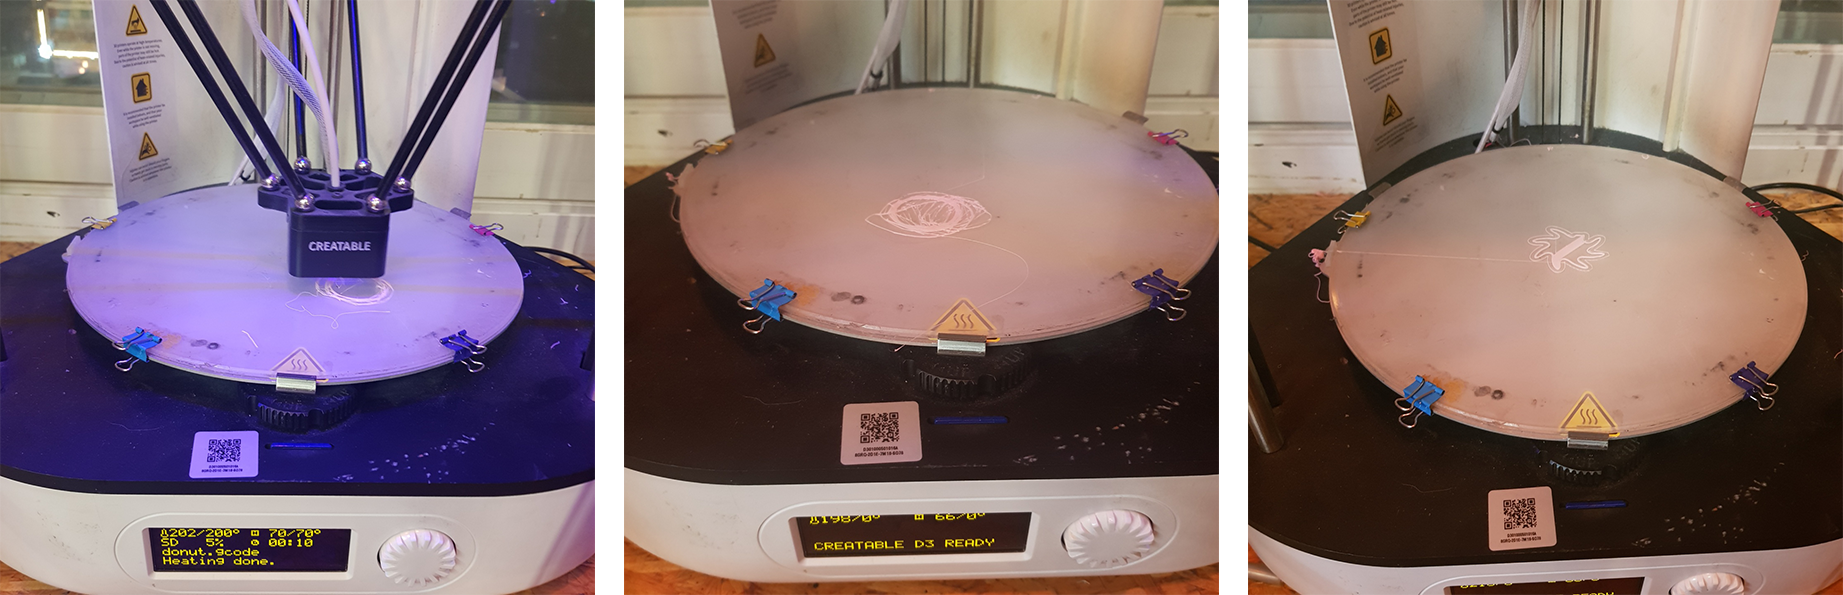
Note that shell thickness should be the multiple value of a nozzle size, which was 0.4 in my case. In layer view, I checked how layers will be printed. It seemed fine, so I saved the file as .gcode in SD card. And I failed several times. First I thought it could be the problem of the machine that I am using,
so I tried printing other file(cute octopus) in SD card.
As you can see in the picture of right side, the machine operated well, so I re-checked the printing conditions in CURA.
I found out that I didn't configured Support.
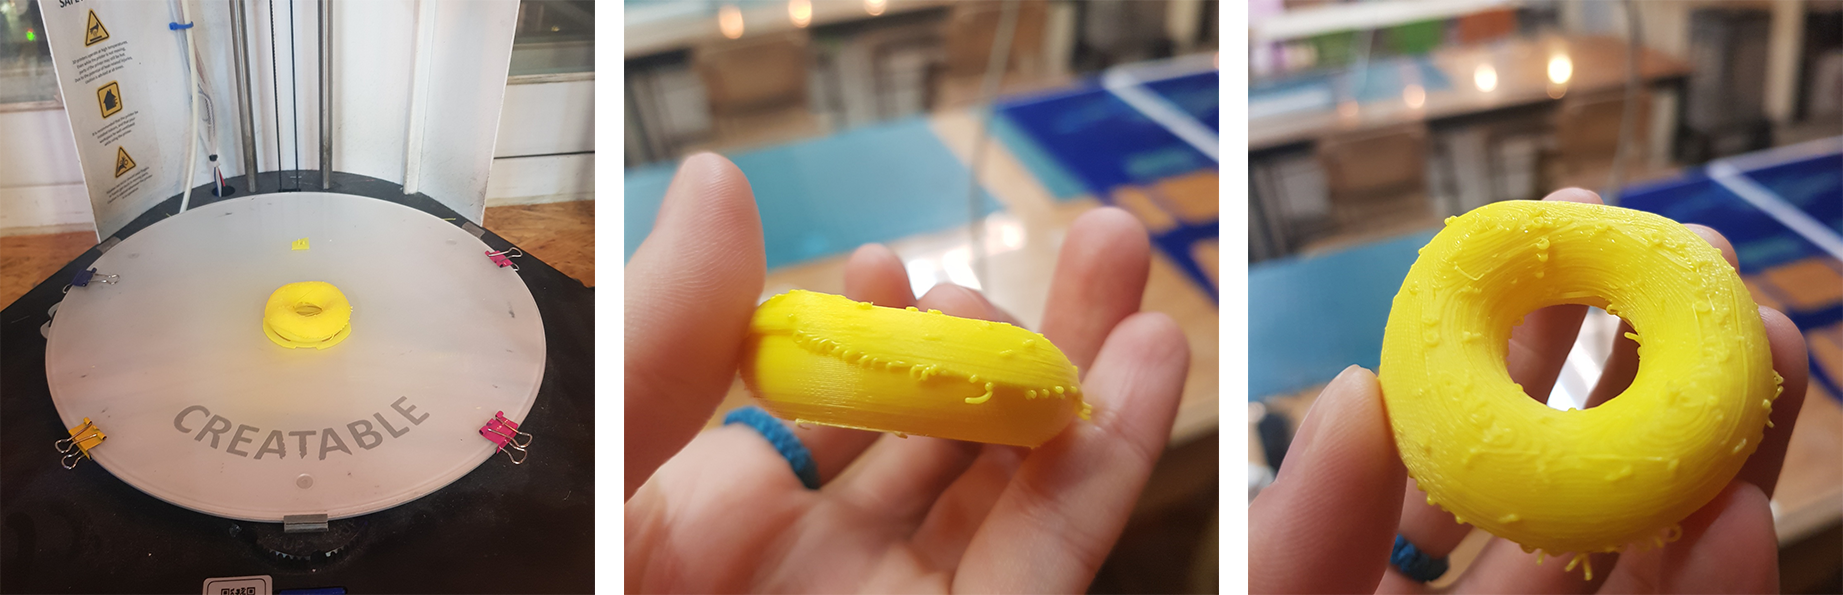
Recommended condition of this section is as follows: Everywhere for Support type & Brim for Platform adhesion type: Finally I got the result, but it was dissapointing. No sprinkles survived in the process of 3D printing... After seeing the result of a donut without sprinkles, I decided to empty my mind.
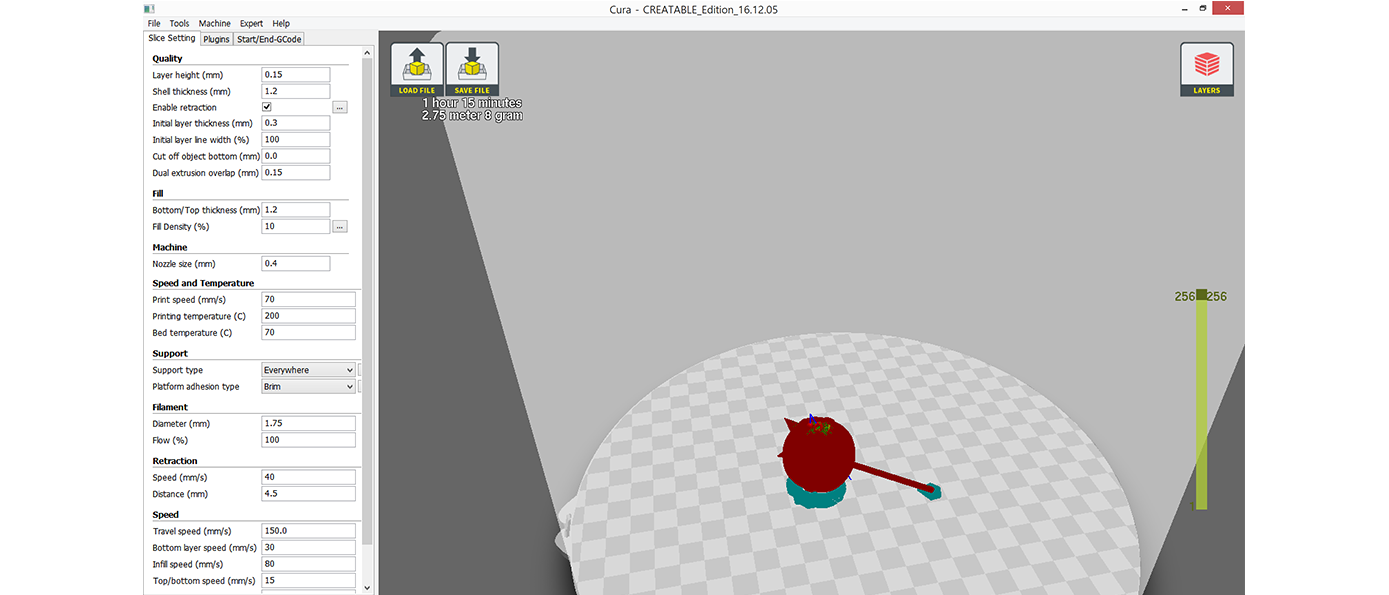
Thought that I will probably get a candy without a face... The picture above shows the rendered view of a candy in Blender. I decided to lay down the object to efficiently print it. Greenish blue layer shows the supports(Brim).
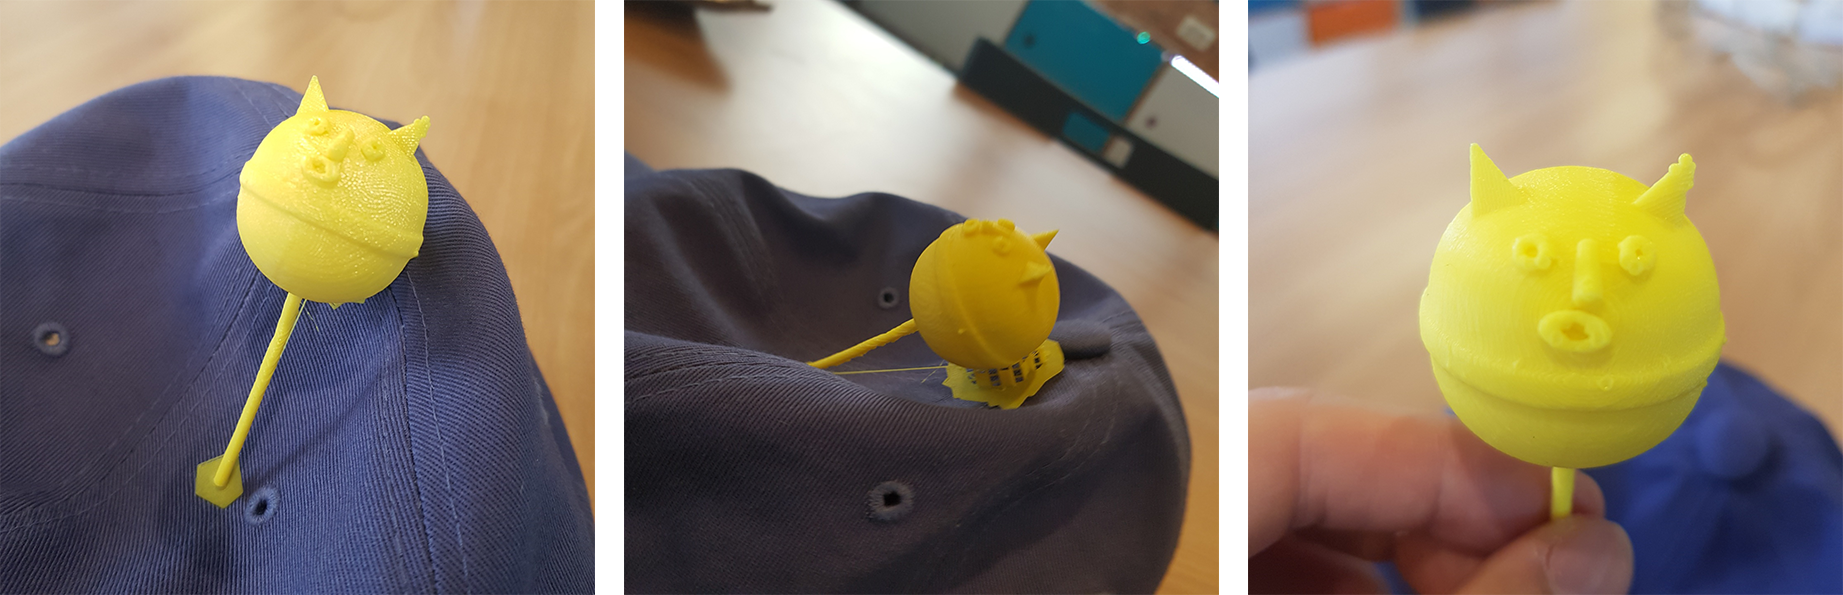
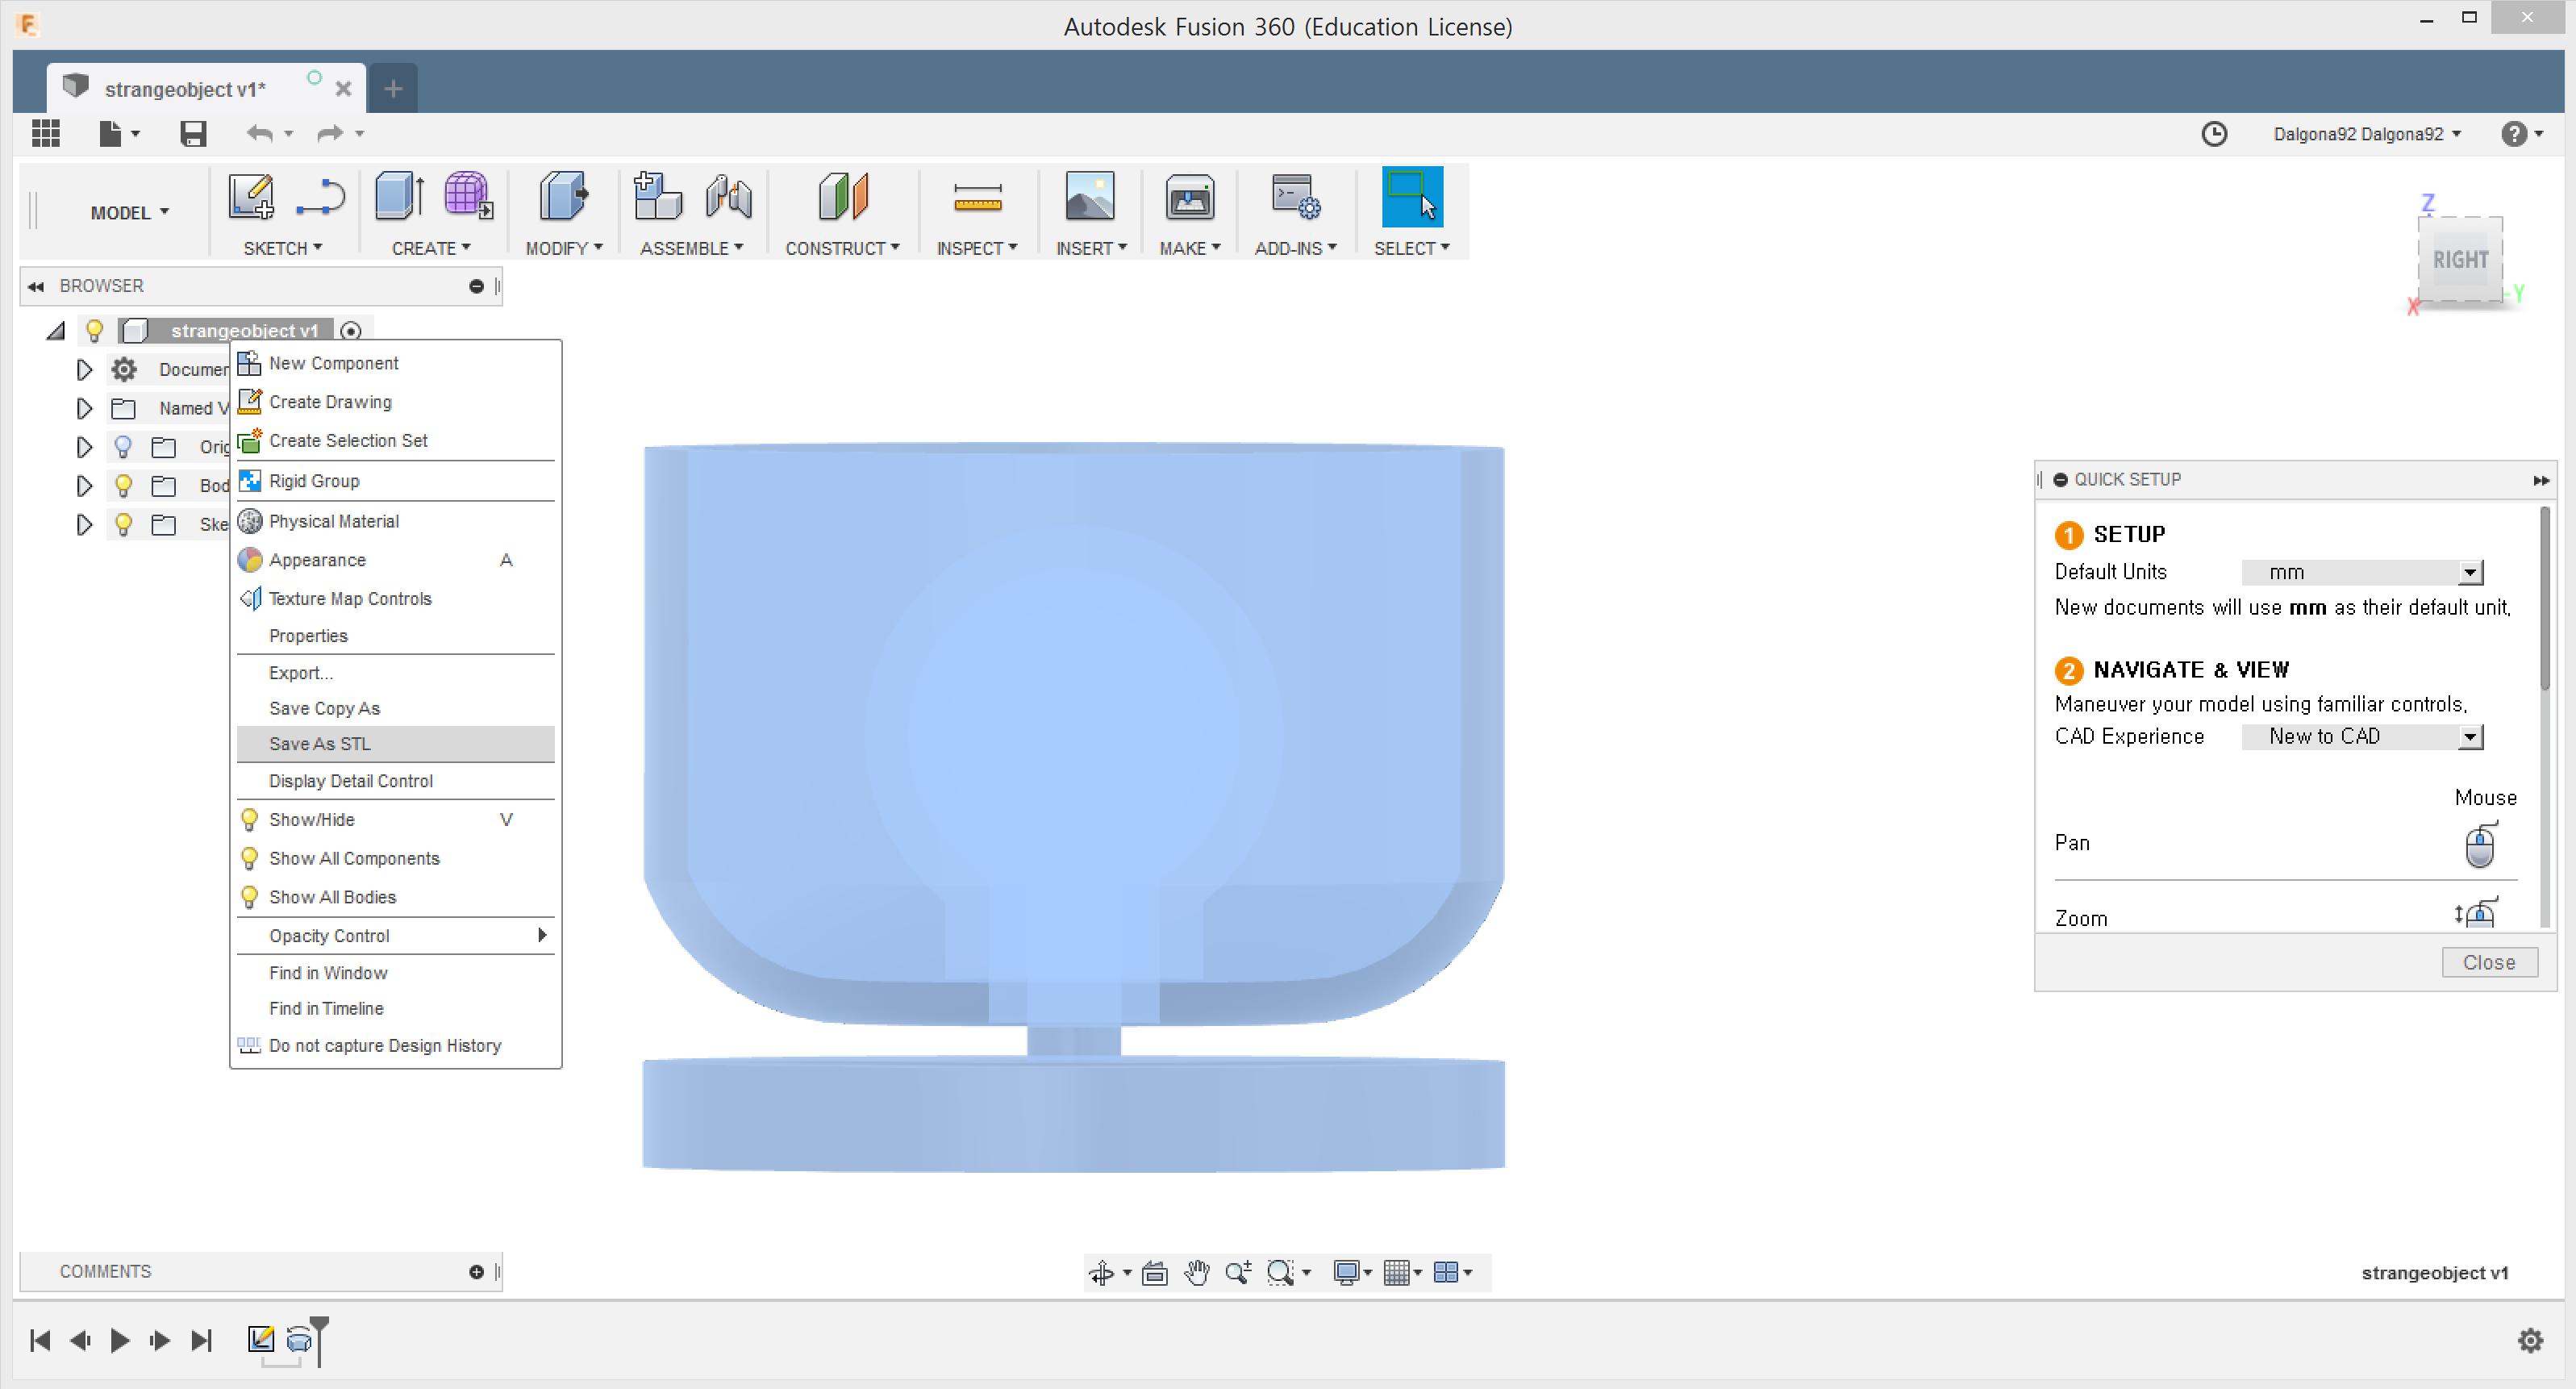
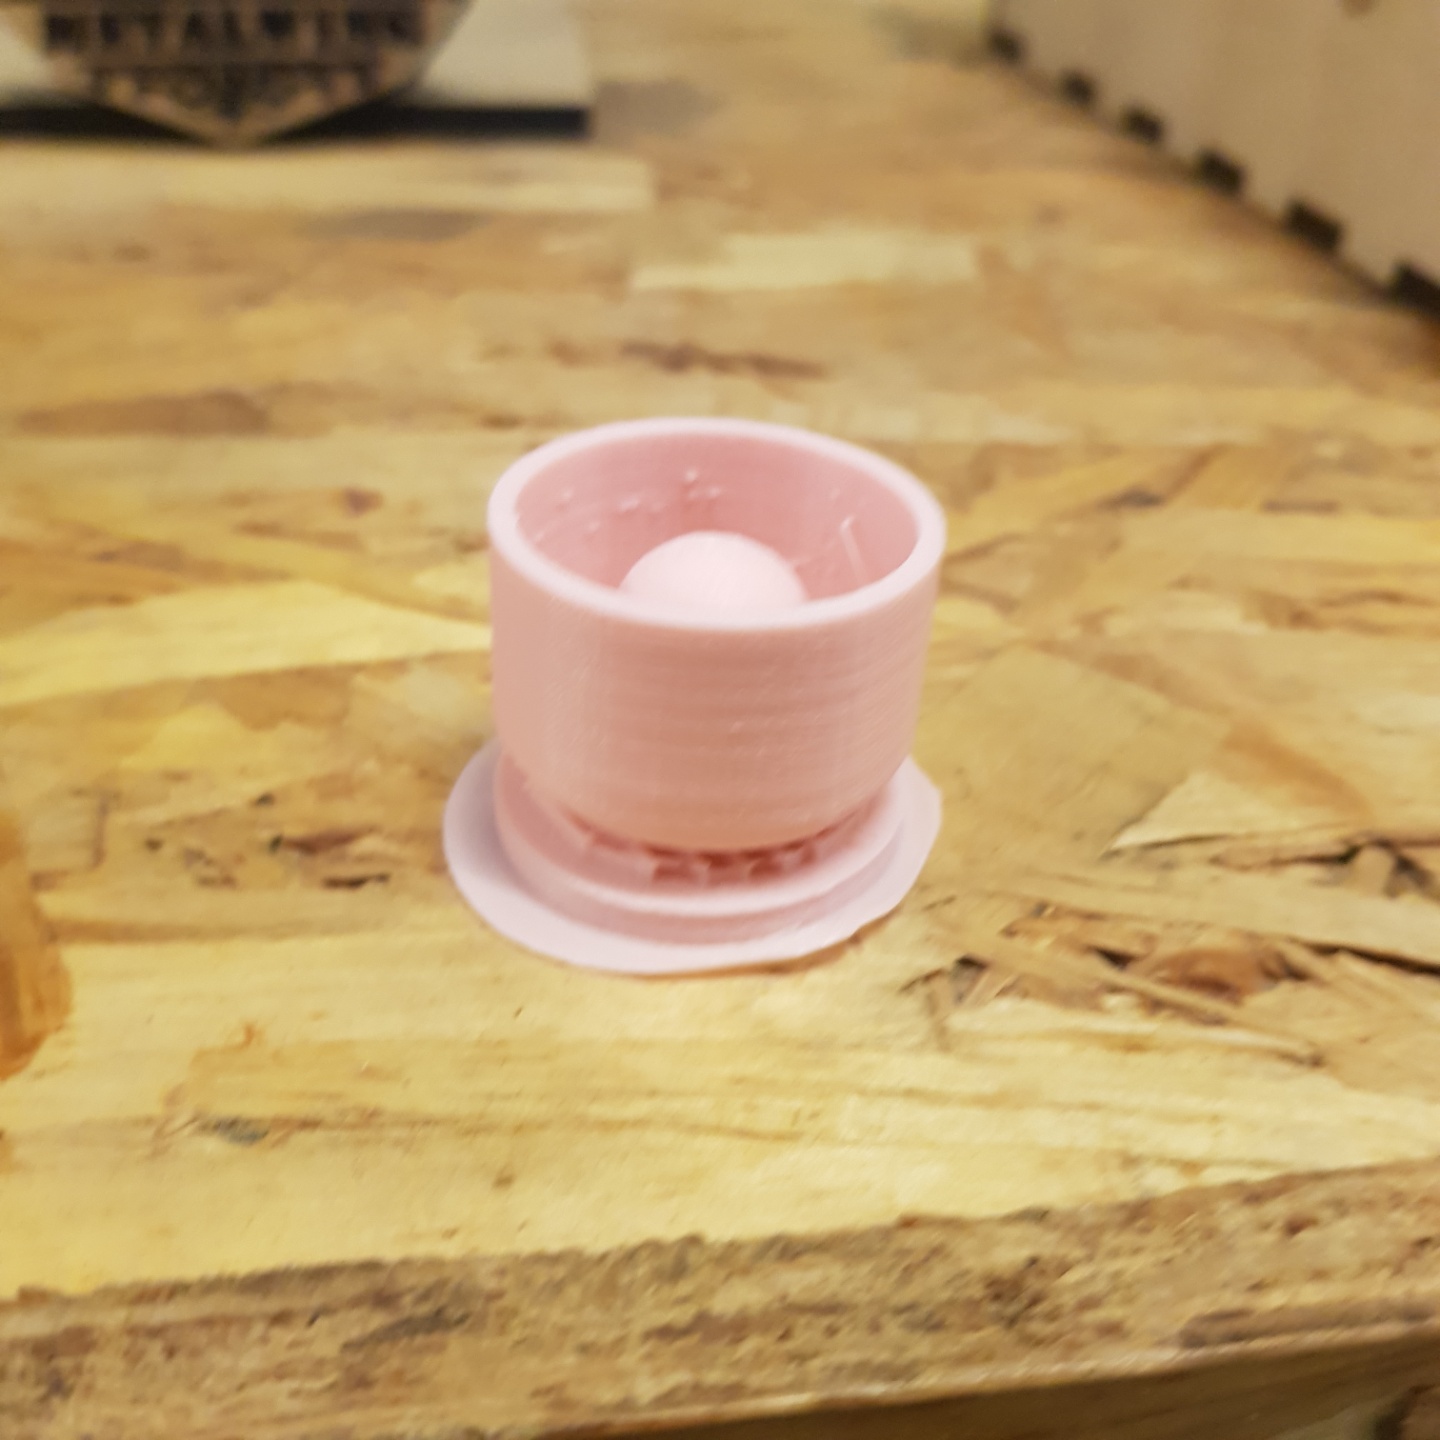
And these are the results, better than I expected(But the cylinder part was thin - broken in almost 30 minutes): My instructor told me to print one more, which has a joint. So I designed this object with a joint, this time in Fusion 360. Rendered view of the object in CREATABLE CURA for D3: Most clean and neat result that I had this week.
But maybe supports were too thick, so I couldn't break(separate) the joint part. 3. 3D scan an object. 4. Result of this week ◾ "donut.stl" ◾ "donut.gcode" ◾ "candy.stl" ◾ "candy.gcode" ◾ "strangeobject v2.stl" ◾ "strangeobject.gcode"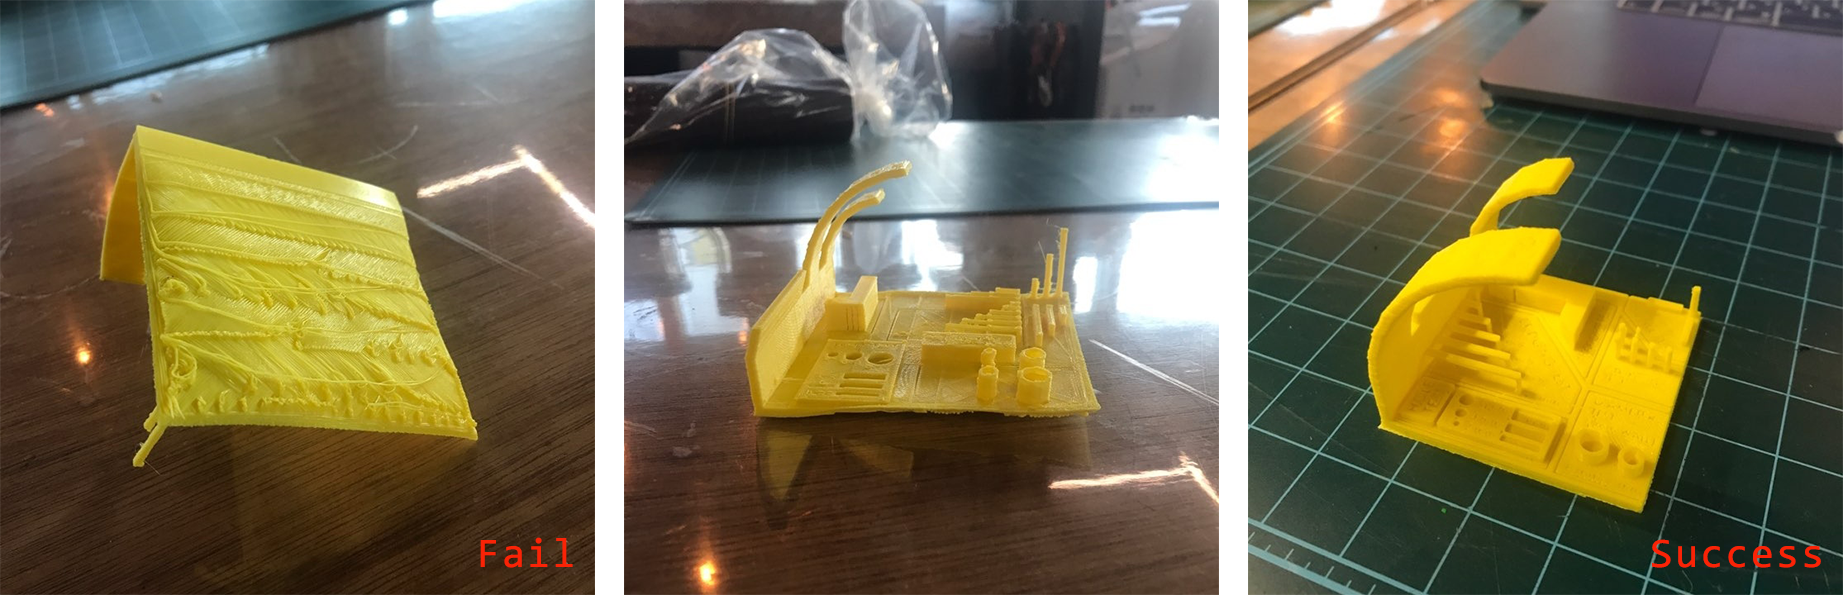
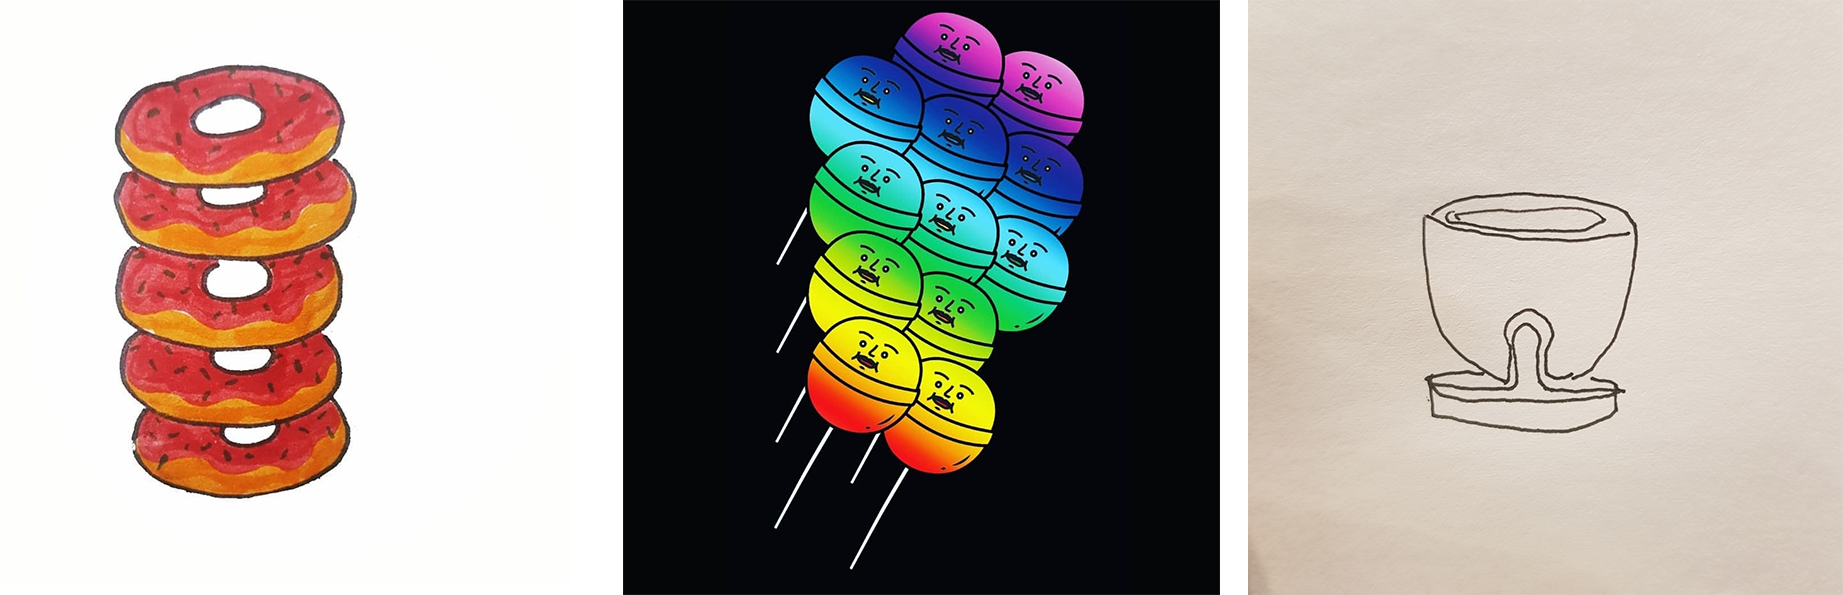
1. A donut with lots of sprinkles
2. A candy with a face on it

3. A strange object with one joint
Download files to make a donut without sprinkles, a candy with cat ears, and a strange object.