This week I will learn, create and apply a parametric design cutting with the laser cutter; and vinyl cut. I will also will find and document all the specifics of the machines.
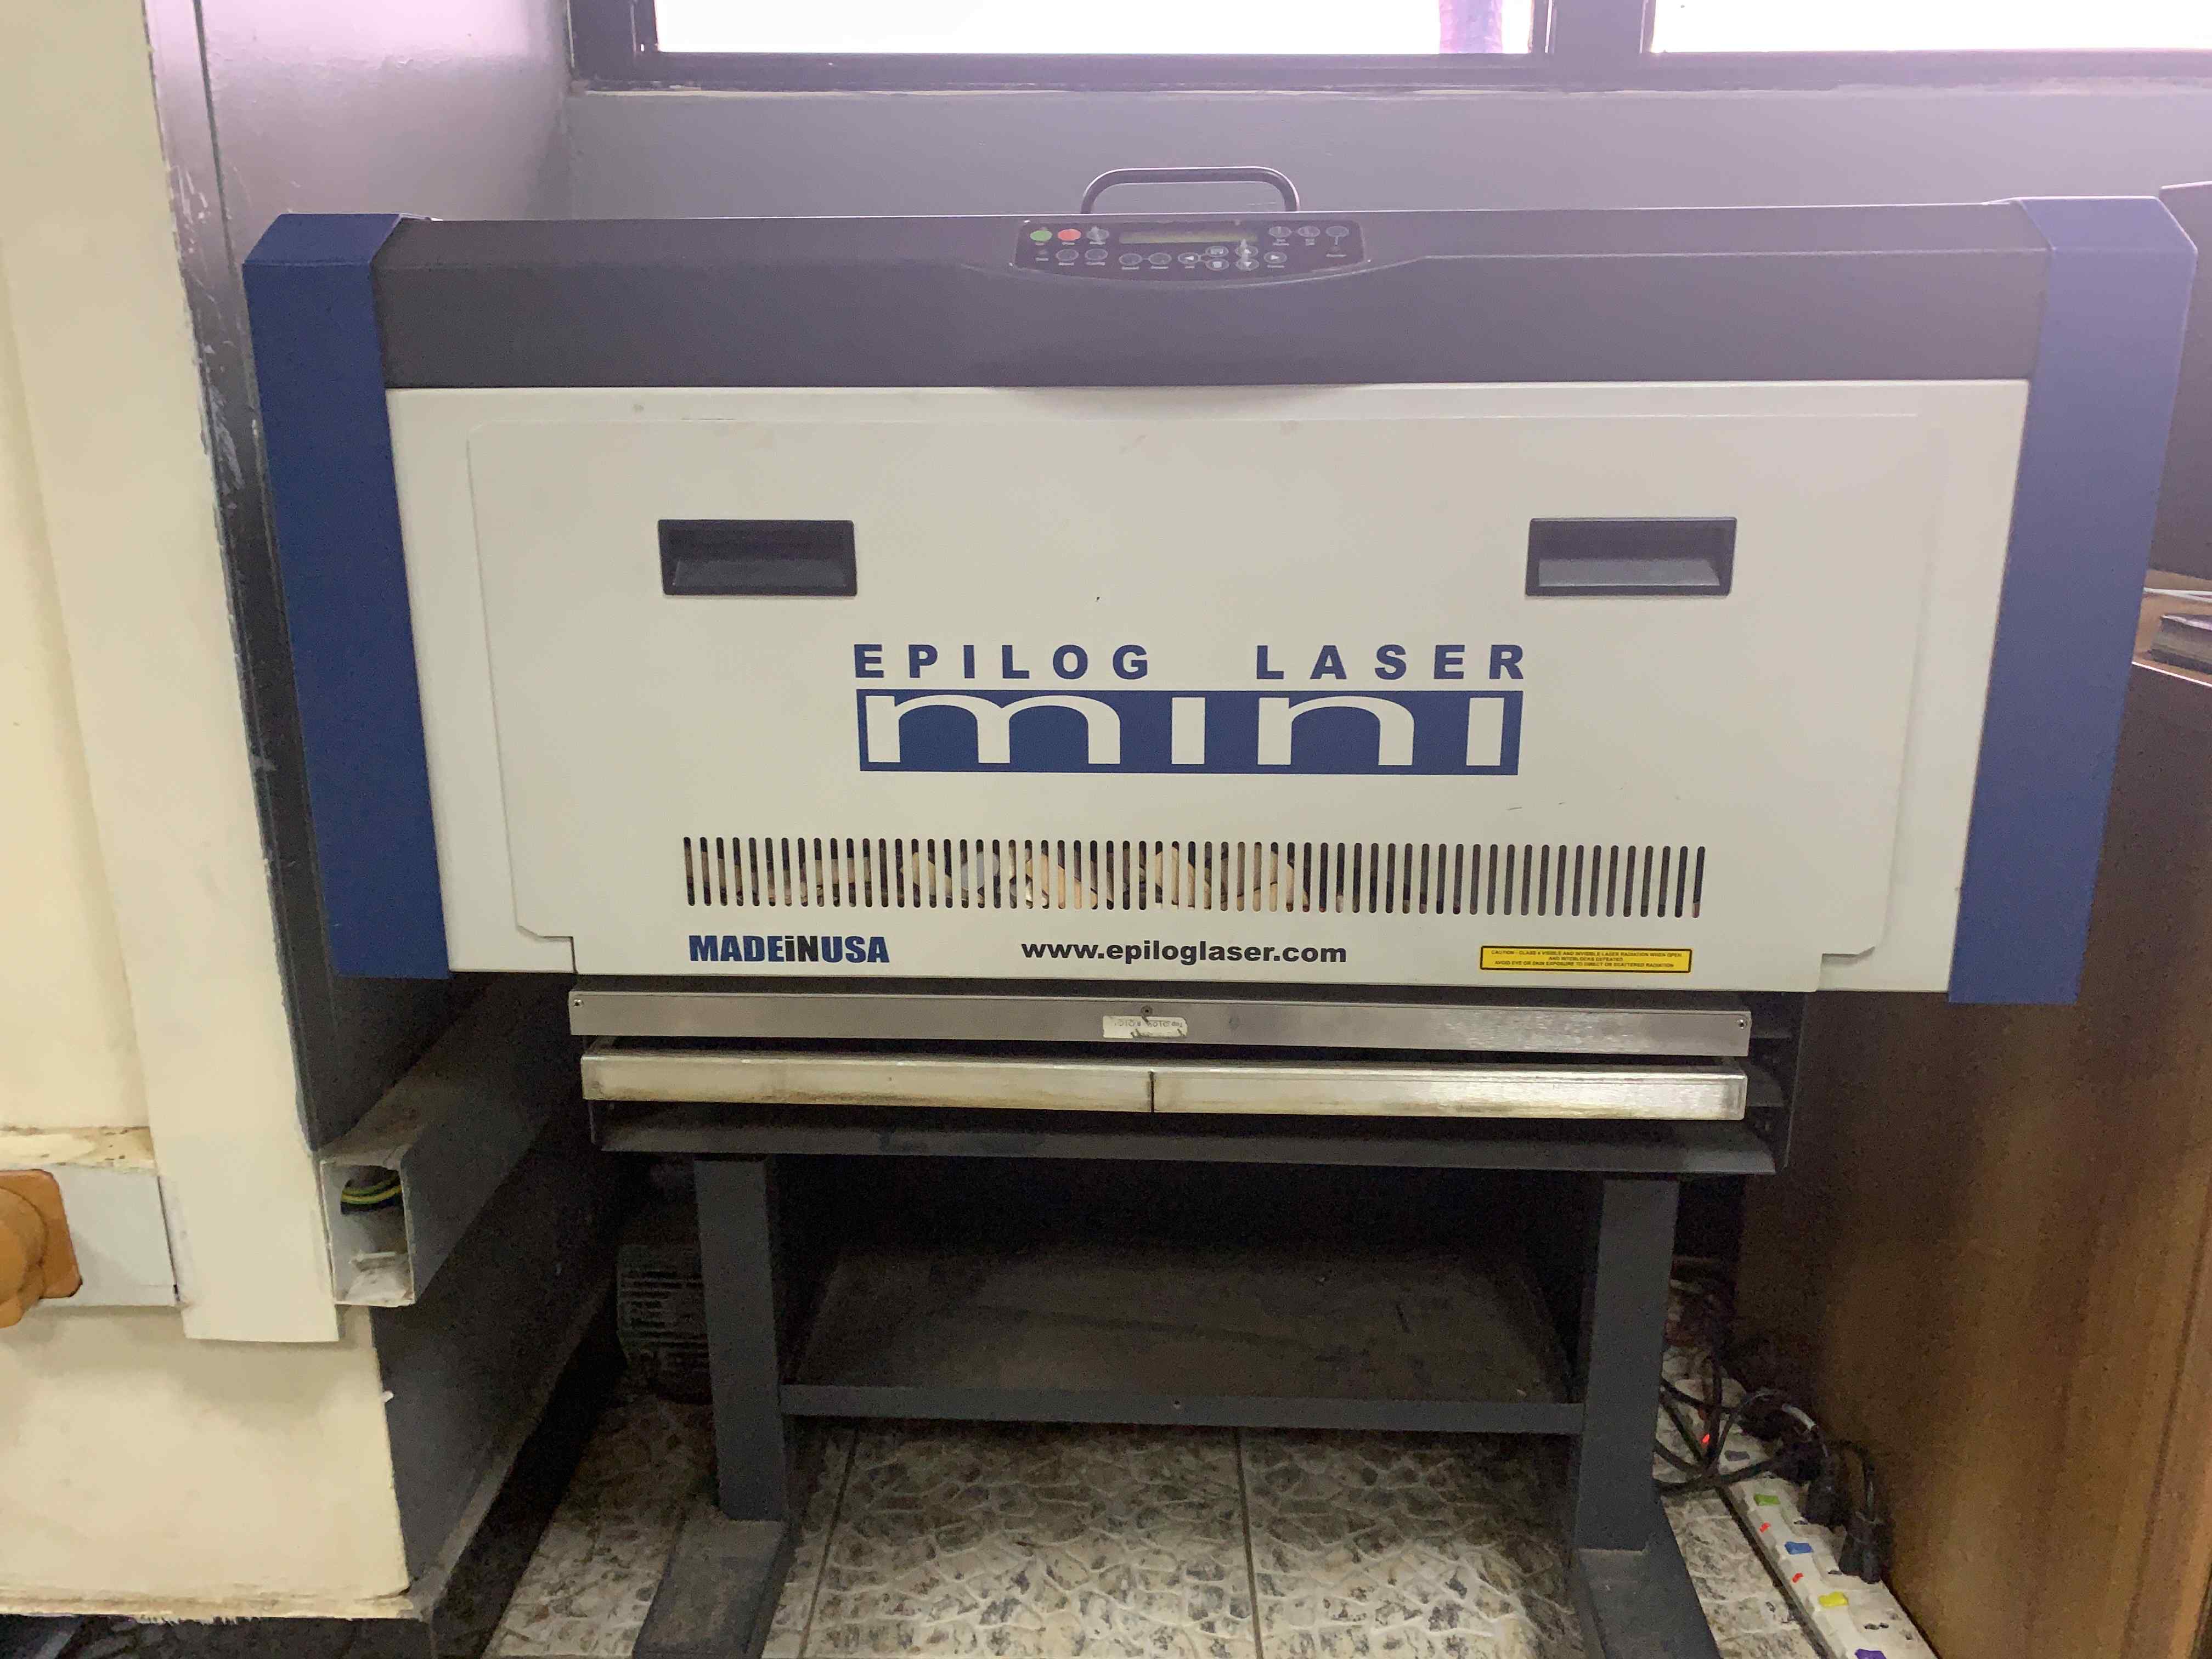
The laser cutter performs two main activities: Vector cutting (to cut) and Raster etching (to engrave)
Laser cutting is a technology that uses a laser to cut or engrave the material based on computer-controlled parameters. The laser can cut through different kinds of materials like: plastics, woods, rubbers, foams, papers, acrylics, fabrics and some even metal. With the laser cutter you have a total control of the beam of your laser when you use it. This means that you can control the beam heat output, the intensity of the beam on your material, and the duration of your beam.
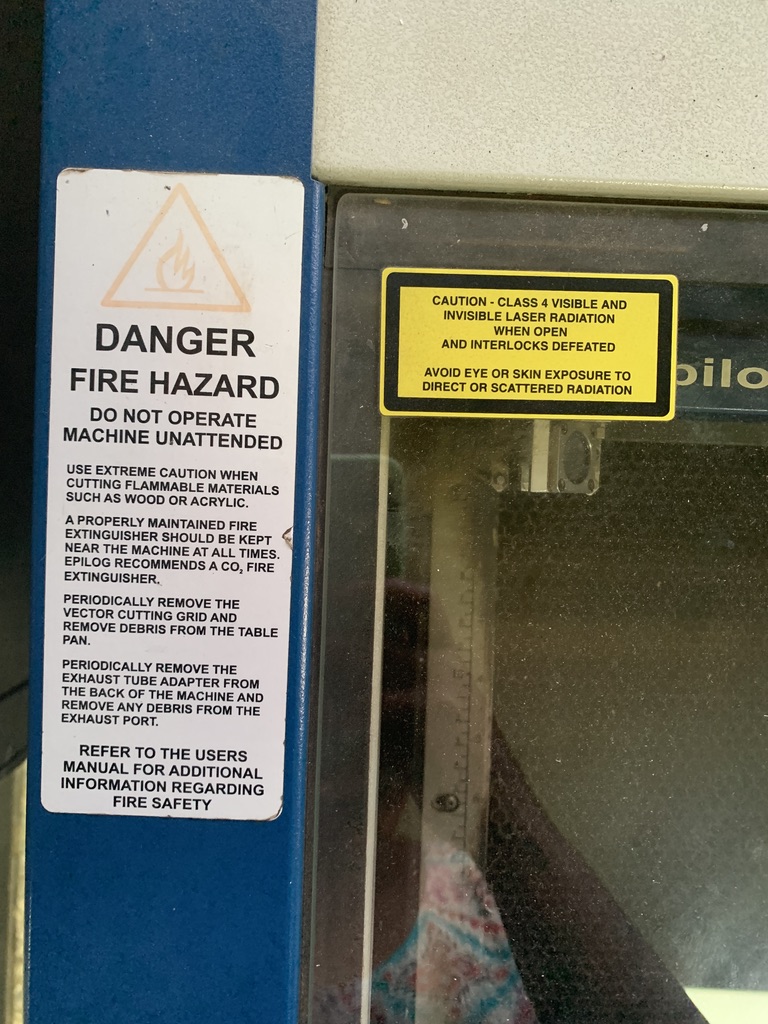
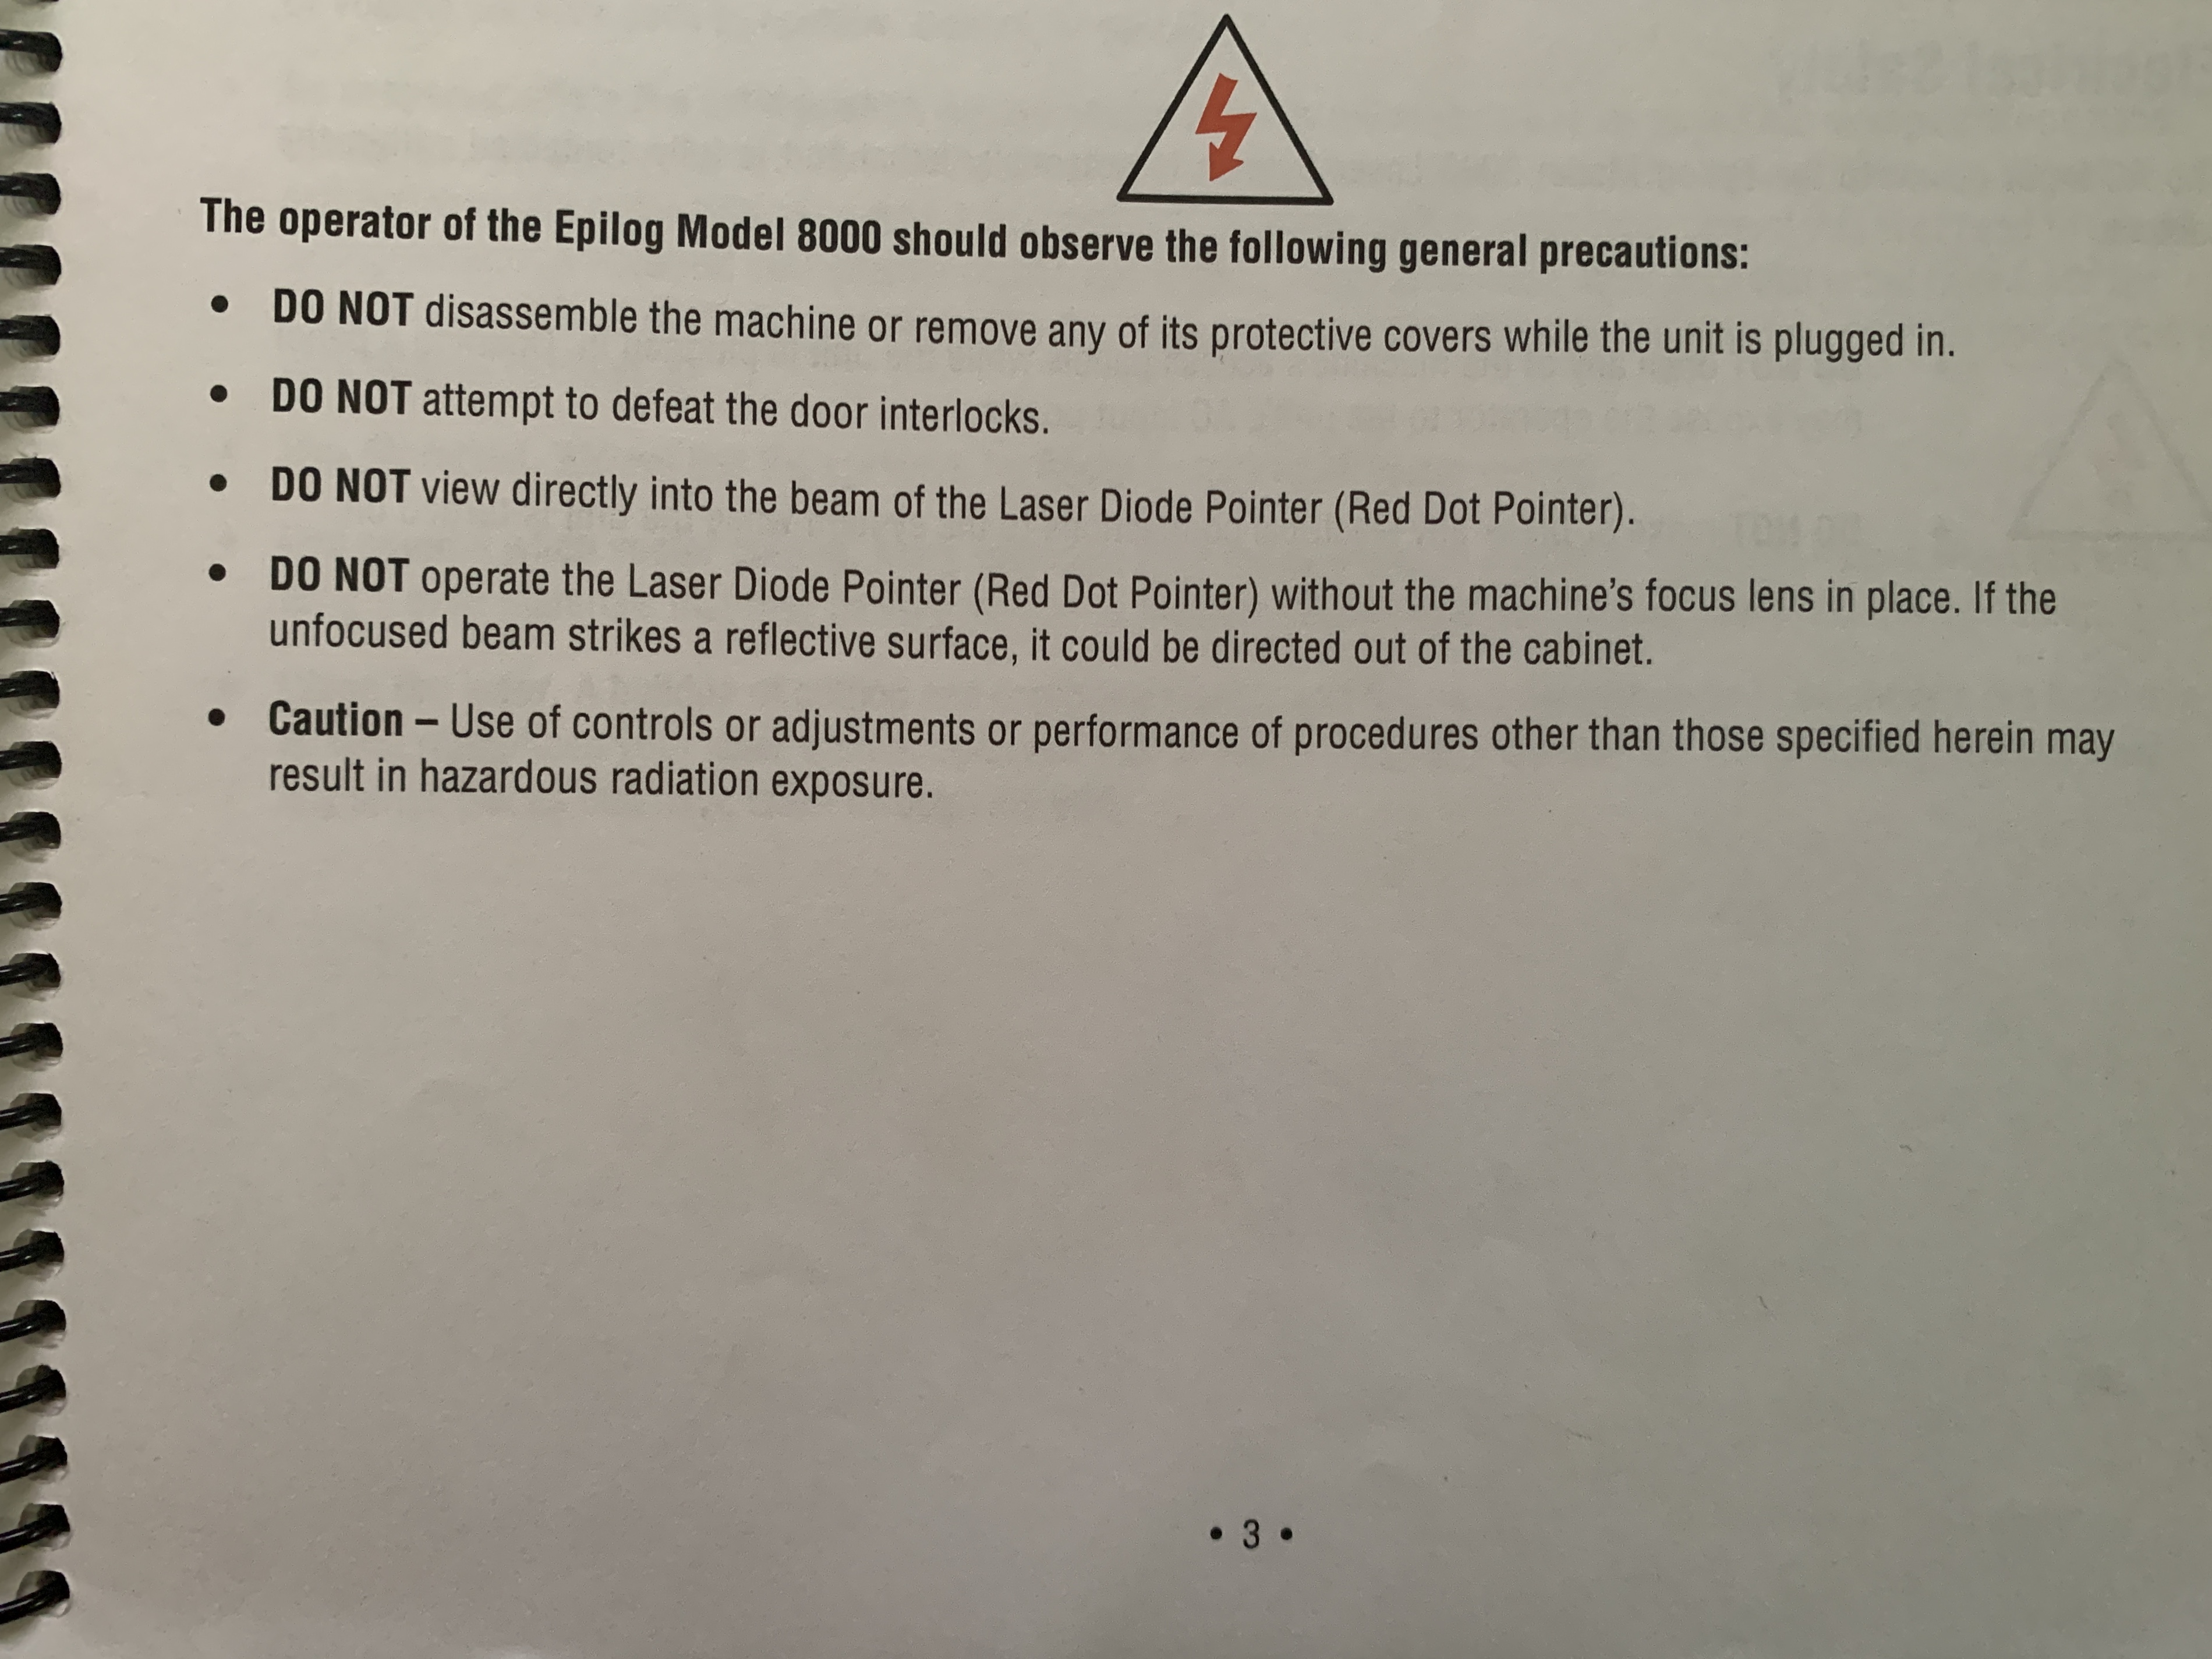
It's very important to first learn the safety rules before you start to use the machine.
Here some basic and very important rules to follow:
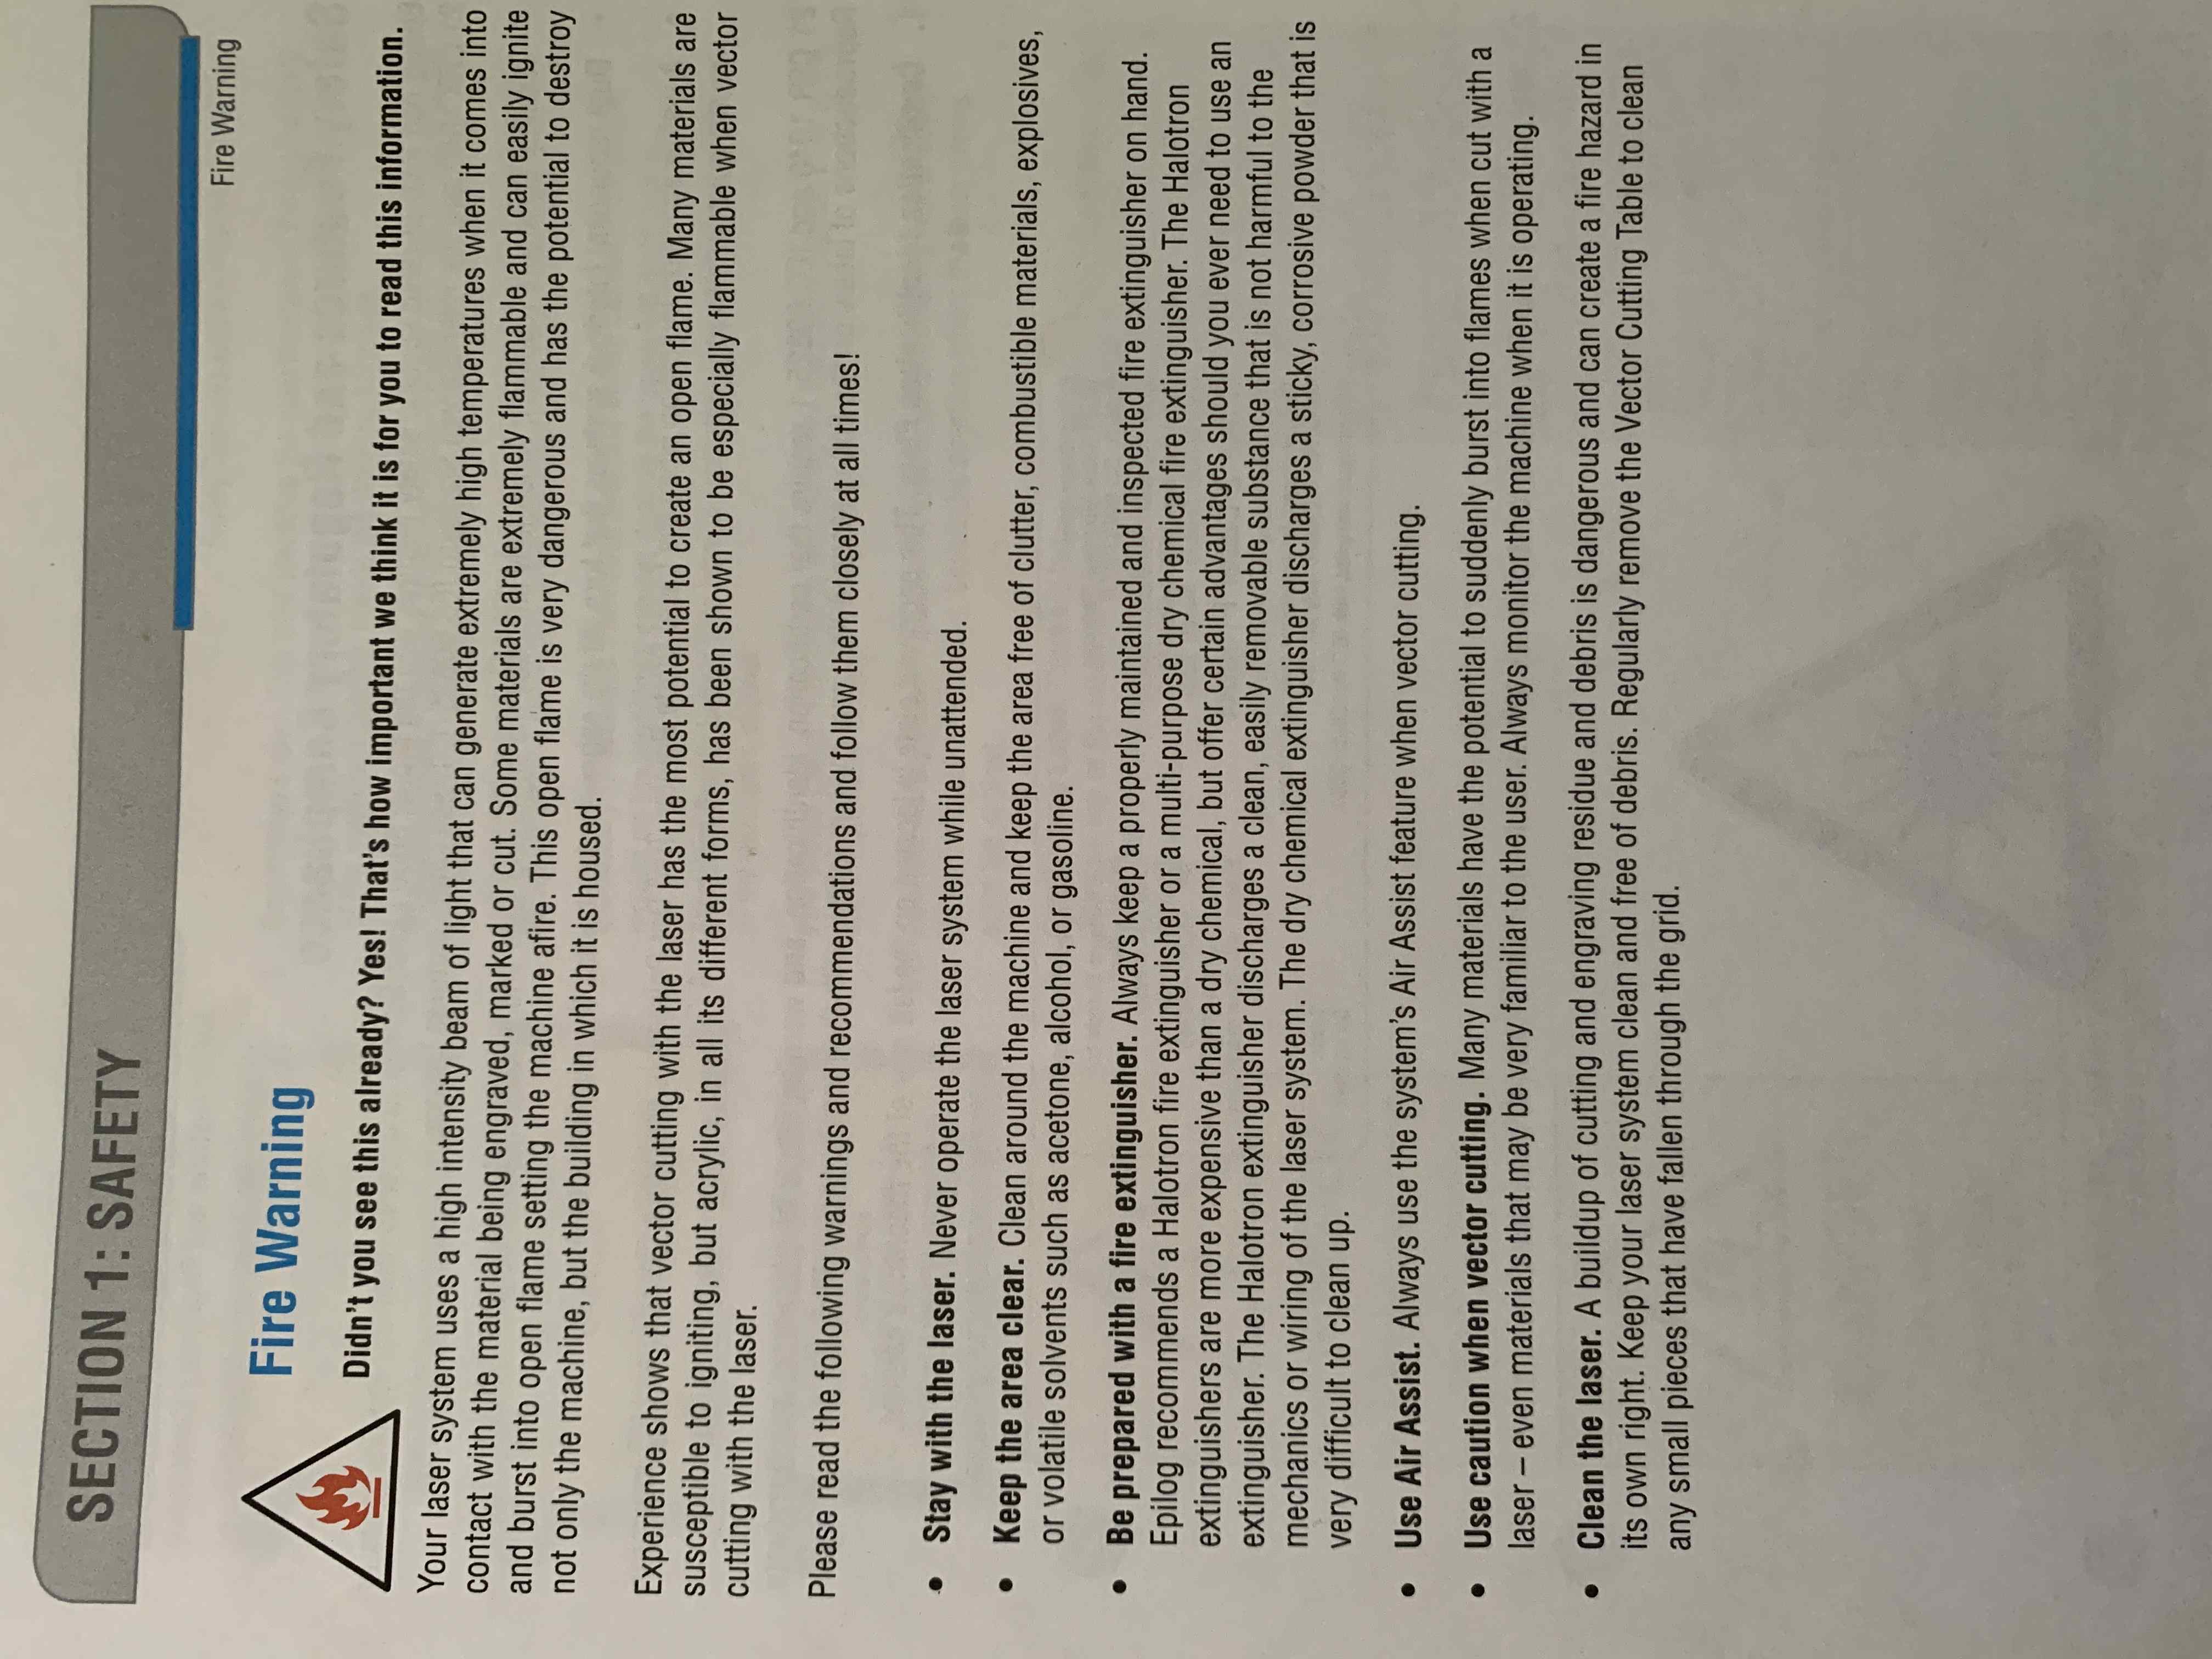
* Never leave the machine unattended.
* Only cut materials that you can cut with the laser cutter. If you are not sure ask someone.
* Never forget to turn on the air compressor/filter, otherwise you might destroy the laser.
* Moreover, after finishing a job wait for a bit before you open the lid.
* Make sure you know what to do in case of fire.
Here is a great video that explains well how the laser light is produced:
A) Setting the lasercutter's focus:
After turning on the machine and the air compressor/filter, we have to set the laser focus.
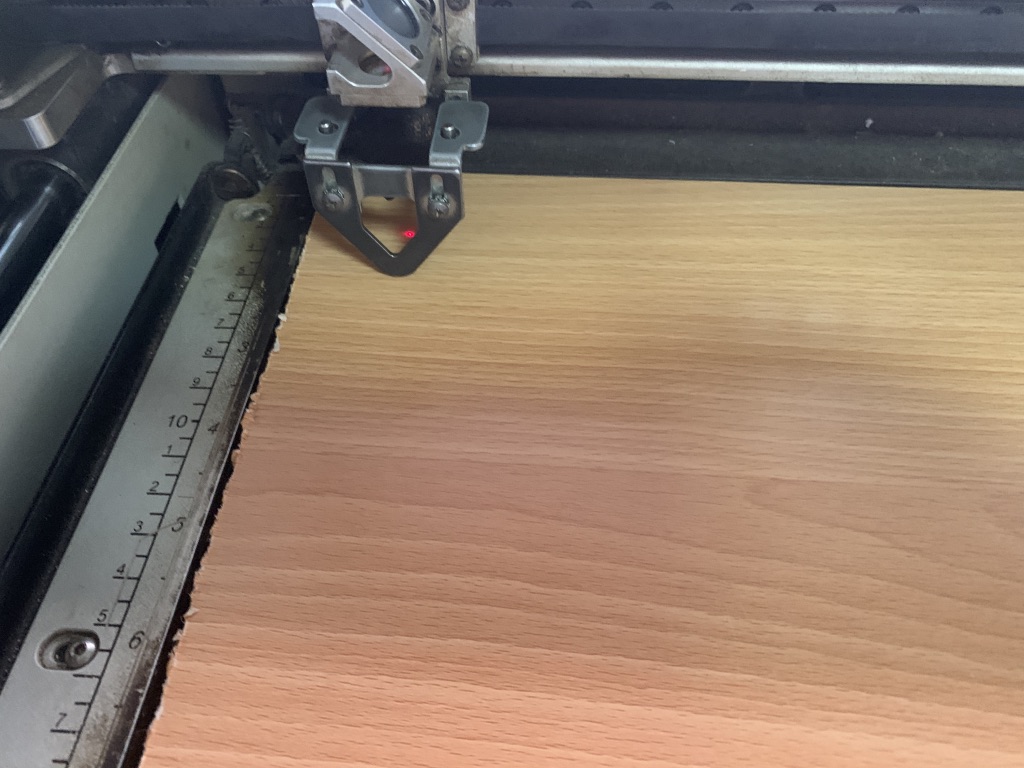
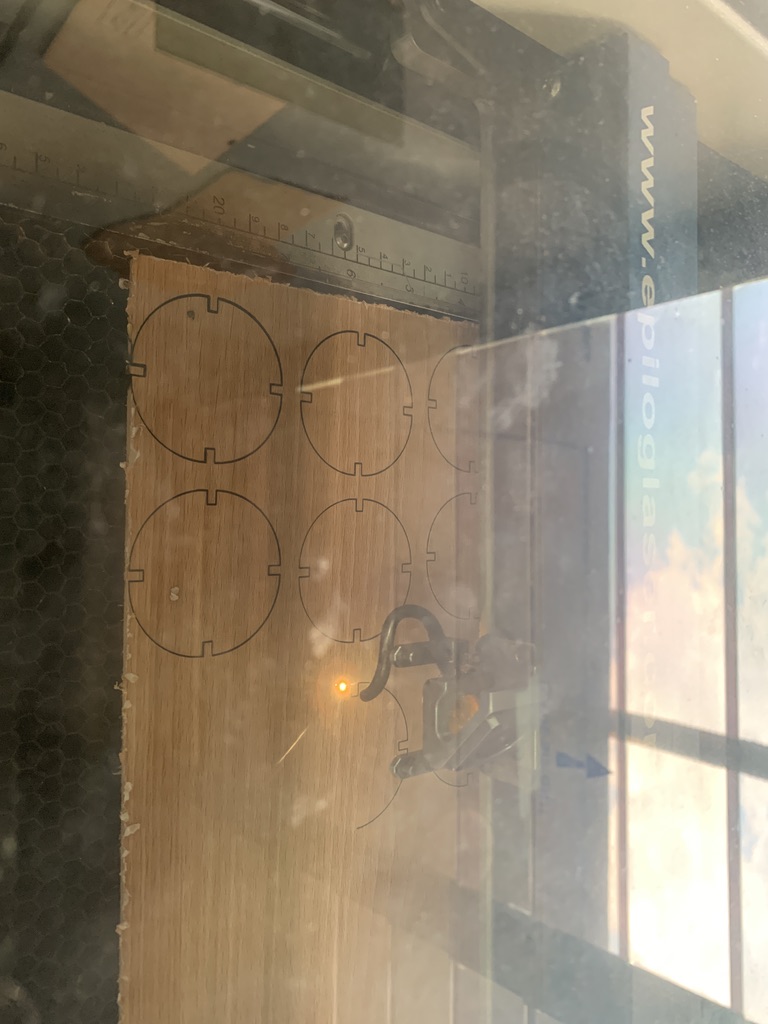
This triangle tool help us set the laser focus.

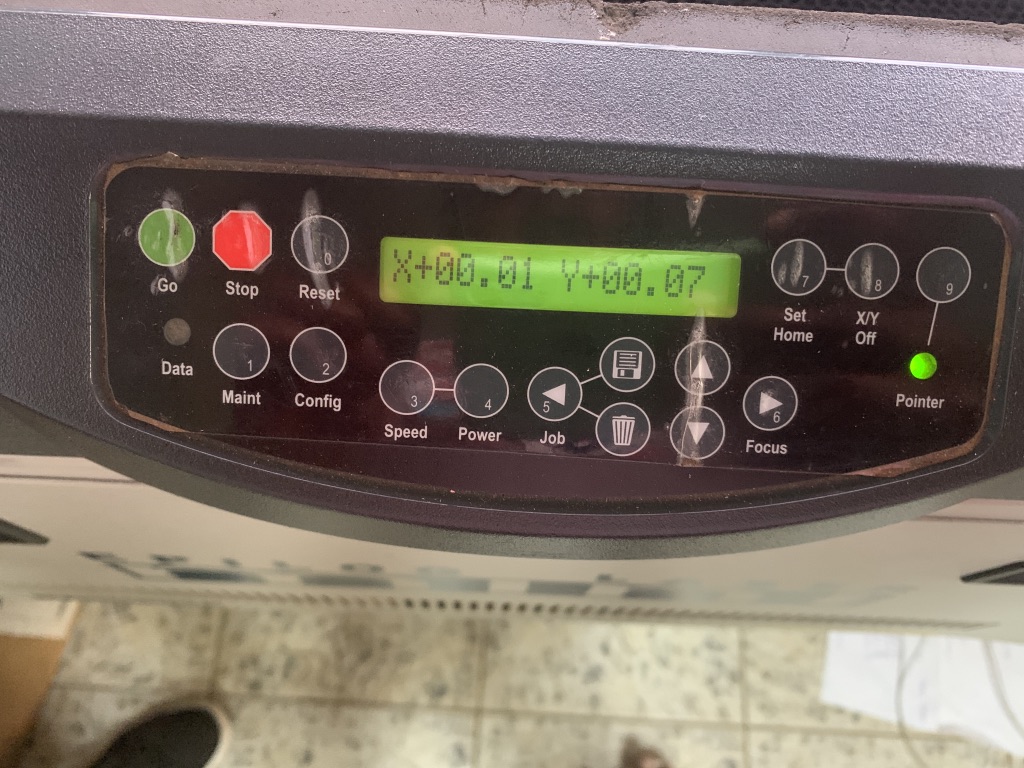
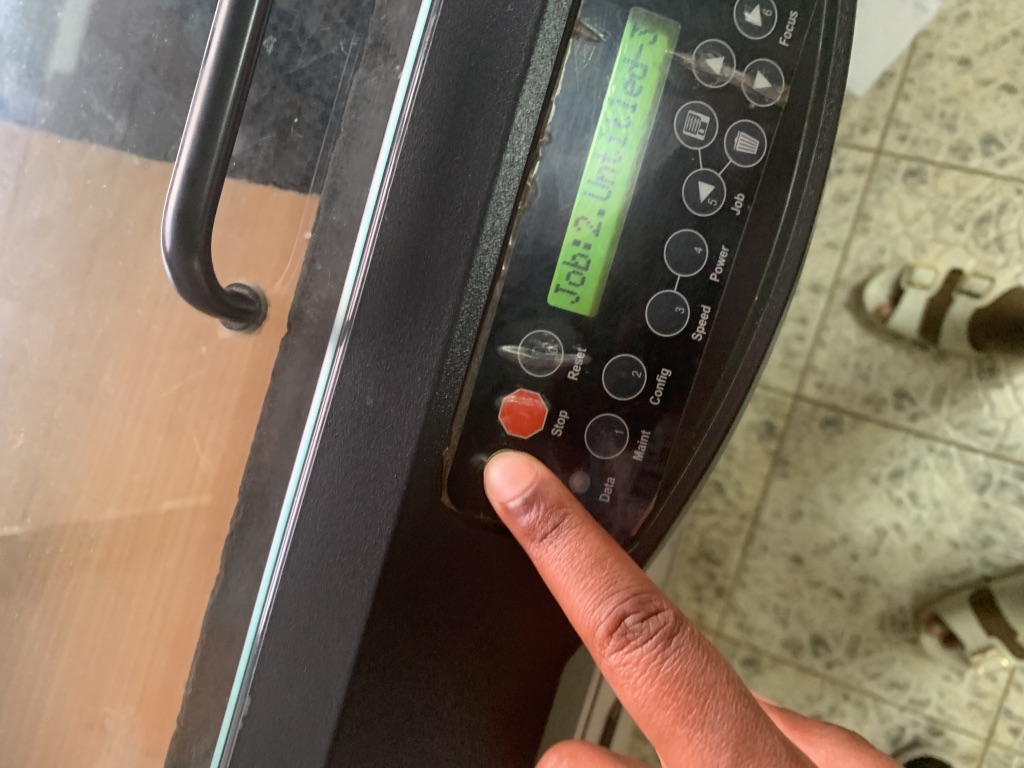
The key part of the laser system, is the control panel. Here you can control each axis of the machine while setting the laser focus. The purpose is to move the plane contanining the material in the z axis (up and down). Select focus in the menu and move the tray up and down until the laser is at a correct distance from the laser head. The correct distance is measured by hanging a small metallic tringle from the laser. Move the tray up, until the material touches the triangle, then remove the triangle - Finally press the joystick to set the focus.
By pressing on Focus and on the up & down arrow, you can bring the required laser focus on the material as shown below:
B) Setting the lasercutter's power, speed, rate, kerf, and joint clearance :
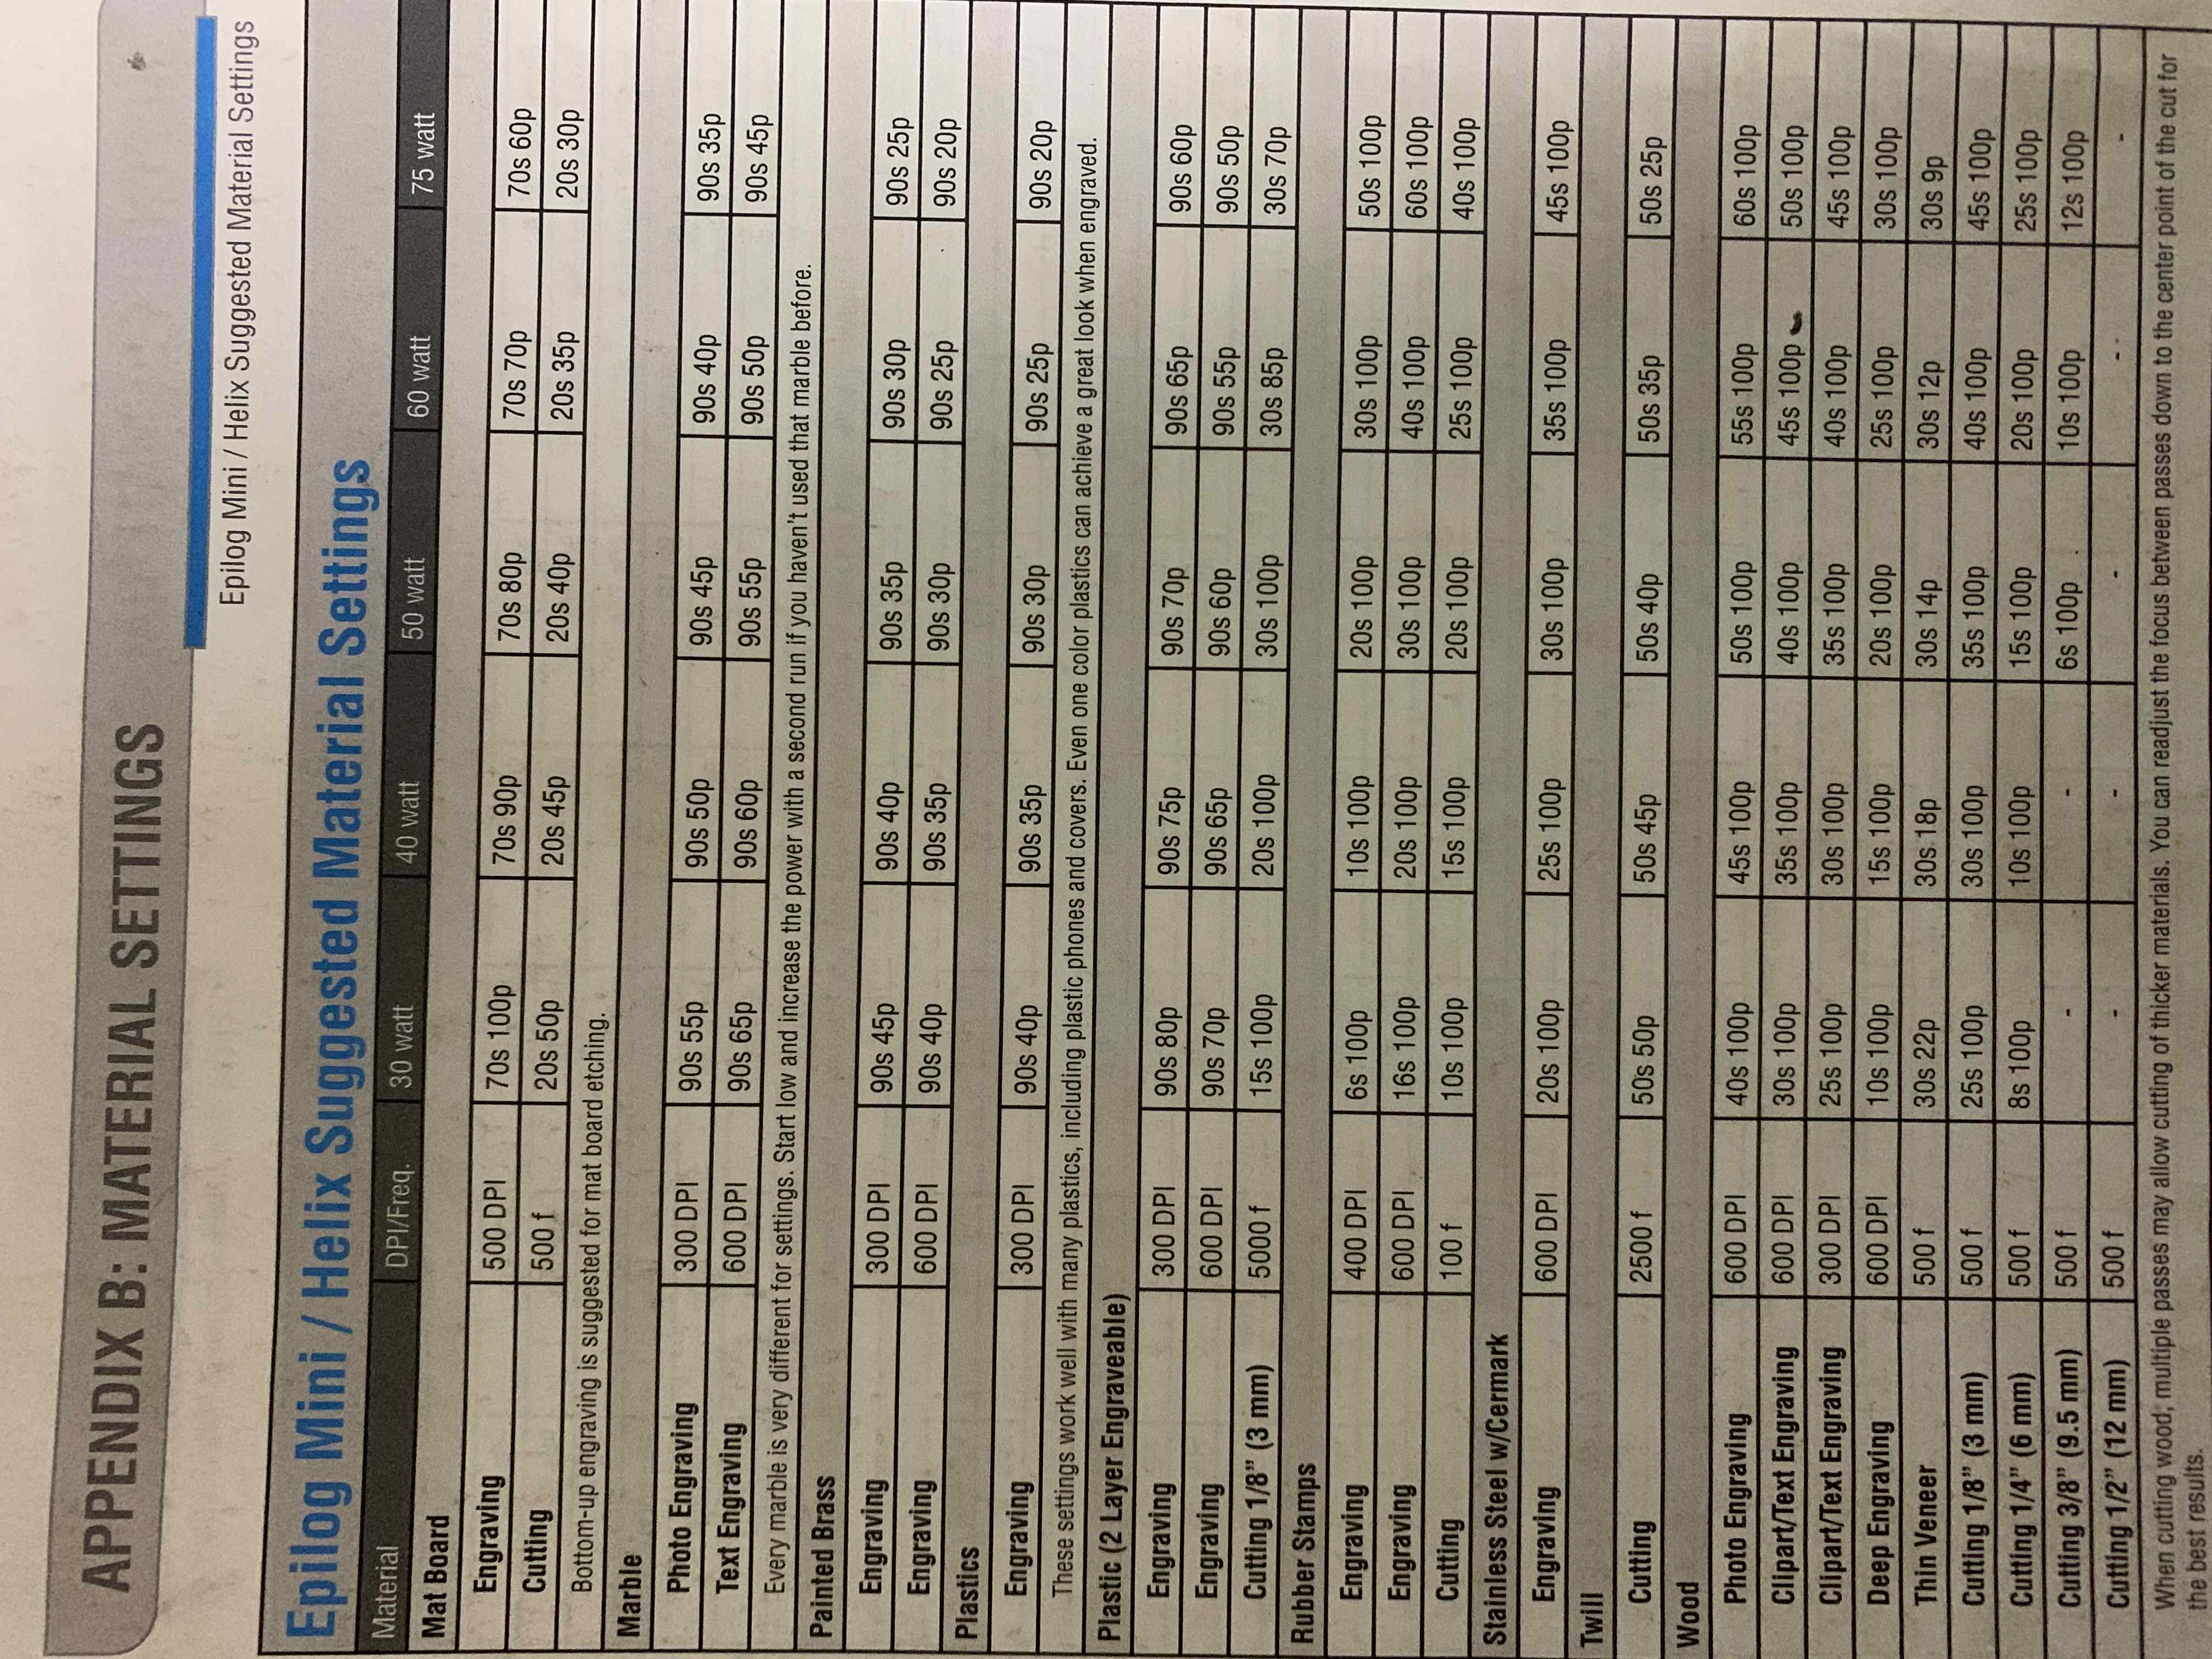
1) Power, Speed and rate: I used the lasercutter's manual to learn more about that. Each type of material has its correspondent power, speed and rate/frequency. I reffered to below info from the manual to set the preferences:
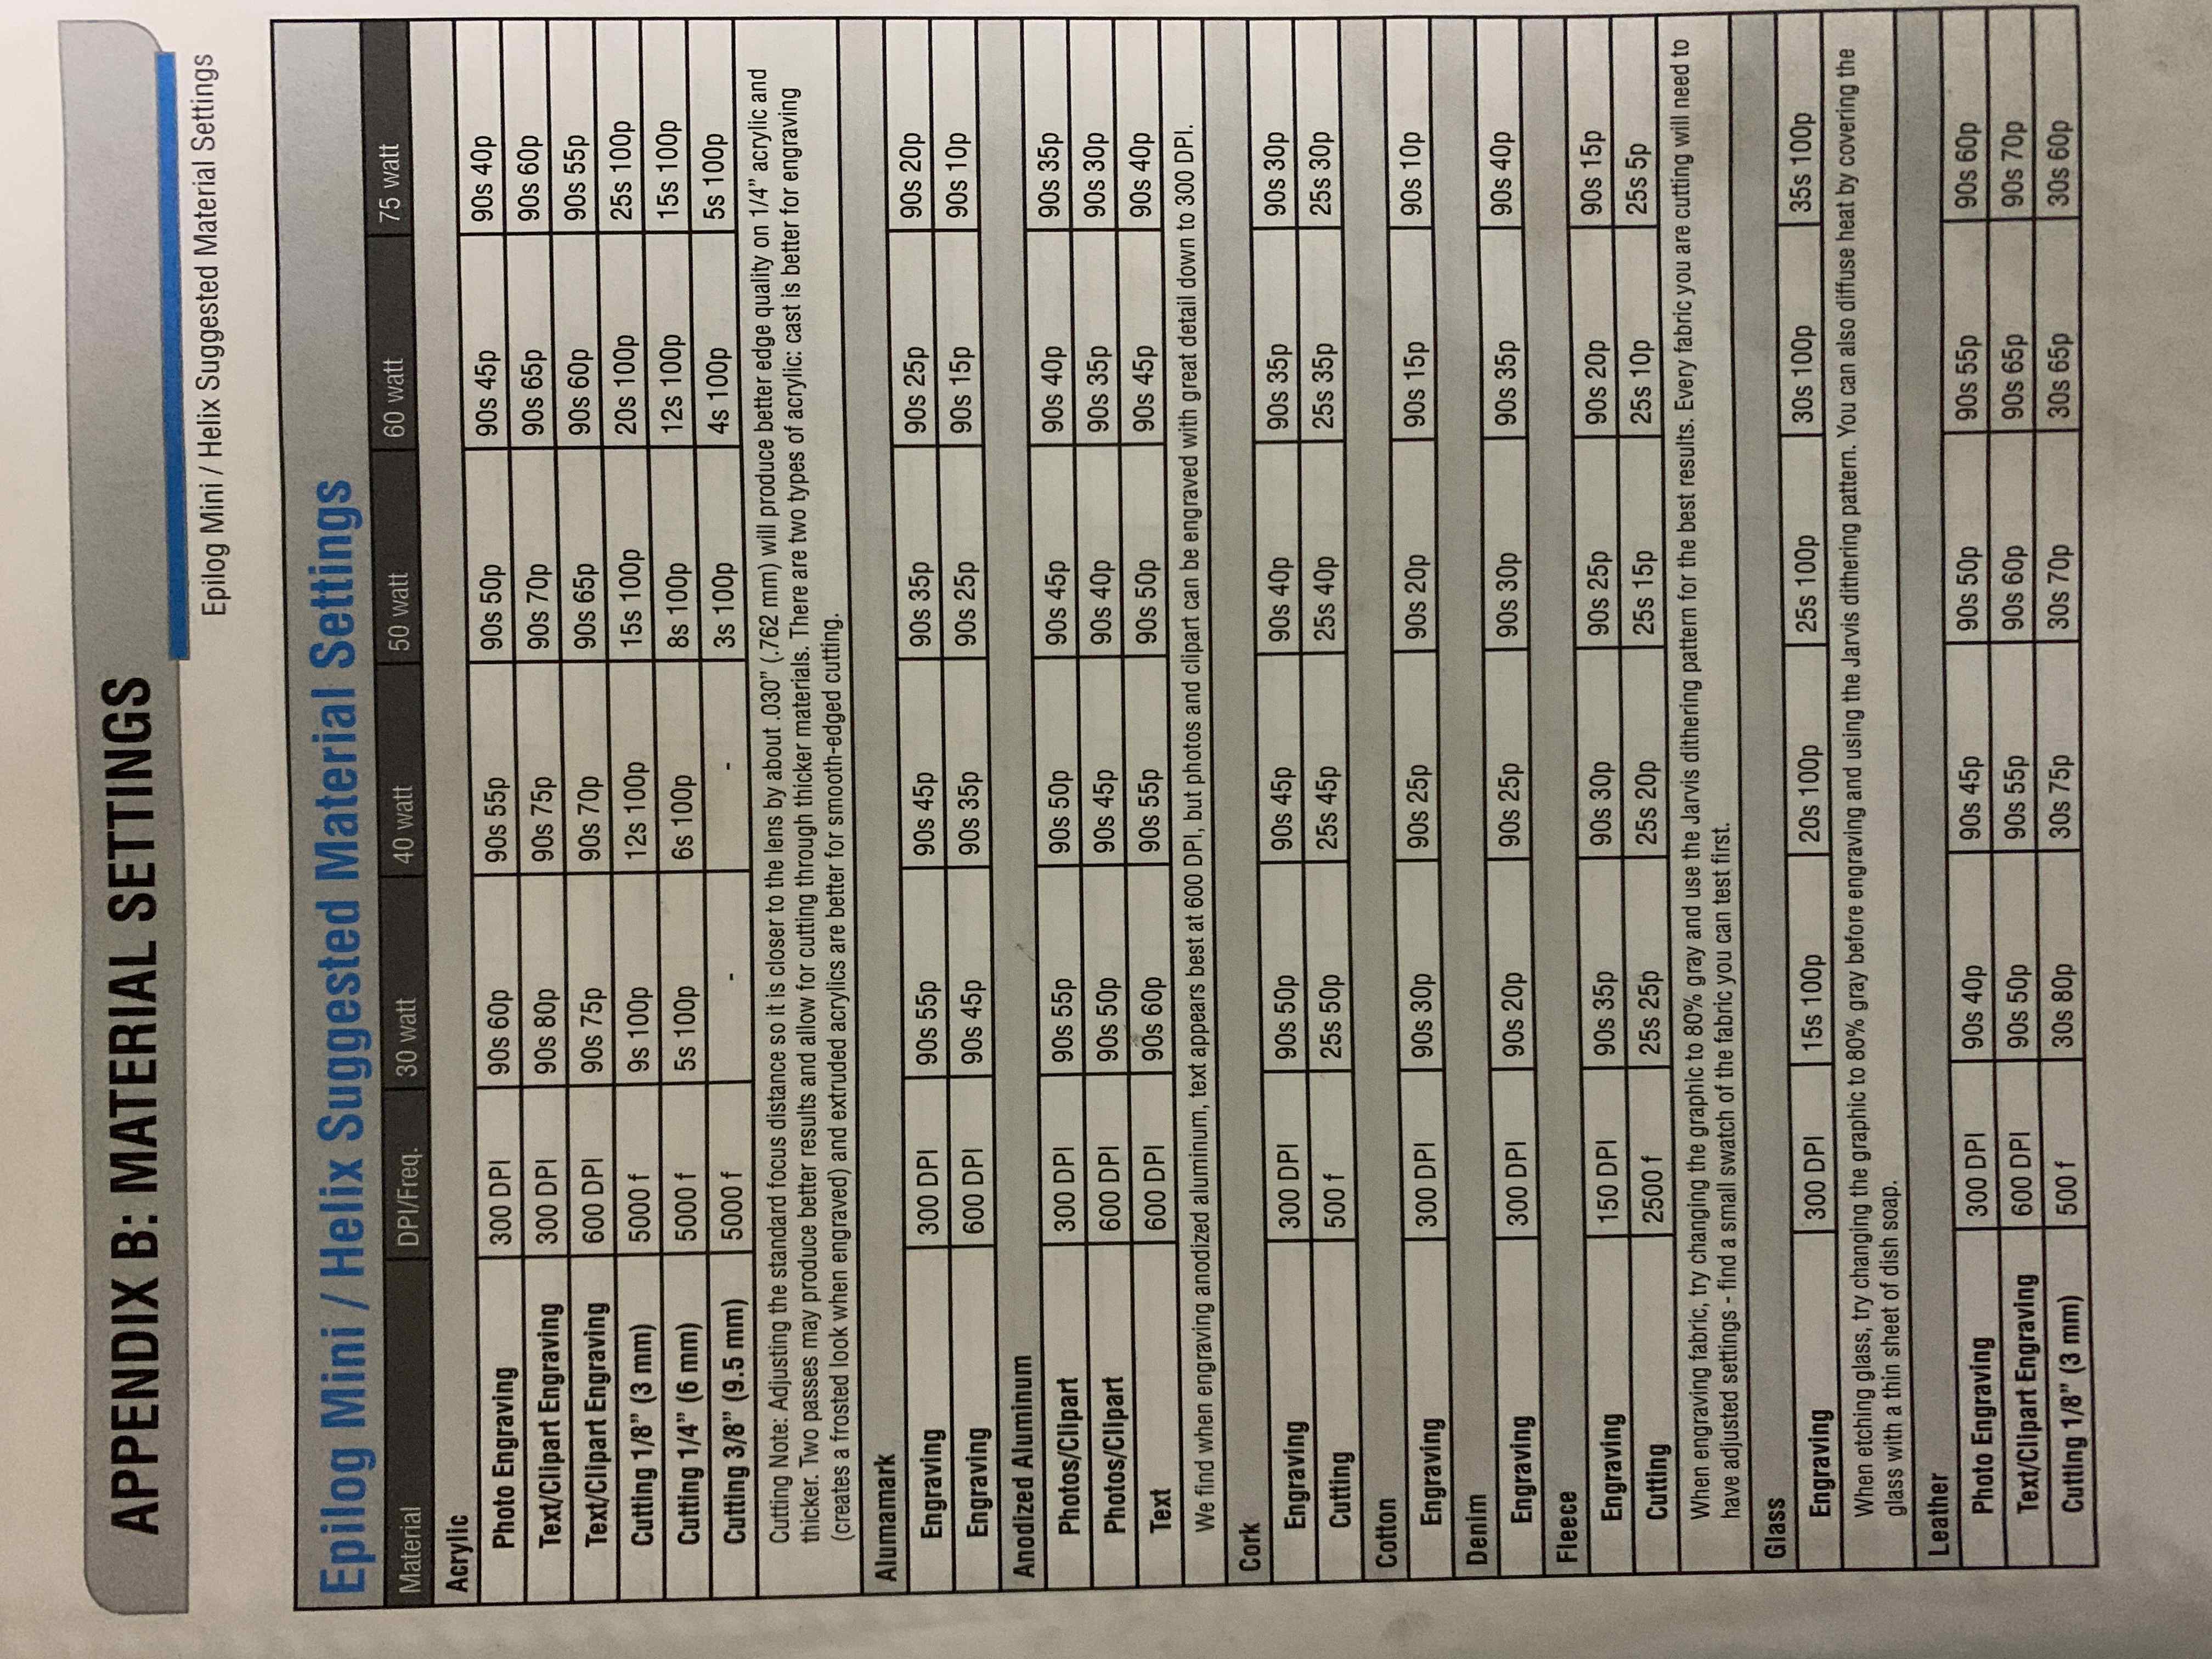
CONT ...
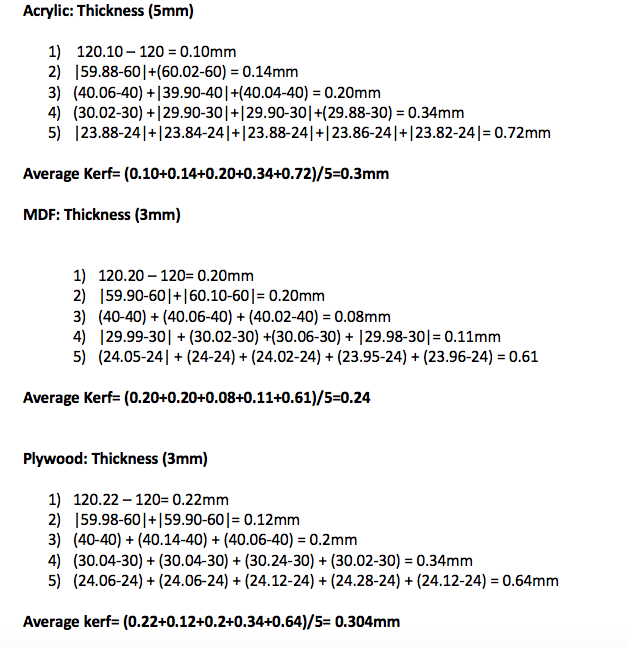
2) Kerf is the amount of material removed by the laser cutter as it burns through it. The kerf depends on the properties of the material, focal length, thickness and how the air is pushed out in the machine.
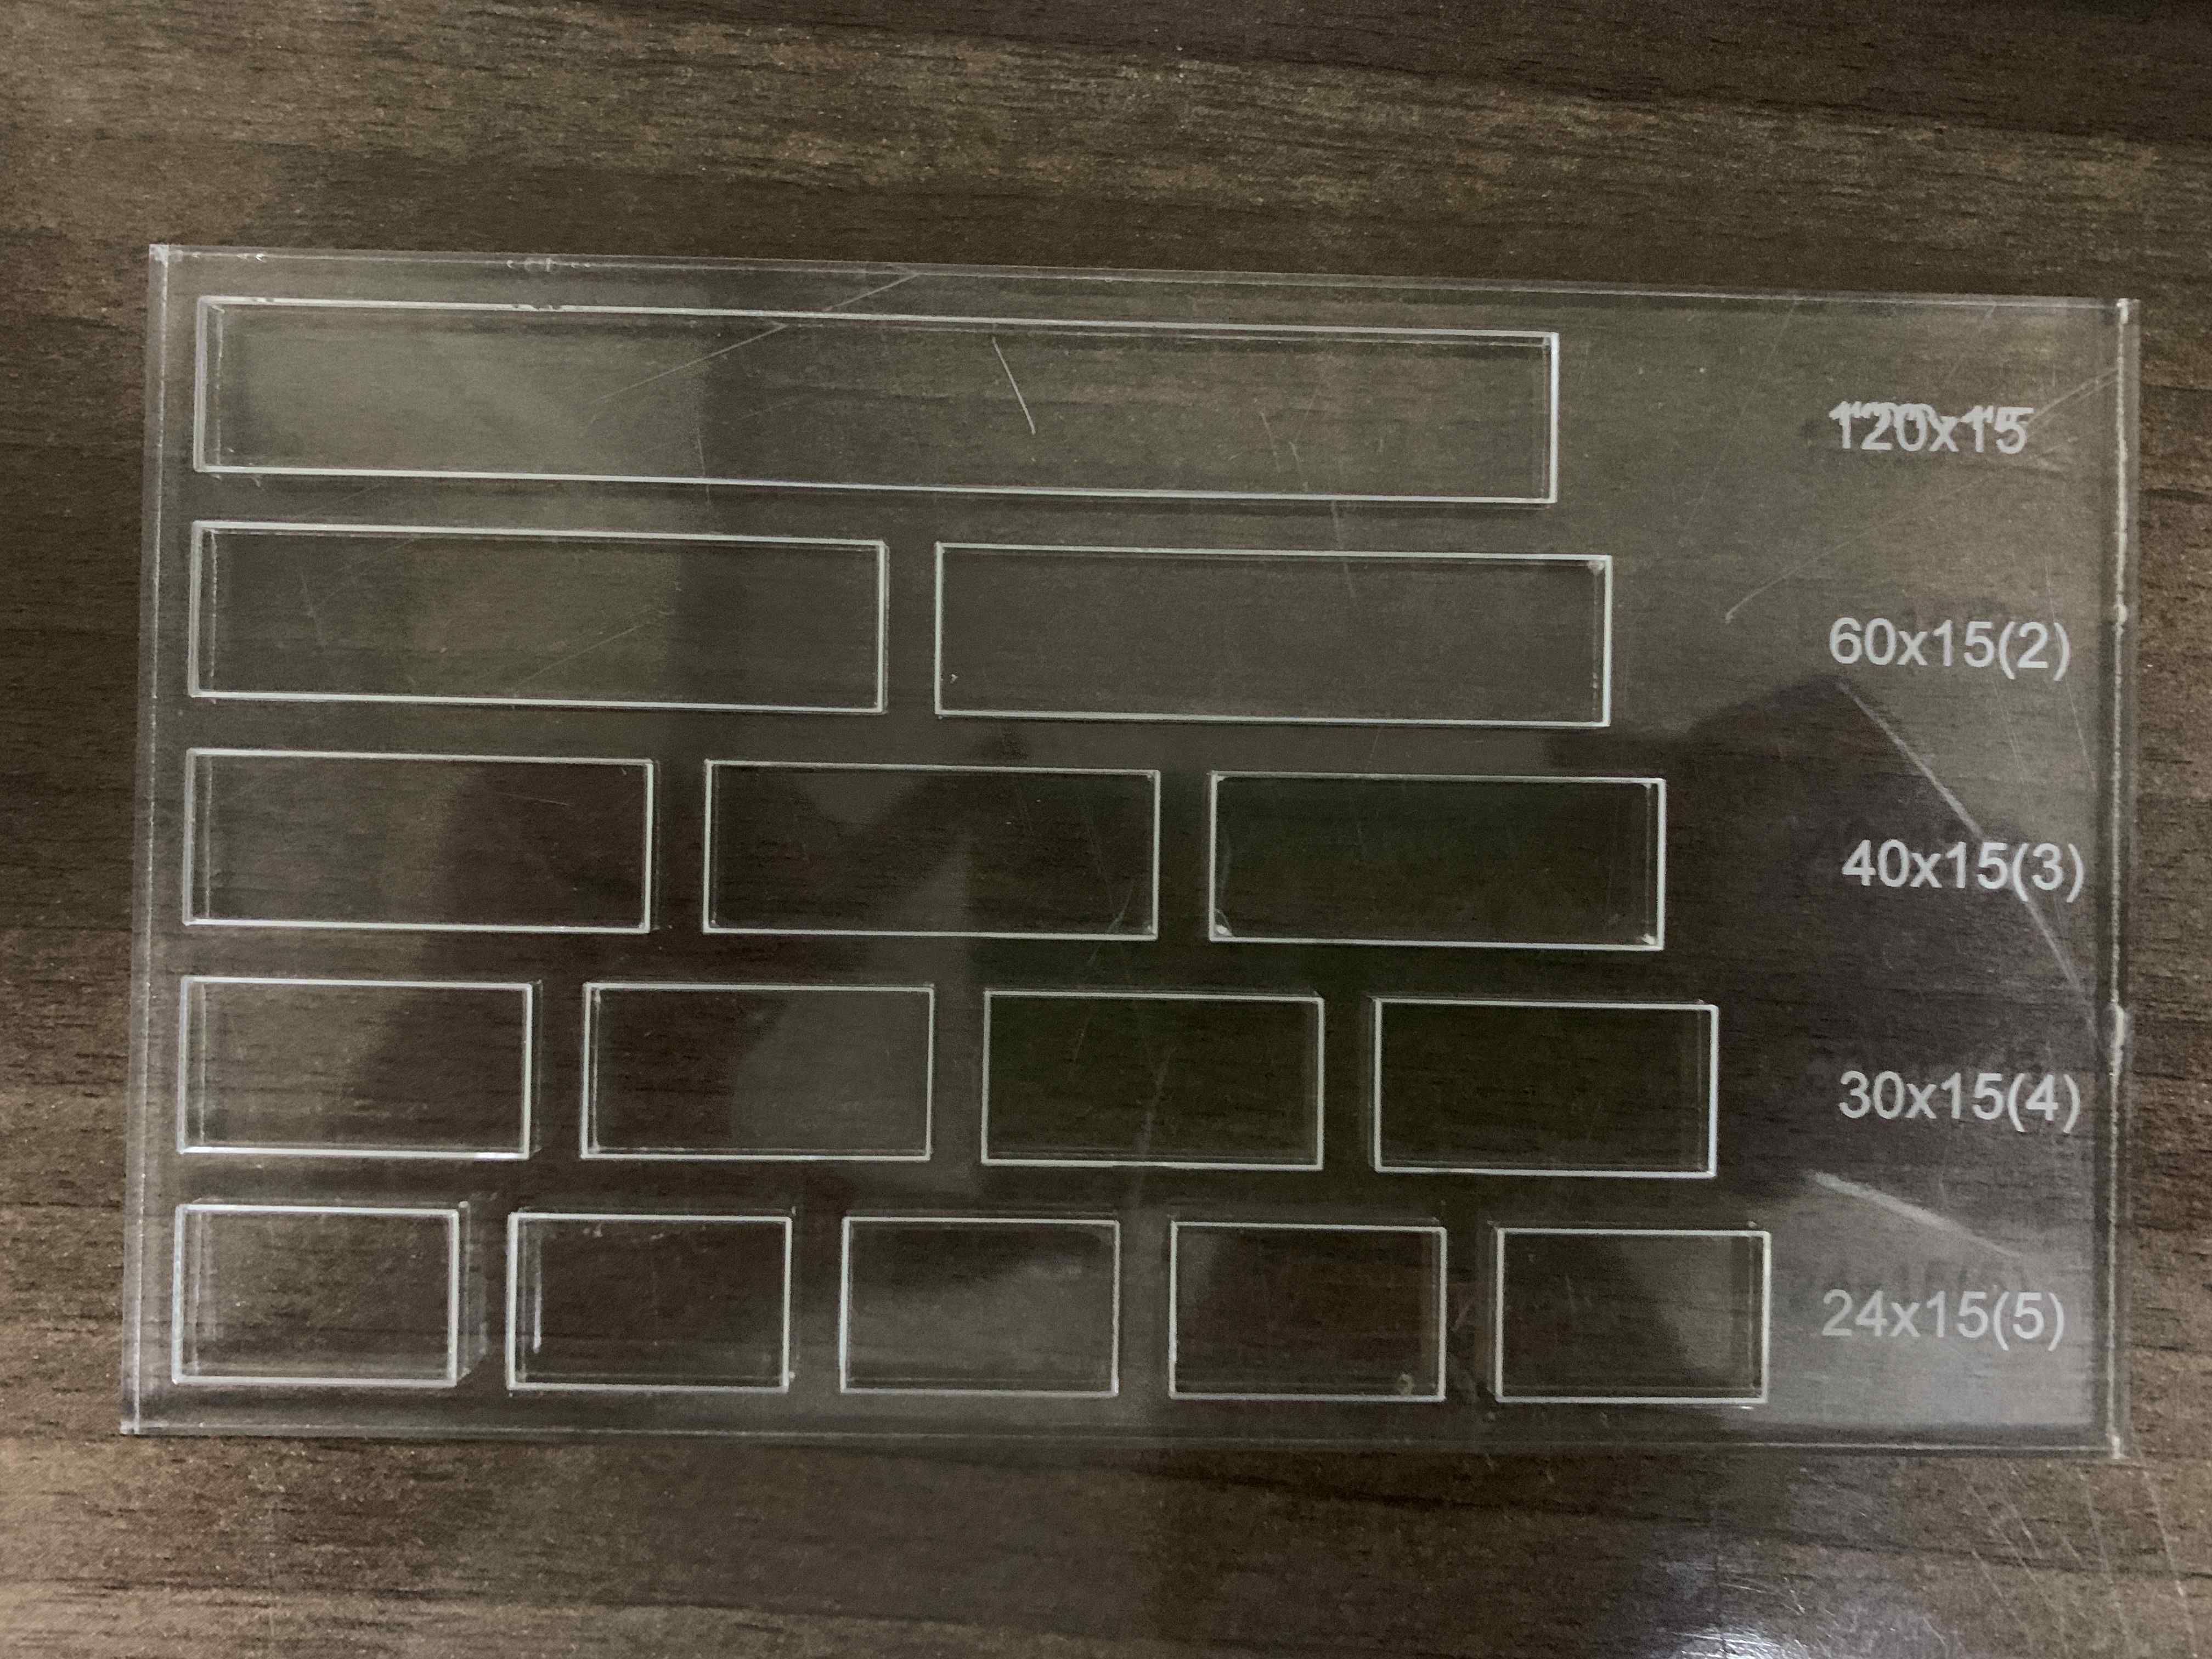
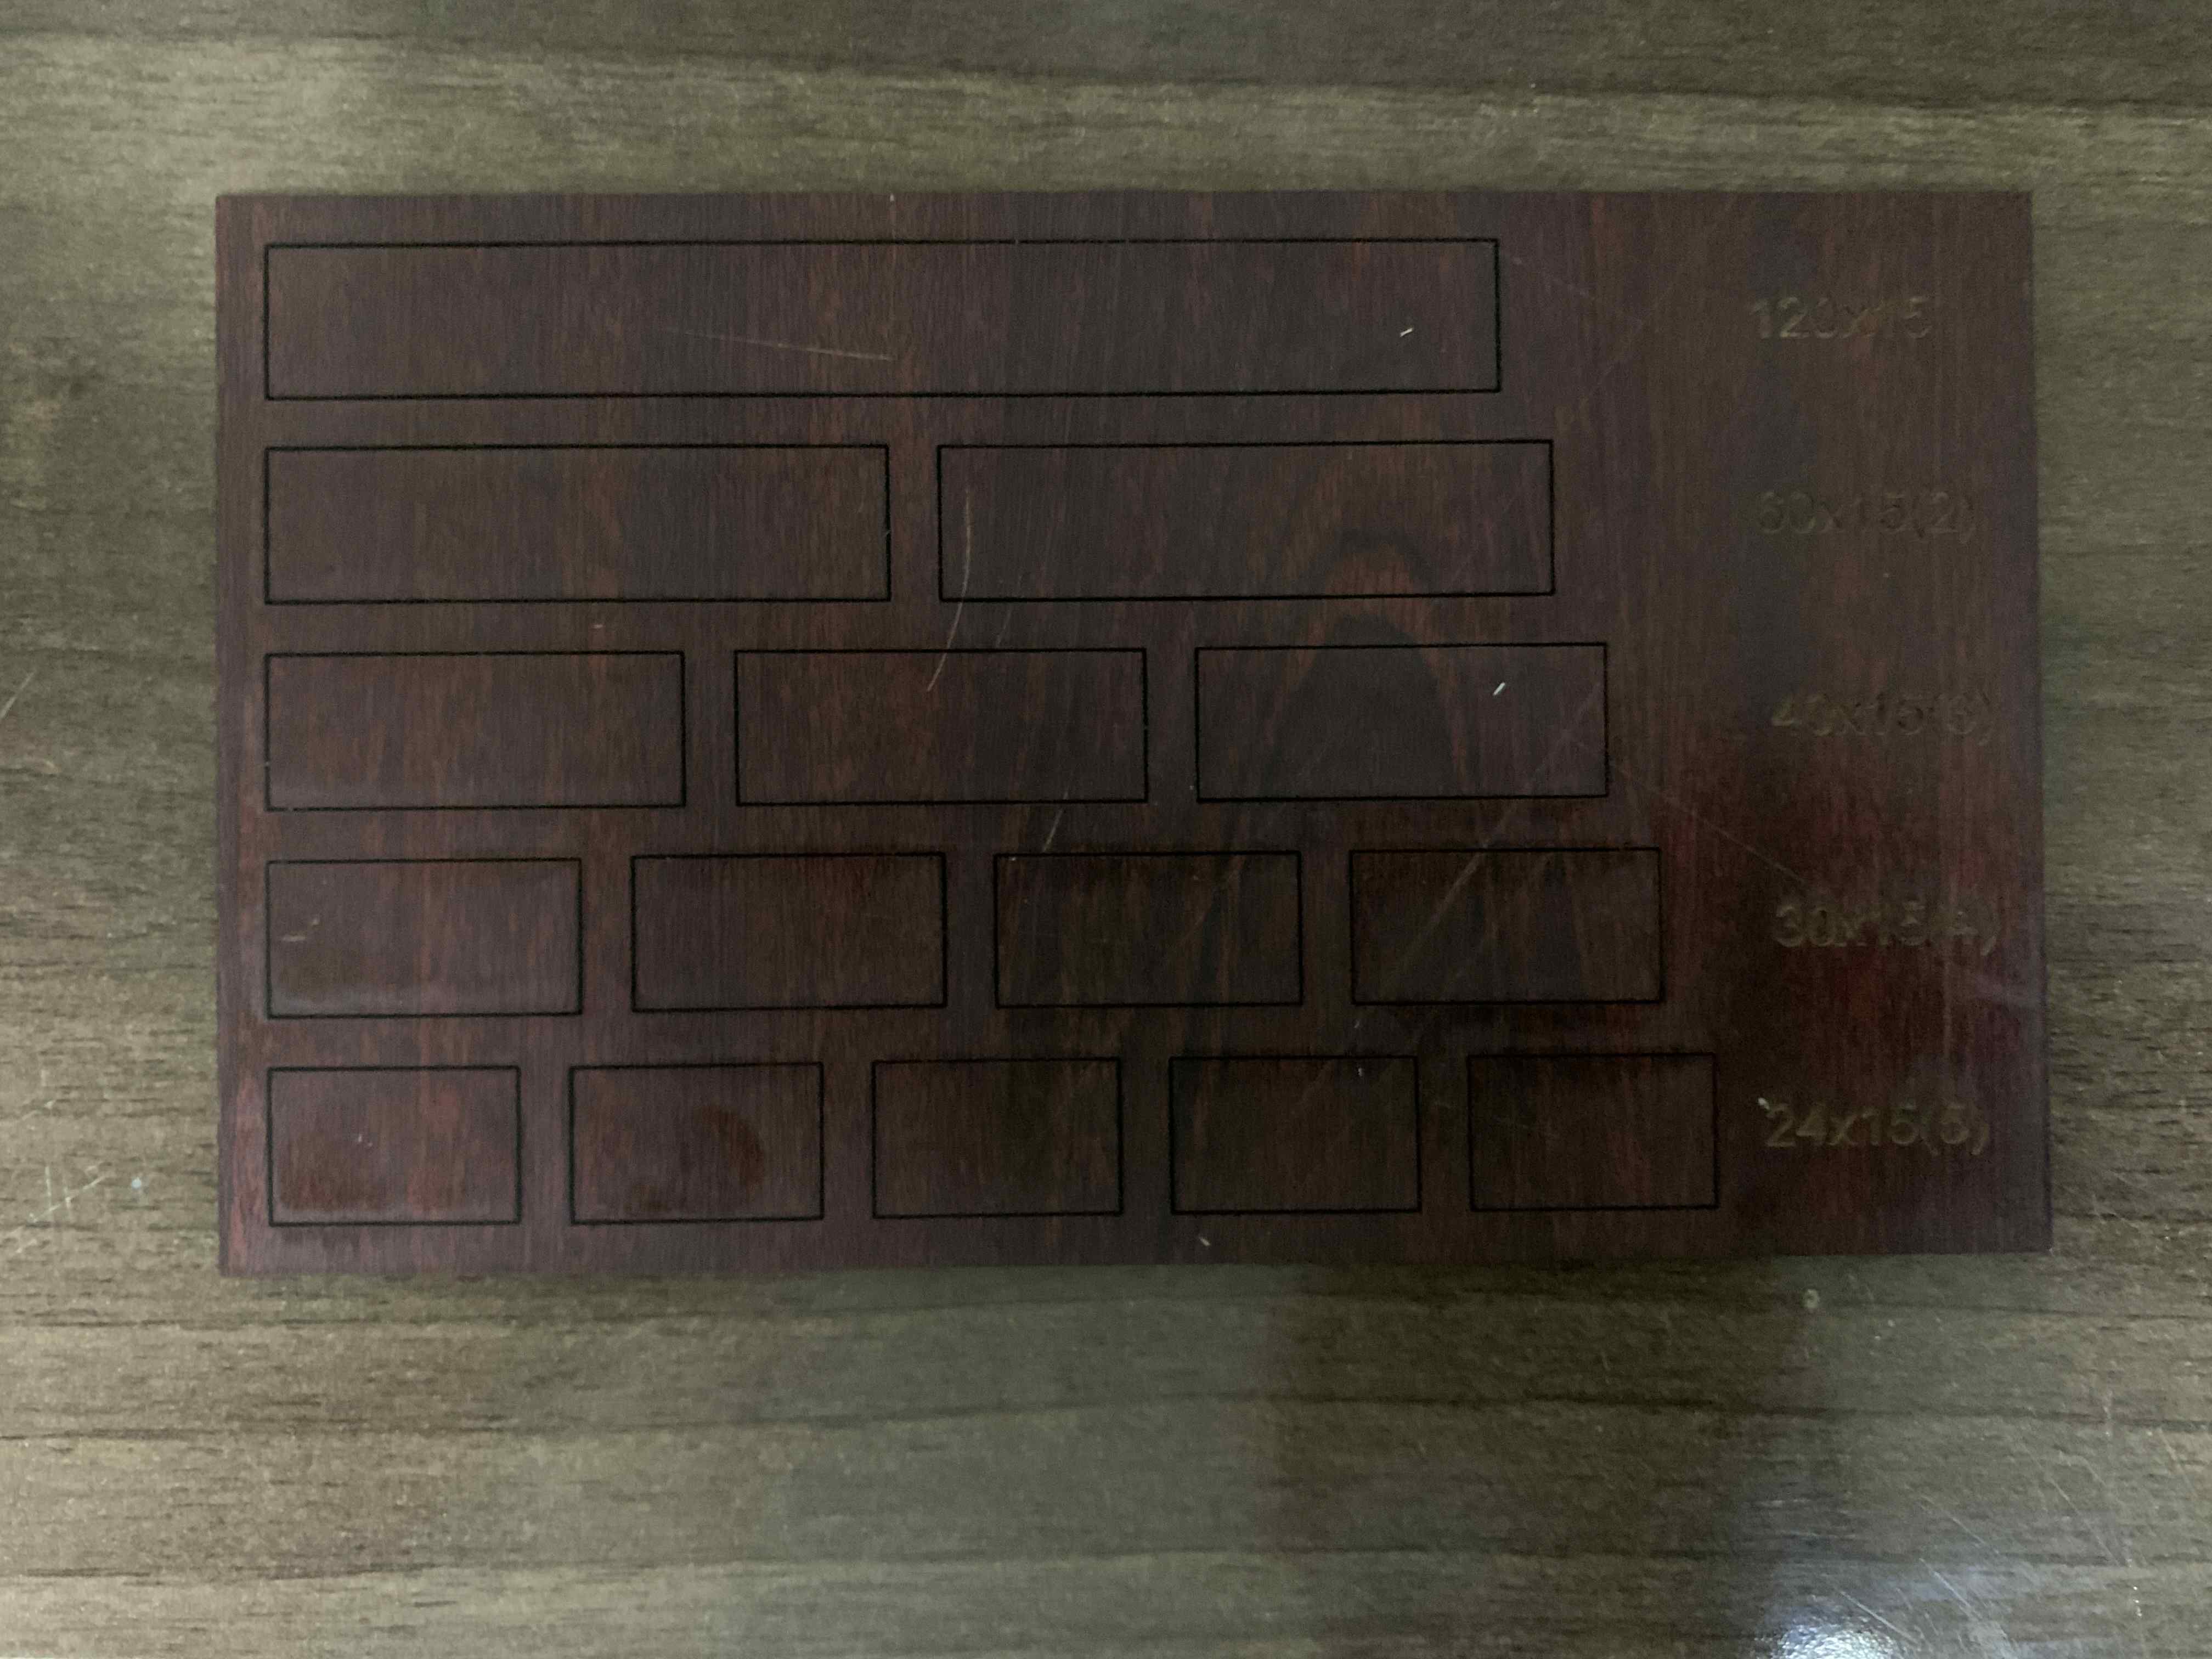
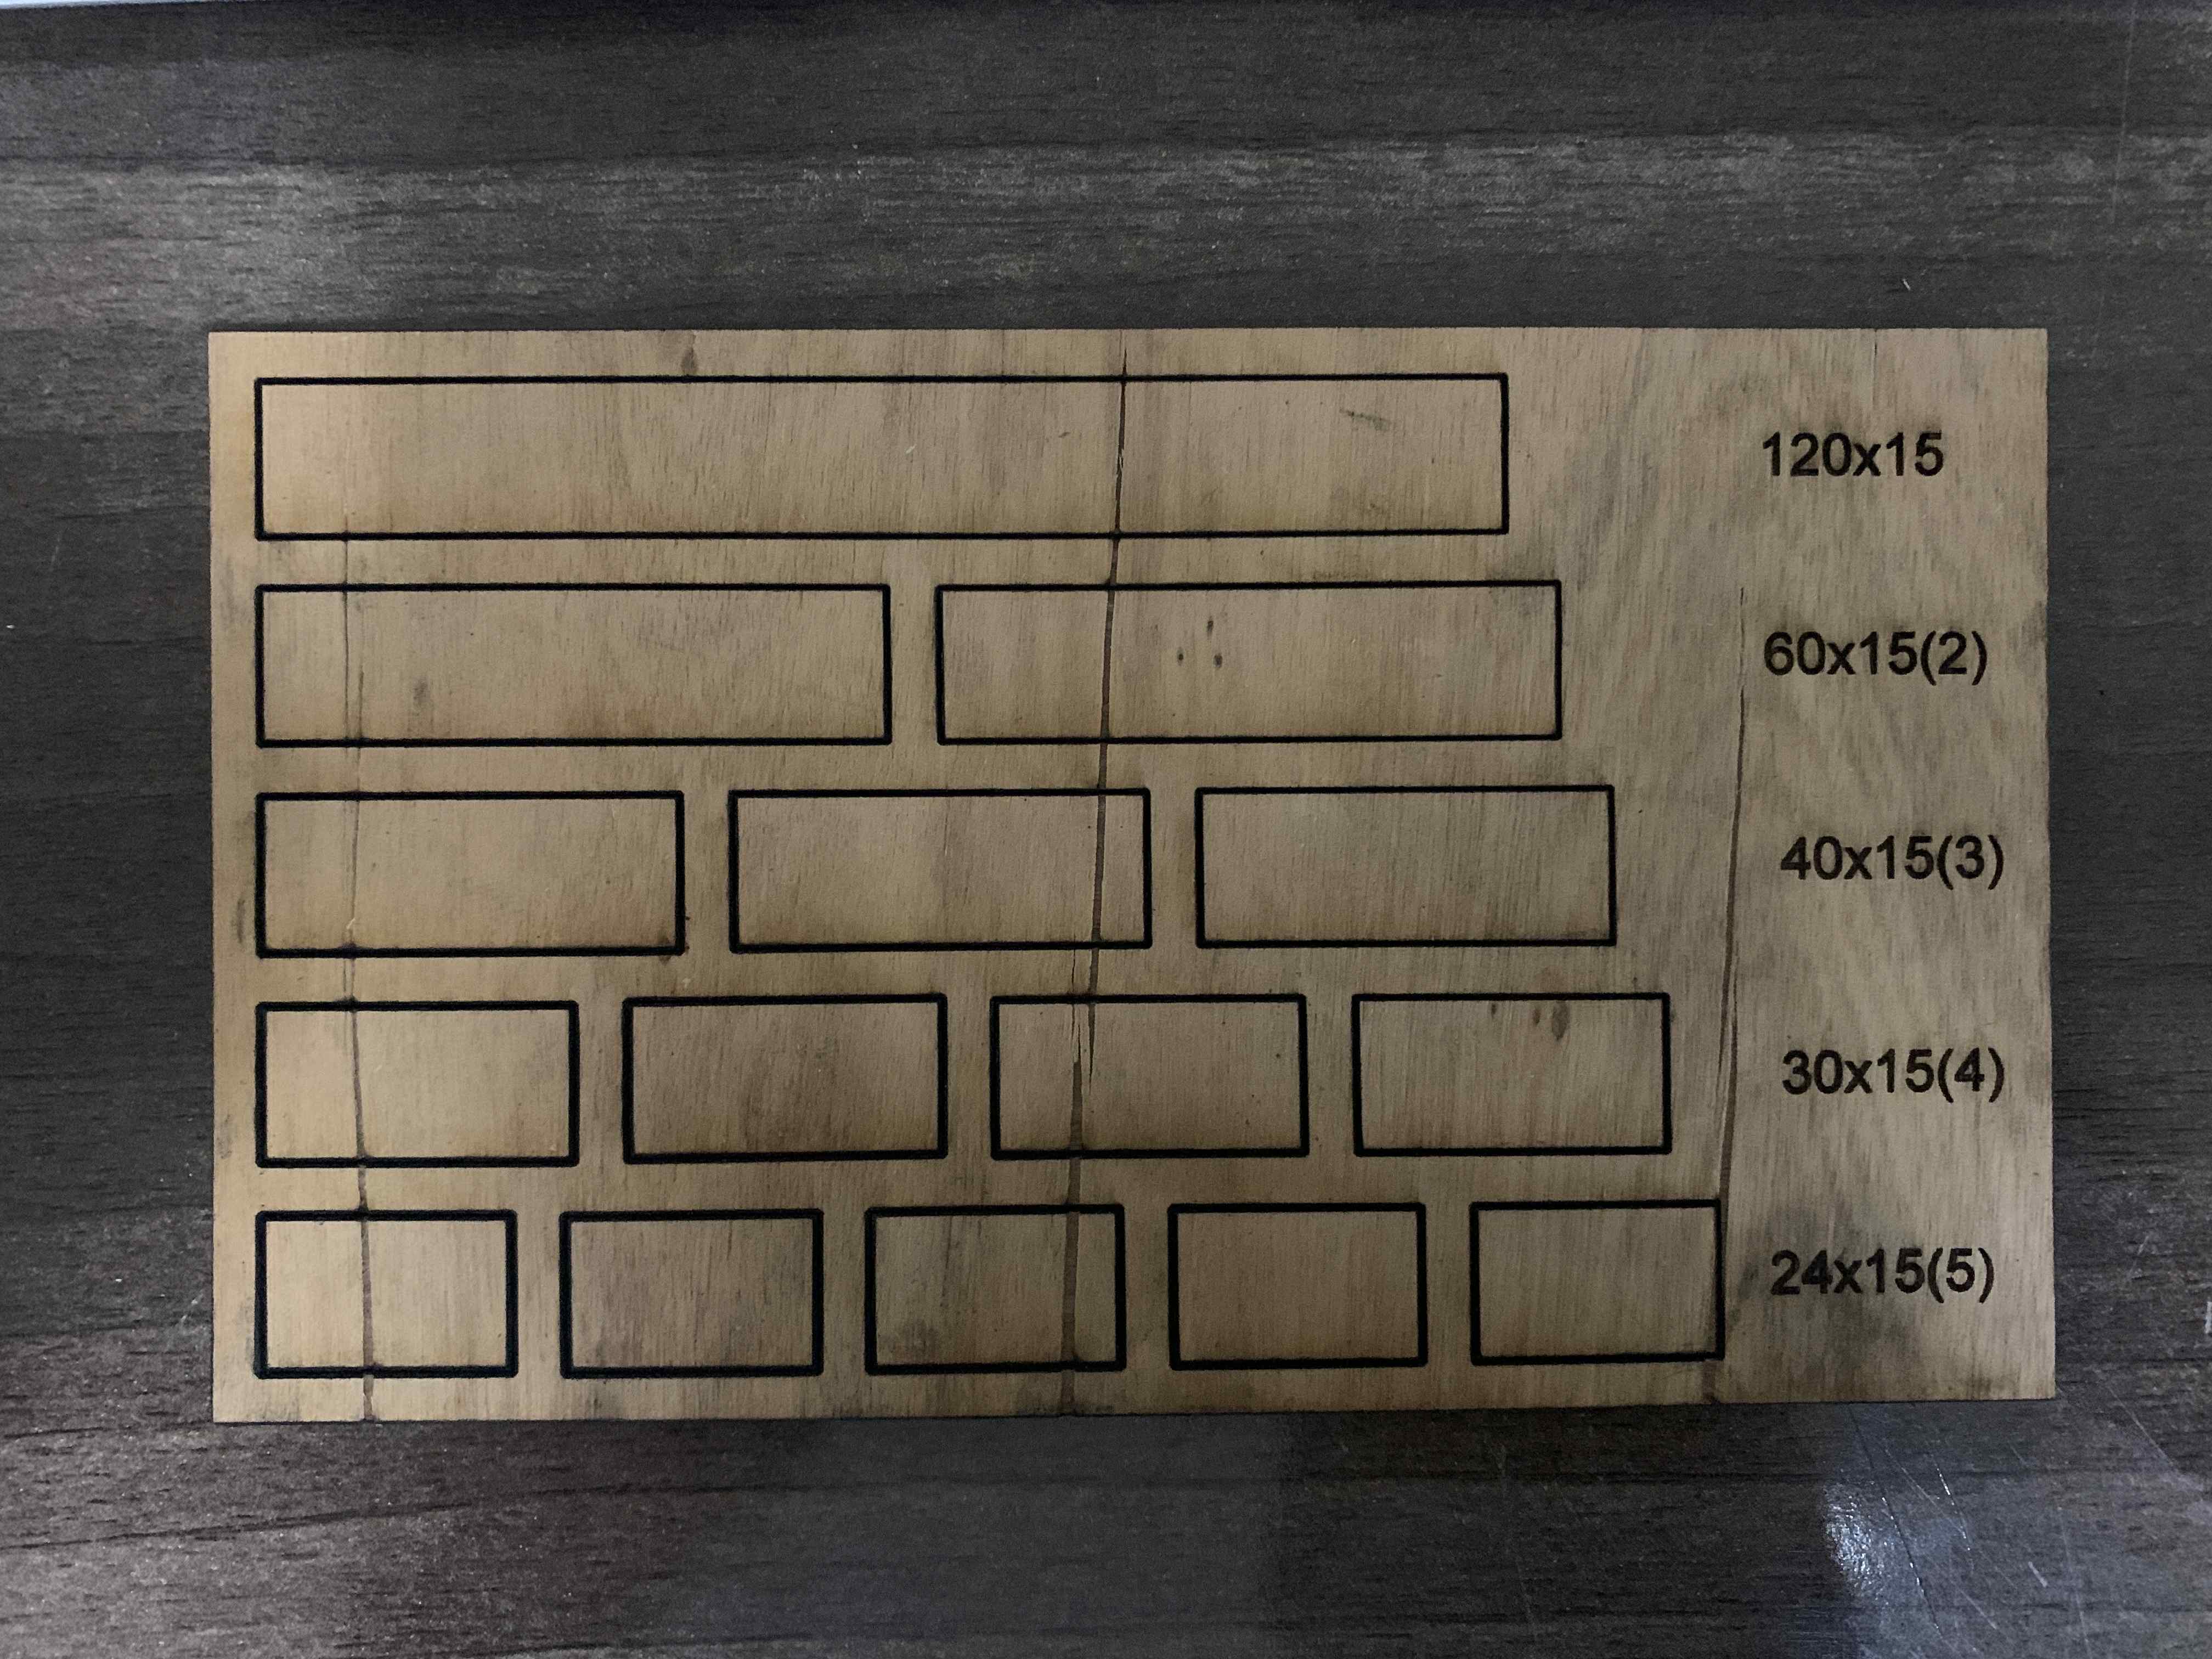
I created a simple template that I can use on different materials to calculate the Kerf. The template is made of different rectangular shapes, with different lengths that I will meaure after cutting and compare with the actual lengths.
I first cutted the tempalte design on Arcylic:
Second on MDF:
Third on Plywood:
I used the vernier caliper to measure each single part that I cutted. Below are the results and how I calculated the kerf from different types of the material:
I made the parametric design using Freecad software
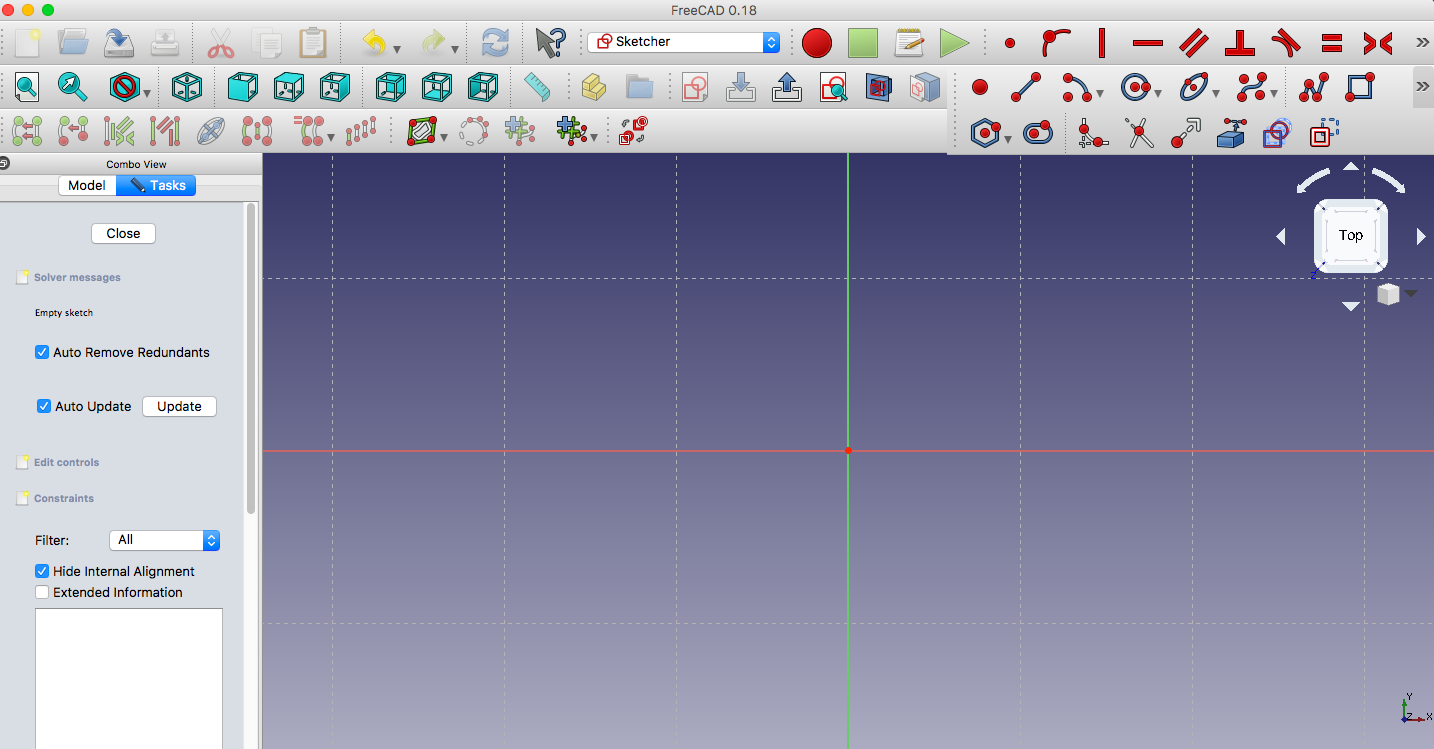
Opening a new project:
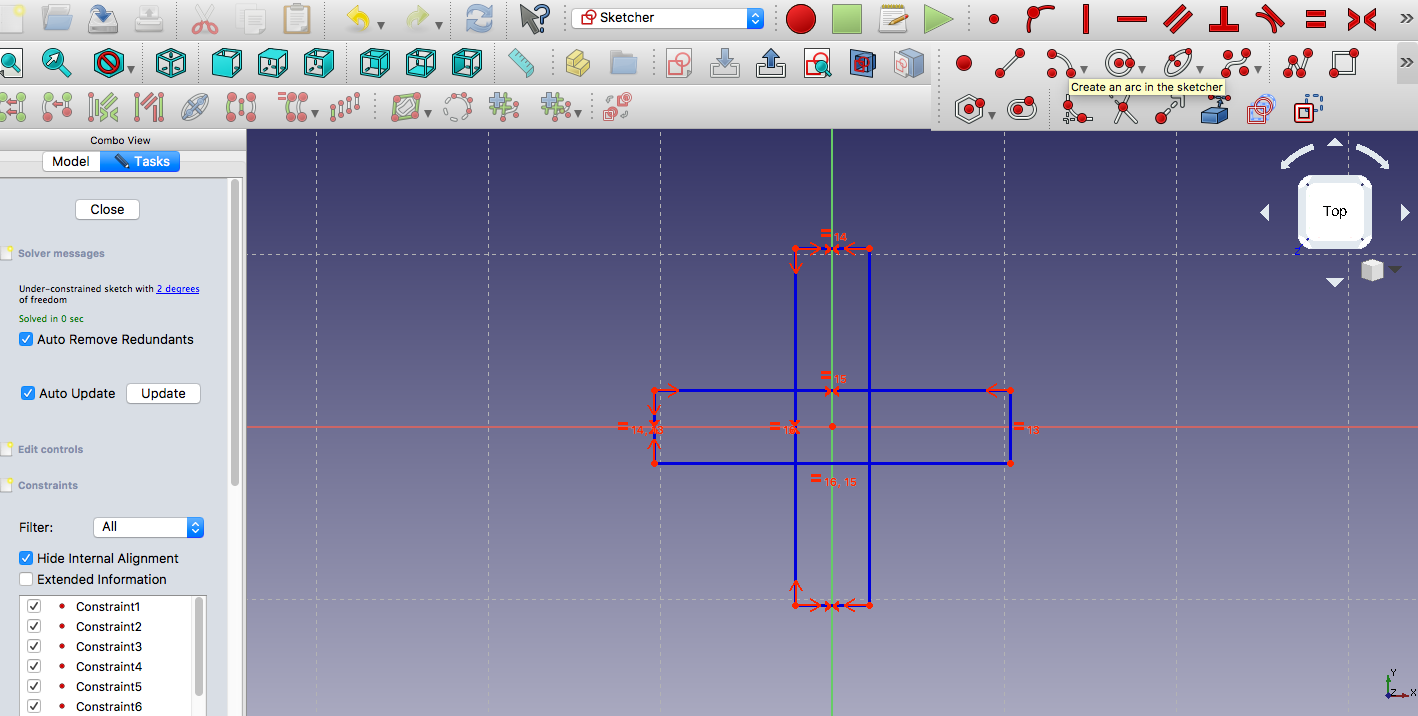
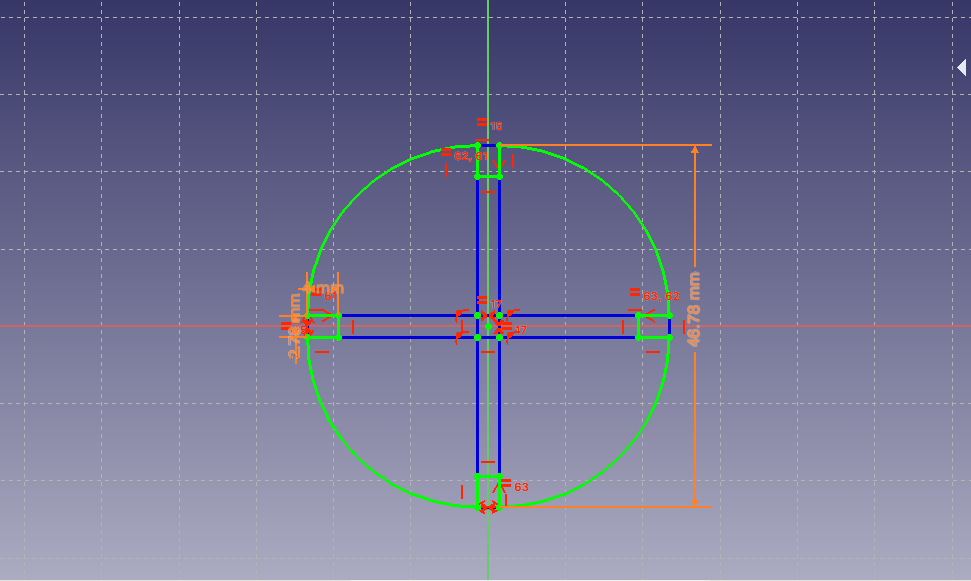
Designing the shape of my design and making the points symmetric to the axes:
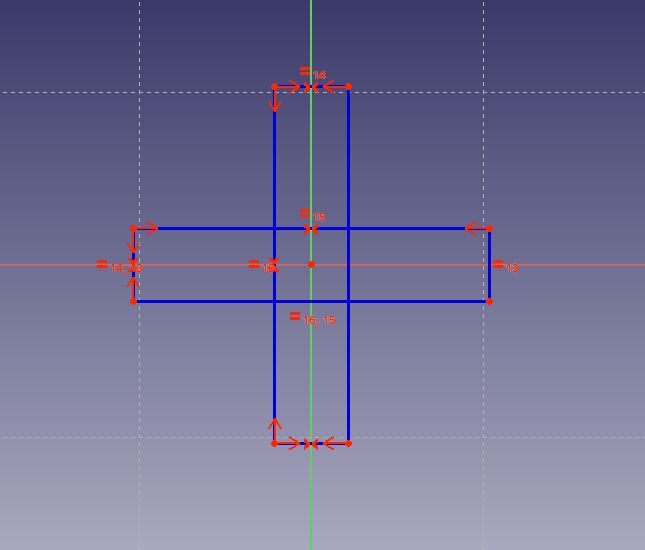
Making the lines symmetric to the axes:
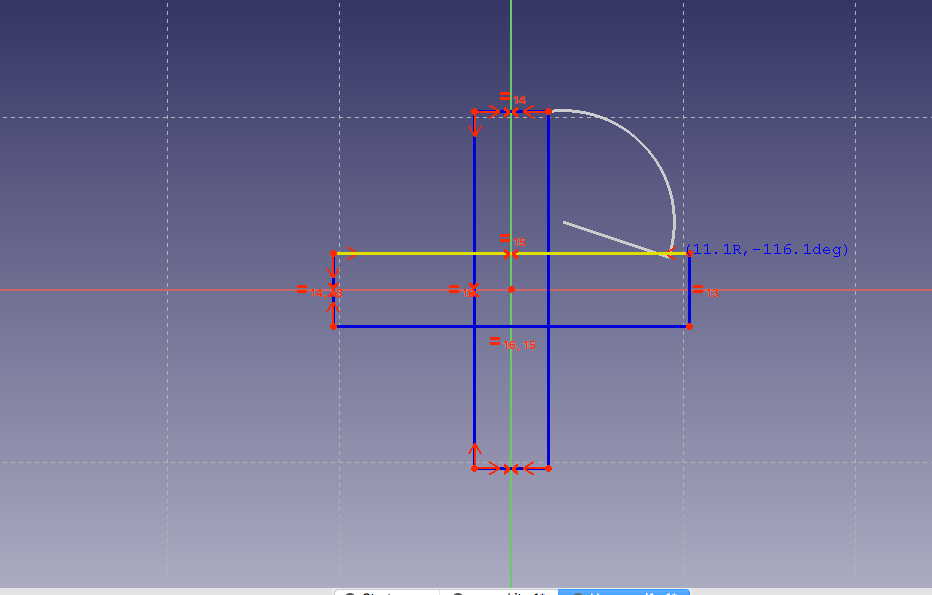
Adding the curves:
Adding the length of the diameter and grove line
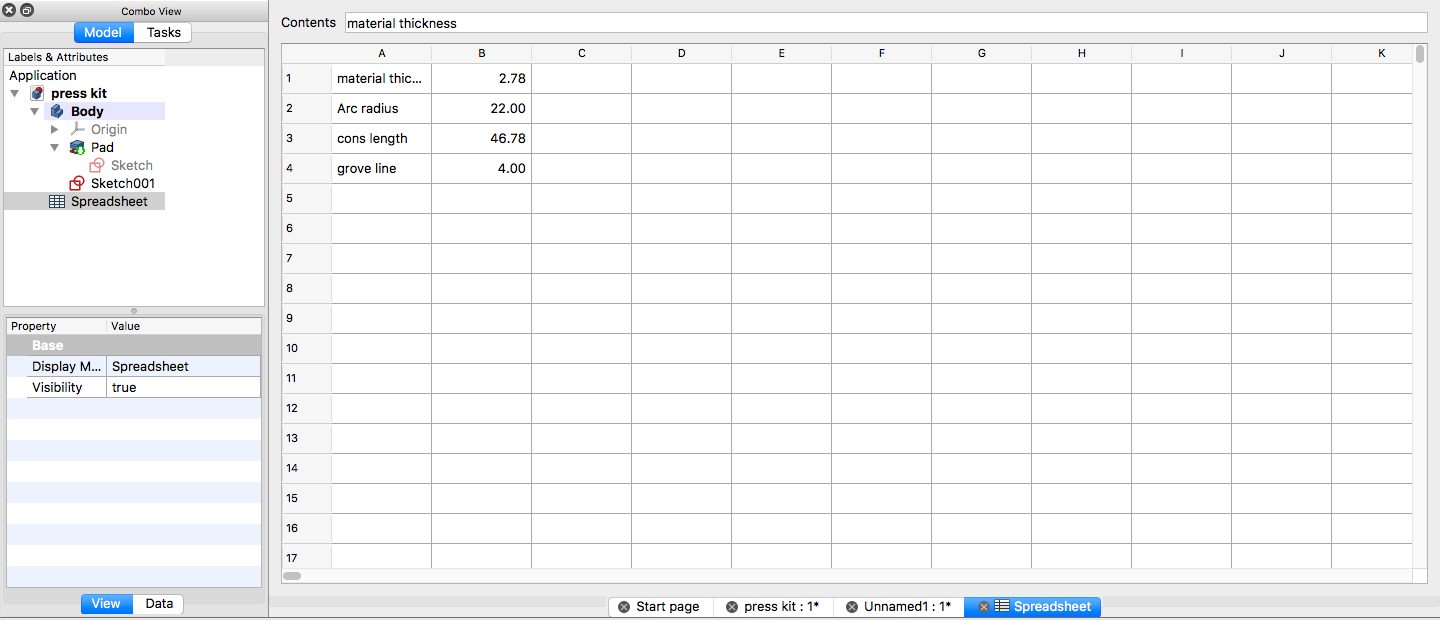
Creating a spreadsheet to control all the parameters in order to make a parametric design:
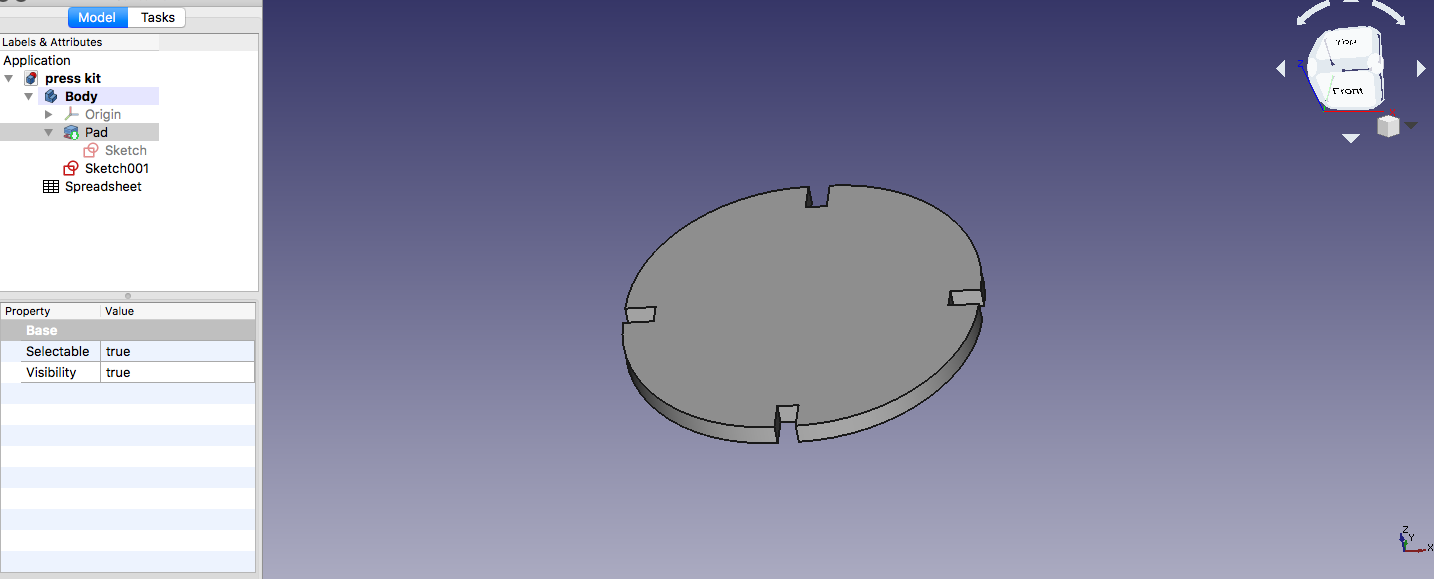
Used the Pad design tool to extrude the design into a solid in a direction normal to the sketch plane
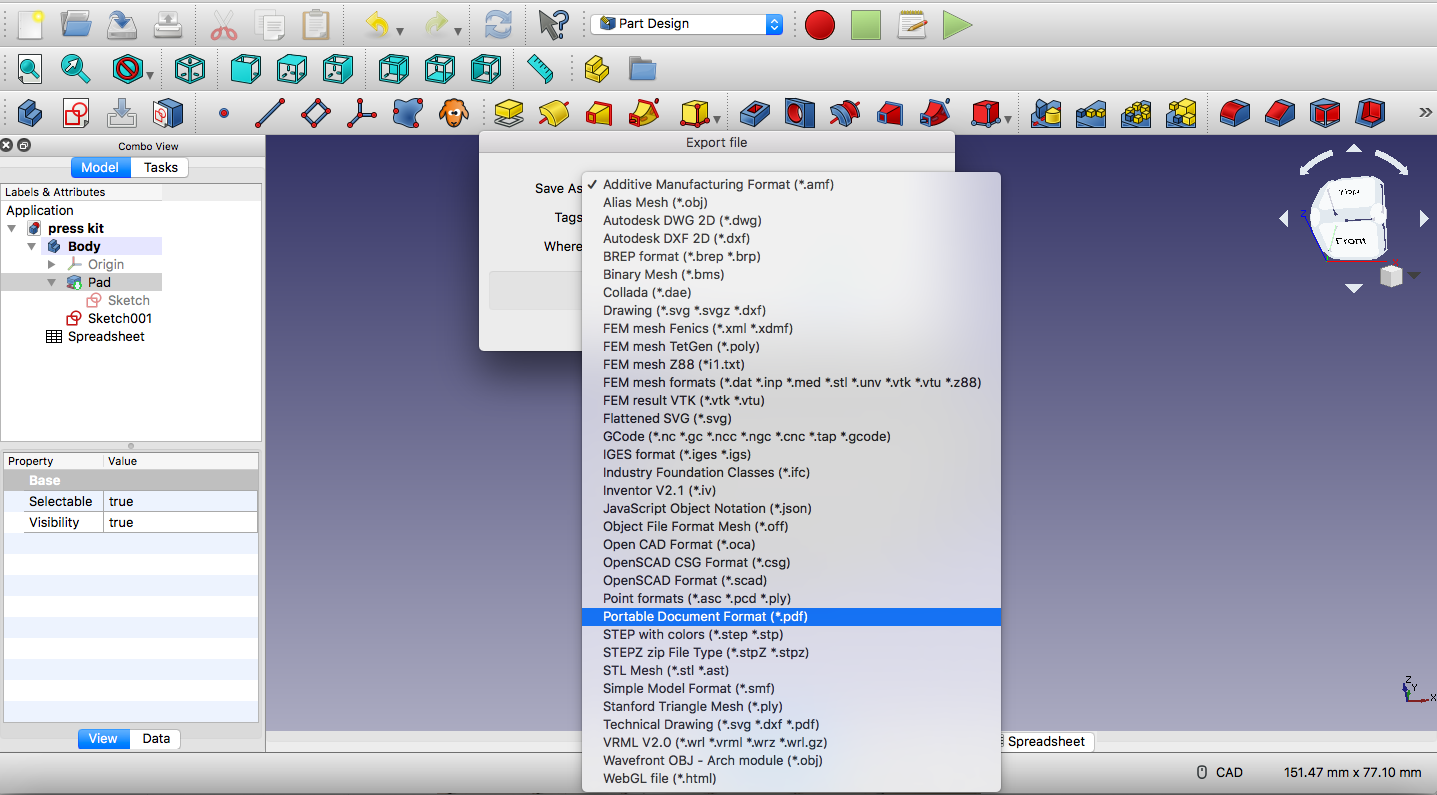
Saving my design as DXF
I imported my design in CorelDraw software so that I can print
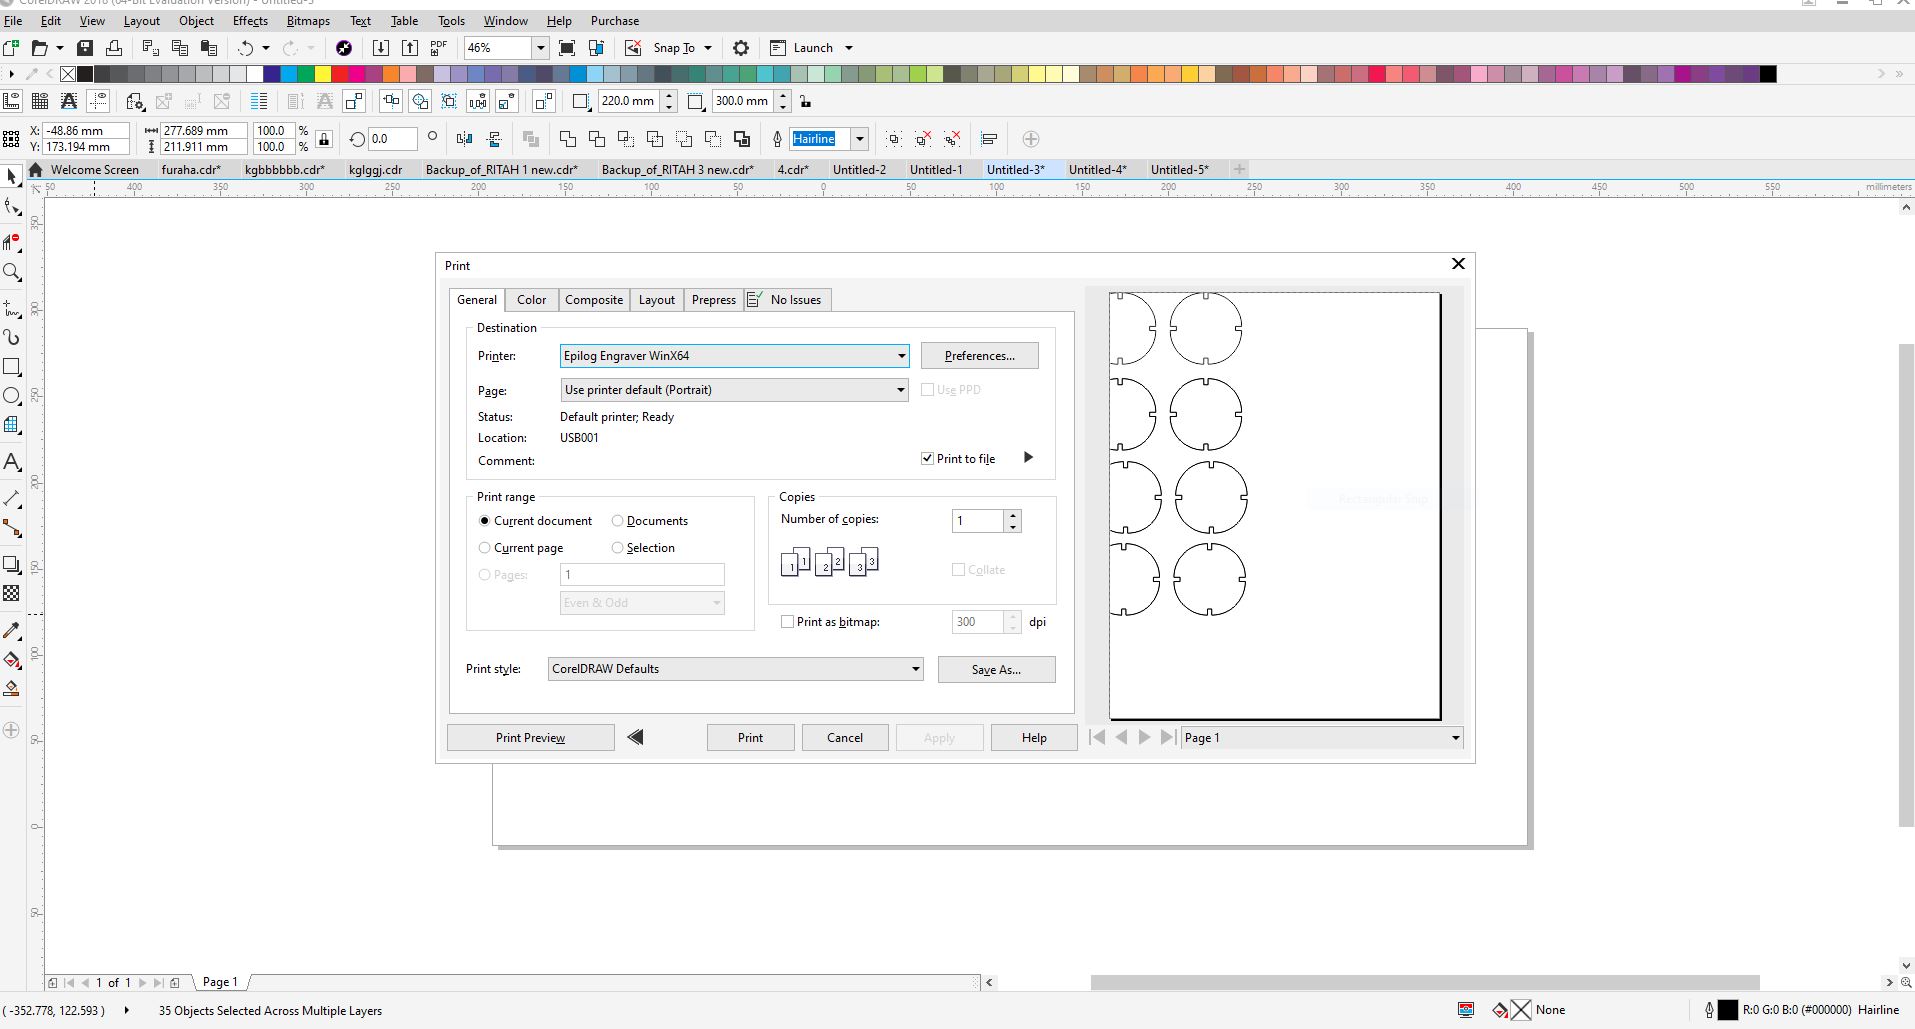
Choosing the type of the machine
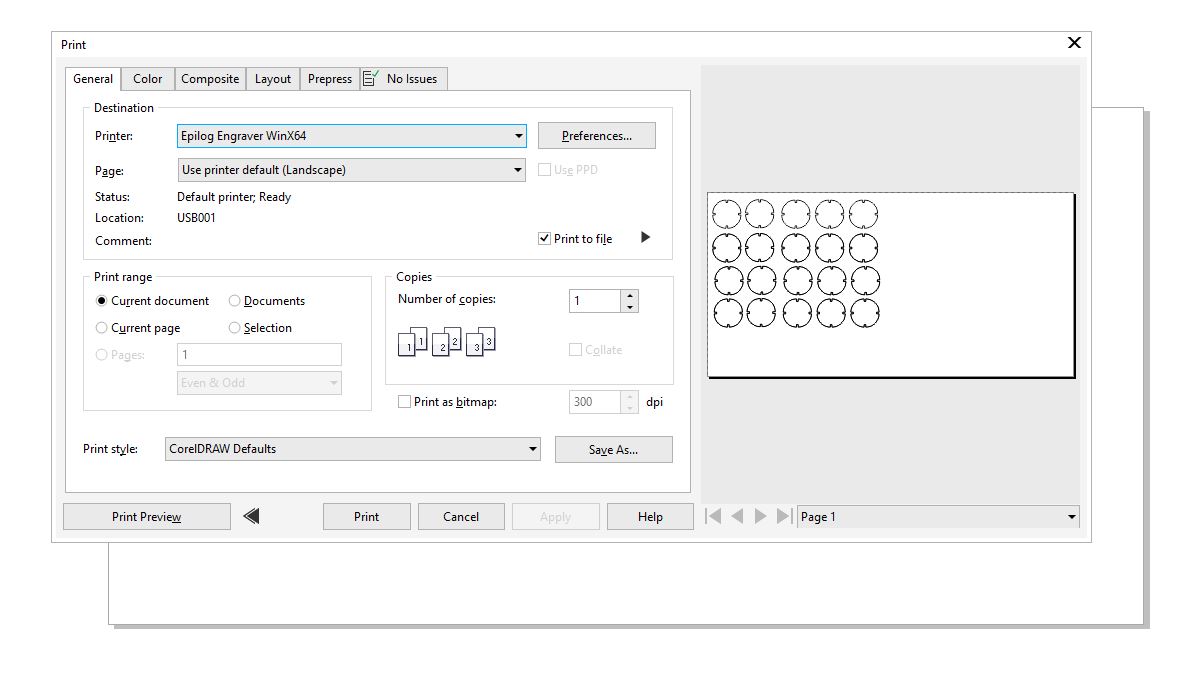
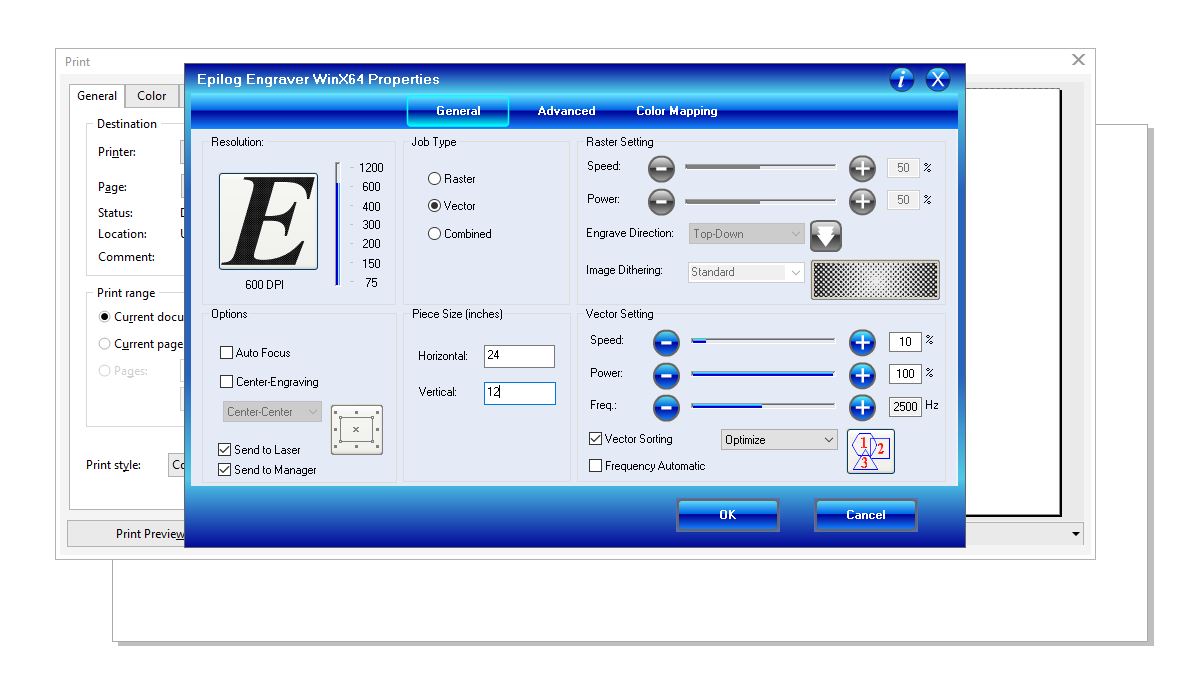
Setting the printing parameters: power, speed, job type and piece size. Then send the job:
Accepting the job on Laser:
The laser starts cutting the design:
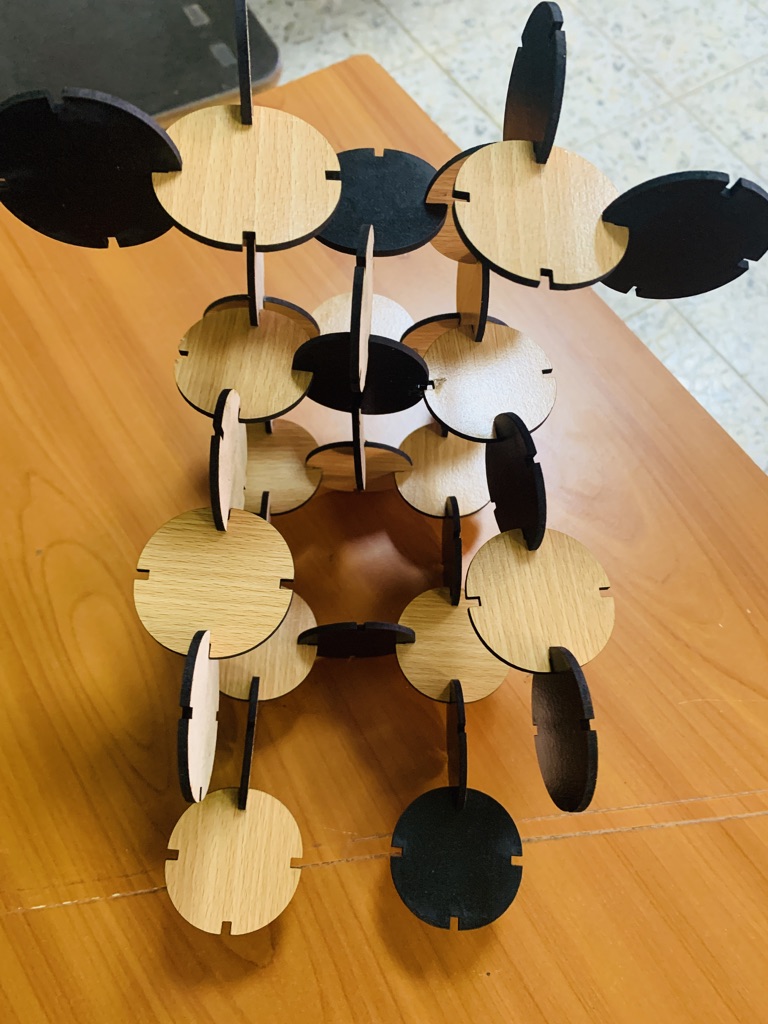
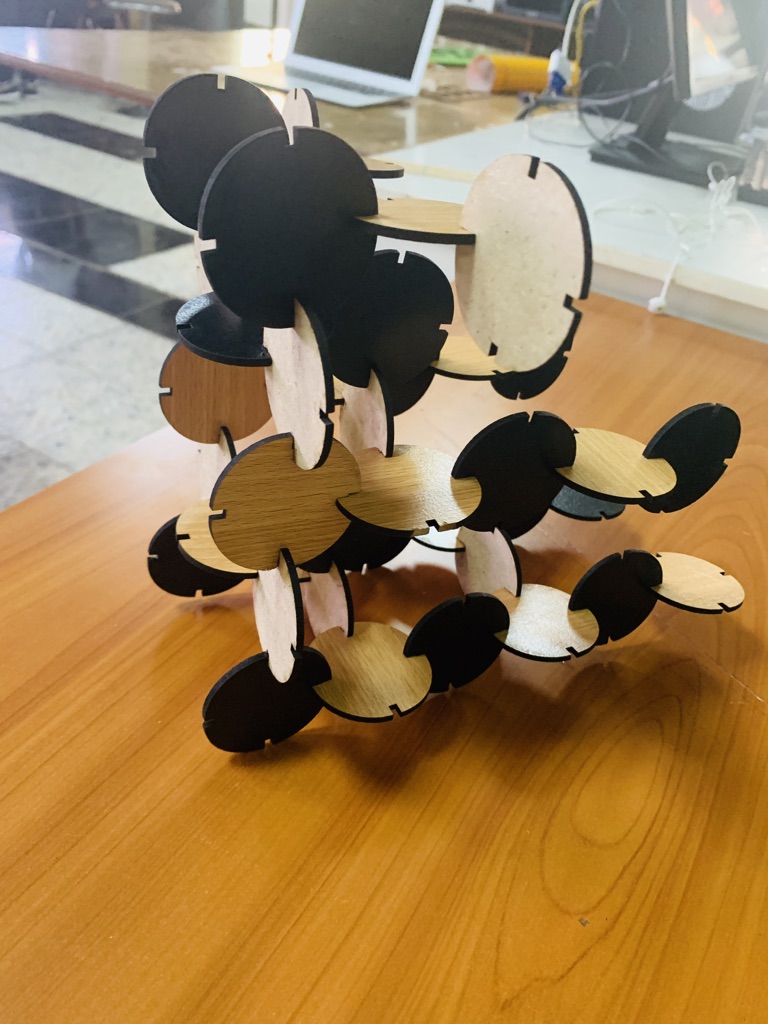
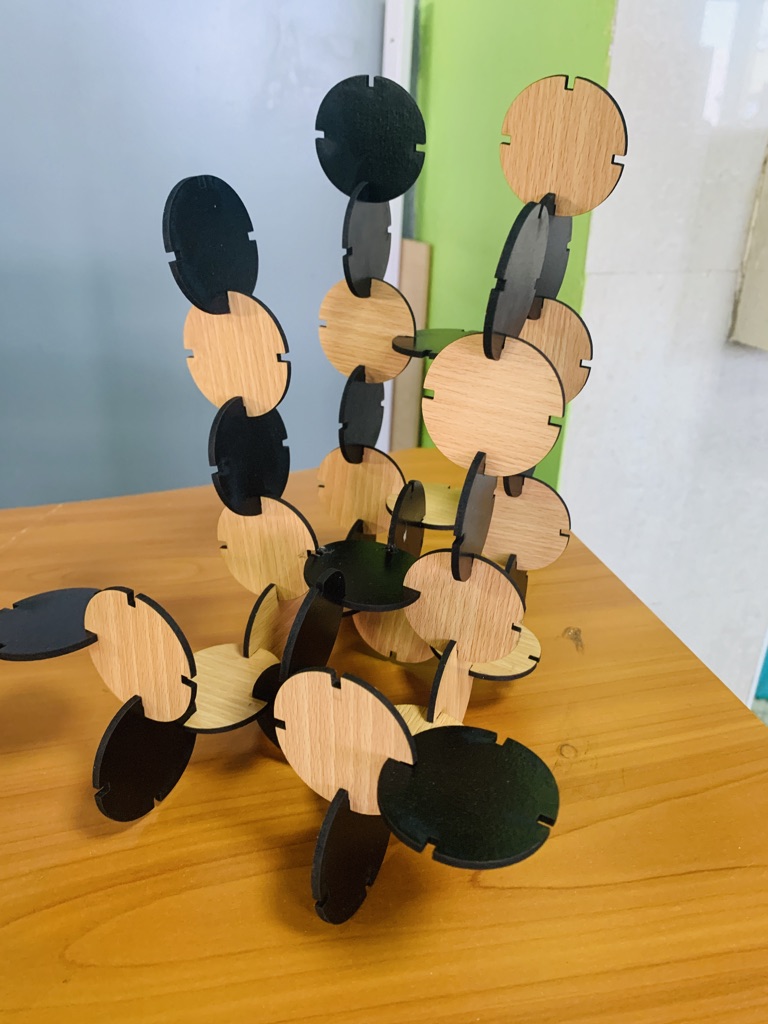
RESULT:
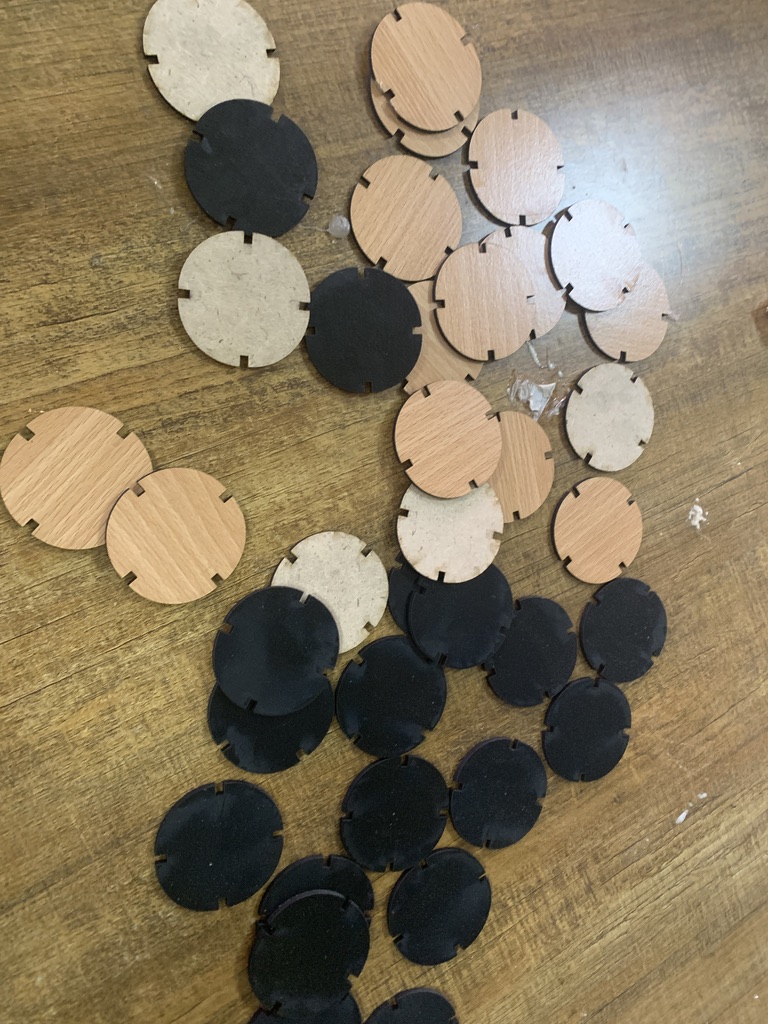
Is it press-fit? Absolutely!
Before starting to use the machine, it is important to first check the safety rules, I approached my colleagues to learn more about them. I also consulted the machine user manual to learn more. Some important safety rules:
* Keep your hands away from the blade protector while the cutting carriage is in motion.
* Never operate the machine or insert or remove its power plug with wet hands.
* In the event of abnormal state, immediately unplug the power cord.
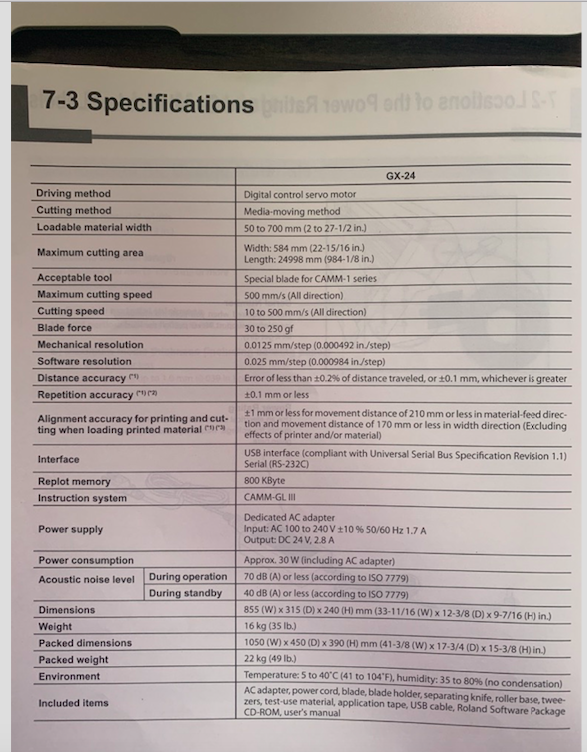
I also took some time to go through the machine specification before any operation:
Below are the steps I used to perform the cutting :
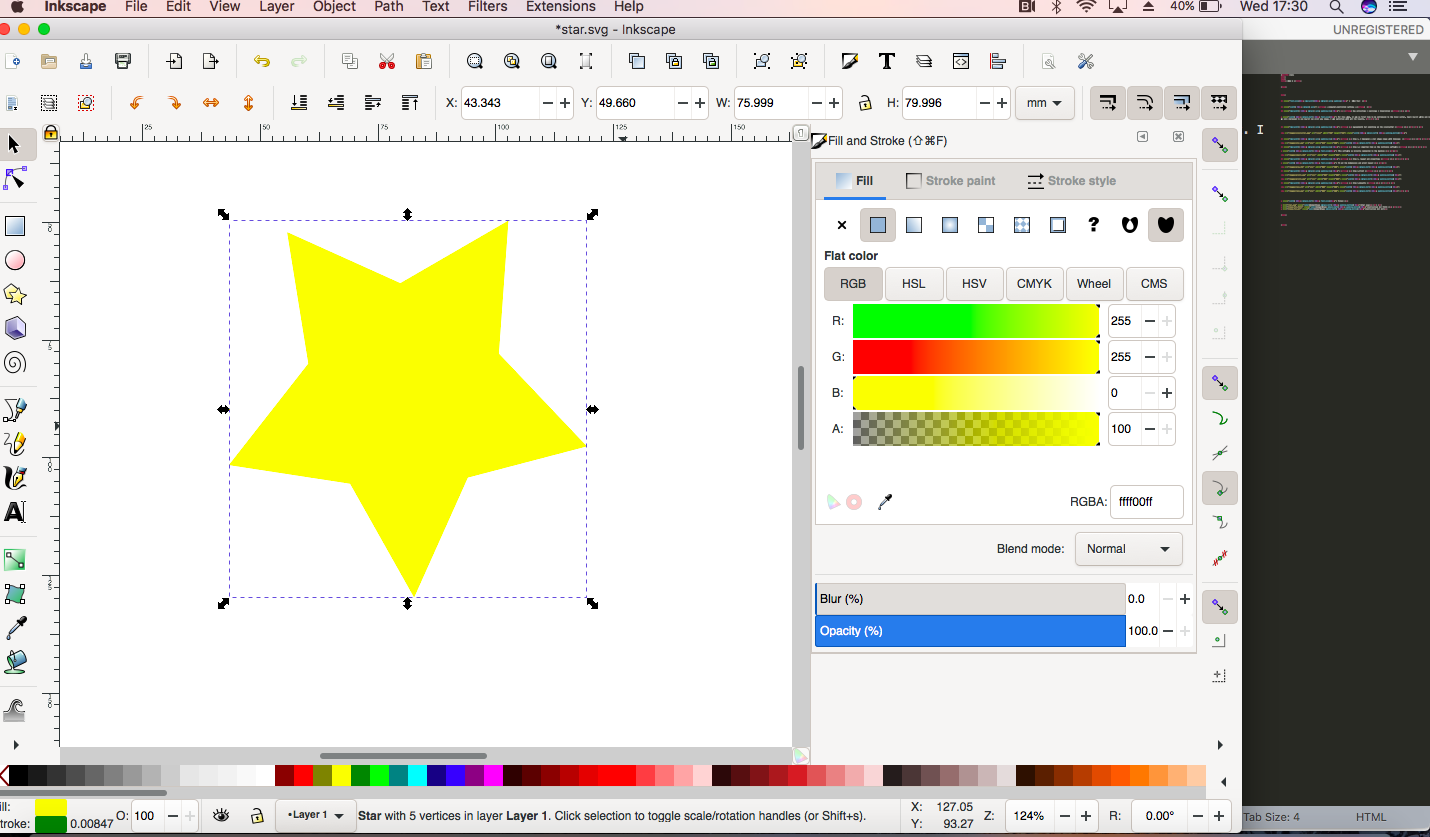
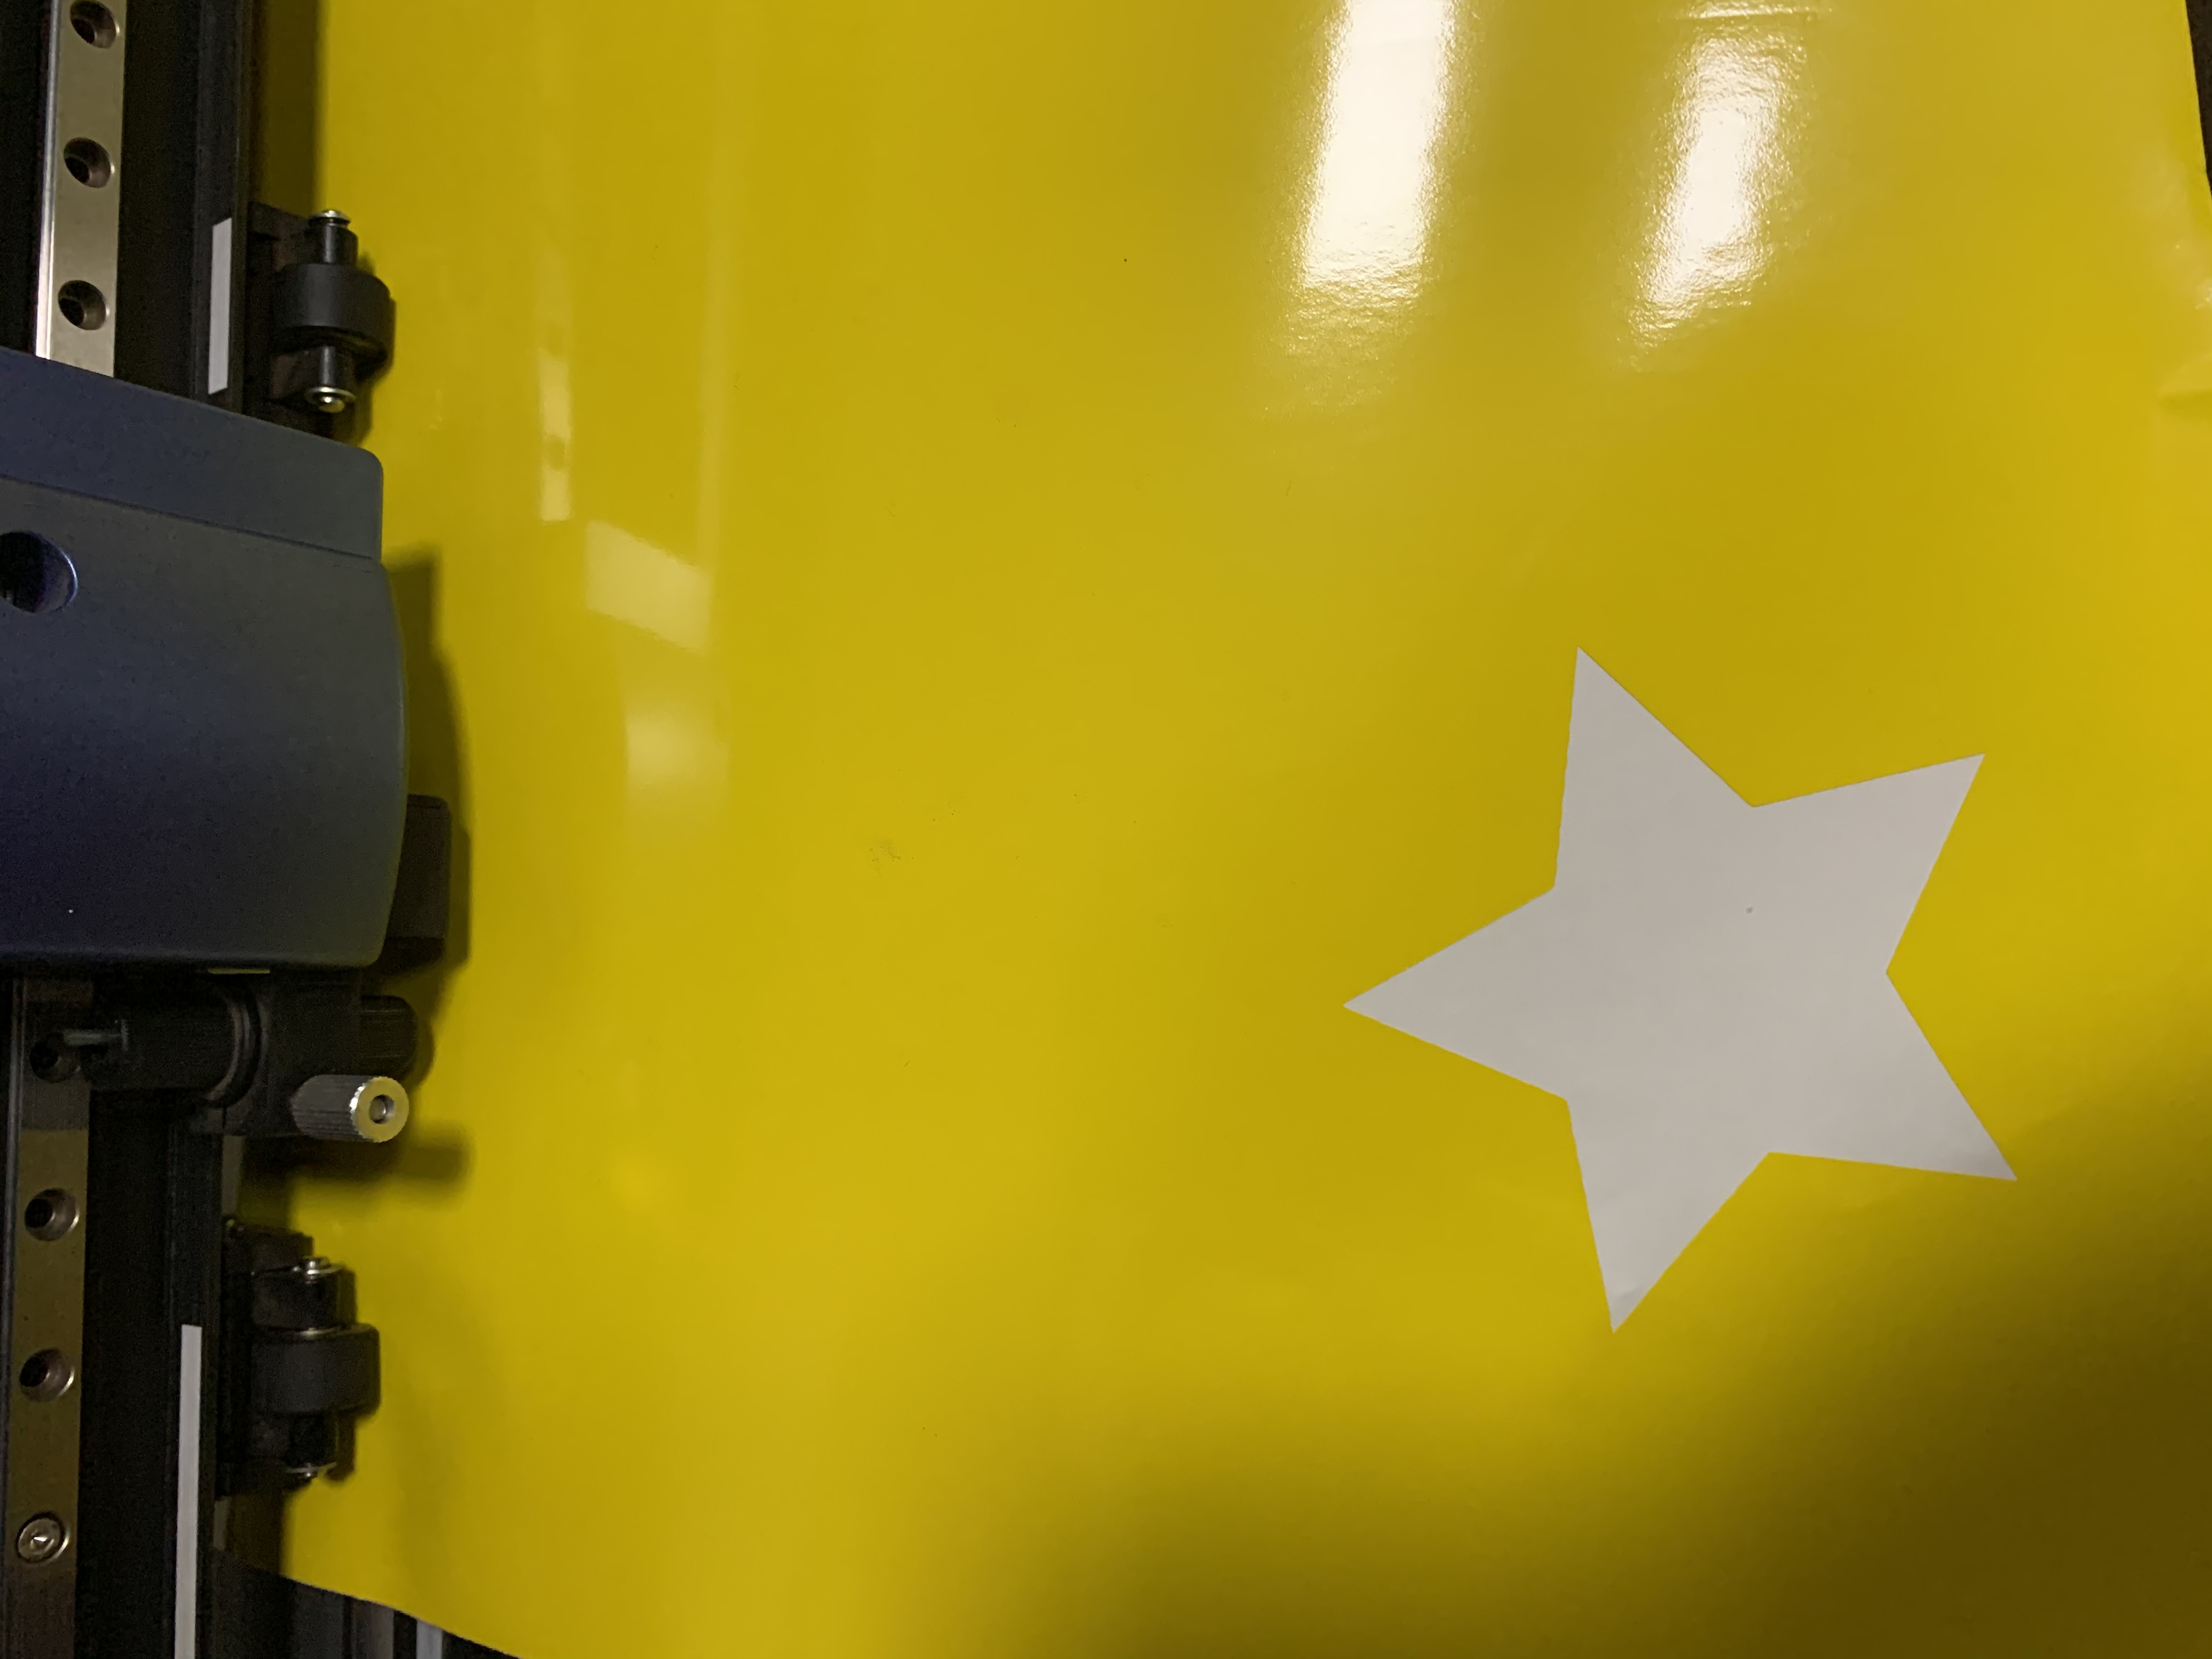
I first designed a star shape image with Inkscape and exported it as png

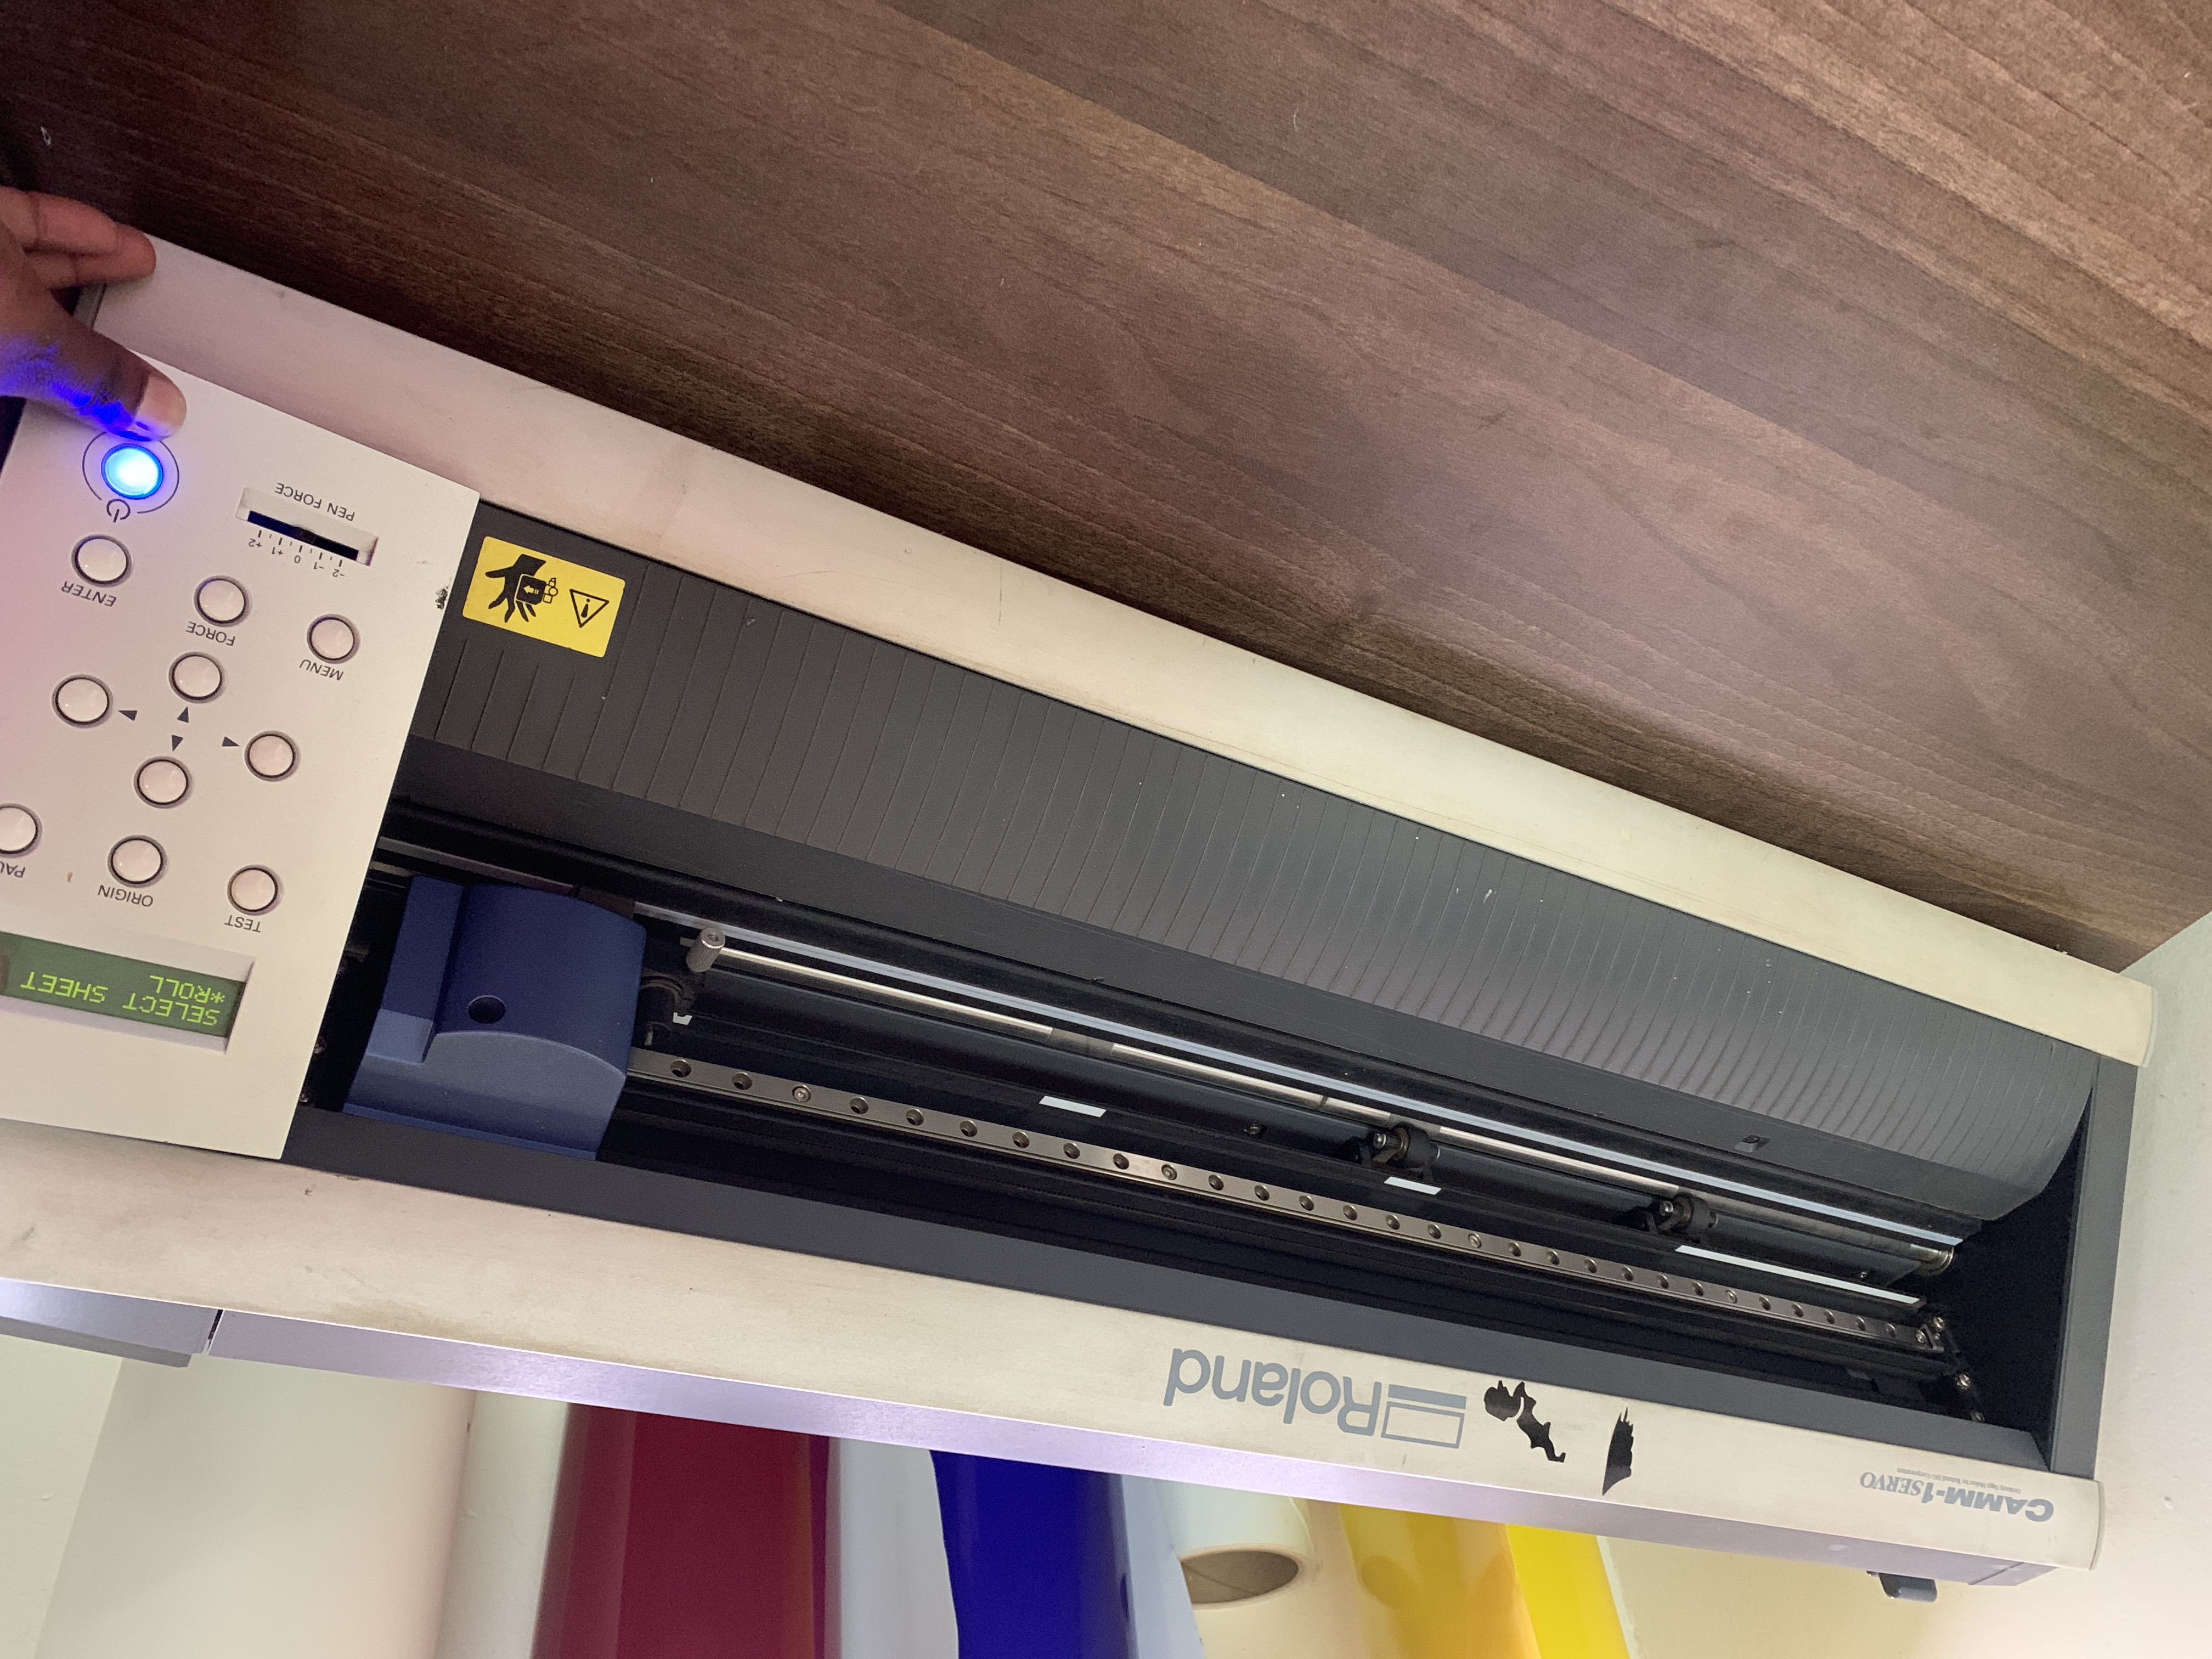
This software is directly connected to the machine
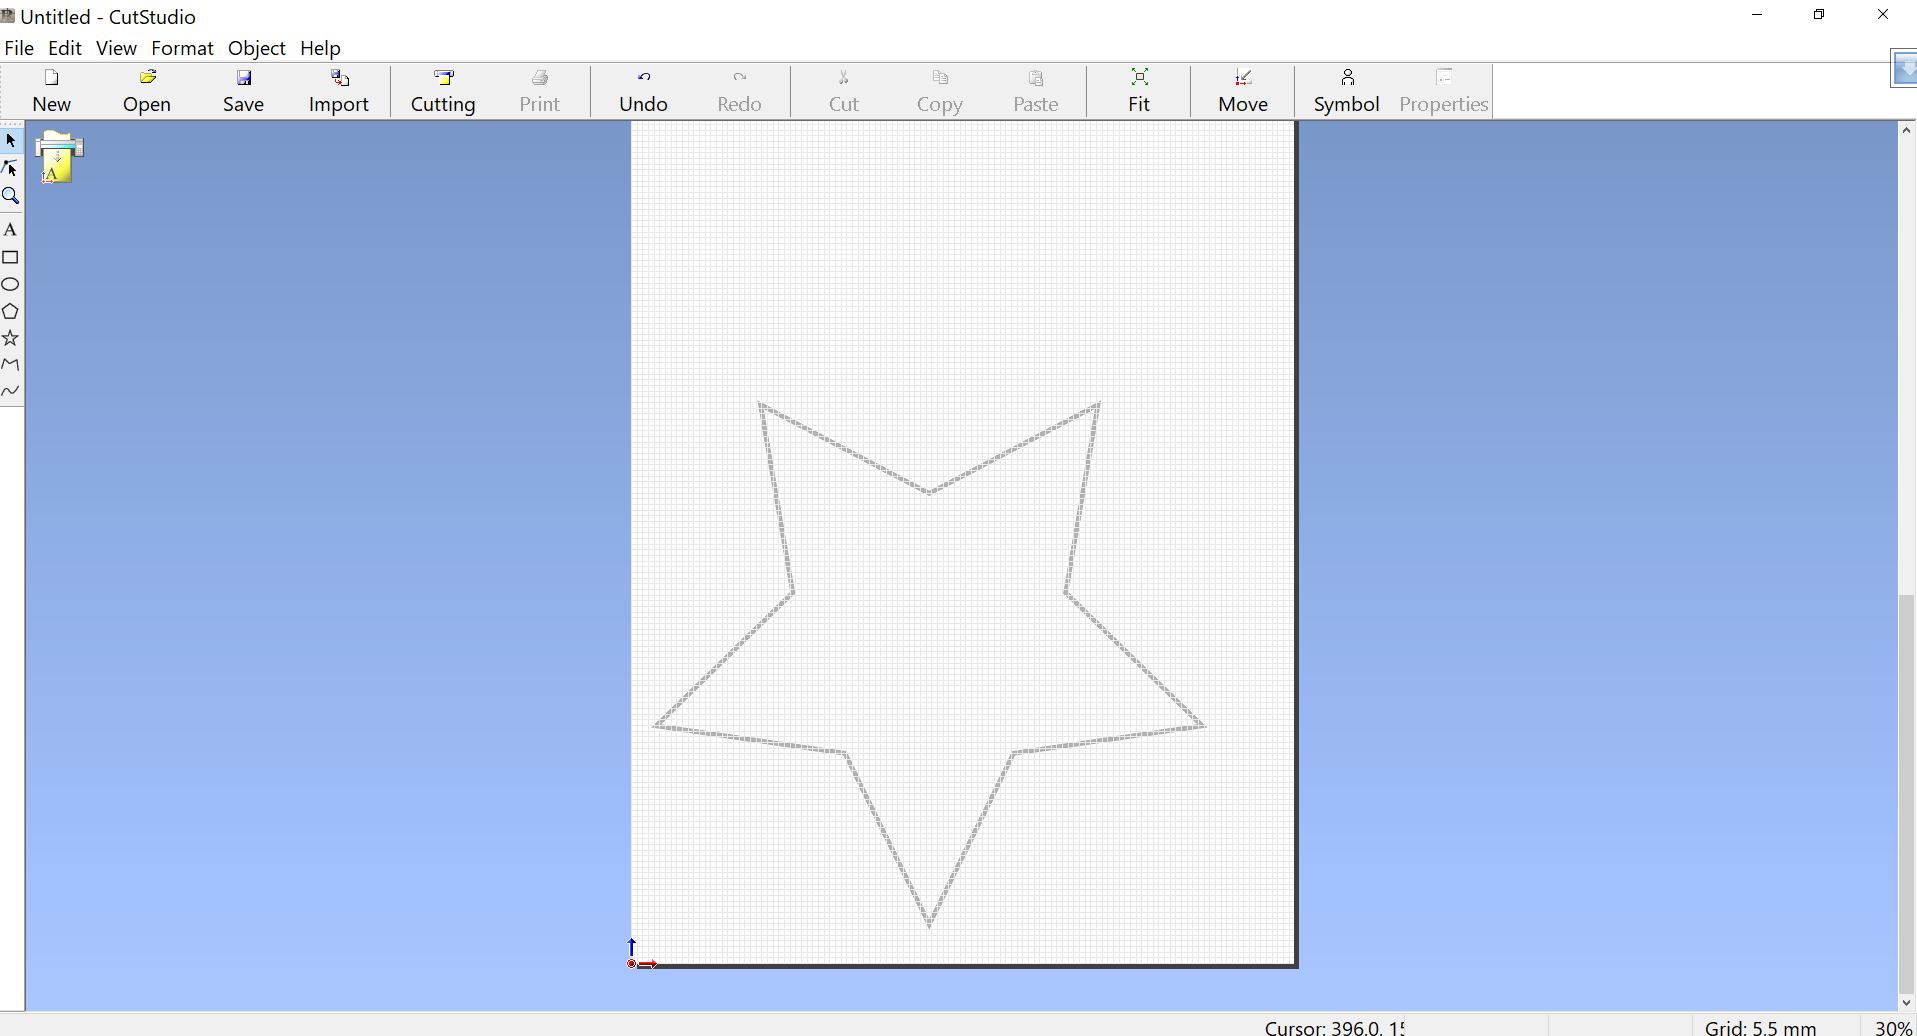
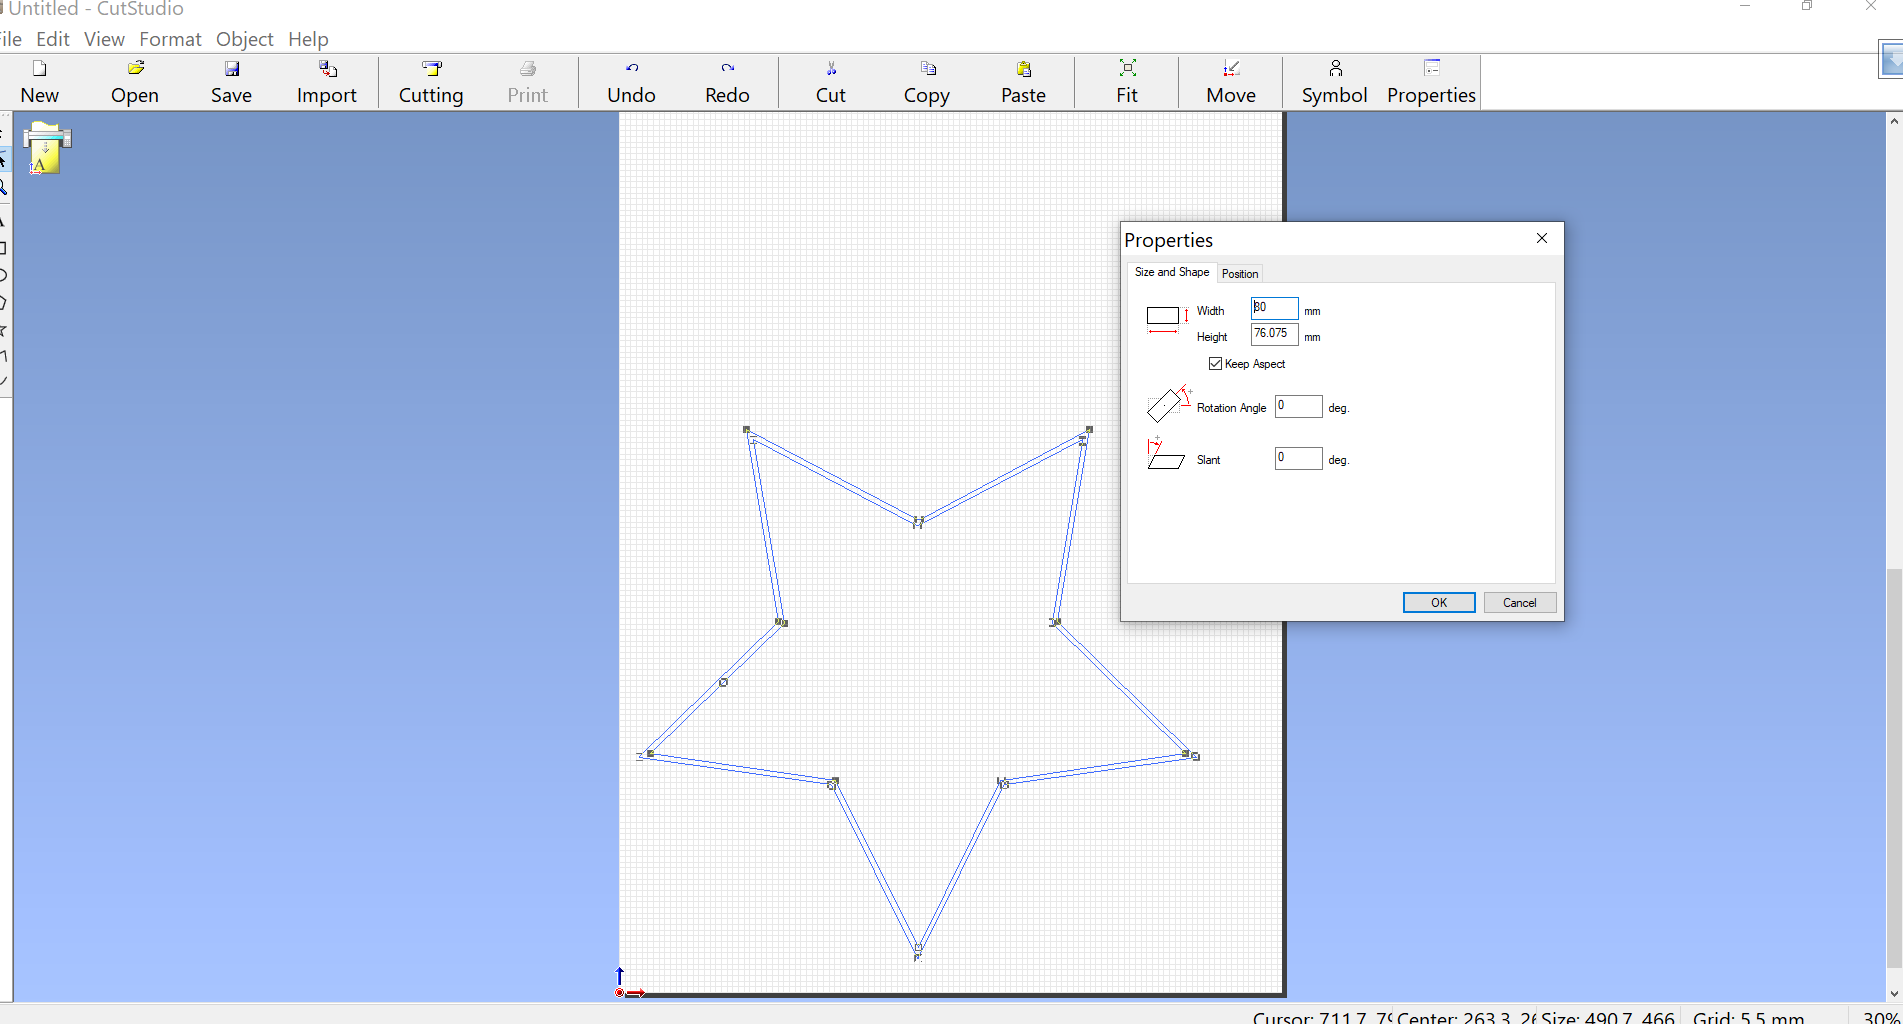
To set the dimensions and print layout
1. Switch on the machine and make sure the loading lever is lowered.
2. Press the material through the machine as shown below. Make sure the left edge of the material is within the boundaries of the wide indicator at the far left.
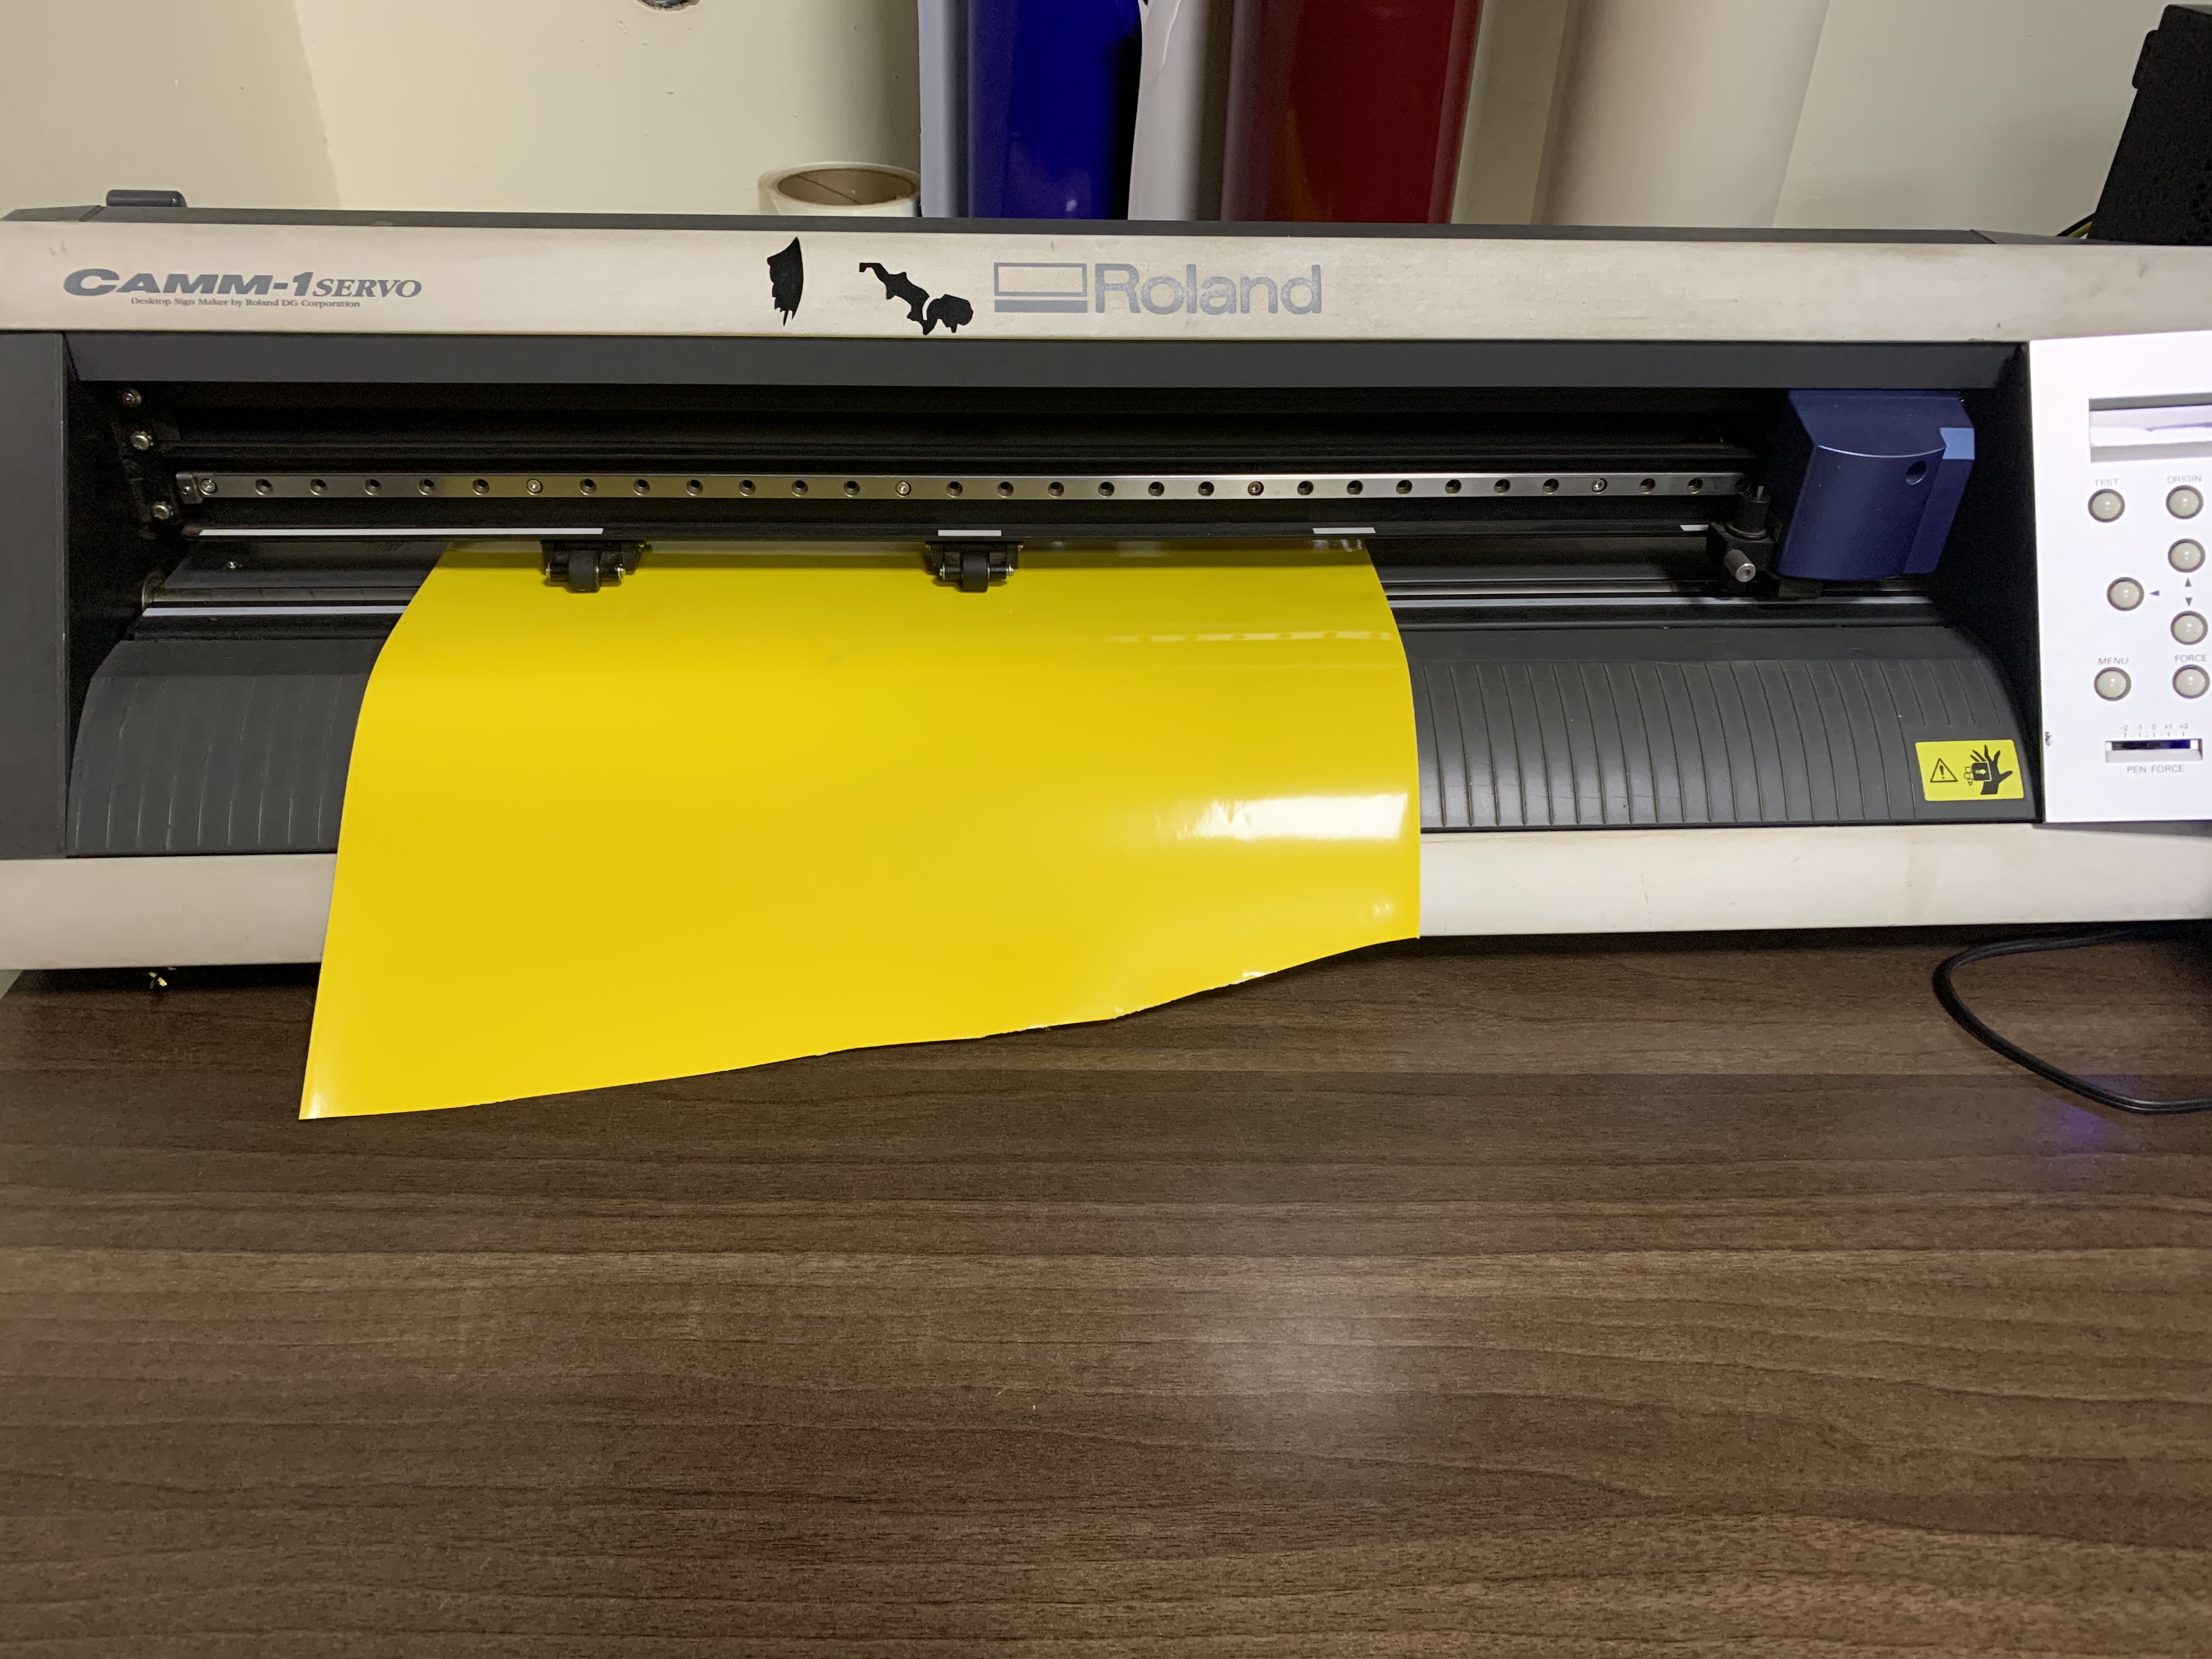
3. Raise the loading lever to ensure the material is secured in place, then print


Files:
Download