This week, the first steps of the final project are carried out. What I know about my final project is that I will need to design the casing, which is a wooden or plastic box that will cover my the pcb but I don't know yet the size of my pcb. This week, I will learn how to design the box in both 2D and 3D.
According to the time I have, I can only learn two design software. I chose Inkscape for 2D design and FreeCad for 3D design.
Let's start with Inkscape !
You can Download and install Inkscape here.
Since I have not used Inkscape before, I took some time to go through tutorials to learn basics on how to get started with Inkscape. I found a great serie of tutorials on Youtube.
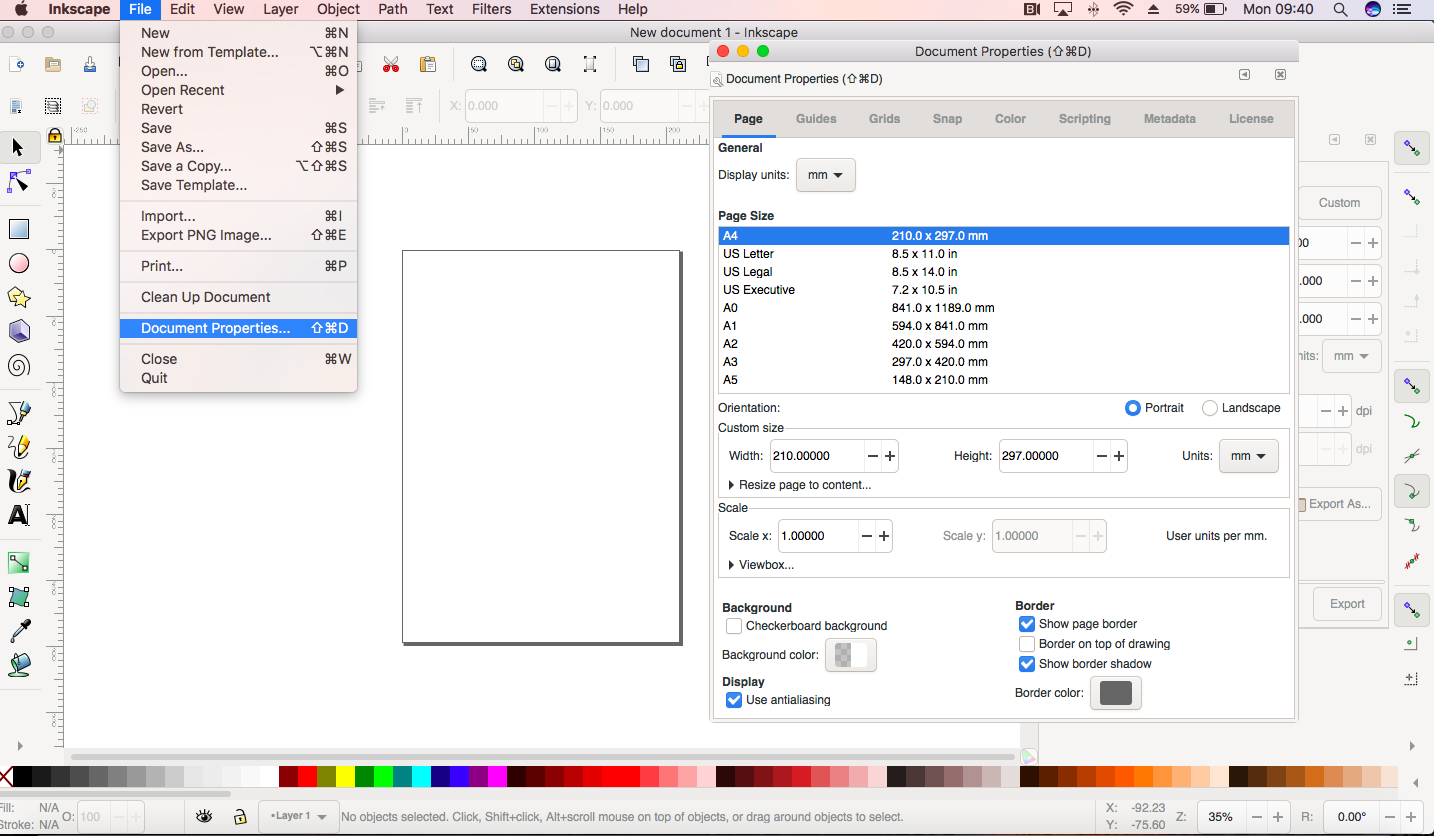
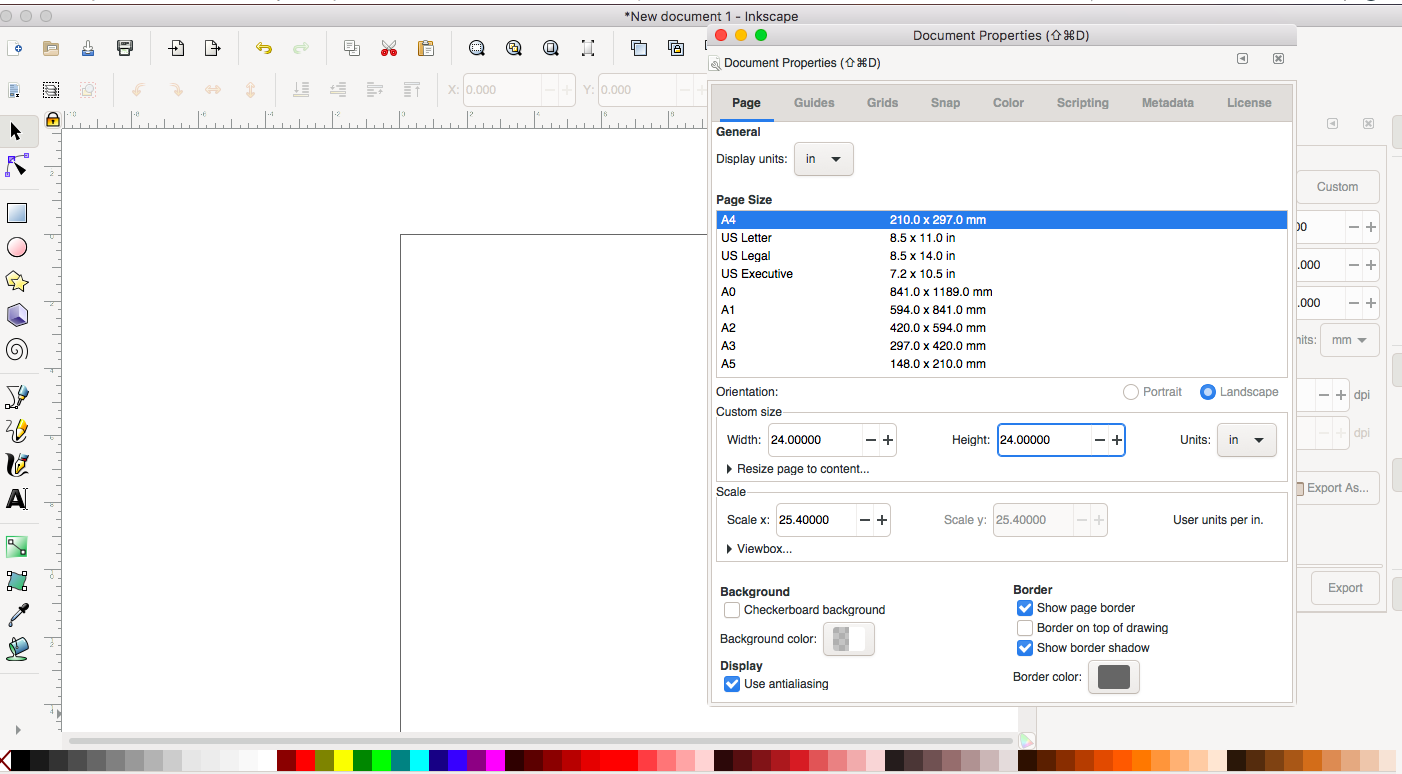
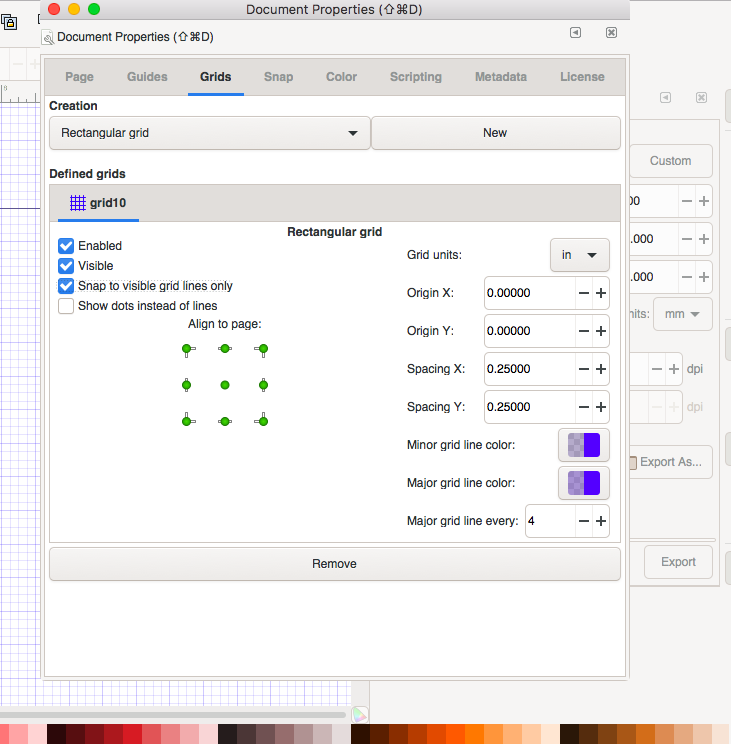
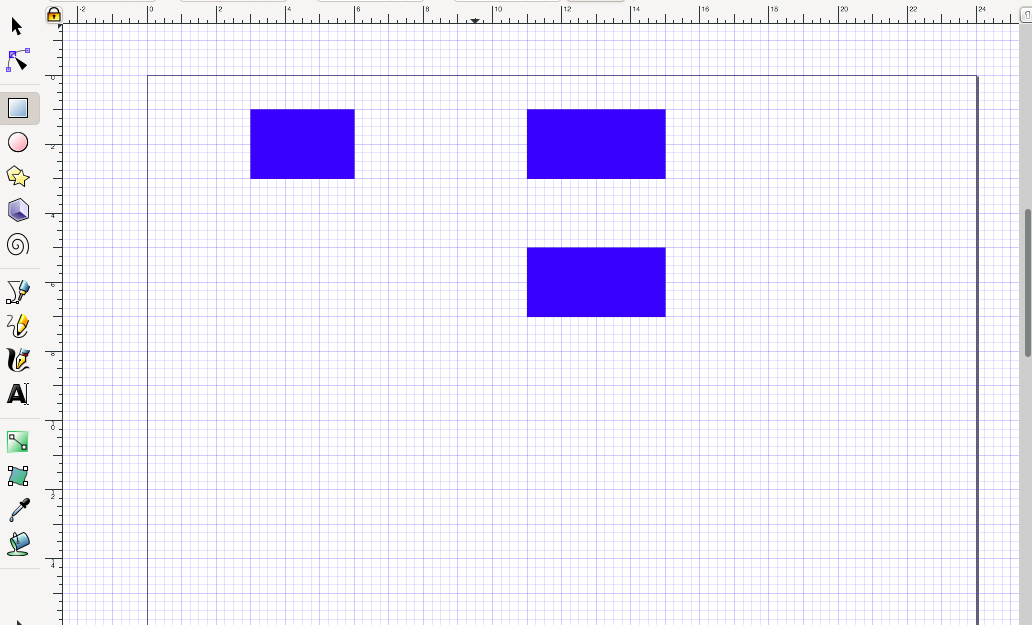
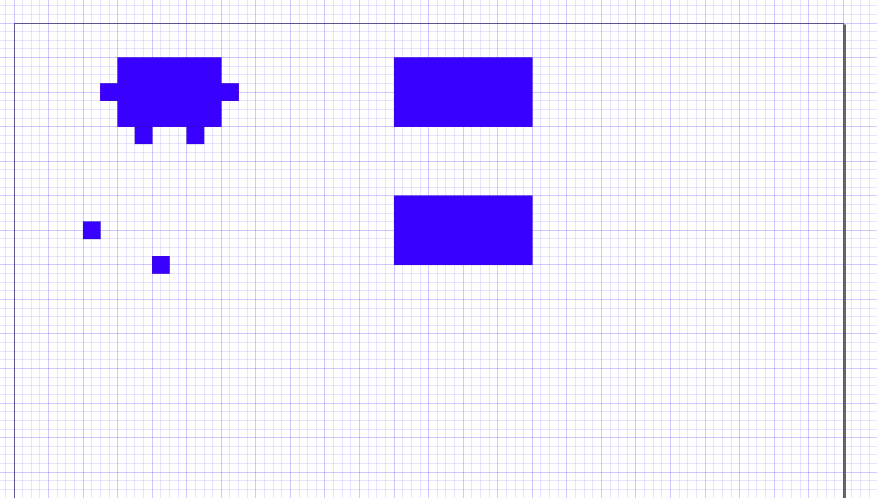
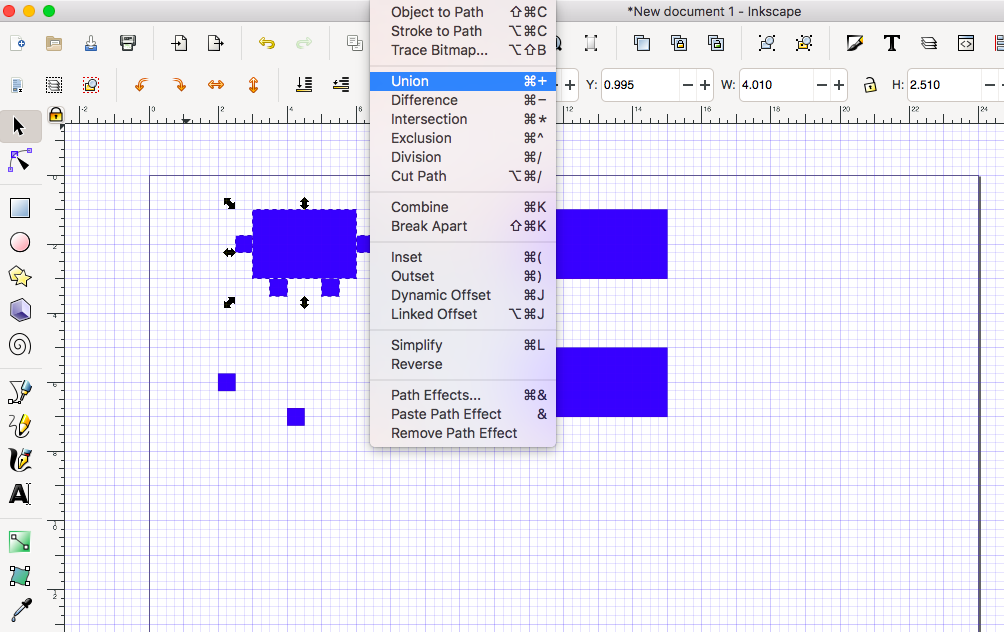
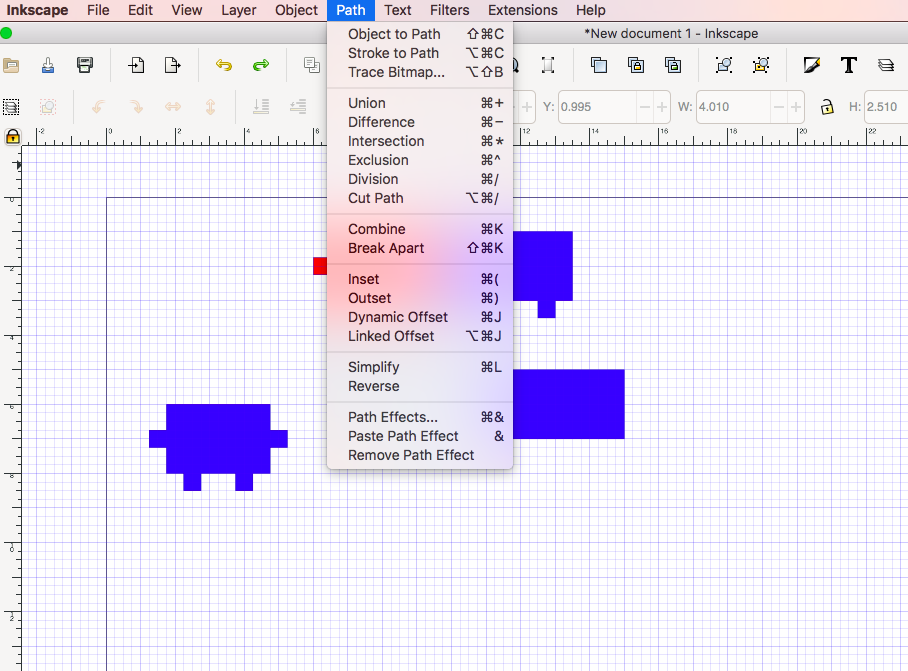
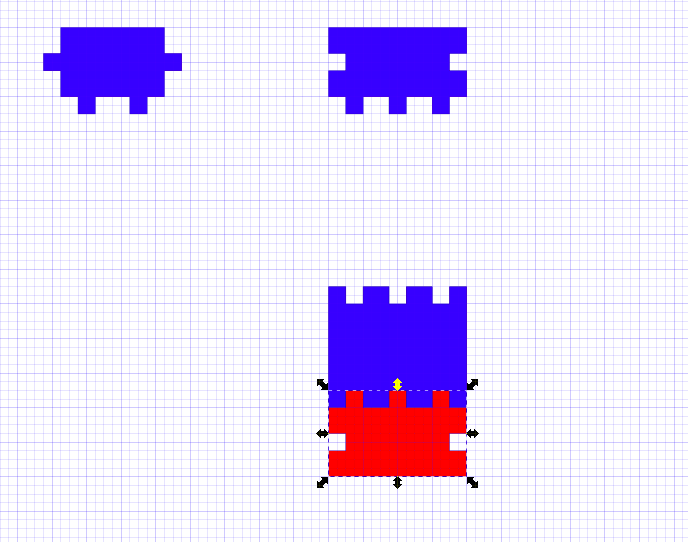
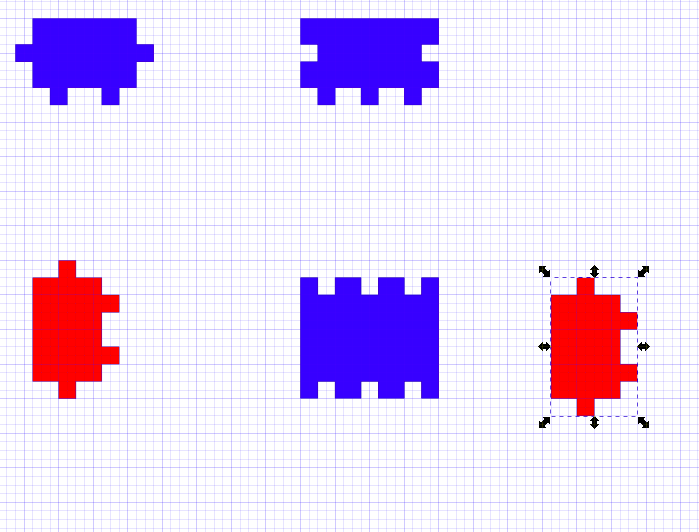
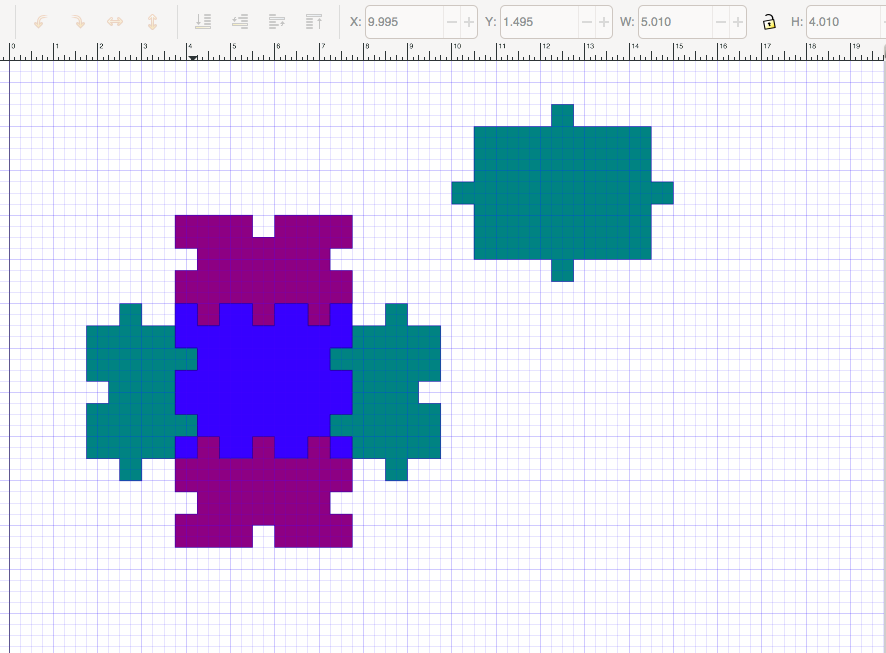
The union command is used to create tabs and The difference command is used to create slots
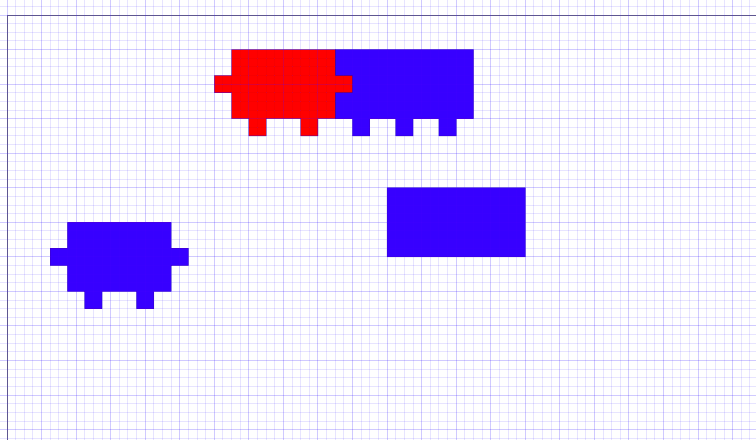
We need to create a cutter to be able to create slots. Here, I made a copy of the side part and changed its color to red to indicate that it's a cutter.
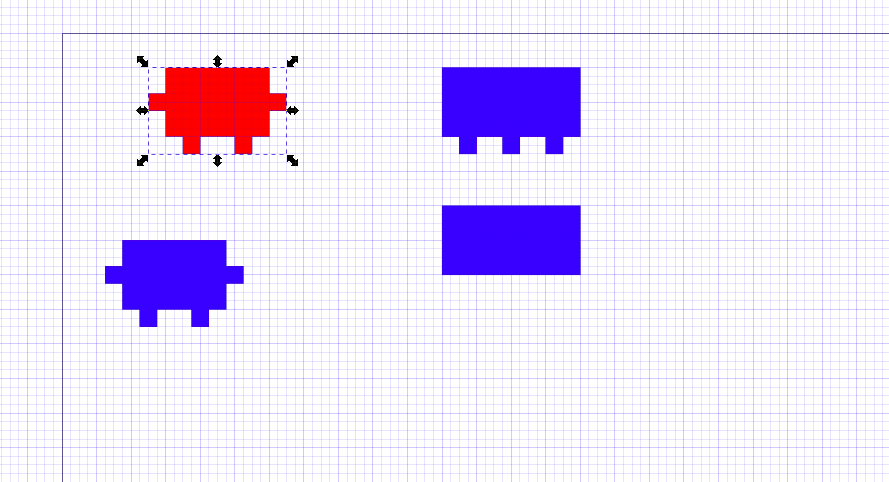
The cutter (in red) has to be on the top, to raise the cutter on the top I used bellow command
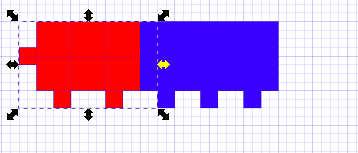

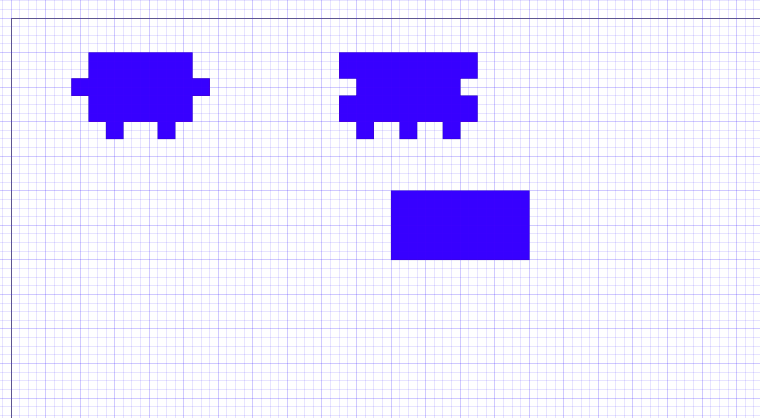
The difference command will directly create the slot
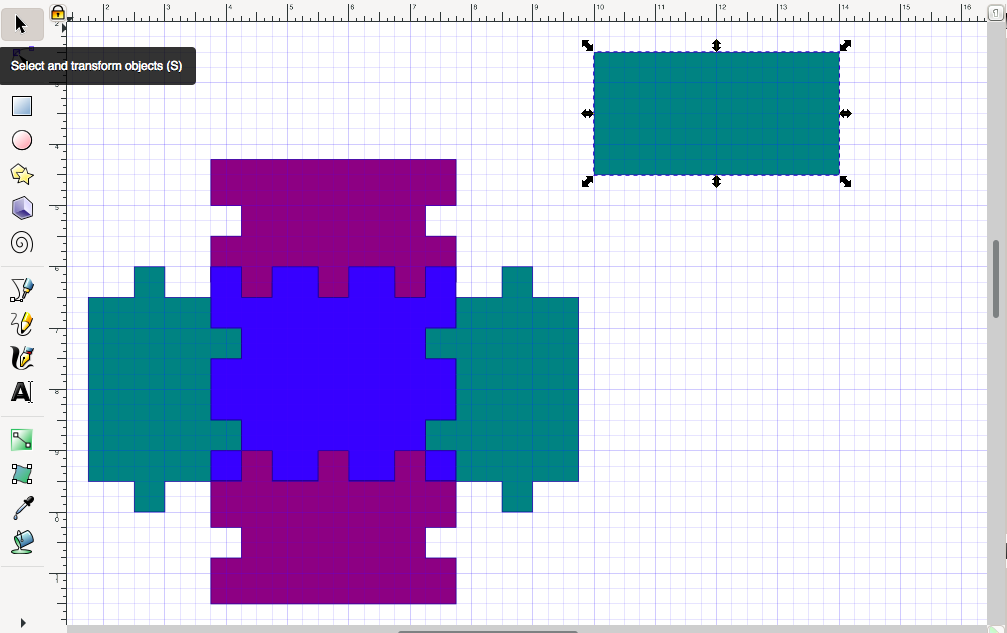
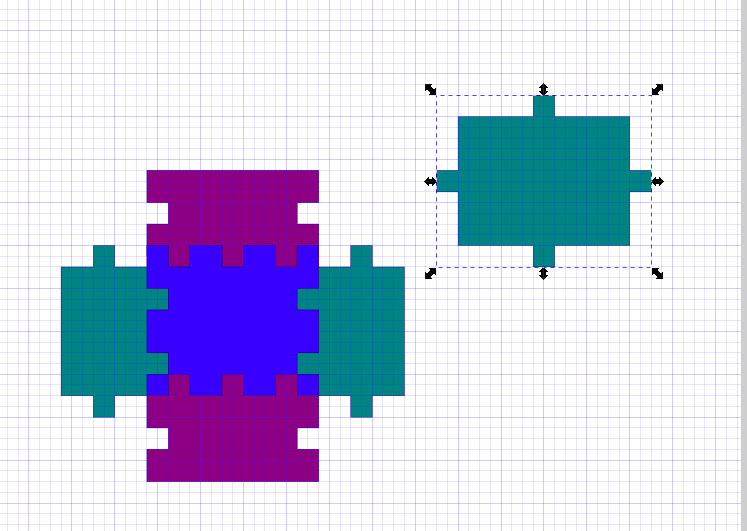
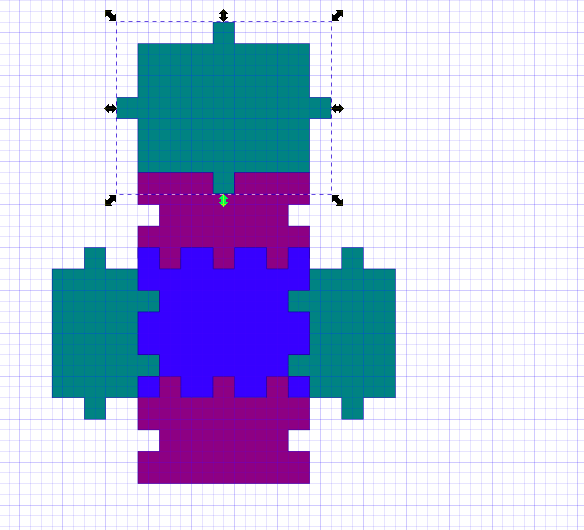
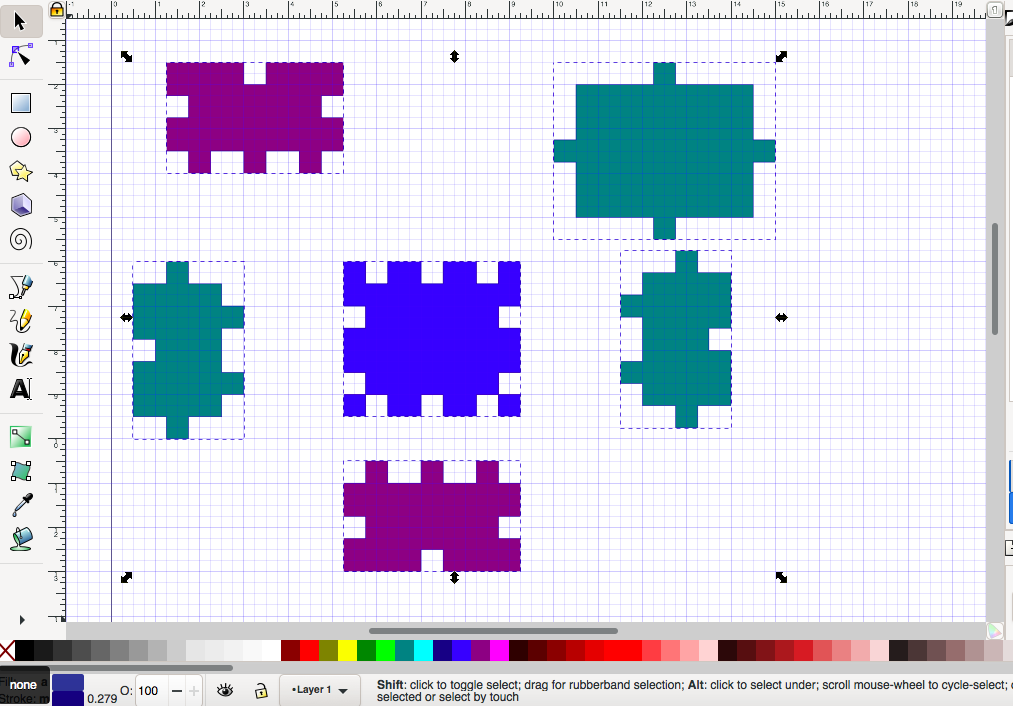
Select all the image and left click on the bottom left cross box, shift click on the color you would like the lines to have.
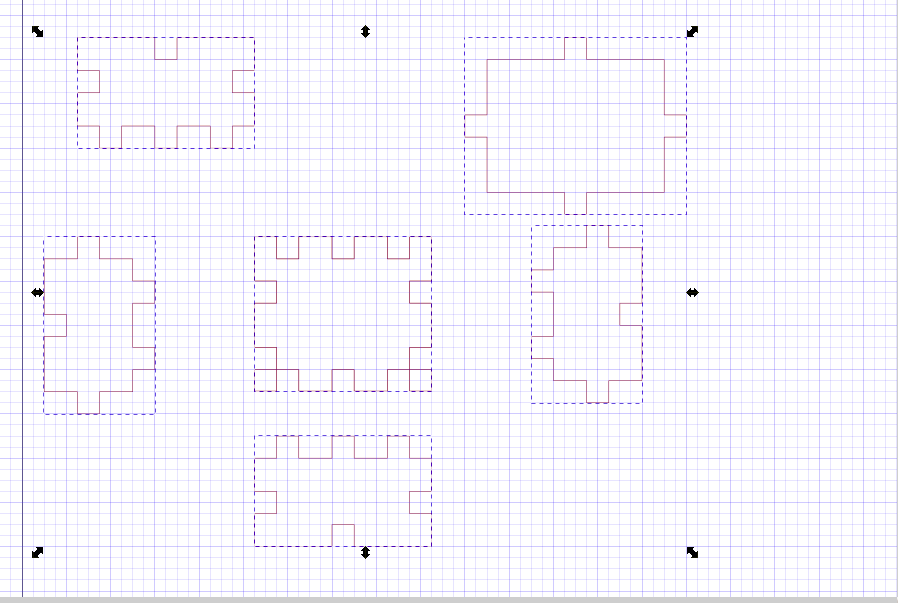
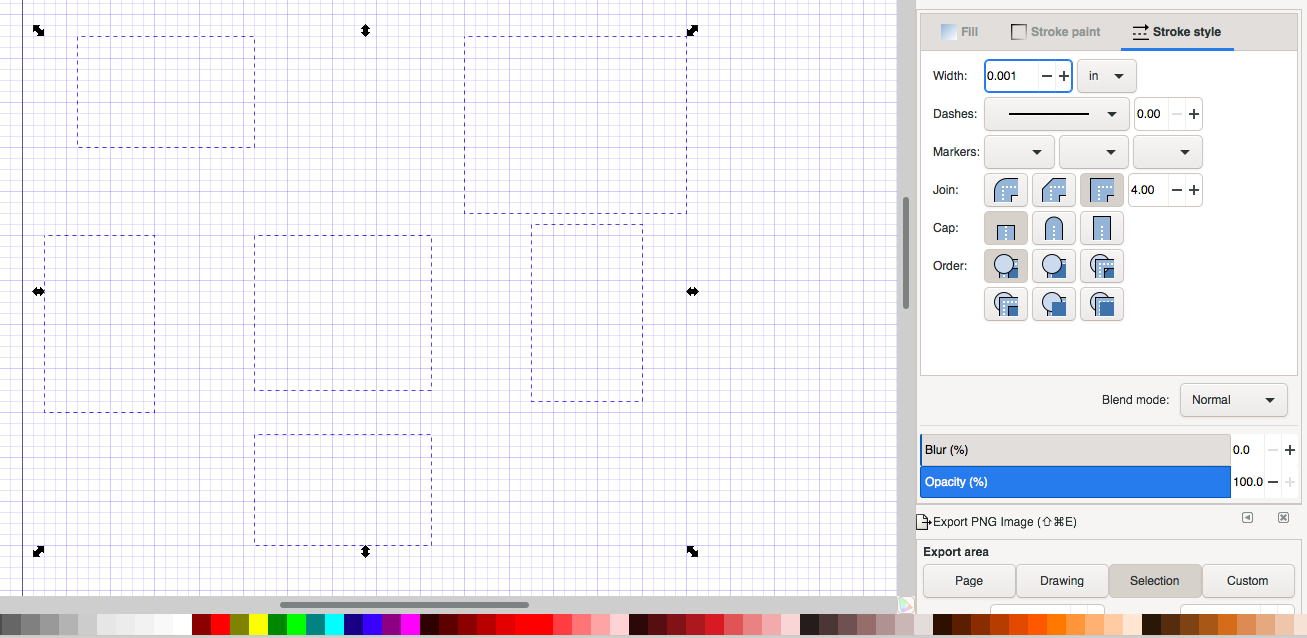
Click to object, go to fill and stroke to verify the stroke style for laser cutting. I changed it to 0.001in width
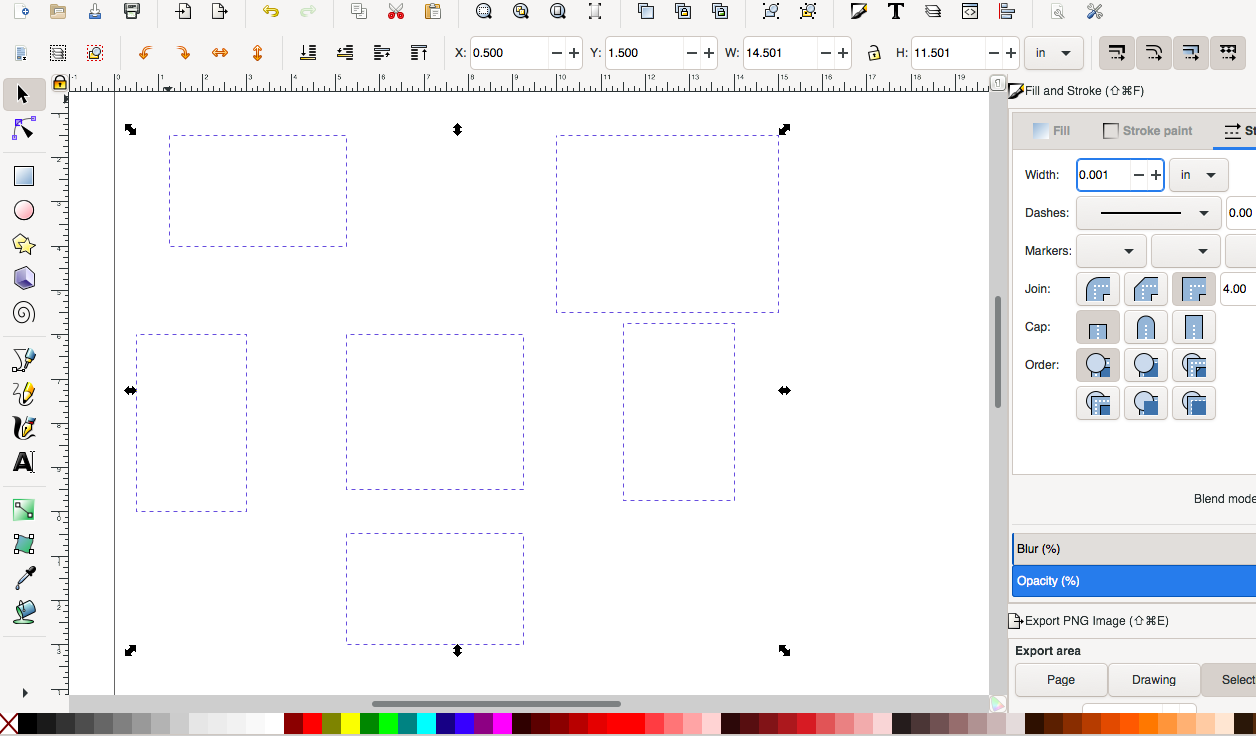
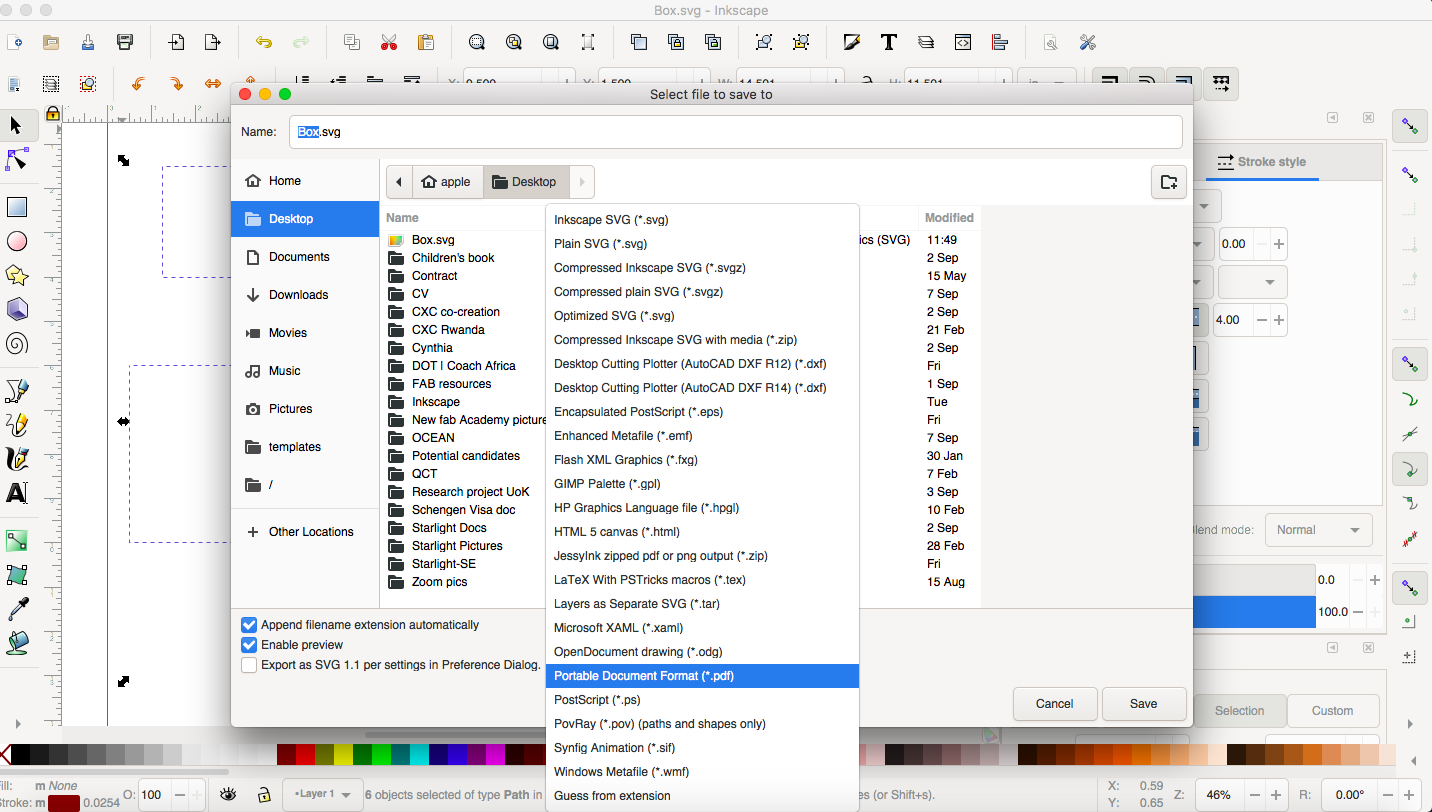
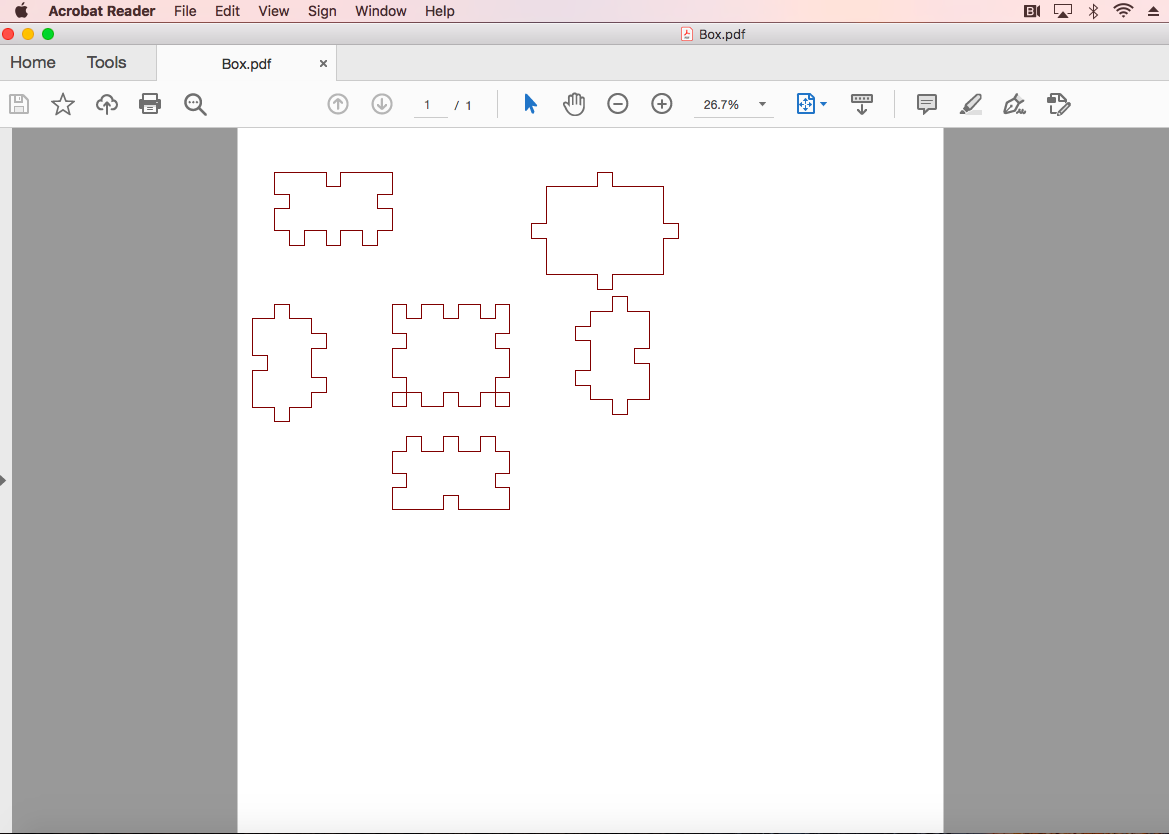
Remove the grid (click on view) and save as pdf
You can Download and install FreeCad here.
I found a few online tutorials on Youtube. This was my favorite:
Create a new project
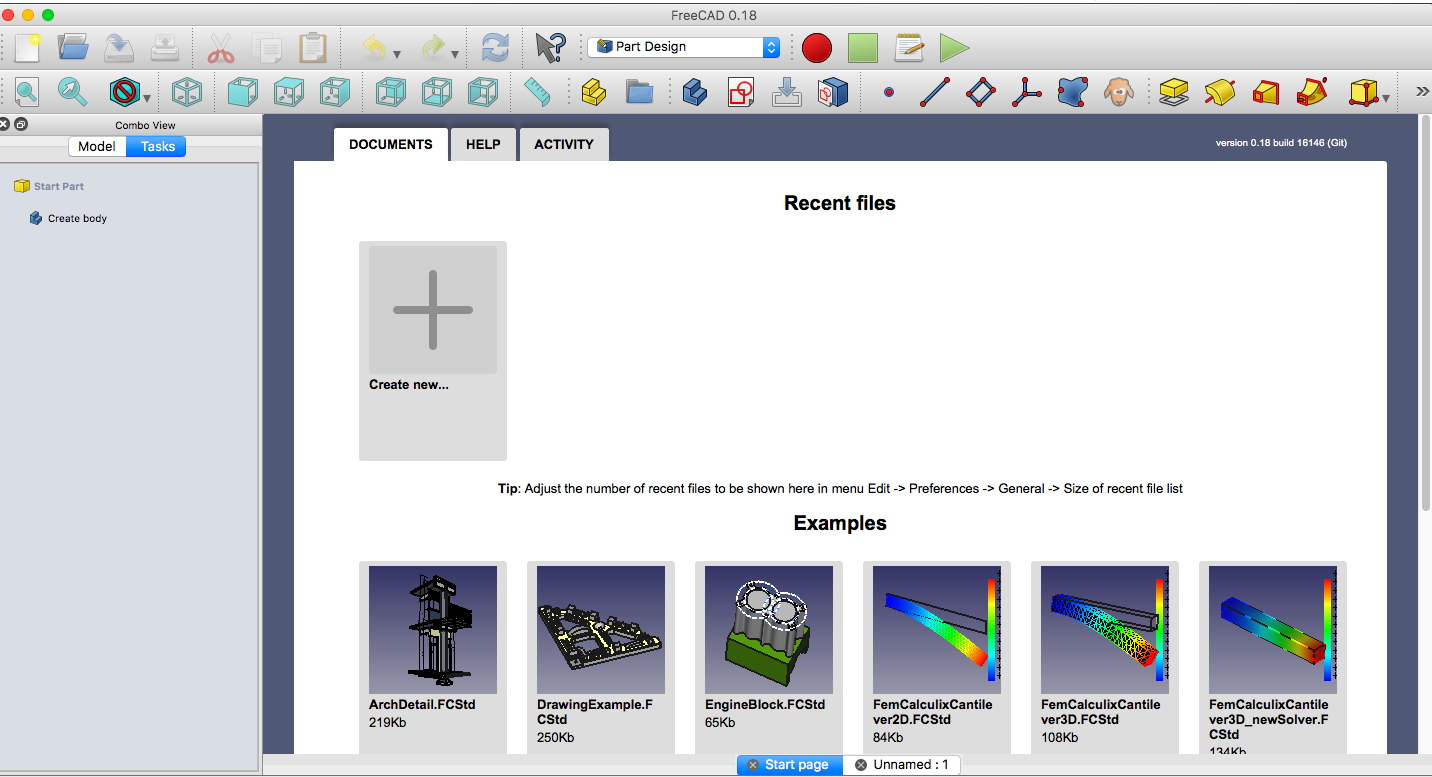
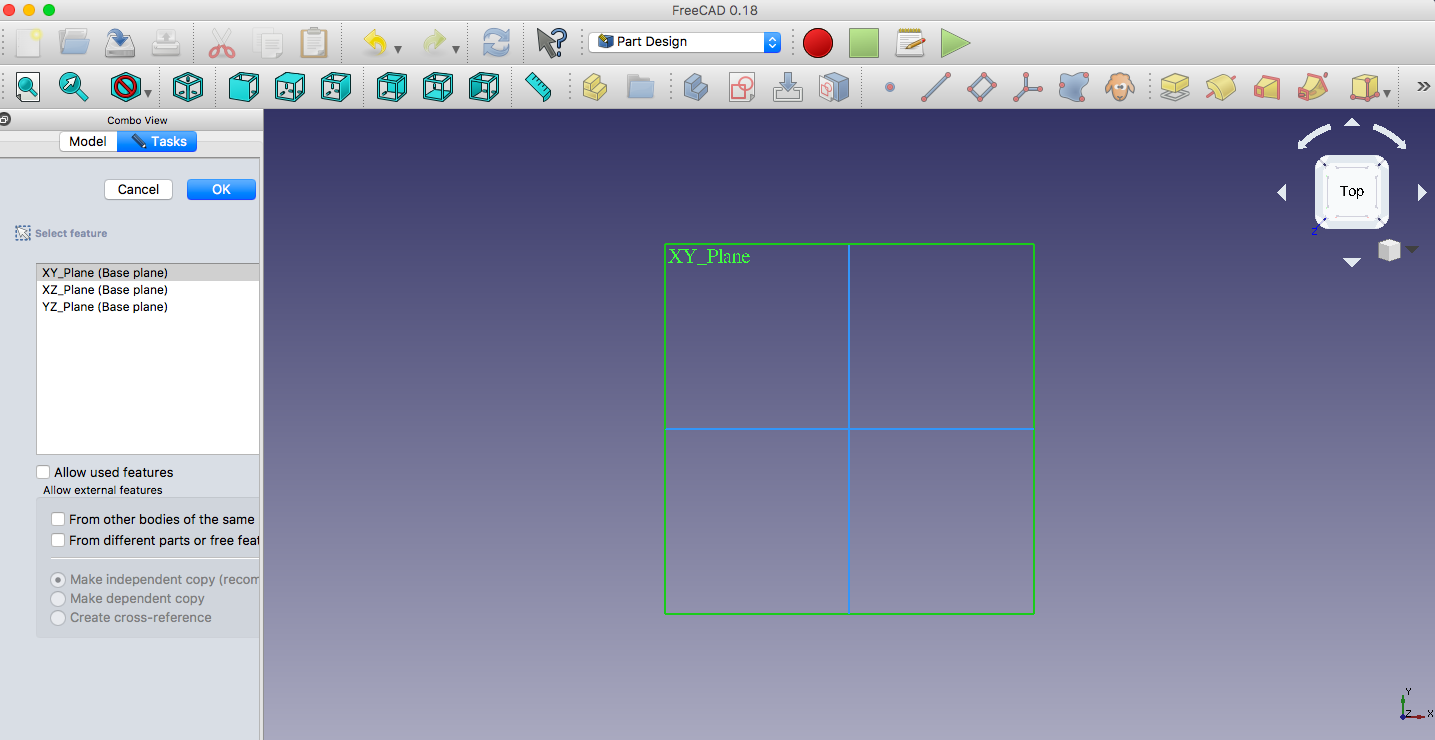
Click on create new sketch, select the XY palne and draw the top of the box.
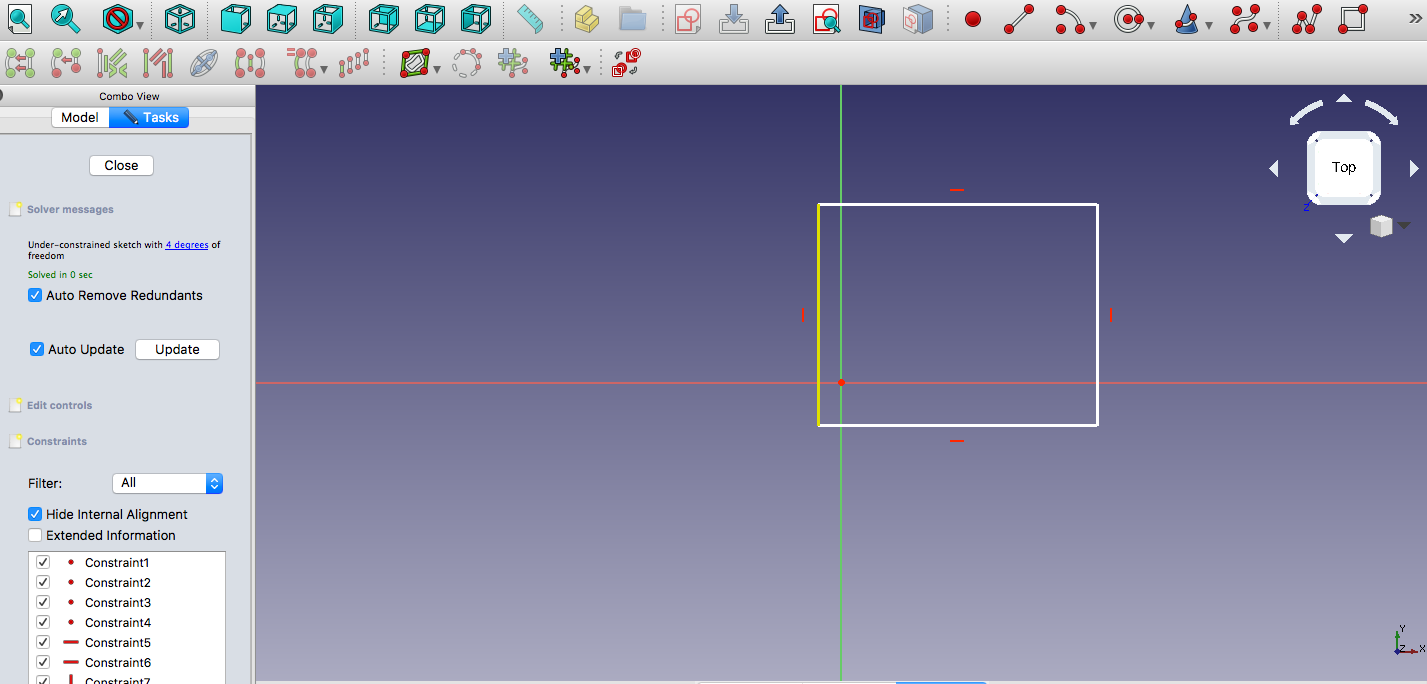
Give it the dimensions by selecting the line and using the vertical and horizontal icon.
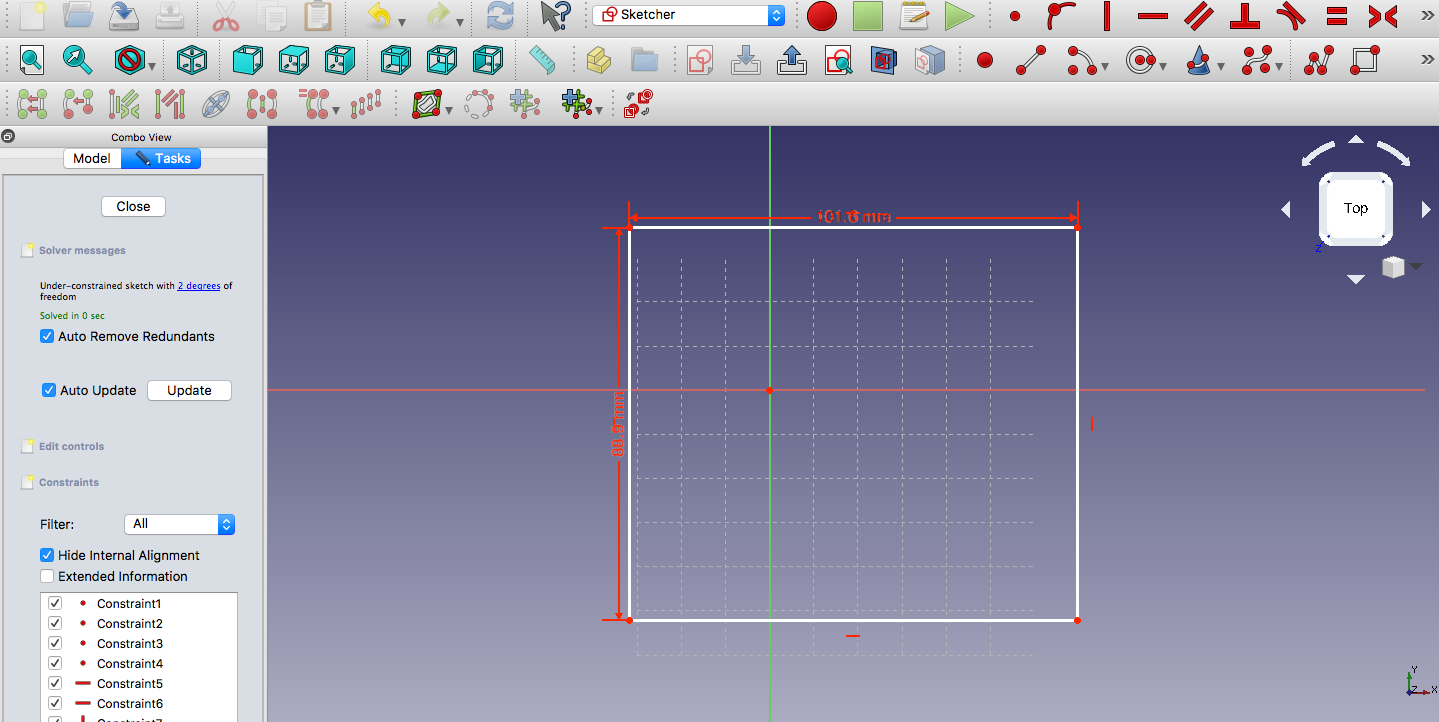
Remove constraint and make it symetrical to the XY axis
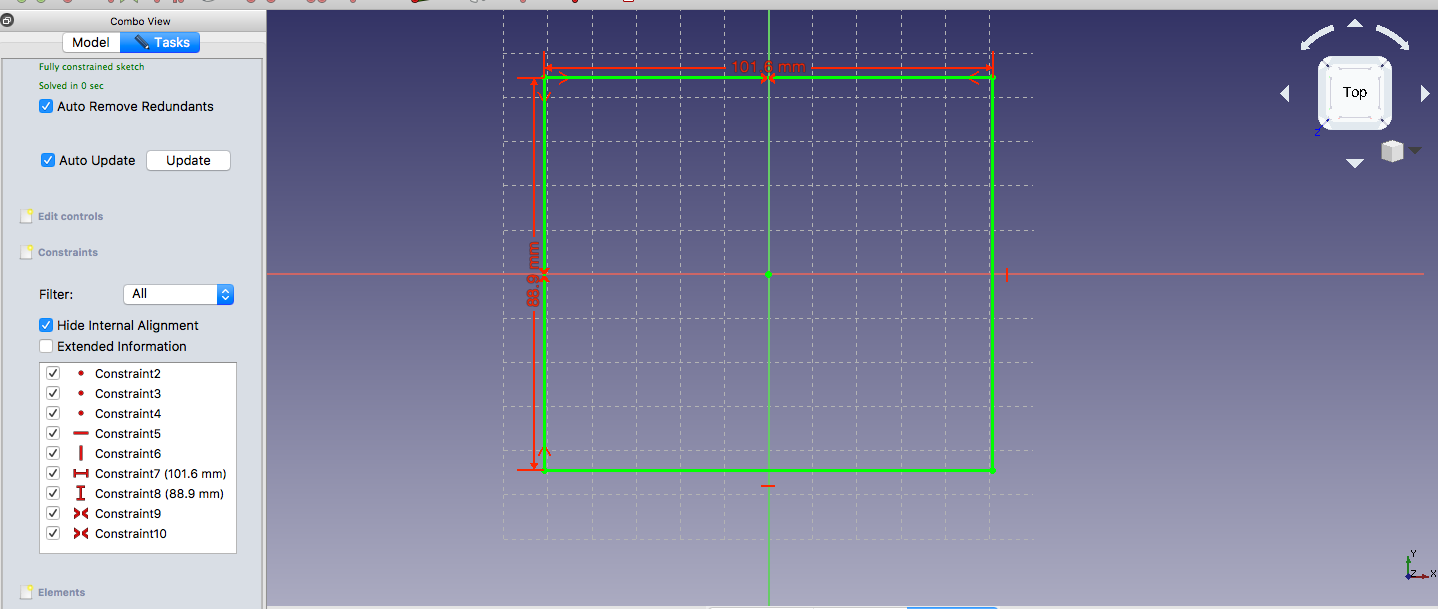
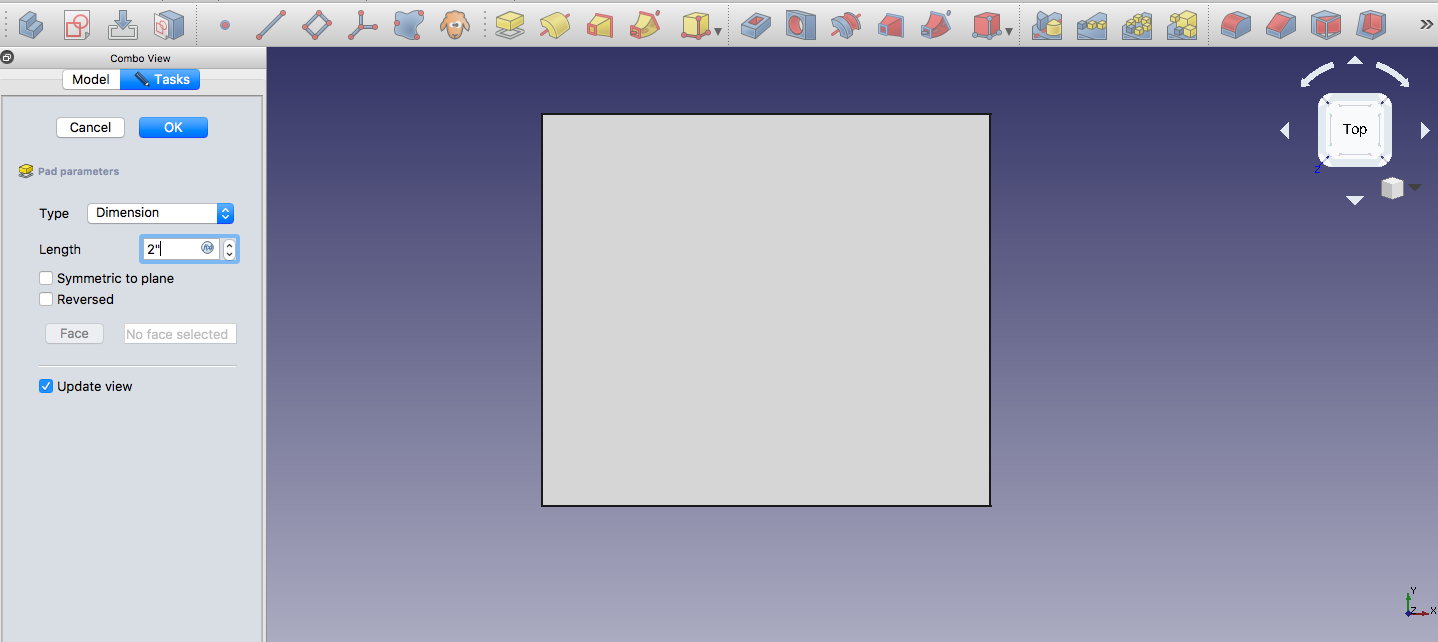
Click close and Use the pad tool to create the 3D dimension.
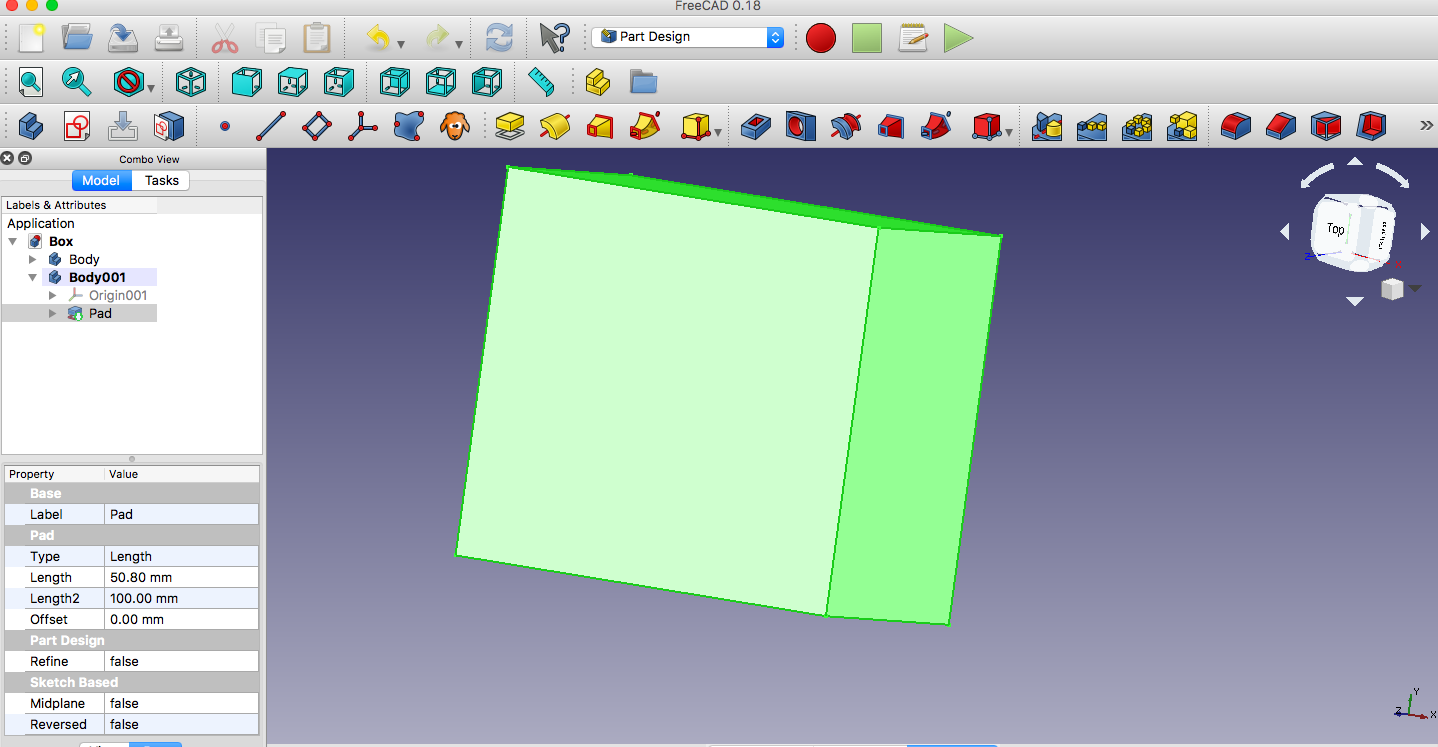
Create a new sketch on the top and give it the dimensions, indicating the width of the box
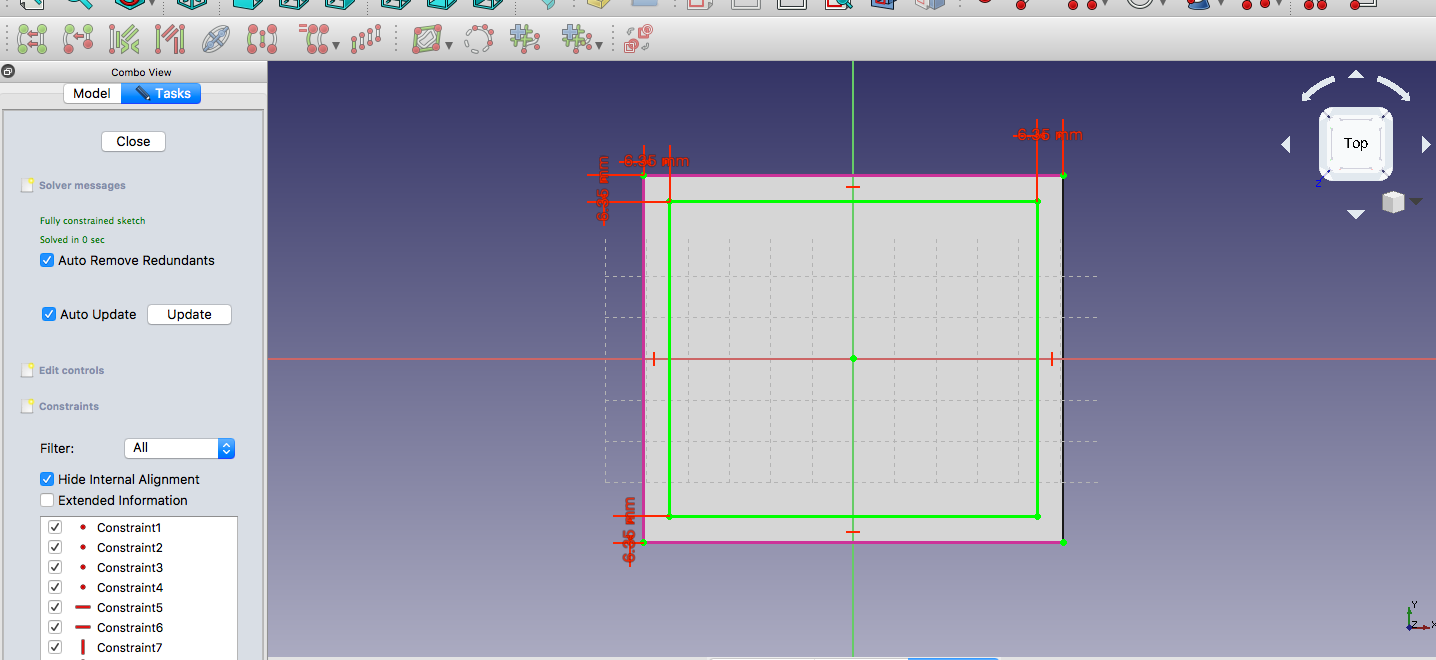
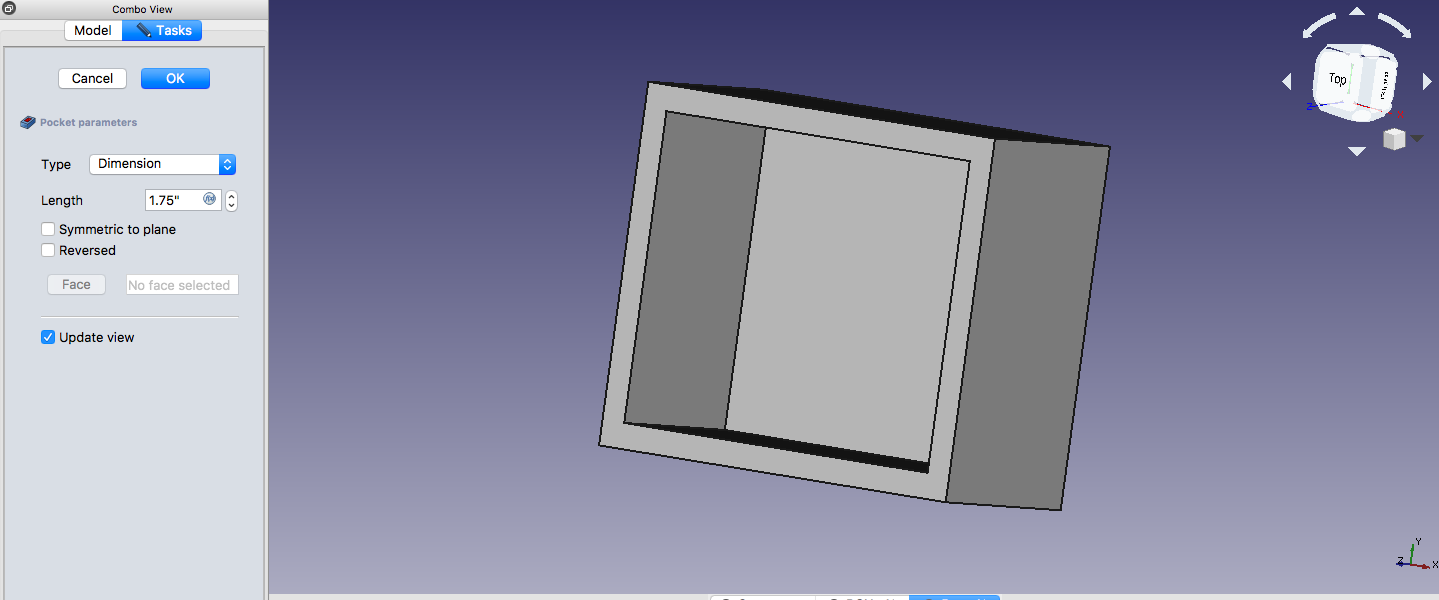
Create the box pocket with one of the tool above:

Conclusion:
When it comes to choosing the best design software, it can be hard, especially when you don't have experience with any other design software. For me I chose Inkscape and FreeCad because they are free, open-source and they are compatible with any operating system. Meaning that I could learn and use it anytime, anywhre. These two facts pushed me to learn more and focus on them during the completion of my assignments and future projects.
Inkscape is also ranked as one of the best professional quality vector graphics software. It is highly recommended for beginners. I chose to focus on it because it is very easy to use and has great tutorials to help you get started and advance.
FreeCad is also ranked as one of the best 3D parametric modeler. I chose it because it is free and I can access it on my PC anytime. It is recommended for beginners and helps in creating the best 3D objects. Though, I found it is very hard to get good tutorials to get started with FreeCad.
Files: