Week TWO
~ Project Management ~
Key activities / Learnings / Inspiration
Inspiration
This week during the global call, It was very interesting to learn about why Japan's rail workers can't stop at pointing at things, this is for safer rail operations. With artificial intelligence and IOT, Japan's rail system has a well-deserved reputation for being among the very best in the world. You can read more about this in this article.
Learnings
1. It is very important to compress your pictures and videos on your website, to avoid filling out your repository and for your viewers to take less time loading to your website when trying to open it. Installing ncdu can help you check the file sizes of things you posted on your website. My PC OS version can't support ncdu, I couldn't install it. I also tried to install image magic which is a recommendable software to compress and convert your images but it couldn't install as well because of my PC OS version. So, I decided to always make sure I check all my images size and resize them before I post them on the website. Opening an image on your PC and taking it's screenshot produces a nearly similar quality image with reduced size. For video, I decided to post them on YouTube and post the link on the website.
2. Exploring different website development tools
I am experienced with HTML and CSS. This week, I decided to explore more website development tools that are new to me. Markdown has been recommended during class so I'm going to explore what it is, when and how to us it.
What is Markdown?
Markdown is a text to HTML conversion tool for web writers. People also use Markdown to create documents, notes, books, presentations, email messages, and technical documentation. You can easily use Markdown with any code editor software and save the file with .md or .markdown extension. After creating your Markdown file you will need a Markdown application/Processor, mostly called Markdown Parser, to convert your .md file into html format to be able to view it in a web browser.
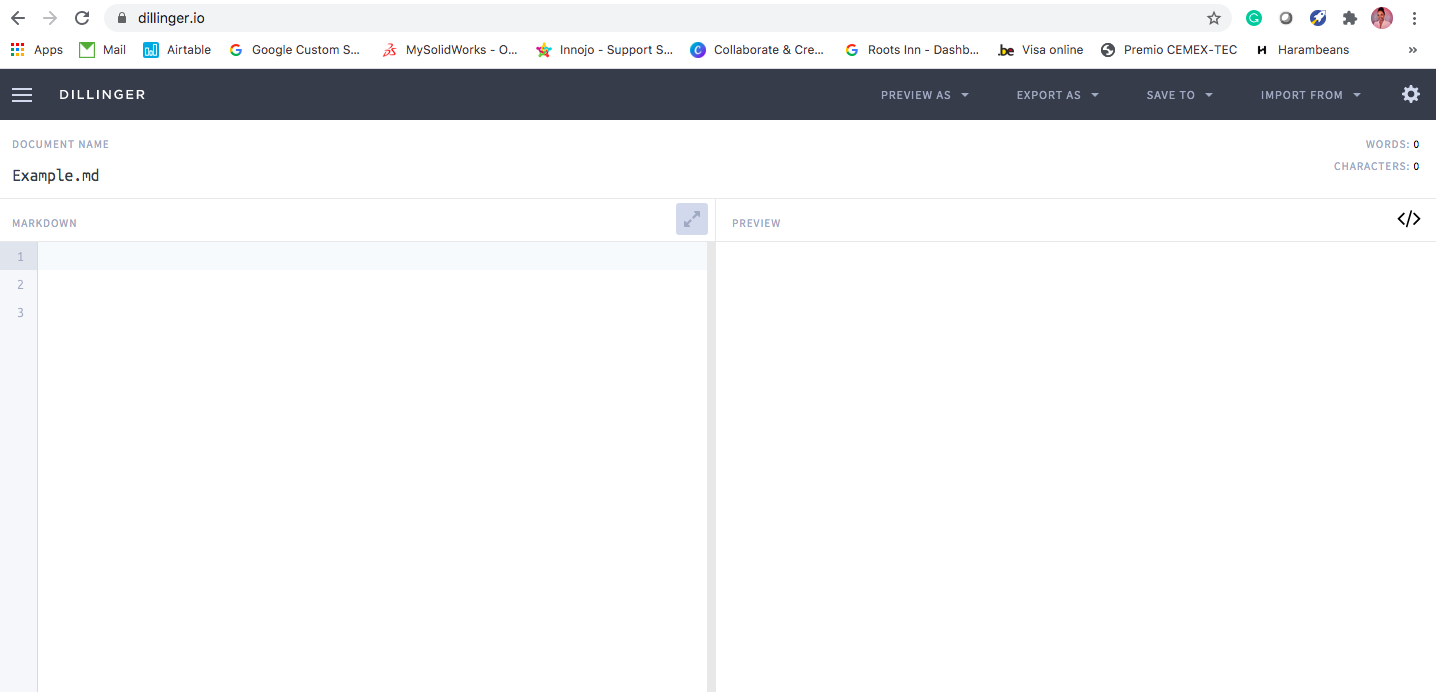
Dillinger is one of the best online Markdown editors. Just open the site and start typing in the left pane. A preview of the rendered document appears in the right pane.
To get started, open the Dillinger online editor
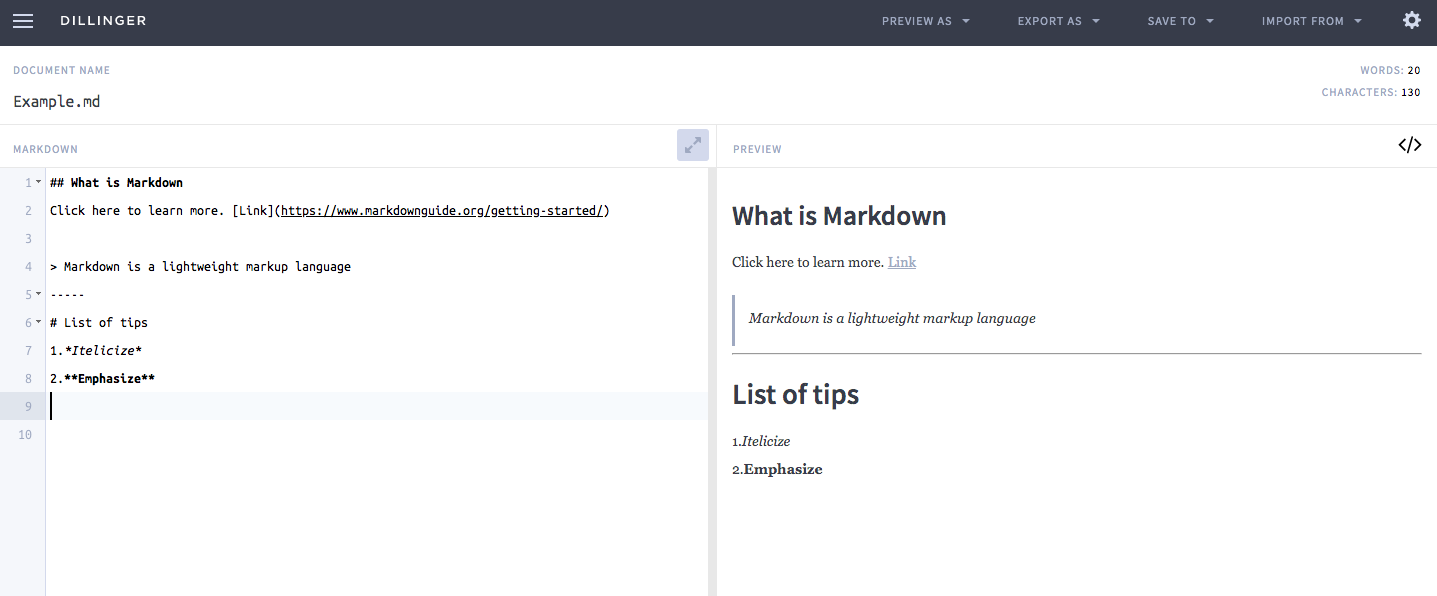
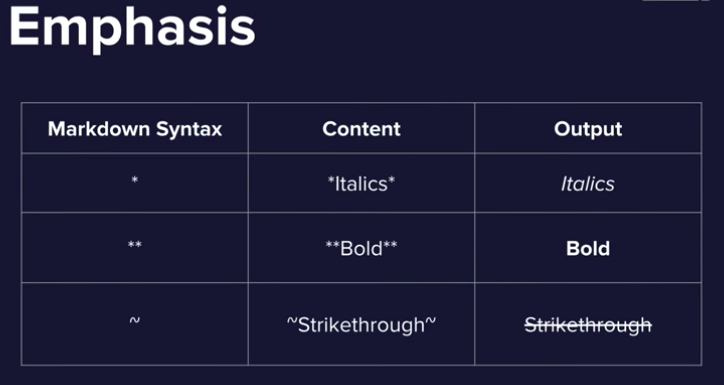
Next start writing your code in the left pane. Mostly, Markdown is just regular text with a few non-alphabetic characters thrown in, like # or *.
Below are some examples of Markdown Syntax:
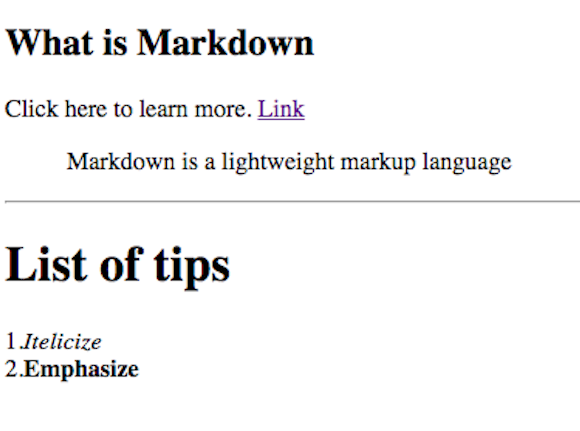
NEXT, export the file as HTML. Here is the view on a web browser:
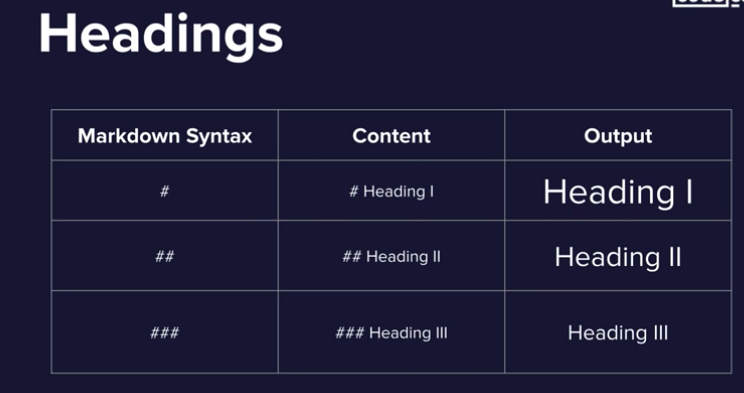
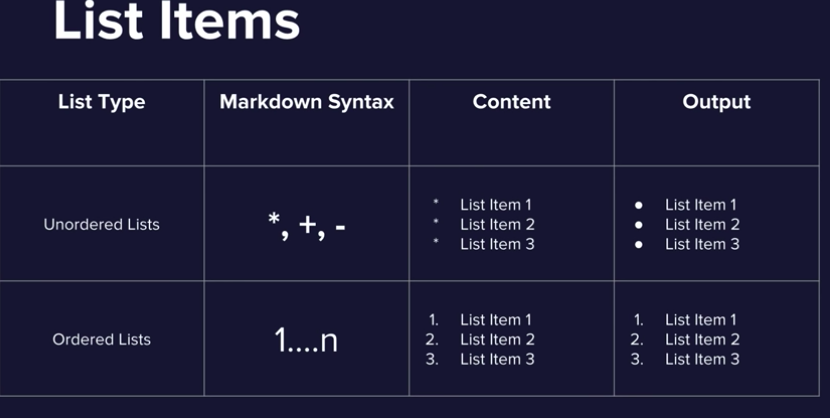
Here are some other few tips on Markdown syntax:
To continue learn more about Markdown, these are my two favorite resources: Getting started with Markdown and Mastering Markdown
Assignment: Work through a git tutorial & build a personal site in the class archive describing you and your final project.
Before I start building my website I had to learn from a Fab academy alumni and follow some of the steps that he had used.
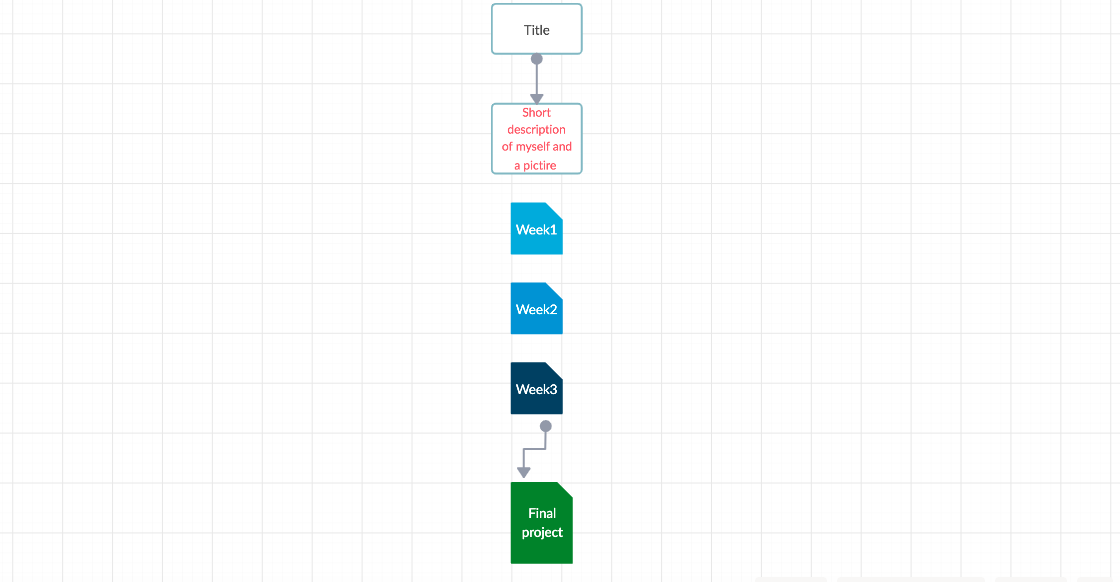
Step1: Design the site map
I used this web page to make a 2D design of how my site should look like.
Step2: Download and install the text editor for code
After drawing the site map, the next step is to download a text editor for code so that you can start building the website. I chose Sublime Text because it is more user friendly.
Step3: Creating contents with HTML
Here are a few links that were very helpful to recall and learn the HTML syntax:
W3School html
W3School css
Google Fonts
Quackit css colors
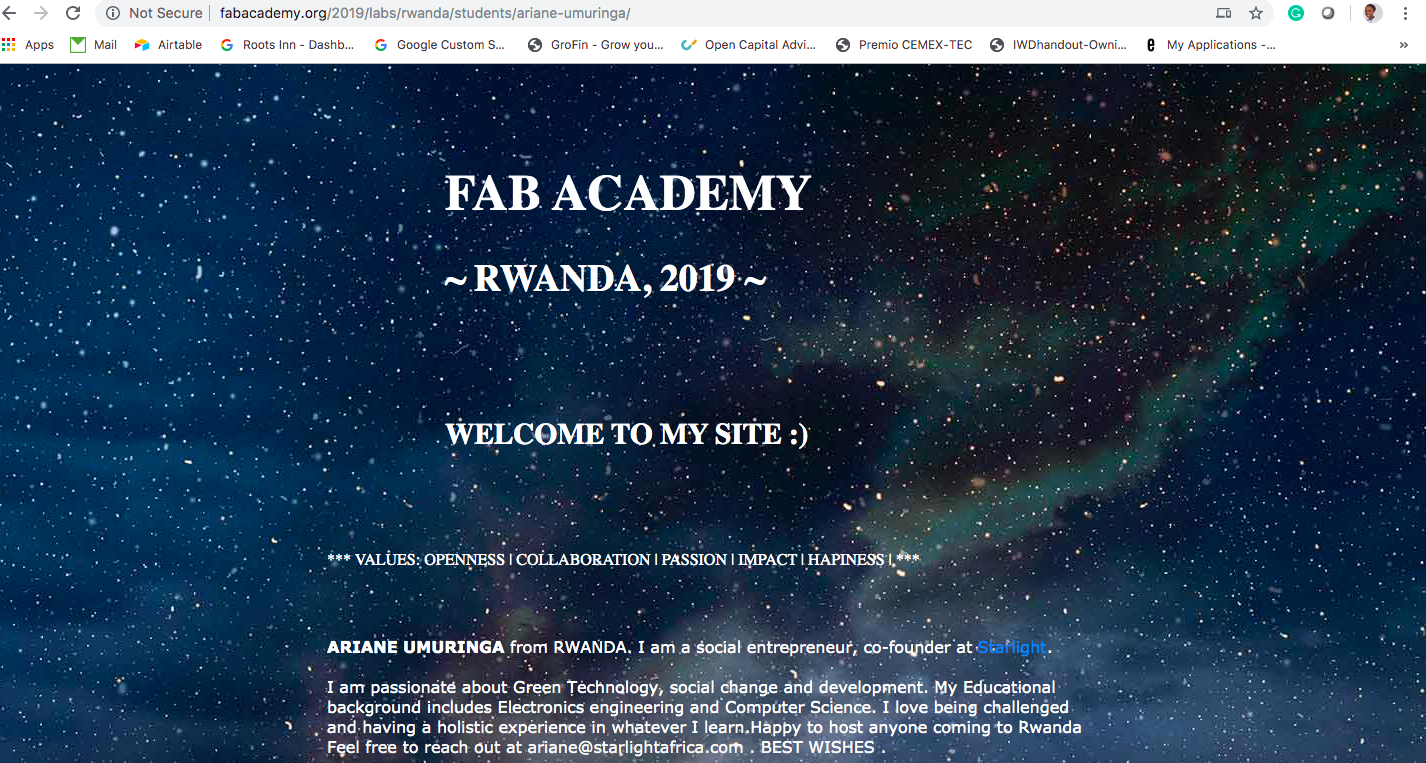
I started coding

This is how my introduction page looks like:
NEXT, Let's learn what GIT is !
Git is a free and open source distributed version control system (VCS) designed to handle everything from small to very large projects with speed and efficiency. It is a software designed to record chages made to files over time.
GIT is used to keep track of changes on any file-based project (mostly source code files). It stores every single change you make to your files and you can view them anytime you want. It also helps you control the version of a project you’re working on by keeping all information of every changes made. You can also use GIT as a team on a single project or merge different things you’re working on independently. Git takes snapshots of changes made on each file of a project by storing versions made each time a change is made on one of the files or all the files. This helps in knowing the status of the project anytime you want.
Generally, with GIT you can track, how changes were made, who made those changes, why those changes and when the changes were made.
Git has its own tutorial, you can learn more using this link
During Fab Academy, I will use Git to keep track on projects and document my assignment directly to the Class Archive located in GitLab. Below are the process I used to get started with Git and upload my work on the class Archive:
Step1: Install Git
A) You can download and install Git using this link and choose your operating system
B) With terminal, you can also download and install GIT using this command: 
Step2: Generate the ssh key
After installing Git, we need to generate the ssh key by using these commands in terminal:

Step2: Save the ssh key
After generating the ssh key, we have to choose where to save it on our PC. Two files will be created with the same name but one will have the same name .pub, which means it contain the public key. We have to copy the key it starts ssh-rsa and ends with your email. Here is an example of a second ssh key I created: 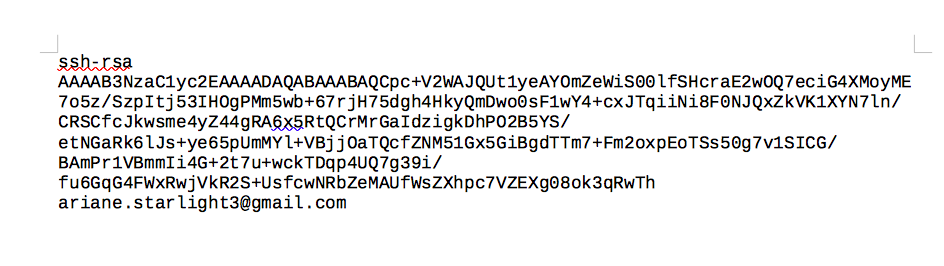
Step3: Login to your Gitlab account
Gitlab account and display the settings. Choose SSH key menu and past the generated public key and click on Add key.
Step4: Clone Fablab's folder from Gitlab and publish the website
Use below commands in the terminal:
1) Initialize Git 
2) Add your Gitlab user name 
3) Add your e-mail address 
4) Clone Fablab's folder 
5) Go to the personnal folder on the fablab's folder 
6) Add all your folders and files 
( This is equivalent to the command: git add . )
7) Prepare copy 
8) Push it

After pushing all the work will be saved on the class archive in GitLab
NOTE: If you made some changes directly via your remote repository, or used another PC to make changes on your website. It is important to first use the git pull commnand to fetch and download content from your remote repository and immediately update the local repository to match that content. Not doing this will create comflict when trying to push.
Here is the steps I used to publish changes I wanted to include on my website:
First, I would Open the terminal and type below command:
1) ls : to see the list of folders in my home directory
2) cd folder name (to enter in my fabacademy folder)
3) git status (to view all the changes I made)
4) git add . (to tell Git to take a snapshot of all the changes you made in the folder. These are now stored in a temporary staging area which Git calls the "index")
5) git commit -m"my comments" (to permanently store your changes in your local GIT repository. The commit command does not save changes in remote servers, only in the local repository of Git.)
6) git push origin master (to push and publish the changes by uploading them in the remote repository)
Questions & Challenges
Would like to learn more about project management principles
Proposed solutions
Here is a great book about project management: The Mythical Man-Month