This week, my groupmates and I started the design of the machine. On the start, we weren't sure exactly of what we wanted to build and the materials we'll use. We started by exploring different ideas given by each member and after we decided to build a CNC router machine with laser engraving capabilities.
Our group comprised of 5 members: Myself, Danny , Raymond , Pamella and Heritier
In order to maximize our time, we divided all the tasks among ourselves. We sourced the nuts and bolts in local shops and we used the M2M board. My role in the group was mainly in assembly. The most challenging part was fixing the bearings, installing the motors and leveling the board.
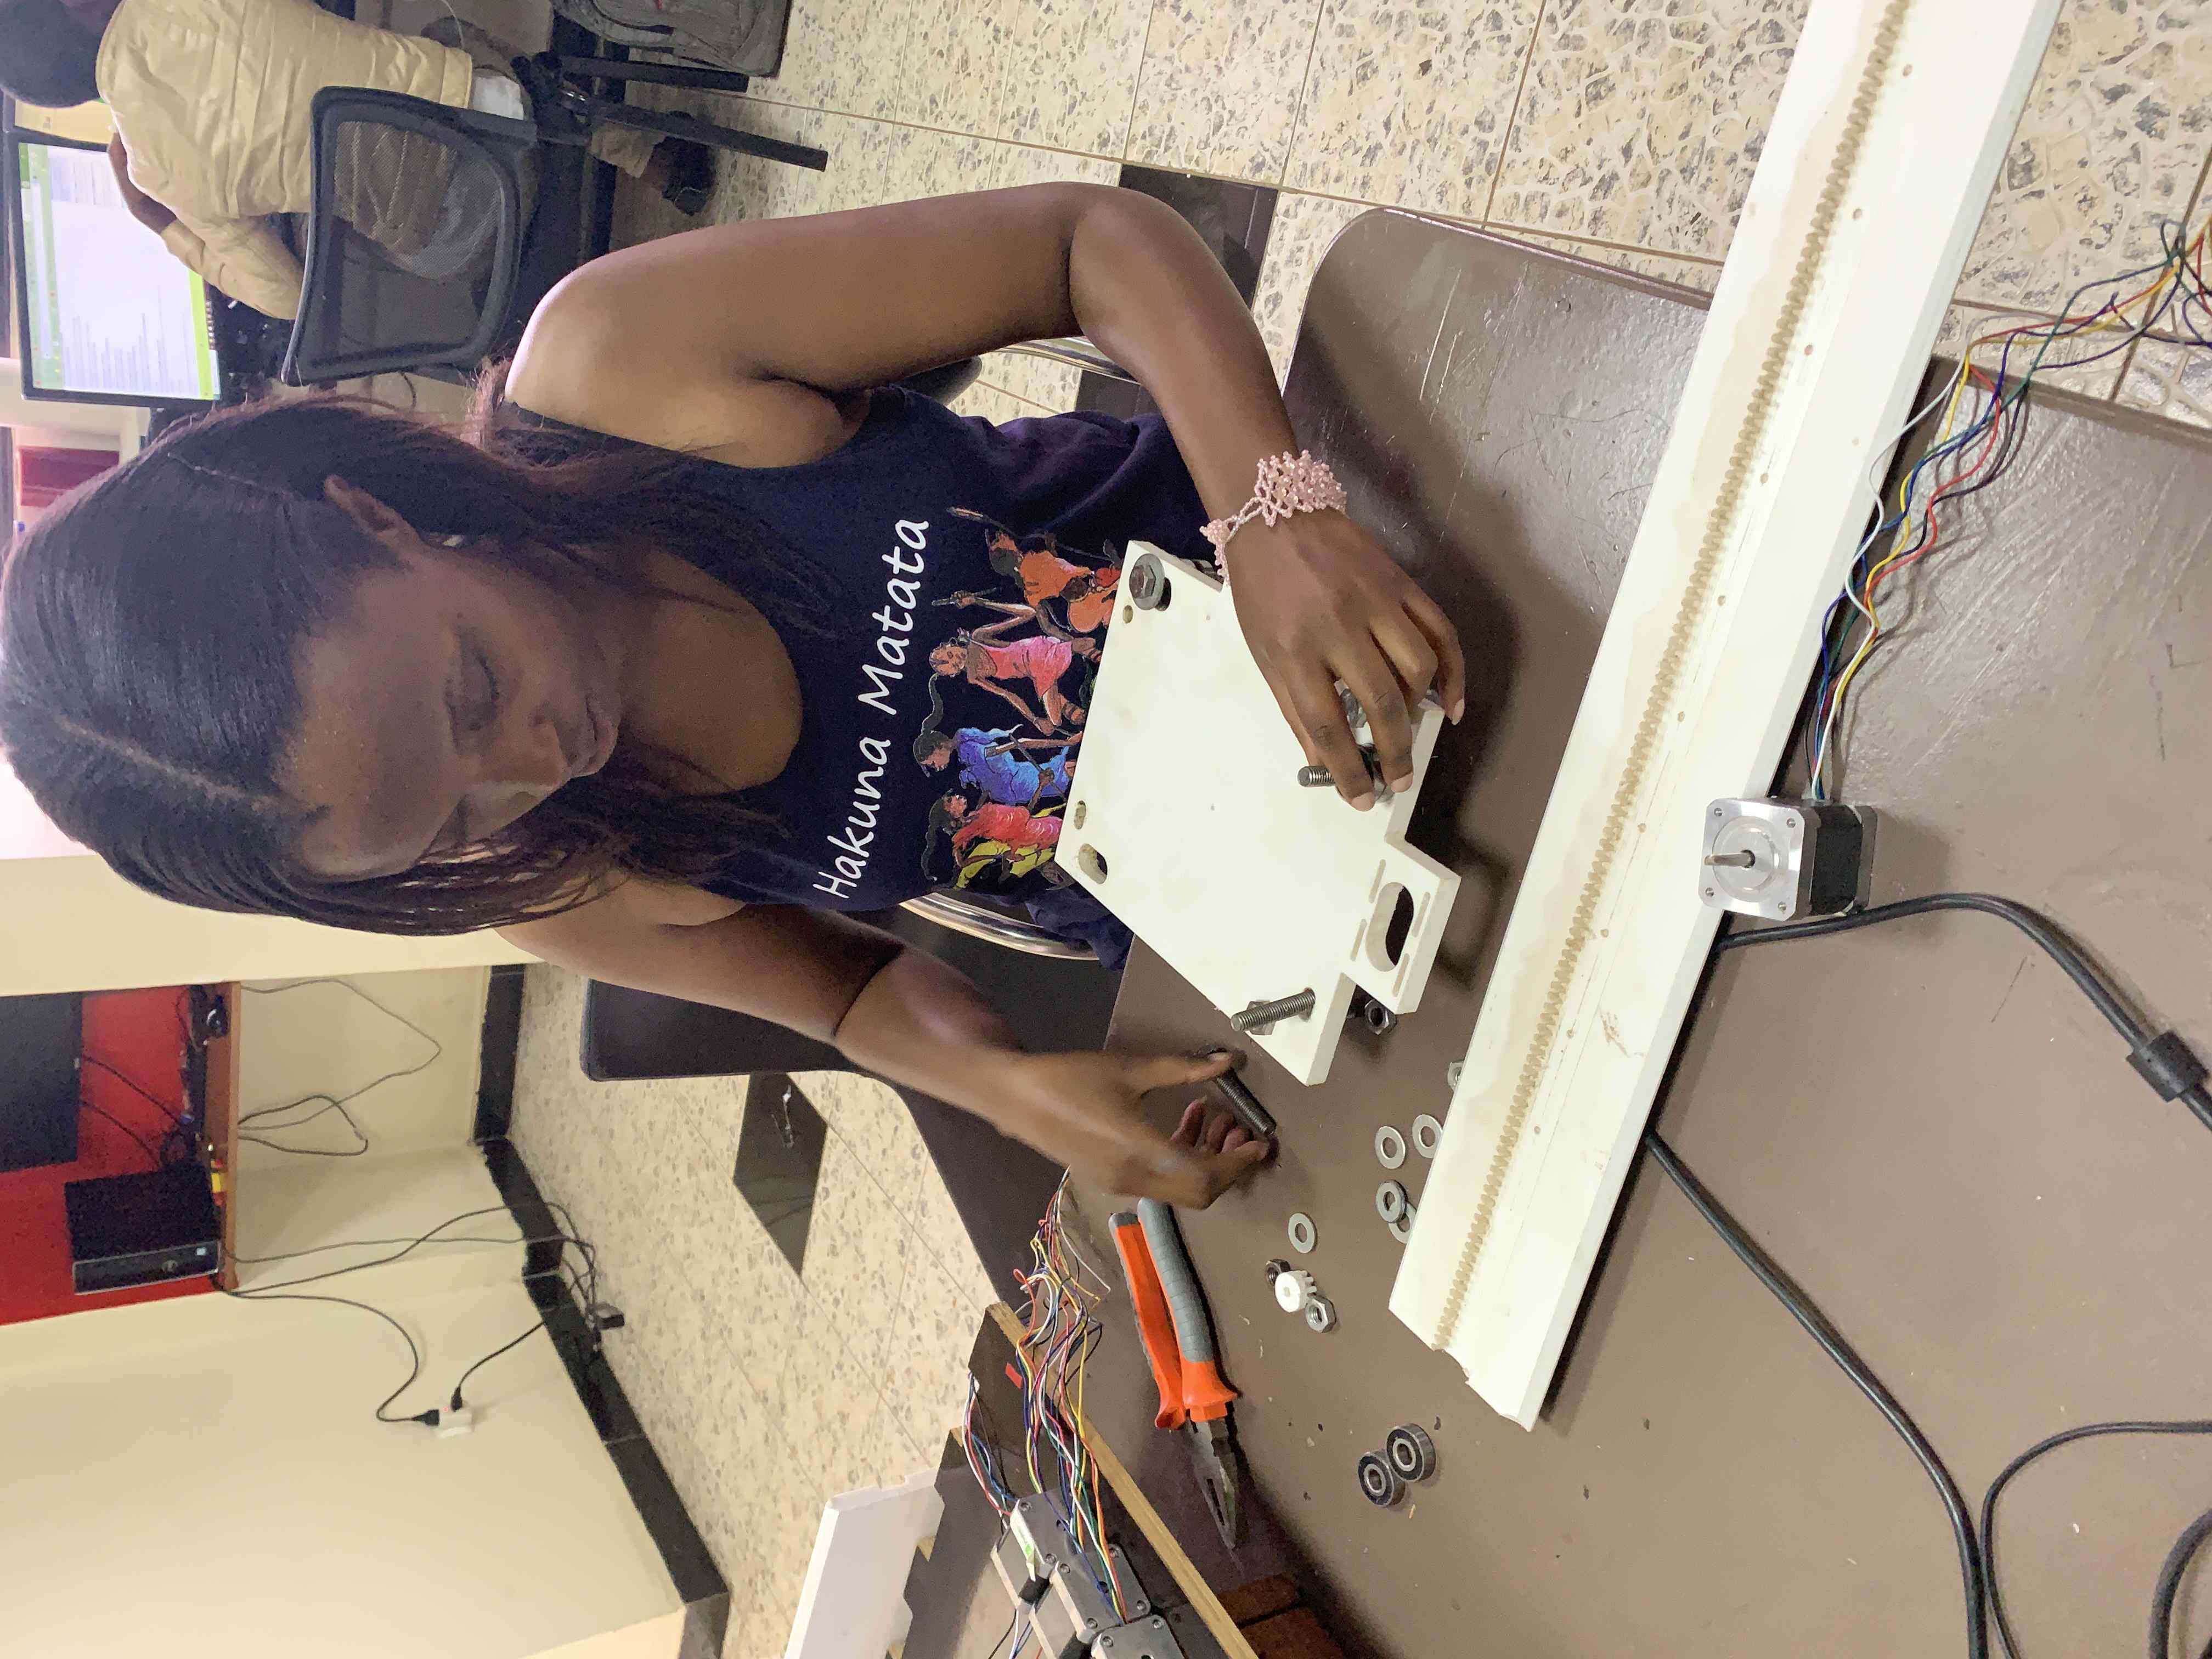
Danny and I did an extensive job in assembly, here we were fixing the bearings
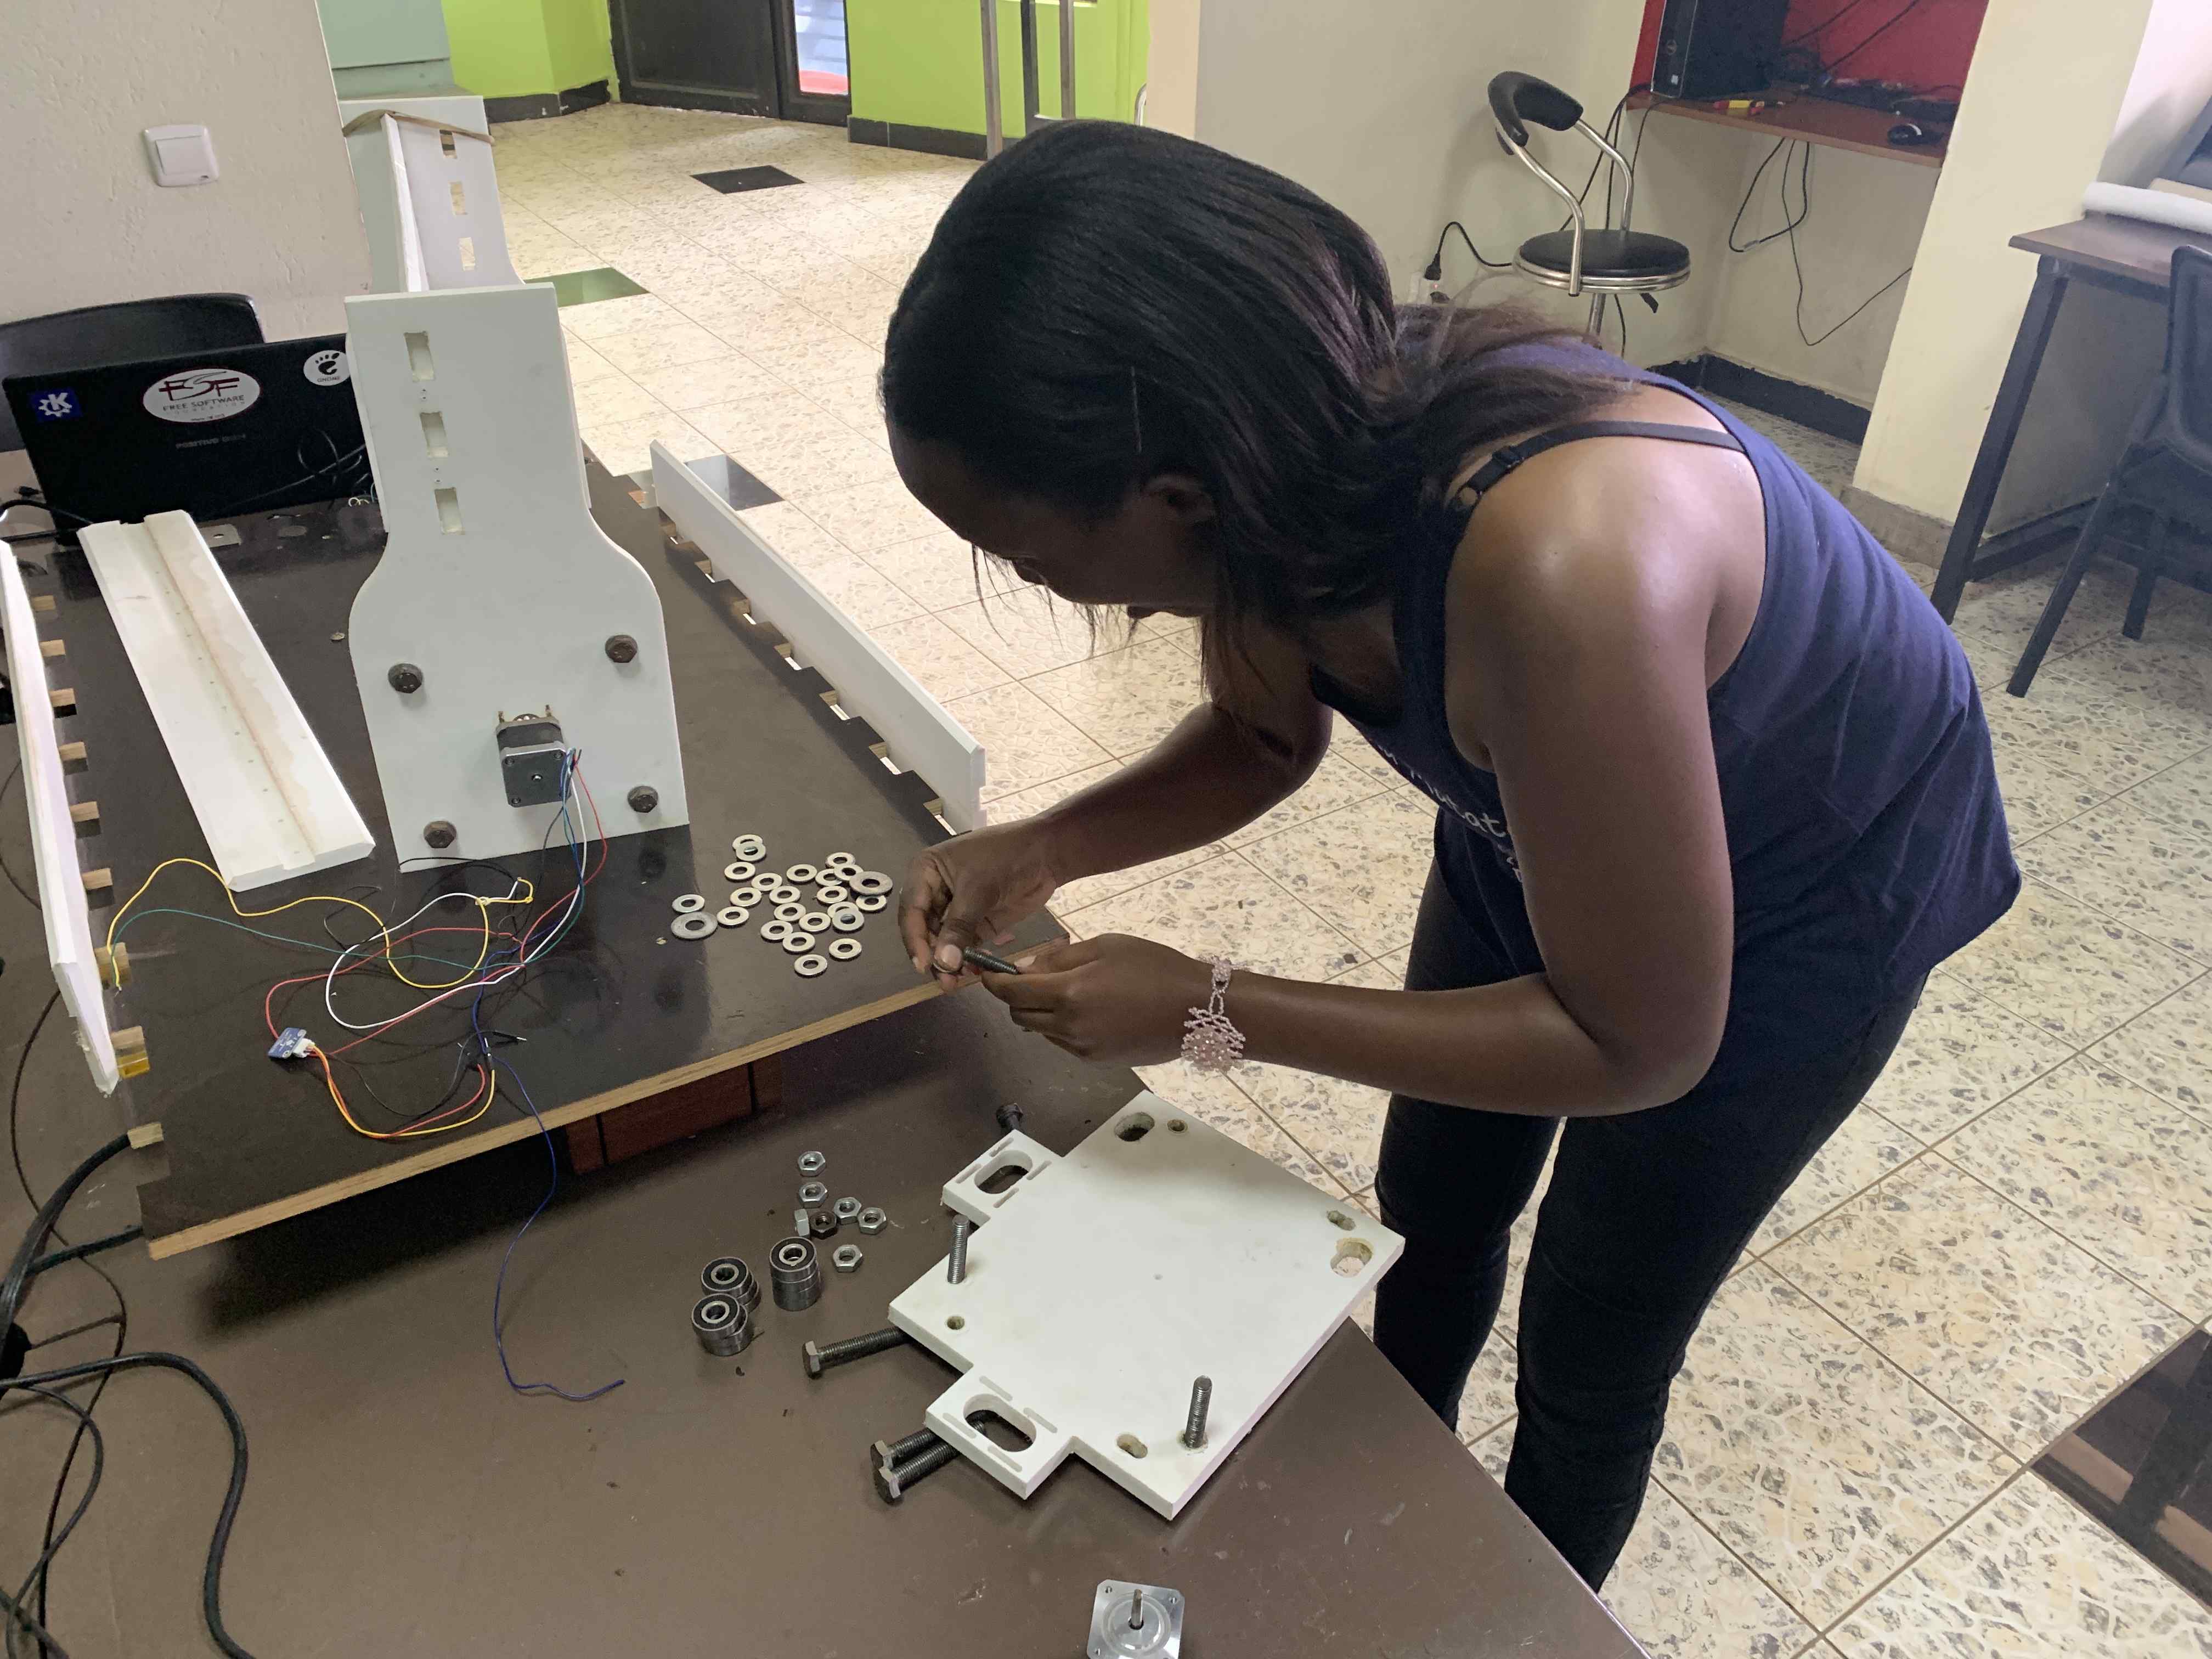
Fixing the motors
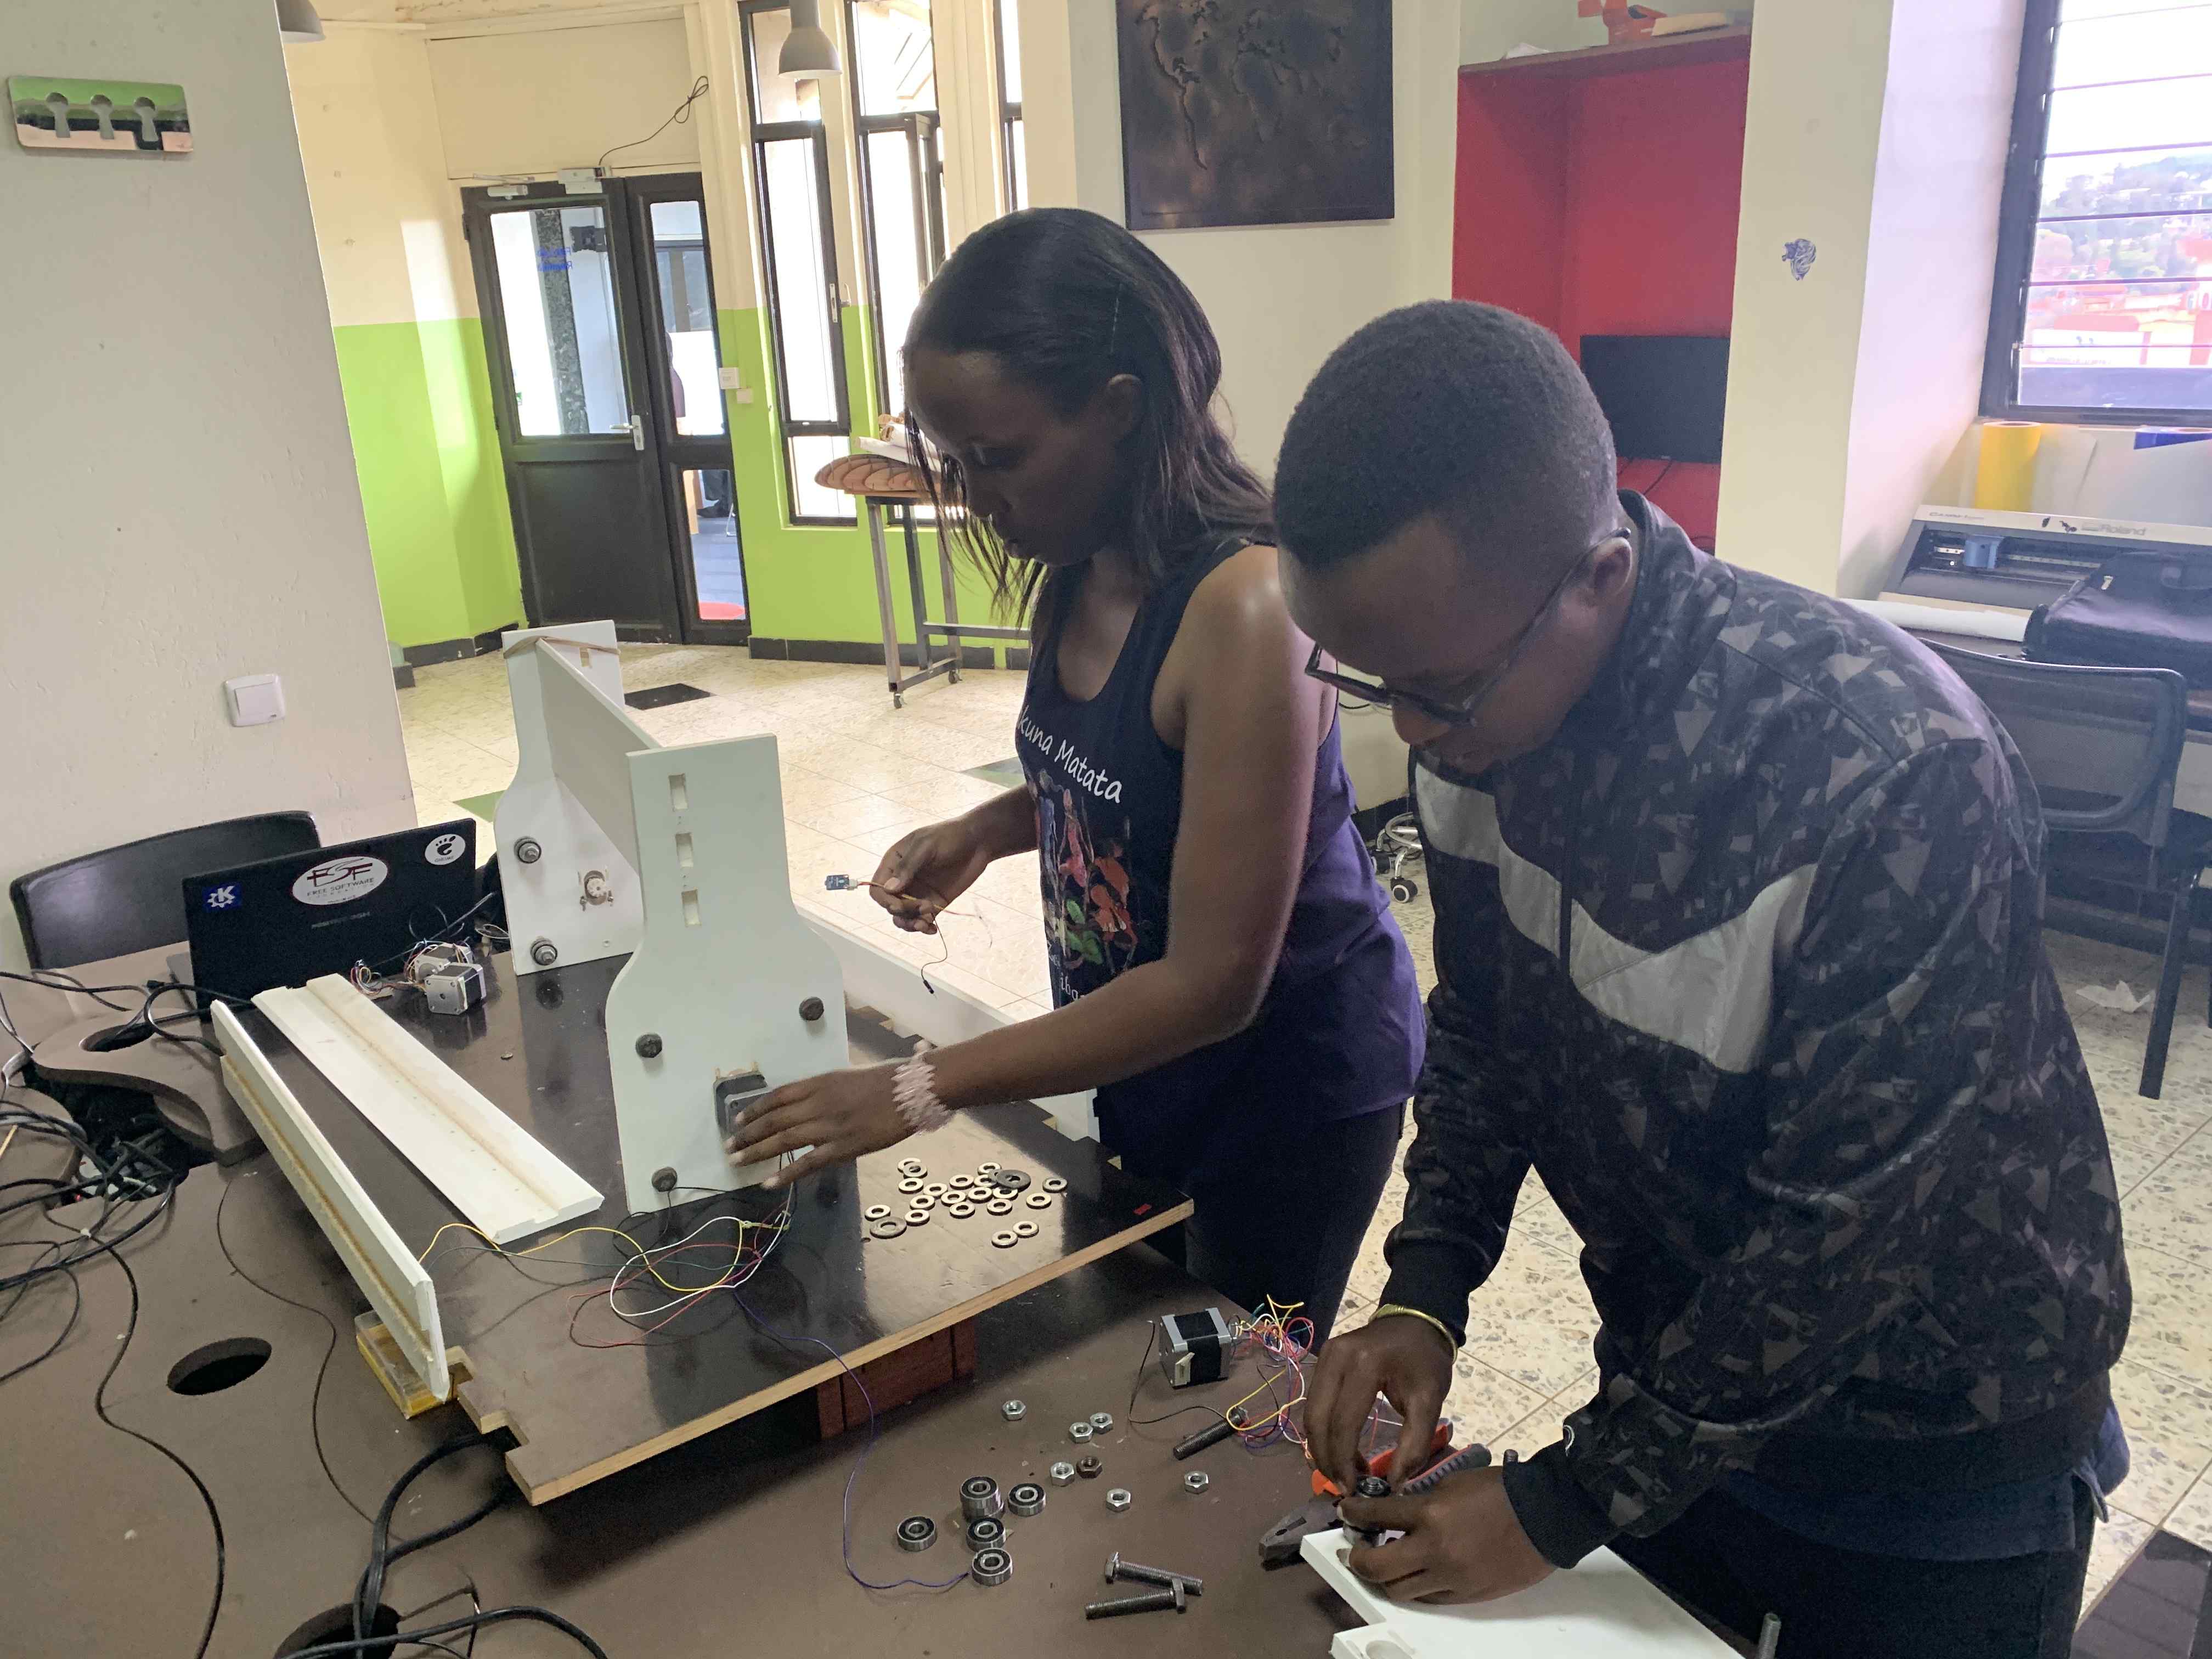
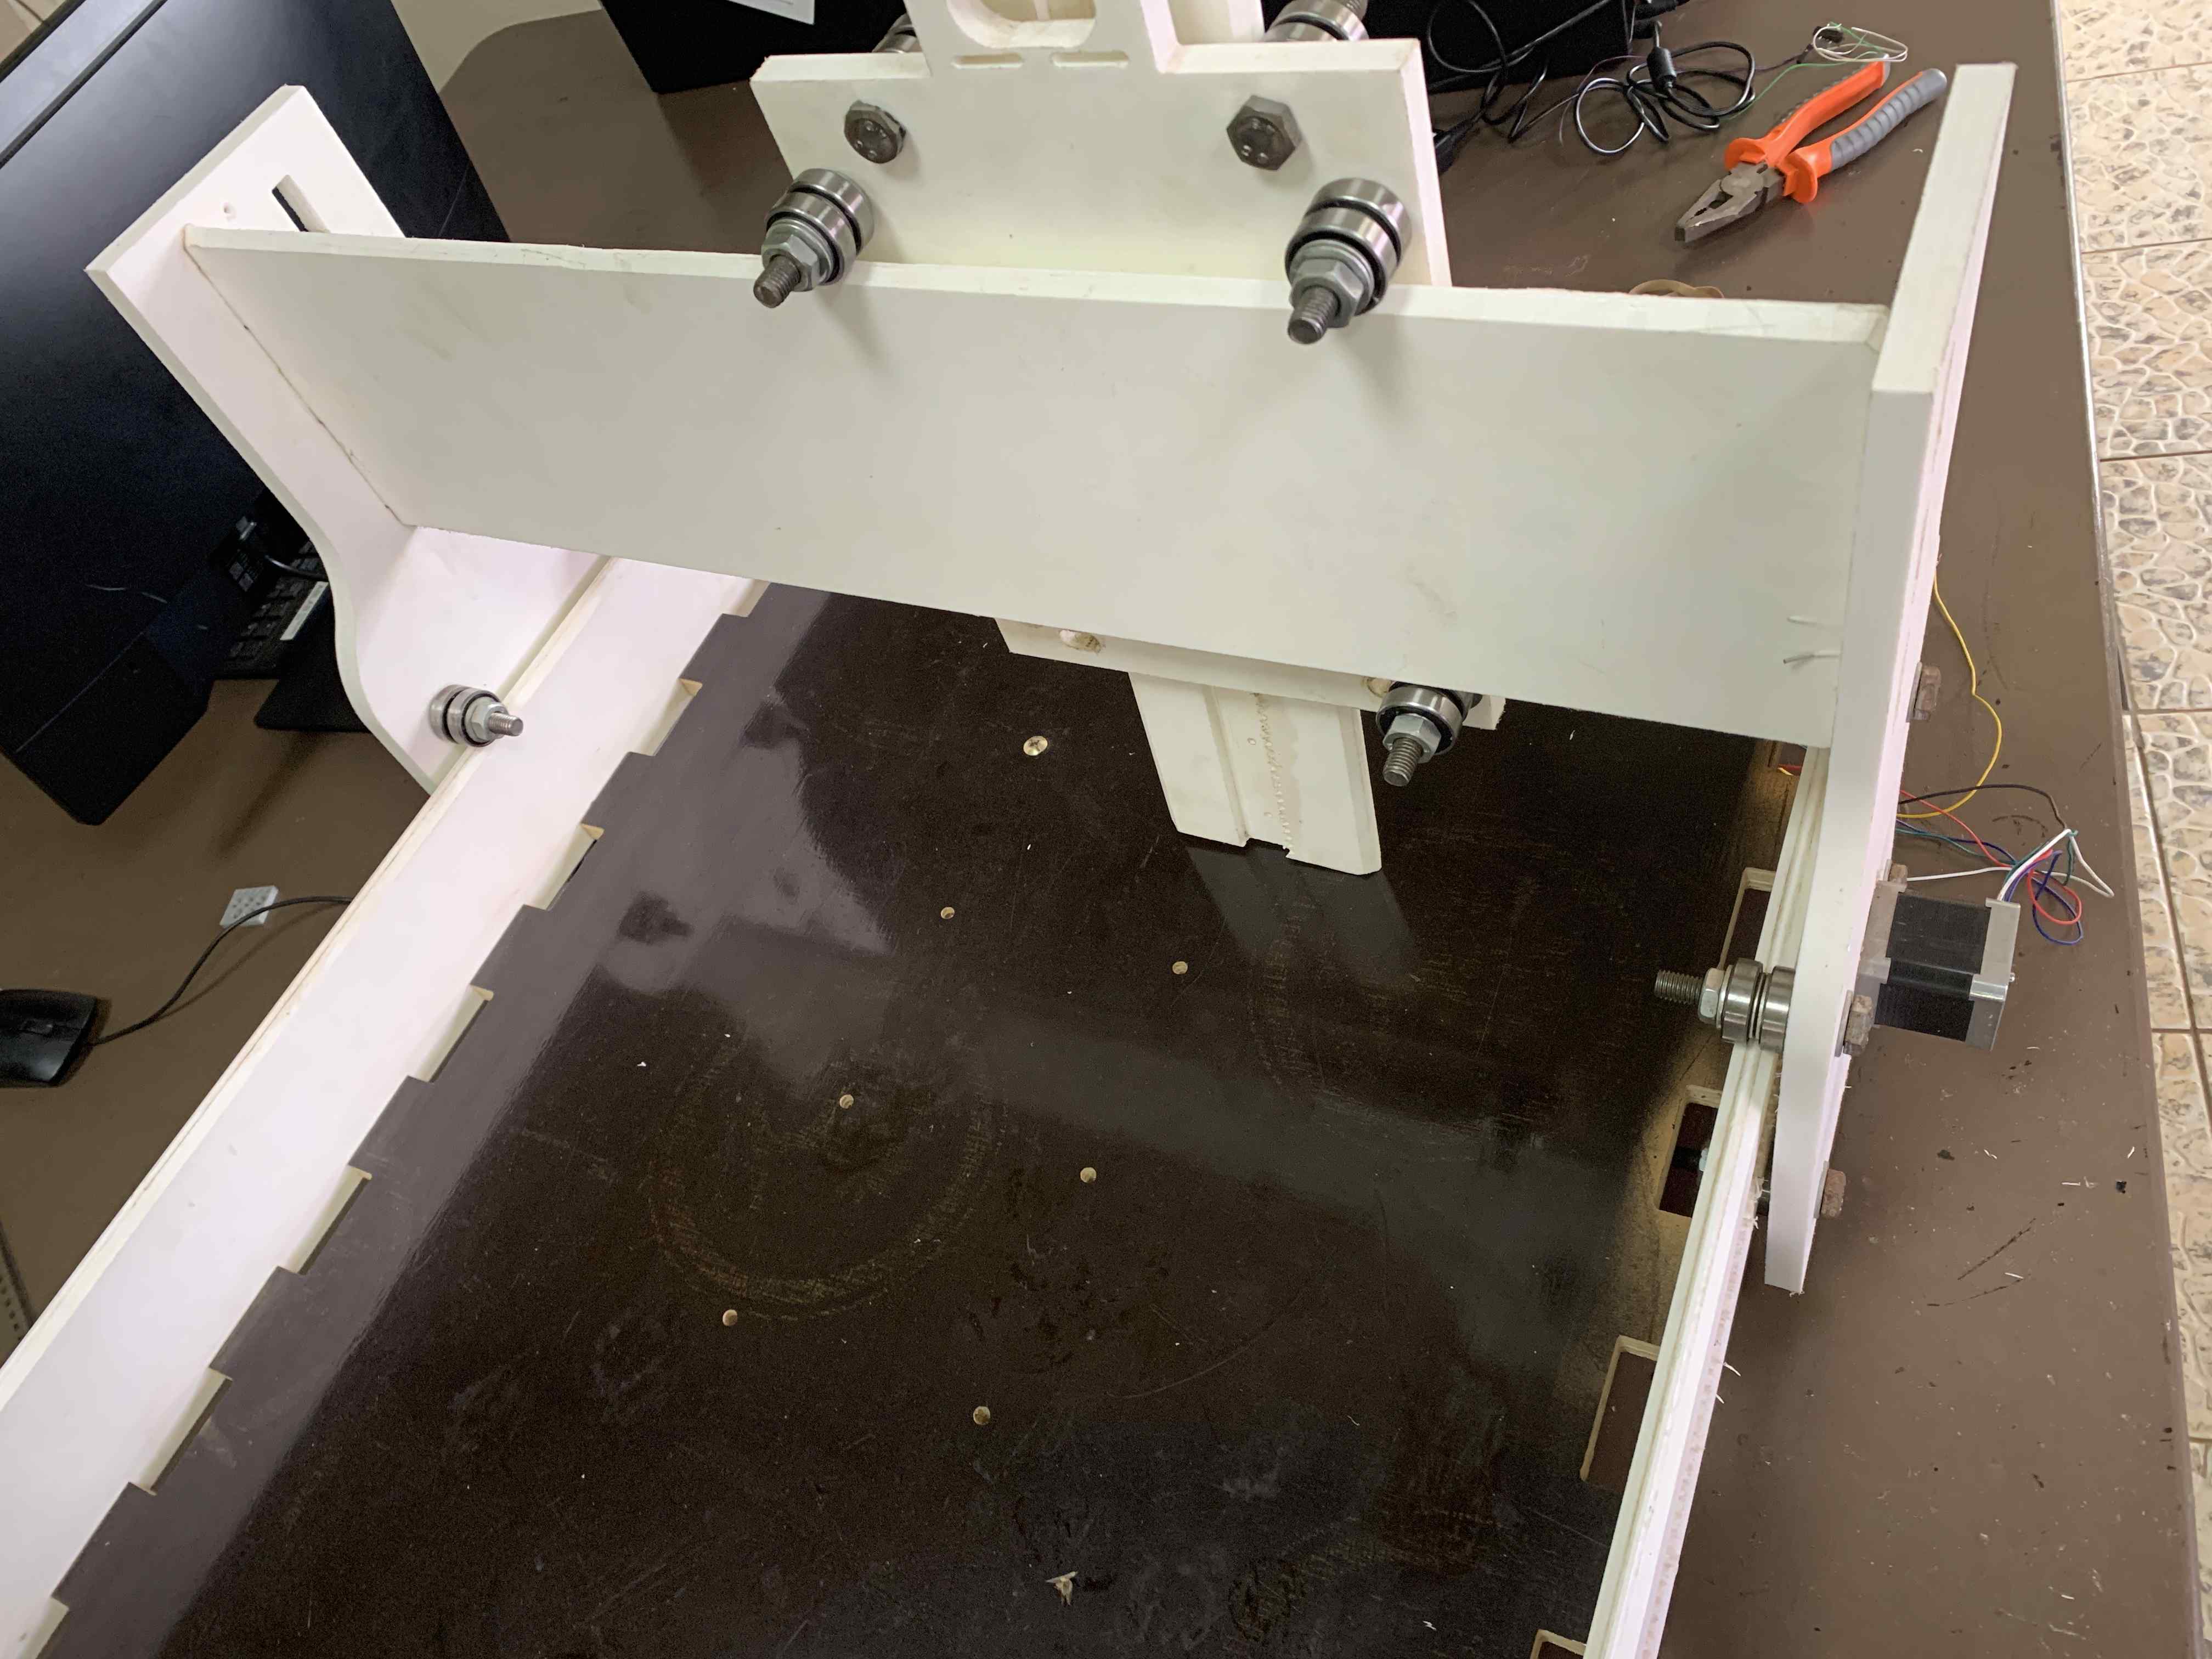
Fixing the axis: we first fixed the x-axis
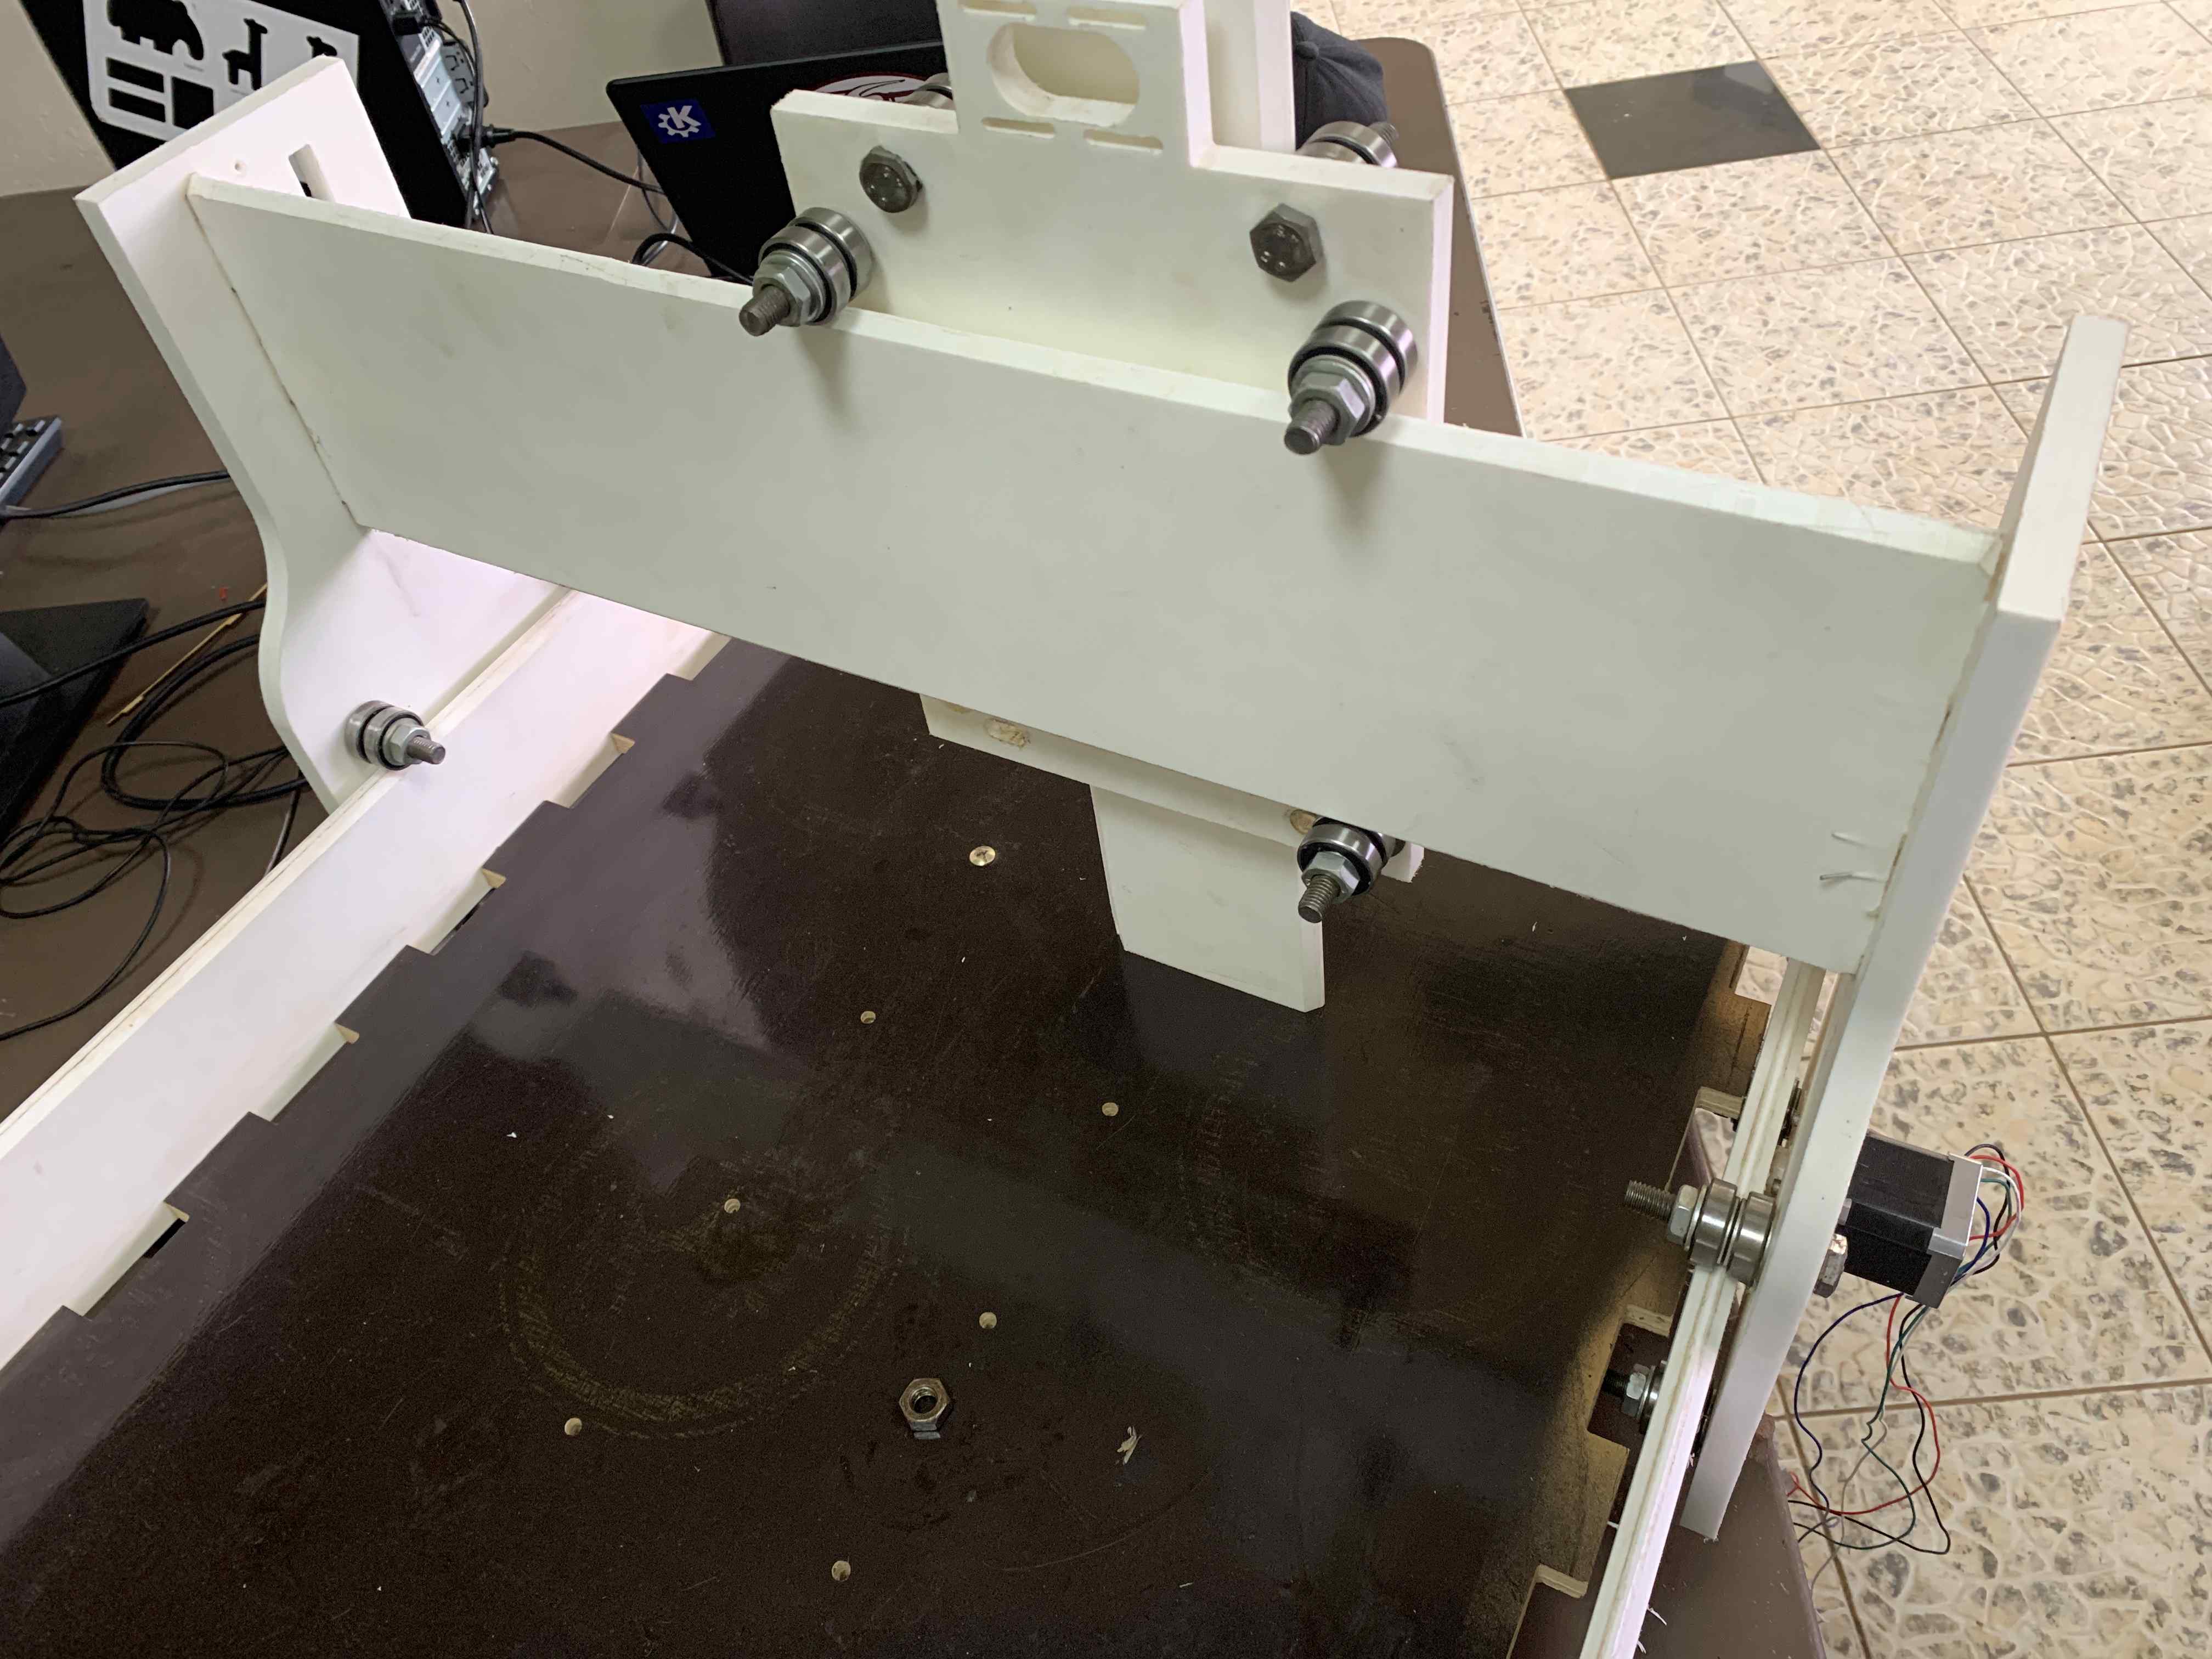
After, we fixed the Y axis
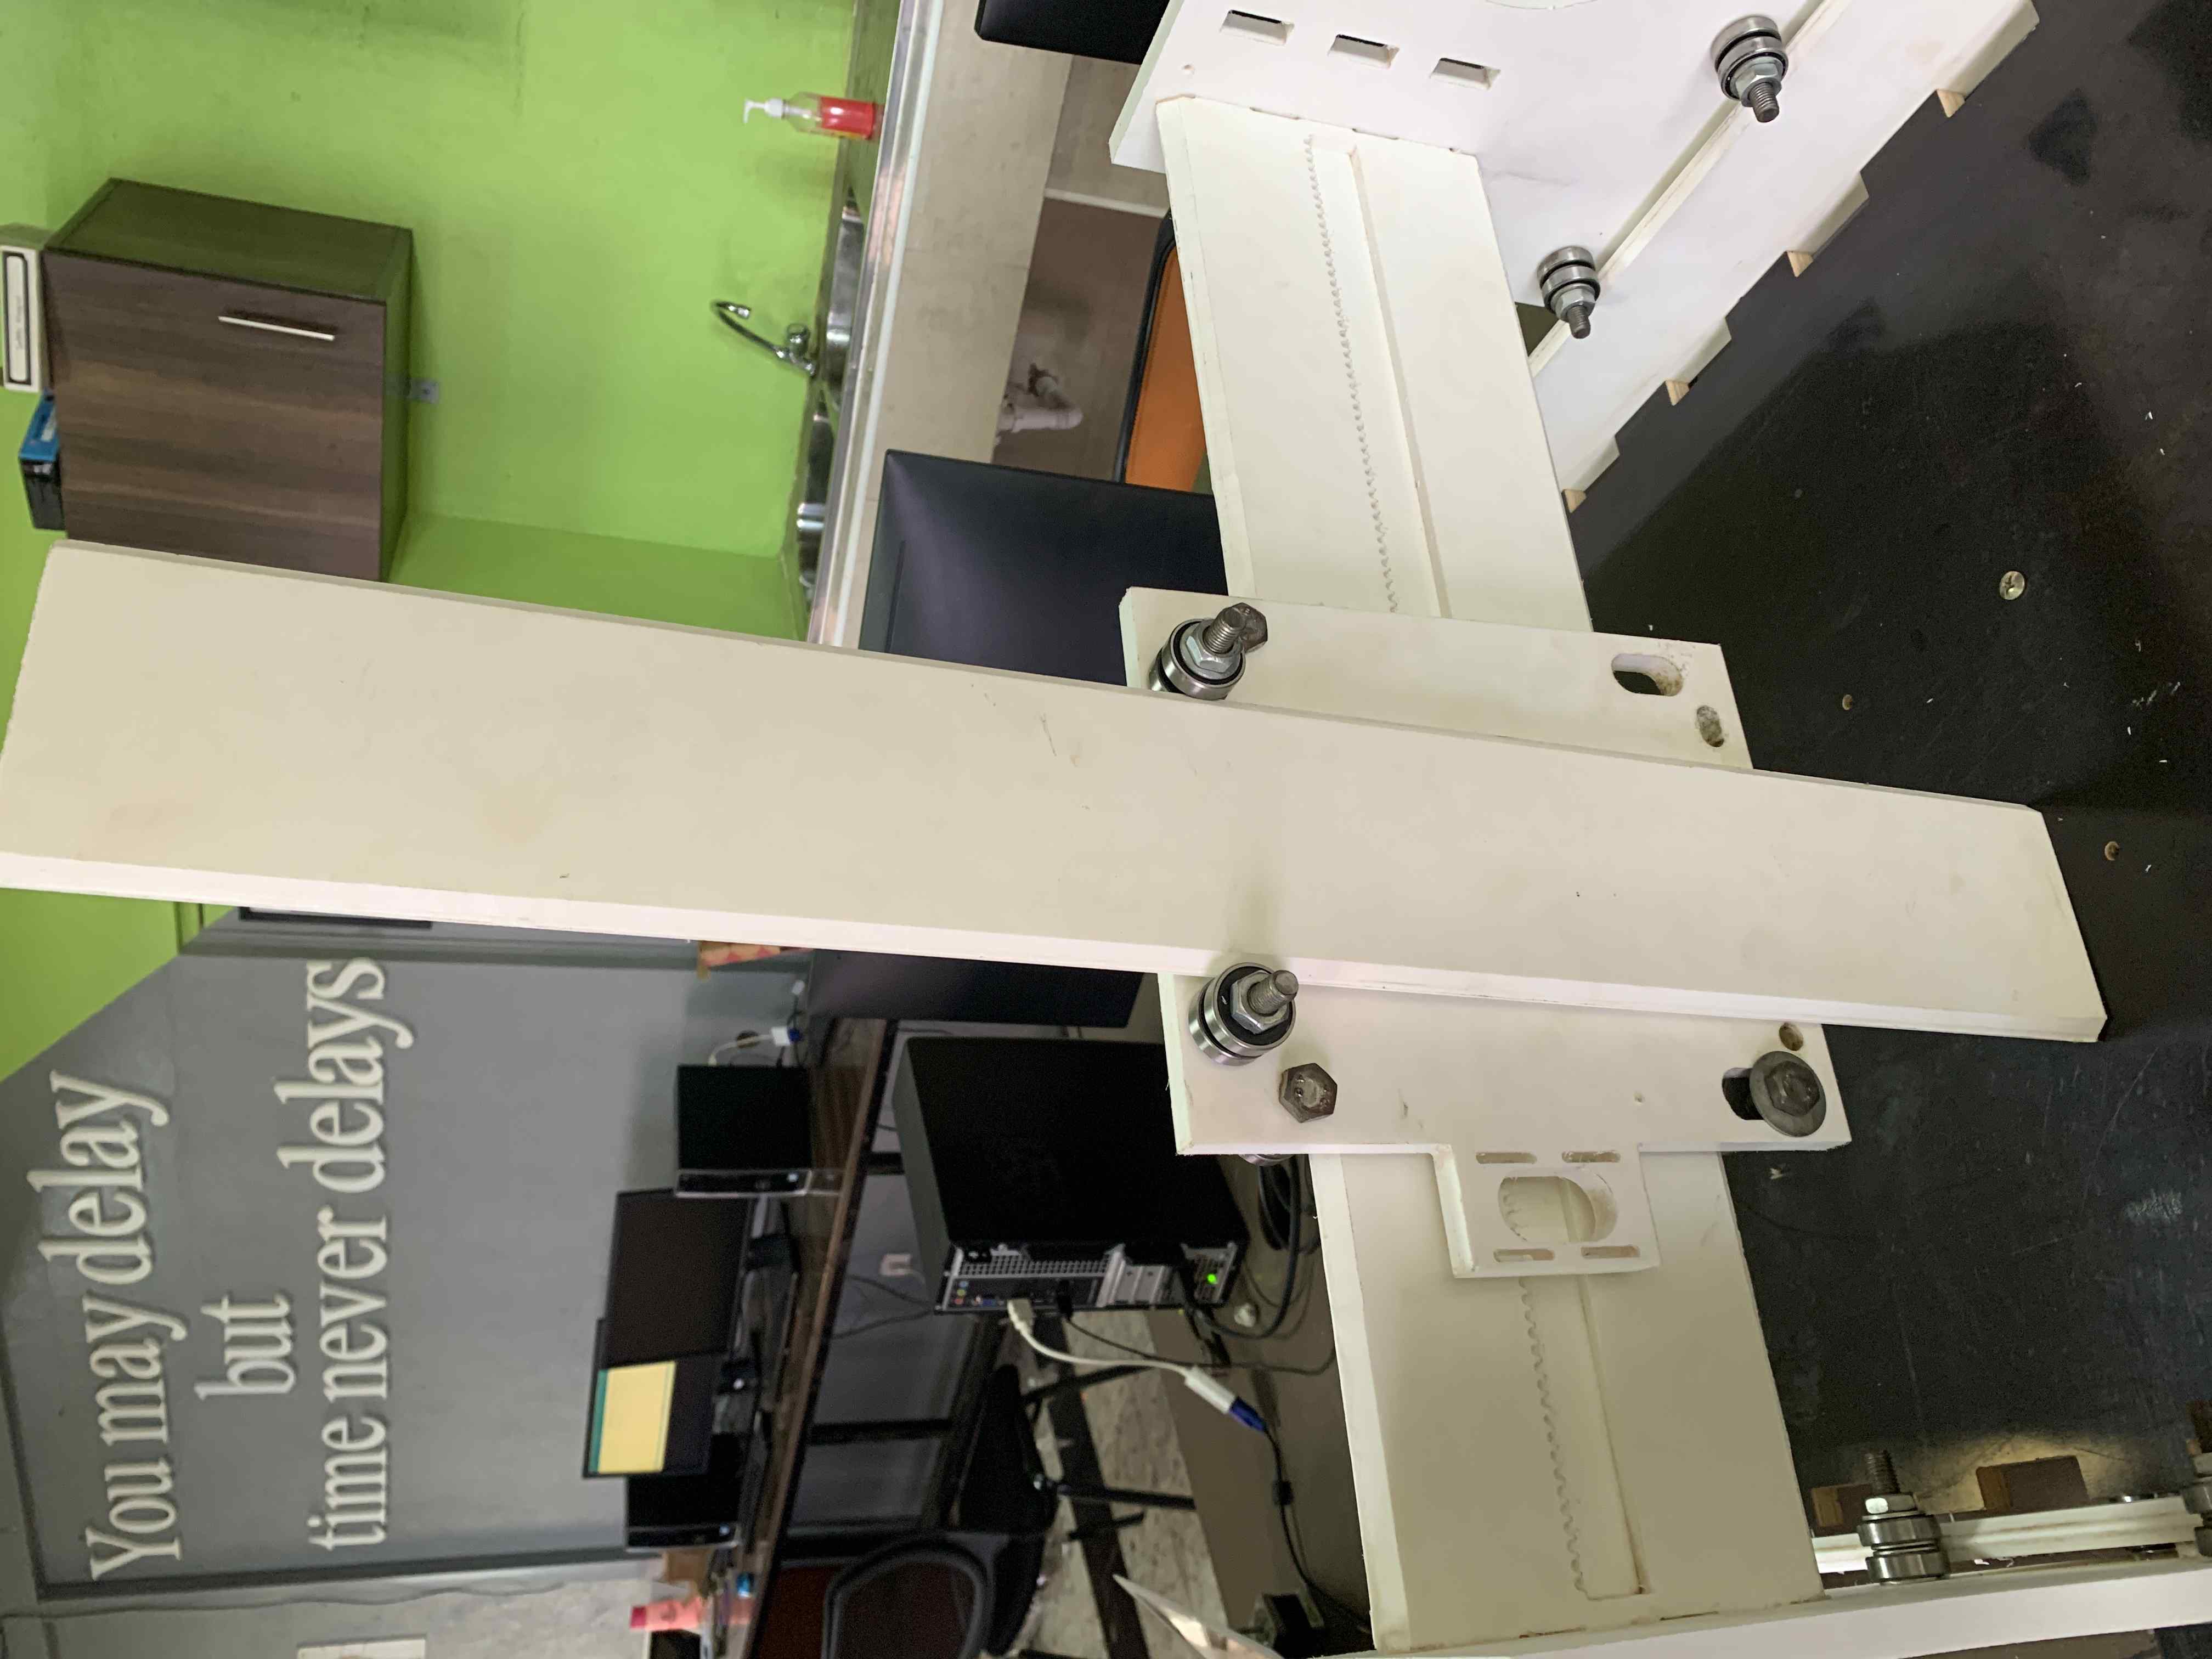
After, we tested if the bearings can move smoothly on both axes without any obstacles. We found a lot of obstacles and we had to disassemble and reassemble again to make sure that they can move well through both axes.
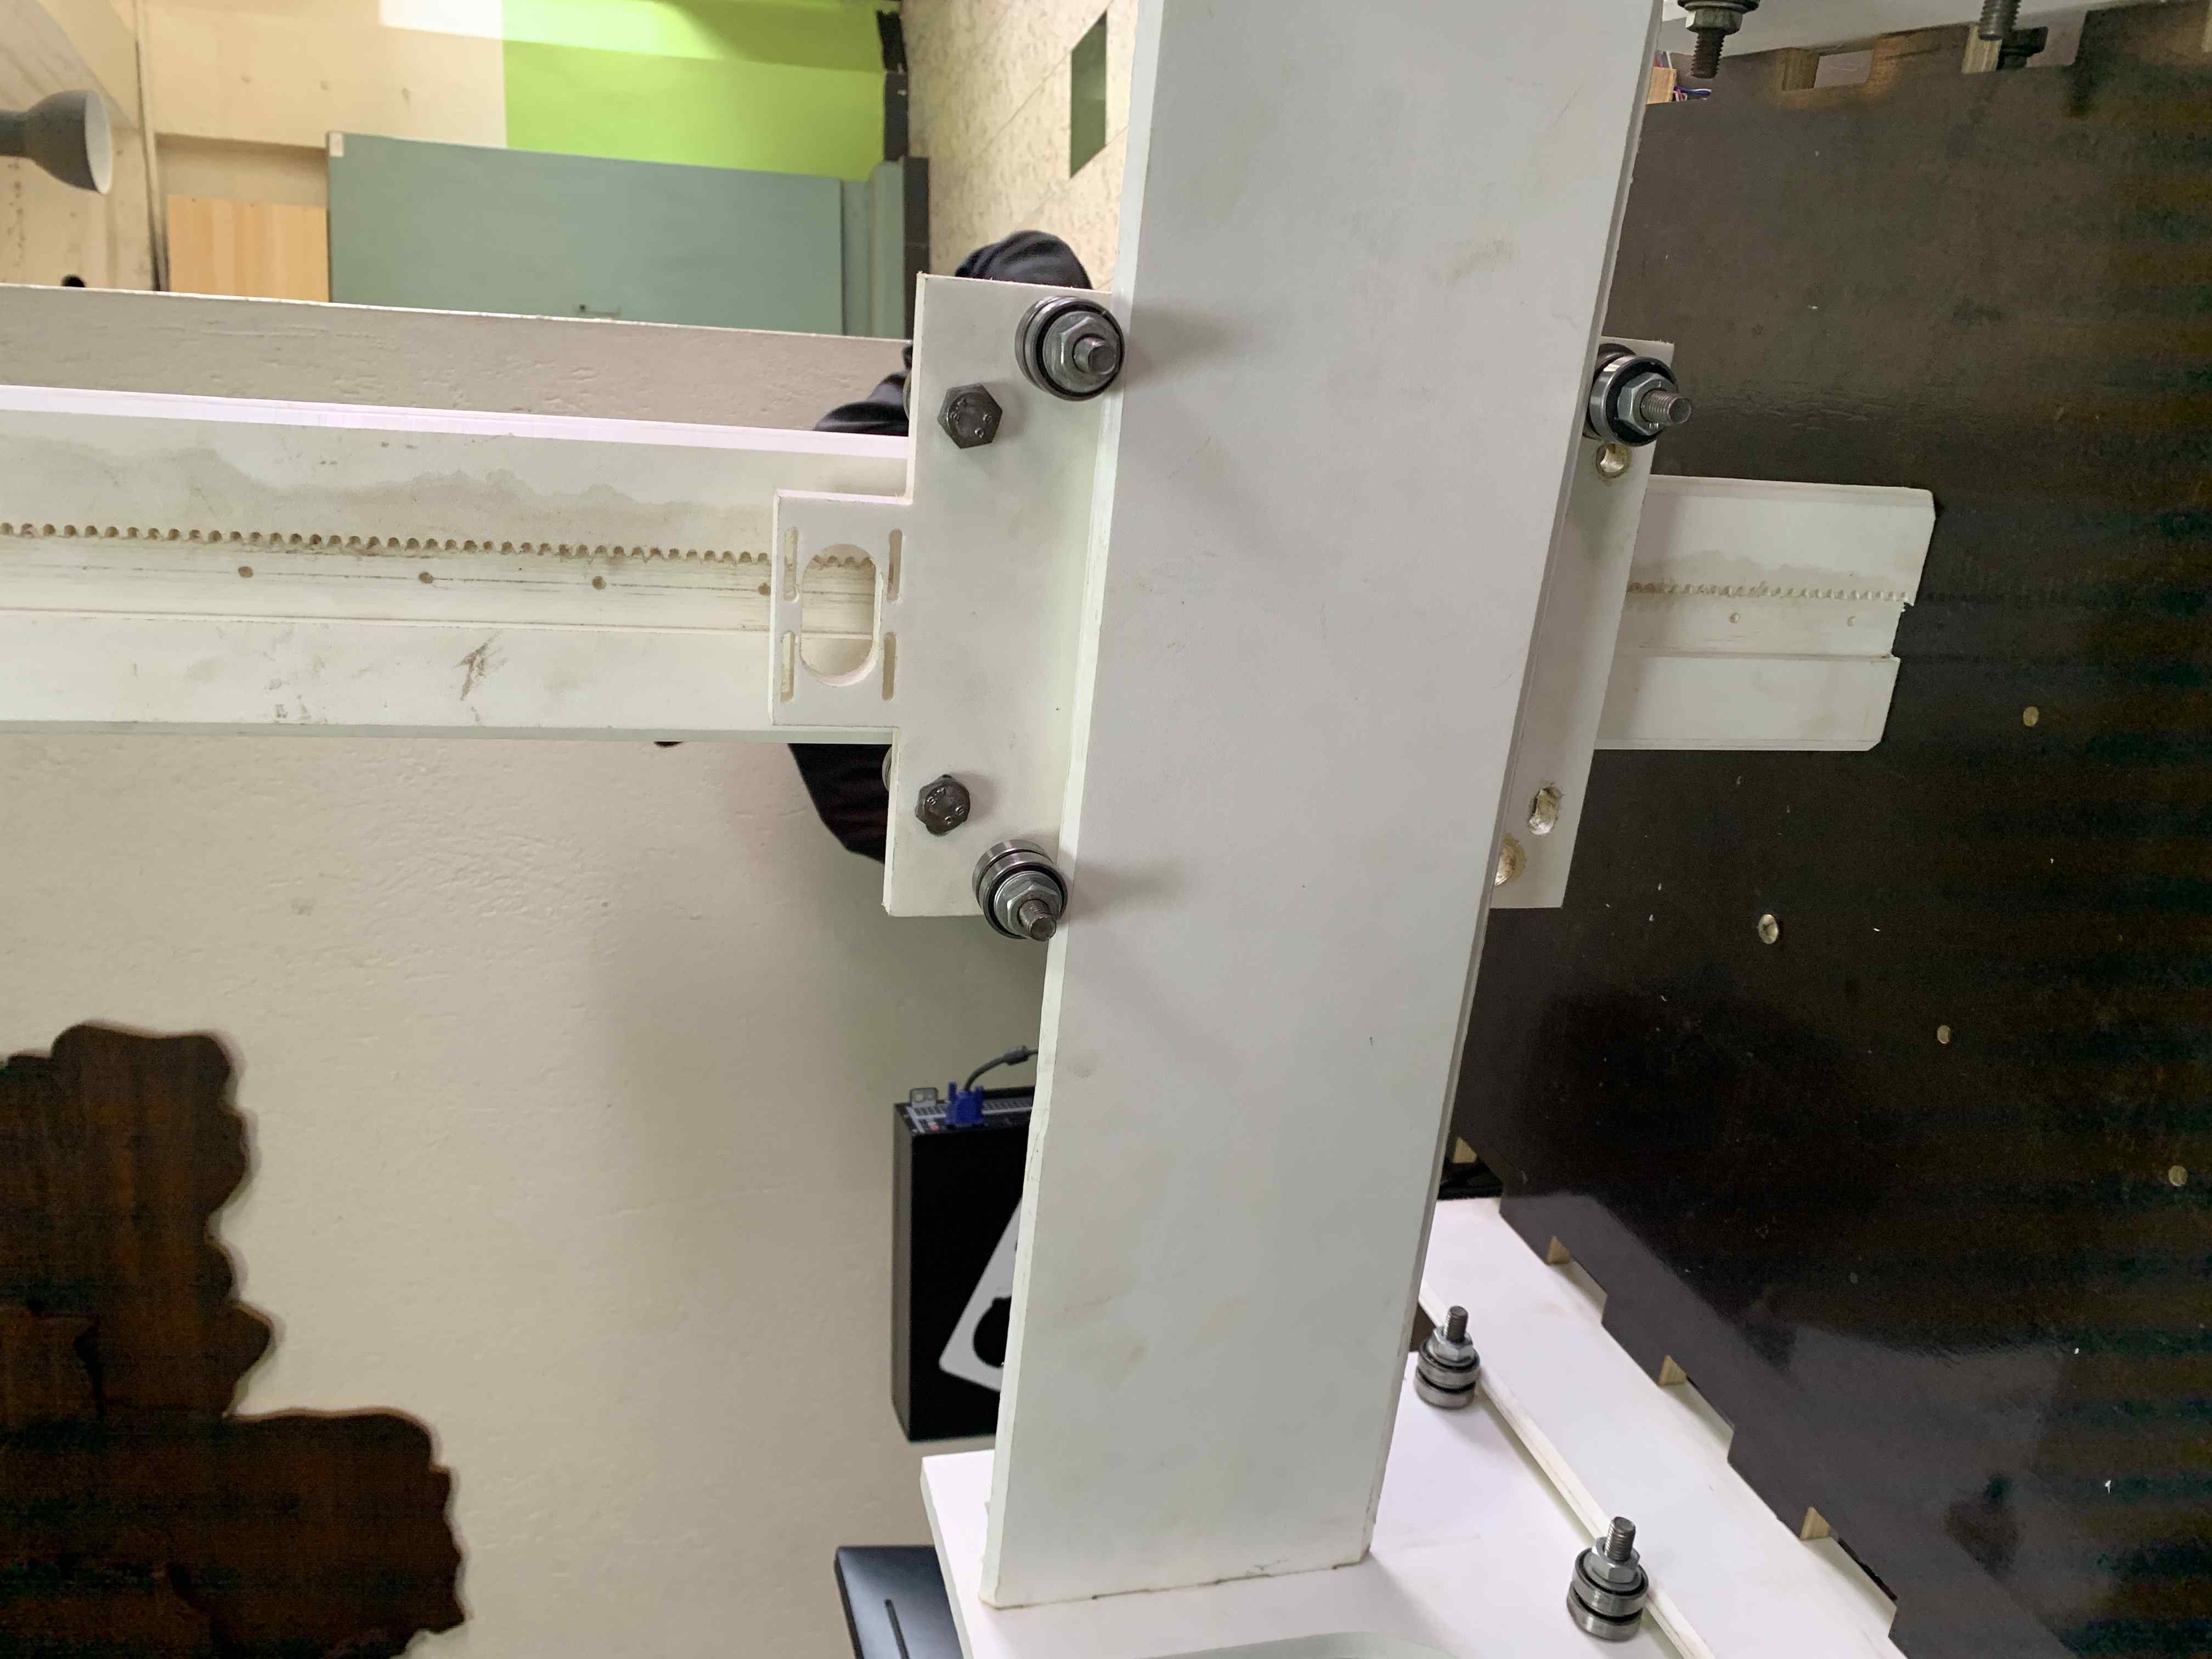
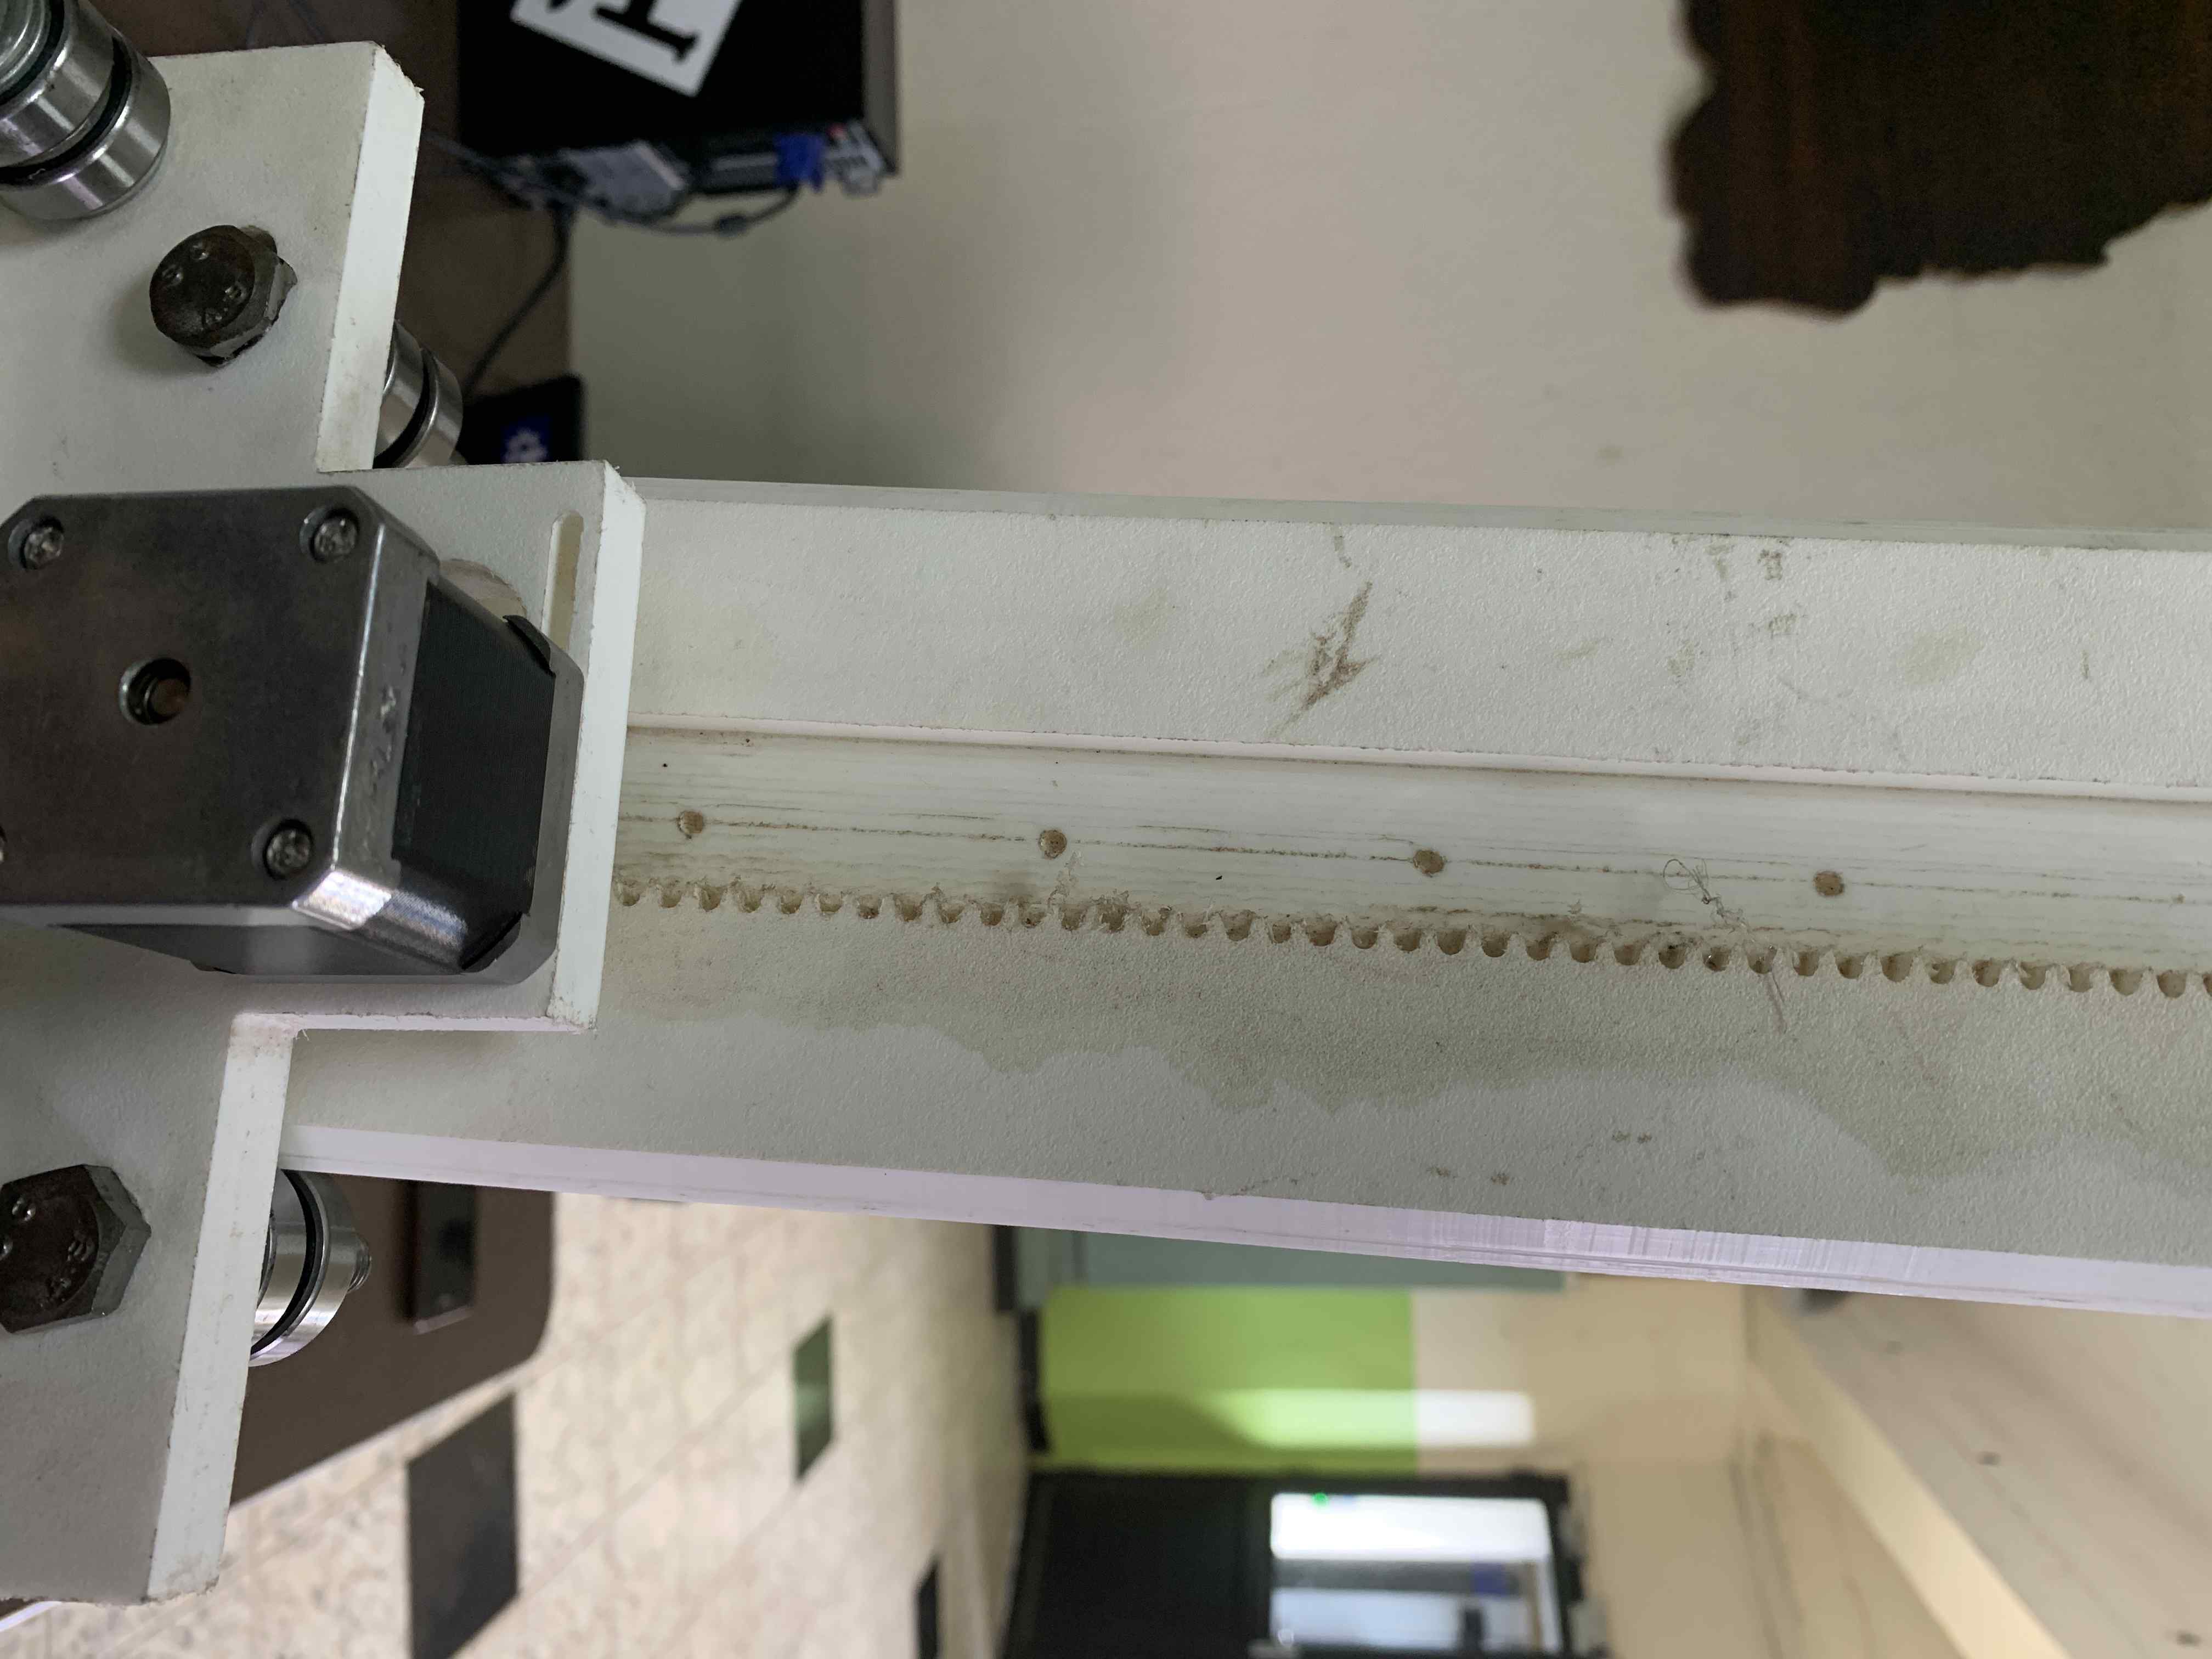
Later, we were able to operate the machine manually
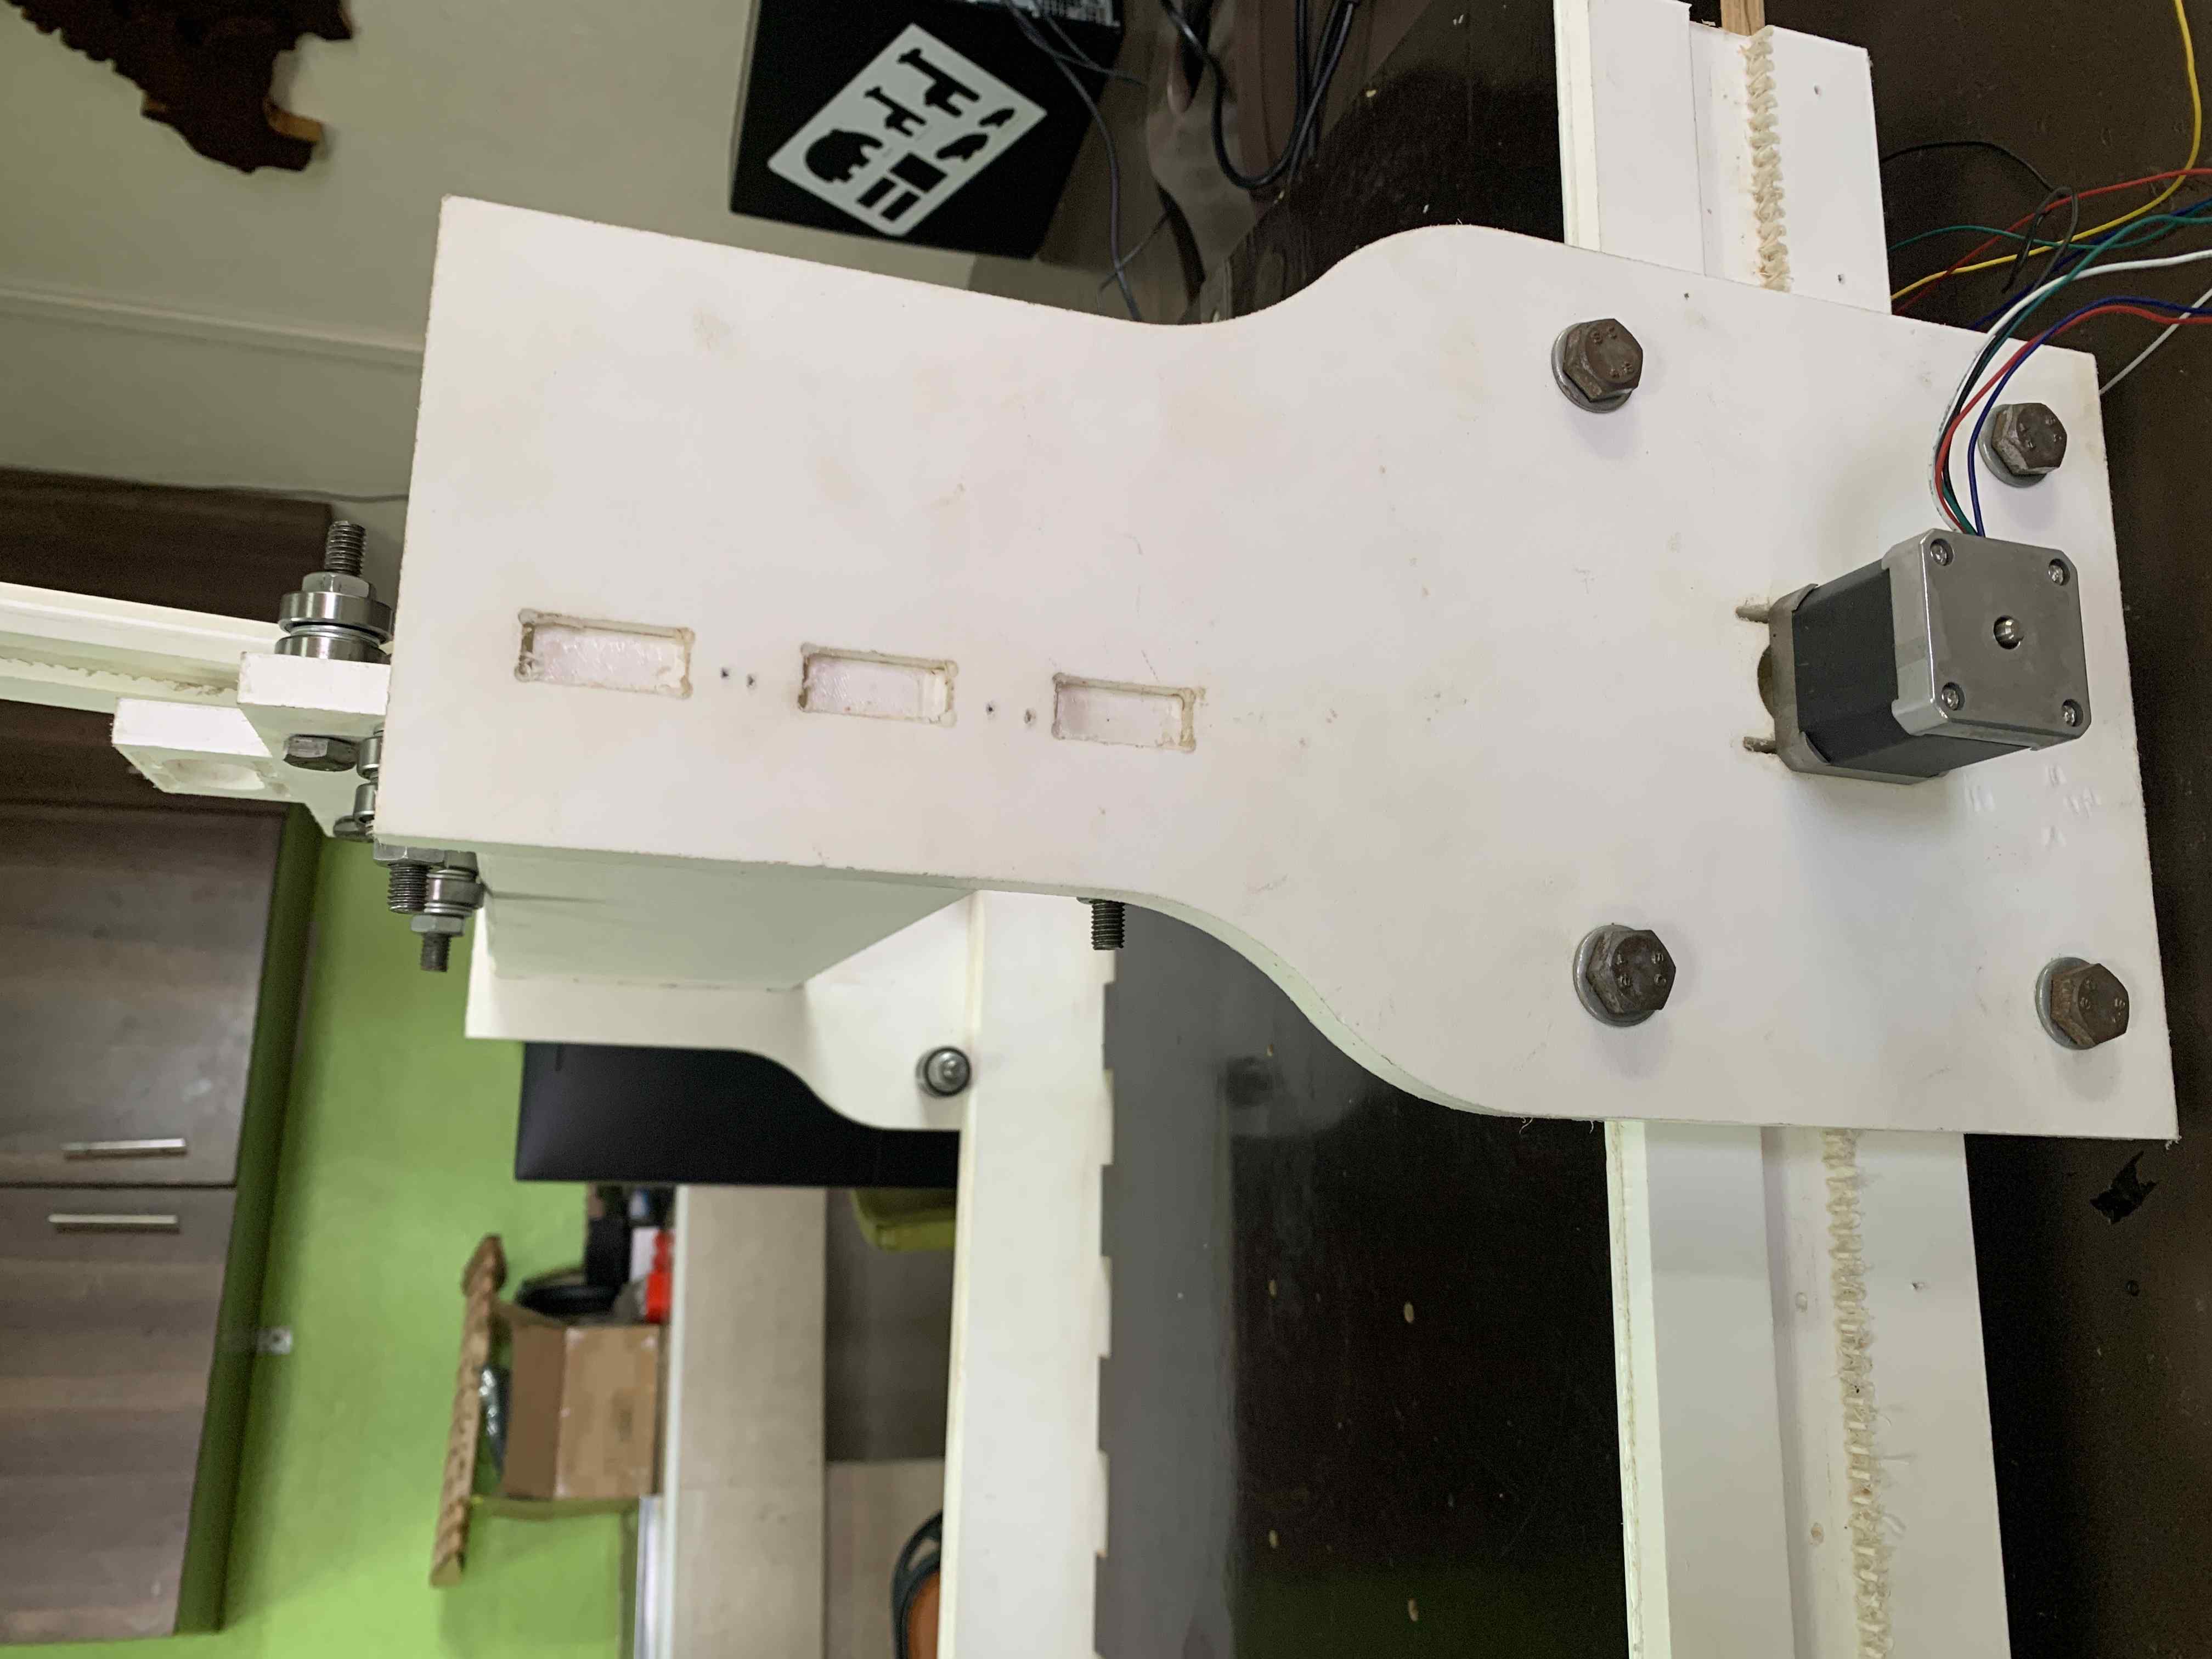
The rest of the group focused on building the electronics part of the machine as well as the software integration with the CNC board. You can find more details on how this part has been made by our groupmate here
Our machine is designed to make the laser engrave in wood and opaque plastic, having an ATmega328P and the GRBL as machine automation basis. The machine axis are just the X and Y axis, which move a laser with power of 500mW 405nm.
This video shows the testing results:
Future opportunities for improvements in the design:
. The wiring arrangement: removing them from the cutting board.
. Adding a stopping support at the edge of the Y axis.
. Improving the design by adding more protection covers for laser.
. Calibration of the machine to improve the quality of the output.
Files: Download here