This week I learned different microcontroller capabilities and how to use them optimally and how can I connect a device to this microcontroller.
To learn this, I used the datasheet that I read during the embedded programming week and found that the features page answer it briefly while datasheet dedicates entire sections to detail each of these features.
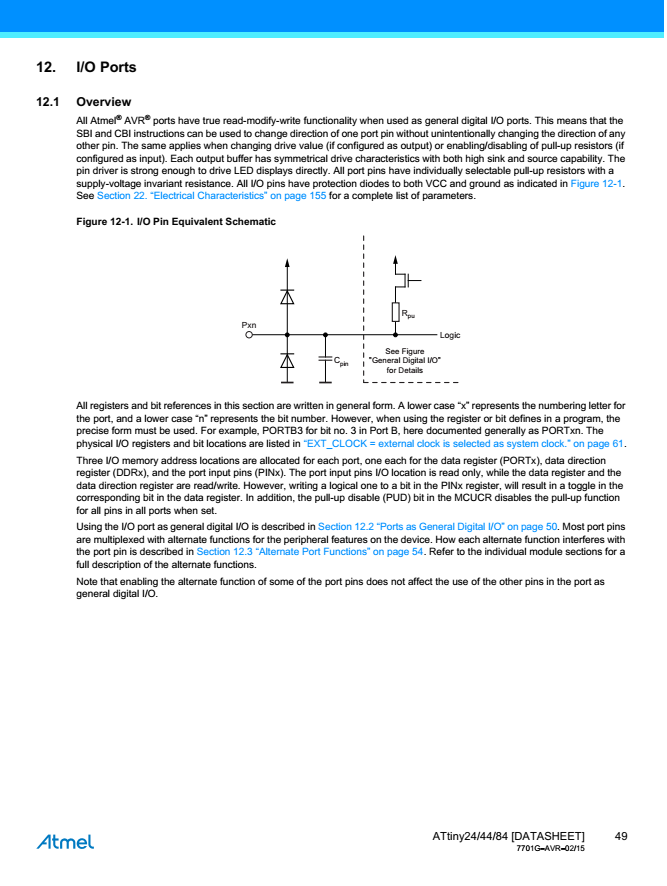
The most important features that I focused on this week are : input and output ports.
This section of the data sheet describes the ports that allow the AVR microcontroller to: "speak" with the outside world (through output ports) and "listen" to incoming signal (through input ports).
During the Electronics Design week, I designed a microcontroller board and added an input component, the LDR sensor. Now I am going to program the microcontroller to read the input data from the LDR and control the LED.
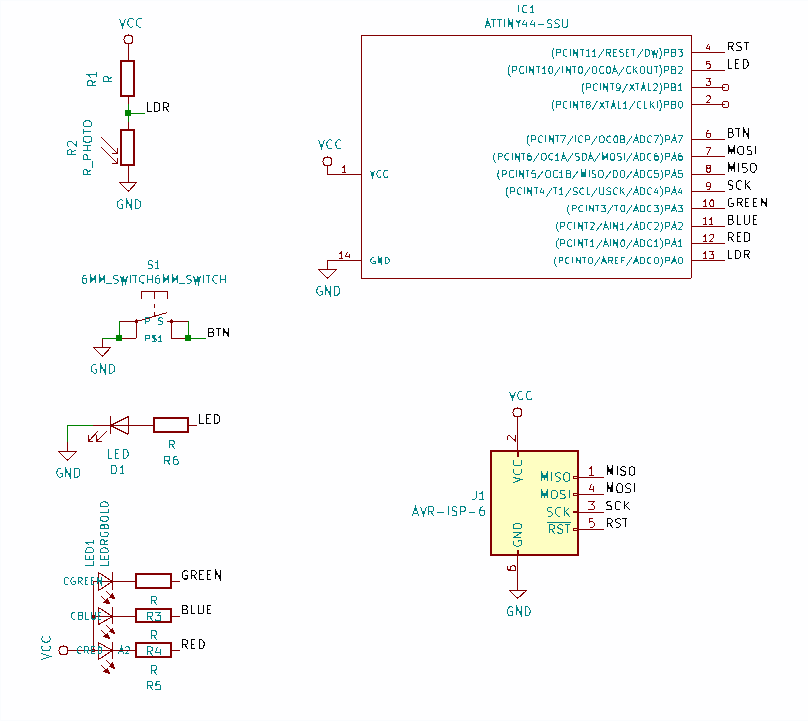
Using Kicad, I designed the board:
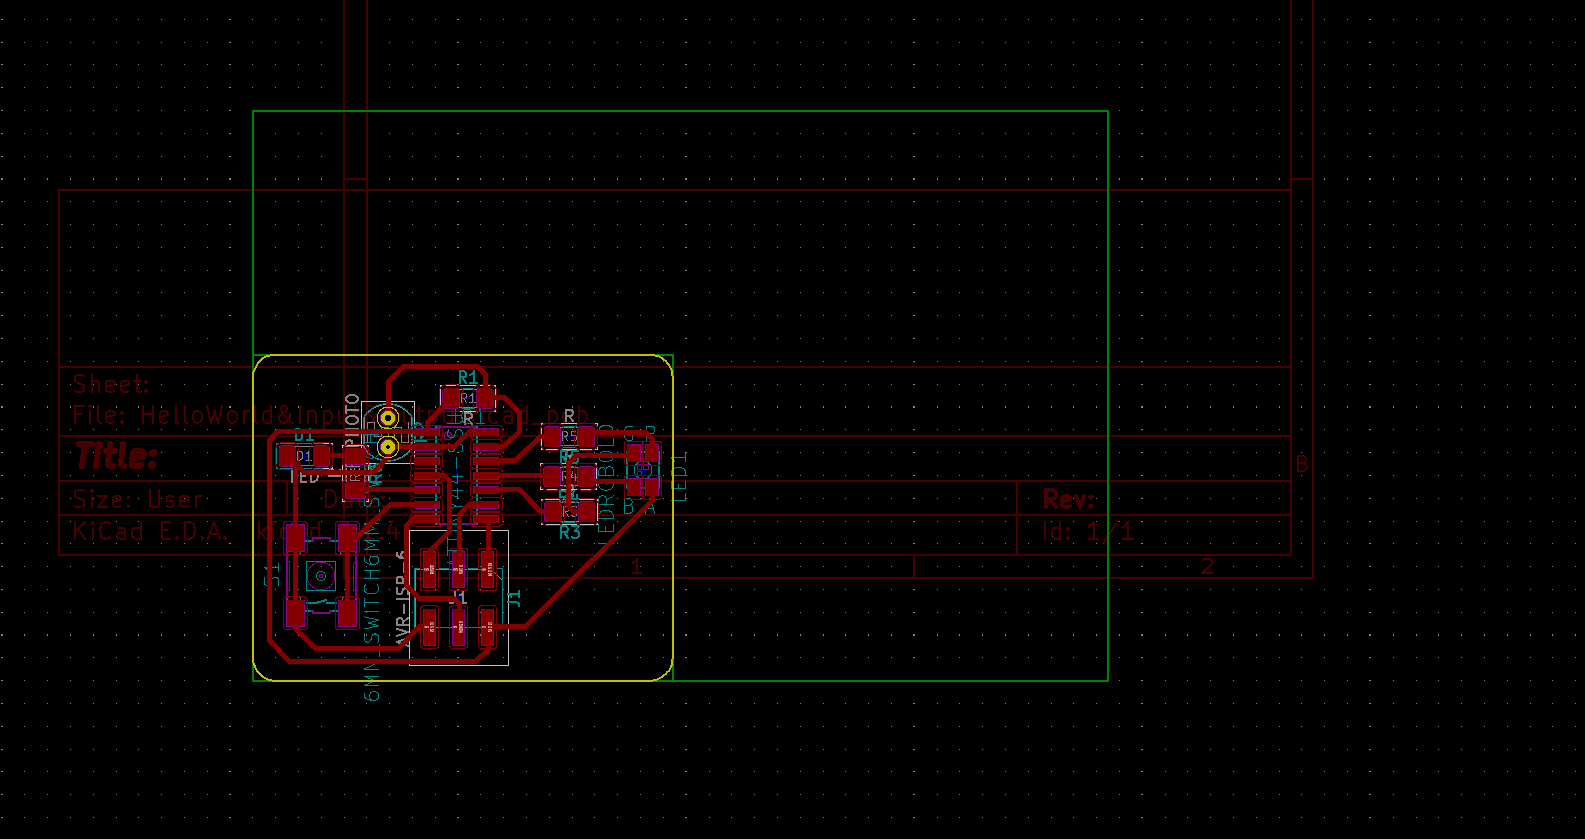

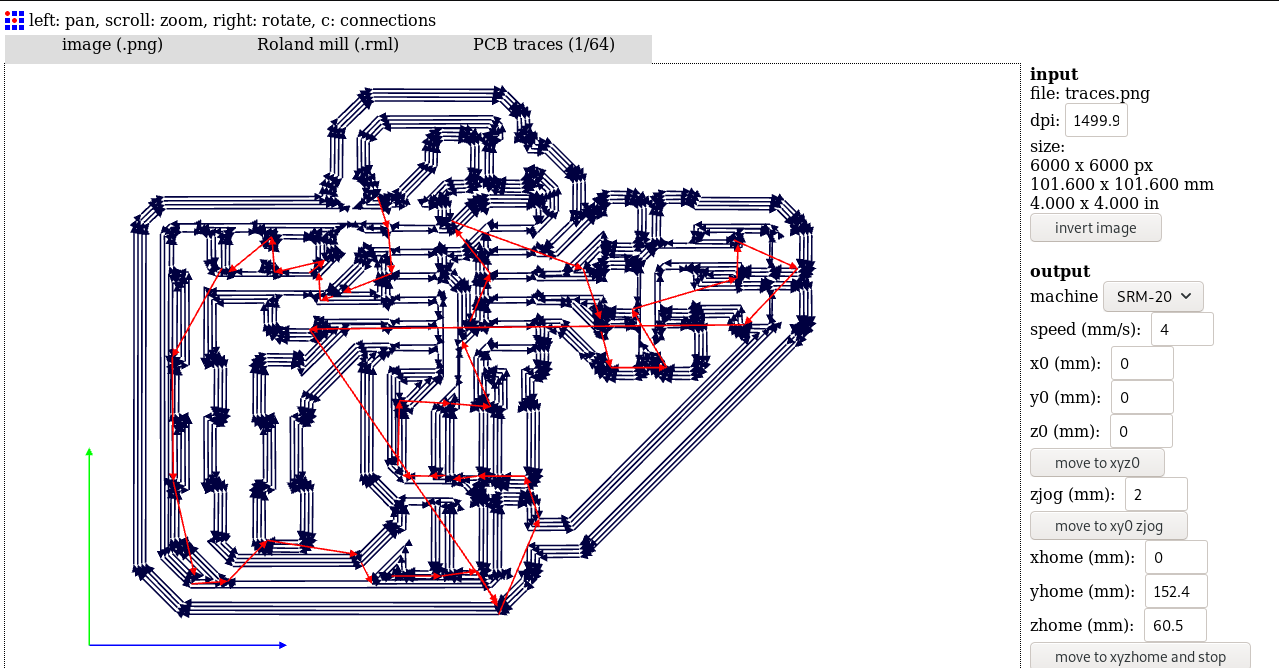
Importing the png image in fabmodules to generate the path and .rml file for the milling machine:
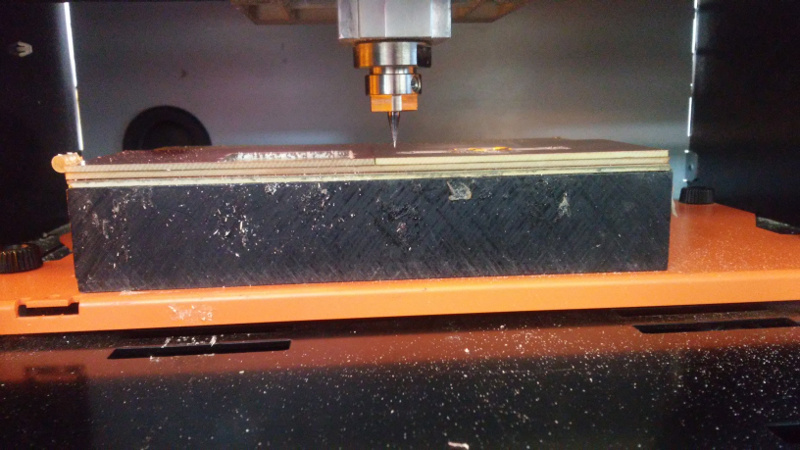
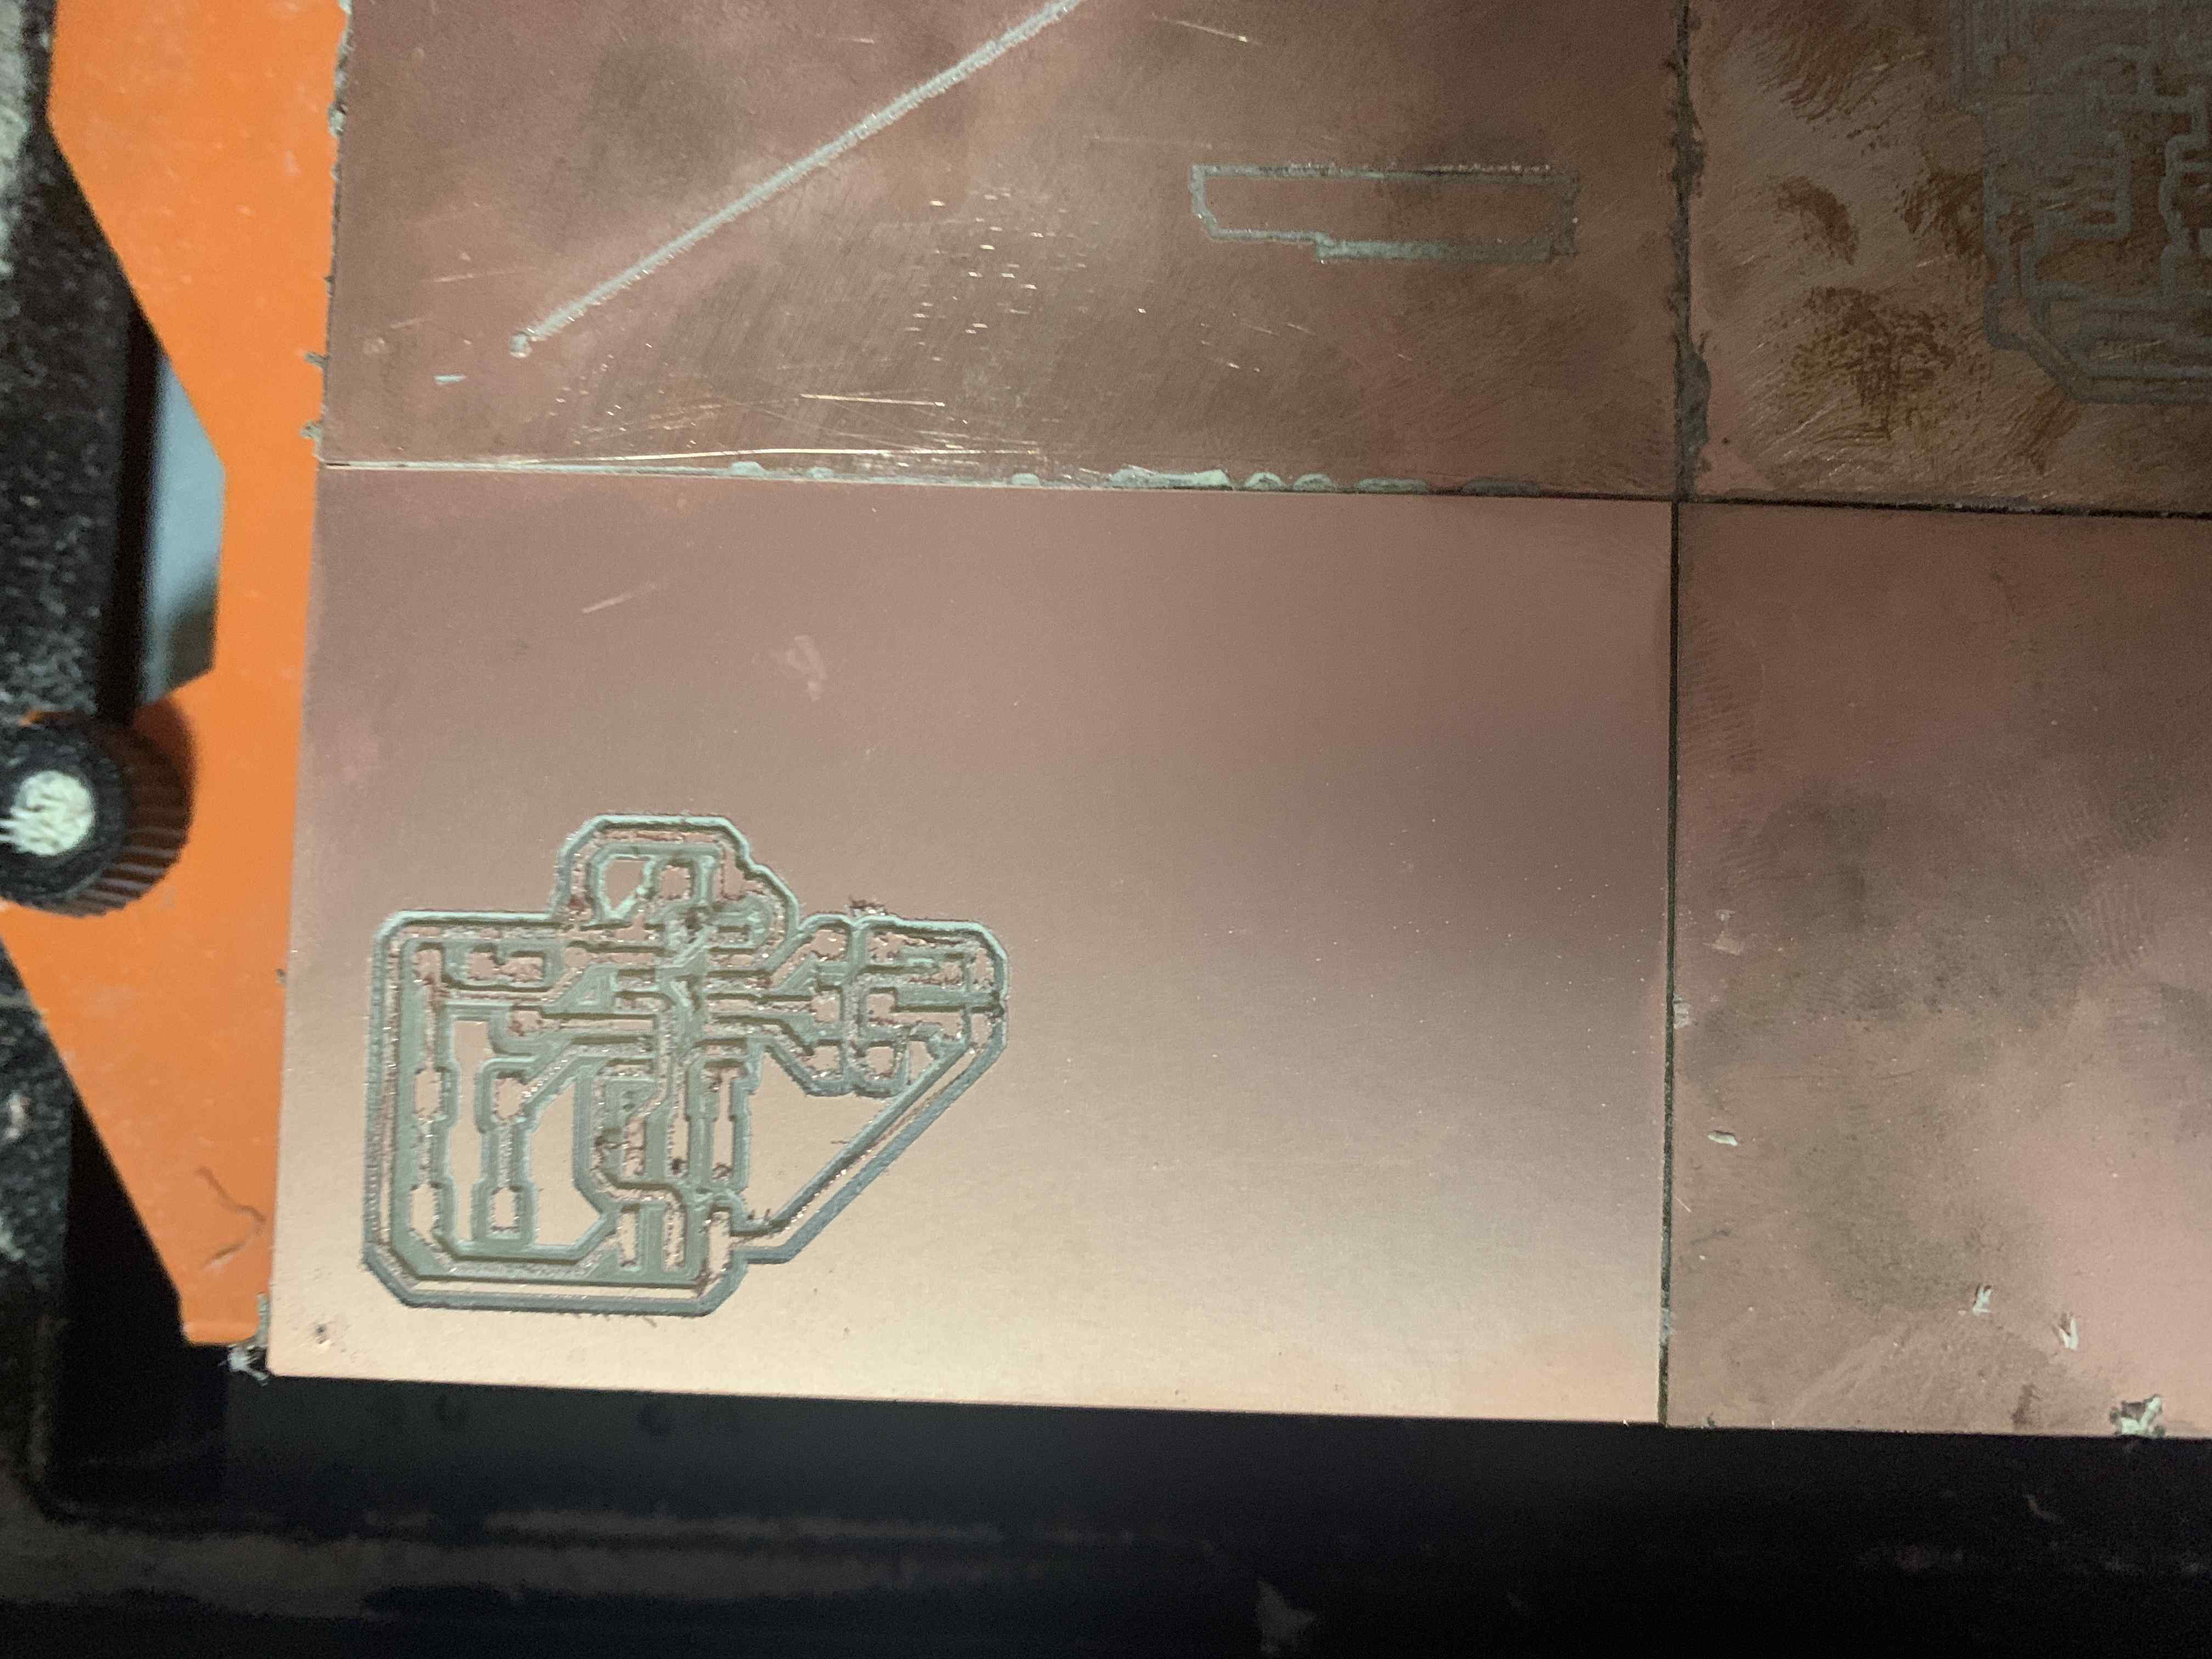
Milling the PCB :
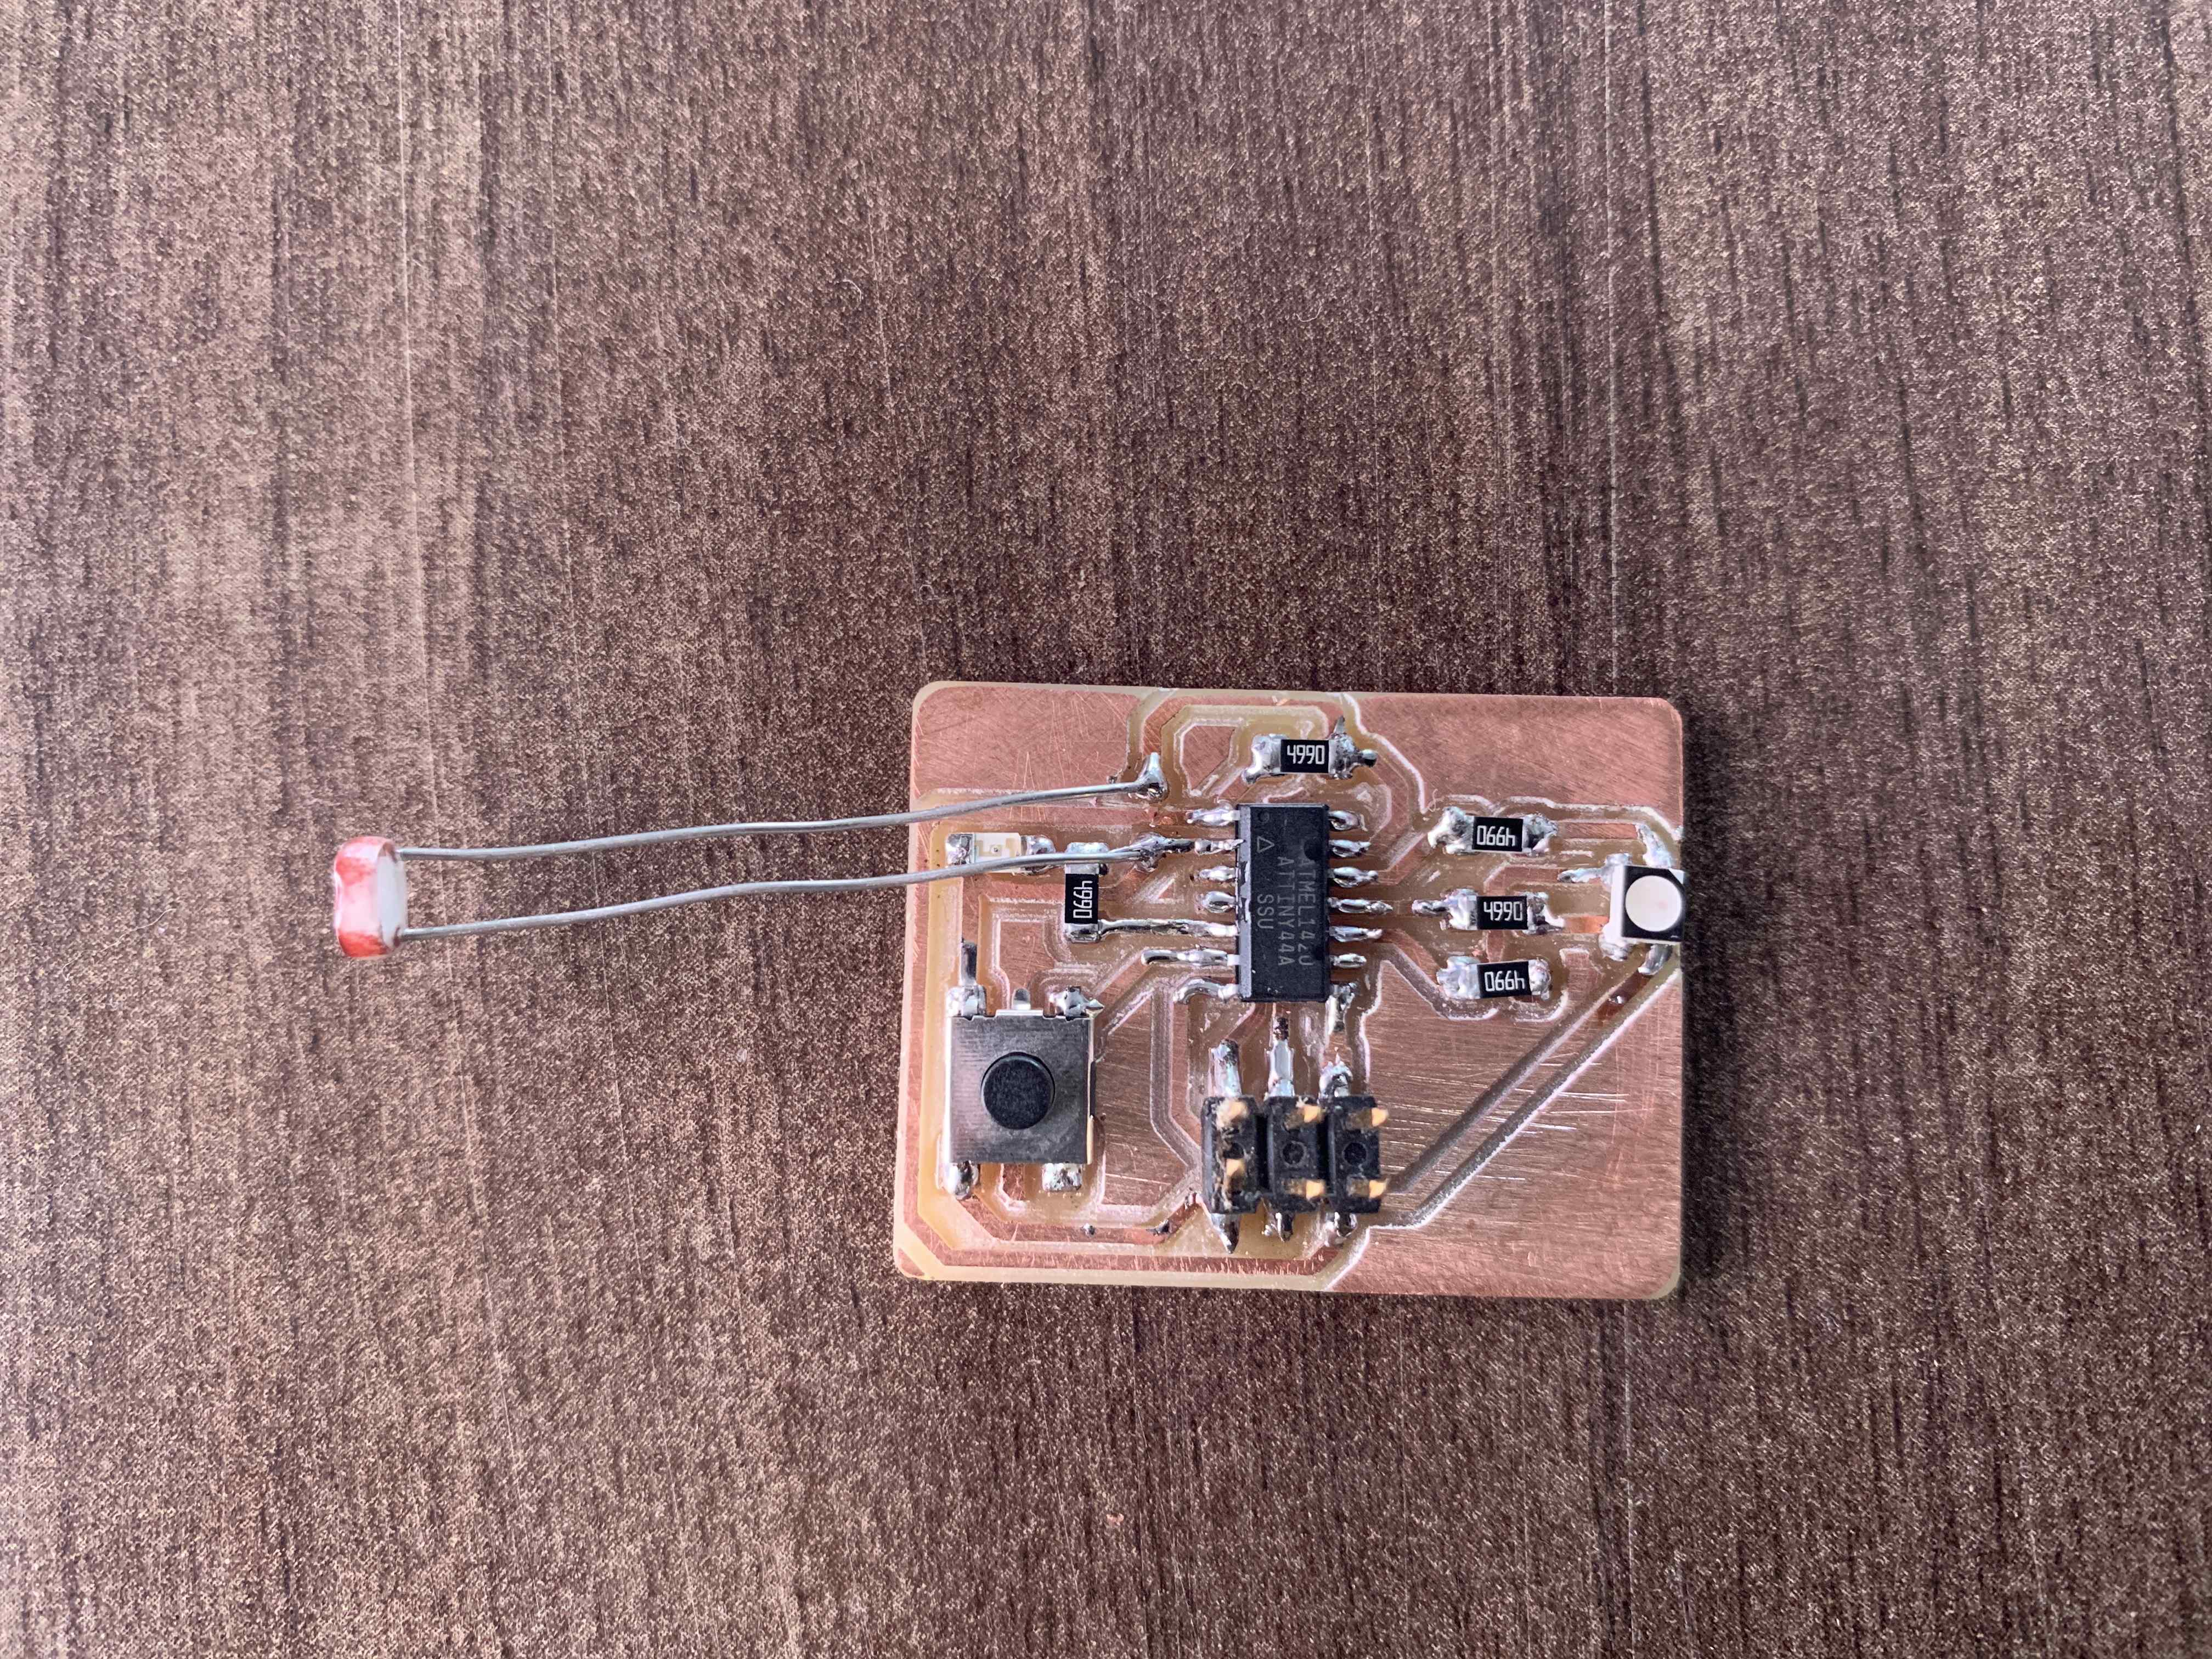
After soldering the board:
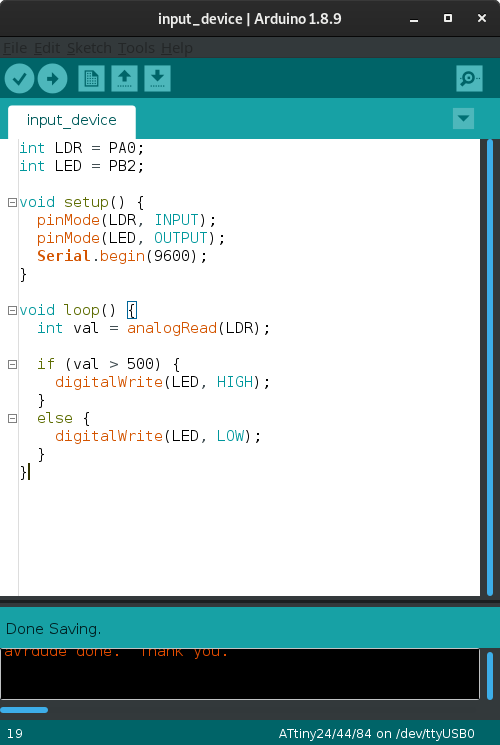
Programming the board:
Receiving the input from the LDR and lighting the LED.
Test :
Files:
Download