Molds are negative forms that are used to shape casting materials, creating duplicates of the model (object) the mold was made from. The resulting cast will be an exact likeness of the shape of the hollow mold form. Click here to learn more.
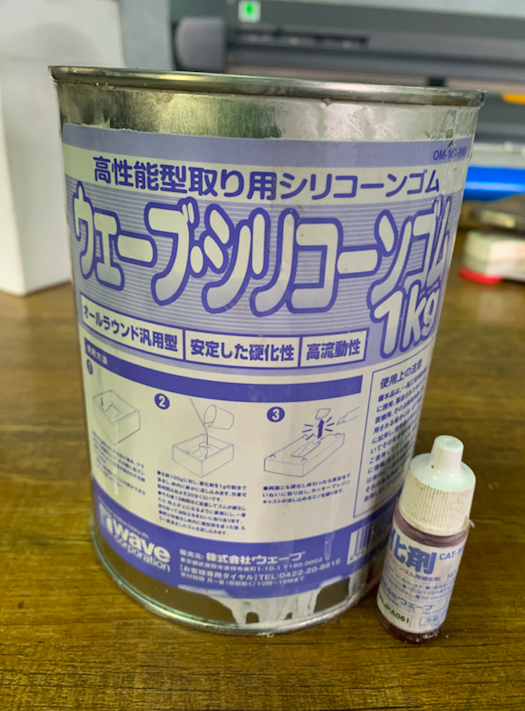
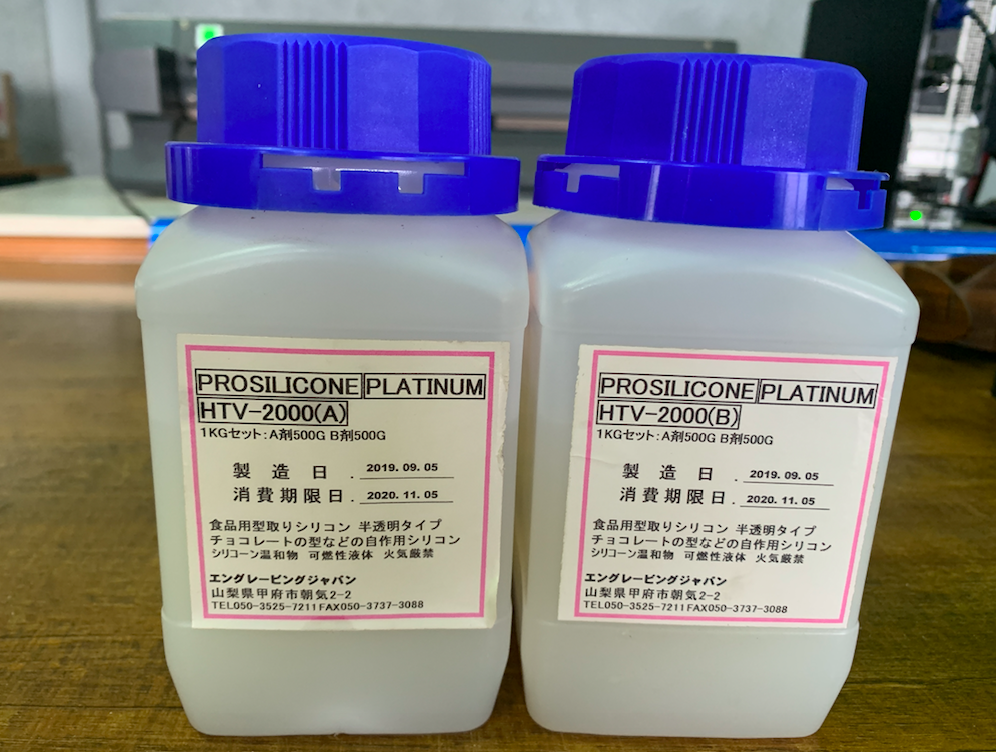
In the lab we have two types of Silicone Mold making materials, as shown in the two pictures below. Everything that came with them is written in Japanese, for me to understand their specifications, I made more research about them on internet. Below are my findings:
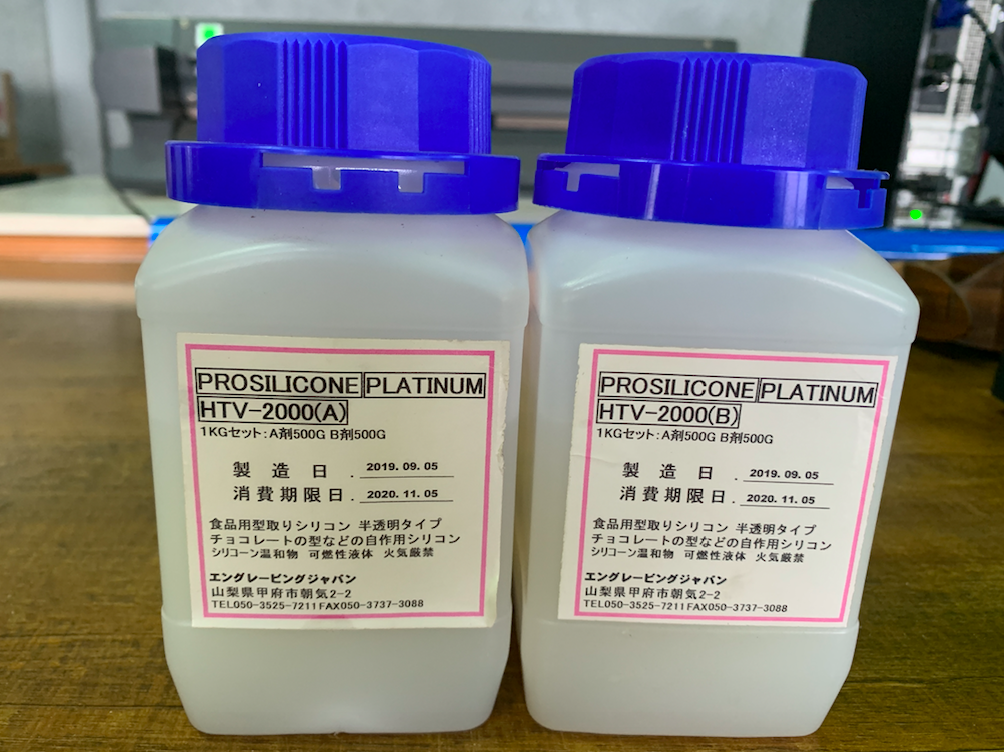
Prosilicone platinum HTV 2000 (A) and (B) (on the right)
* Harmless, odorless, low-viscosity molded silicone makes it safe for beginners.
* Food, chocolate, transparent resin, resin, candles, soap, etc. can be duplicated.
* Because of its low viscosity, even general customers can manufacture it, and the heat-resistant temperature of the silicon mold after completion can be up to 200 ° C.
* How to use HTV-2000: Mix liquid type A and B materials in ratio 1:1 thoroughly with a spatula (about 2 minutes) and then pour into the frame containing the prototype. After 8 hours (23 ° C), female silicon Since it becomes rubber, wash it with a neutral detergent, etc., then apply butter etc. to the mold and pour chocolate etc.
* Additive food grade type Milky white translucent Specific gravity 1.08 Hardness 18 Viscosity 4500 Elongation rate 500% Shrinkage rate 0.1% Tensile strength 4.8Mpa Tear strength 25kN / m Working time 25 minutes Demolding time 8 hours (23 ℃).
ON THE LEFT
For the other product on the left, the mixing ratio between A:B is 100:10.
(A) comes in the package weighing 1kg and (B) 10g. I couldn't find more information on the manufacturers, since nothing on the package is written in english apart from the weight.
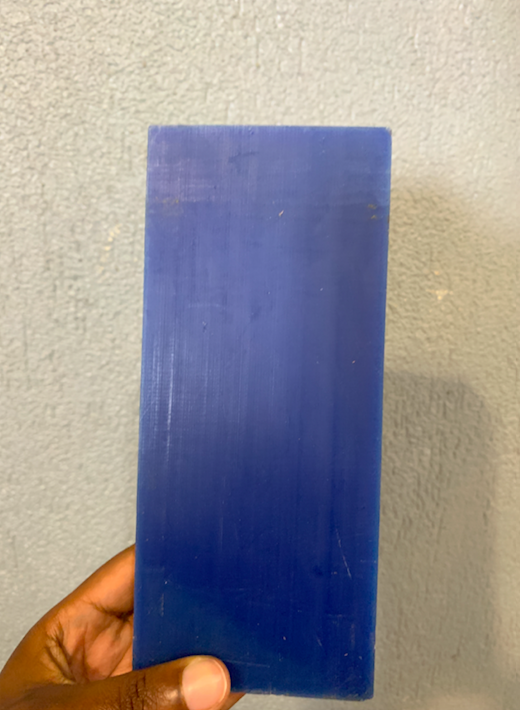
In the lab we only remain with one type of the machinable wax (7.7 * 17 * 4 cm) at the moment. I will use this to mill the positive mold in my assignment.
With SolidWorks, I designed a chocolate bar shape mold.
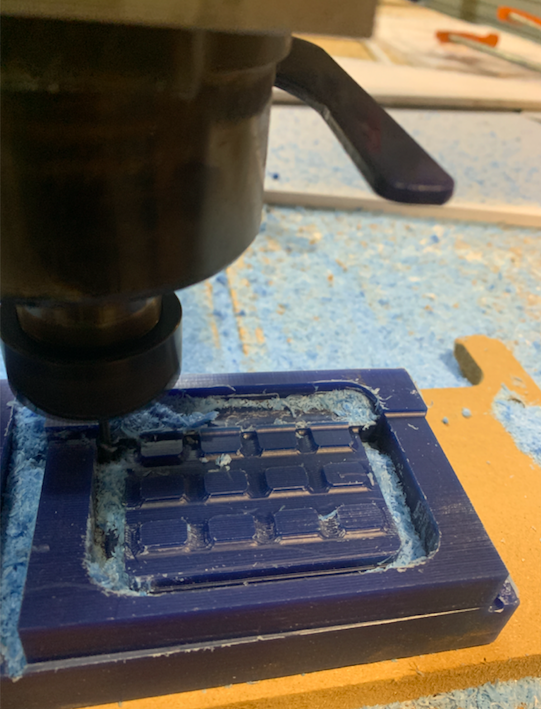
Imported the STL file of my design in the Vcarve software to generate the Gcode for the shopbot, then set the axes with the shopbot software. I Adjusted the material height at 7.7cm and for the Roughing Options I used Offset, because my 3D model shape is round, and is the better Tool clearance strategy for it.
I used a hot glue gun to fix the wax material to the mdf board:
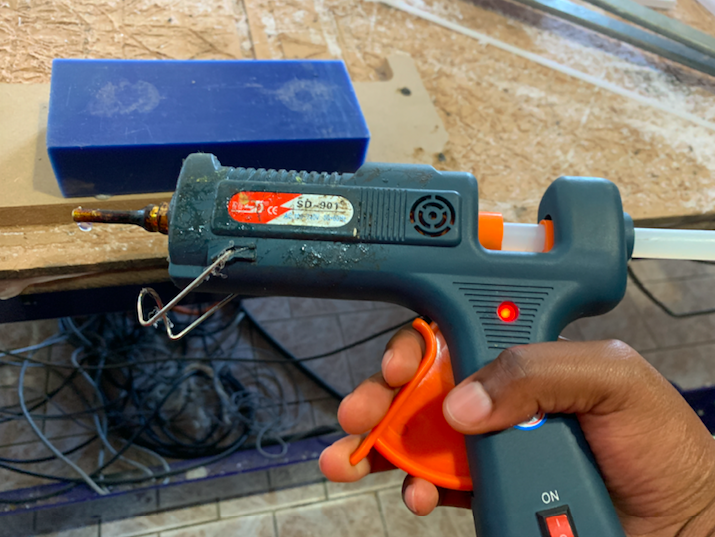
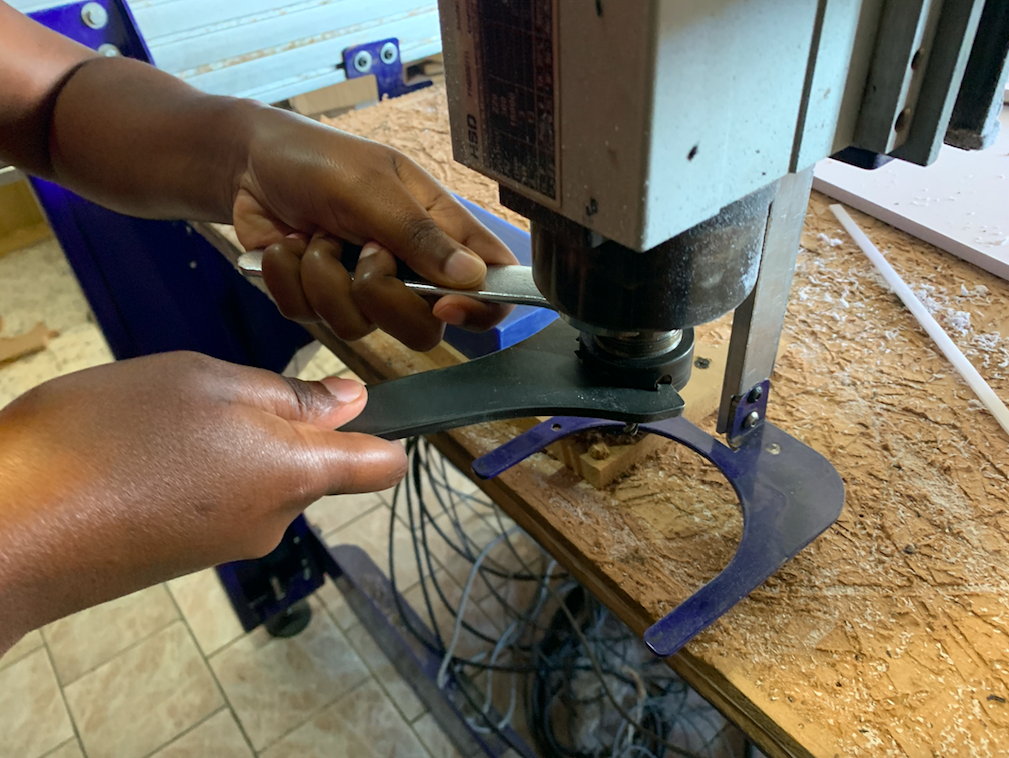
Fixing the Tool: I used 6mm endmill to rough the wax and 3mm endmill for finishing.
Roughing
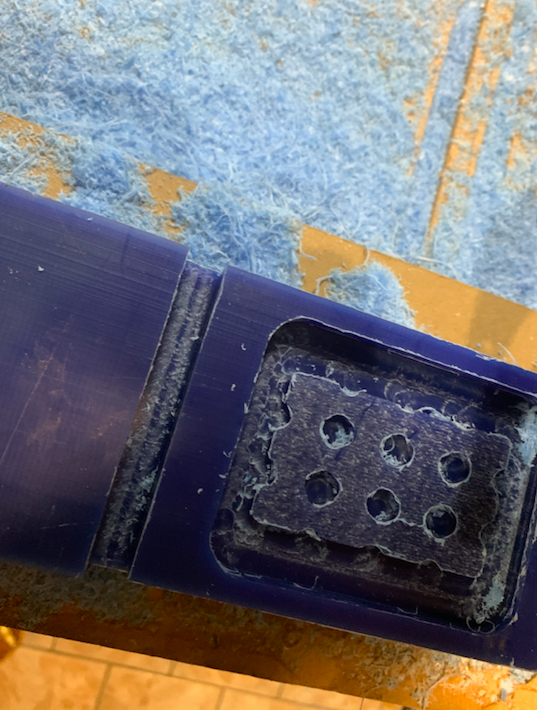
Finishing
Result
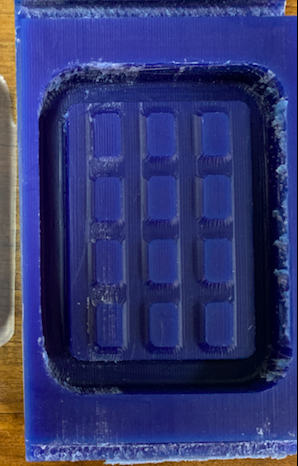
I started with these two solutions to prepared the negative Mold:
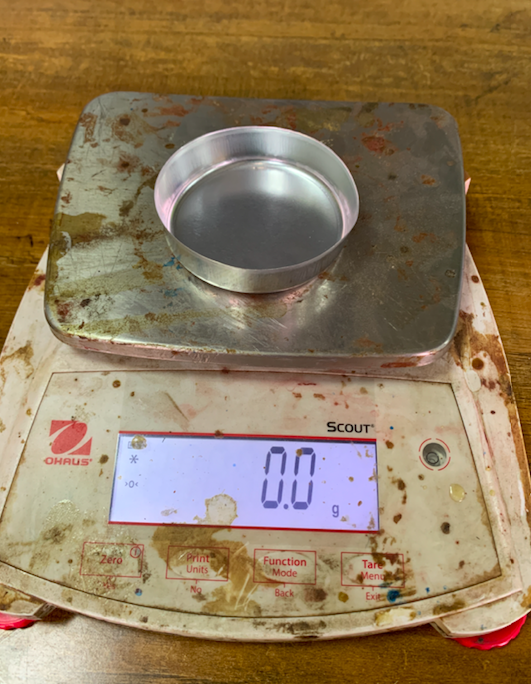
Setting the balance to zero:
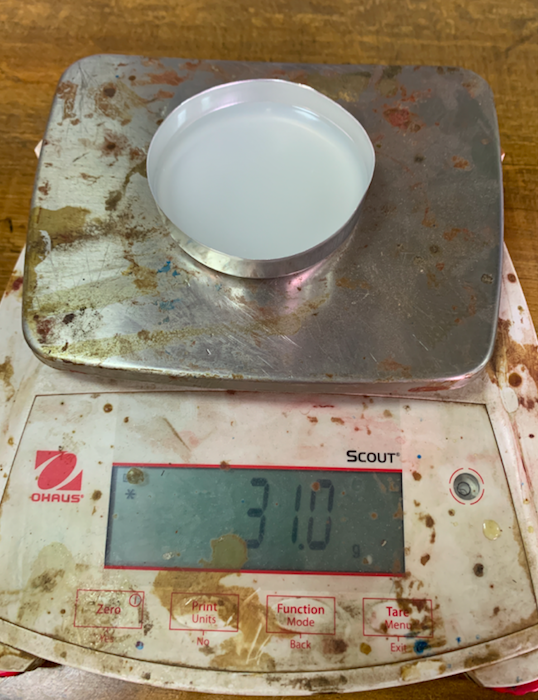
Used 31g for Both A and B:
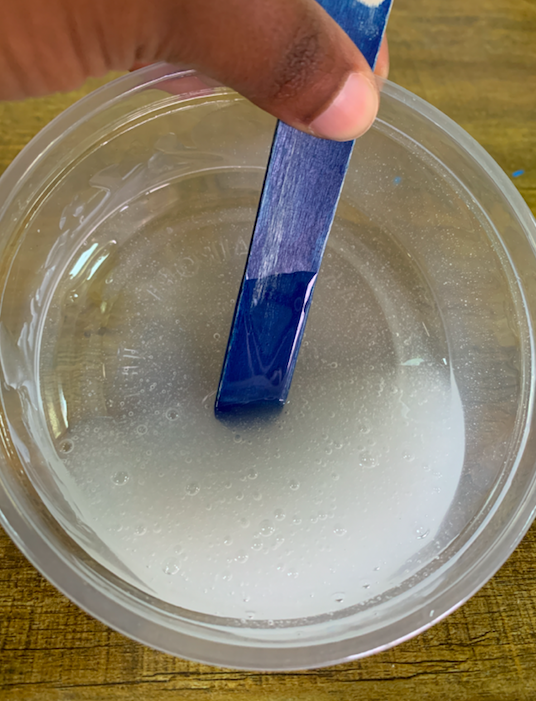
After Mixing them for 2min:
Poured the solution slowly in the mold and let it find it's way :
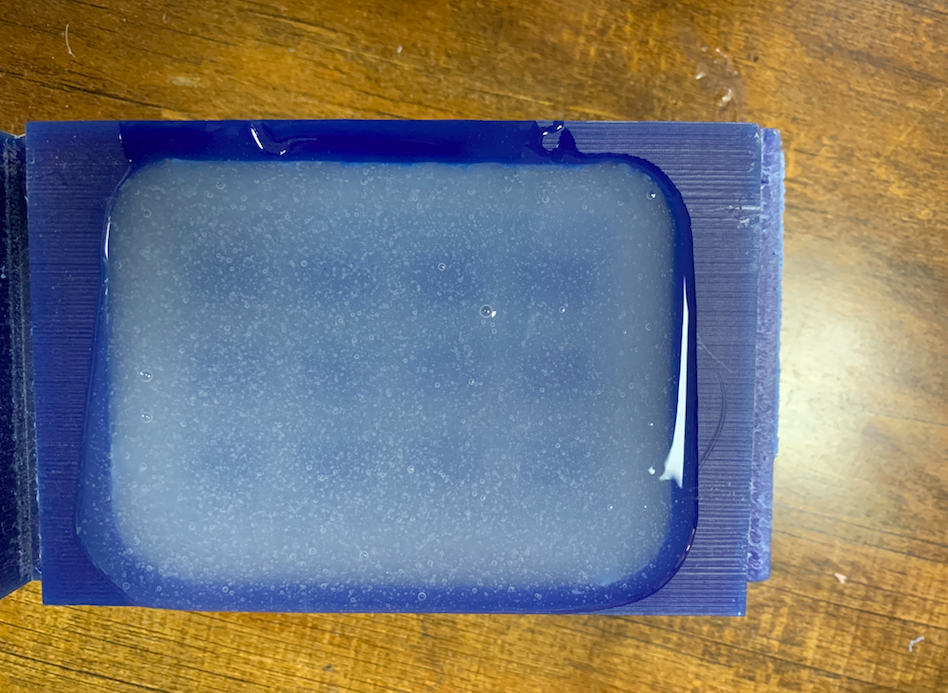
After 8 hours, the negative mold was formed :
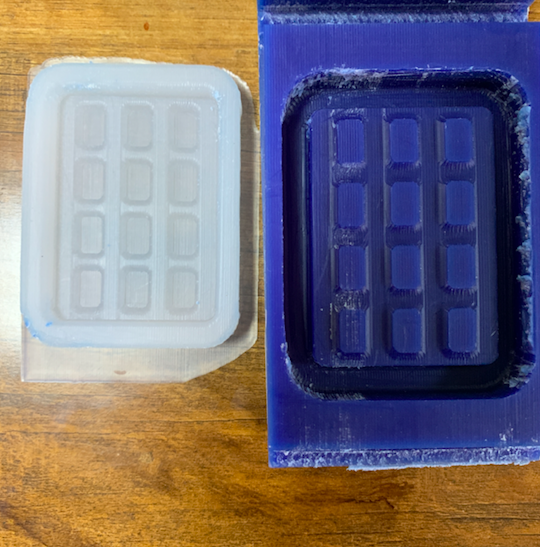
RESULT :
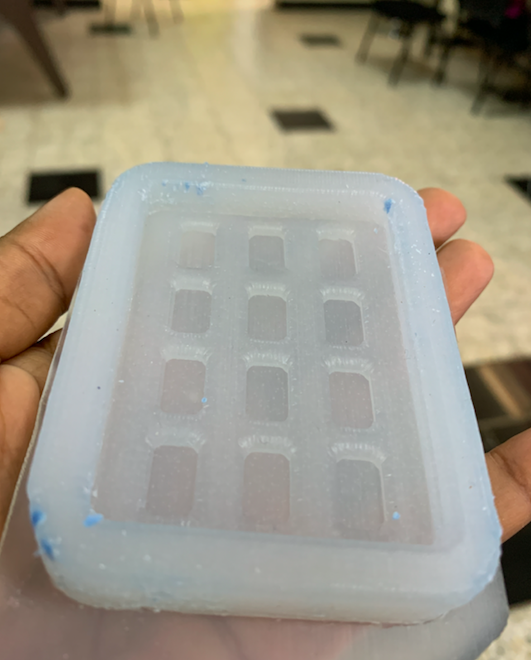
CASTING EPOXY by Mixing the Epoxy Resin + Hardener in 1:1 ratio. They both came in big buckets, as shown below:
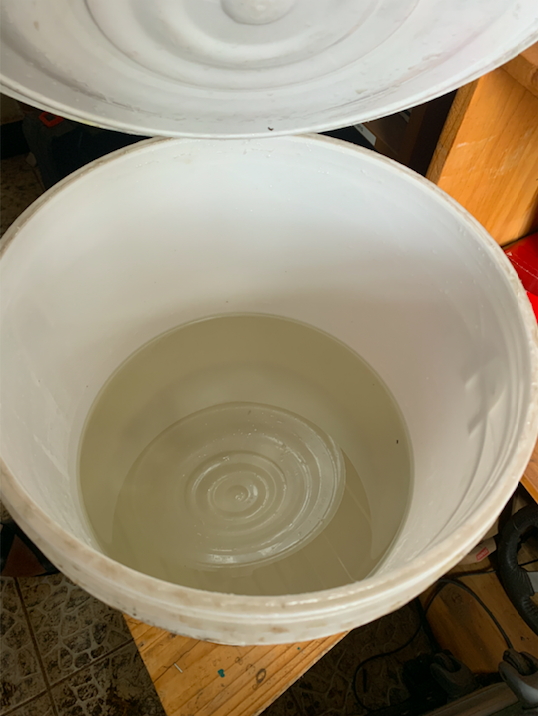
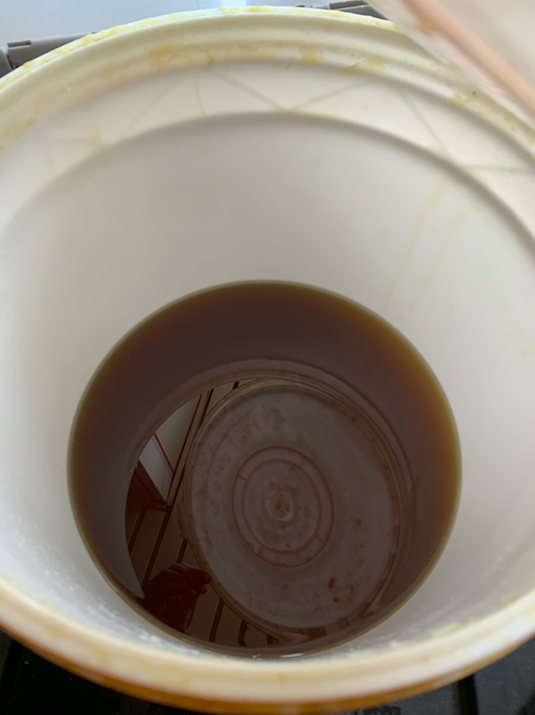
Then mixed 30g of the resin and 30g of the hardener:
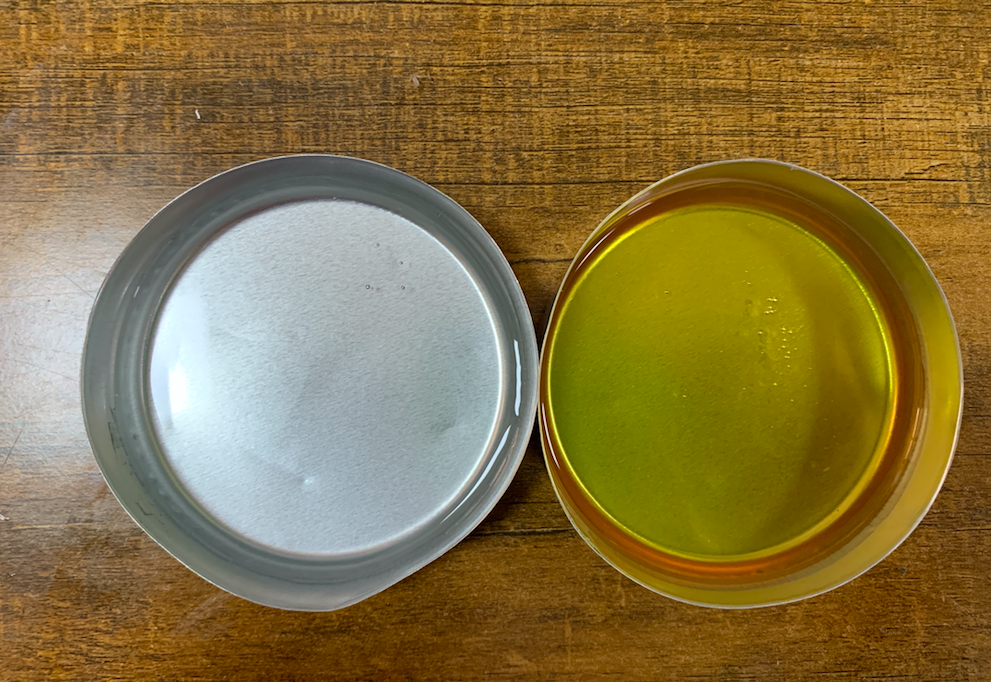
Pouring slowly into the mold:
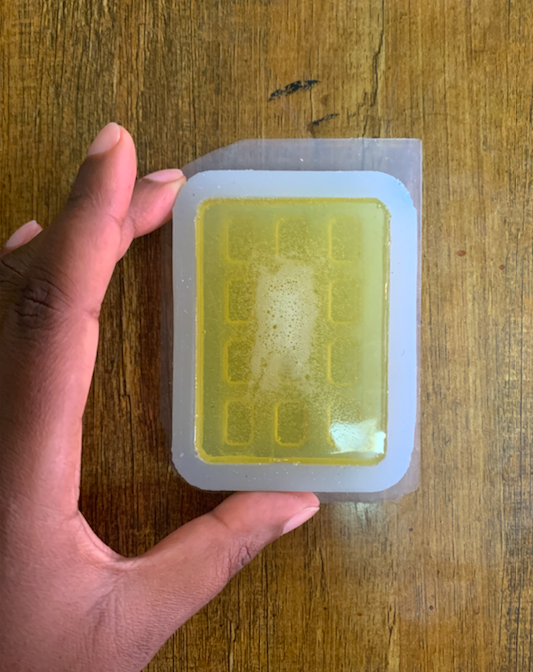
After 8hours, I checked and the result was OK:
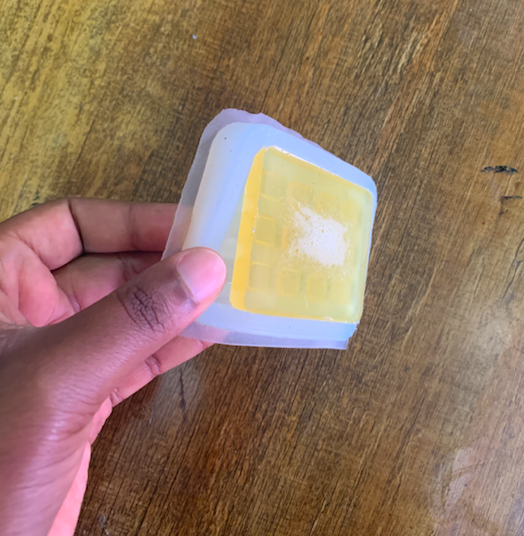
HERO SHOT :
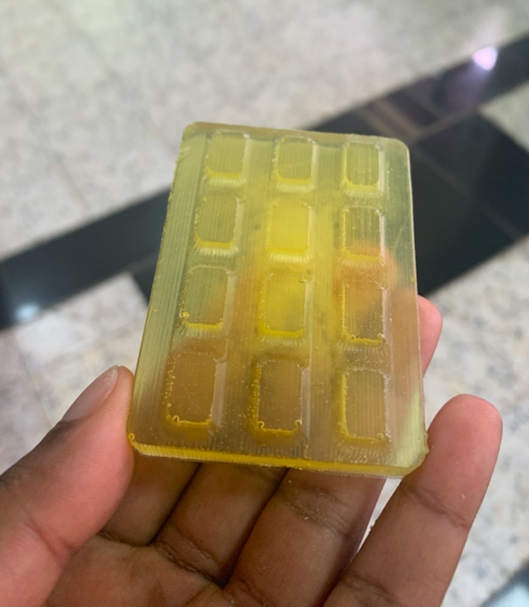
Mixed them roughly until their some hot temperature is releazed:
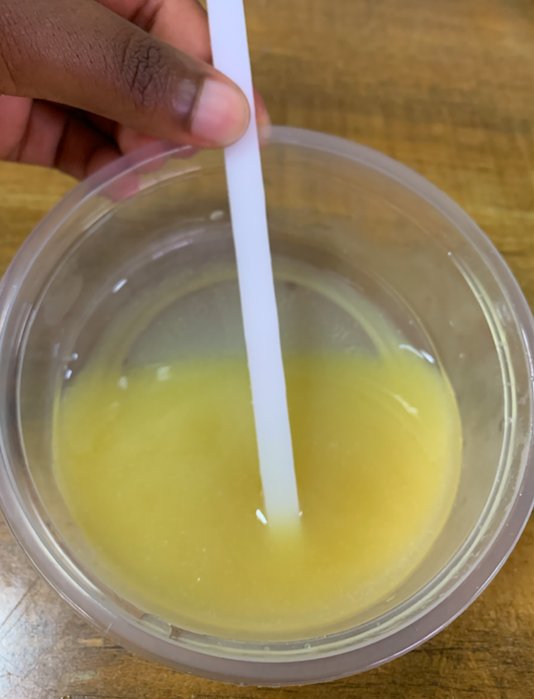
Next, I used the second type of molding material to prepare another negative mold:

As explained above the mixing ratio is 100:10, then for 60g of A solution, I added 0.6g of B solution:
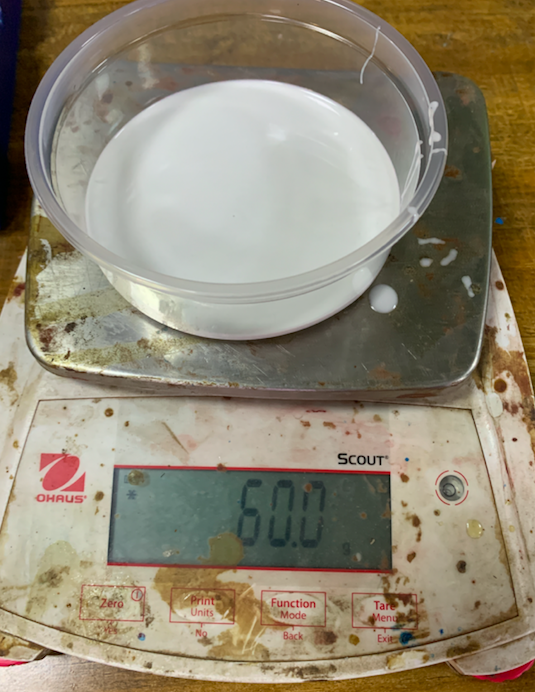
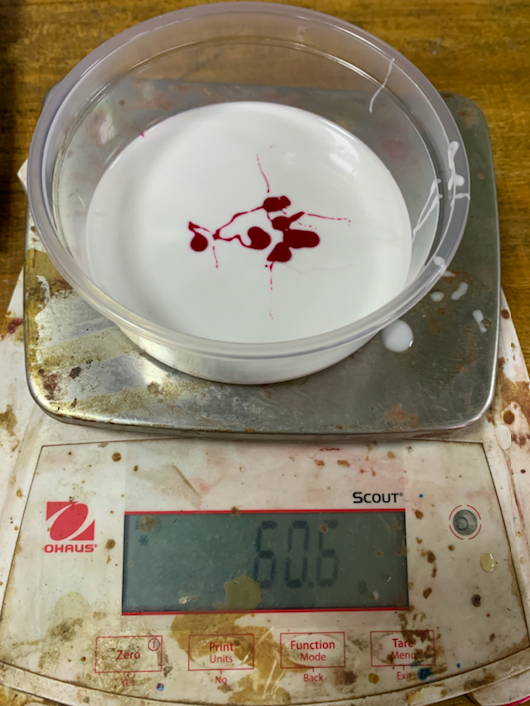
After Mixing:
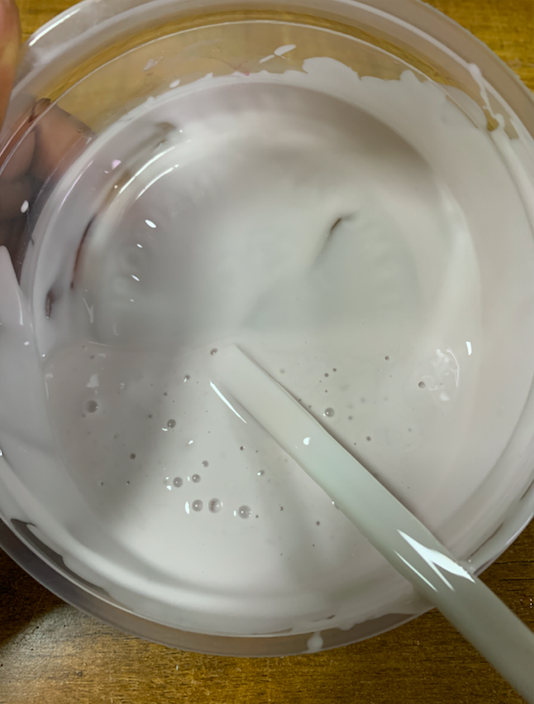
Pouring slowly in the mold:
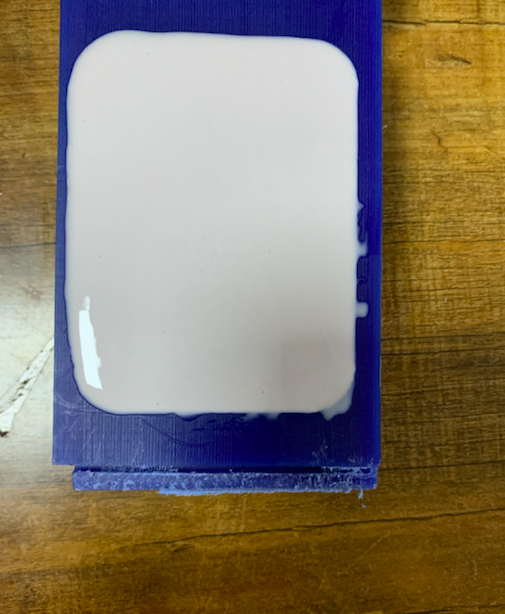
This one took longer, I had to leave it over night and came back the next day, the negative mold formed very well. This was heavier and harder than the first:
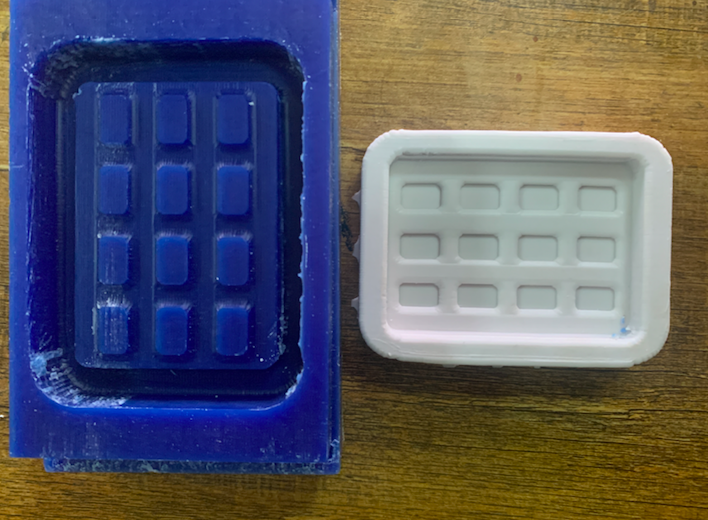
Hero shot:
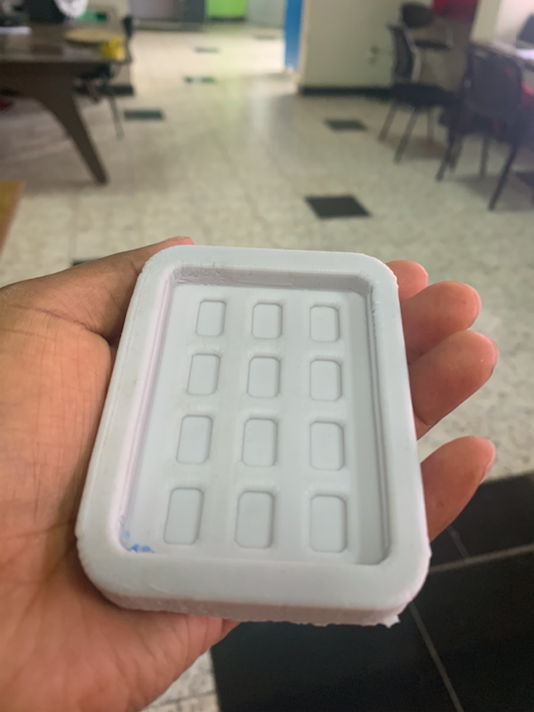
Casting Chocolate:
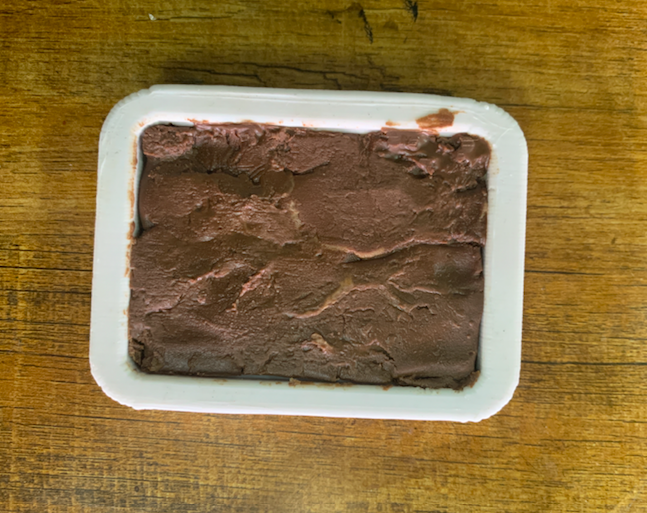
Result: It didn't look very good, this was due to the amount of chocolate I used, I'm happy with the test:
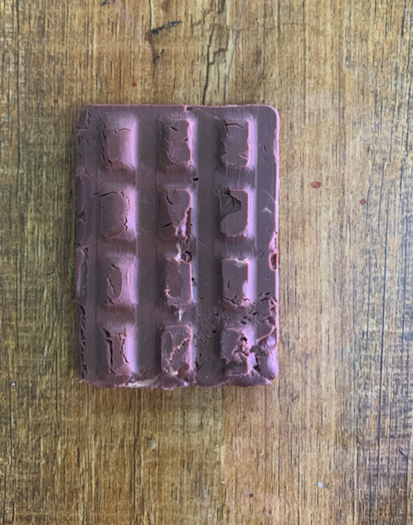
HERO SHOT :
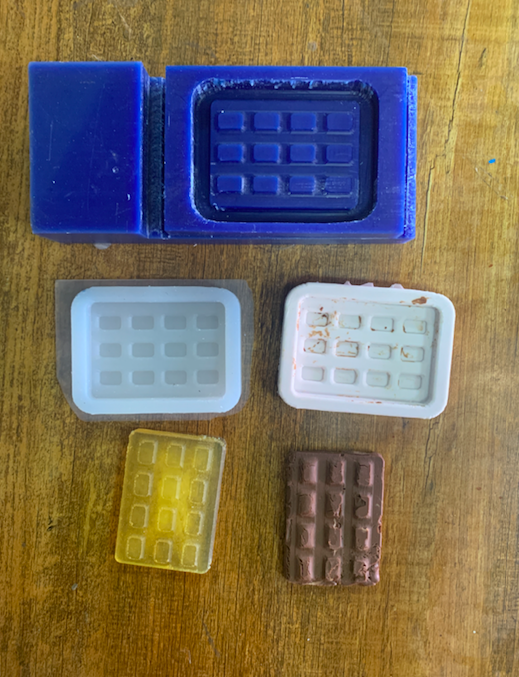
Files:
Download