Embedded-Programming
This week's assignment is divided into two parts: a) Reading a datasheet and b) Programming our boards to do something.
Starting with the first part of the assignment, I read the datasheet of ATtiny44A. It is essential when using the microcontroller to look at its pin configuration - as this placed the microcontroller in the circuit. The ATtiny44A is a 14-pin microcontroller.
.png)
The datasheet elaborates on the pins and their descriptions - some of which were new information to me.
In summary, the ATtiny44A microcontroller is high-performance, low-power one - operating at a voltage between 1.8 – 5.5V. When powerful instructions are executed in a single clock cycle, the
ATtiny44A achieves throughputs approaching 1 MIPS per MHz allowing the system
designer to optimize power consumption versus processing speed.
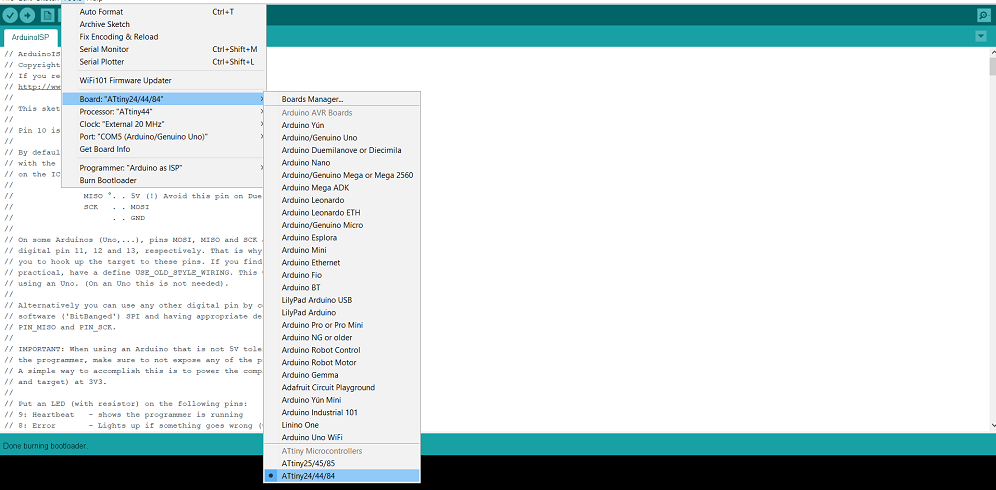
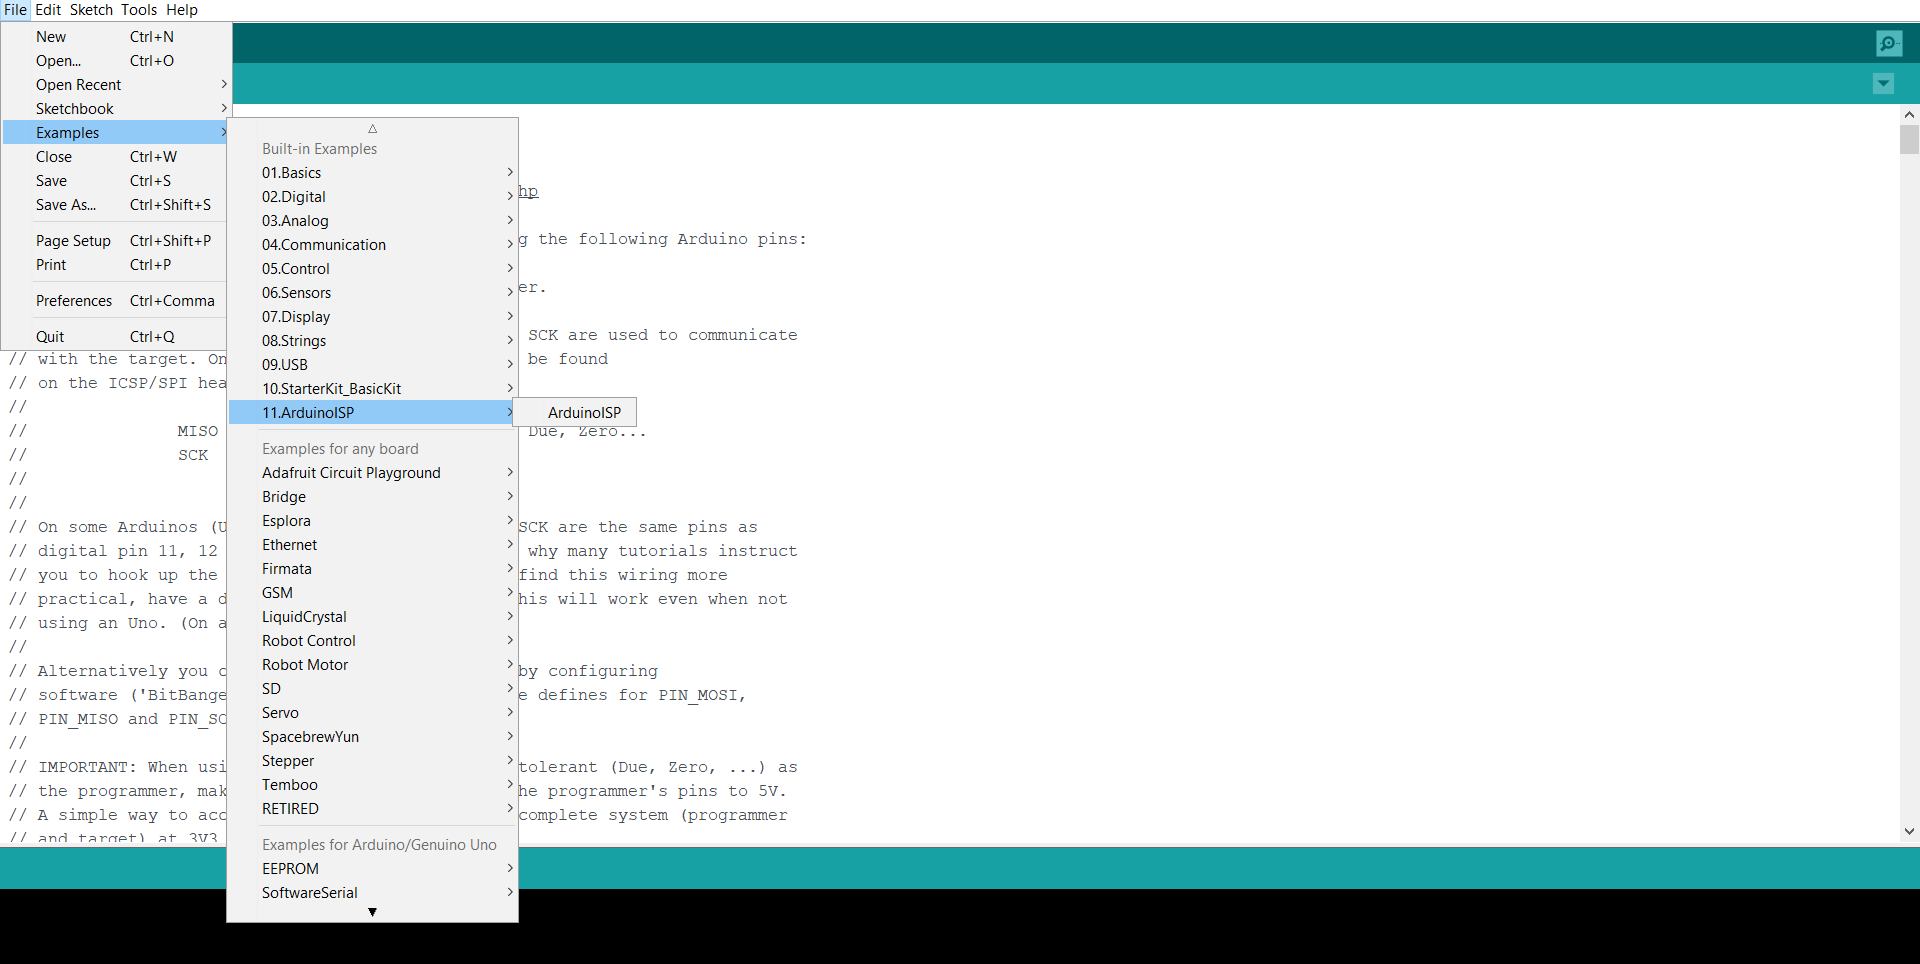
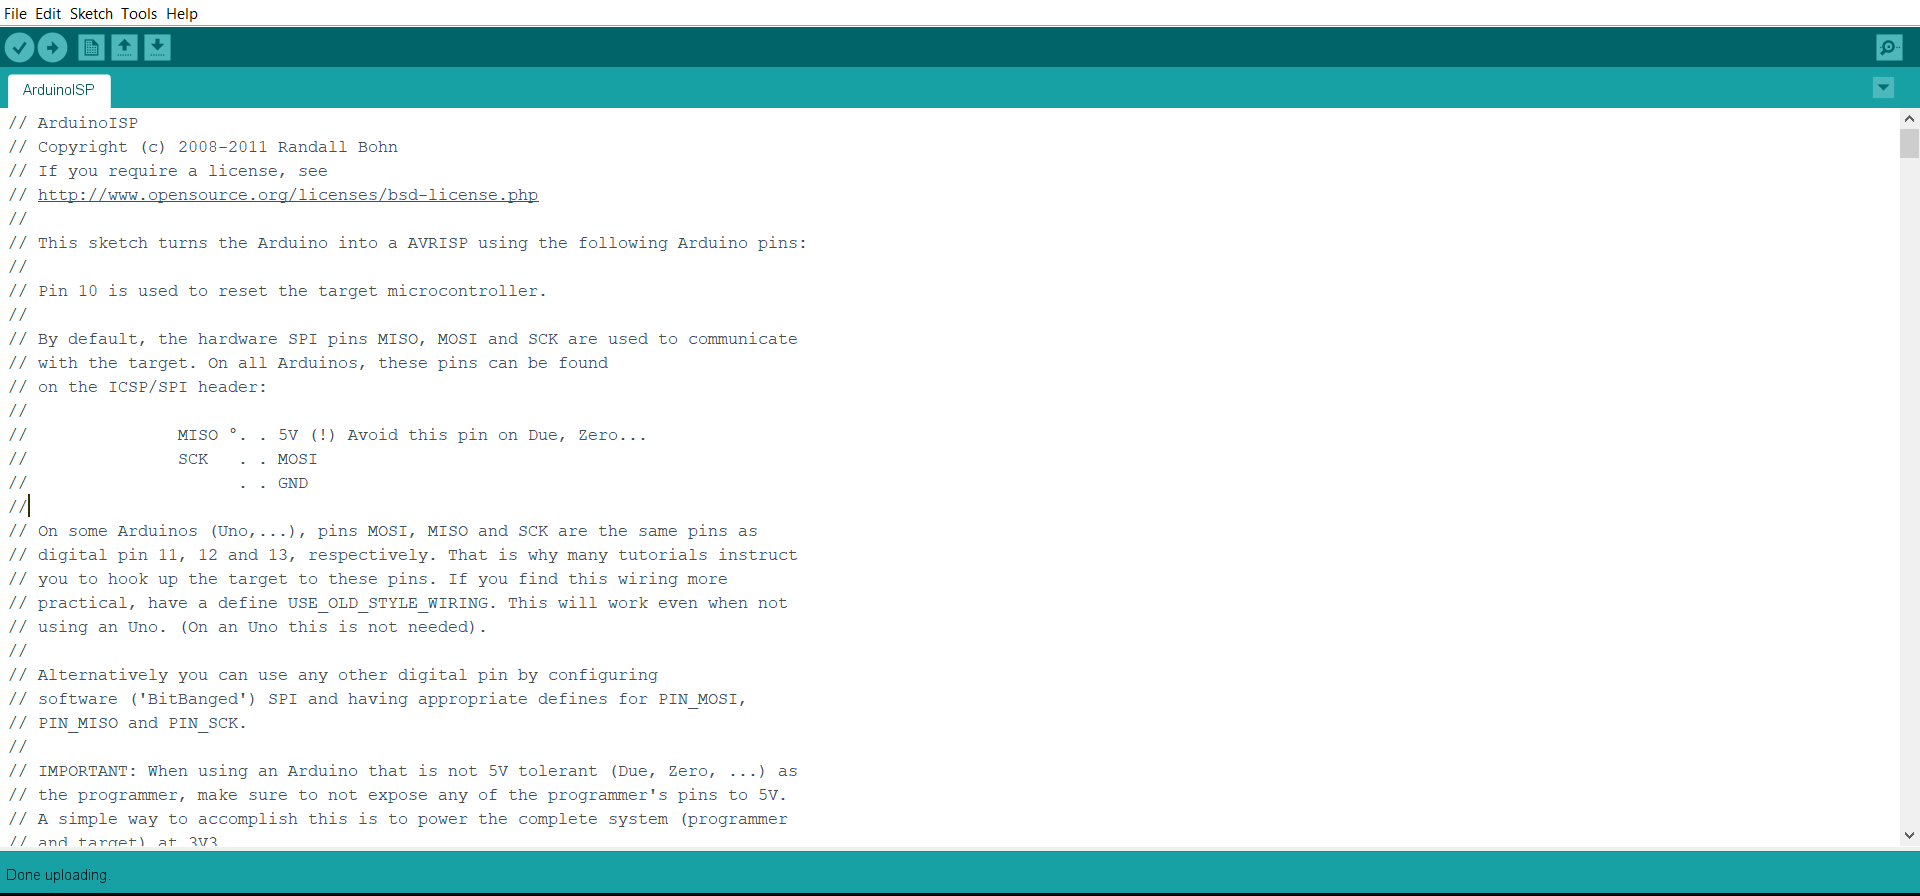
The second part is to program the Hello World! PCB. I decided to use Arduino. I connected the Arduino board, and from File -> Examples, I picked ArduinoISP.
I, then, uploaded the code on the board.
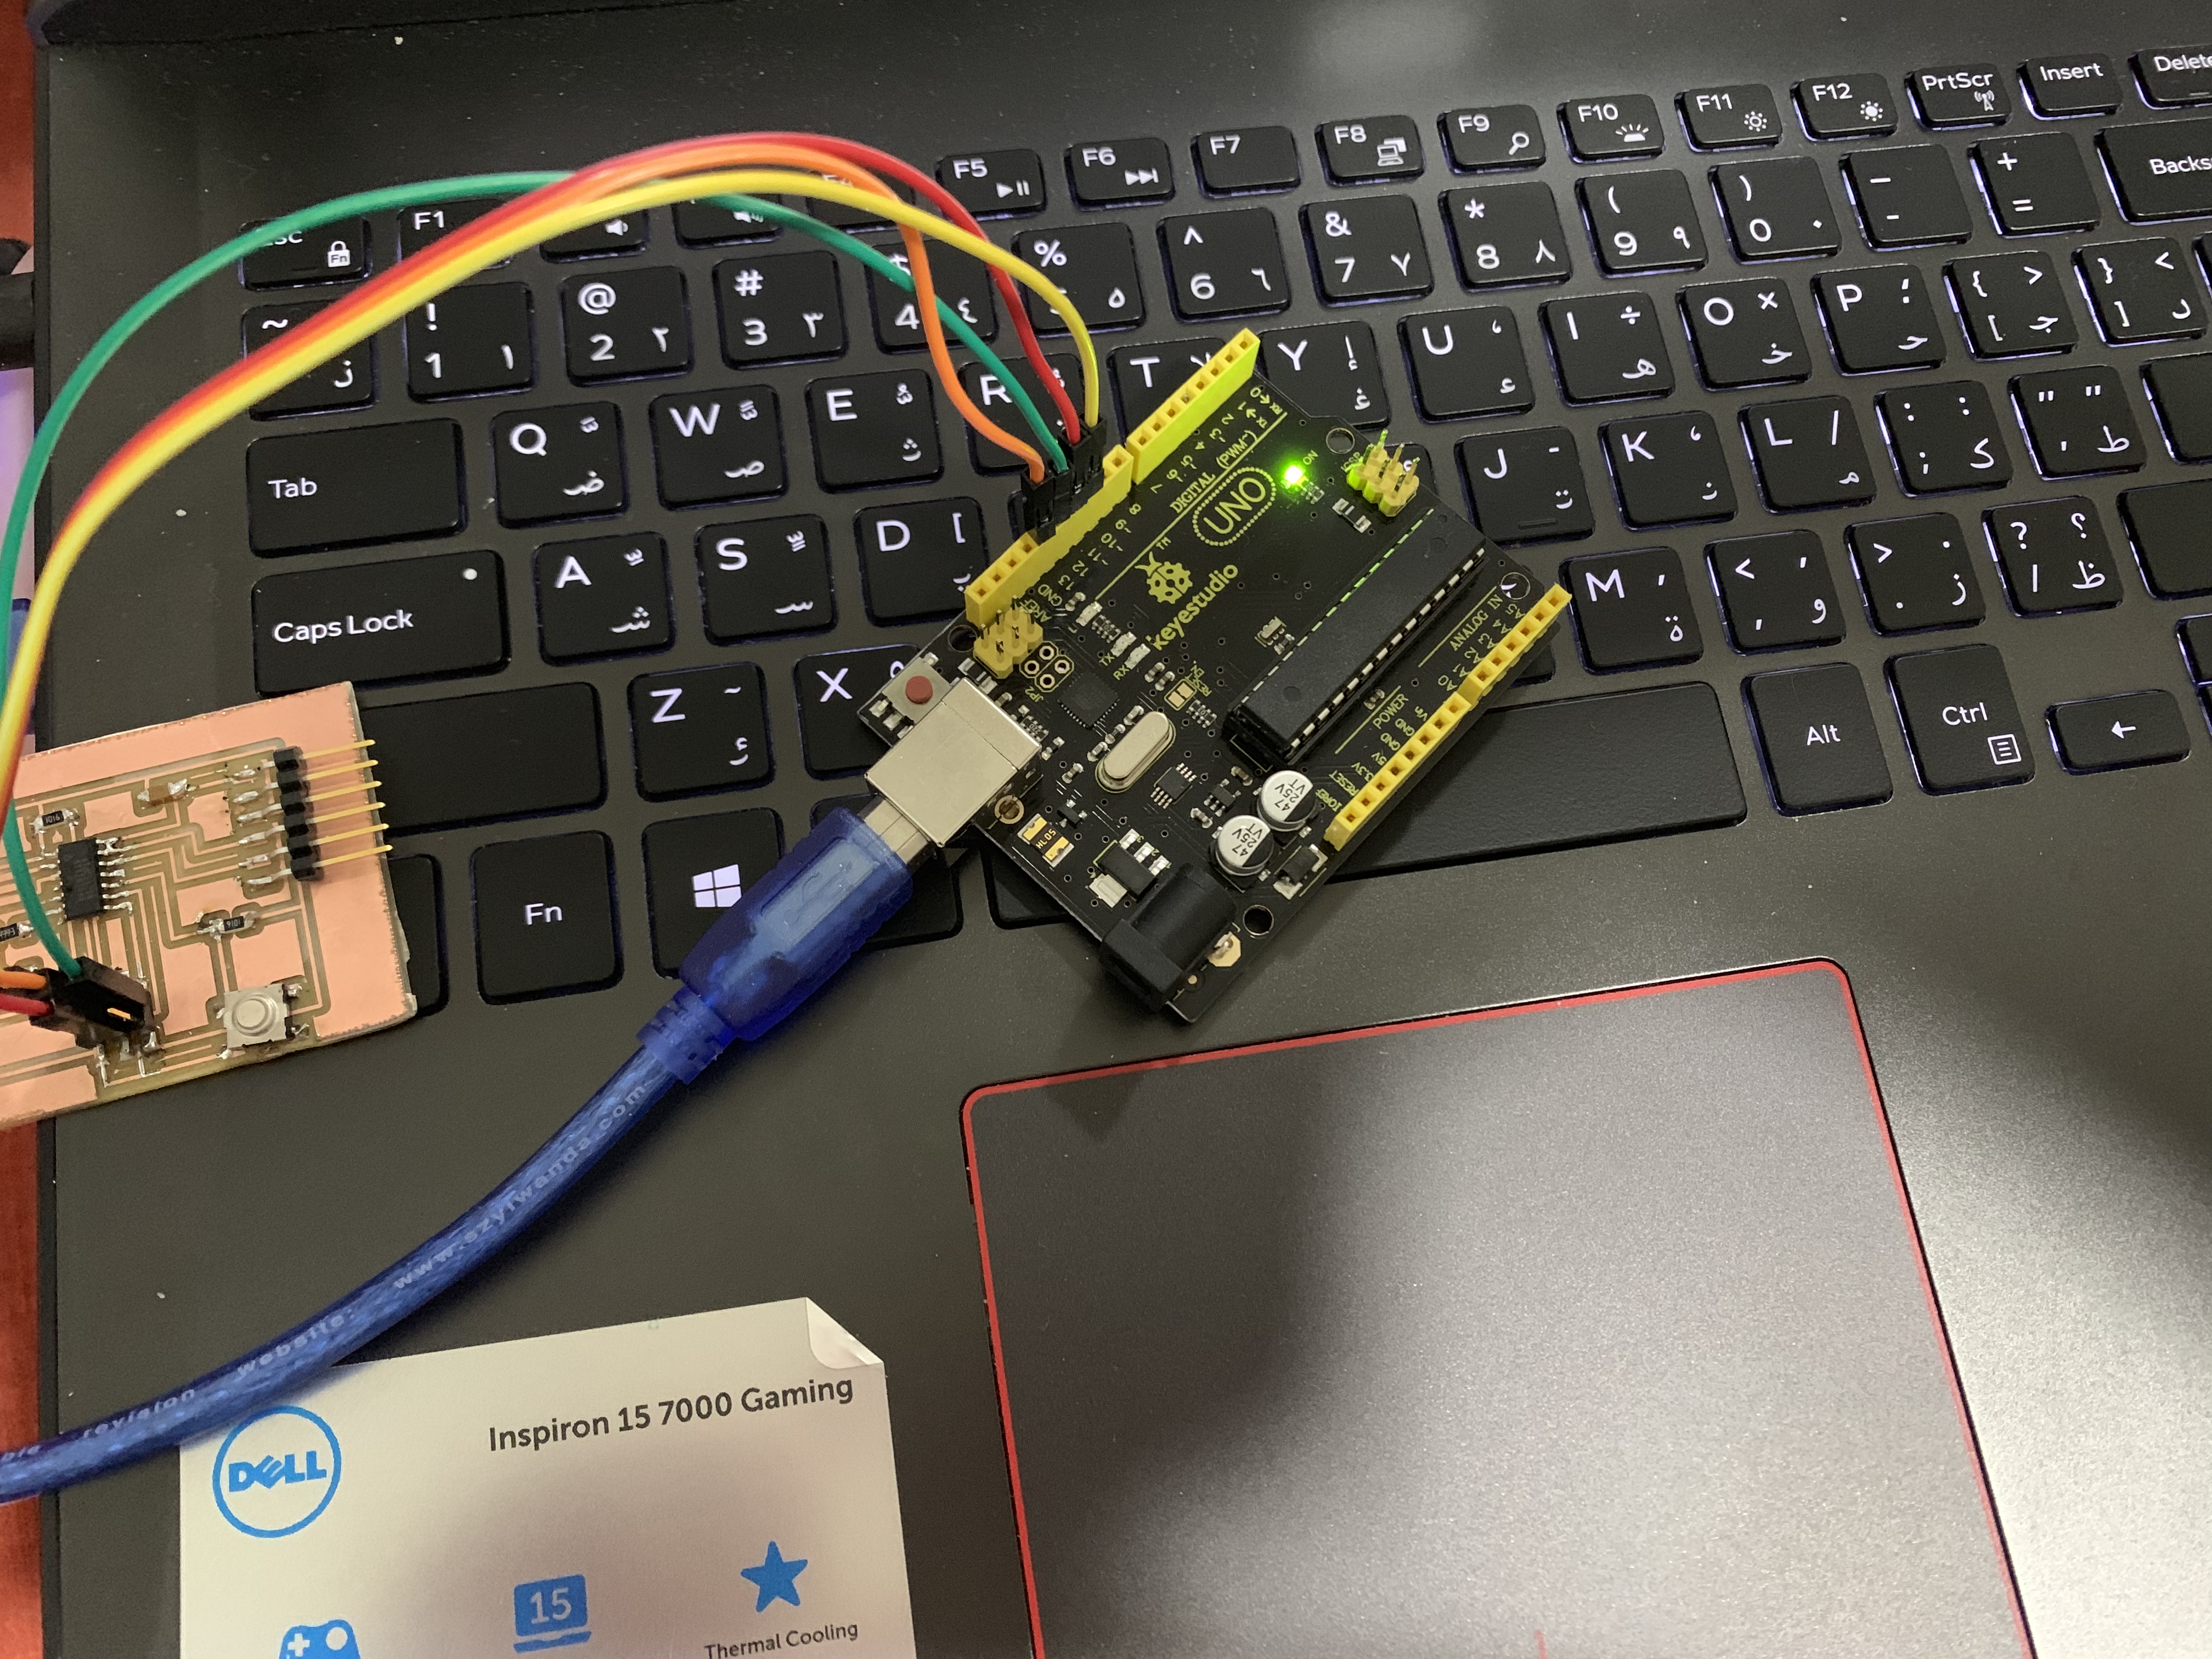
Next, I connected the board to the Arduino:

Then, from the tools tab, I changed the board to ATtiny24/44/84 and picked: Burn Bootloader.