3D Scanning and Printing
Additive 3D Production
This week's assignment was divided into two parts: 3D Scanning and 3D Printing.
3D Scanning
For this week's scanning assignment, I intended to use the lab's RangeVision scanner.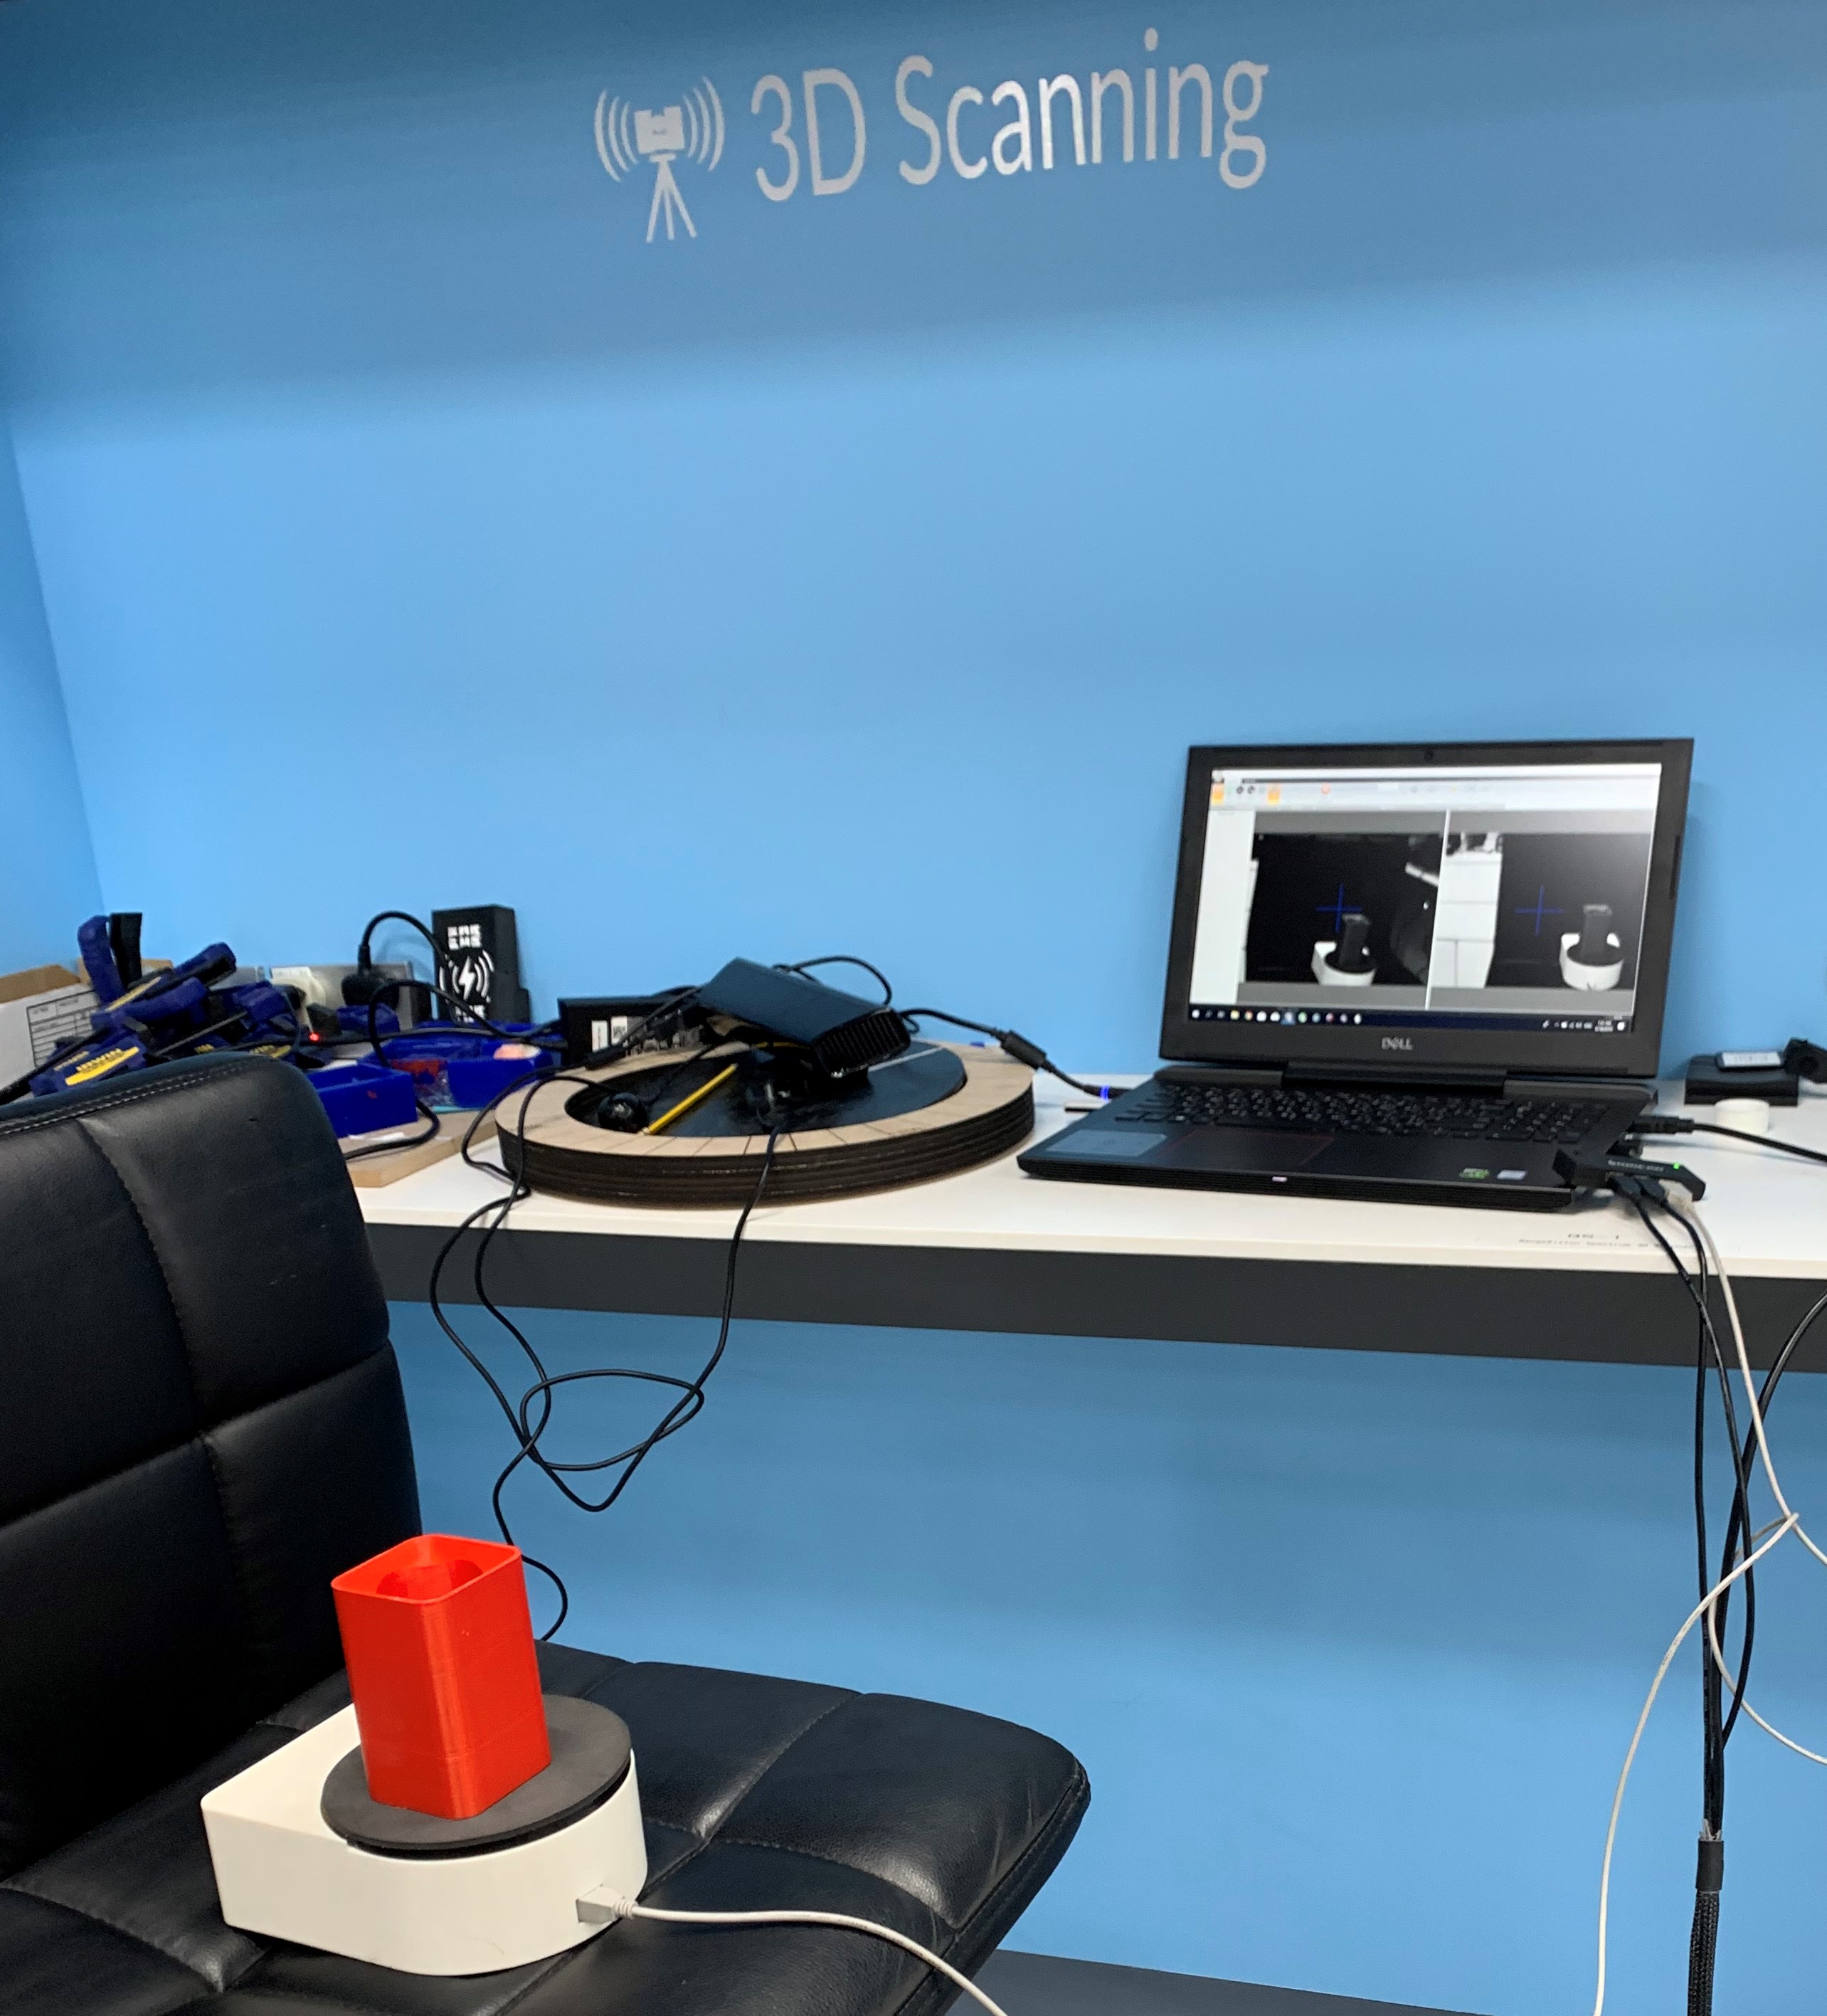
However, the scanner had a glitch that I could not resolve. Therefore I used an iphone app called Cappy.

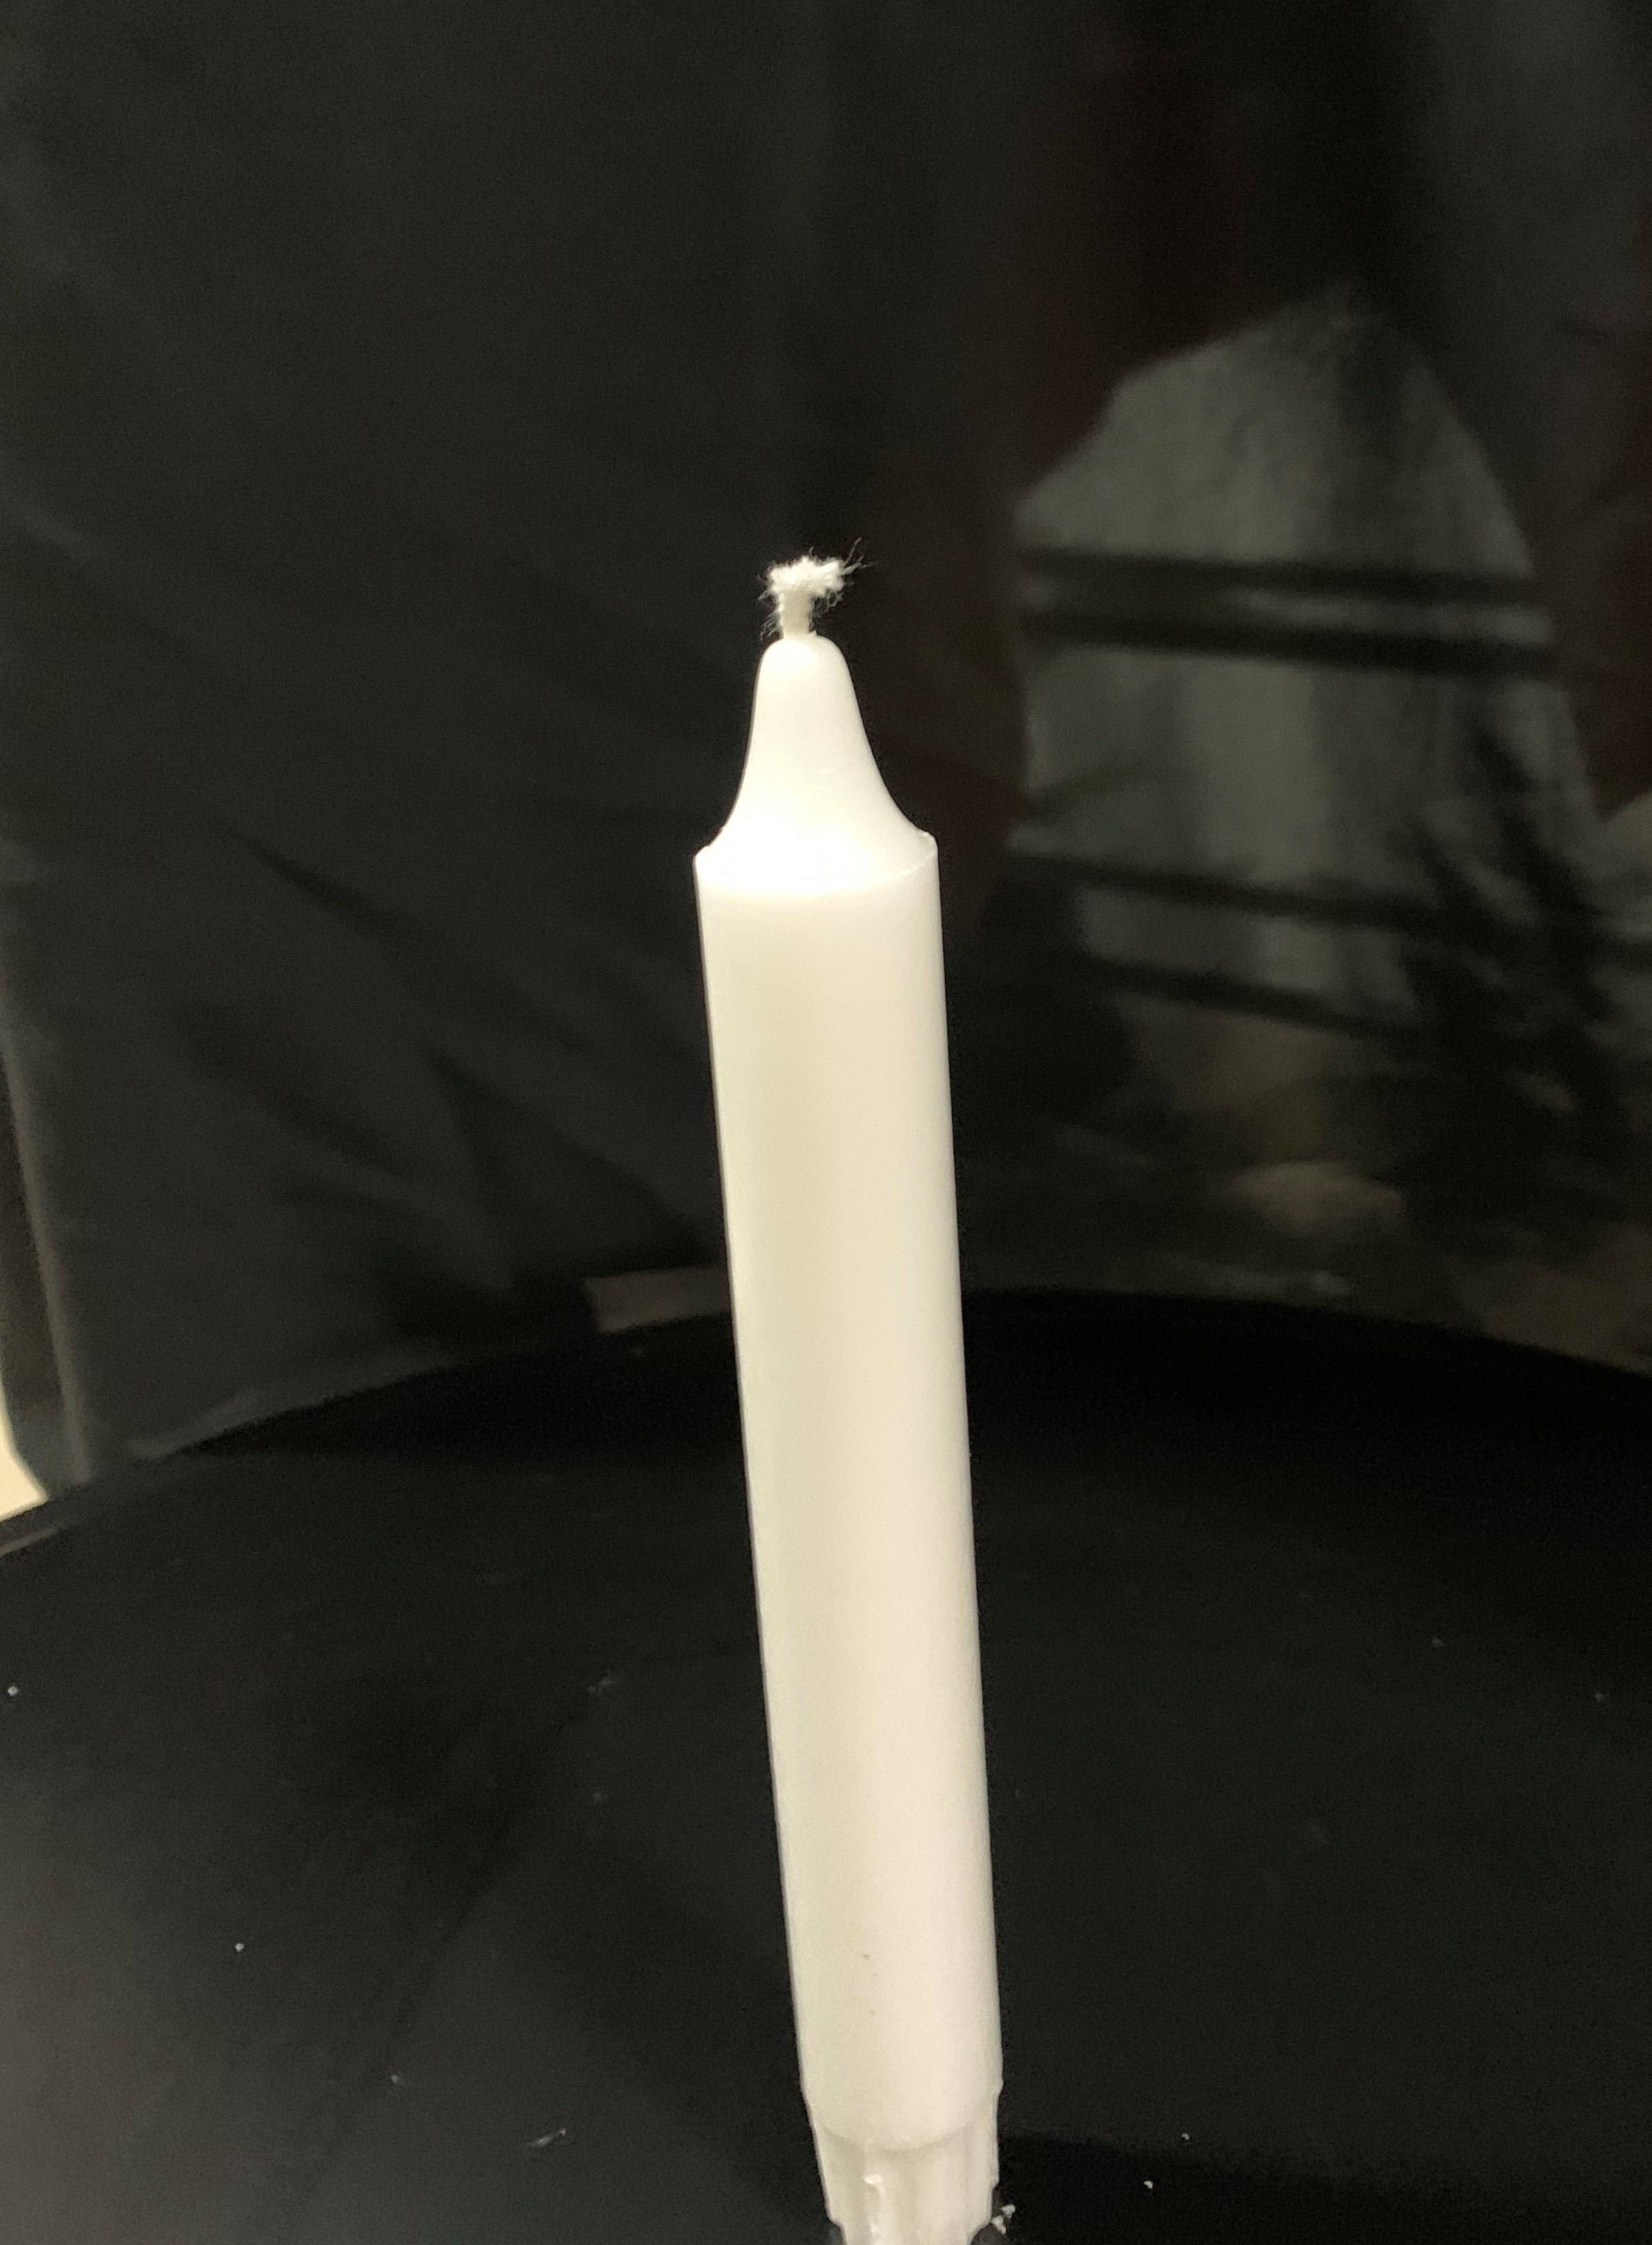
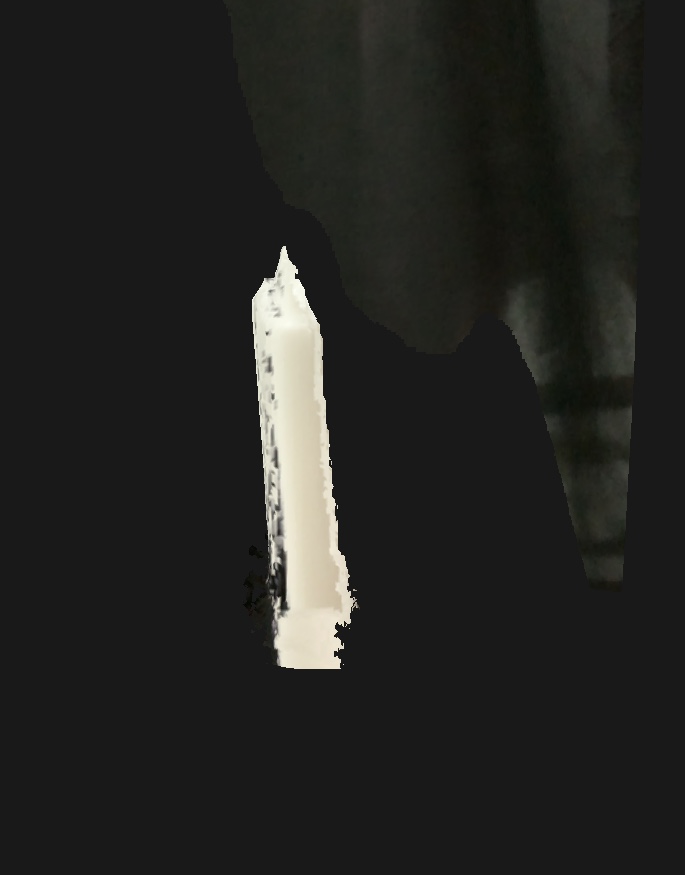
First, I had to set the stage. I picked a candle to scan, and put it on a black table, in front pf a black cloth. The contrast would give better quality results.
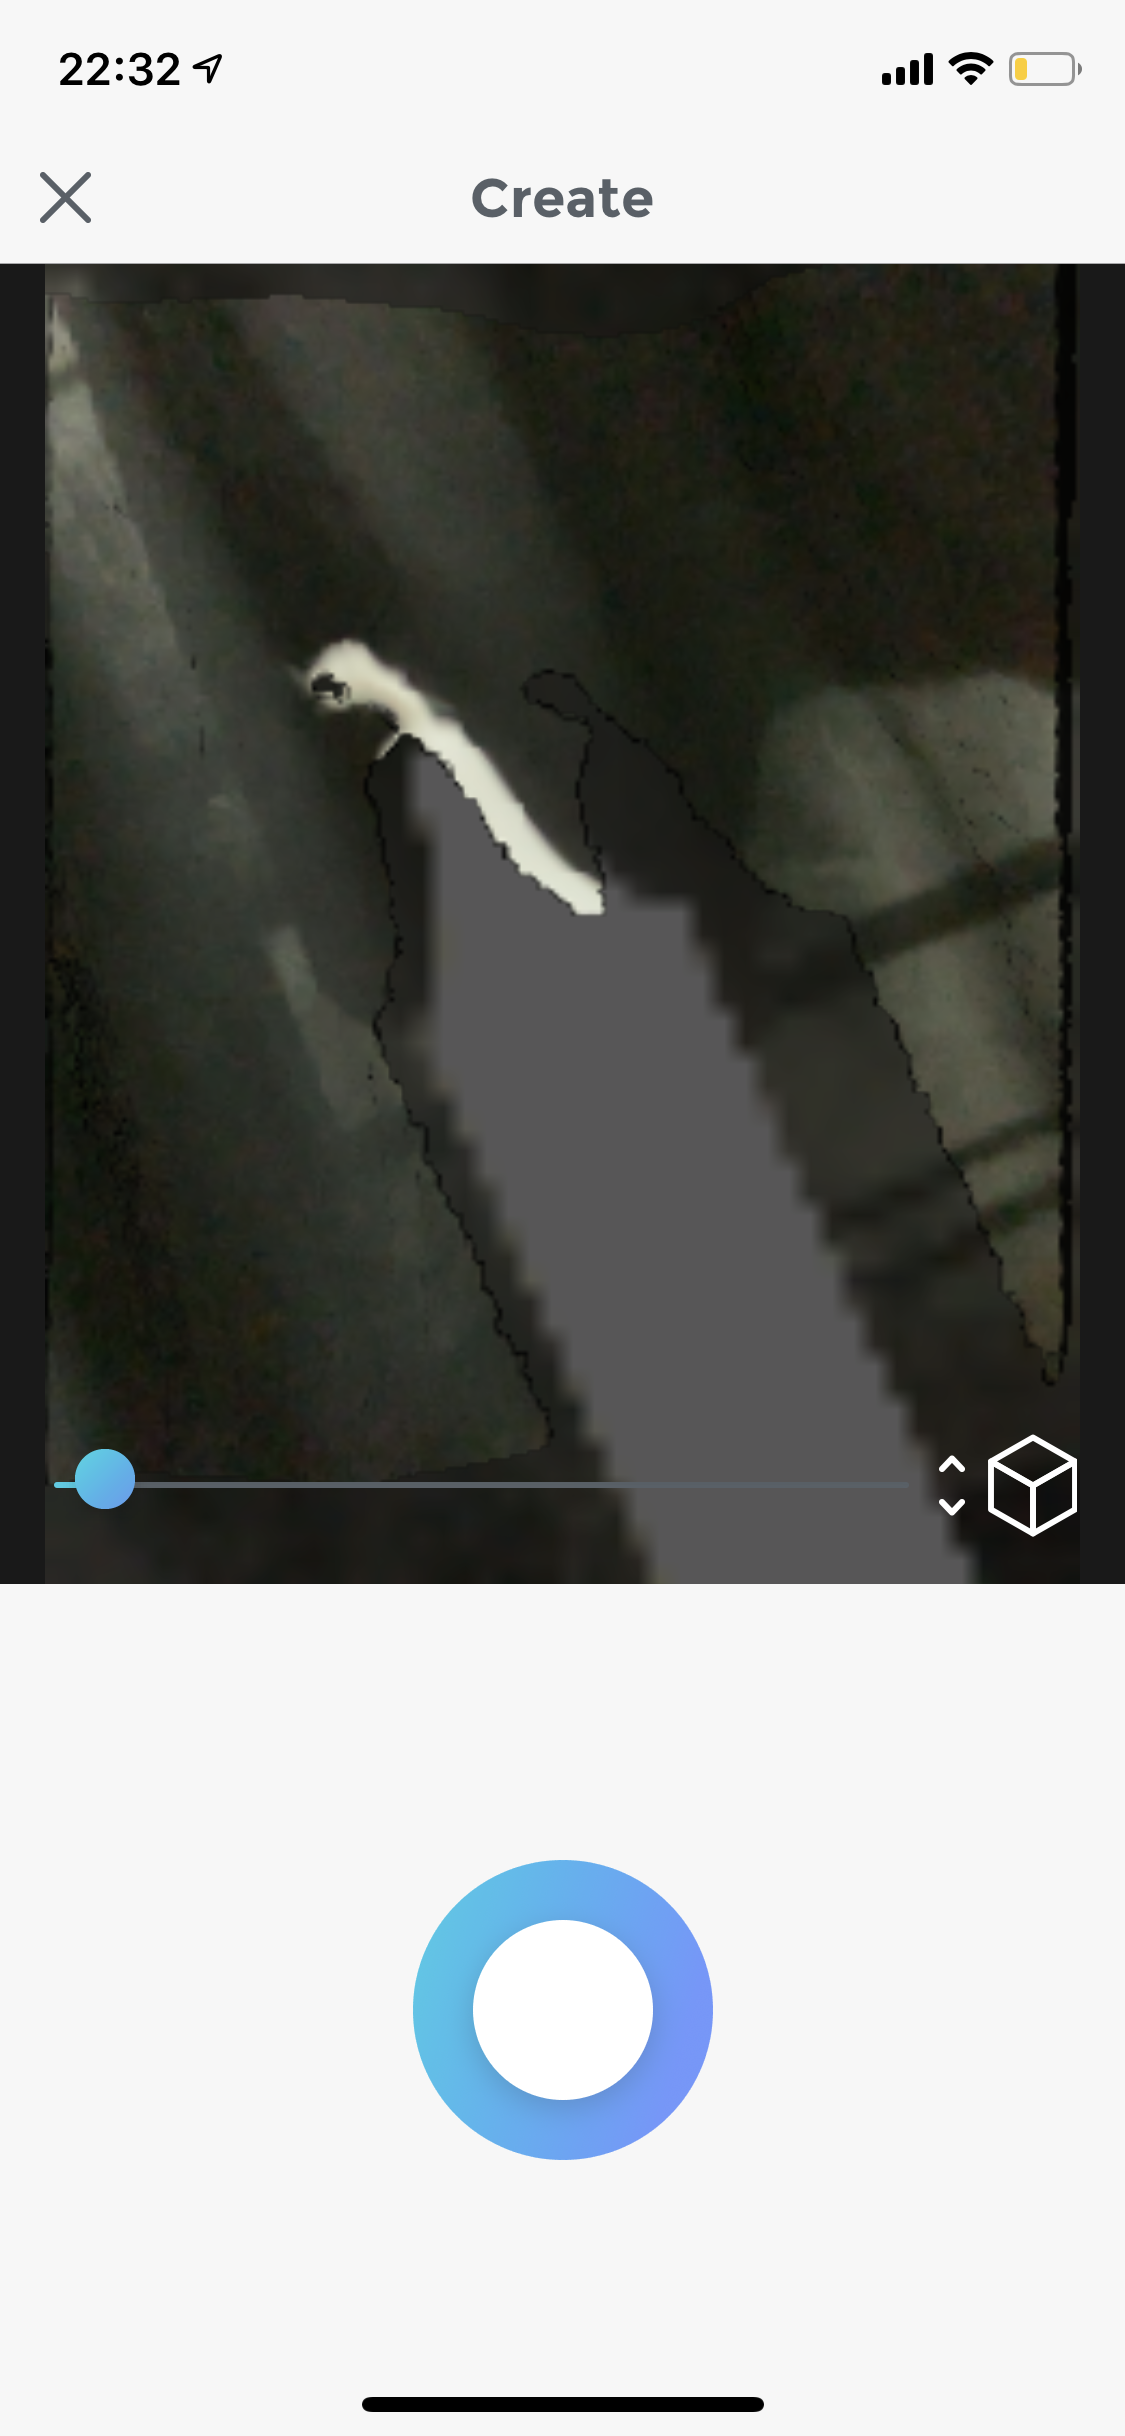
Then, I started trying the app. The app works using the front camera, which doesn't make it idea for scanning objects but rather scanning faces. This is how the interface looks:
The scanning, however, was very simple. Of course, I had a number of failed attempts:
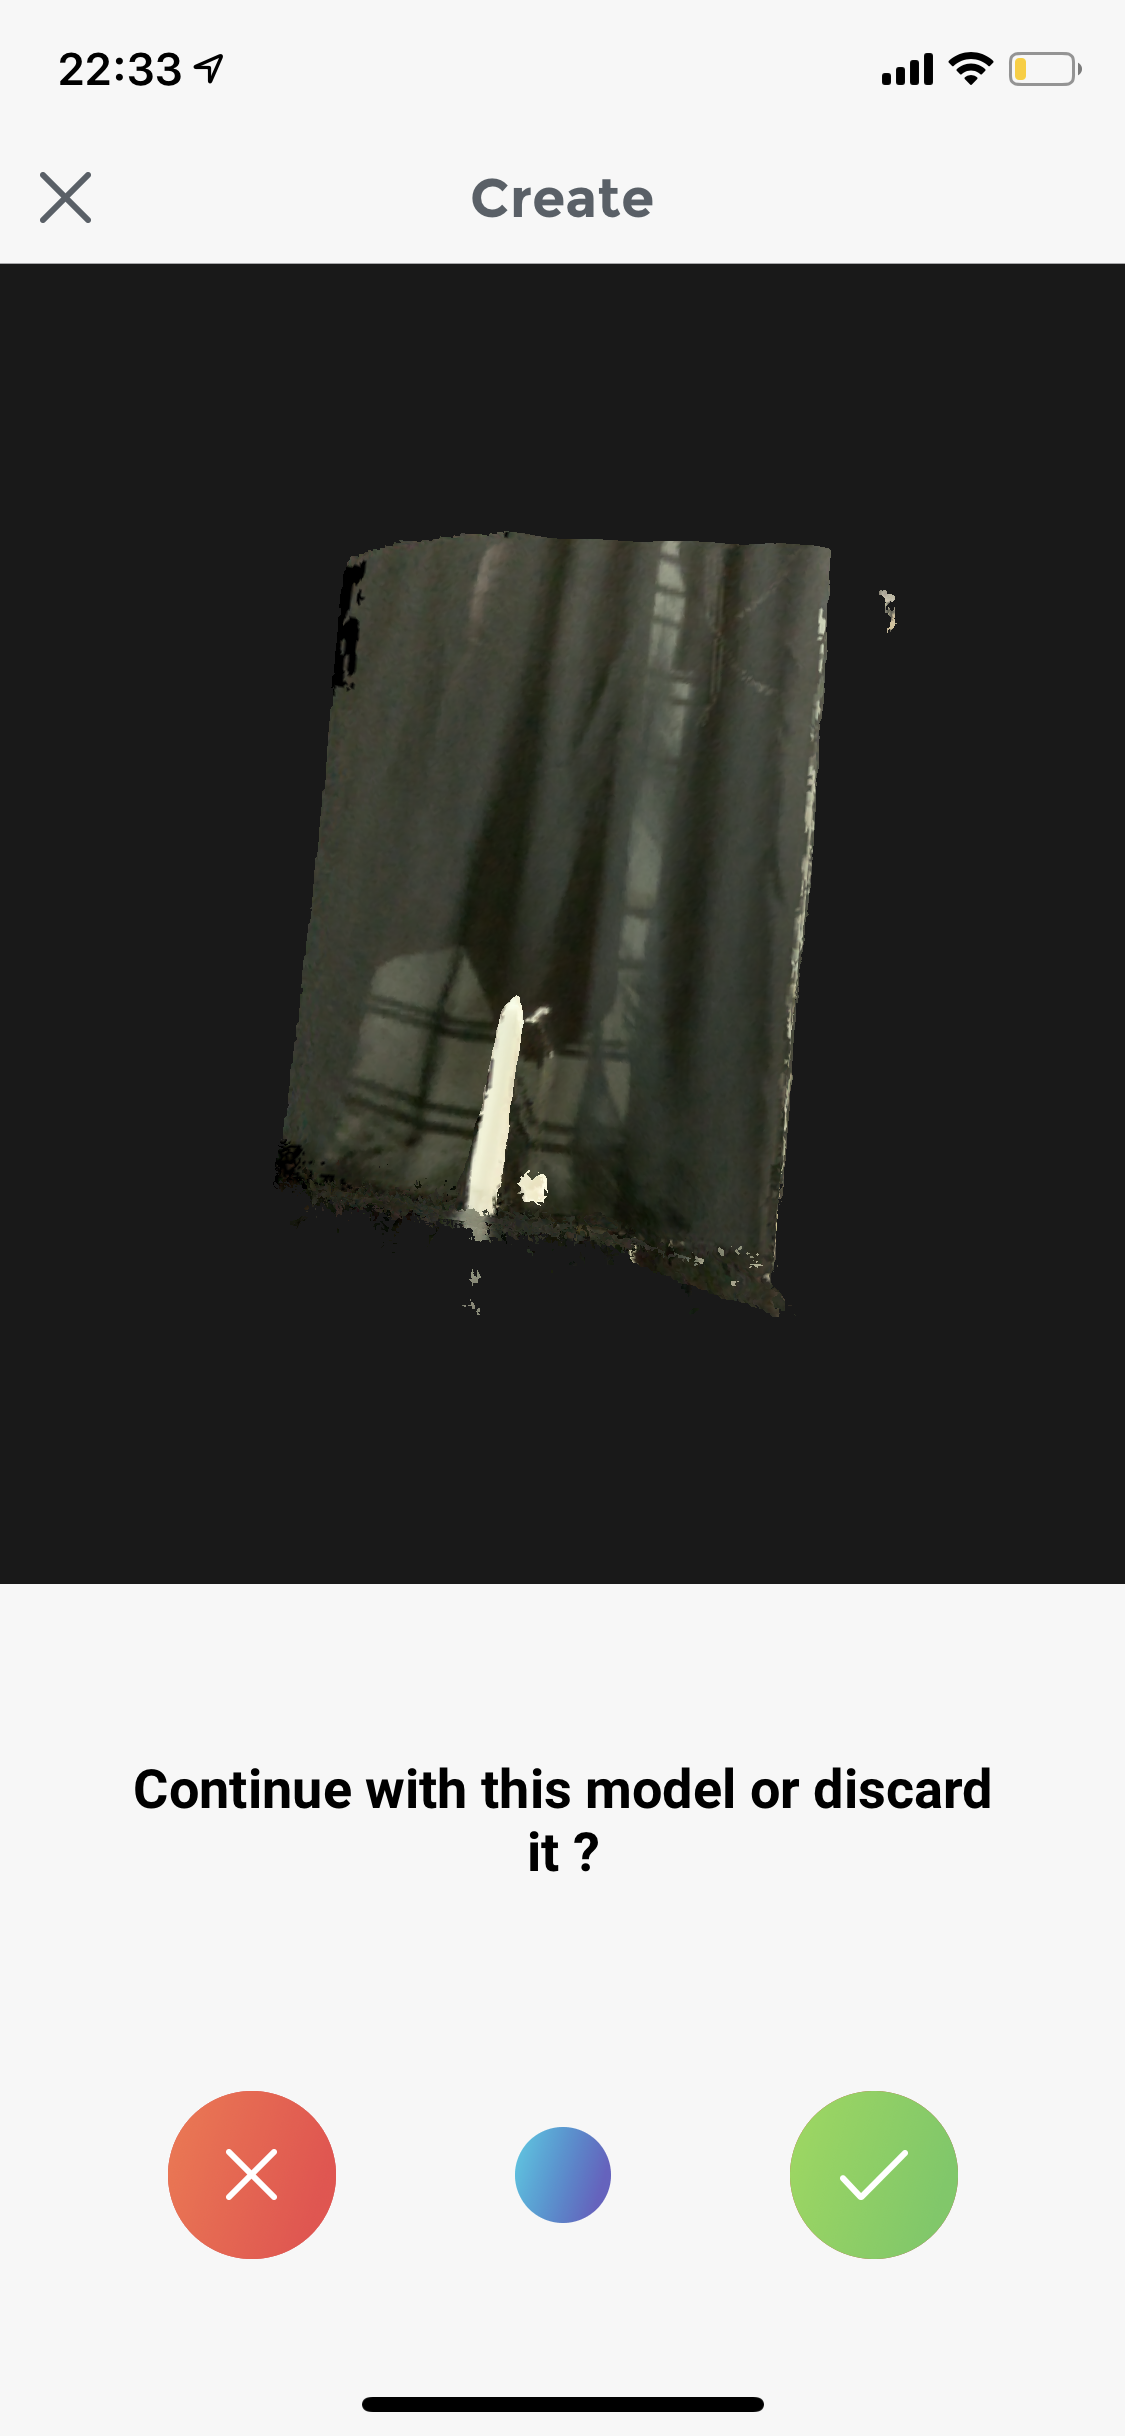
But managed to eventually get a good scan of the candle.
3D Printing
For this assignment, I decided to design and print an object that's related to my final project. However, it had to be scaled down due to limitations of the size of the 3D printer.
Step 1 as always is CAD.
.png)
I started by creating a 6-sided plygon.
.png)
I extruded the shape at angle of 30 degrees - height of 100 mm.
.png)
Ctrl+S -> Offset Plane to offset the plane of the to face of the model.
.png)
I use the plane to mirror the shape. Ctrl+S -> Mirror.
.png)
After it's been mirrored, I rotated the top shape.
.png)
and rotated it from the sides.
.png)
Using Modify -> Combine -> Intersect I cut through the intersection of the two shapes.
.png)
I realized then that the shape is tilted, so I mirrored it. I then used Modify -> Shell to cut through the top face and ended up wih this:
.png)
After saving the body as an .STL file, I opened it on Ultimaker Cura software as seen below. Note that I printed the pot with my colleague's knob to save time.
.png)
We picked a high speed, keeping in mind that this means larger layer height.
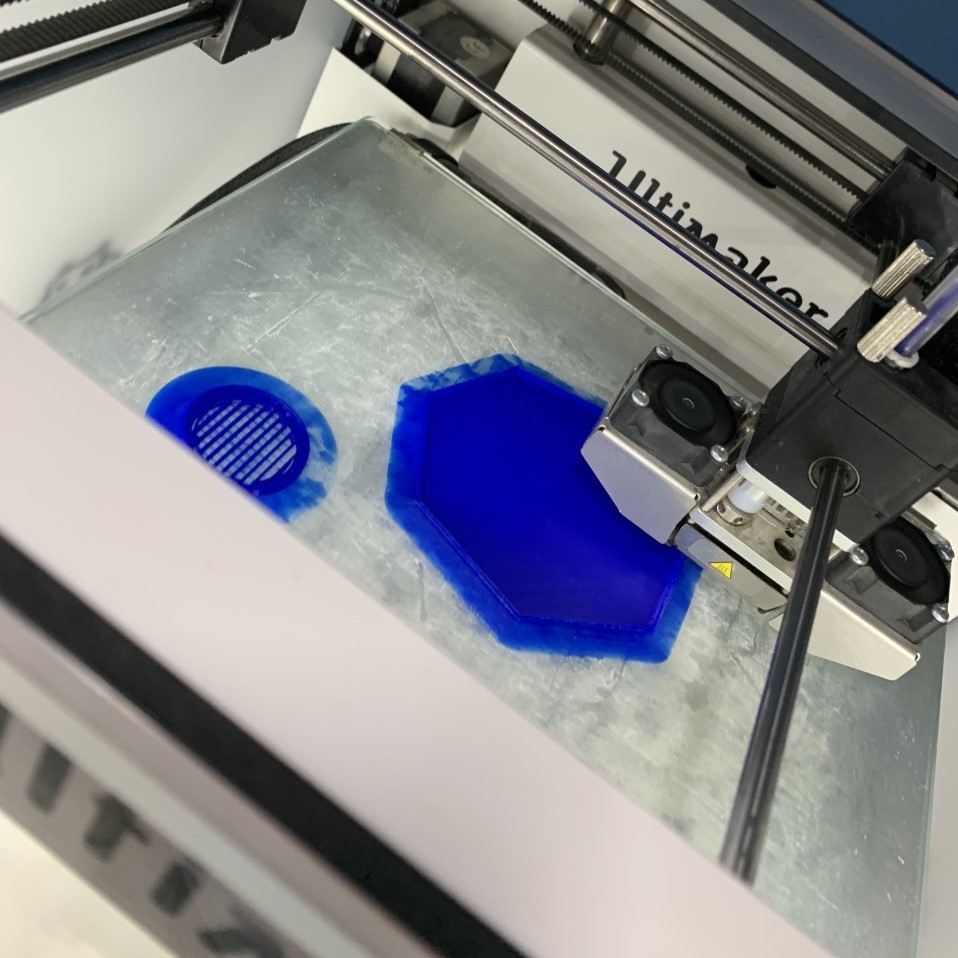
The process.
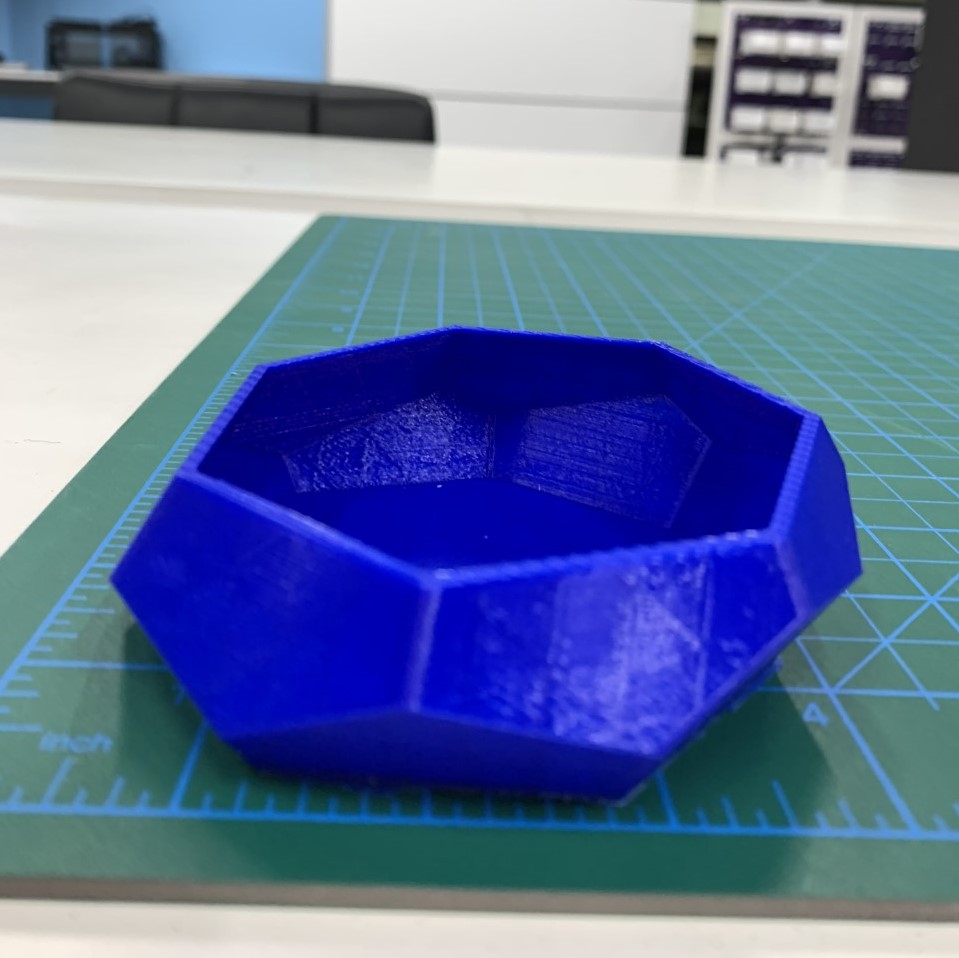
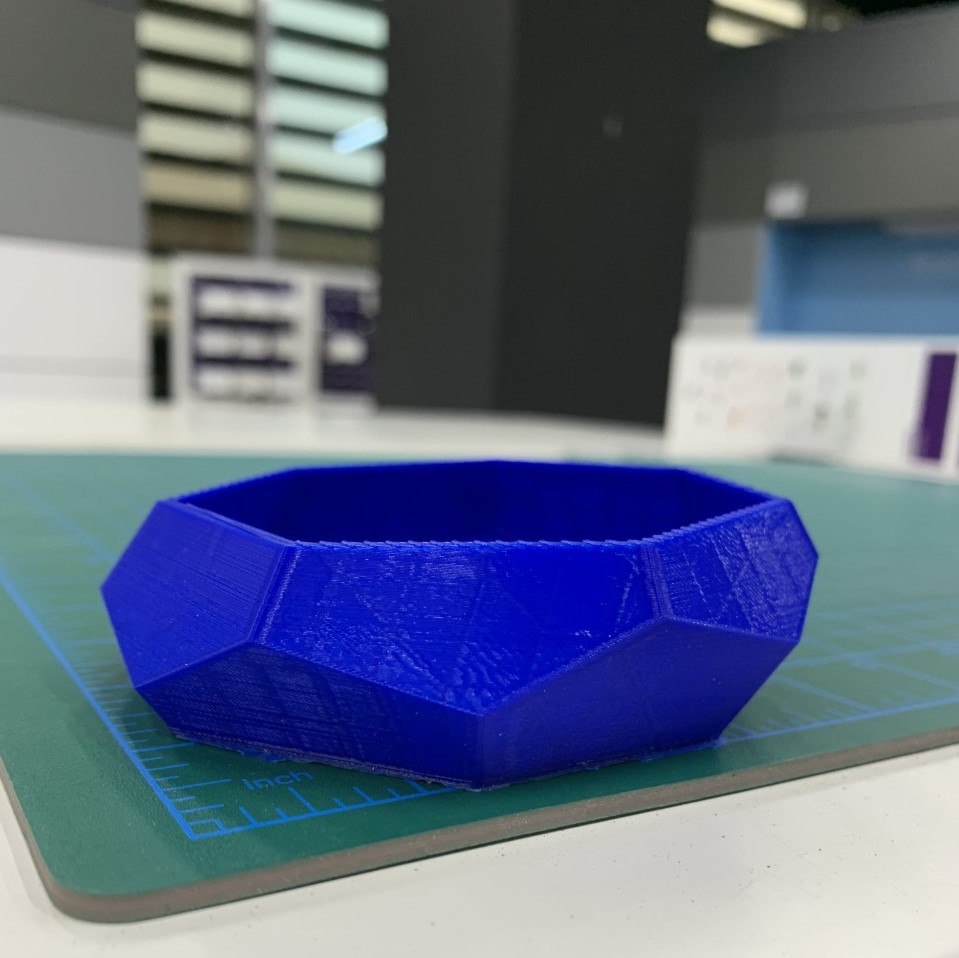
The end result!