Molding & Casting
The title says it all
This week's assignment is to create a mold. Since it's my first experience with molding and casting, I decided to go with something two-dimensional. It is important for me to grasp this module specifically really well because I might be using it to produce my final project.
I started by creating a 3D model of the mold I want to create, and I decided to make a flat logo for my final project HYD:RATE. The logo emphasizes on the purpose of the project, regulating plants' hydration through a timer.
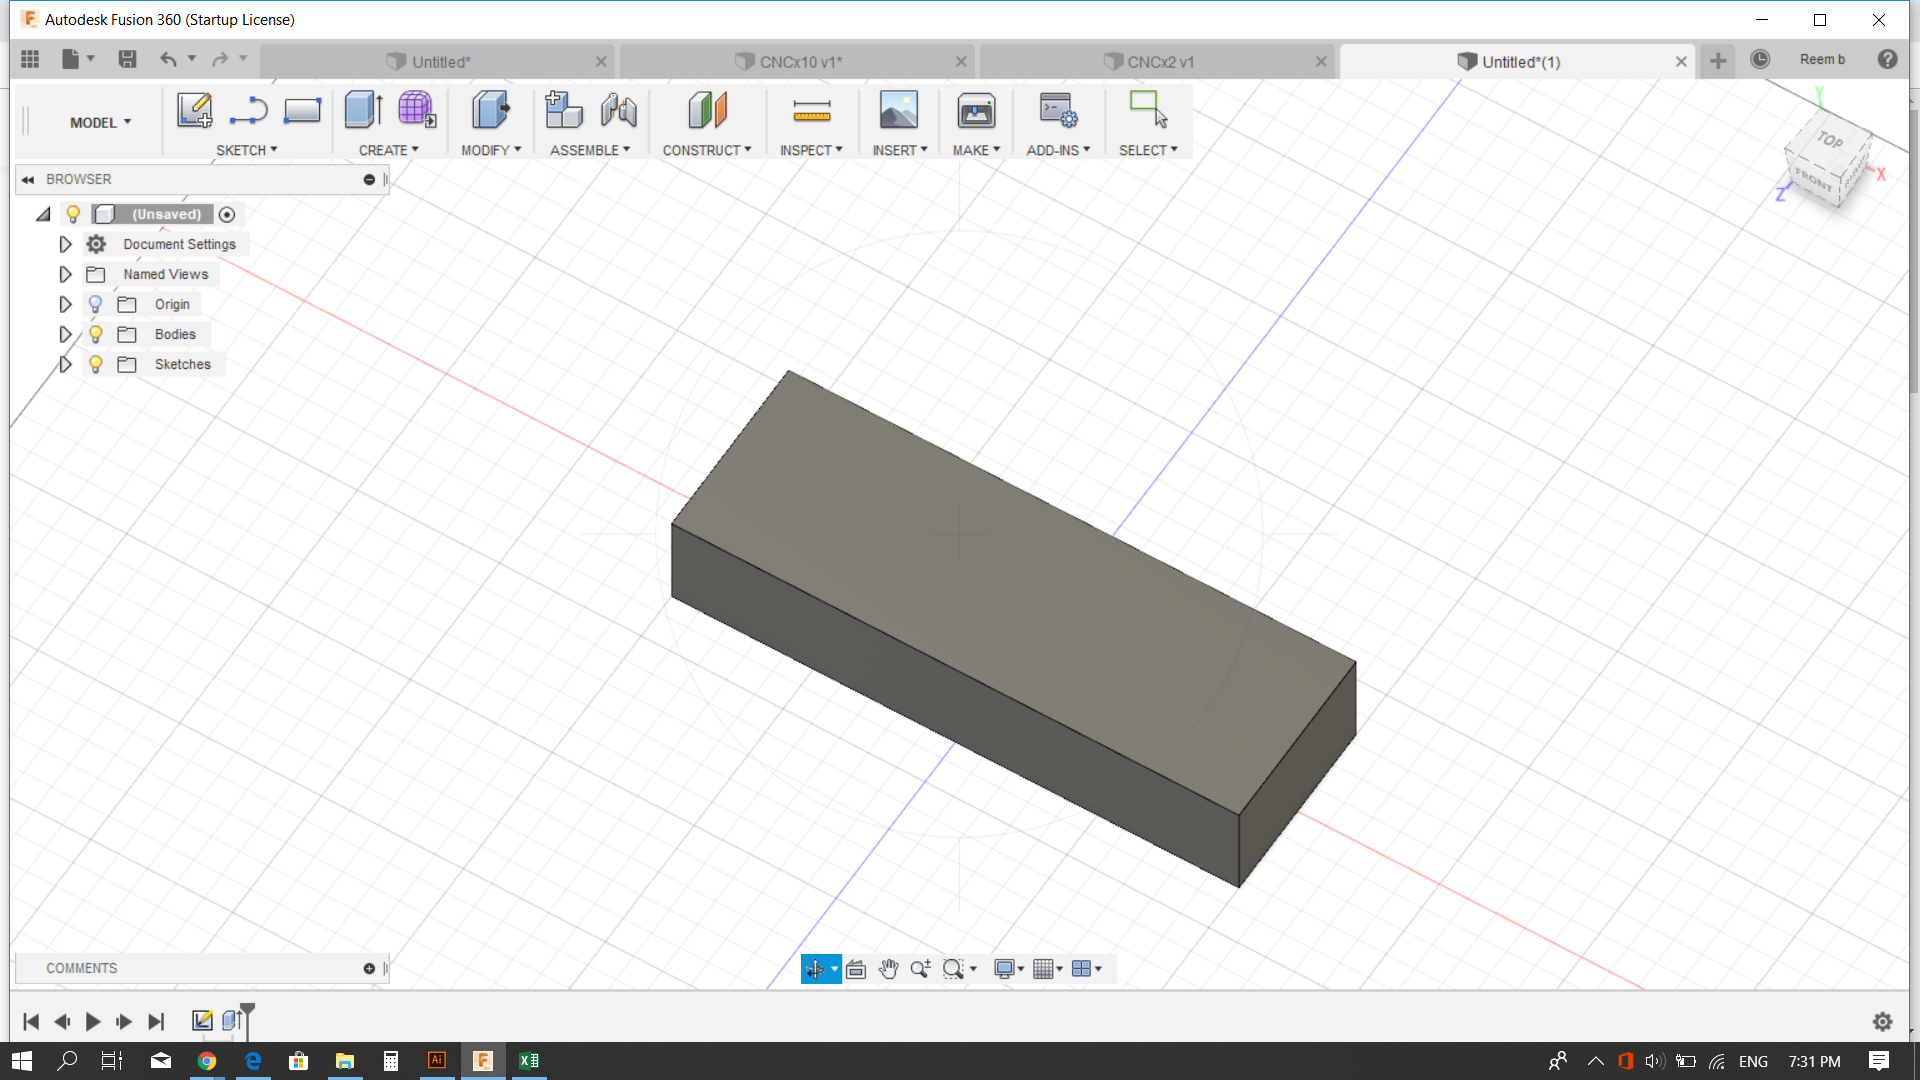
First, I created the wax cuboid, sized: 153*74*38 mm.
.png)
I created an offset 5 mm inside its face.
.png)
I extruded the offset rectangle at a 25 degree angle, to make it easier of the milling tool to mill smoothly
.png)
This is how it looks now.
.png)
I created an offset of the bottom face in order to extrude it up.
.png)
I extruded it.
.png)
This is how it looks like now.
.png)
The next step is adding the text. I used a digital font to represent digital timers, and placed the text in the middle.
.png)
I extruded the text based on its distance from the base.
.png)
This is how the final mold should look like.
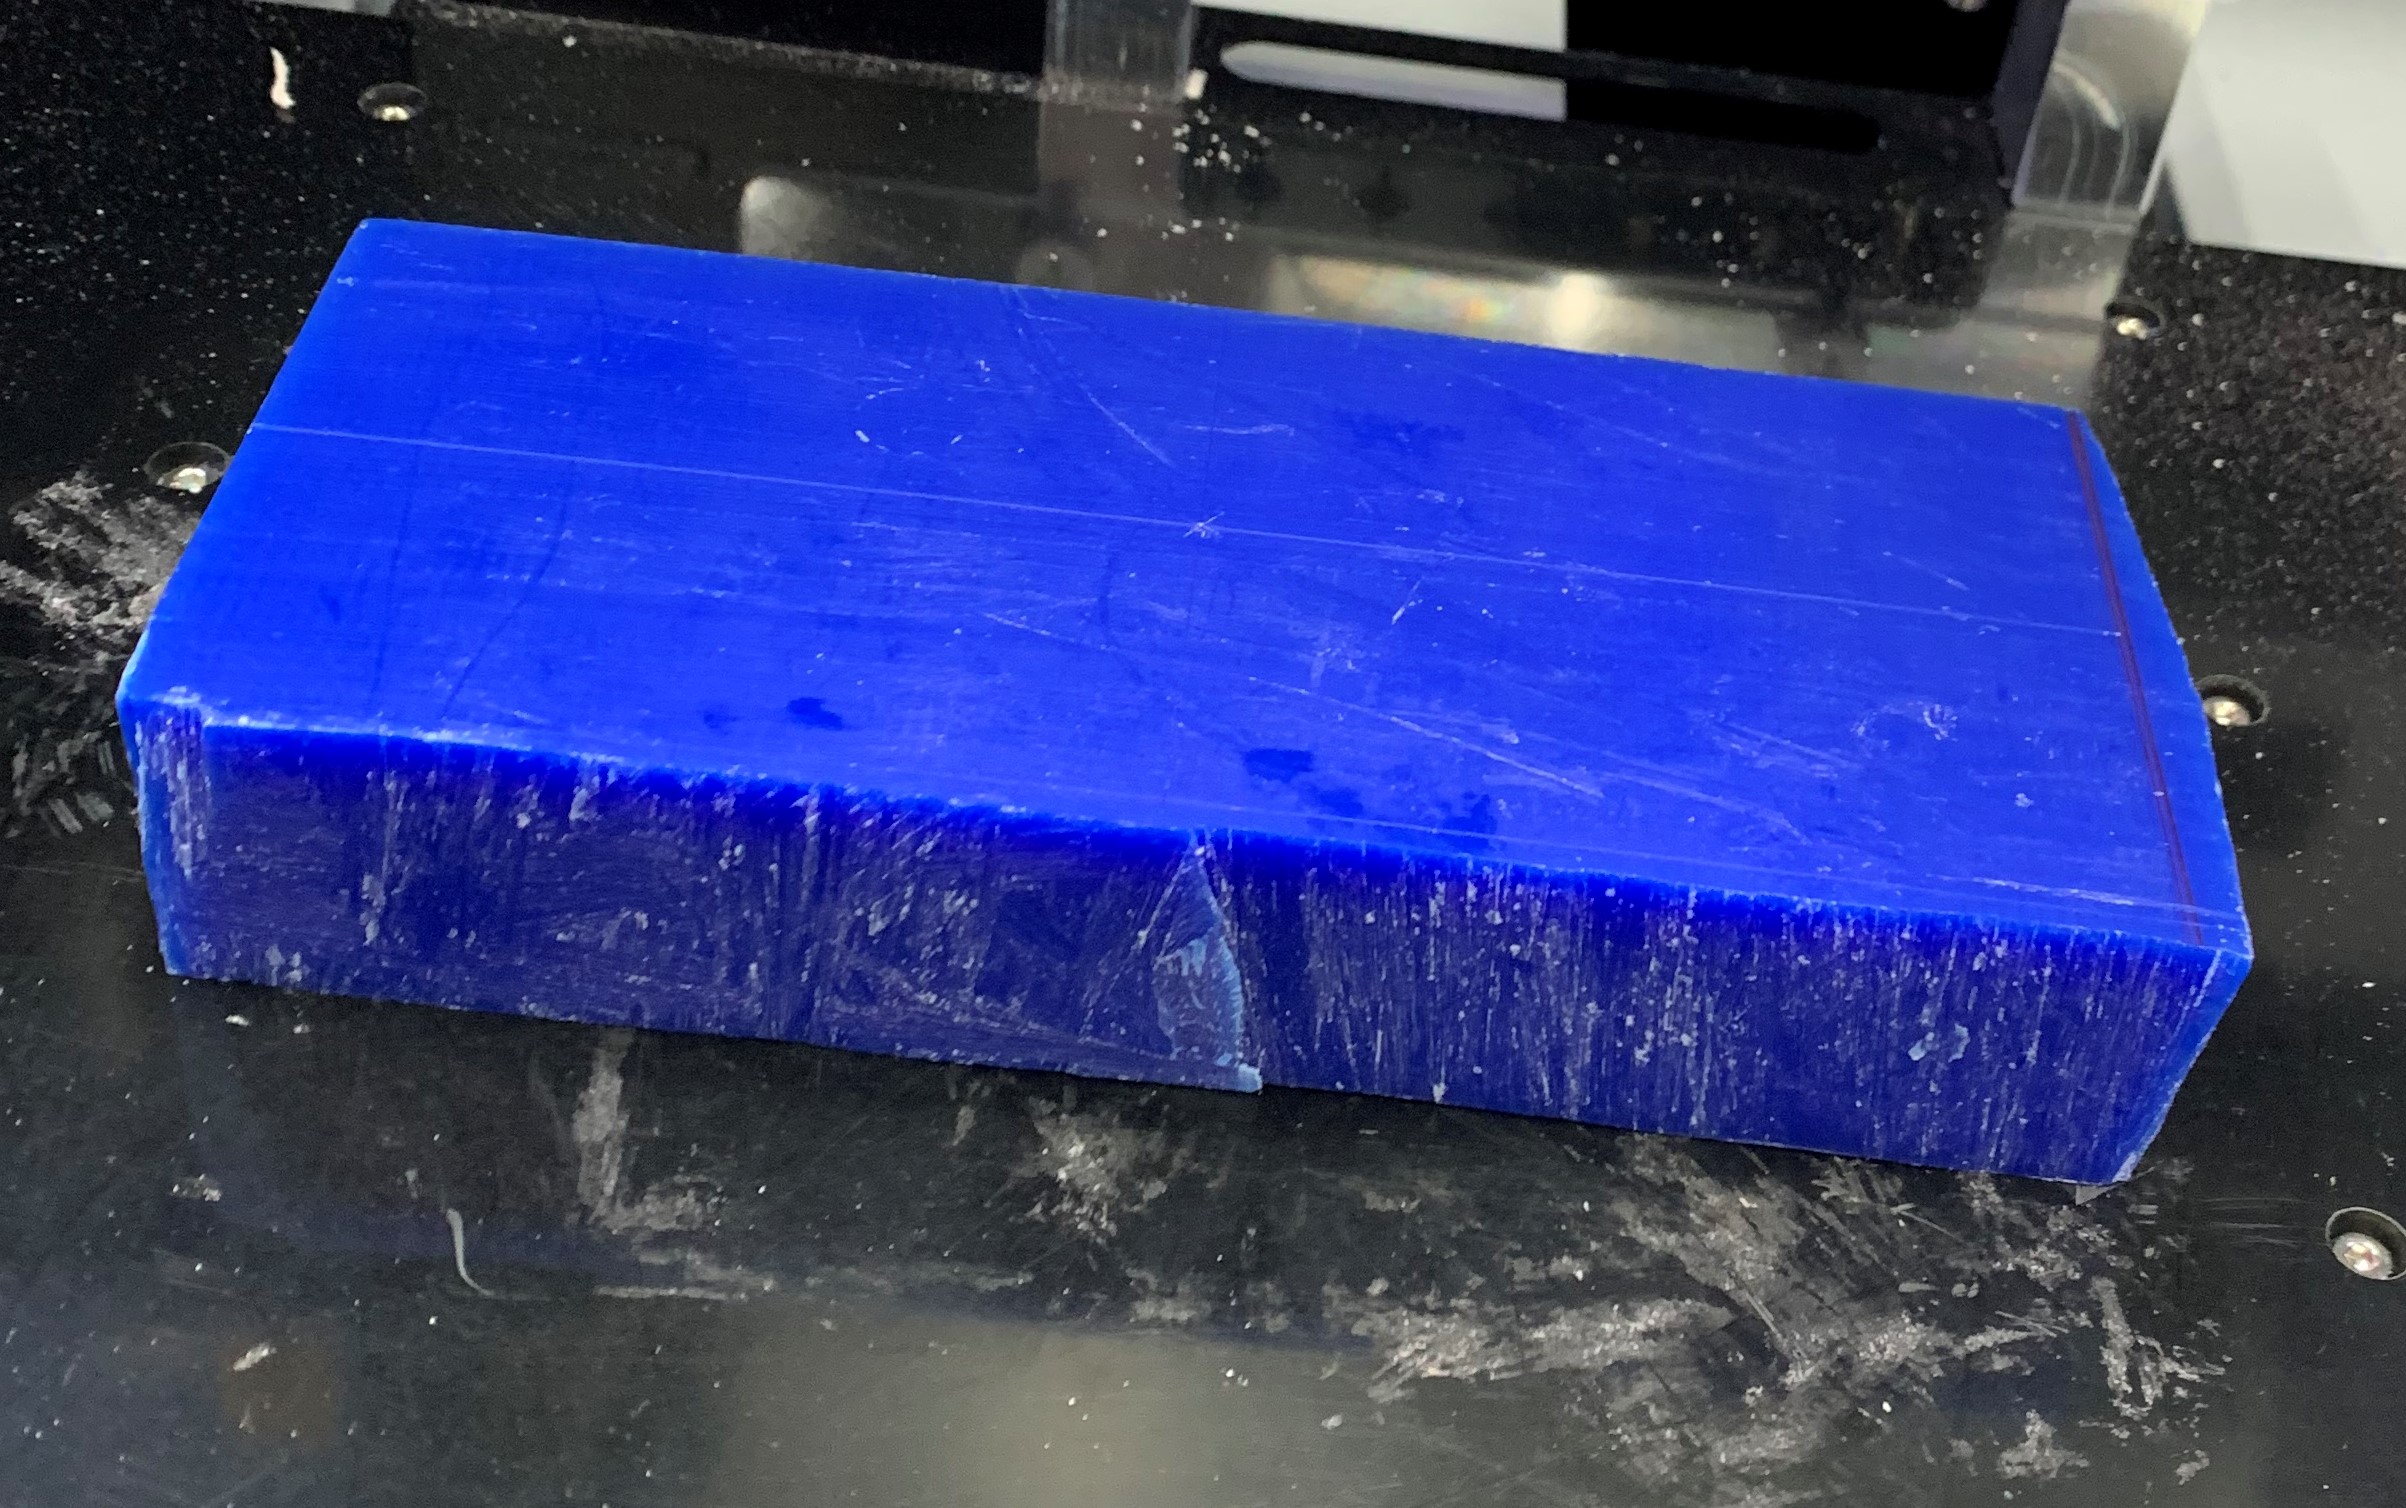
The next step is to work on the molding. First, I got the wax block that I will mill.
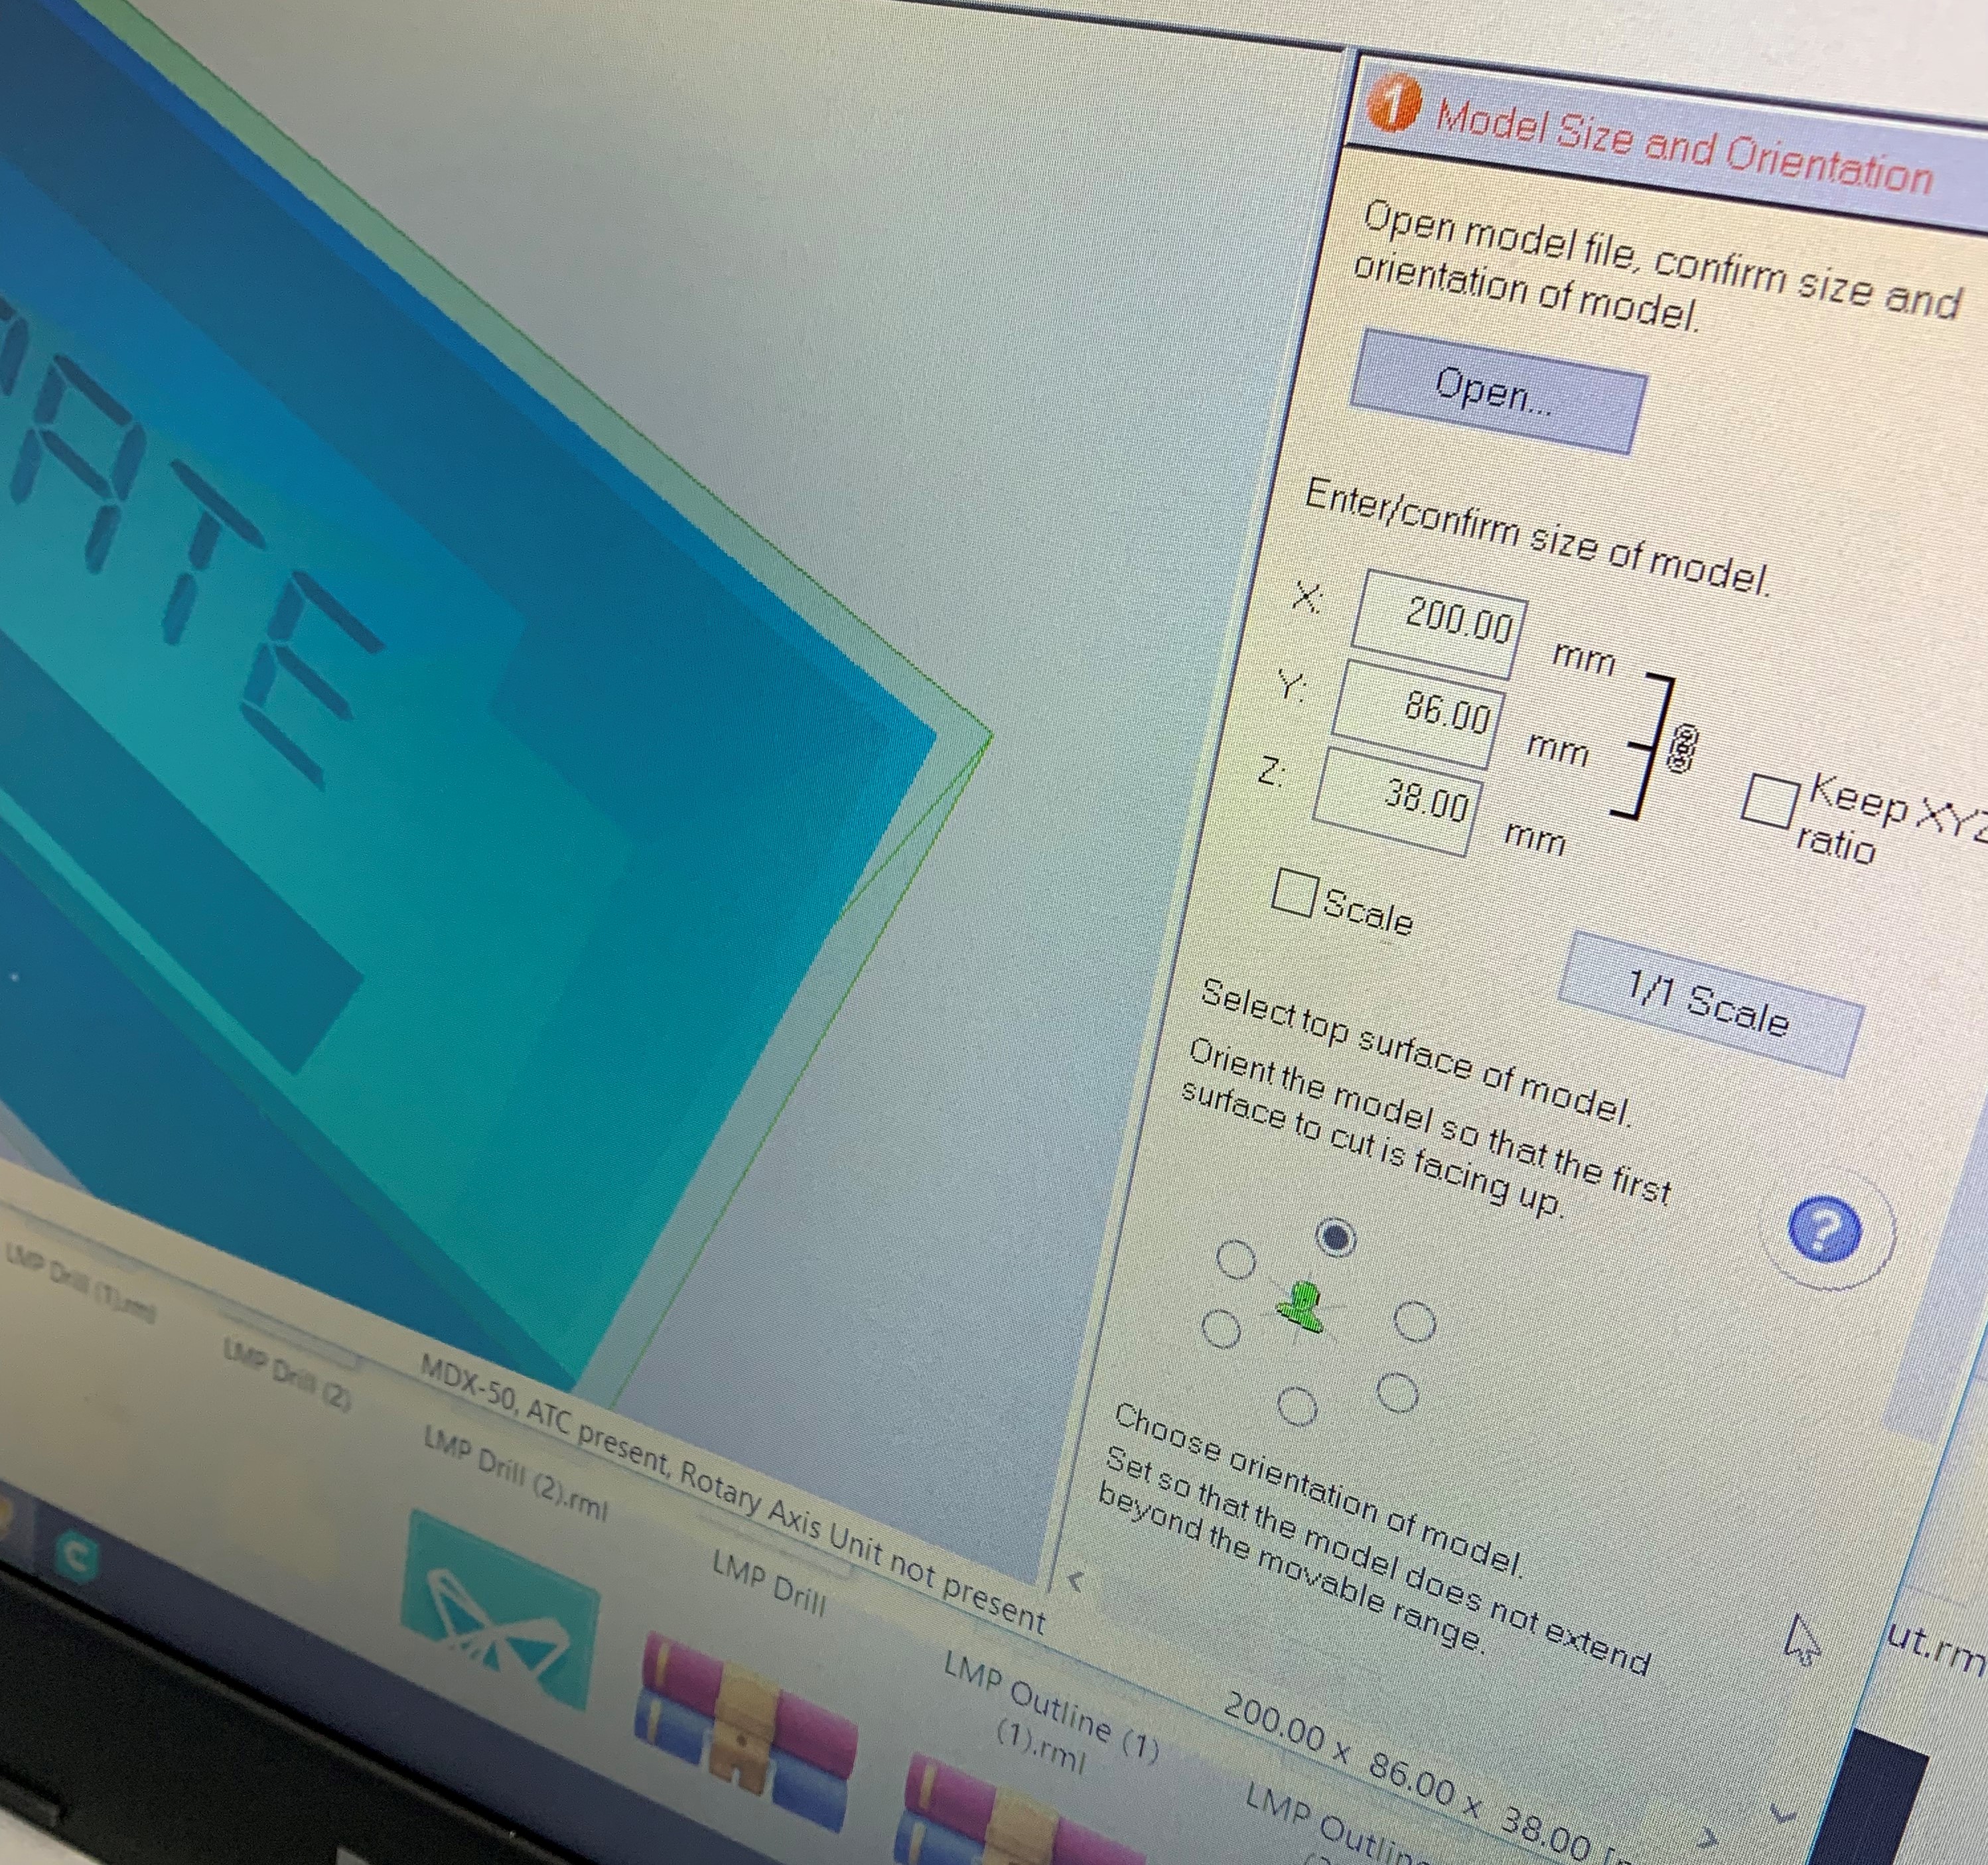
I prepared the file for milling using SRP Player CAM software. I imported my STL file and entered the measurements of the was block
I picked the milling type as "Model with many flat planes" and the changed the tools to "milling tool" for roughing and 1/16" ball for finishing. Then I created the toolpath, was ready for the milling.
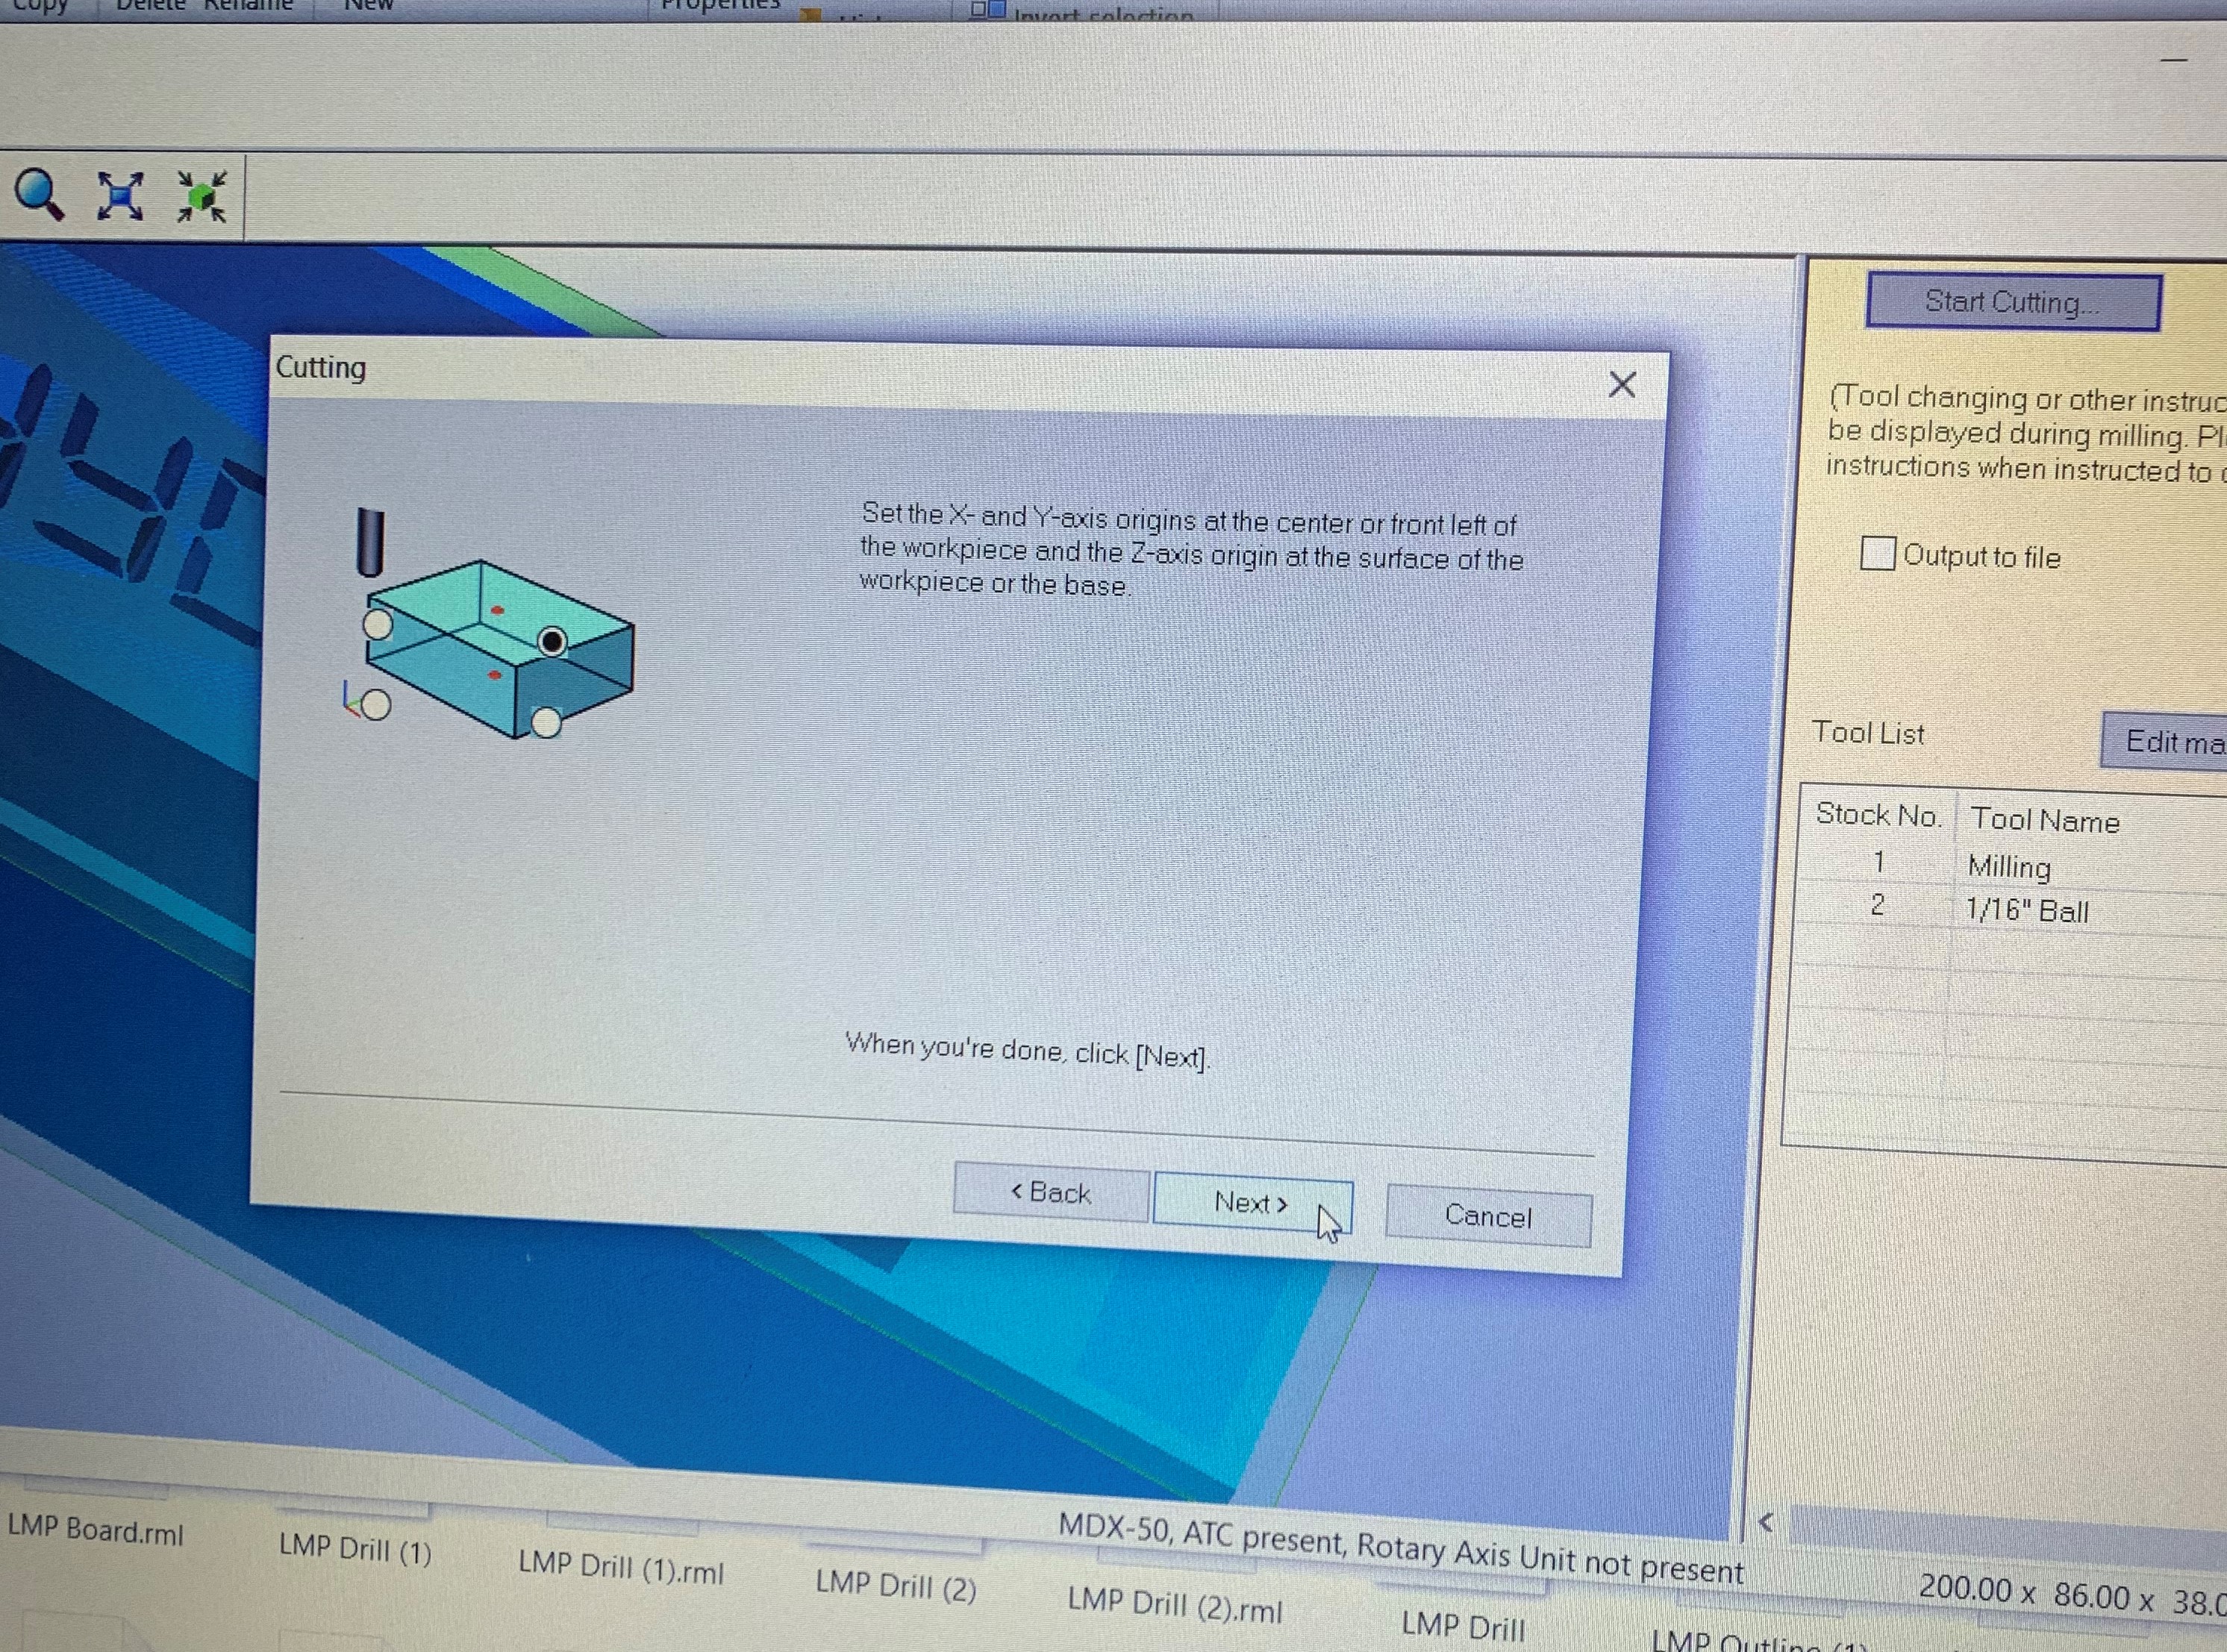
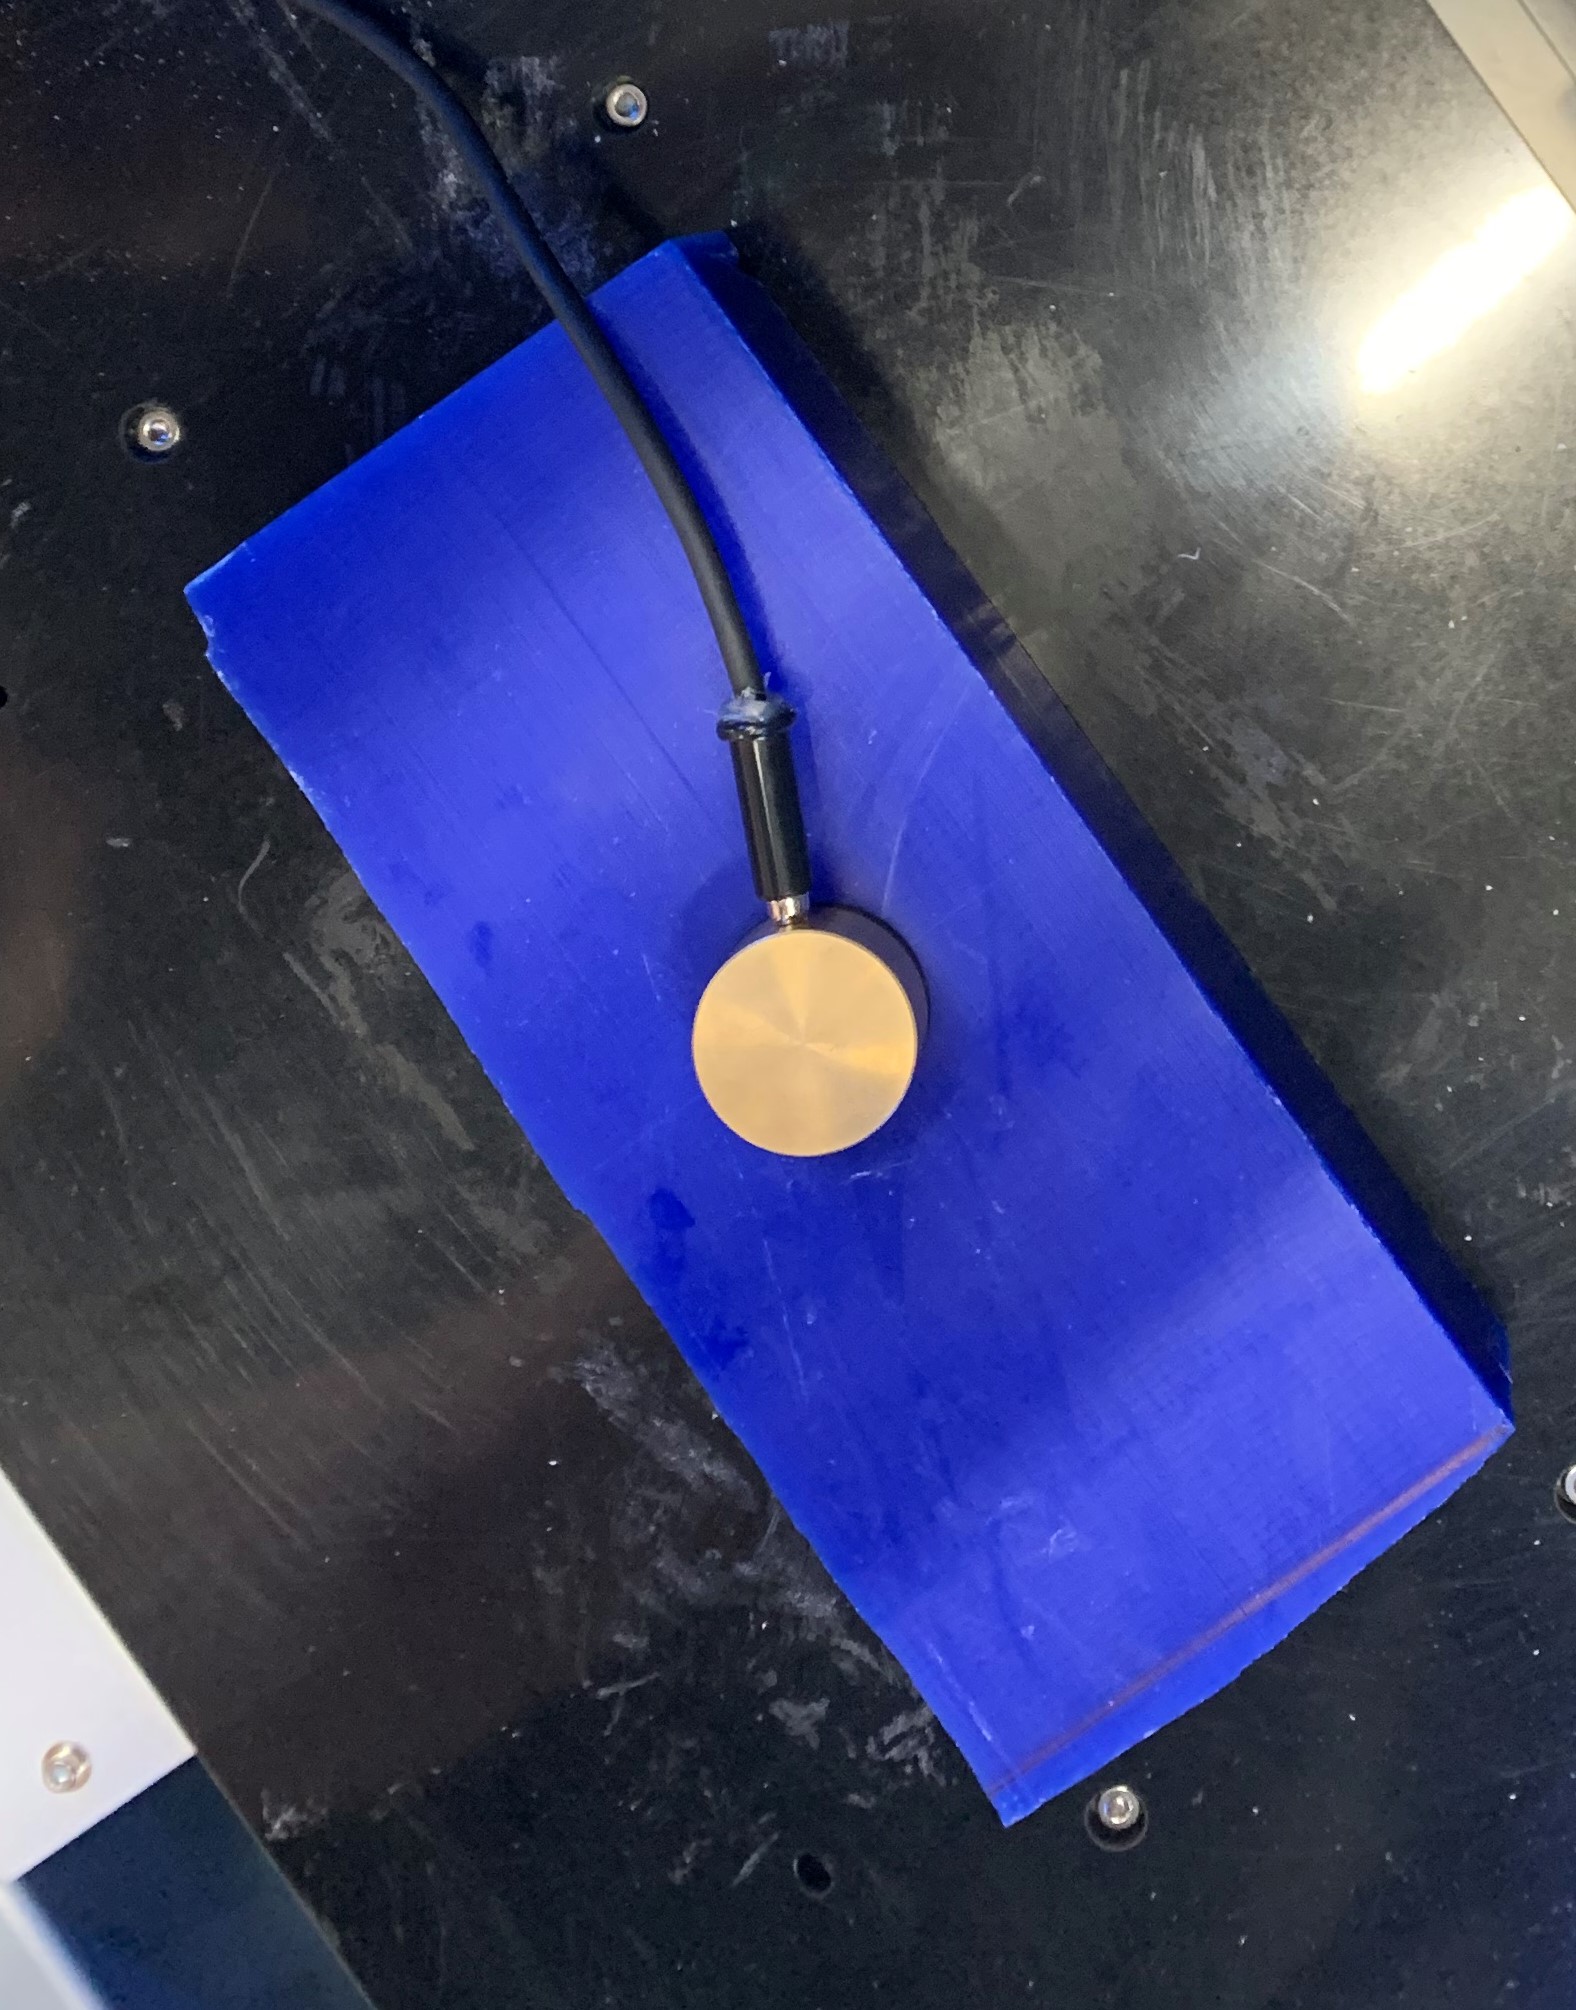
However, there was one thing I had to do first before the milling, which is setting the Z0 sense.
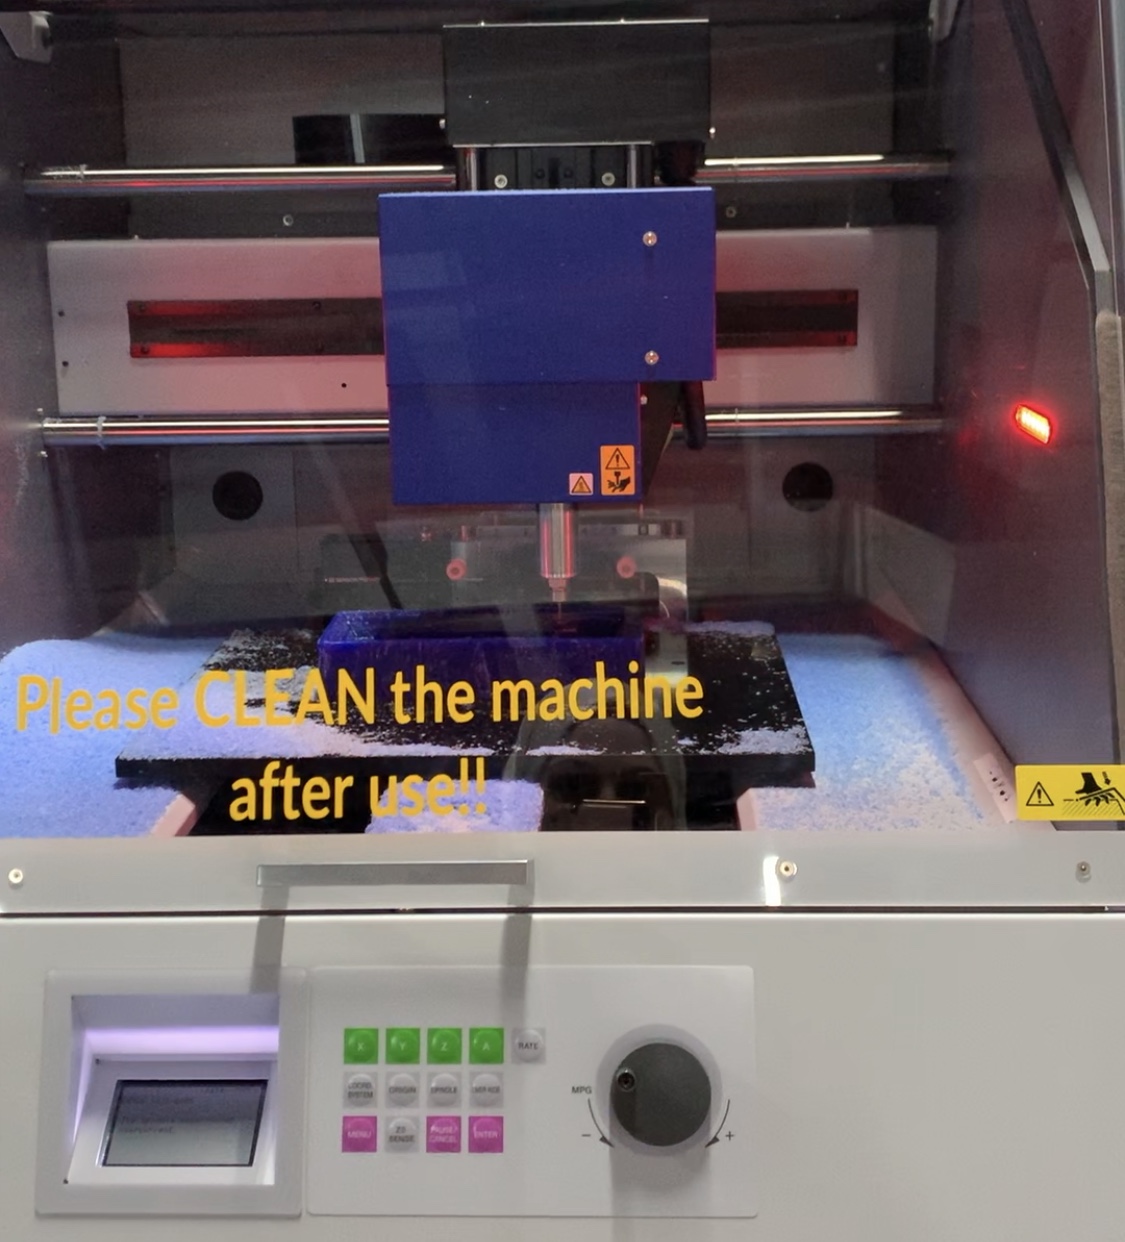
And the milling began, with an ETA of 6 hours:
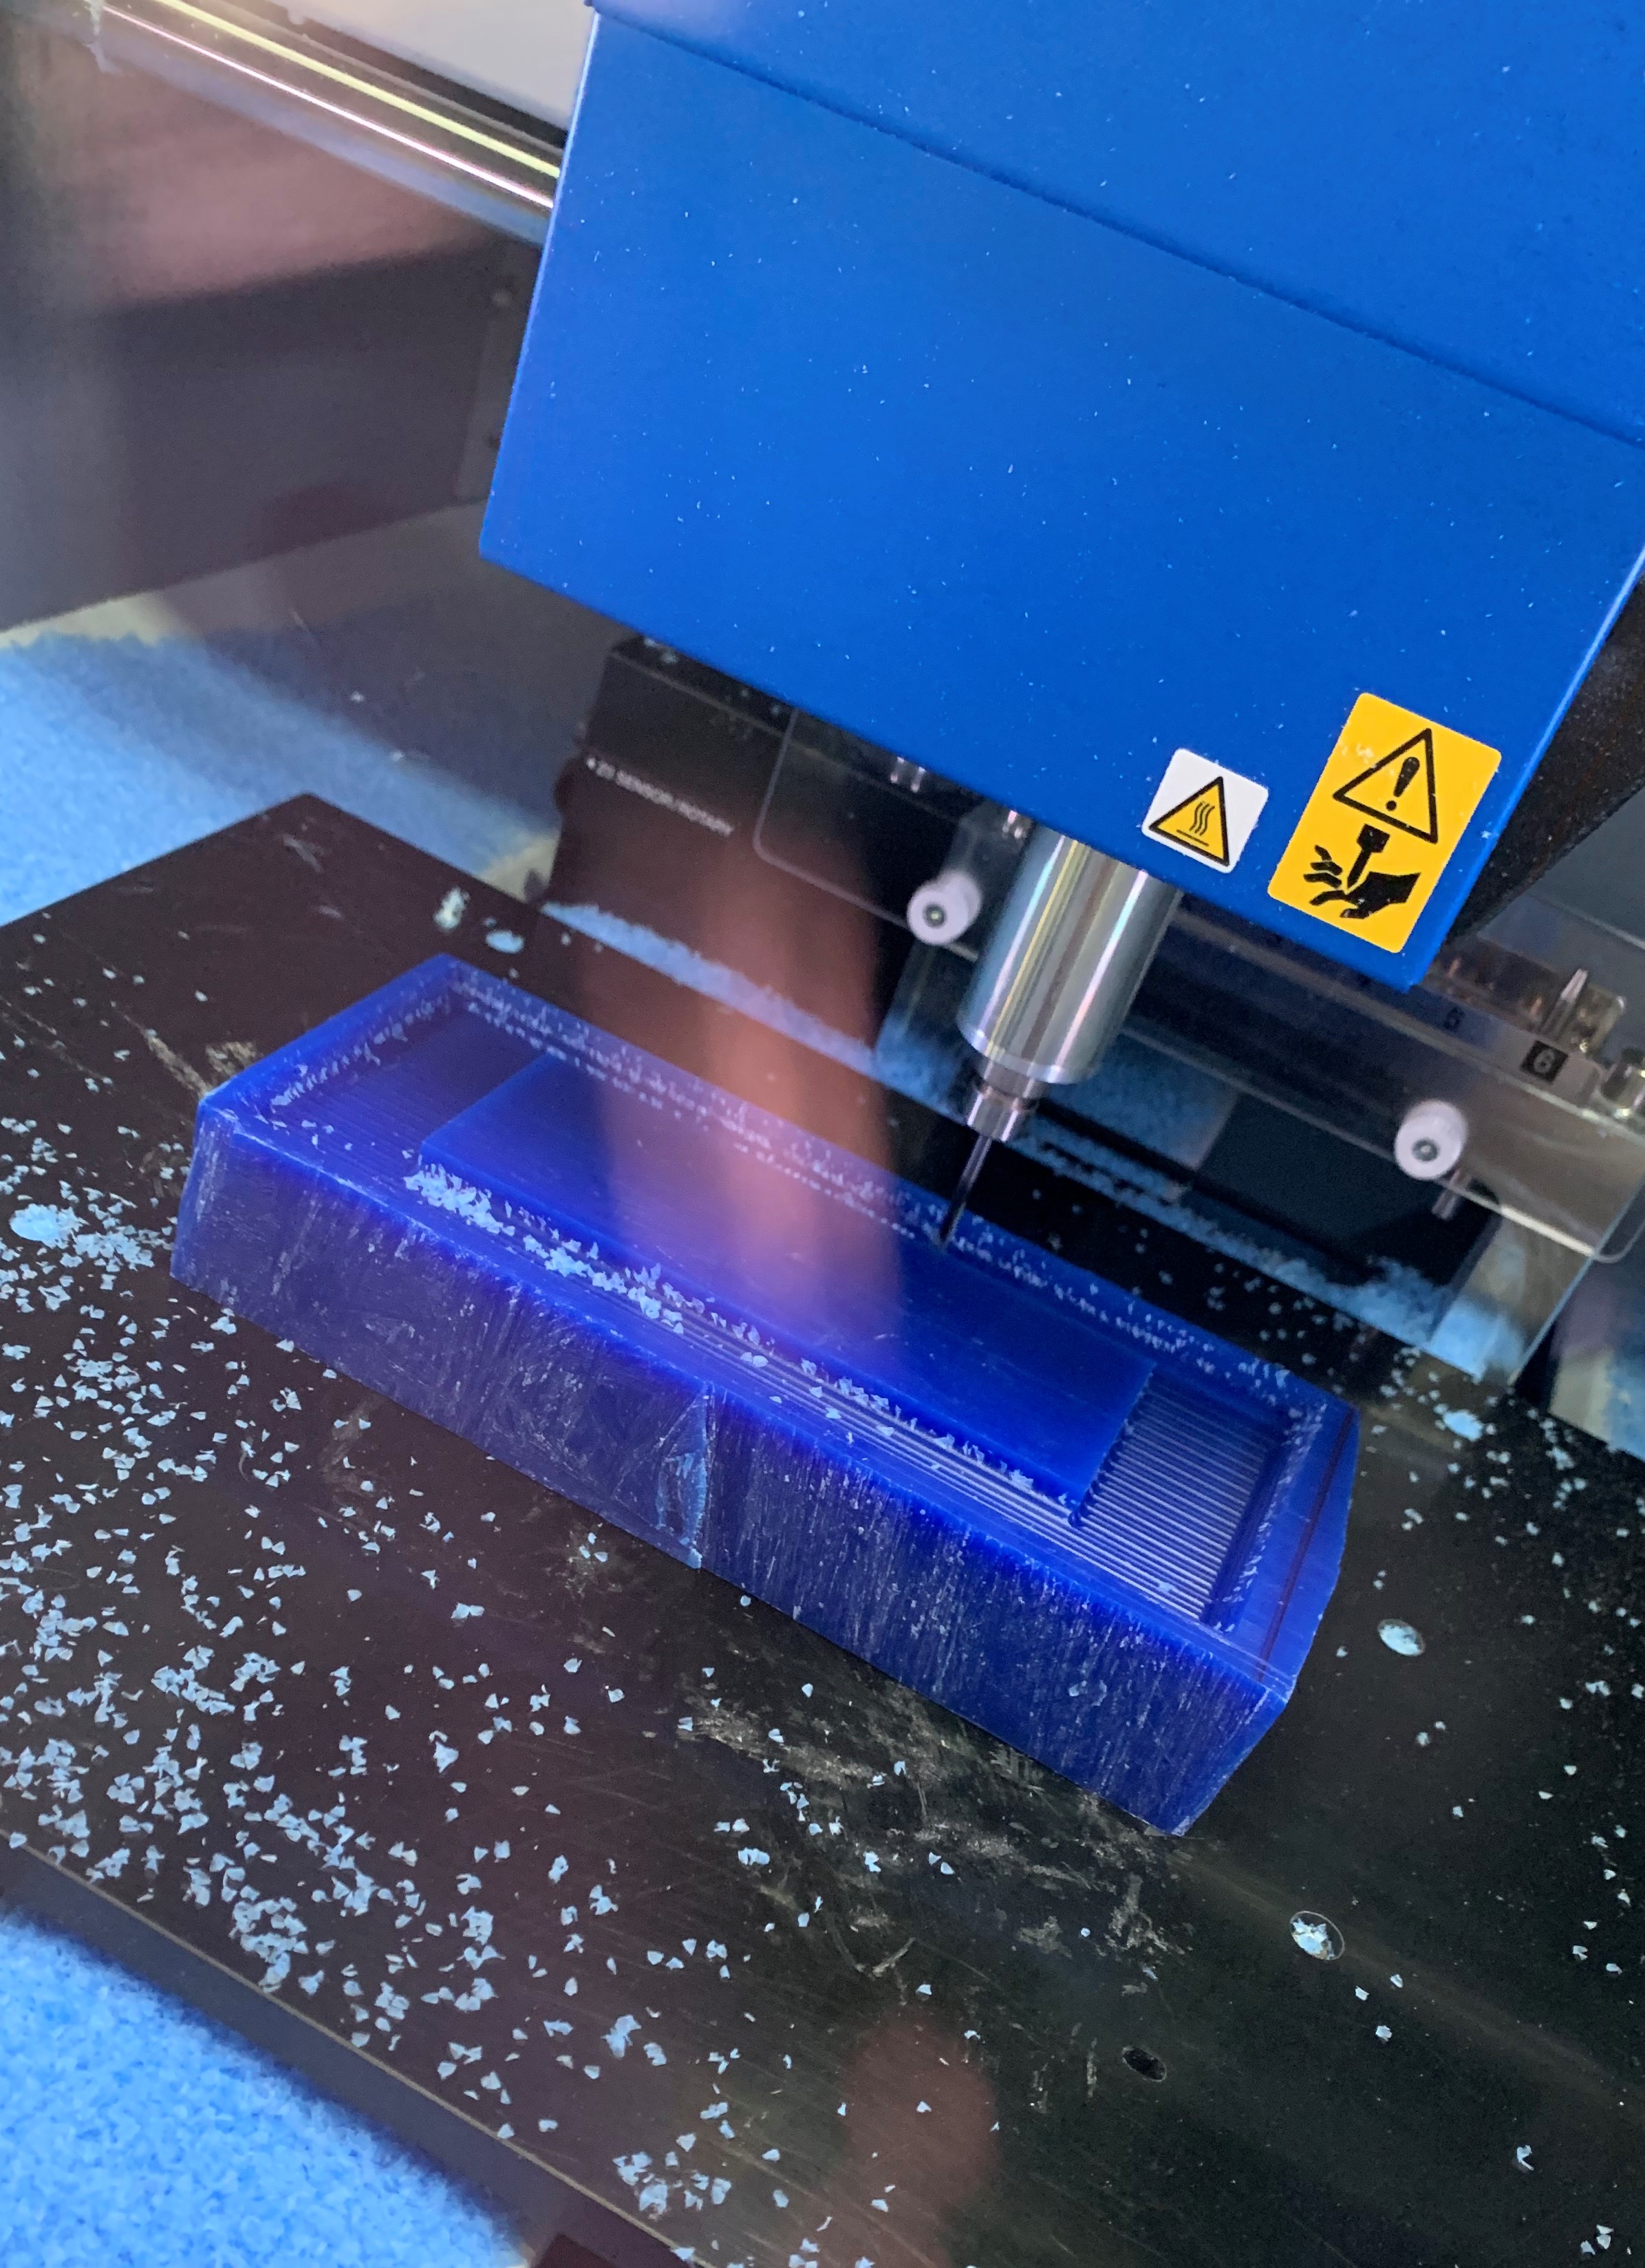
90 minutes later, the Roland stopped working, alarming me of an error:
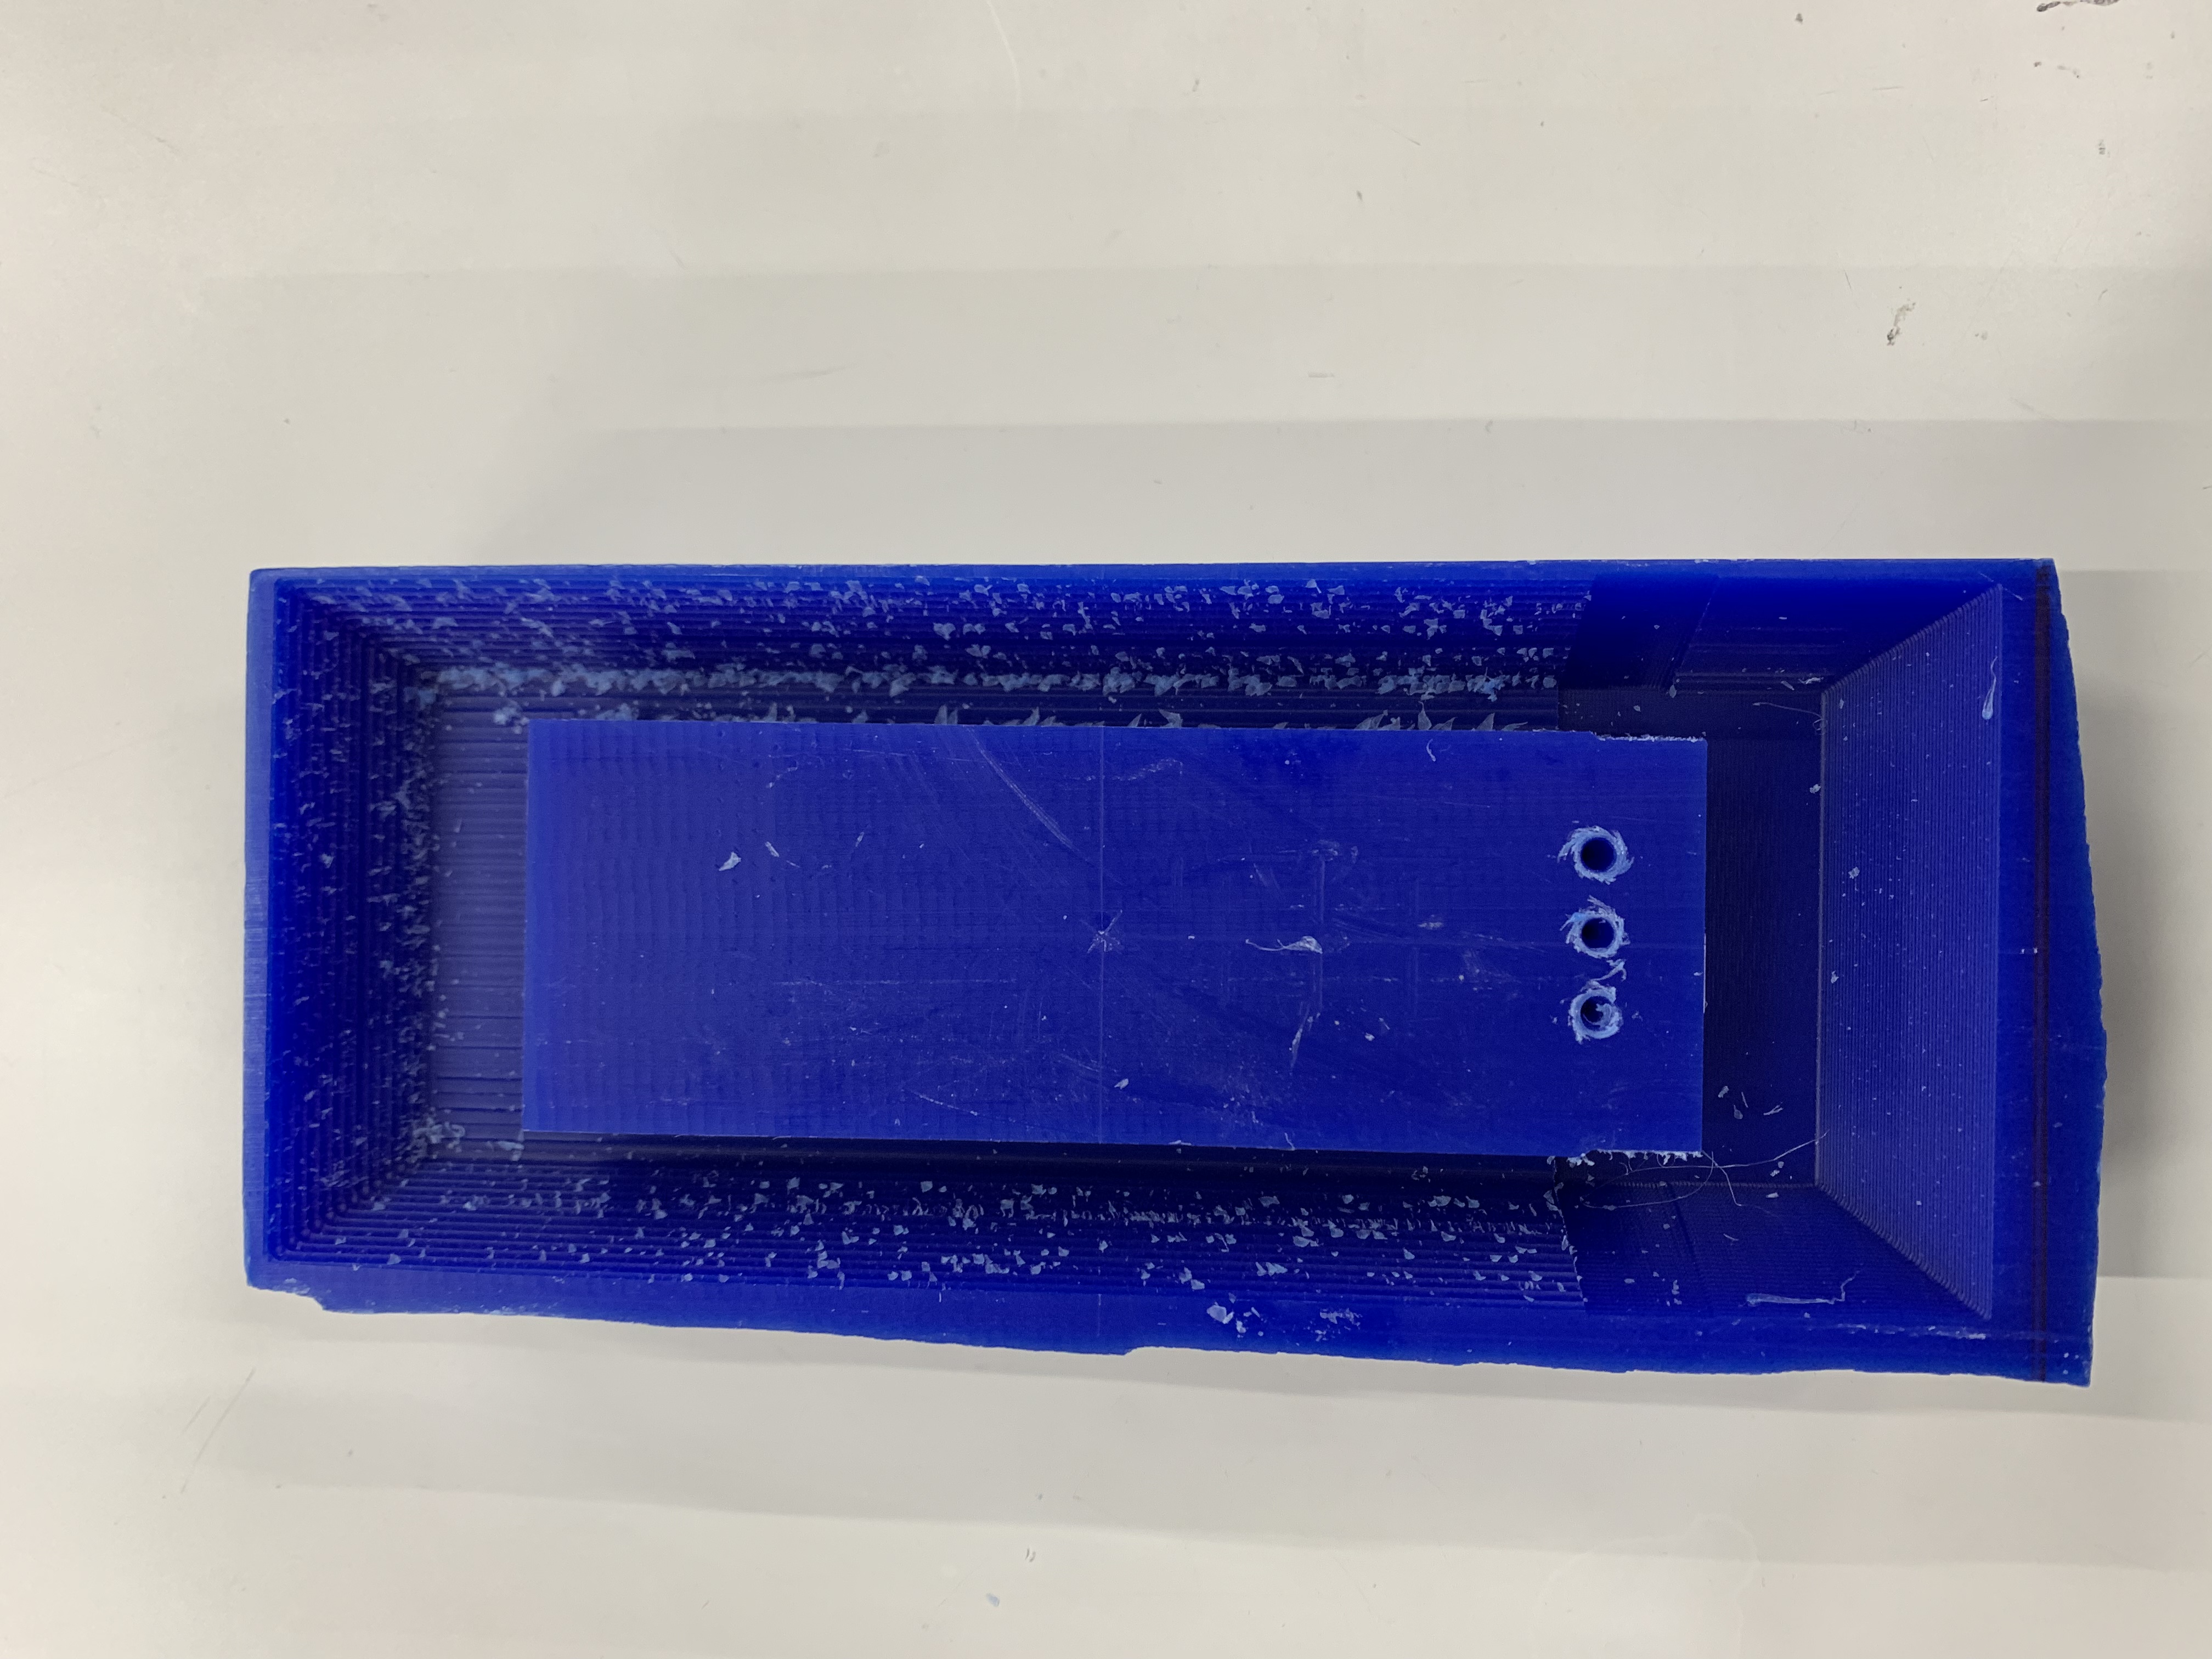
Looking at how the block looked, I realized that the problem was was in the size of the text. It was too small for the tool, leaving the block looking like this:
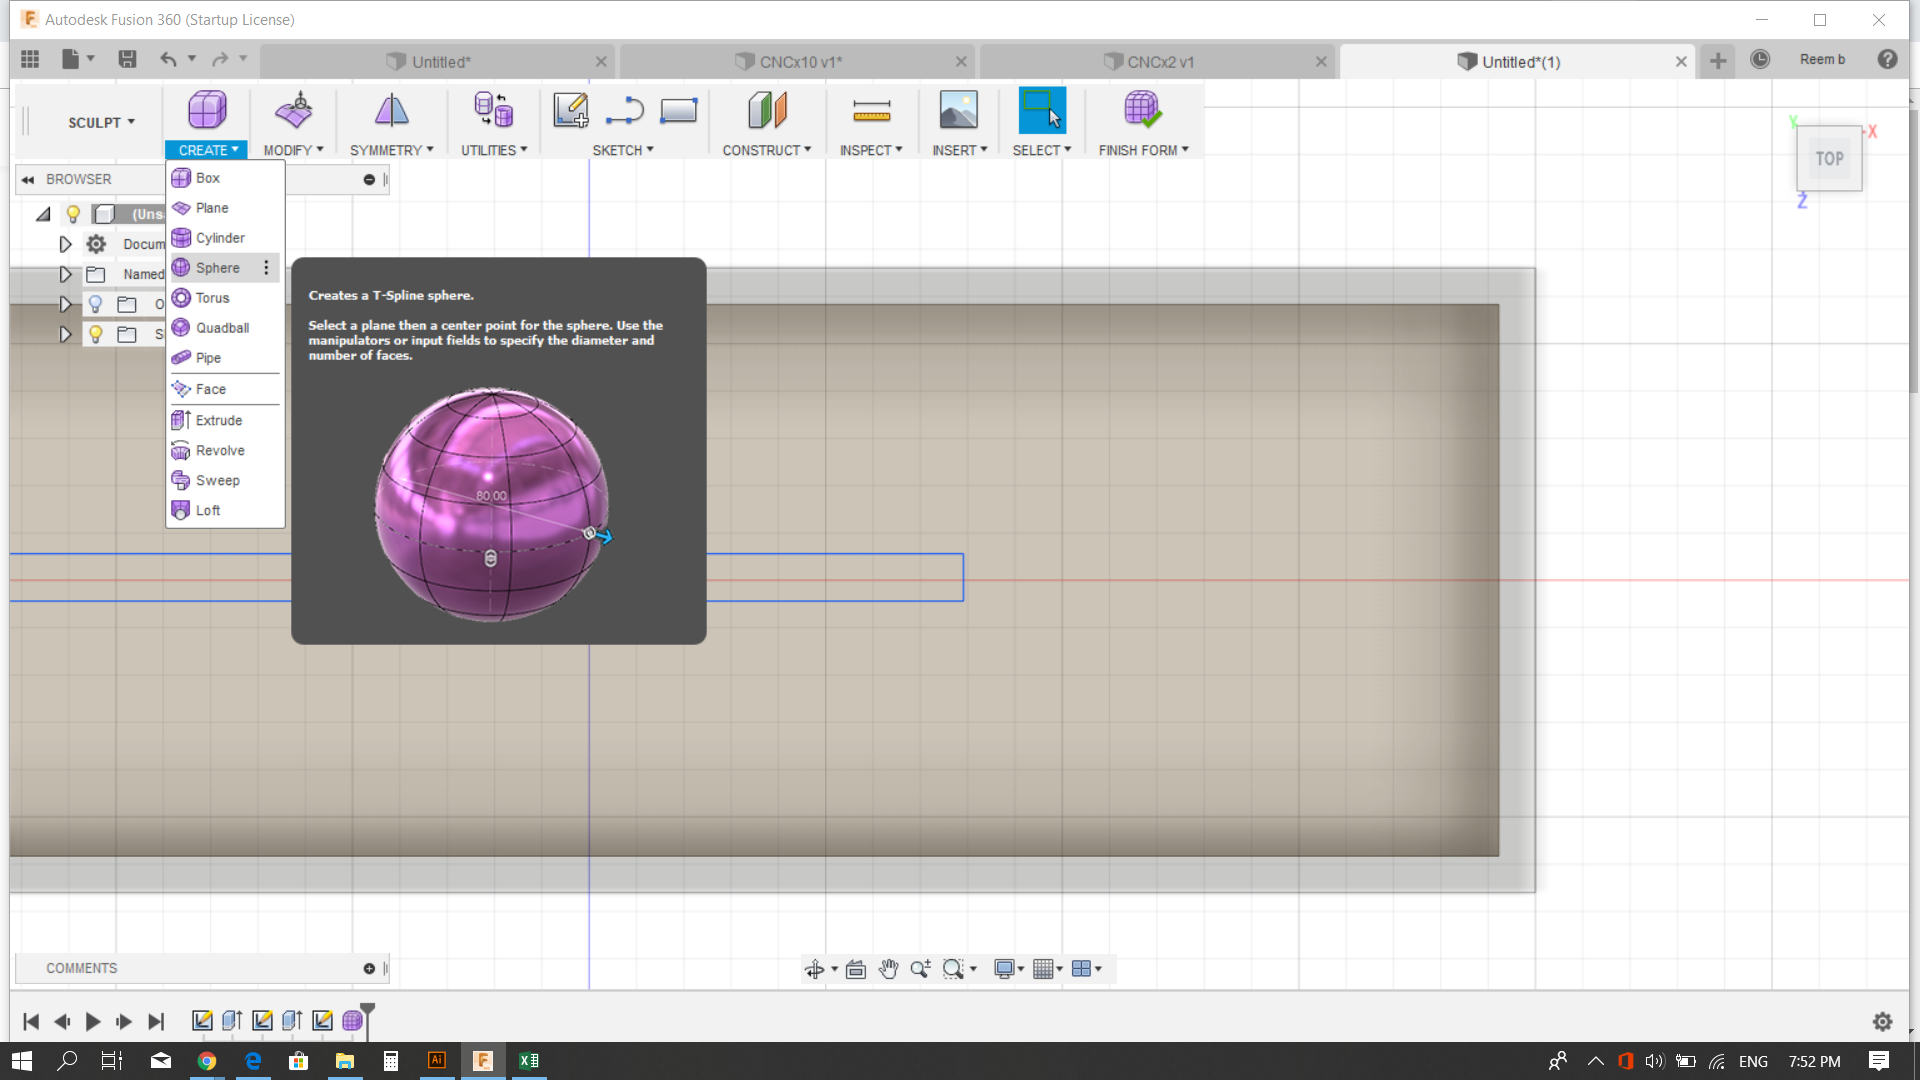
So a few days later, I started over with a new design. At the time, my colleague was working on his edibile cast which I was impressed by, so I decided to create my own food friendly mold for a chocolate spoon. I started with the block:
Similarly to the first design, I had to extrude in and out based on my design.
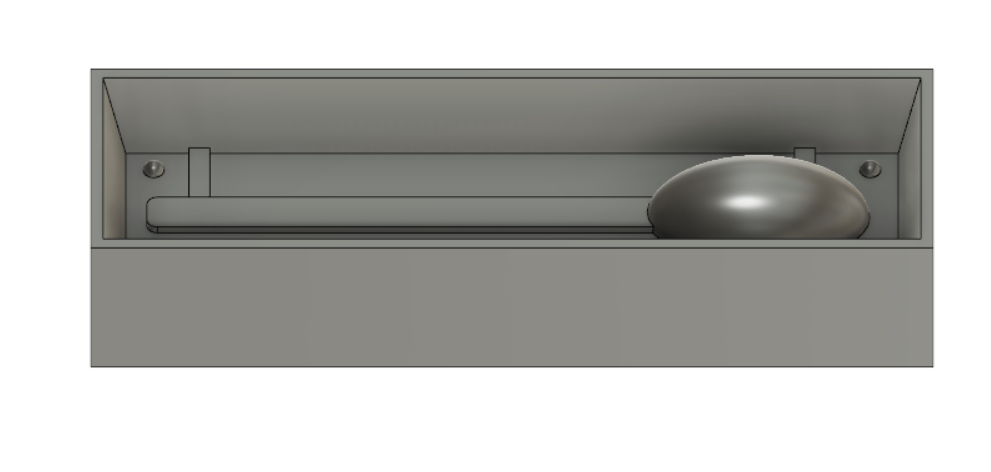
What was different this time is that it wasn't 2D, so I needed two sides of the block to be milled, and needed to add injection vessels.
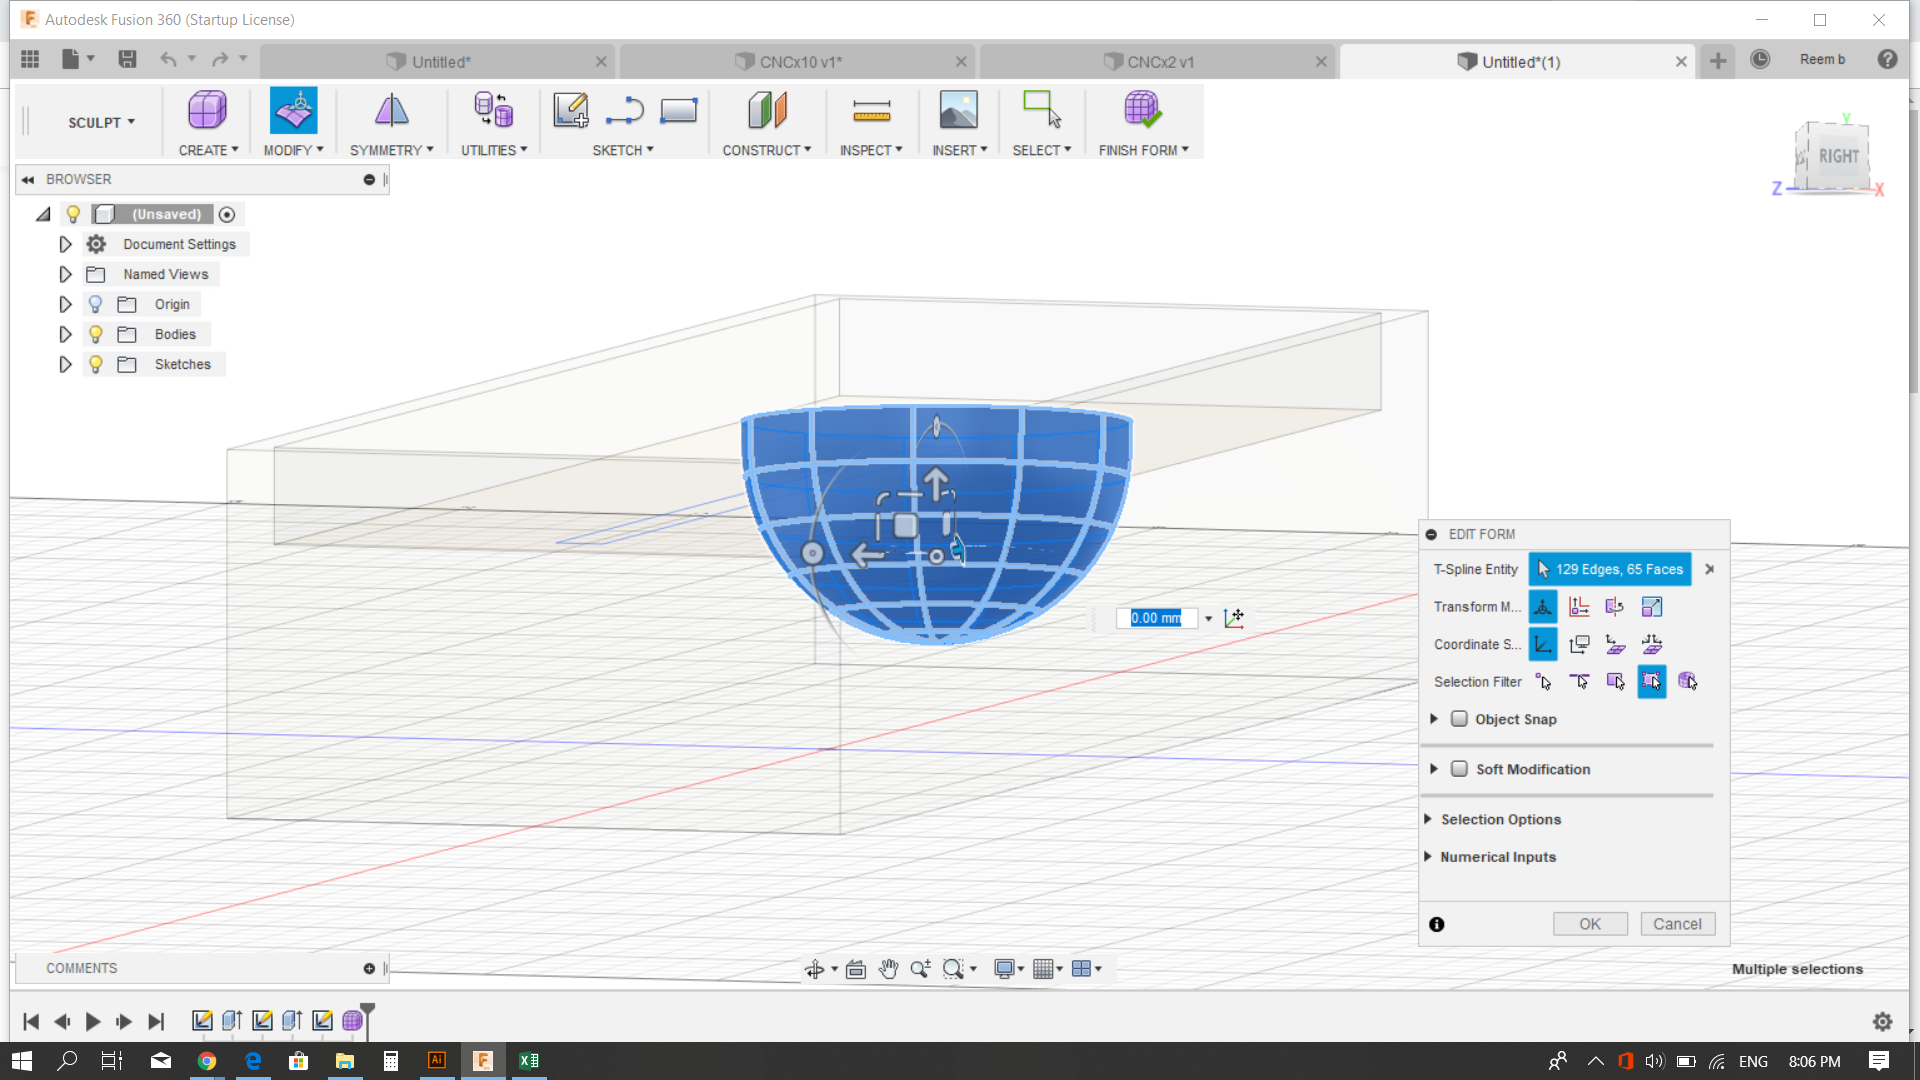
(However, it's worth mentioning that because of time constraints, I only had one side done, making it a spoon with a flat face)
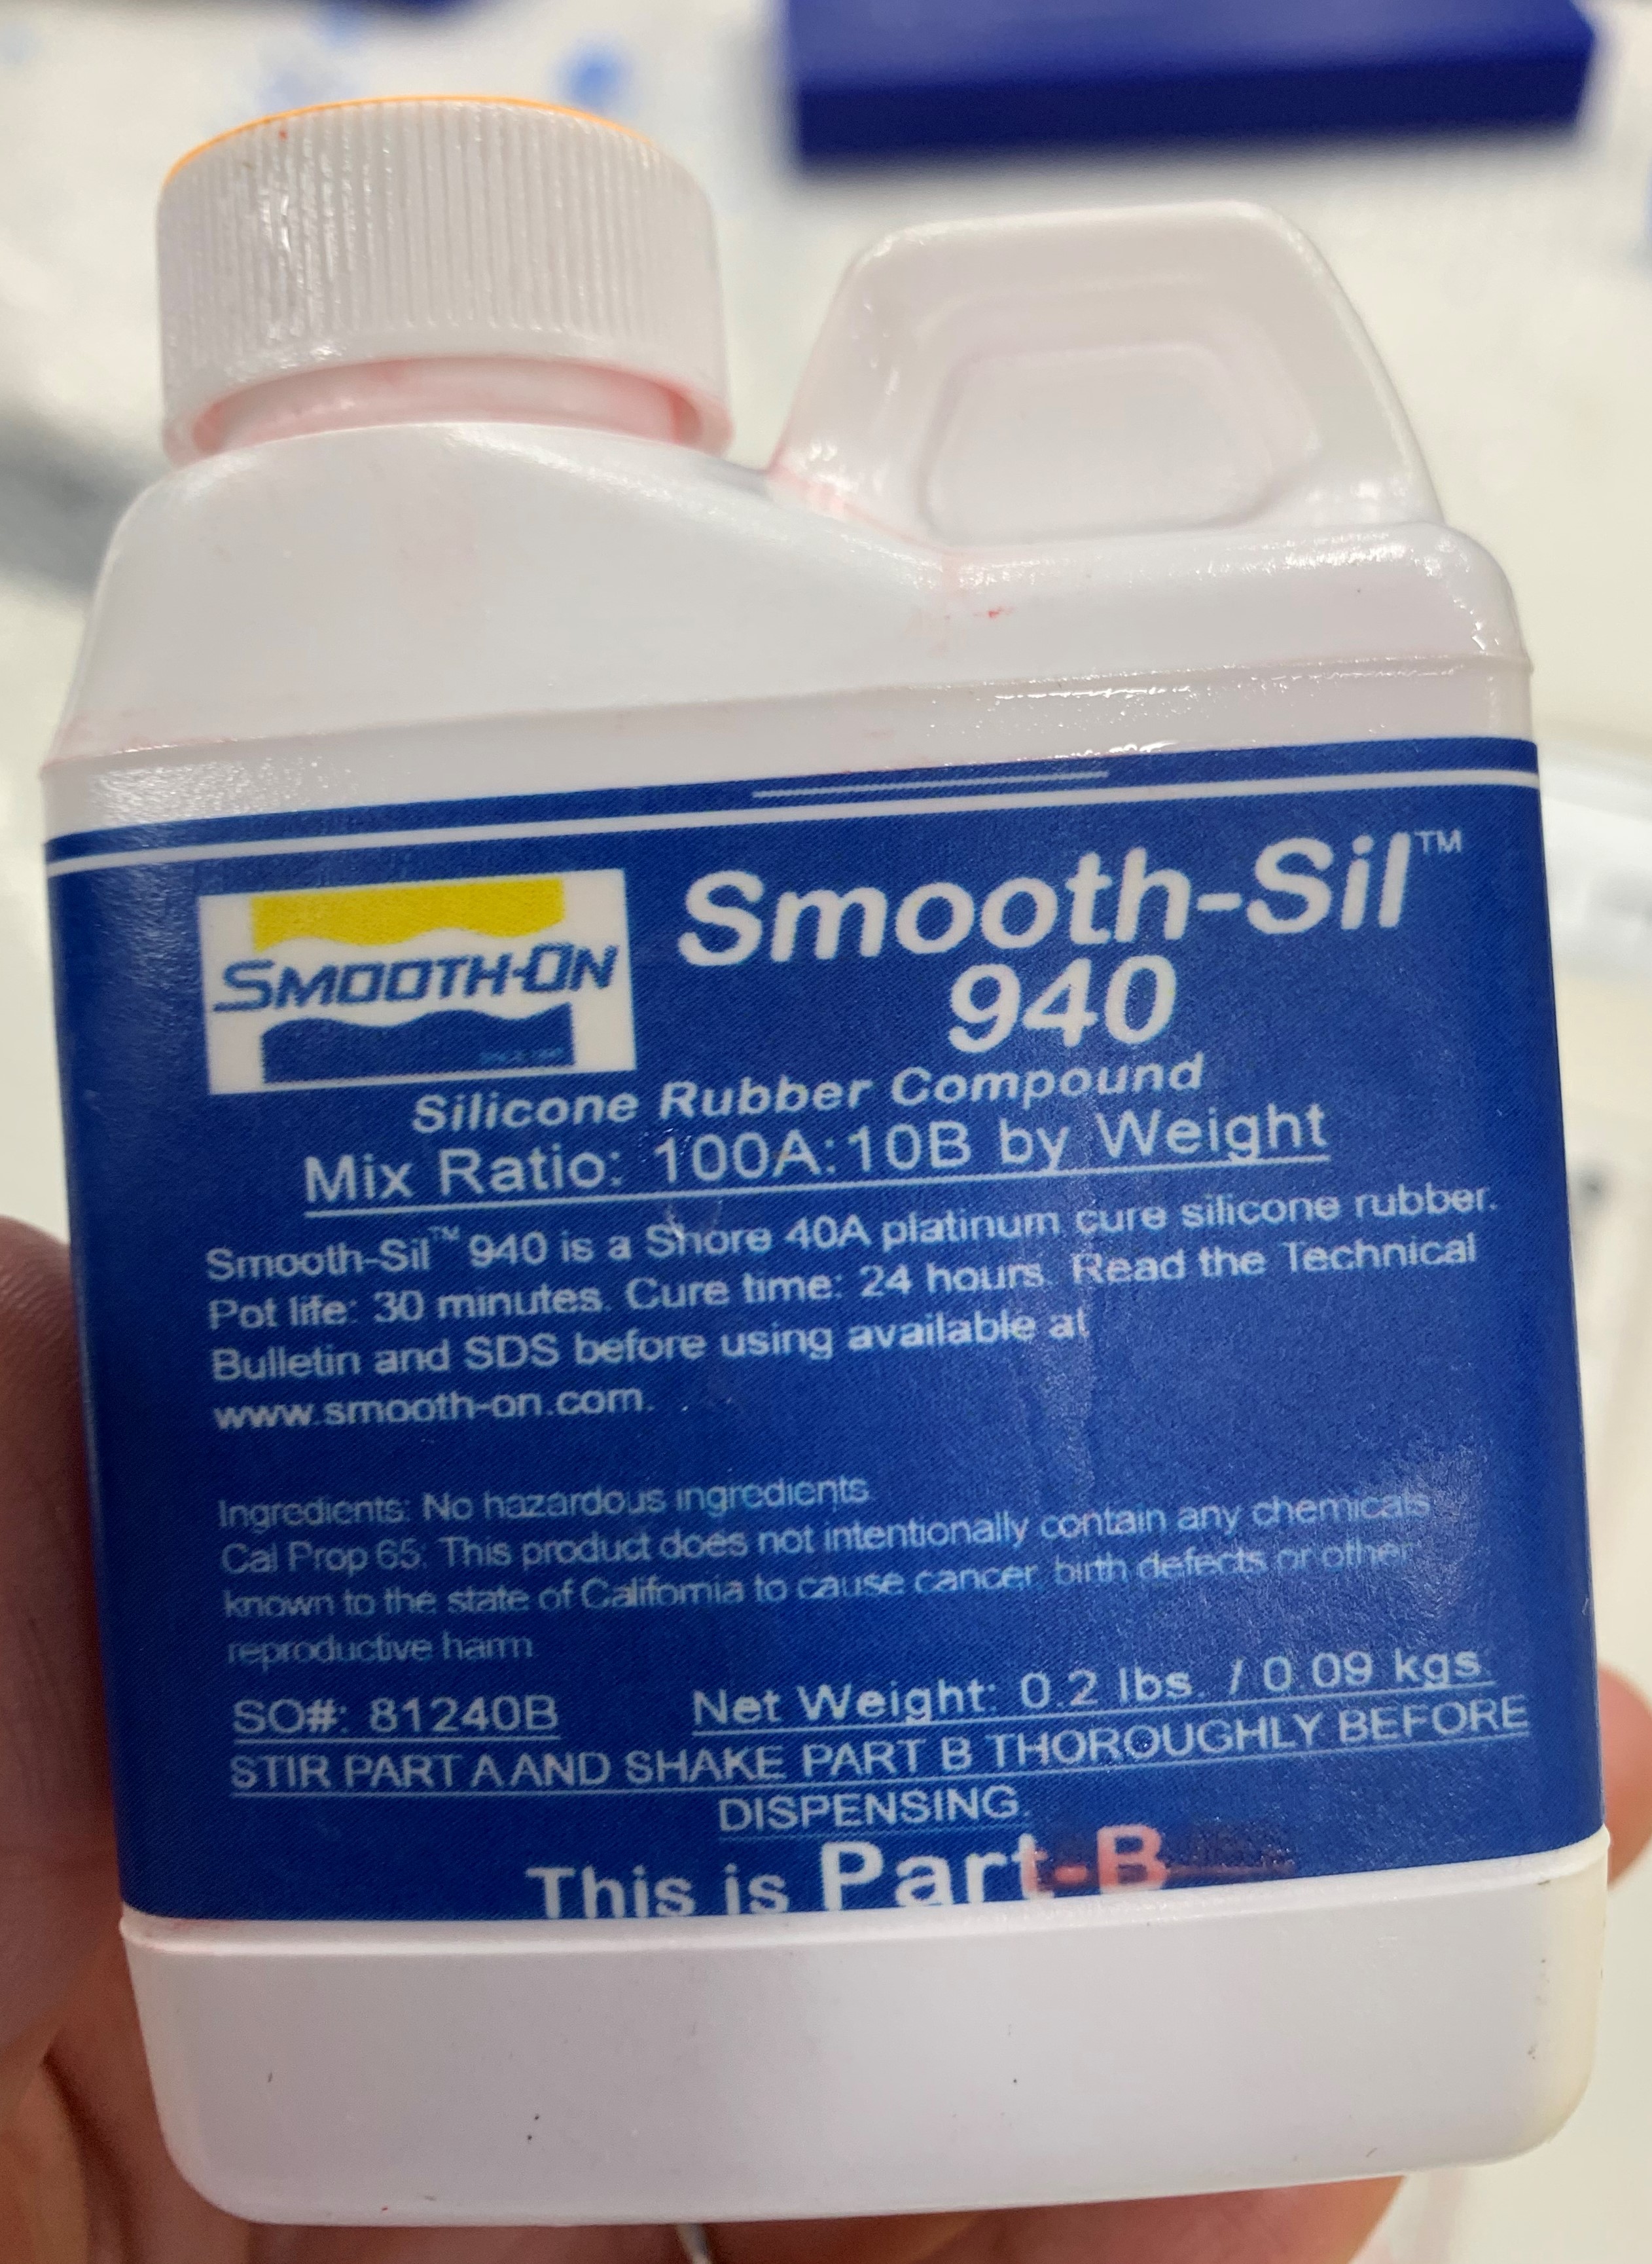
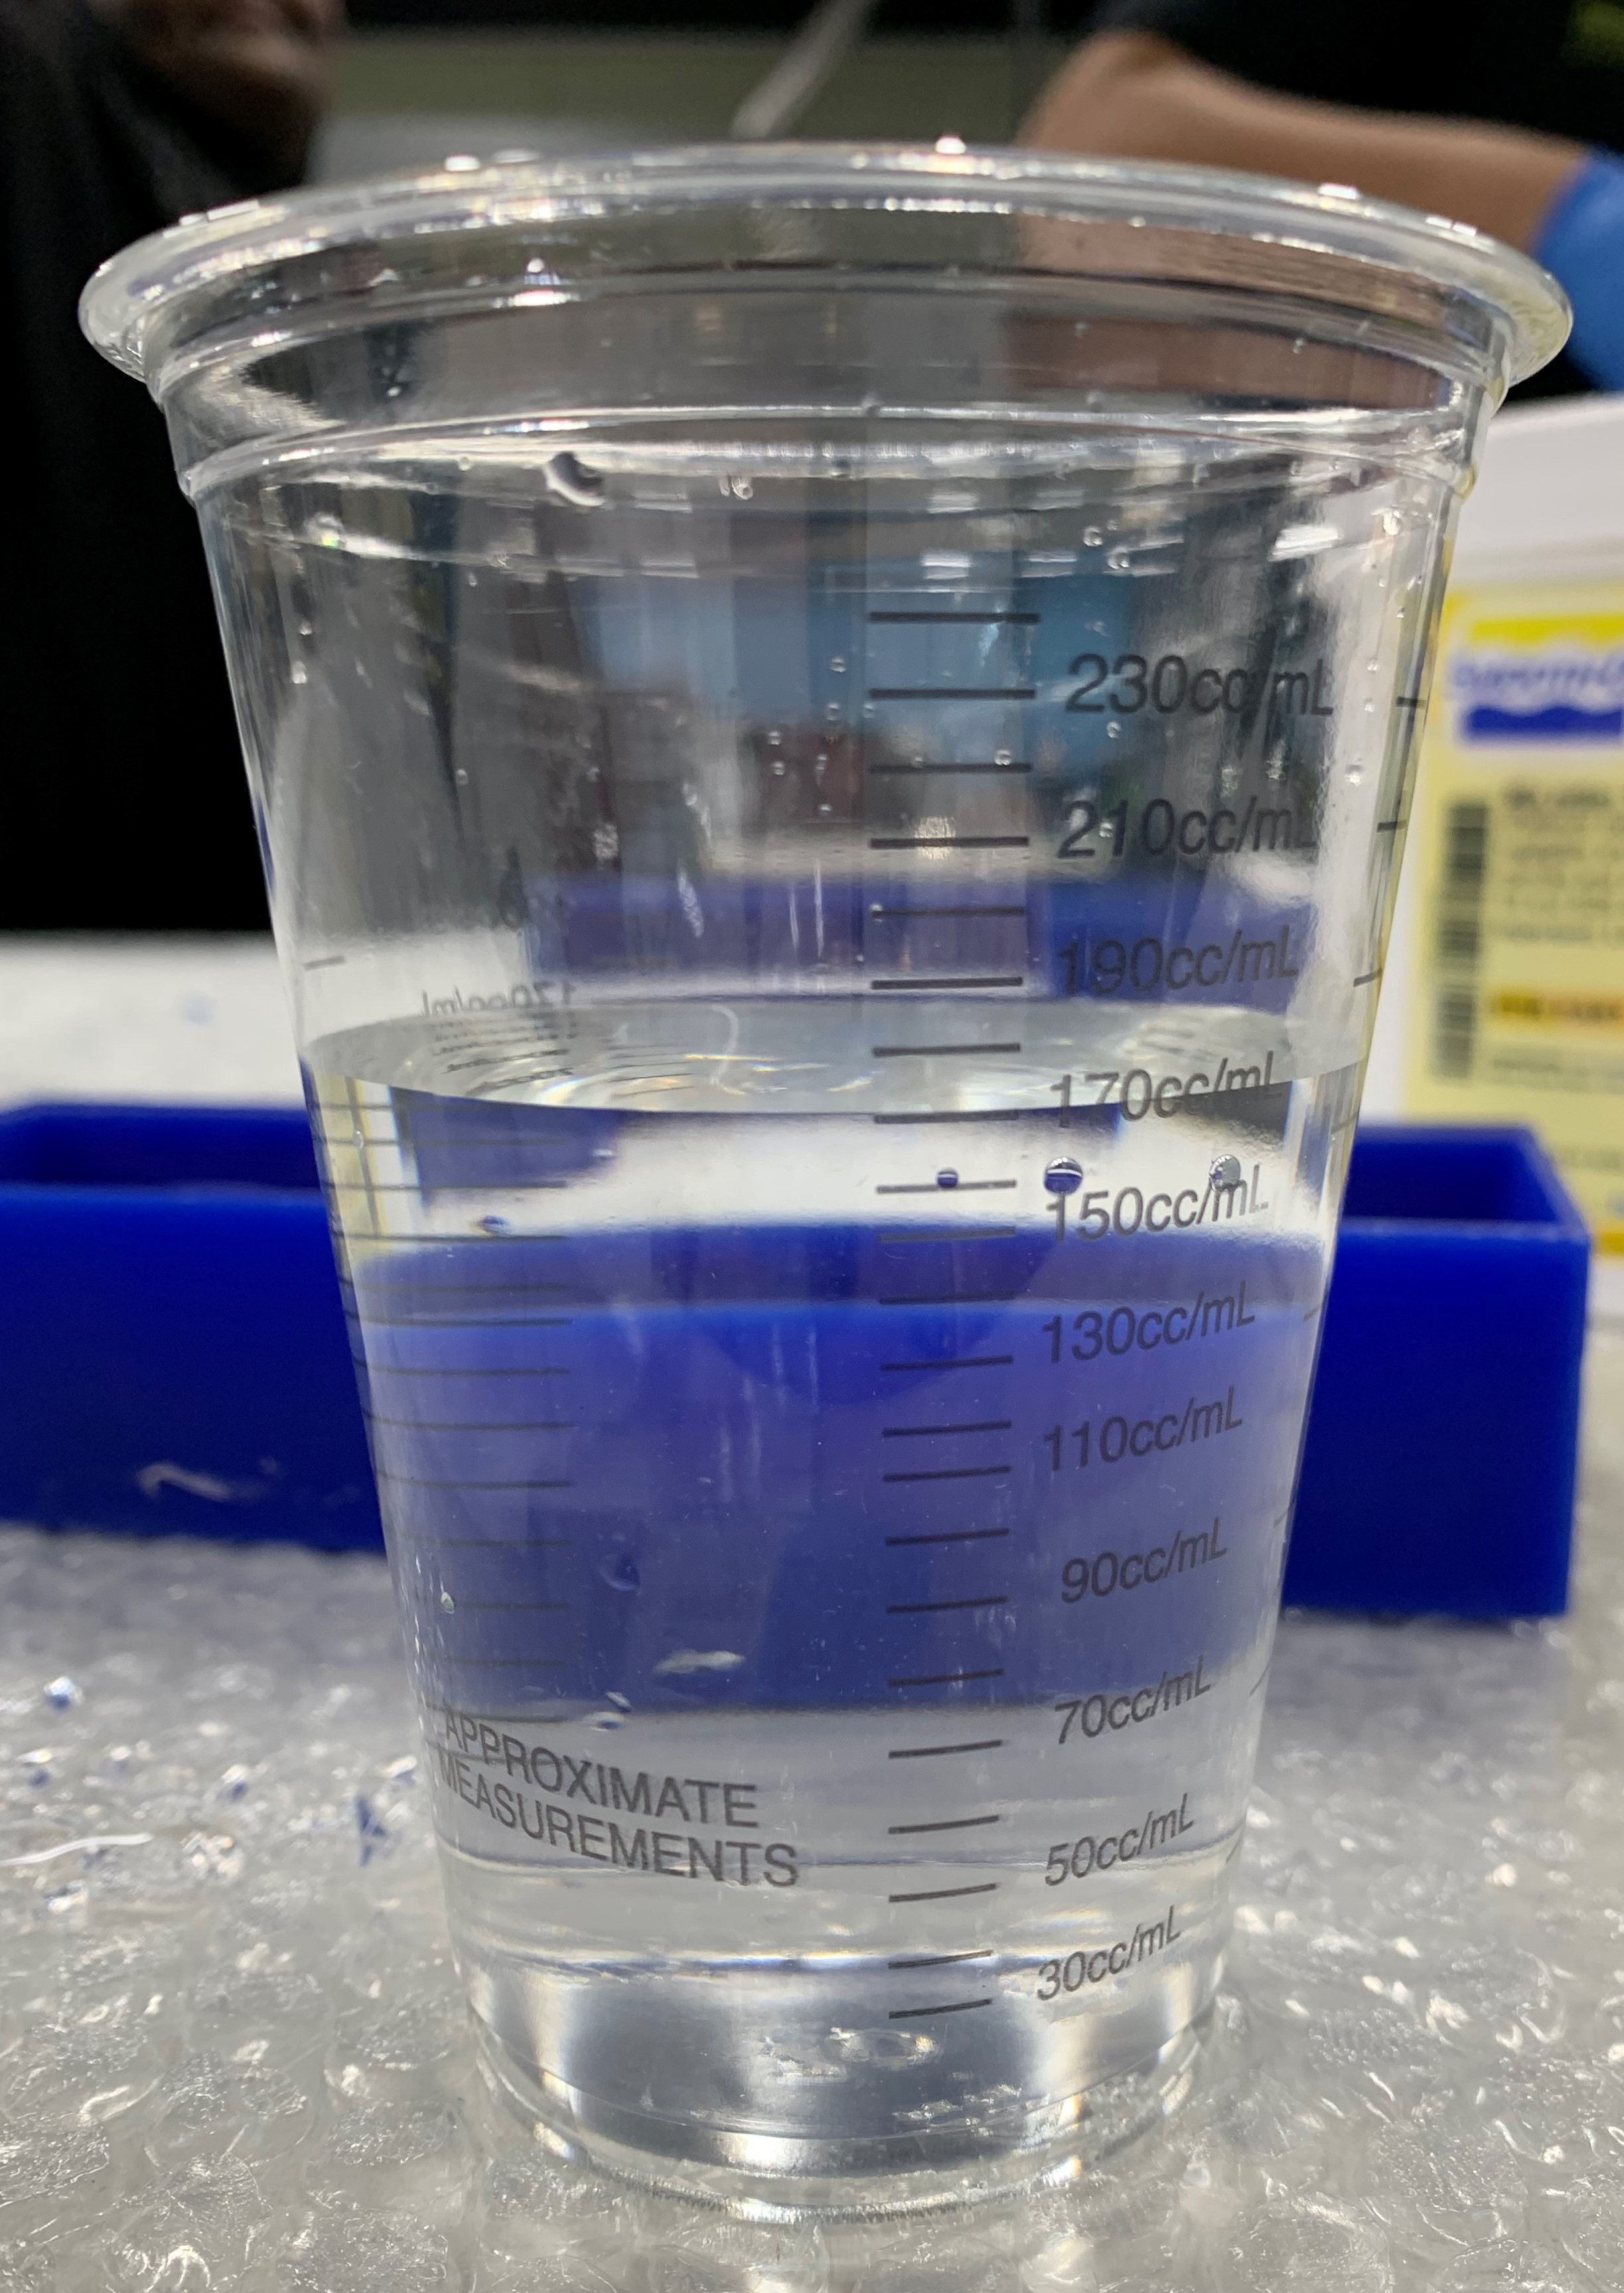
Preparing for the mold, I started mixing the Smooth-Sil™ 940, which is a non-hazardous silicone rubber compound for edible products. I mixed parts A and B as indicated by the instructions.
The milling was successfully done:

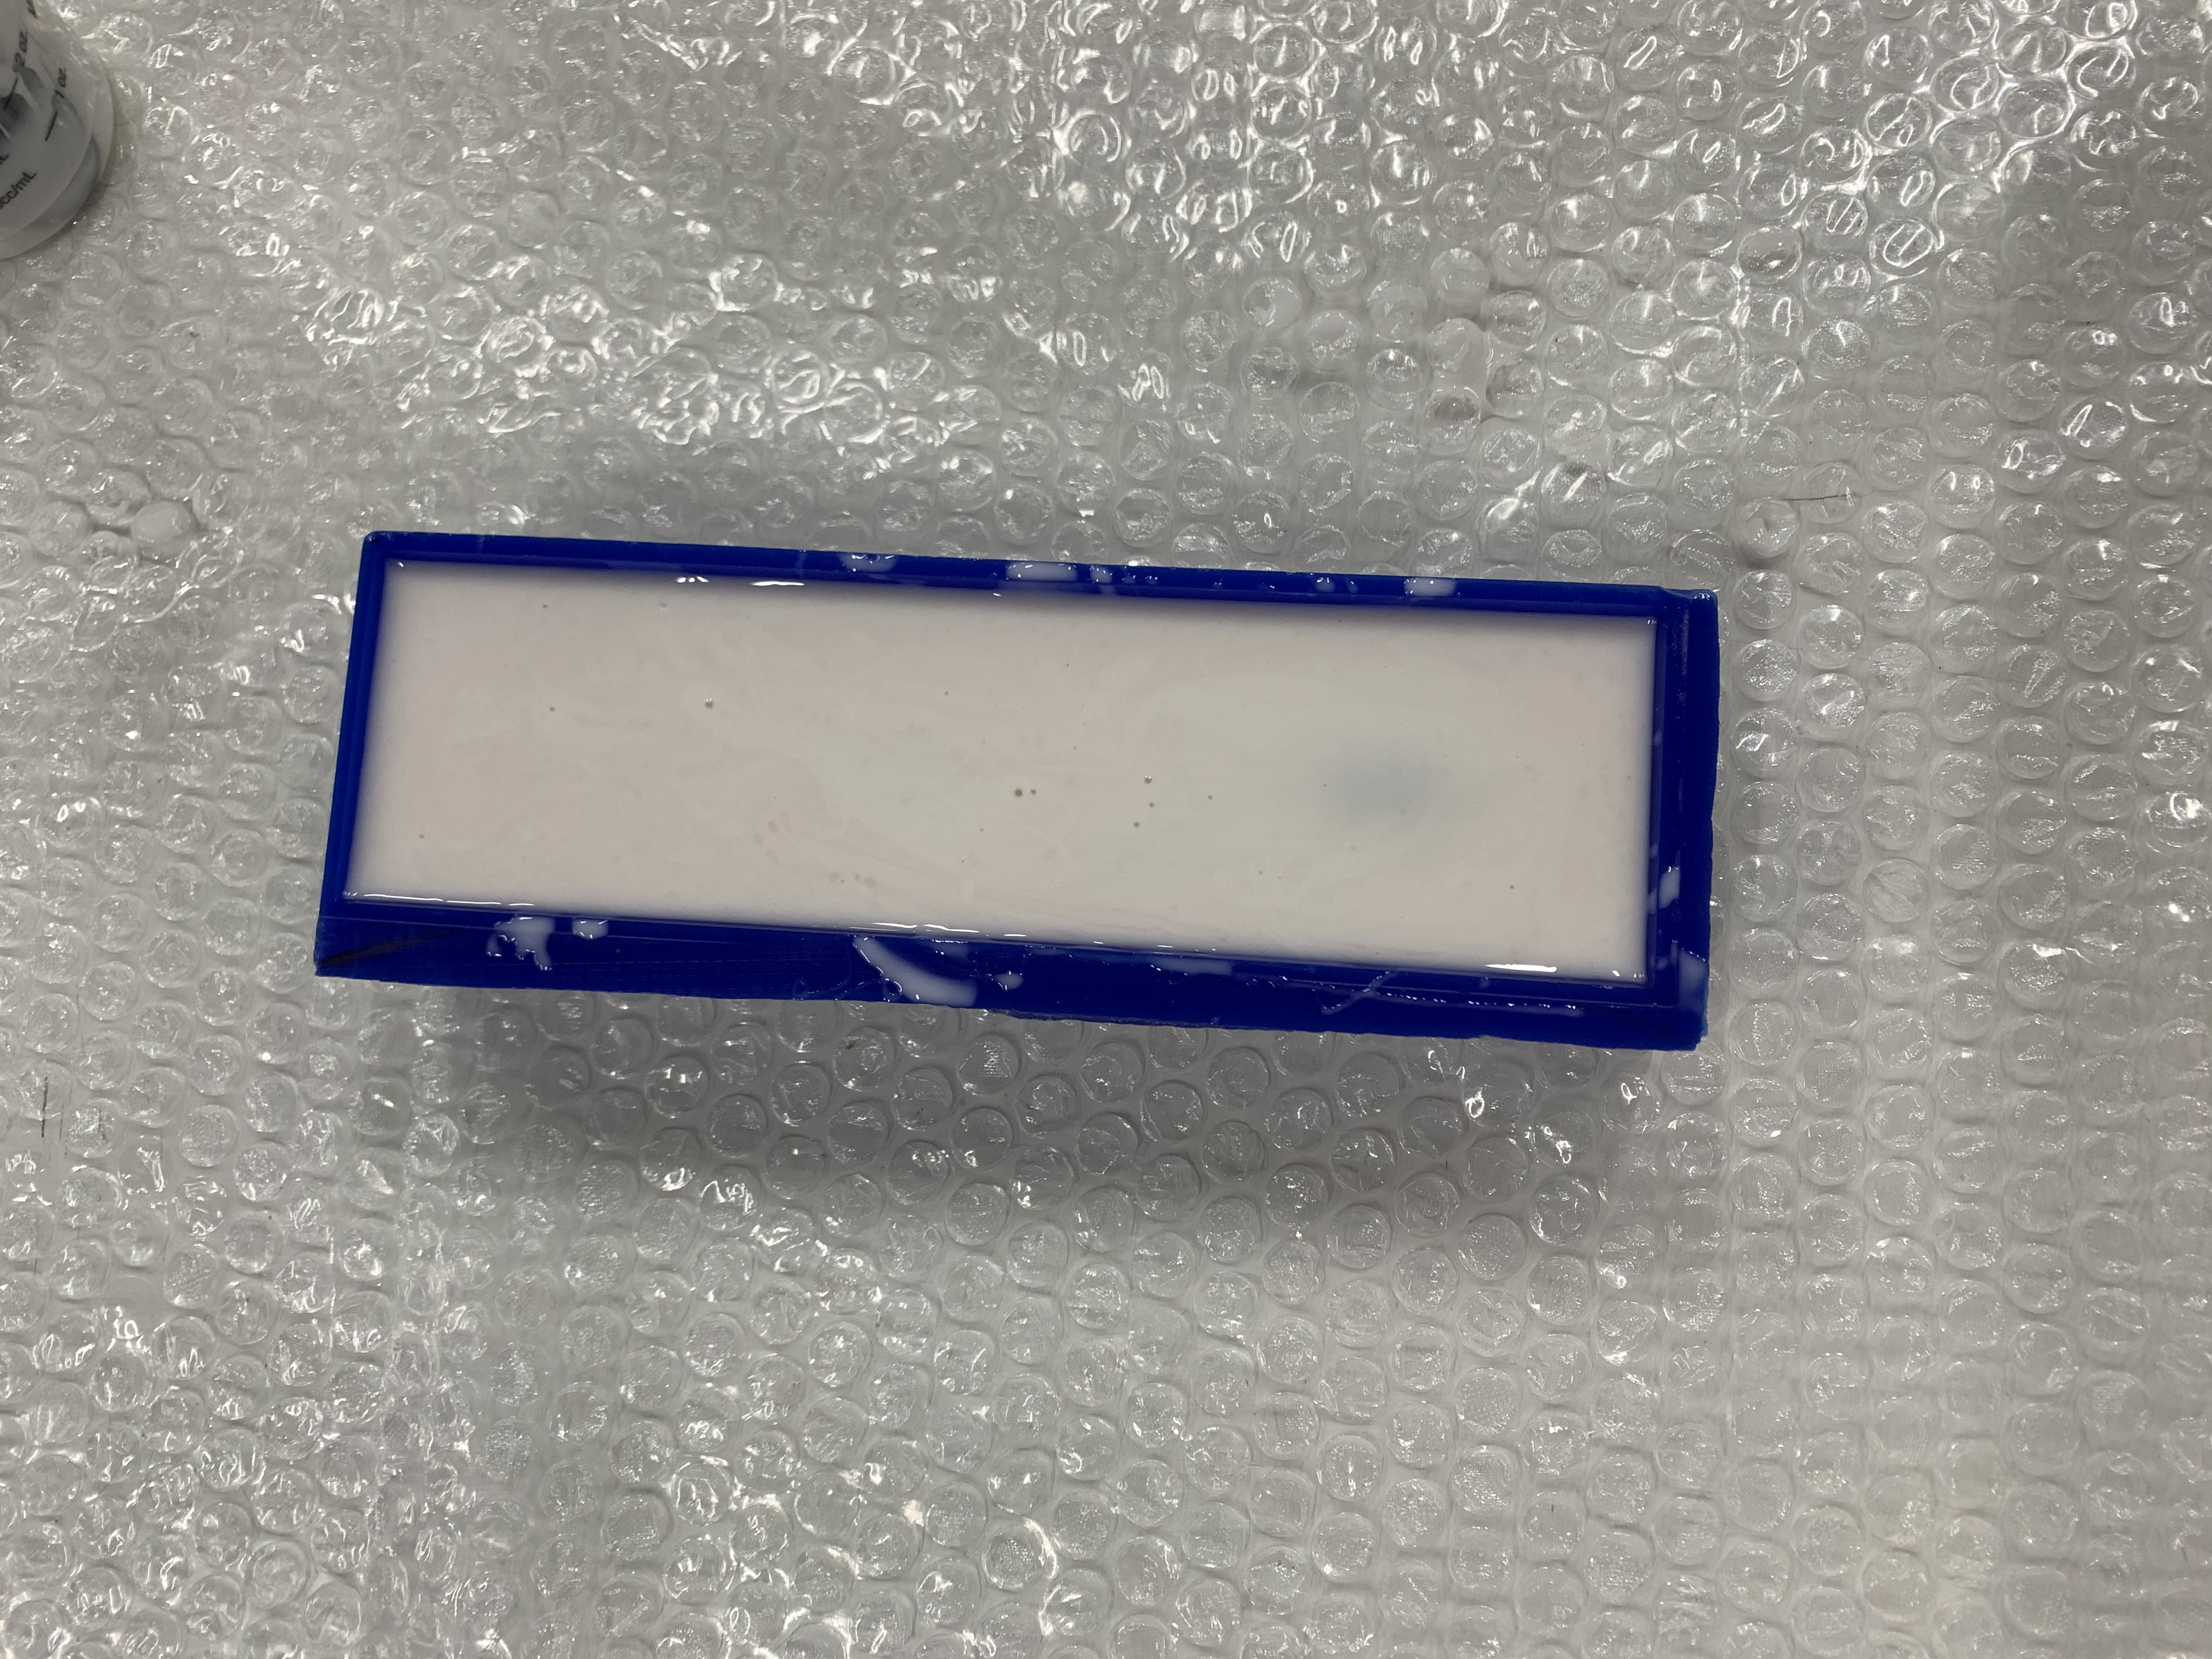
I prepared the wax by spraying it with the release agent, and added the mixture to the wax, leaving it for 24 hours.
*Please ignore our obsessiveness with bubble wraps :)
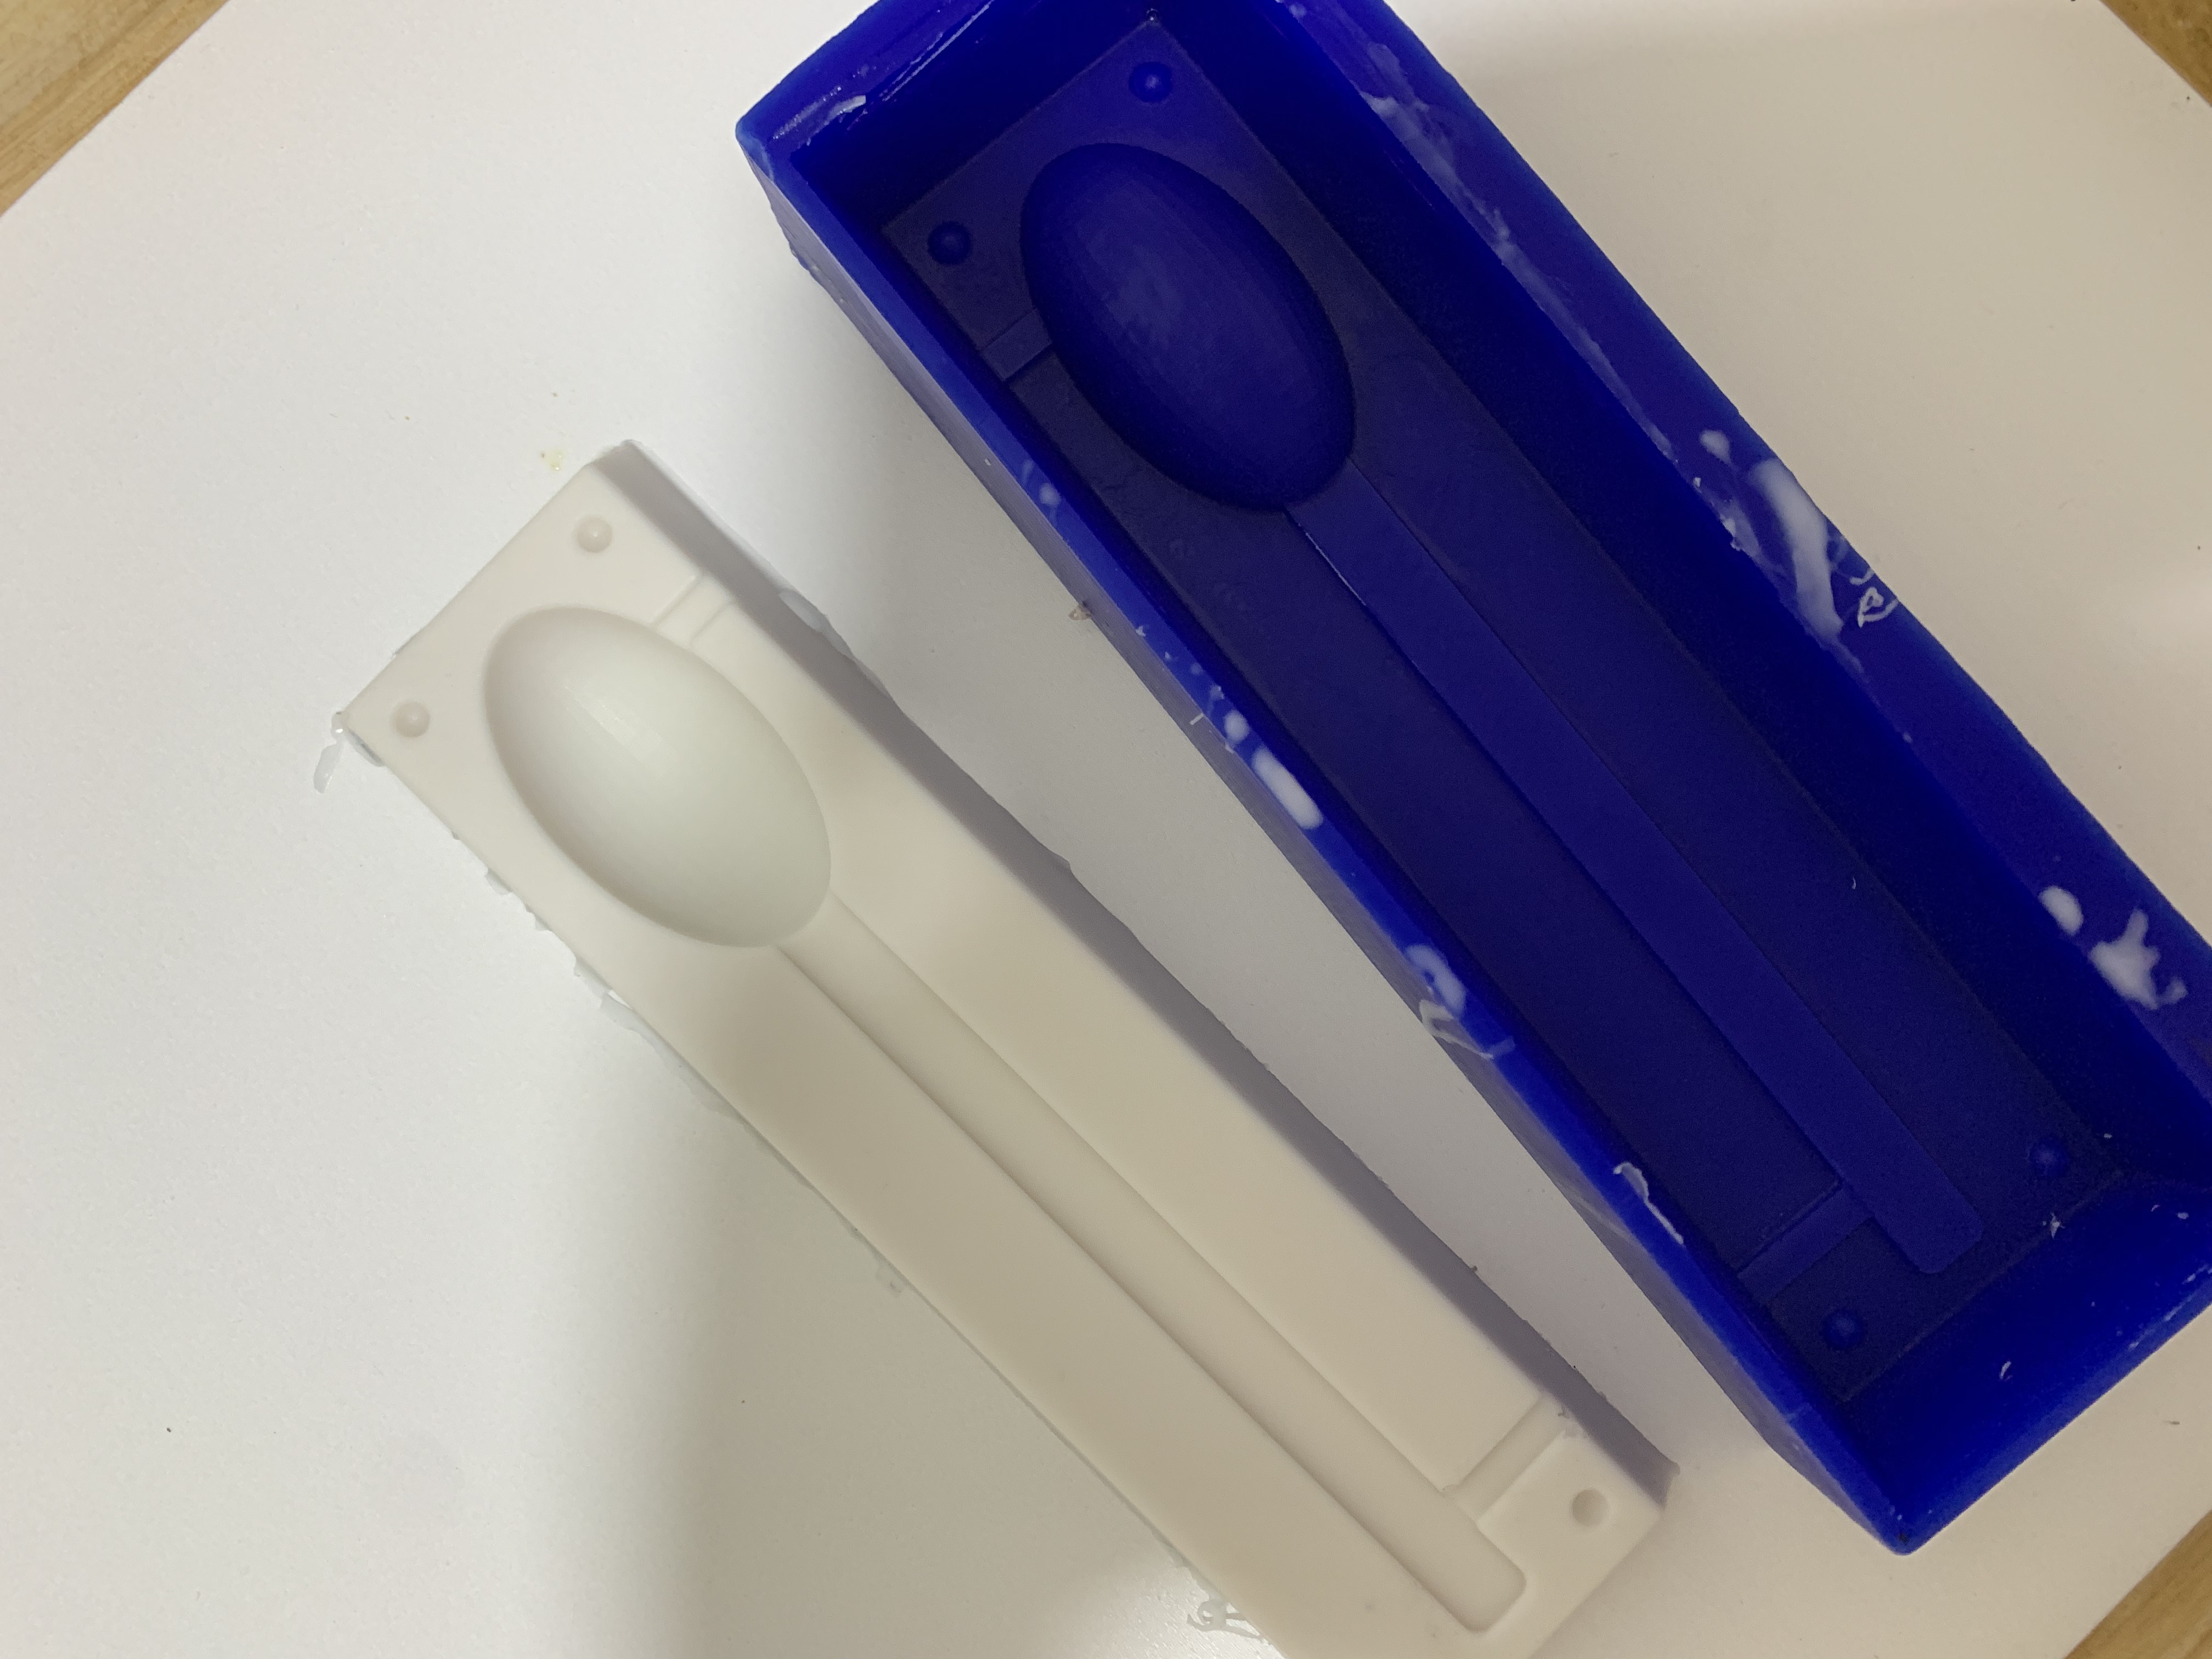
24 hours later, this is how it looked! I was only few minutes away from having my first chocolate spoon.
I melted the chocolate and placed it in the mold as my cast. After 15 minutes in the fridge, this is how it
looked:
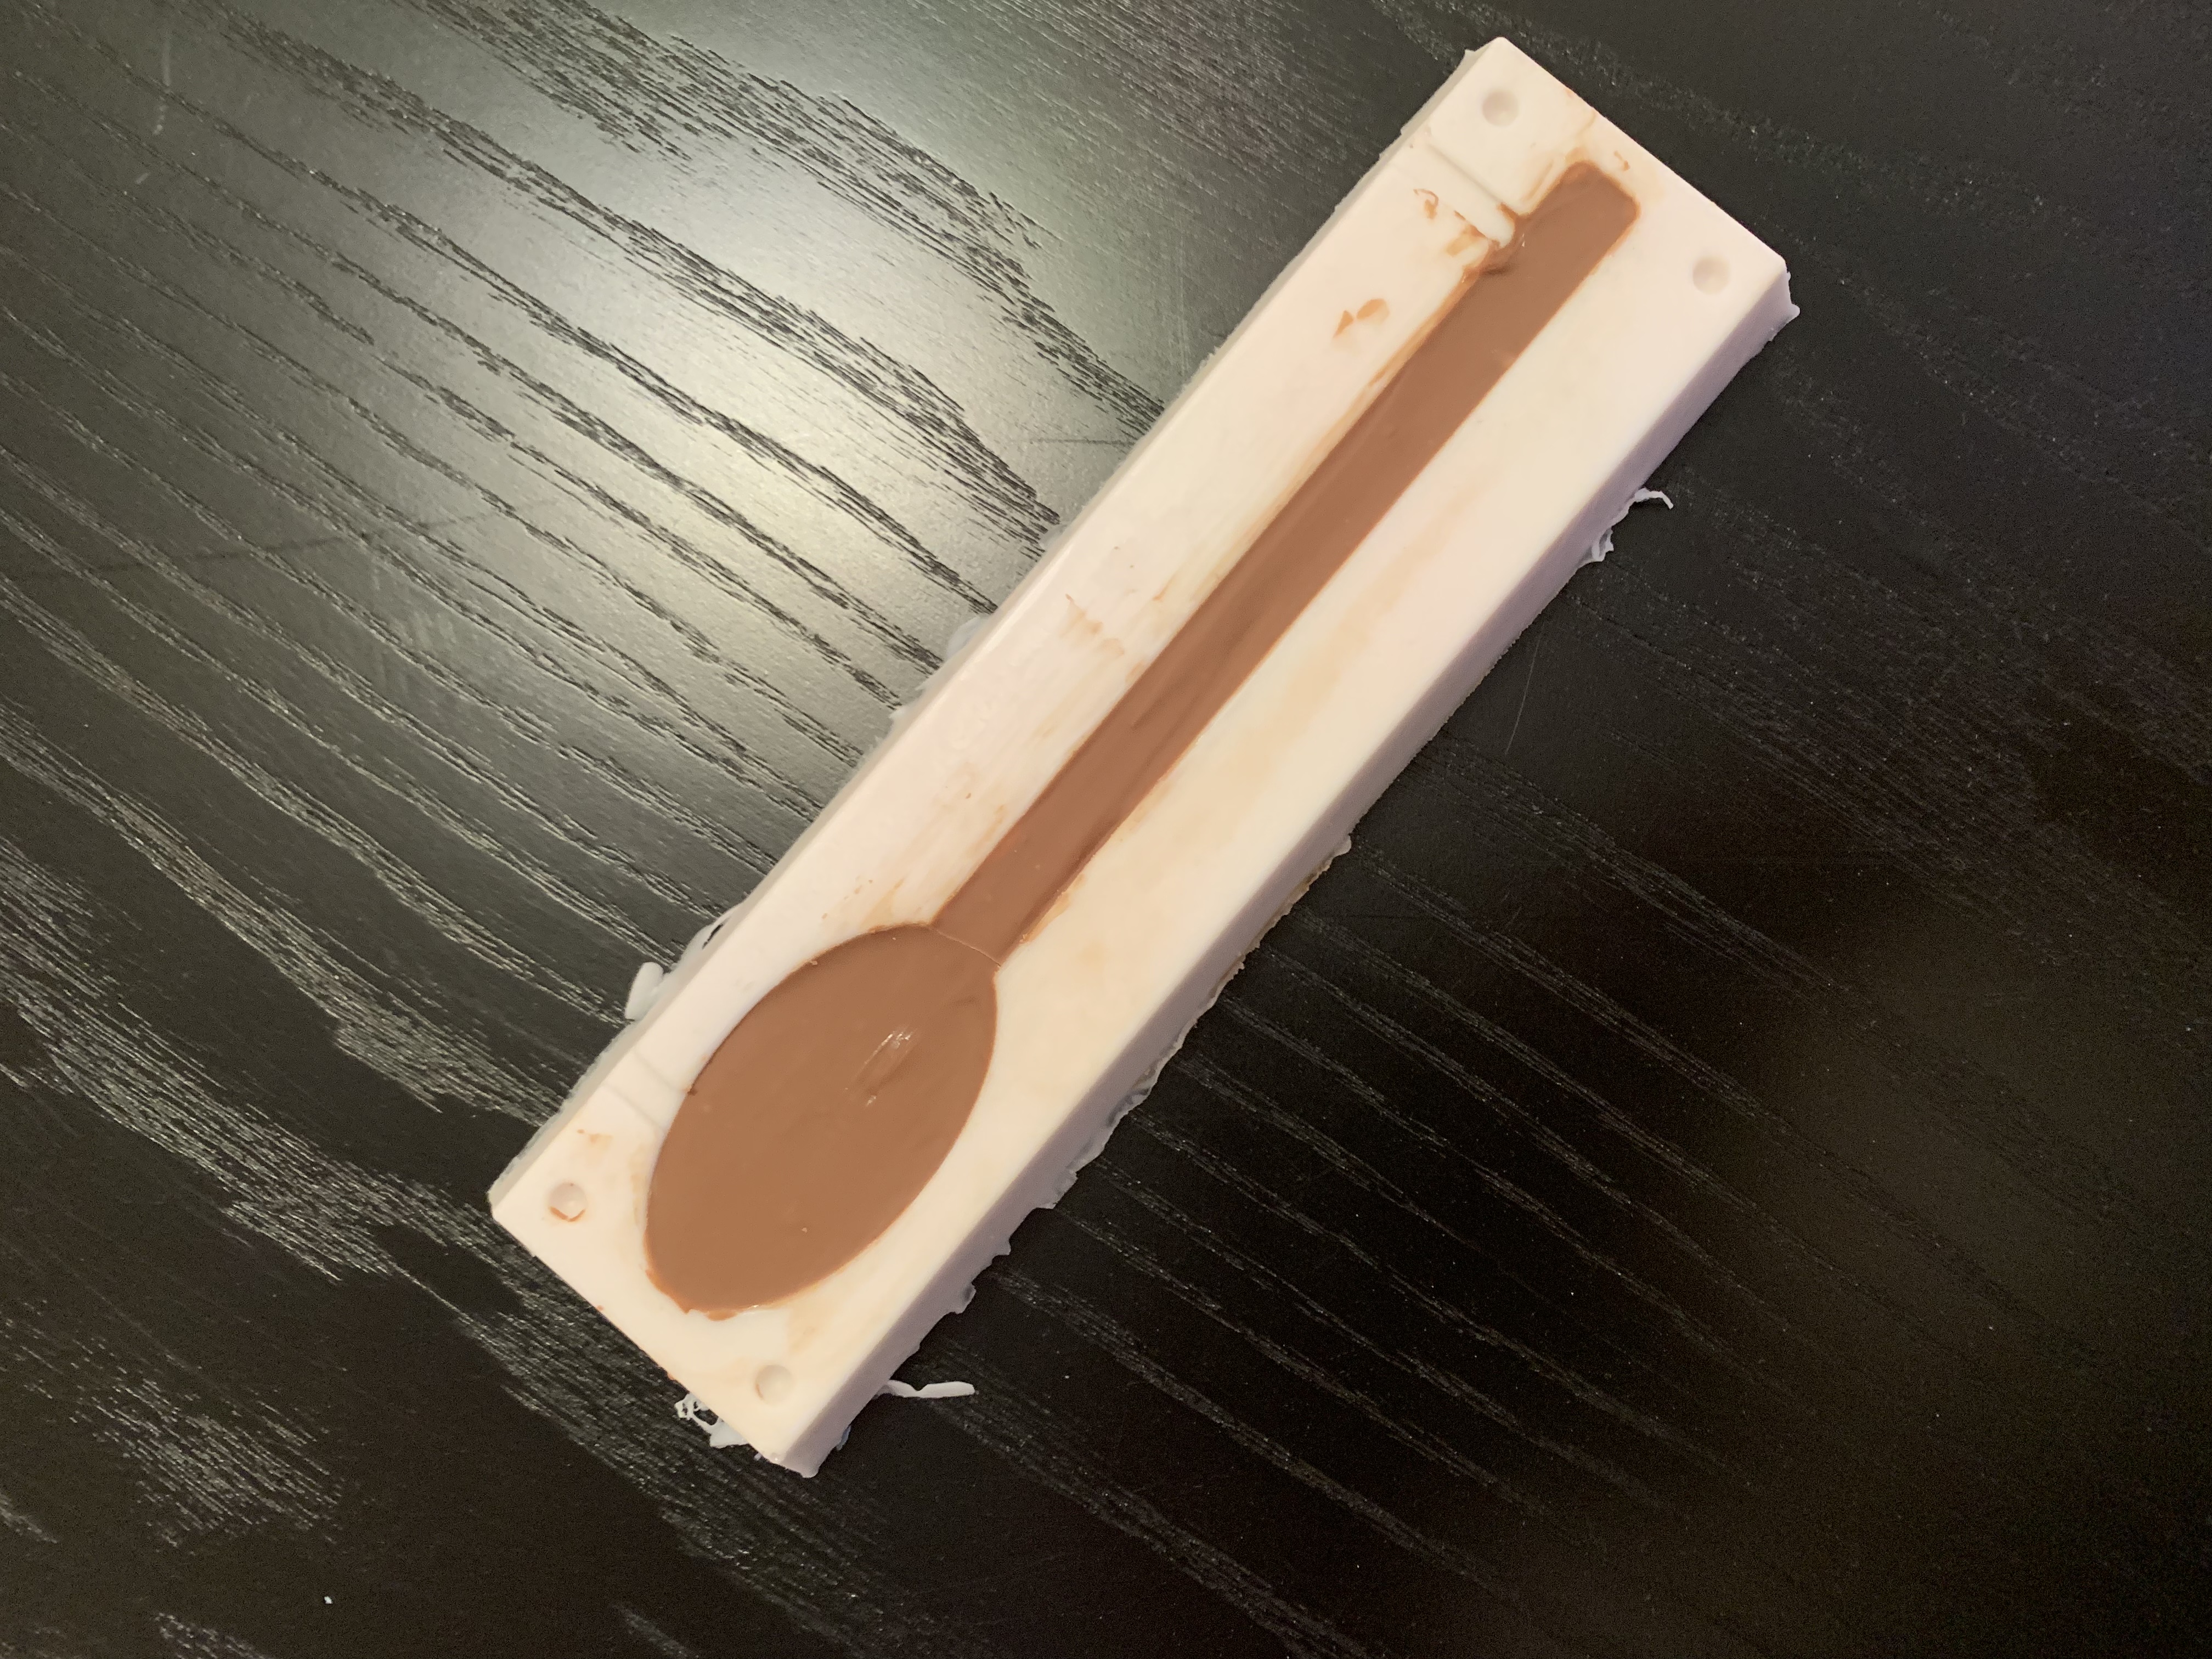
Removing the cast was easy:
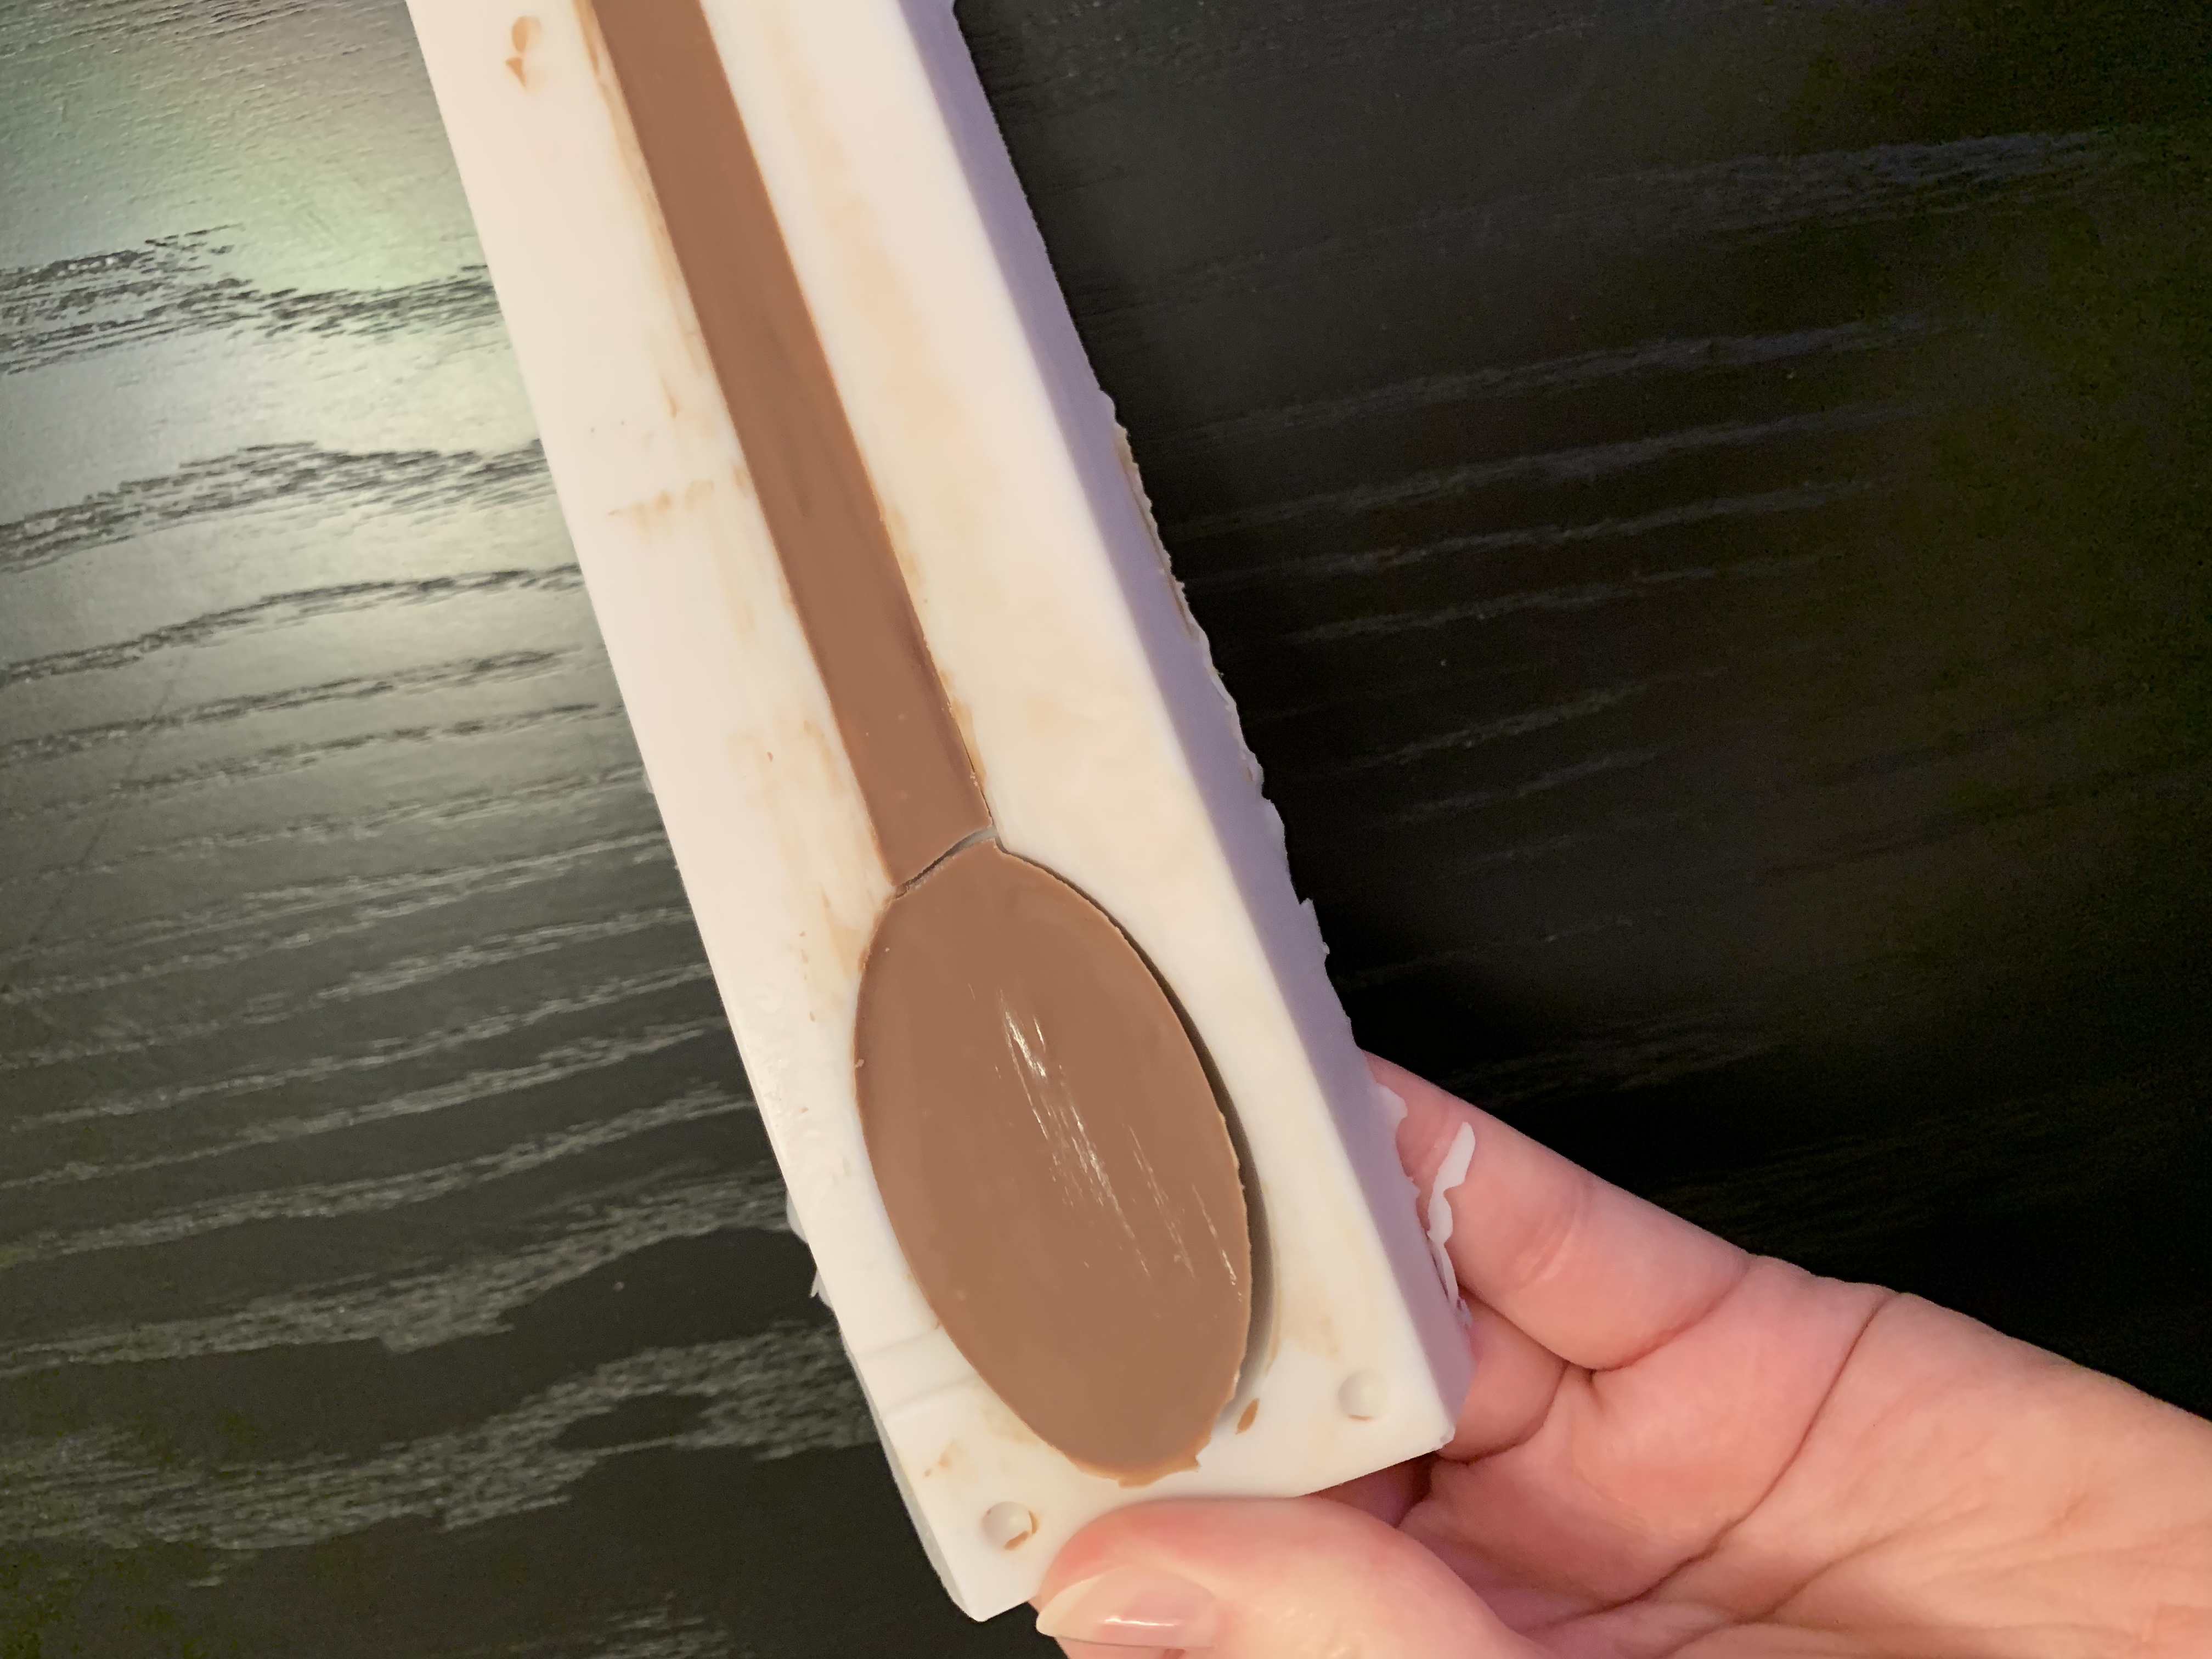
If I was to repeat this again, I would definitely have a larger spoon handle as this broke multiple times while getting it out of the mold. But overall, I consider this experience to be a success