- January 30 -
Back
CAD //

CAD, or computer-aided design and drafting (CADD), is technology for design and technical documentation, which replaces manual drafting with an automated process.

You can use some CAD systems for all of the major computer platforms, including Windows, Linux, Unix and Mac OS X. The user interface generally centers around a computer mouse, but a pen and digitizing graphic tablet can also be used.

Below I will describe some CAD software learned in the fab academy class.

AutoCad //

AutoCAD is computer-aided design (CAD) software that architects, engineers, and construction professionals rely on to create precise 2D and 3D drawings.

  • Draft and edit 2D geometry and 3D models with solids, surfaces, and mesh objects
  • Annotate drawings with text, dimensions, leaders, and tables
  • Customize with add-on apps and APIs

In the class, they taught us the basic principles of AutoCad, how to open the program, the toolbox, how to draw, establish measurements, define constraints and how to design parametrics.

Installation

The first thing is to install the program, for it, you must follow the following steps:

  1. Download the installer for MAC. (dmg extension)
  2. Double-click the dmg file
  3. The program will extract and the installer will run
  4. Select the install option and follow the prompts
  5. Enter the serial and Product Key
  6. Select the license type (network or standalone, dependent on the serial purchased)
  7. click "continue" and follow the prompts to install
  8. After installing AutoCAD please install all available Service Packs for your version of AutoCAD.

Practice

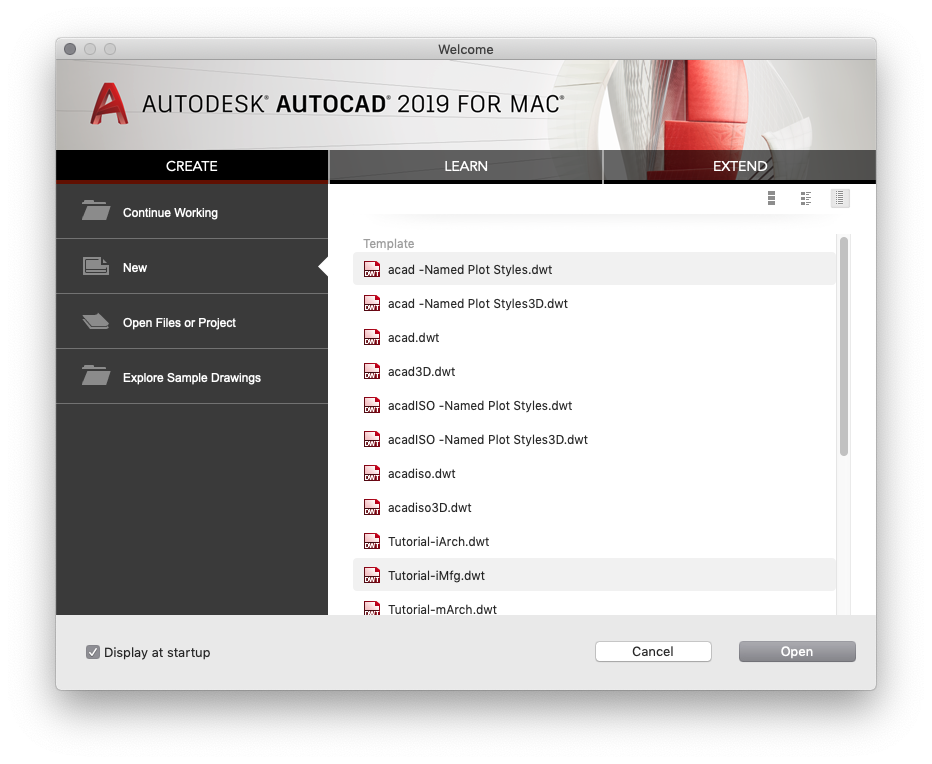
Open the AutoCAD application and create new project.

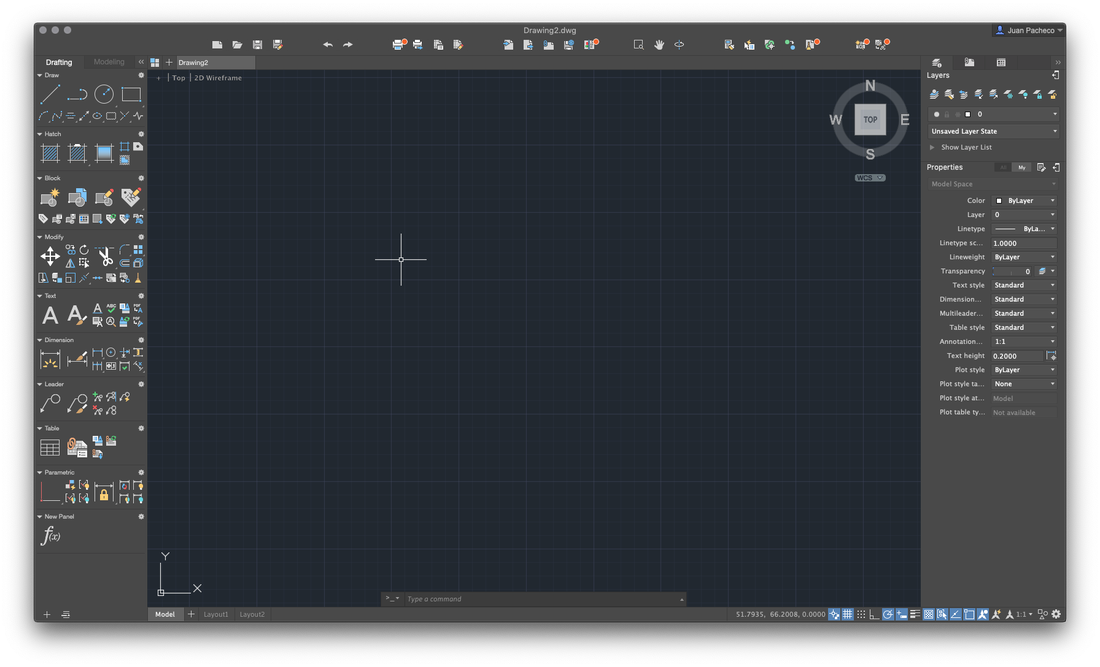
The program will open and show the following screen.

Something I noticed when using the version for mac, is that the tools are arranged in different ways, so I found it difficult to find certain tools.

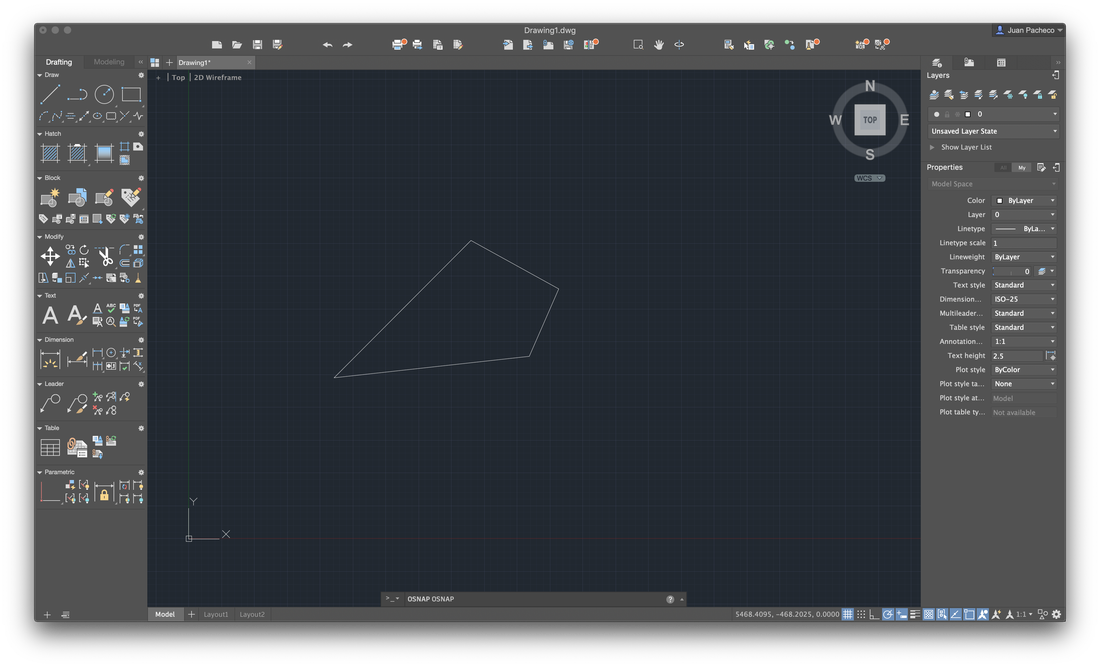
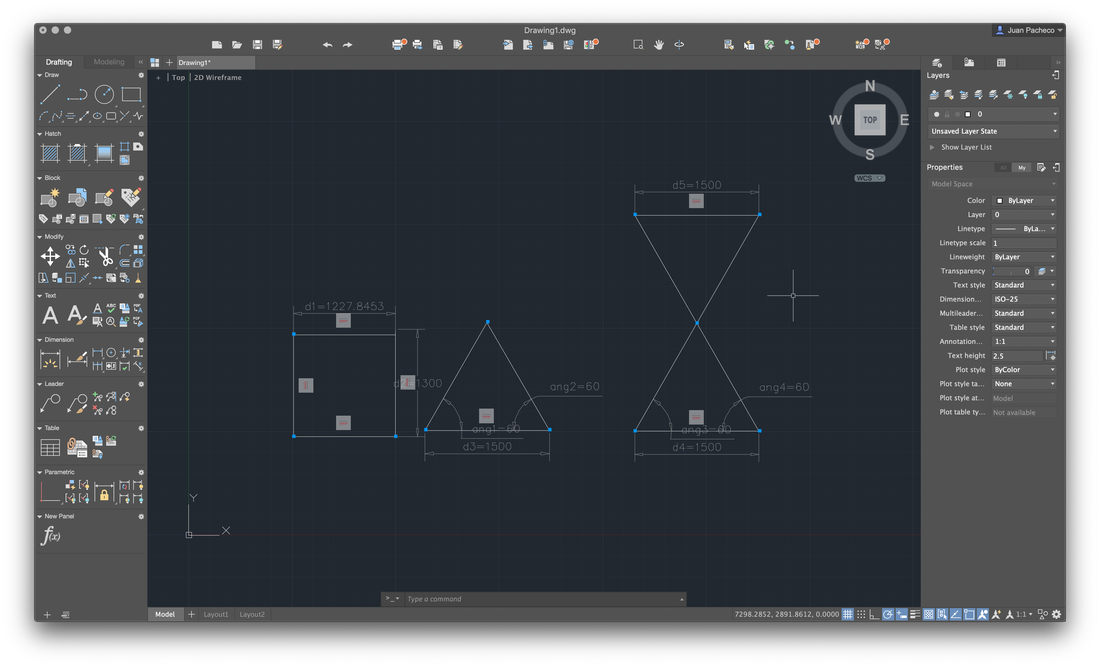
The first thing we did was to play with the draw tool drawer, where I could create the following figures.

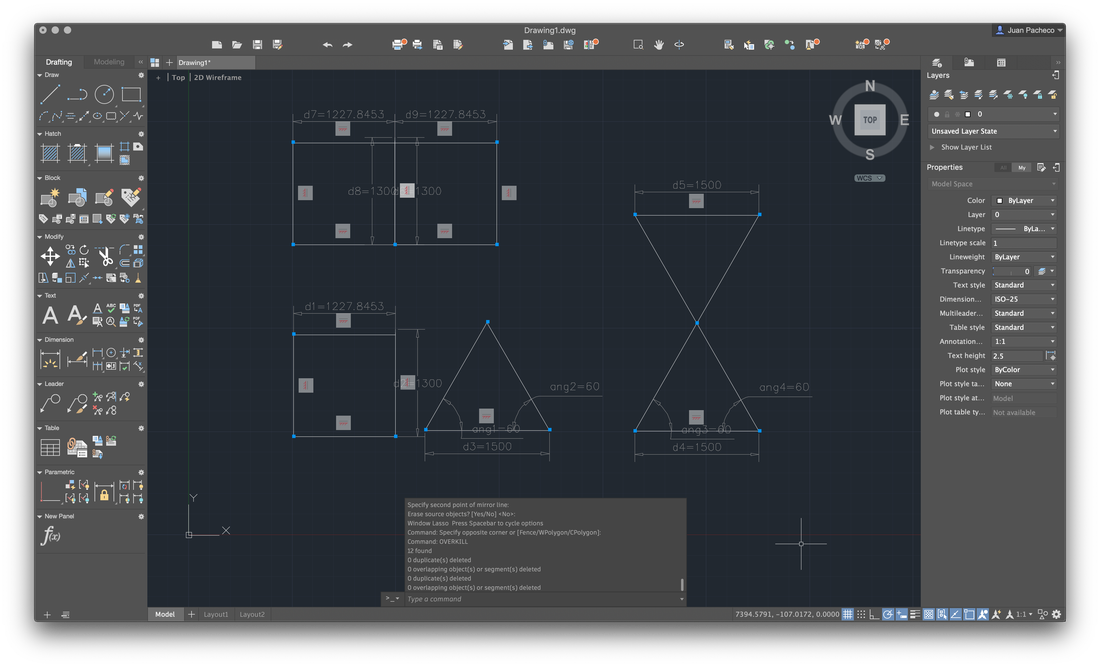
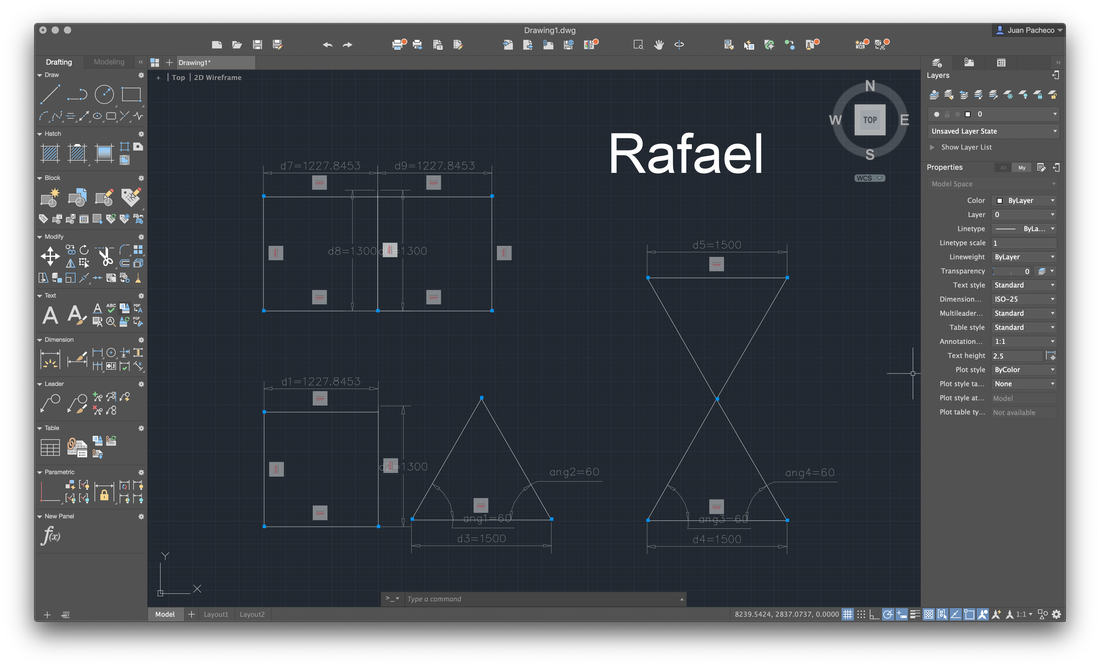
Then we played placing constraints to try to make parametric designs and thus be able to modify the dimensions of the models quickly. They also taught us to duplicate objects and move them in the workspace. In addition to using the text tool, with which I put my name.

The original files can be downloaded through the following link

SolidWorks //

SolidWorks is solid modelling software that allows you to design products in 3D. The technique is generally to sketch 2D profiles then use methods like extruding and lofting to produce the solid shape.

  • Easy to use parametric design modular, meaning you can easily edit the design at any stage in the design process.
  • Due to the popularity of SolidWorks it is highly likely that a competitor, supplier or customer will be using it, therefore eliminating the need to translate files from one system to another, reducing time and minimising the chance of errors.
  • Very productive 3D CAD software tool, with its integrated analytical tools and design automation to help stimulate physical behaviour such as kinematics, dynamics, stress, deflection, vibration, temperatures or fluid flow to suit all types of design.
  • Offers a consistent user interface throughout and drafting procedures that flow logically from start to finish.

In the class, they taught us the basic principles of SolidWorks, how to open the program, the toolbox, how to draw, enter and exit the sketch mode, extrude faces, use the tool of filing, how to use the sweeping tool and establish new ones planes, in this case I help me to use tool loft.

Installation

The first thing is to install the program, for it, you must follow the following steps:

  1. Browse to the SOLIDWORKS Web site.
  2. Login as a Subscription Service Customer, using your email address and password, or your SOLIDWORKS serial number.
  3. Under Self Service, click Download Software and Updates.
  4. Under Download Software, select the SOLIDWORKS version and service pack to download.

In my case, being a Mac user, there is no SolidWorks version for this OS, unless you install Windows in a partition, fortunately Mac provides the BootCamp tool, which helps in this task.

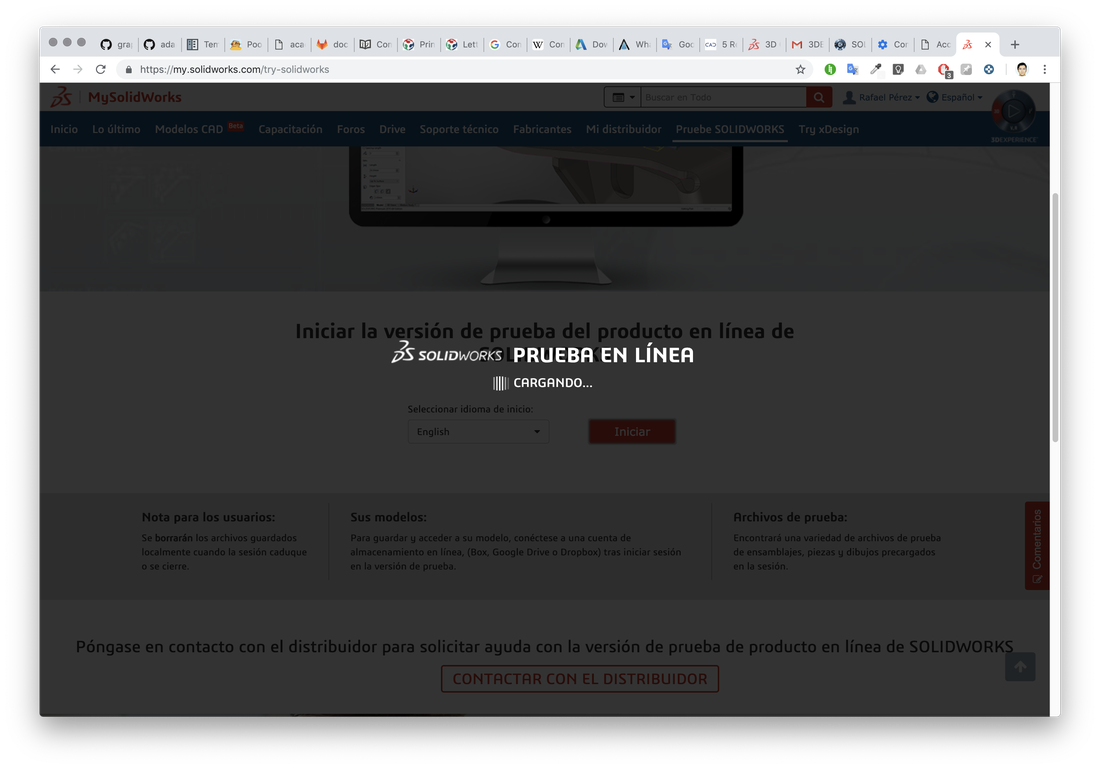
I have Windows installed in this way, however for practical purposes I decided to try SolidWorks from the browser, through the following link.

Practice

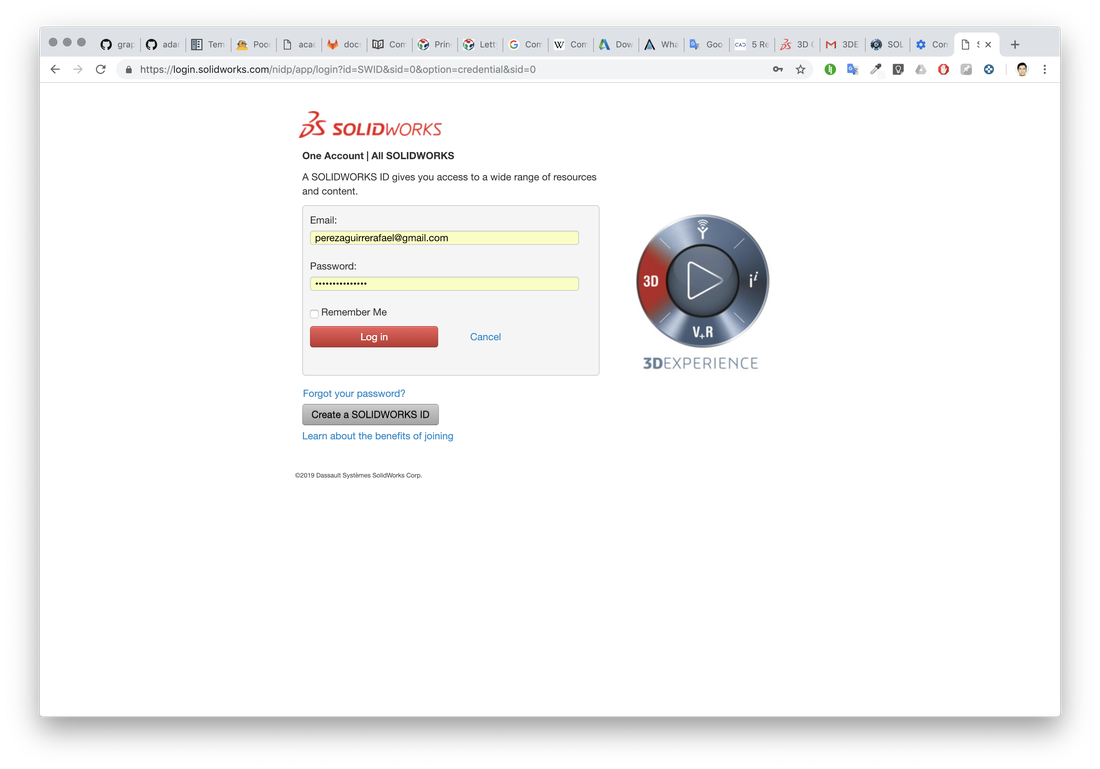
Enter the site of try SolidWorks and next login you, then enter the test site.

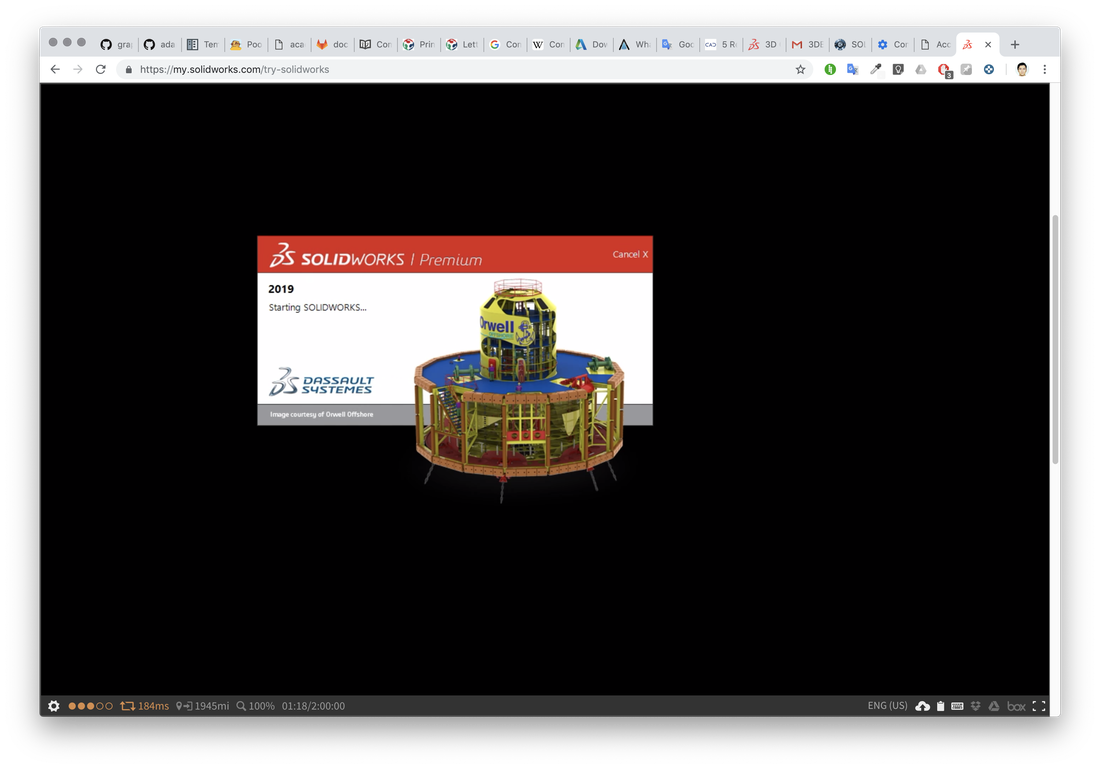
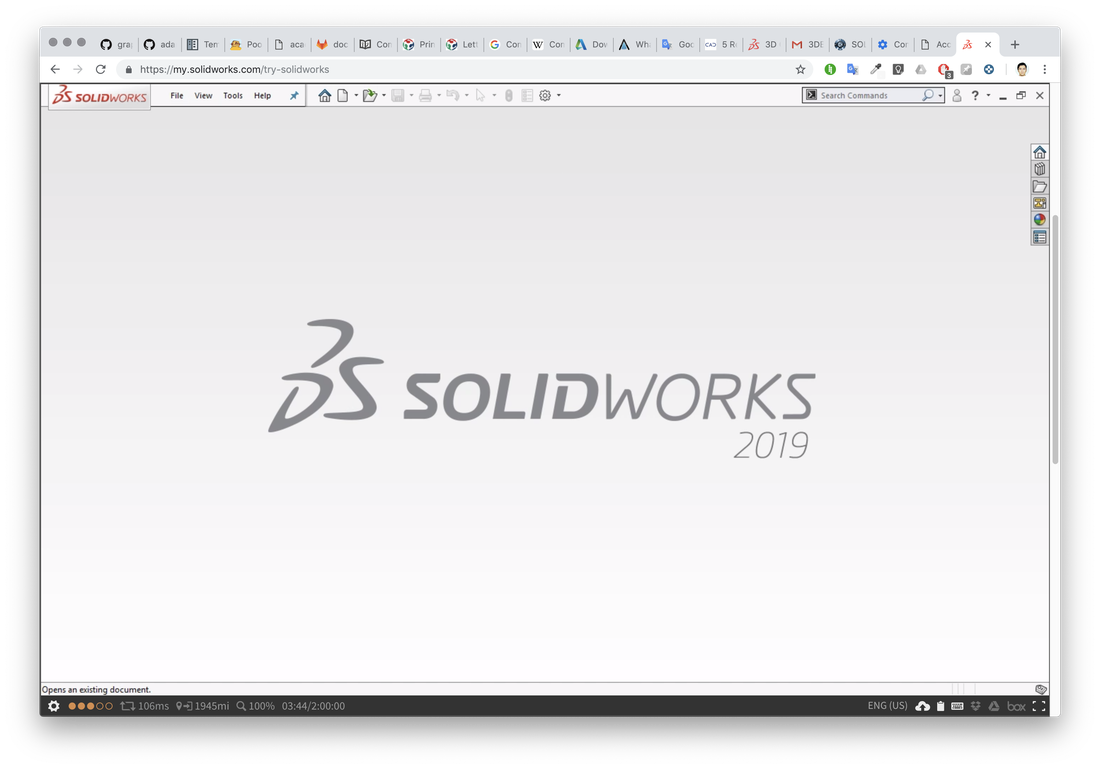
Then, the program will start and load SolidWorks automatically. It seems to create a virtual machine instance of windows, where you can play with SolidWorks.

After teaching us the basics of SolidWorks, the first activity was to create a donut, drawing 2 circles, one inside the other and then extrude the object.

Then extruded cut the small circle to make the hole of a traditional donut.

Then, with the help of the fileted tool, select the edges to give the curvature of a donut.

The next example was the same as creating a donut, but with a different technique, to learn more tools. To do this we create a base circle in the top plane and then create a small circle in the right plane, with the purpose of anity the circles.

Then, with the sweep tool, we select the path and then the profile and validate.

The following exercise familiarized us with the management of the planes, which, in this example allowed us to connect two circles in different planes.

Selecting the two circles, we use the loft tool to connect the two objects, the result is shown below.

The original files can be downloaded through the following link

Maya //

Maya 3D animation, modeling, simulation, and rendering software provides an integrated, powerful toolset. Use it for animation, environments, motion graphics, virtual reality, and character creation.

  • Motion graphics
  • 3D animation
  • 3D modeling
  • Dynamics and effects
  • 3D rendering and shading
  • Pipeline integration

This software was not taught to us in the fab academy, however I already knew how to use it for a few years since in the past I took a couple of courses about Maya. I decided to integrate it in this section because in my case, it facilitates me to model my ideas. Although I know that a main restriction, are the measures, since it would be more complicated to pass it to the real world with digital manufacturing.

Installation

The first thing is to install the program, for it, you must follow the following steps:

  1. Download the installer for MAC. (dmg extension)
  2. Double-click the dmg file
  3. The program will extract and the installer will run
  4. Select the install option and follow the prompts
  5. Enter the serial and Product Key
  6. Select the license type (network or standalone, dependent on the serial purchased)
  7. click "done"
  8. After installing Maya3D please install all available Service Packs for your version of Maya3D.
Slicer //

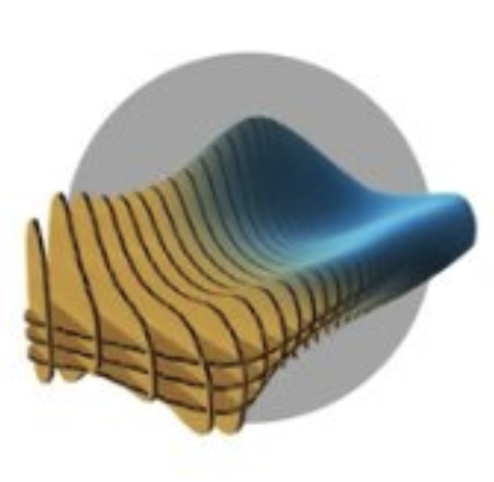
Slicer for Autodesk® Fusion 360™ is a tool to turn your digital 3D models into appealing artefacts. It slices and converts 3D models into 2D patterns that you can cut out of any flat material. Slicer for Fusion 360 also creates 3D instructions you can interact with, to help build a model.

You can apply various slicing techniques to your model and create 2d plans in EPS, DXF or PDF formats that you can cut using Laser cutter or CNC machine.

This software was not taught in the fab academy either, however it is a tool that I already knew and that helps me a lot so I can imagine how cuts and assemblies would be.

Installation

The first thing is to install the program, for it, you must follow the following steps:

  1. Download the installer for MAC. (pkg extension)
  2. Double-click the dmg file
  3. The program will extract and the installer will run
  4. Select the install option and follow the prompts
  5. click "done"
The model //

For the construction of my model, I decided to use the following tools:

  • AutoCAD
  • Maya
  • Slicer

However, later I would like to replicate it in some other CAD.

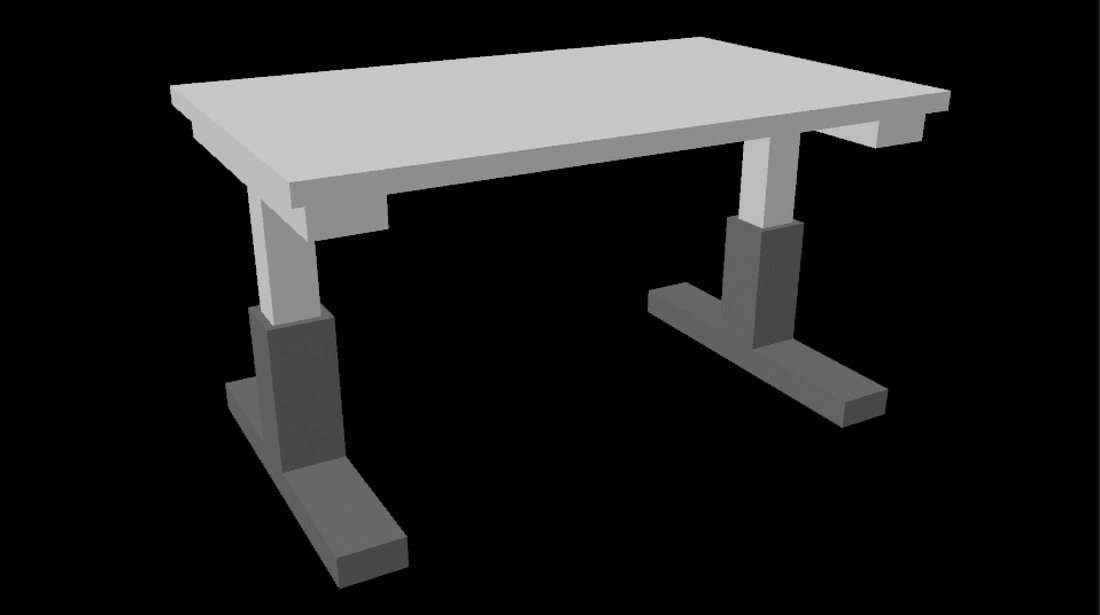
For my final project, I had two possible prototypes, however continuing with my research and adjusted times, I decided to generate a third prototype, which in a way combines the previous two.

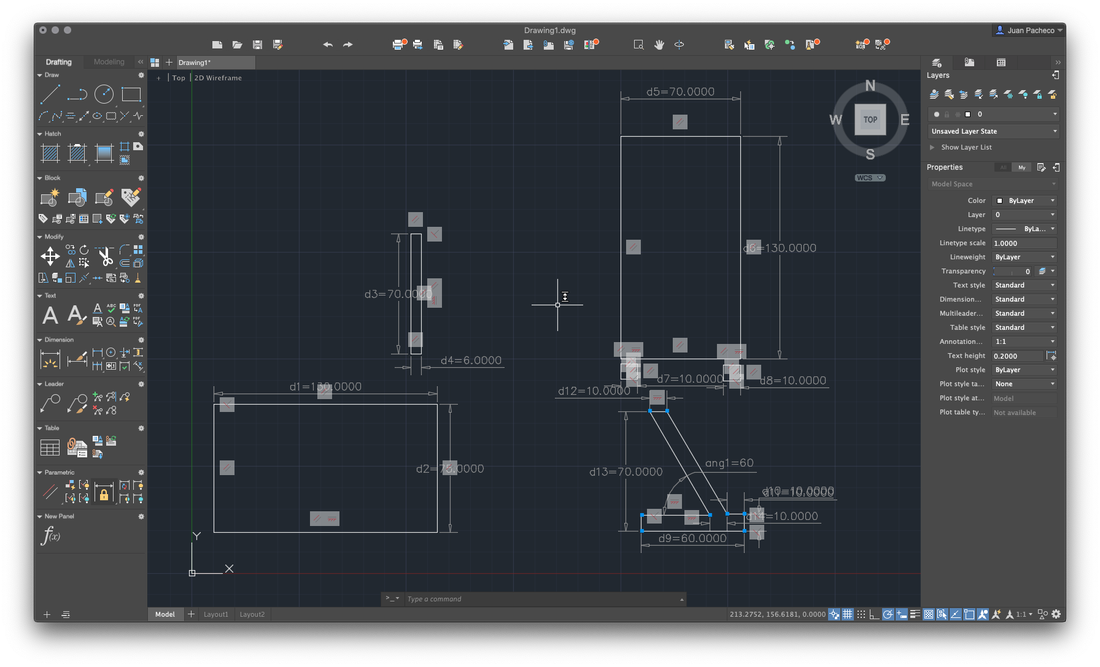
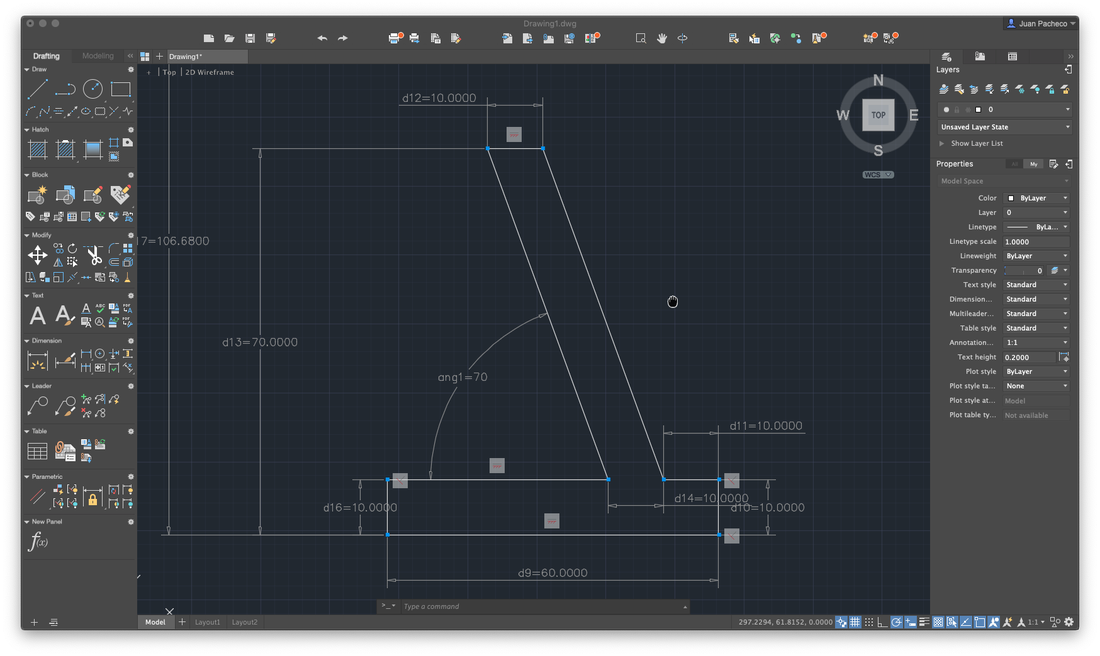
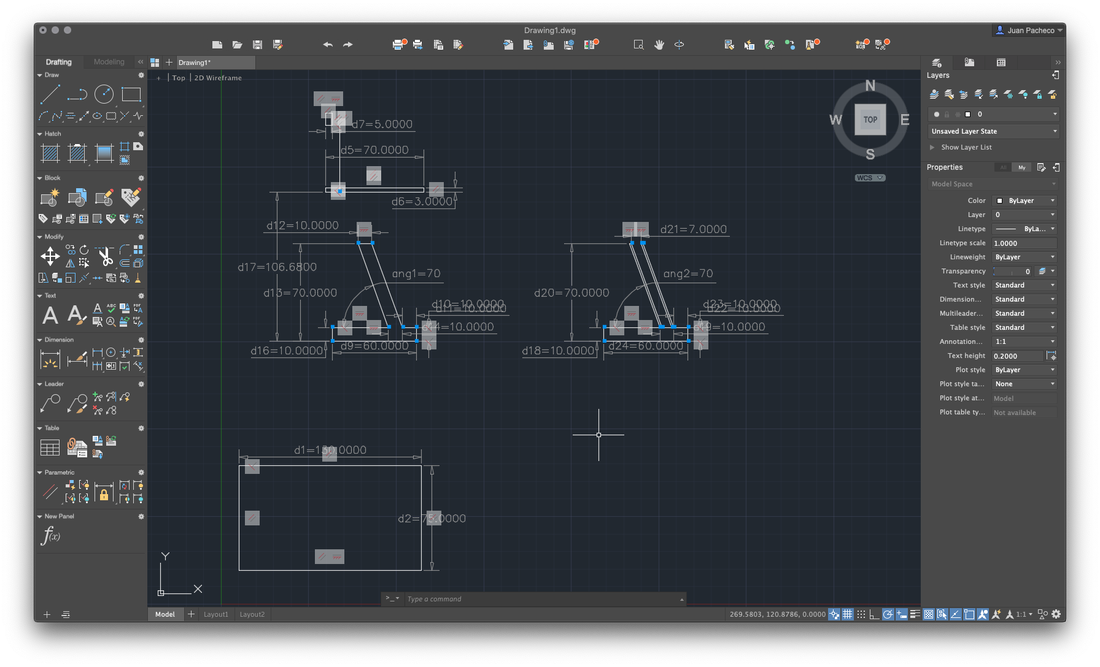
The first thing I did was create the plans of my desktop in AutoCAD, where I used the tools previously learned in this course.

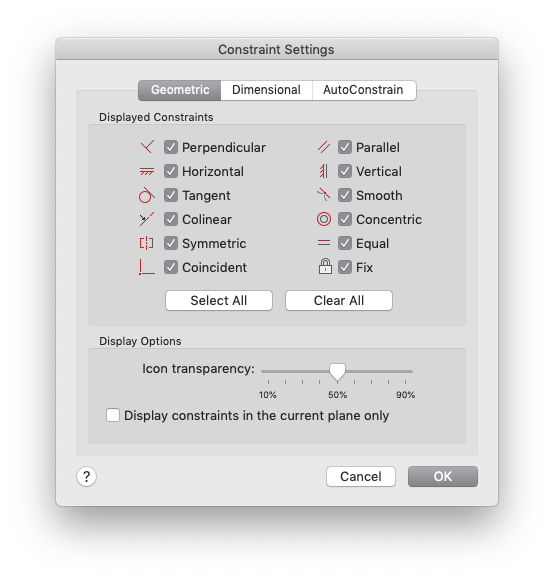
A problem that I detected in my AutoCAD class was to correctly define the constraints after creating your object. Researching a little, I found that enabling the option of Infer Constraints helps you to establish the constraints according to the workflow, besides that you can configure it to your needs.

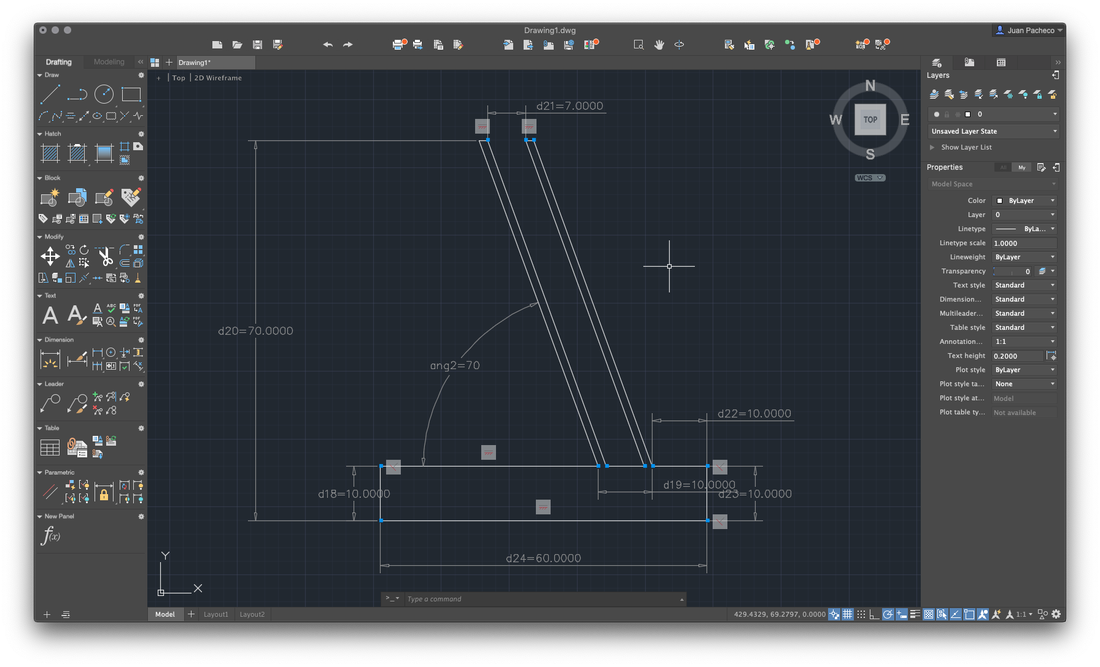
The first thing I did was to draw the top part of the table, for that I used the rectangle tool, after that I established horizontal and vertical constraints, which allowed me to establish the measurements.

Duplicate the top of the table and rotate on a pivot to be able to place it in another angle that allowed me to use it as a base to draw the legs.

For the legs use the line tool, where I try to establish the basic measurements, for the other measures I used constraints to maintain the shape.

It is worth mentioning that I had many problems in how to assemble the pieces of the legs, because they are hollow so you can place the mechanism that allows you to adjust the height.

I plan to use 15mm plywood, so try to design the parts of my model based on this measure.

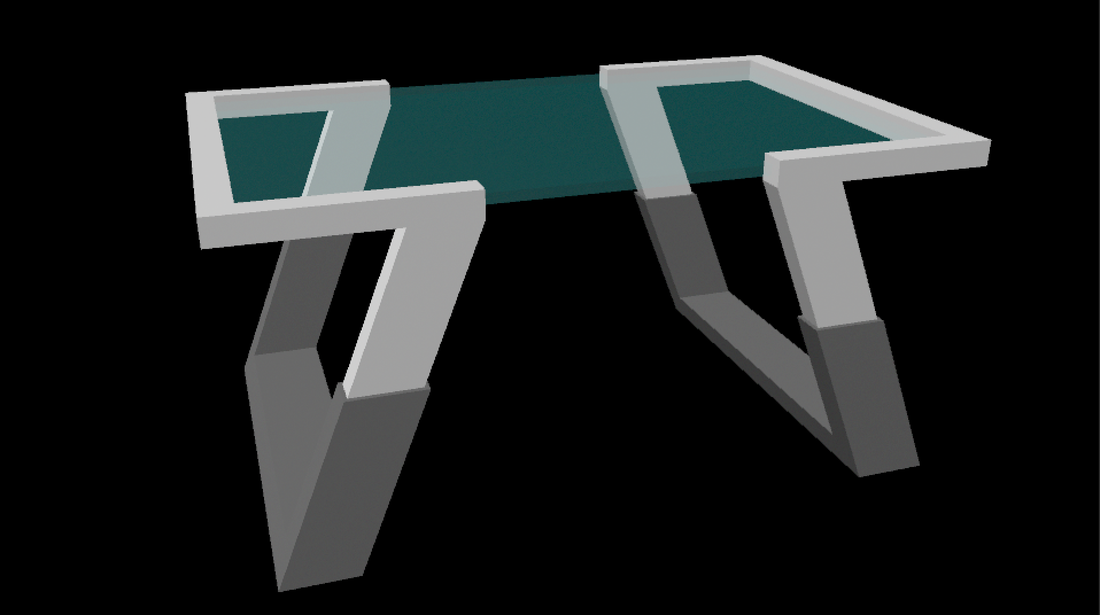
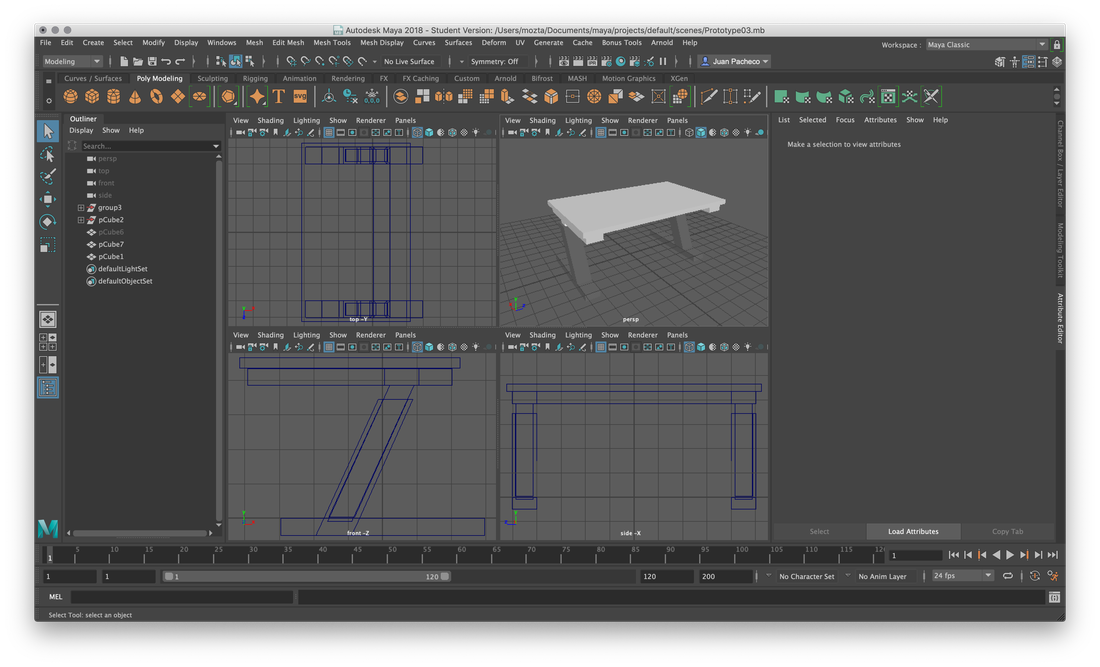
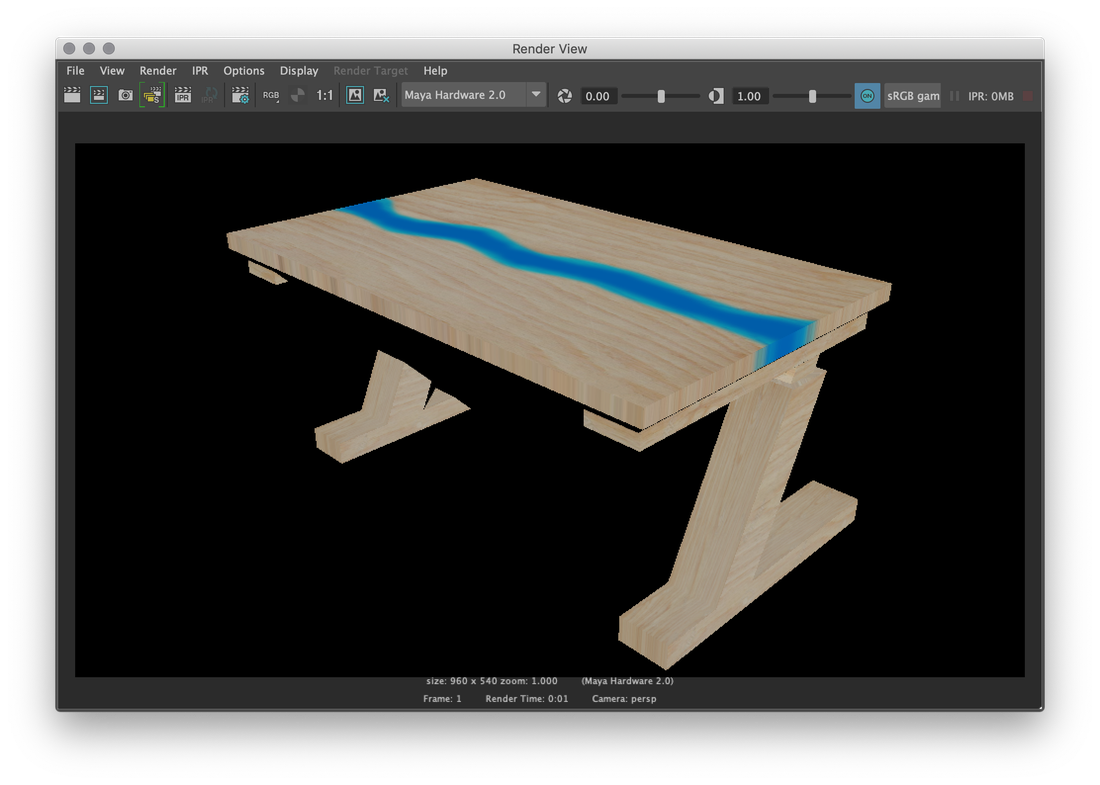
So far, I paused my design in AutoCAD because I needed to land my ideas, so I designed prototype number 3 in Maya.

The idea of this design is that the height movement of the desk is up and front, this in order that when the user decides to get up to work standing, just make a move, without having to take a step back.

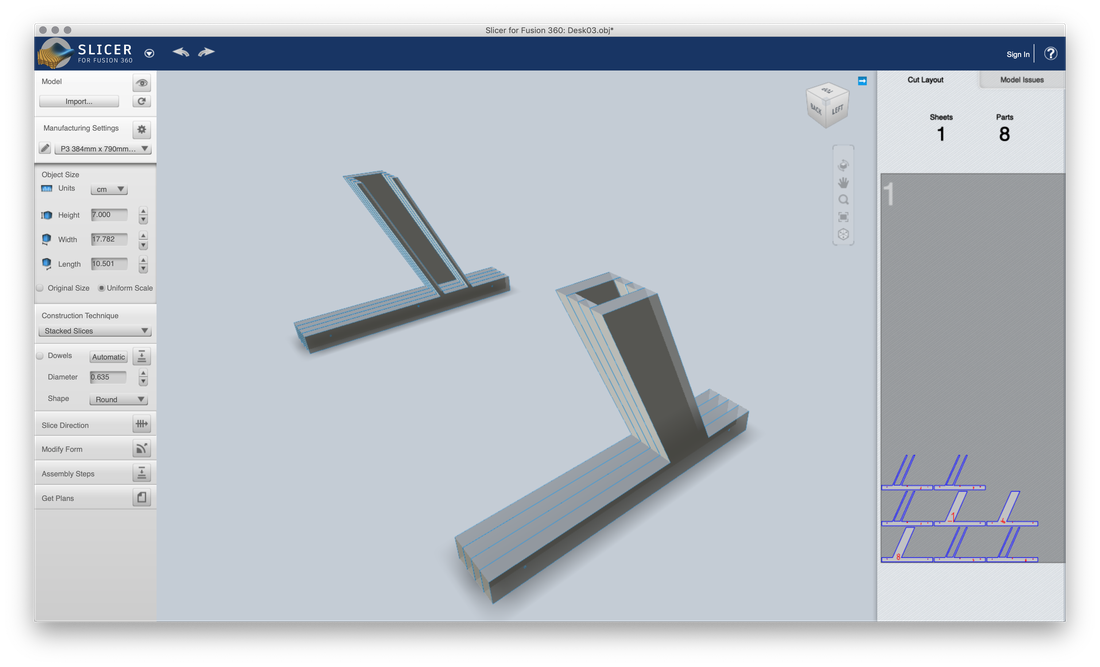
Then export the legs in OBJ format to be able to import it in Slicer and try to segment the design in sheets

After having the idea of the pieces for the legs, I continued with my design in AutoCAD, already with better measures and the correct angle of inclination of the legs.

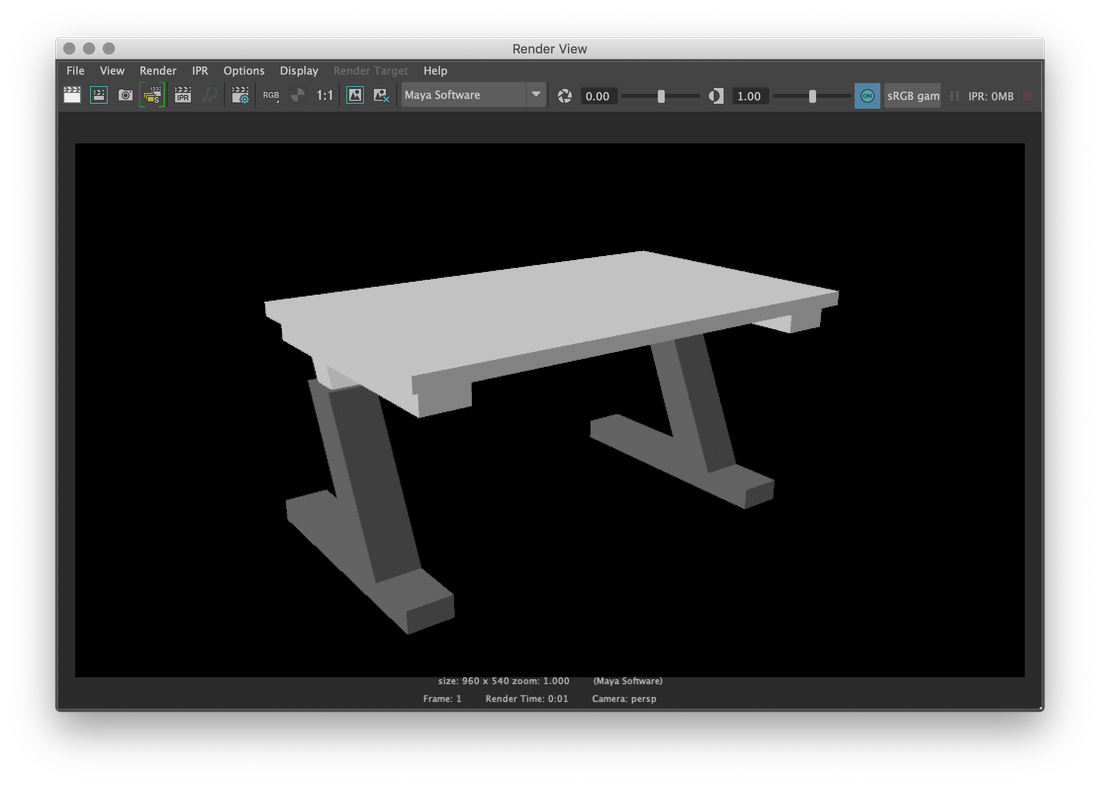
And the finish result is the next.

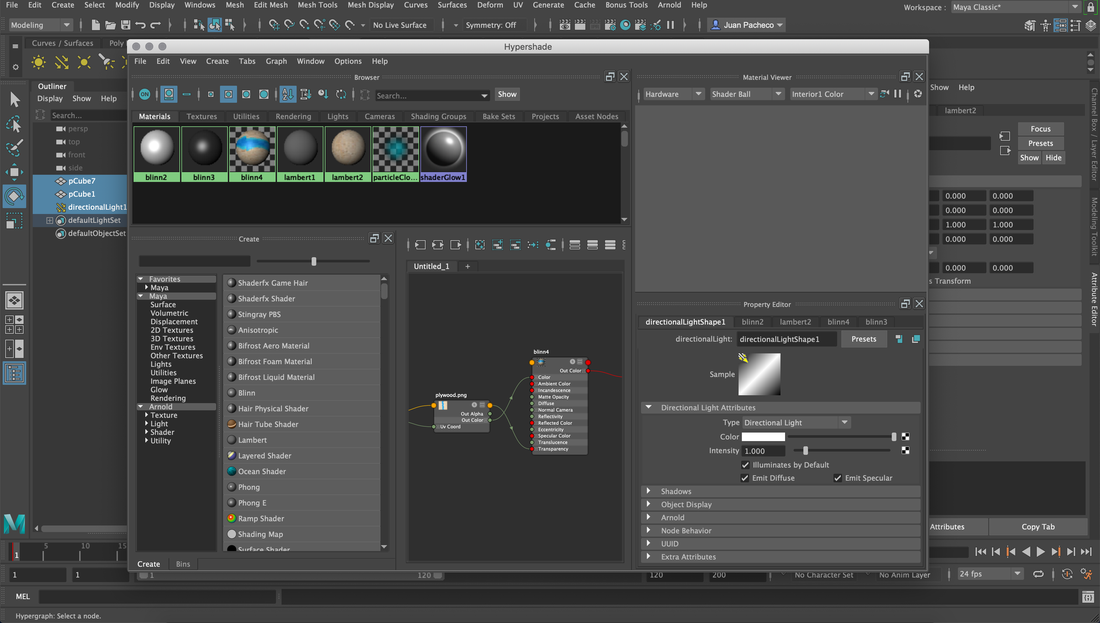
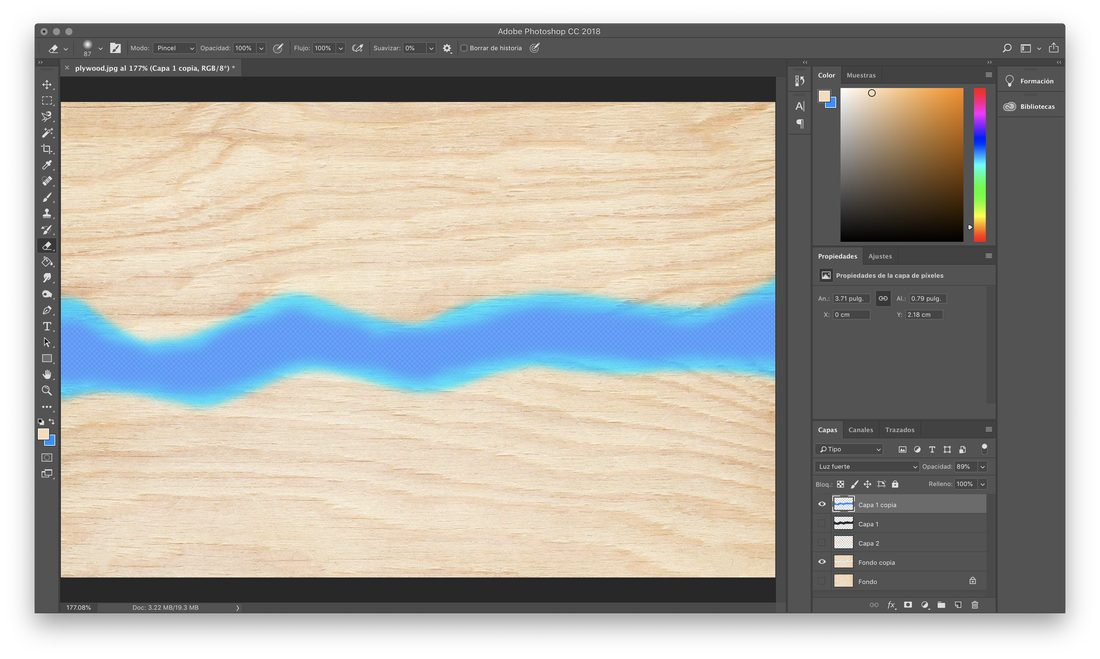
And for the 3D model, assign textures, which I designed in Photoshop, added lights to generate the render.

I uploaded my 3D model to the sketchfab platform so I could embed it in my page in a viewer.

The files //

Below you can find the download links of the original files created for this week.