In this section I will describe the developer platform I use, the development environment and my project plan.
The development of this website was made on a MacBook Pro with the next characteristics:

Project repository
The project repository can be found at the following link. Later we will explain how to clone it to work in the application having the development environment installed.
Tools for development:
- Atom as web IDE.
- Git as version control software.
- Gitlab as repository server git on the web.
- GitKraken as a multiplatform graphical interface for git.
- Google Chrome as a web browser.
The development tools are multiplatform and can also be downloaded for free, so it is possible to install them in different operating systems such as Linux, Mac OS and Windows.
Installation of Atom
You can use some other text editor, however Atom is recommended for the benefits it has for development. To install it, it is necessary to download the installer according to the operating system on which it is developed.

Installation of git
There are three easy ways to install Git on a Mac. The simplest way is to use Git's graphical installer, which you can download from the SourceForge page.
An alternative is to install Git through MacPorts. If you have MacPorts installed, install Git with:
$ sudo port install git-core +svn +doc +bash_completion +gitweb Another alternative is Homebrew. If you already have Homebrew installed, install Git with:
$ brew install git For installation on other platforms, visit the official Git download site.
For more information on the use of Git see this guide.
After having installed and configured the development environment, you must proceed to obtain the repository. We open a terminal and we position ourselves in the directory where the project is required.
$ cd Documents/Gitlab If you do not have the Gitlab directory, you can create it with the next command:
$ mkdir Gitlab Now you need to establish your username and email address. This is important because the commits in Git use this information, and it is introduced immutable in the commits you send:
$ git config --global user.name "your name"
$ git config --global user.email "your email"
Get project files
To install the project we must clone the source code of the project on our local machine with the next command:
$ git clone https://gitlab.fabcloud.org/academany/fabacademy/2019/labs/puebla/students/rafael-aguirre.git In the next image you can see the successful cloning:
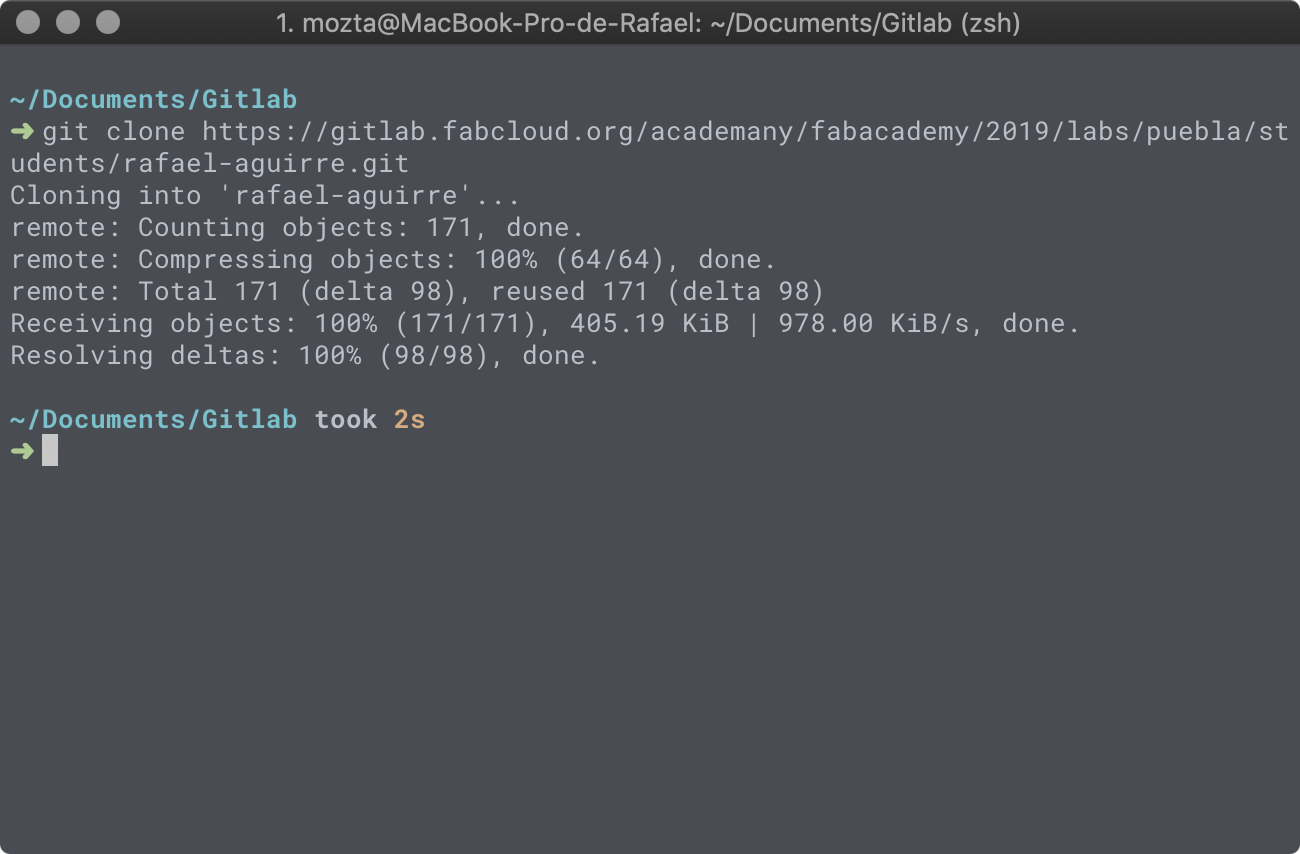
After cloning the repository, we must enter the repository directory with the following command:
$ cd rafael-aguirre Now you have the entire project ready to be able to edit or update it. Enjoy!

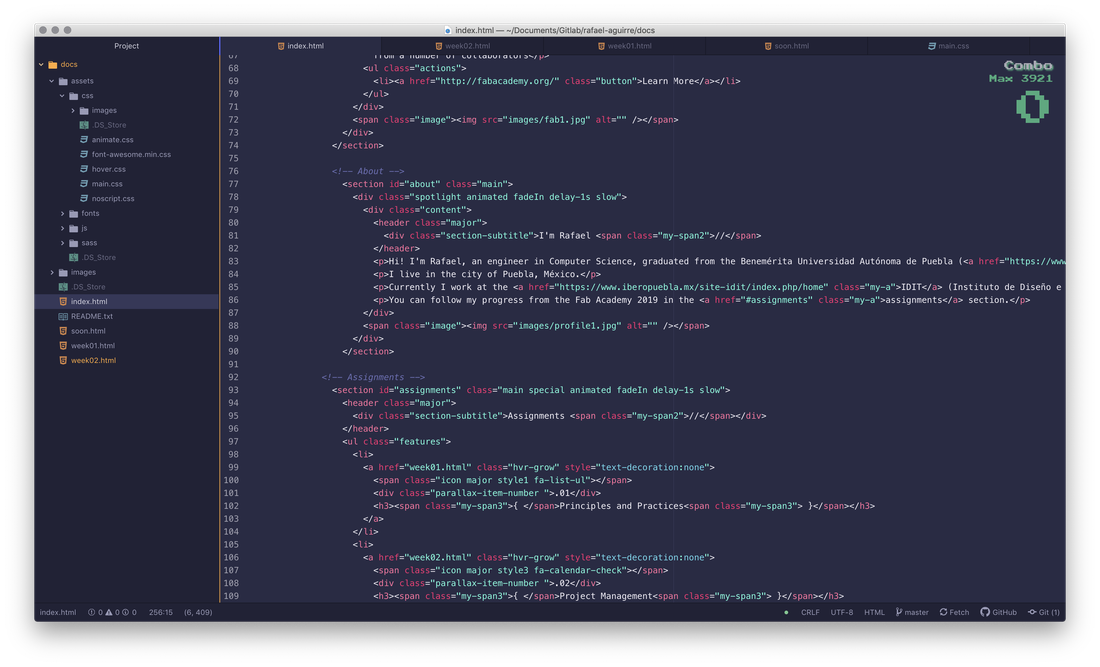
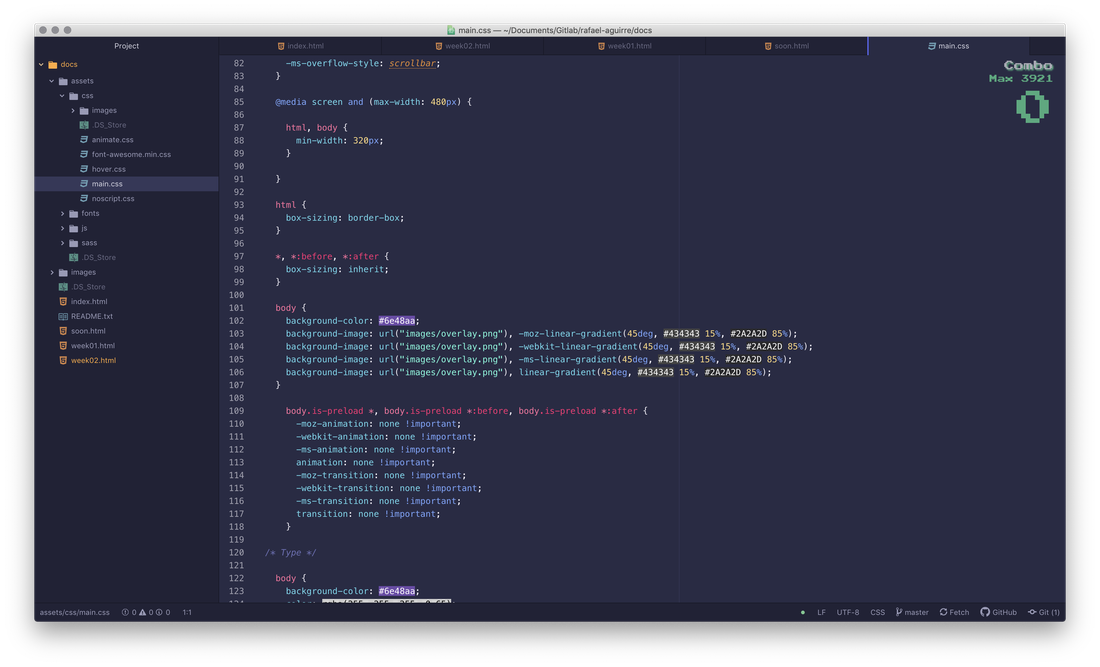
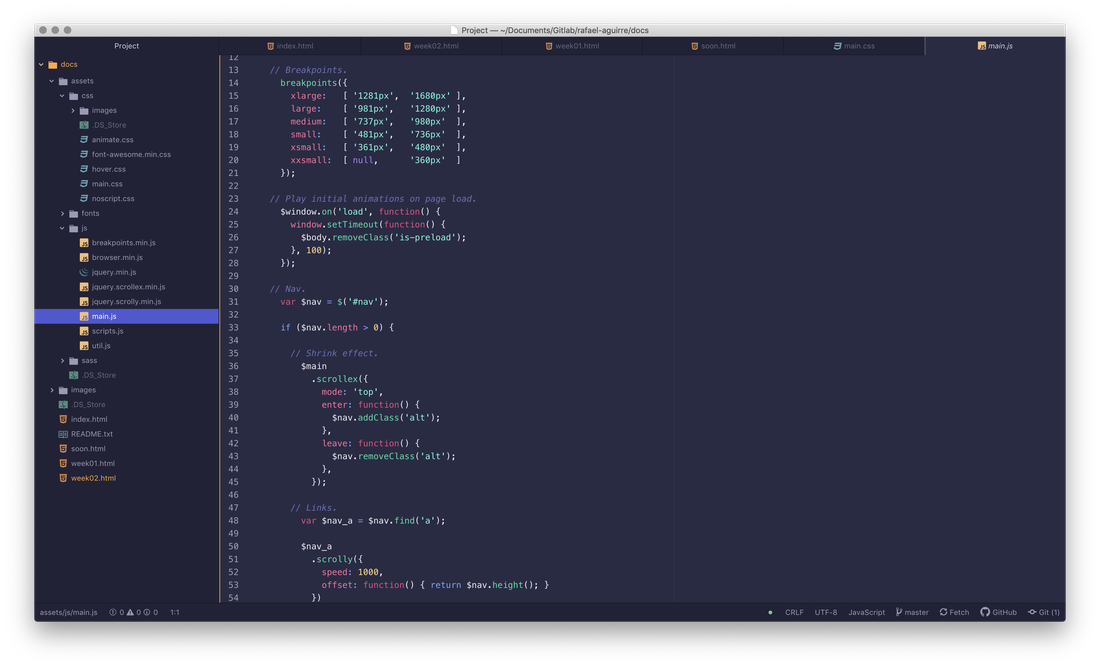
After having installed my developer environment, create and build my web page in the Atom editor. The structure of the project is as follows:
- In the root are the .html files
- In the image folder you will find the images that are used in the site.
- The assets folder is divided into css, where are the style sheets files that include my site, including the design, colors and animations, in the font folder you can find the fonts, in the js folder you will find the javascript files that allow to interact with HTML documents, manipulate the DOM tree, handle events, develop animations.
In summary, html allows you to create the skeleton, css makes it beautiful and js gives life to your site.
For the development of my website I had no problems as they are knowledge that I already knew.

For the editing of images I use Photoshop and for the design of logos in svg format I use Ilustrator. For 3D models use Maya.
For version control I use the GitKraken platform, because it allows me to visualize all the changes in a friendly and cool way. However the commits I prefer to do them from terminal.
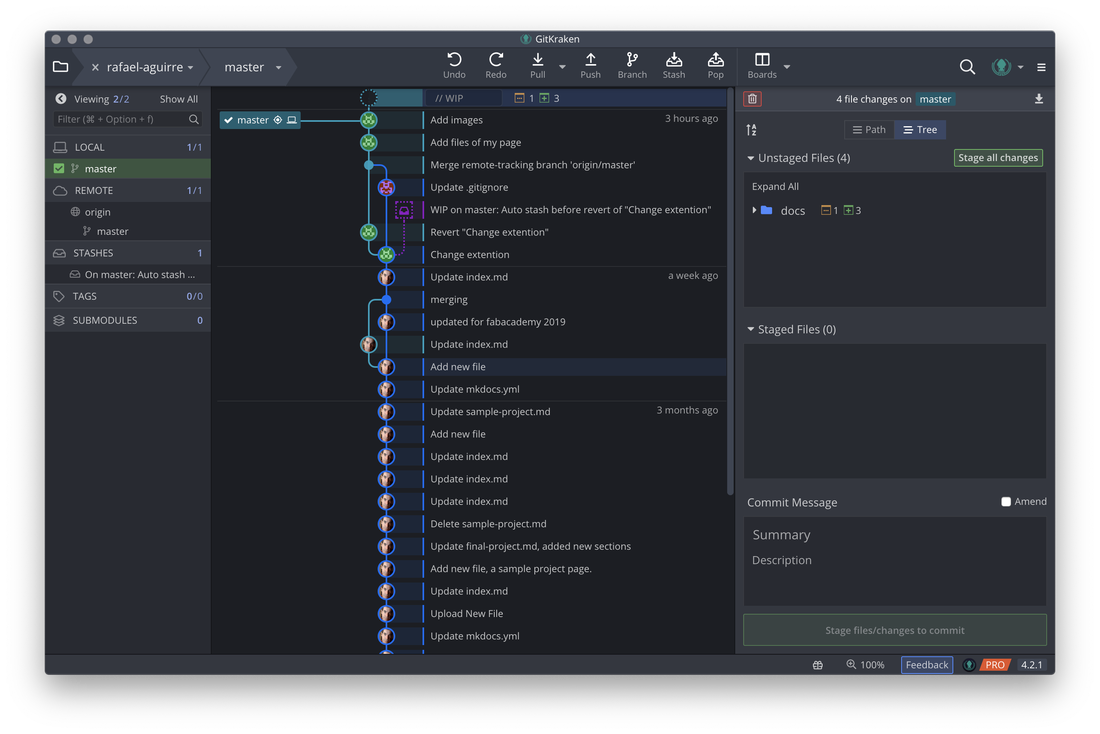

For the realization of my project plan, I decided to use the Glo Boards tool, since it allows me to manage my tasks in a friendly way, besides being included in the GitKraken platform that I use as a git graphical interface.
