Week 3. Computer-aided Design
Go to:
1. Blender
Blender is a free and open-source 3D computer graphics software toolset used for creating animated films, visual effects, art, 3D printed models, interactive 3D applications and video games. Blender's features include 3D modeling, UV unwrapping, texturing, raster graphics editing, rigging and skinning, fluid and smoke simulation, particle simulation, soft body simulation, sculpting, animating, match moving, rendering, motion graphics, video editing and compositing.
© From Wikipedia, the free encyclopedia
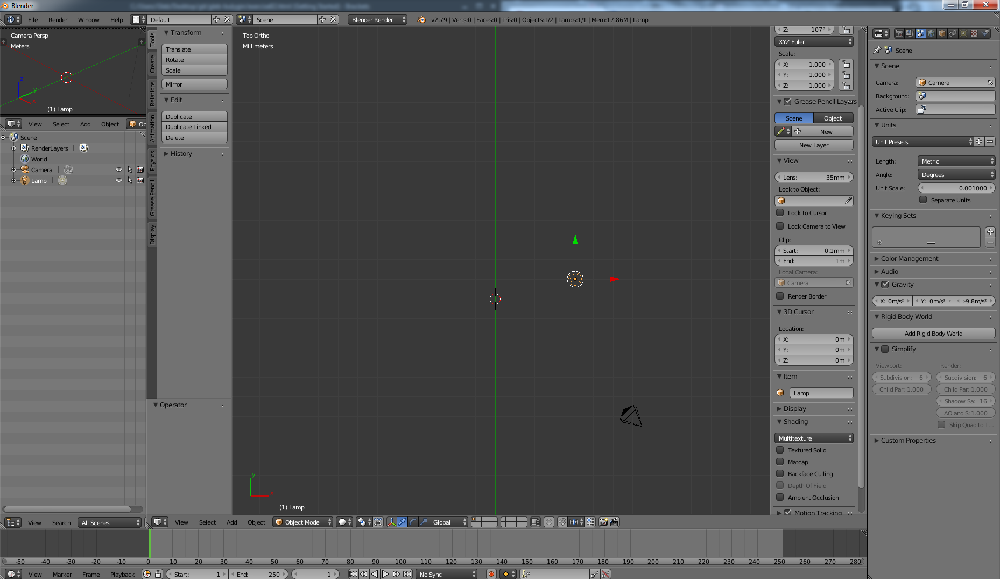
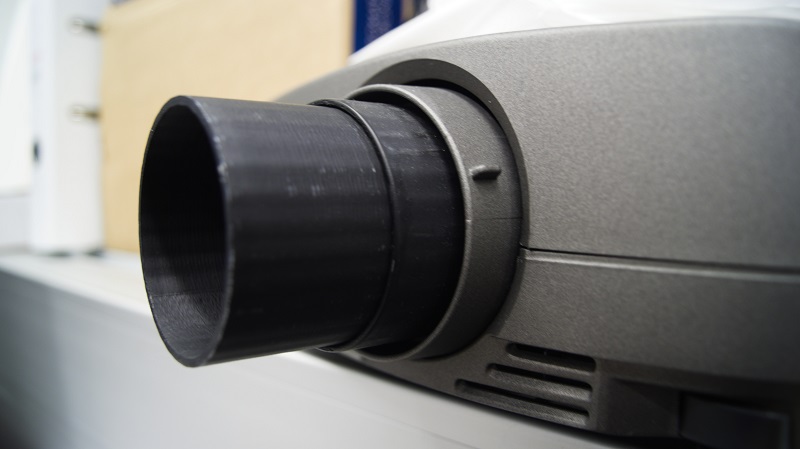
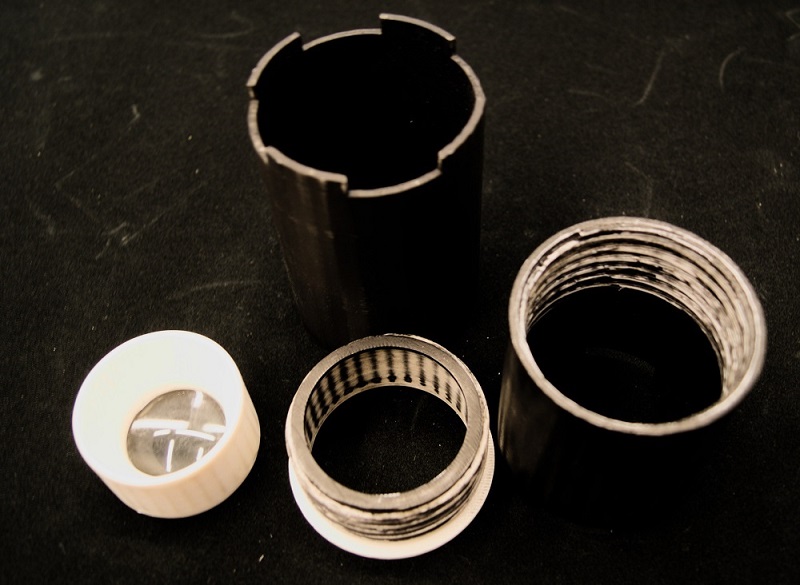
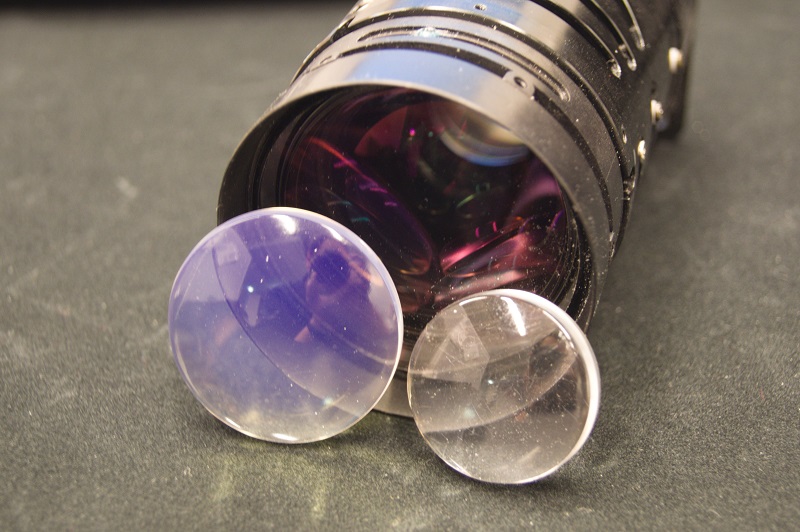
I used Blender a lot in last 6 months. For me it was super-fun to learn how to use Blender. From youtoube videos and internet tutorials I got some knowlege. Blender is very powerful and complicated tool but I think I used about 10% of its features (sometimes hammering a nail with a microscope). Below you can see a detail I designed and printed for a printed-lens-testing system we built in our lab from an old projector and printed lens holder.
2. Inkscape
Inkscape is a free and open-source vector graphics editor; it can be used to create or edit vector graphics such as illustrations, diagrams, line arts, charts, logos and complex paintings. Inkscape's primary vector graphics format is Scalable Vector Graphics (SVG); however, many other formats can be imported and exported
© From Wikipedia, the free encyclopedia
I used Inkscape to create a pdf files for lasercutting. It's easy to get started and you can easyly find a lot of useful extansions. I would like to share my expirience of using Tabbed Box Maker. To get started with it you need to download archive from github, extract it somewhere and copy files Boxmaker.inx, Schroffmaker.inx and Boxmaker.py to '...\Inkscape\share\extensions' (it's for Windows, if you use Linux you know how to read Readme file xD). Then open Inkscape and choose Extansions/Laser Tools/Tabbed Box Maker.
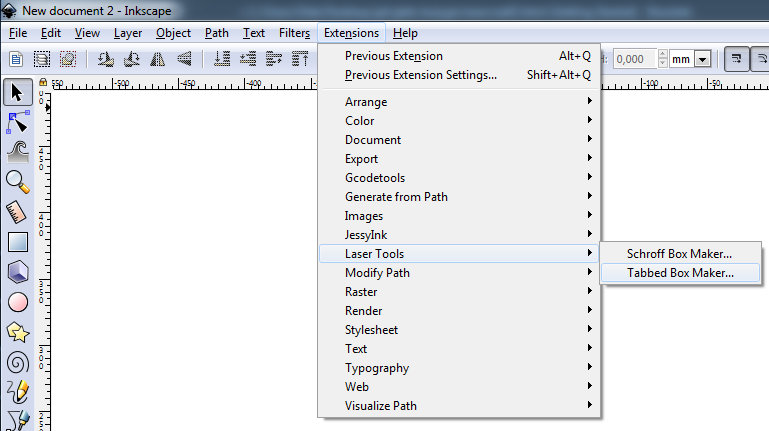
You'll see that window. For laser cutting it's important to to set the line thickness to "Hairline (0.002 for Epilog)", Kerf (cut width) and Material thickness according to the material. Other setting define your box dimensinos and shape of the box. You can add a divider as well.

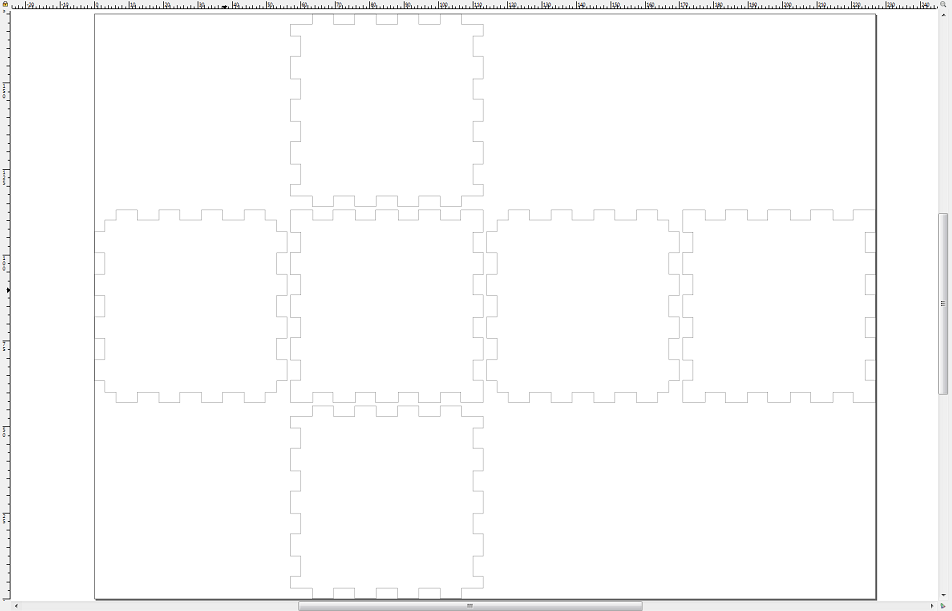
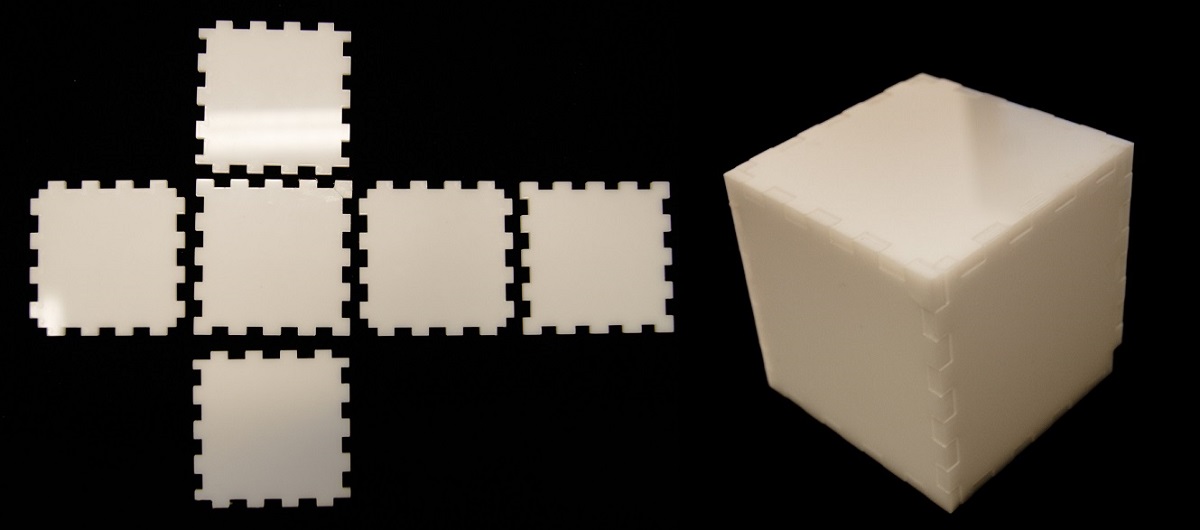
Press Apply and the result will be like on the picture below (I did 'ctrl+A','ctrl+Shift+R' to adjust the Page size to the drawing). All that left is to save the file as PDF and cut it.
Another way to make a box for laser cutting is to visit https://www.festi.info/boxes.py and generate a box online. This web site has a wider selection of box types.
3. Autodesk Fusion 360
I chose Autodesk Fusion 360 as my week assignment because It looks like it's a reasonable choice for 3d modeling during the course. On our local lecture I found out how to export PDF drawing for laser cutting (and cutted two calibrating trianles for our setup) and how to do simple modeling. For more informaton a watched a few tutorials.
Main features:
- Concept and Design with Sculpting
- Parametric Design and Mechanical Drawing
- Rendering and Animation
- CAM
- Simulation
- Compatible with Mac and PC
- All projects are stored in the Cloud
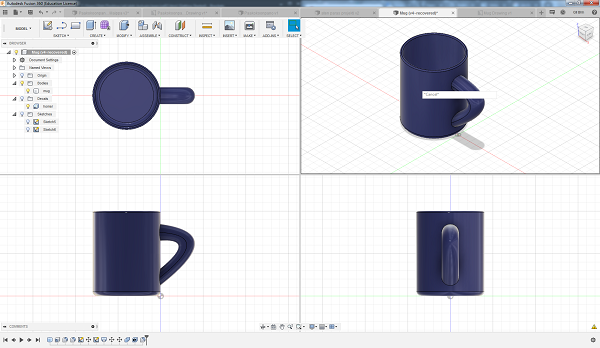
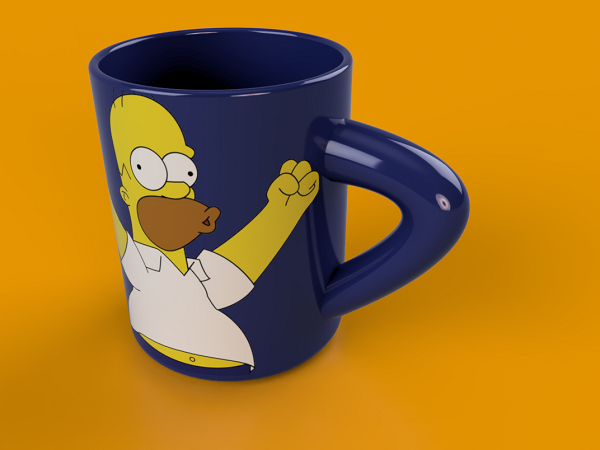
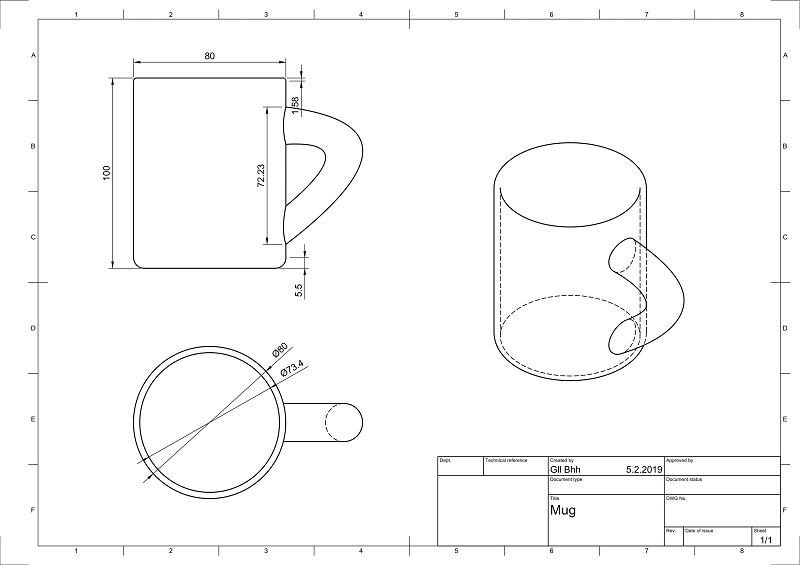
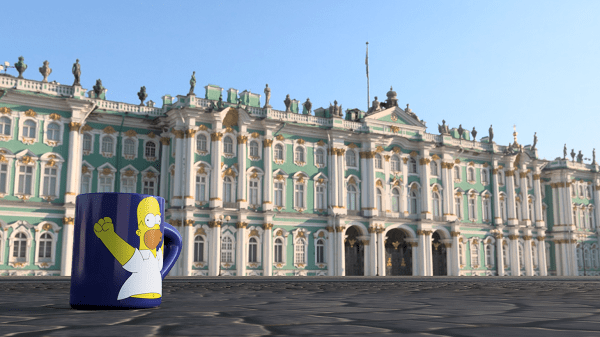
To get started with Autodesk Fusion 360 I created a mug following this video tutorial. It helped me to get taste of main functions of the software. I made a simple render, technical drawing and 3d model of my mug (I failed to put 2 stl files viewers on the page. Hope to fix this problem soon).
4. Results of the week
- I tried using Autodesk Fusion 360 and I liked it. At the beginning it was strange and uncomfortable to work in new environment. I was trying to use Blender hotkeys, I didn't understand why layout grid suddenly disappears and what generally is going on (I'm quite used to this feeling, nothing new here). But in 10-15 minutes I got used and everything went fine.
- I tried different compression techniques from Fab Academy tutorial.
- A new page was added to my site for easy access to all assignments.
- Main project idea was updated with a few features.