05/ 3D scanning and printing
Links to this week's sections below:
🔗 Group assignment link
1. 3D printing
2. 3D scanning (and printing)
← previous
→ next
⋯ assignment list
🏁/ final project
Group assignemnet
This week Siyu from our lab did a thorough documentation of our group project :D
We had a very detailed demo by our local instructor, from preparing files to setting printer to printing. Other than the general process, I have a basic knowledge of what type of form is suitable for 3D printing, and what is its limit, for example the printer can only print wall thickness at the nozzels' multiple, or it is hard to print slopes more than 45 (for some printer 60) degree without building support under them. It is important to keep these limits in mind while designing.
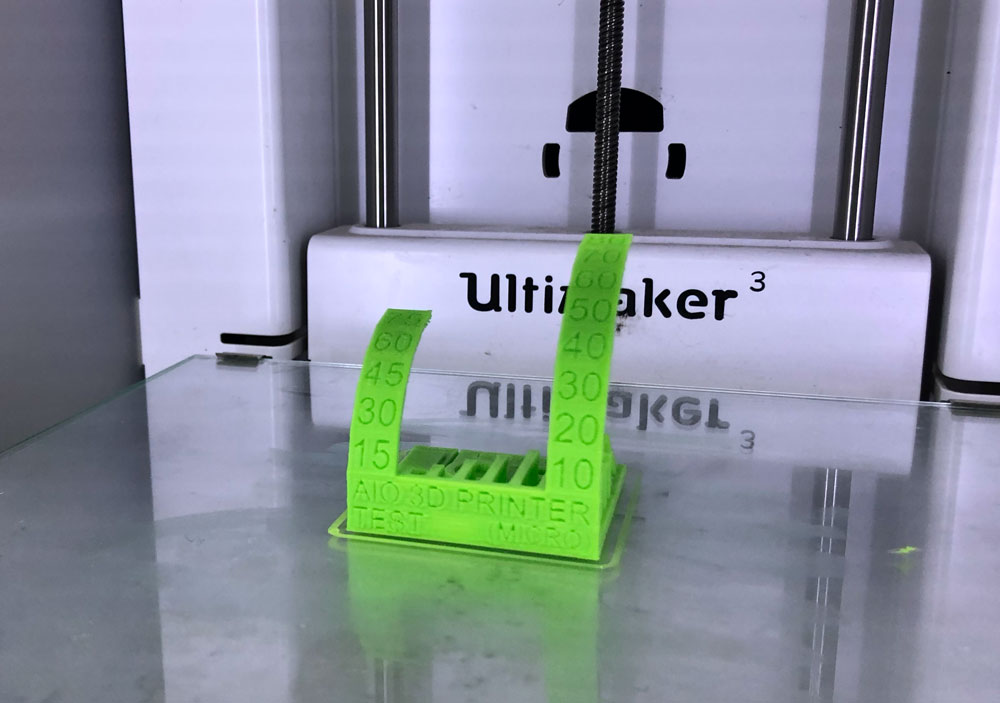
The machines we mainly use in our lab are an Ultimaker 3 and a small desktop printer produced by Chinese local company. They are both FDM (Fusing Deposition Modeling) printers that can print filament such as ABS, PLA, nylon and rubber. We did our test print on Ultimaker 3 together as a group. From the result, we had a better understanding of the machine, its precision, tolerance, range for printing overhang and bridges. It seemed like we had some issue with one of the green PLA filament, for the printed object shrinked a bit on the edges. We might need to switch to other materials.
3D printing
My plan is to print some practical object that I can use in everyday life, like a vase. I continue exploring modeling in Rhino and Grasshopper with the goal of designing a vase with organic shape.
I follow this grasshopper loft tutorial on Youtube. The process basically works as below:
- 1. It starts from setting up one single layer: turning an oval into a bunch of offset dots, connecting dots into a closed curve and then into surface.
- 2. Multiply the layers and extract layers vertically.
- 3. After you get a string of surfaces, you can set rotation to each layer with slight offset so as whole the cylinder looks twisted.
- 4. You can one step further customize the shape by changing curve styles in Graph panel. This allows the cylinder to have different radius at different height base on the set curve shape.
- 5. Then loft the layes to get a surface that wraps around. You can add caps as well.
- 6. Bake the shape that you like, and get your cool vase surface.
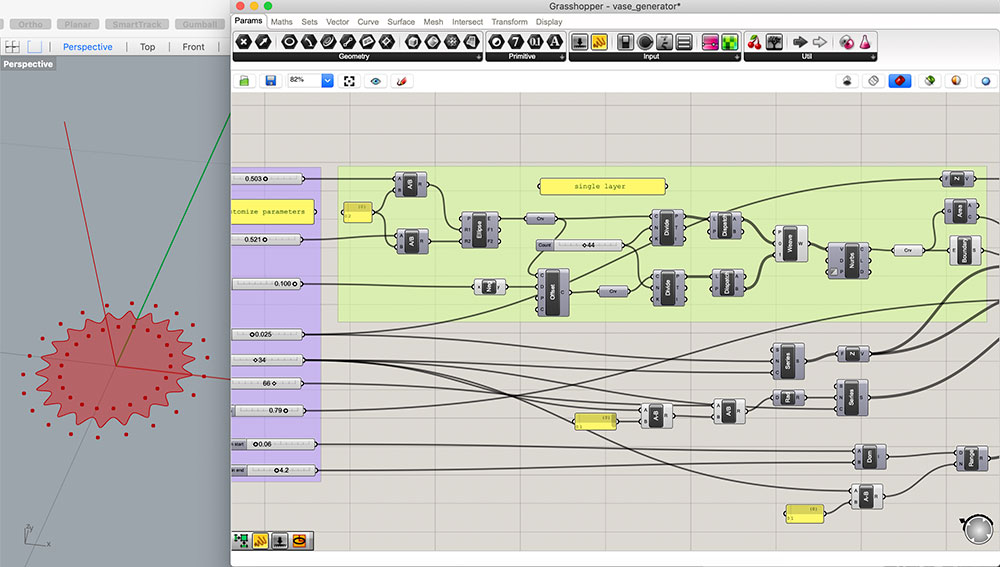
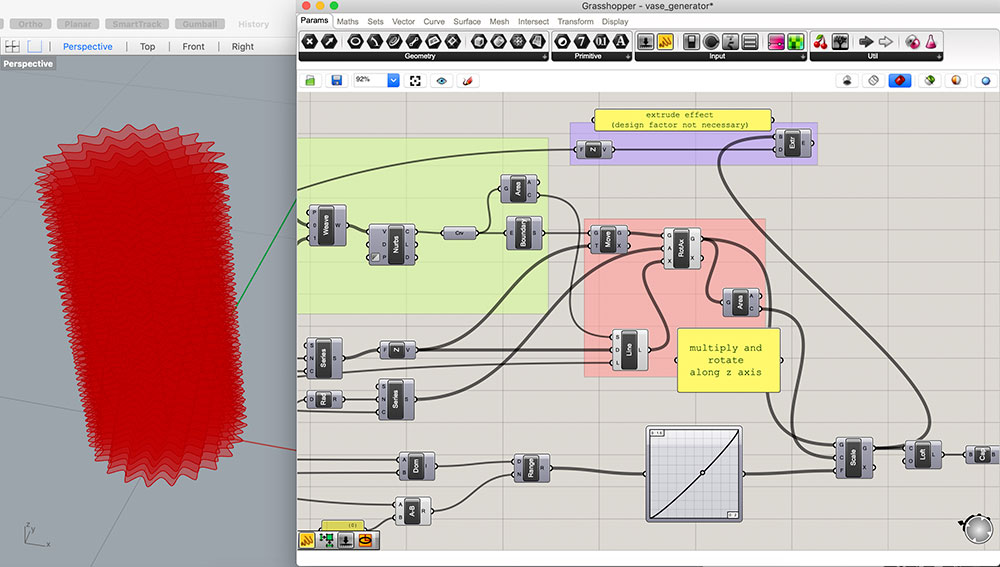
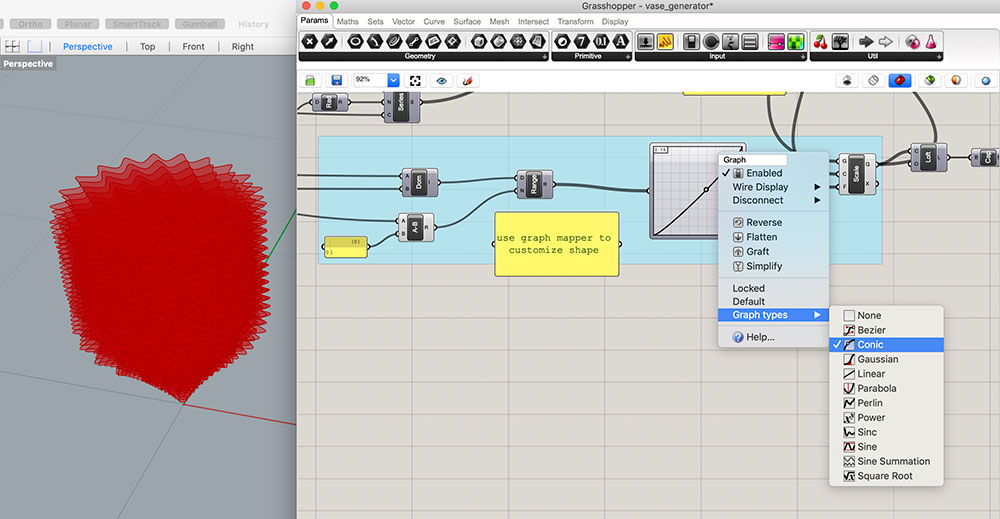
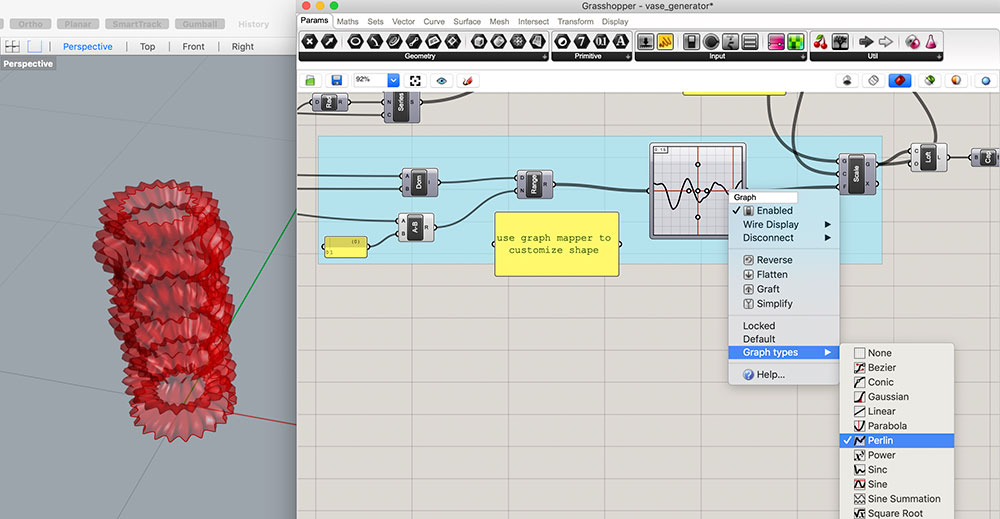
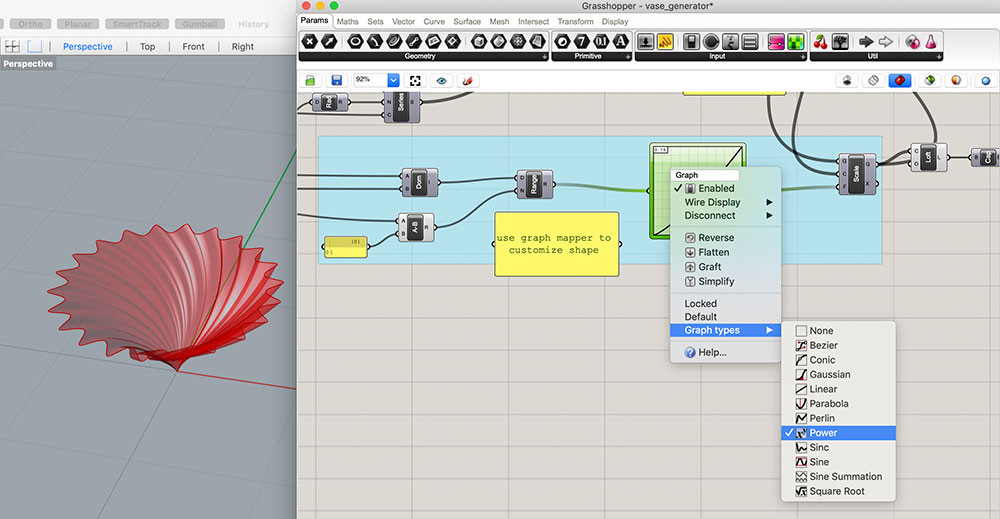
You can change parameters to differentiate some aspects of the shape.
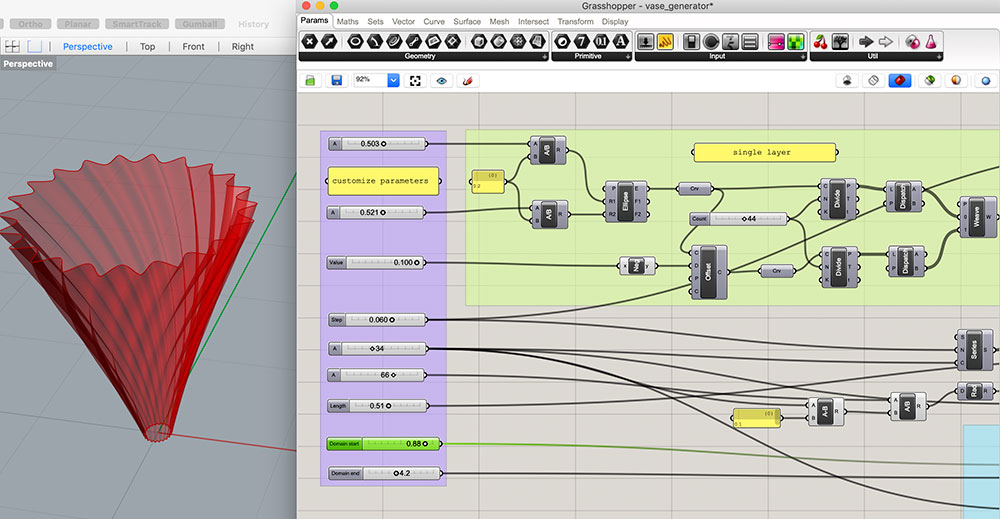
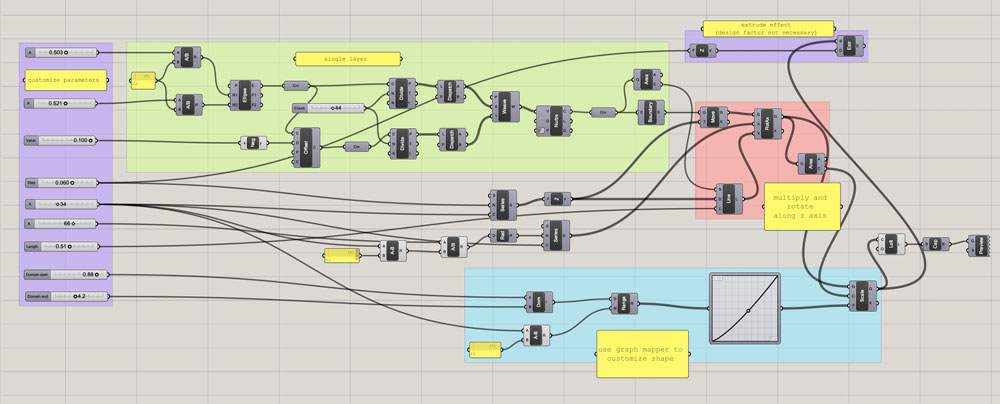
↓ download grasshopper file: vase_generator.gh
After baking the outcome in Grasshopper, I get a surface. After I add a bottom cap to the lofted body, I offset the polysurface to add a wall thickness to the vase. It is now a mesh and is ready to be printed.
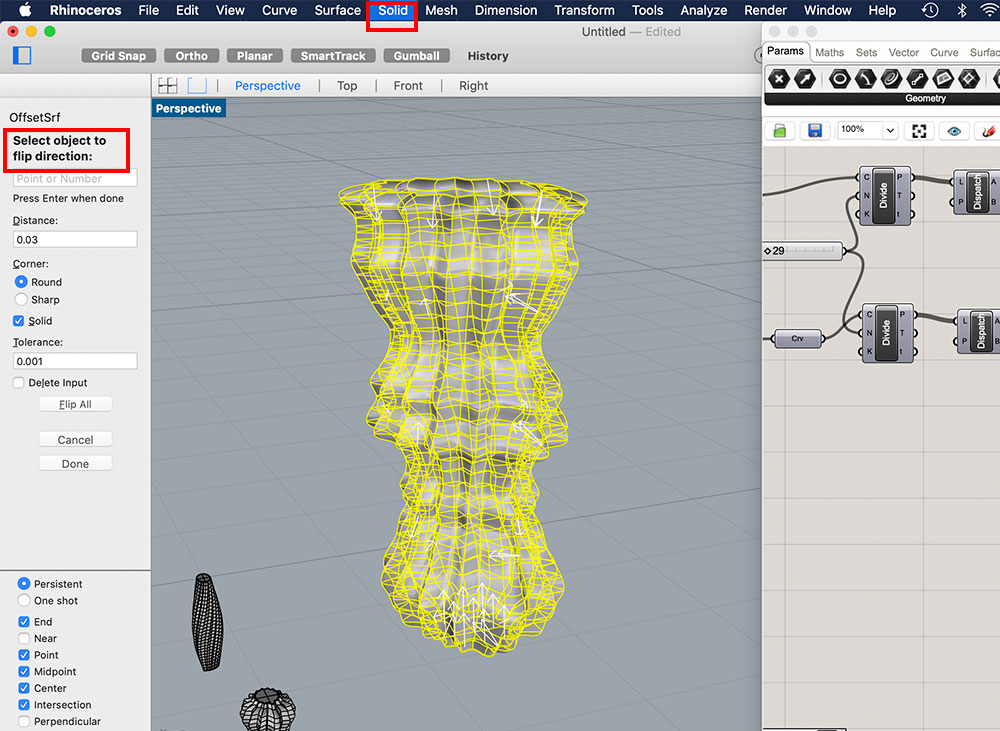
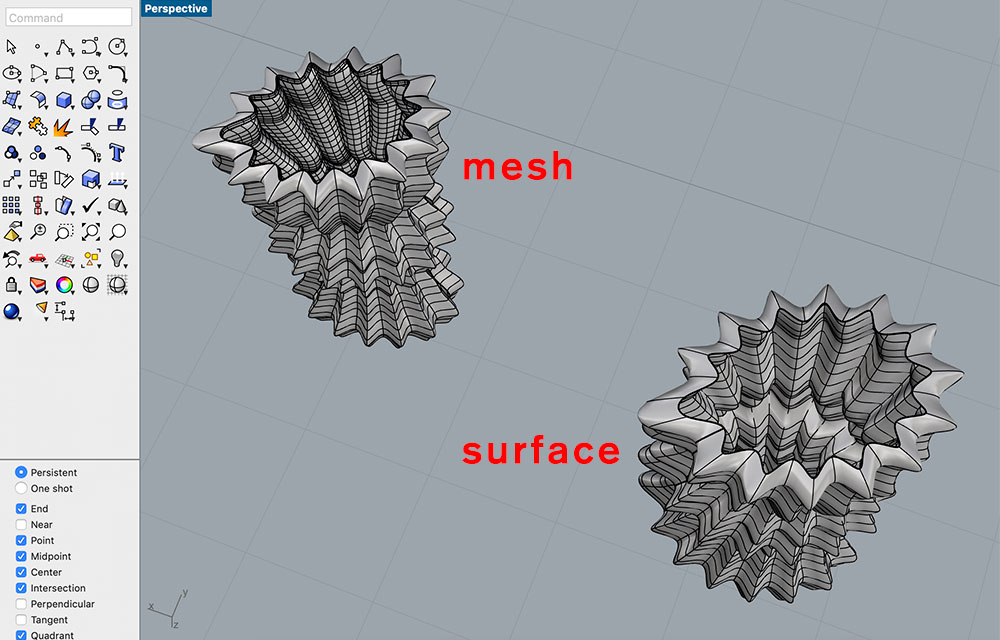
↓ download vase .stl file: 05_curvy_vase.stl
I exported the .stl file and imported it into Ultimaker cura, the slicing tool. The material I am going to use is PLA. I do not need any pattern filling inside because the thin wall will be printed solid, I do not check support either by guessing the overhang should not be a problem for short distance curves in this small size print. See images for detailed settings.
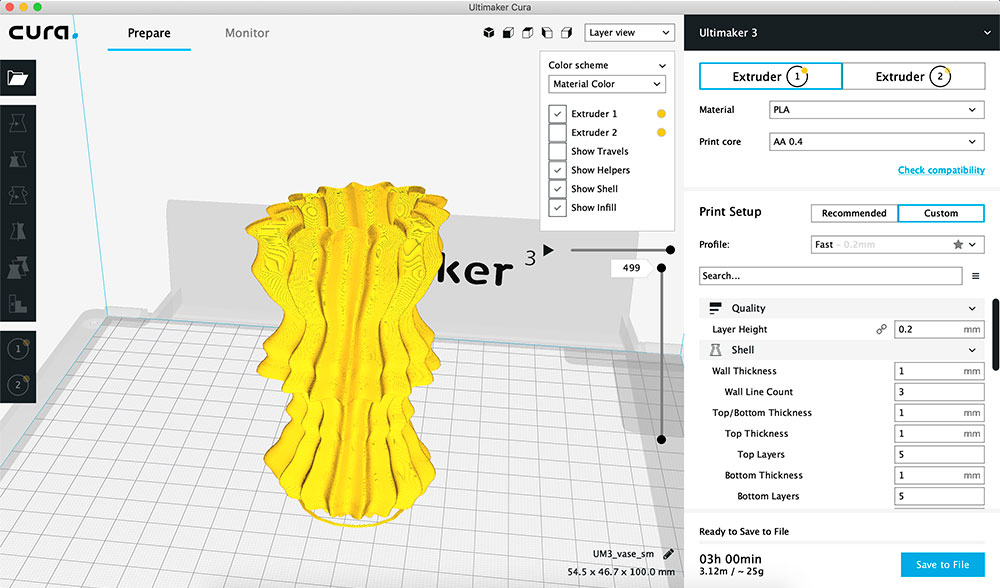
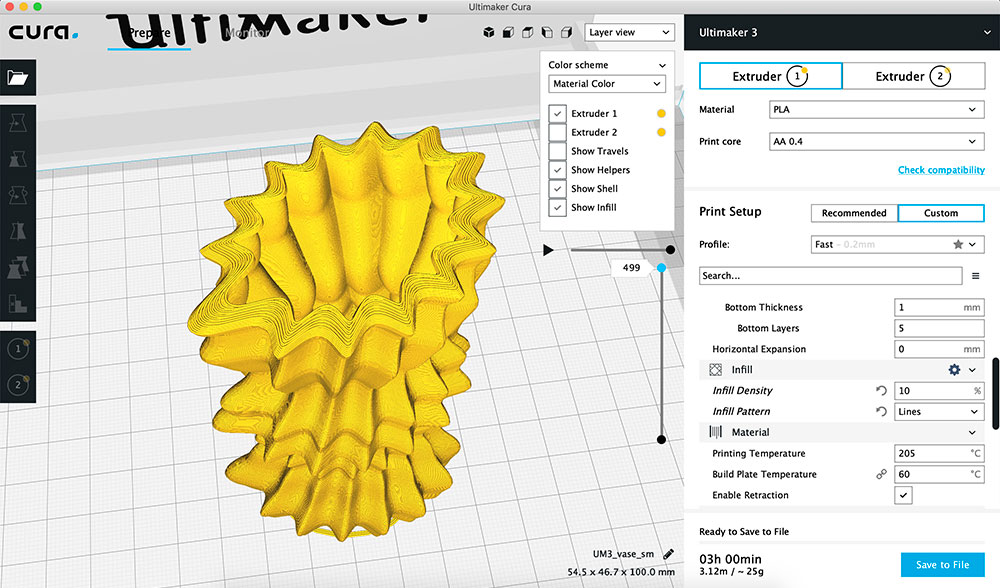
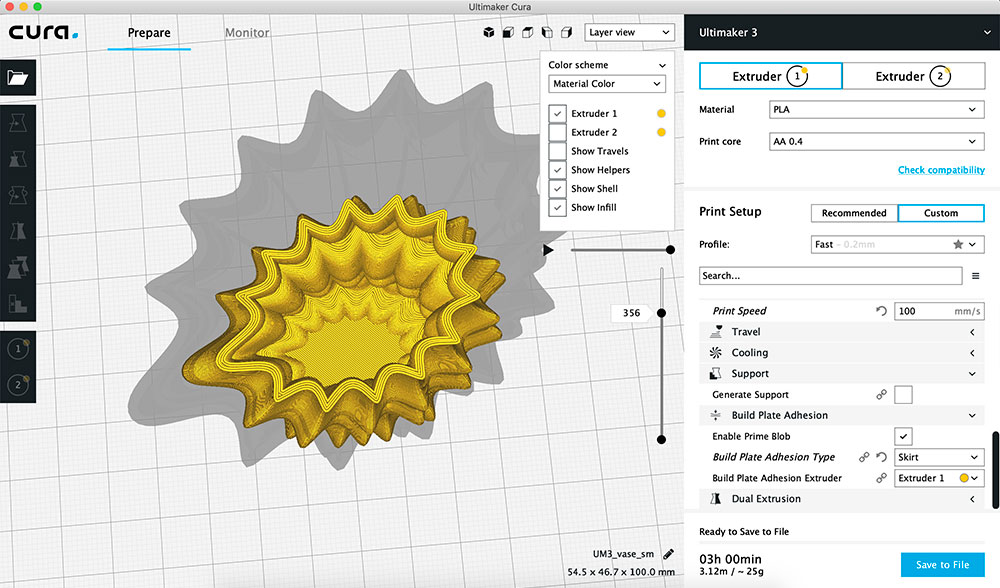
This layer view allows me to see how each layer will be printed. After I am happy with the setting I save the print file on a USB and insert it into the printer. It starts to print :D
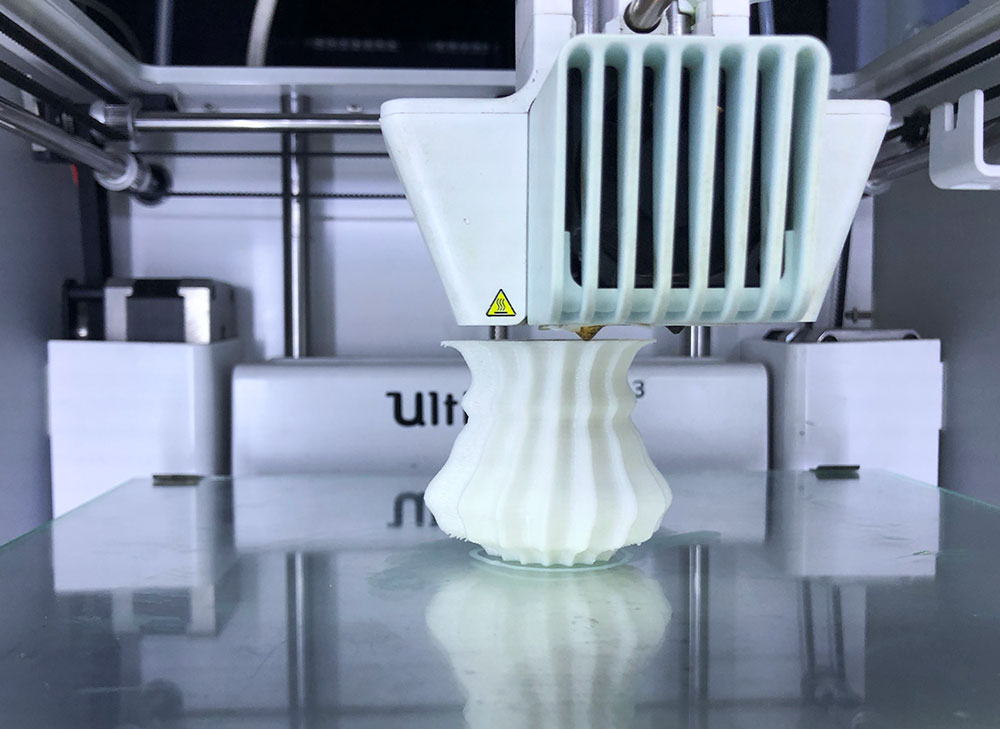
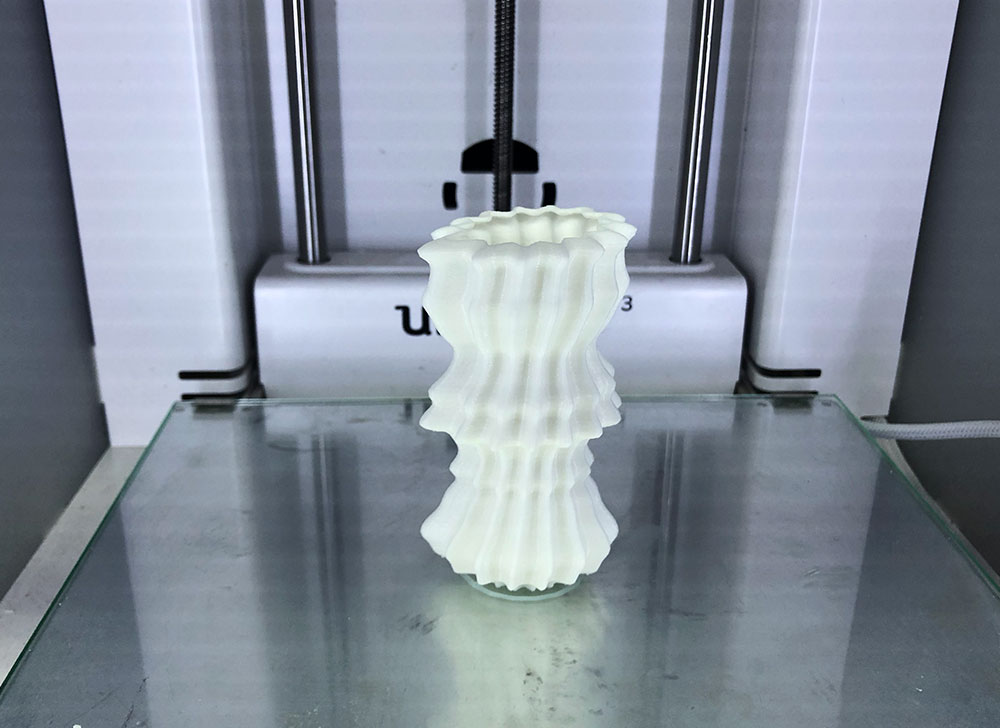
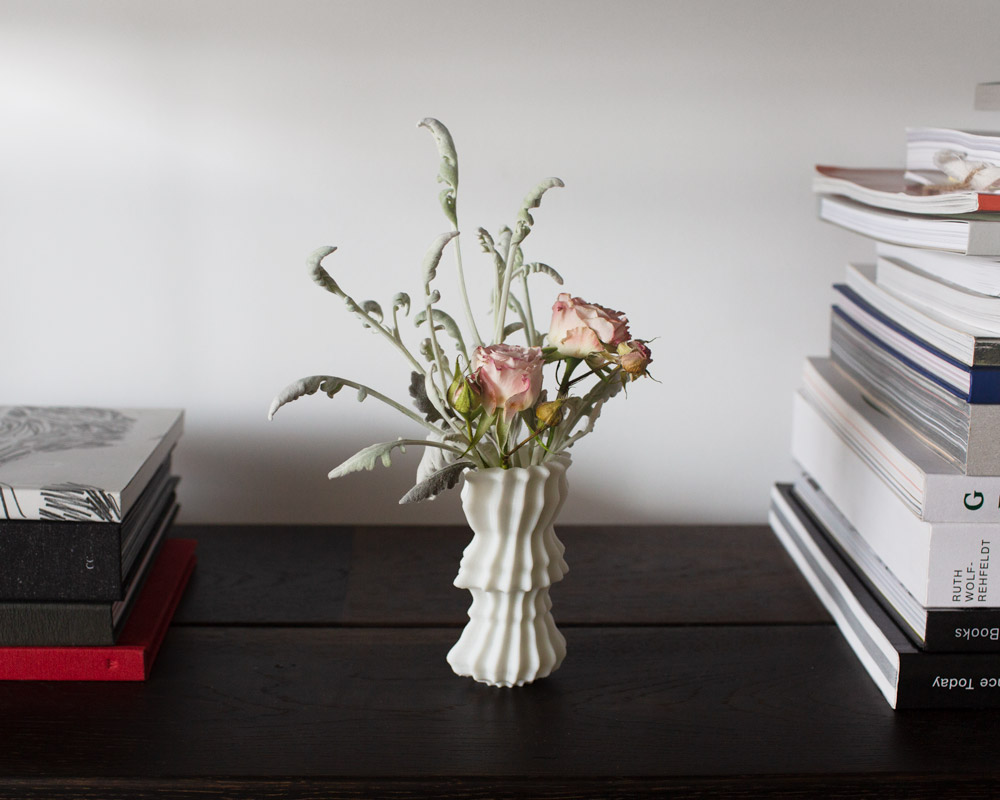
There is a tiny bit of overhang roughness at the bottom, which can be resloved by post-production. Otherwise the outcome looks great :D Right now the vase cannot hold water, because there is still tiny space in-between layers. My next step is to do some research on waterproff materials/settings for 3D printing.
3D scanning (and printing)
I scanned myself for this scanning assignment :D
The camera we have in the lab is Kinect and I use Skanect (free version) for computer-end software which automatically detects kinect once it is connected. In the setting I choose body for scene, a 0.7 square-meter bounding box and I am ready for scanning.
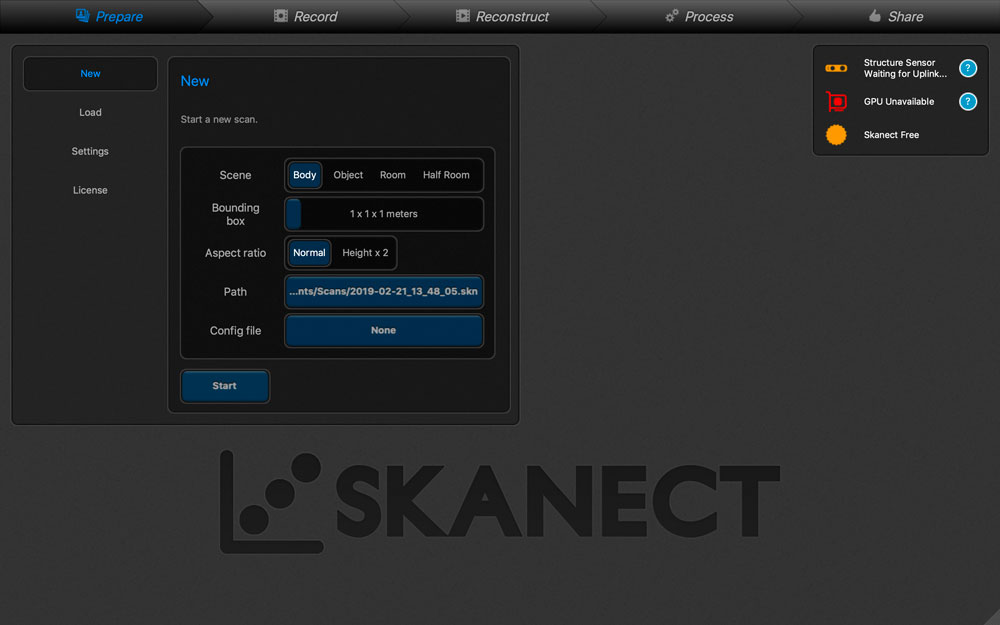
The camera is set still, while I sit on a chair, using my back as the axis, slowing turing myself around 360 degree during scanning. I start with my left side facing camera, so the closing edge will be on my back other than my front face or sides.
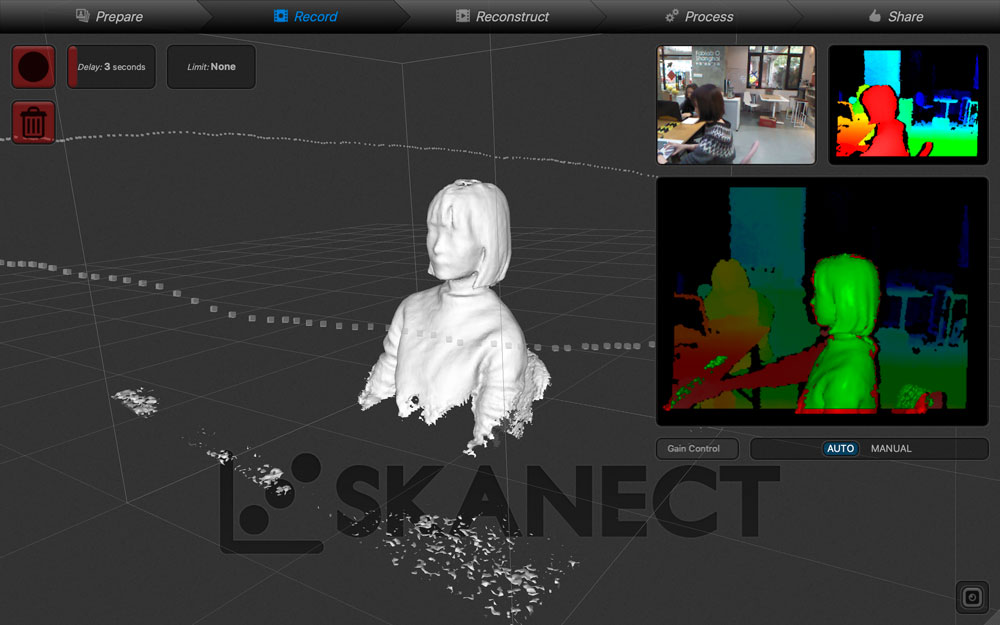
The scan looks very much like me :D I cut away unecessary parts like the back of chair and tiny parts in the air, then I export the .stl file.
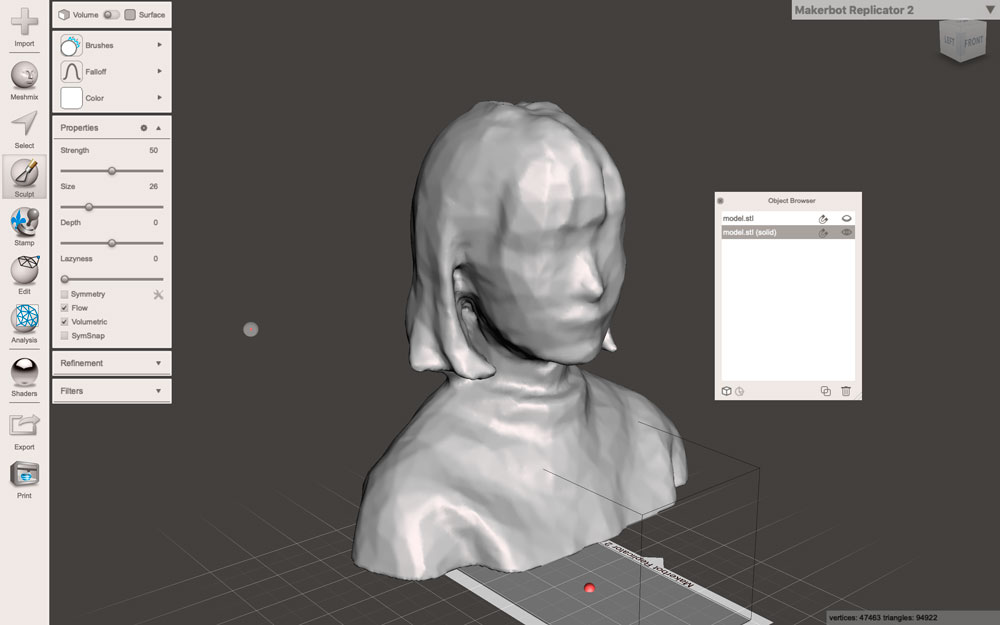
Then I open the file in Meshmixer, a tool for editing and sculpting models. Here I fix the holes under my chin and on top of my head using make solid, cut model using cut plane, and do regional push/pull/smoothen using different brushes from sculpt panel.
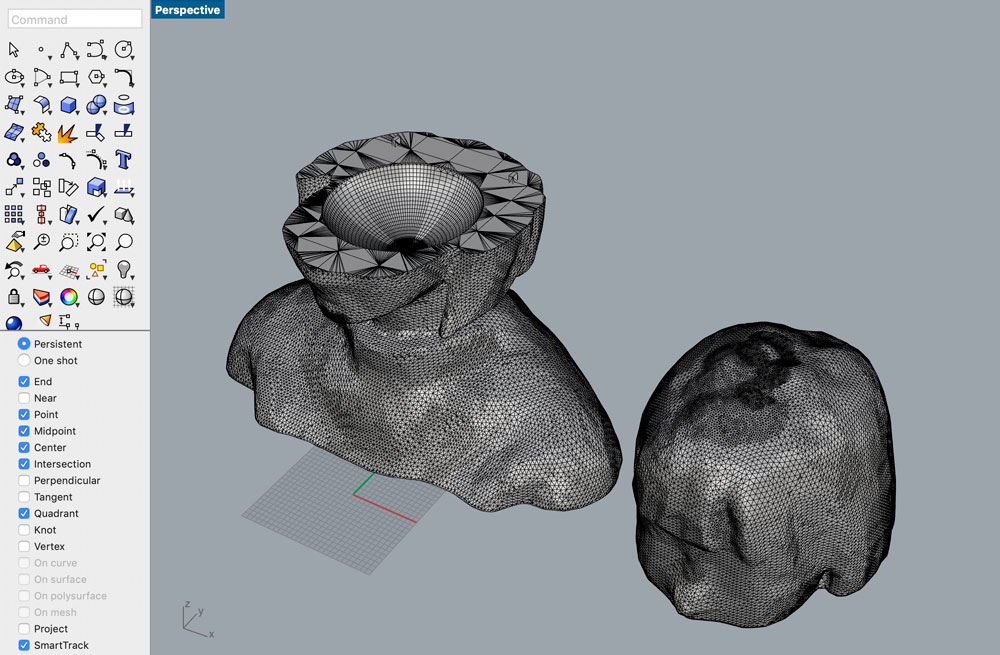
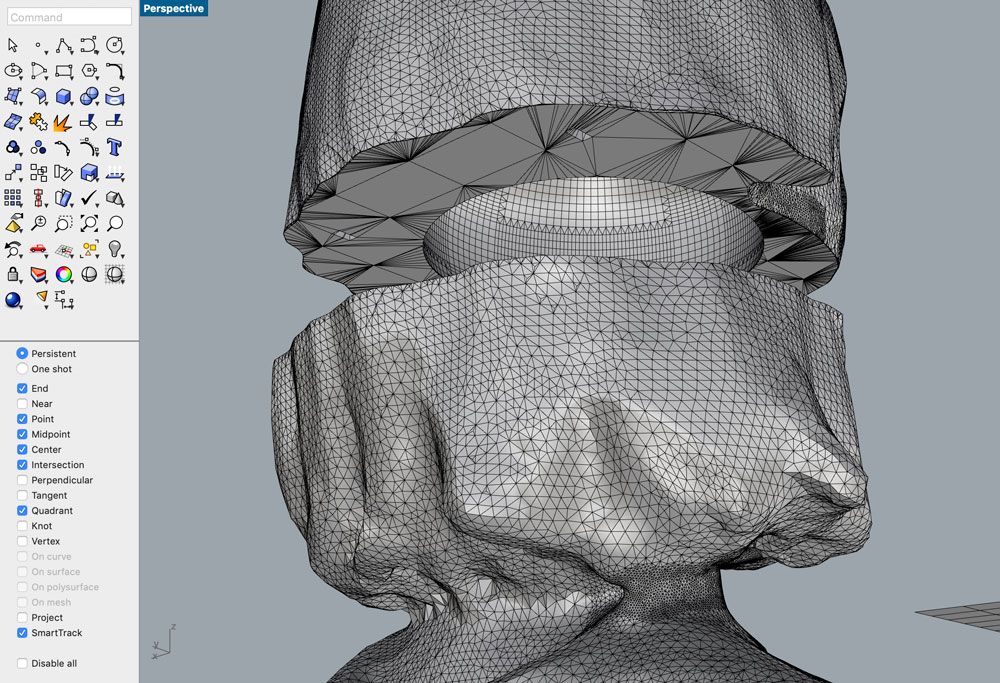
I save the file as .stl and open it in Rhino. I split my head into two parts and extrude a sphere out from it so the whole piece will work as a case.
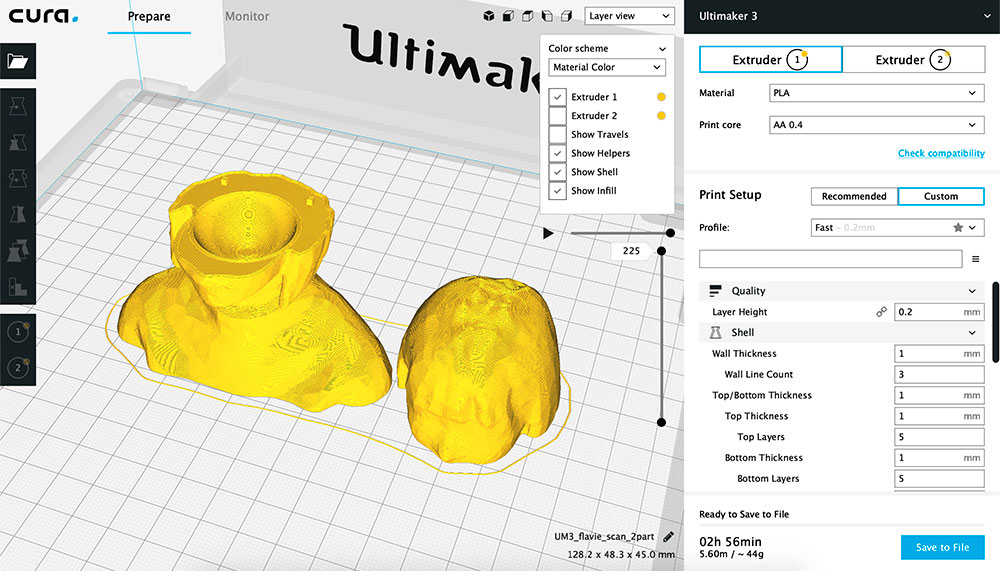
I imported the .stl model into Ultimaker cura for slicing. No support this time as well because I do not want any support cubes growing out from my shoulder. And I set it to print.
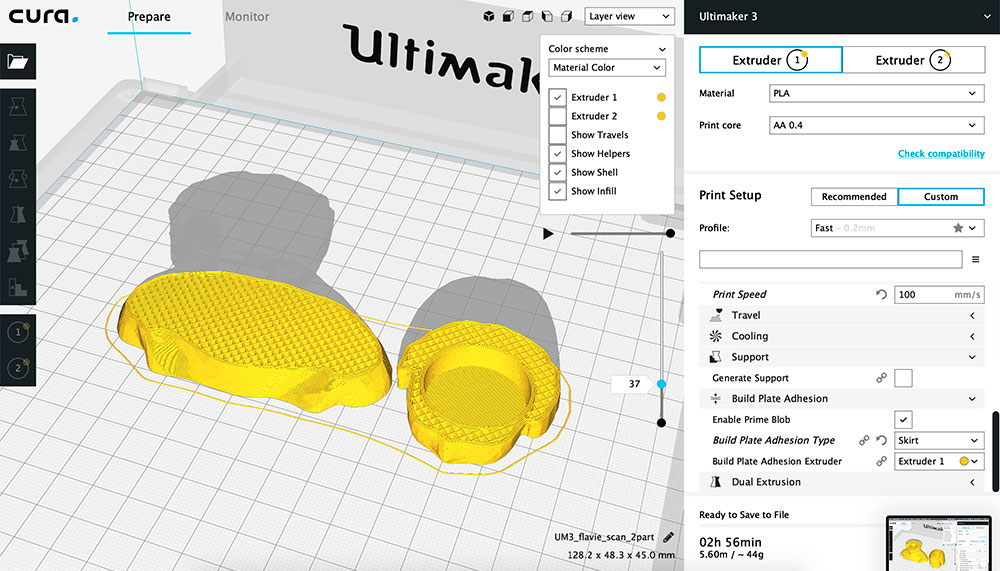
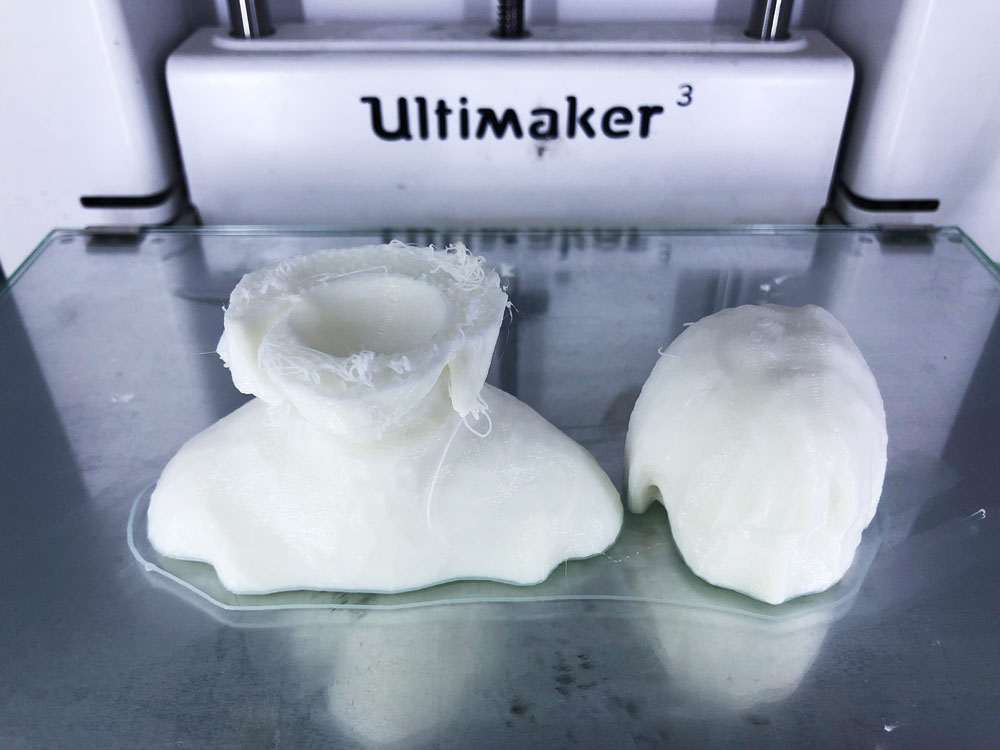
The printing went well until there was just a few more layers to the end :'( It started to print spagetti (the white free-form thread) layering on each other so I had to force it to stop. I am not sure about the reason it goes wrong, maybe the filament is stuck and cannot go smoothly?
My second try: again I open the meshmixer .stl file in Rhino. This time I want my model to have a low-resolution low-poly look. There is a simple command reduce mesh that help me achieve that.
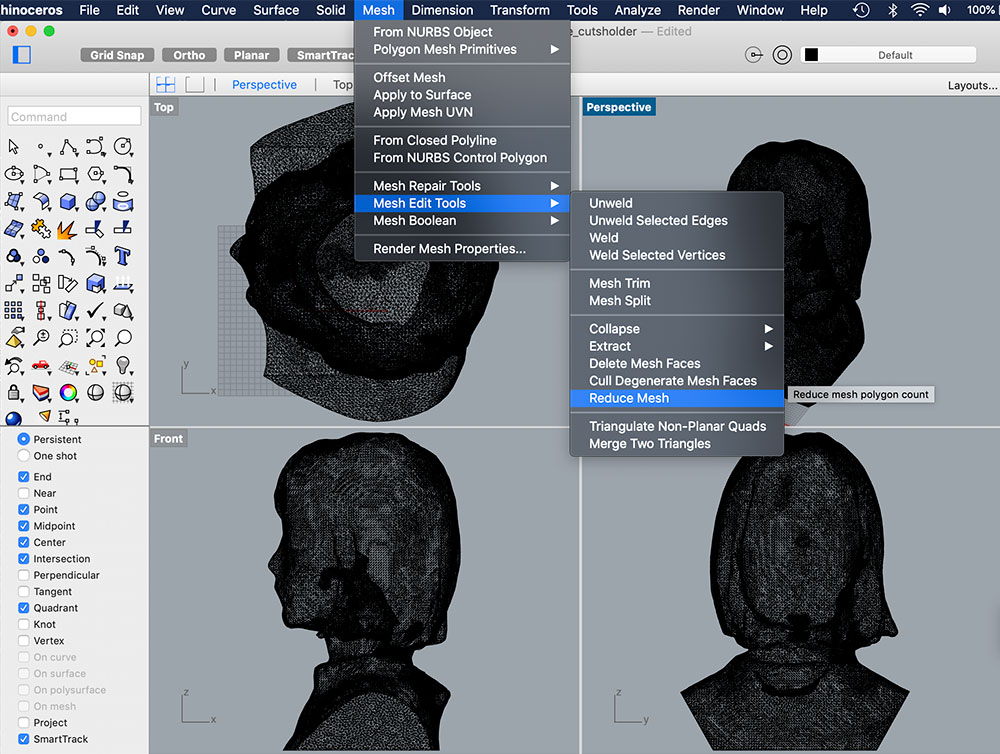
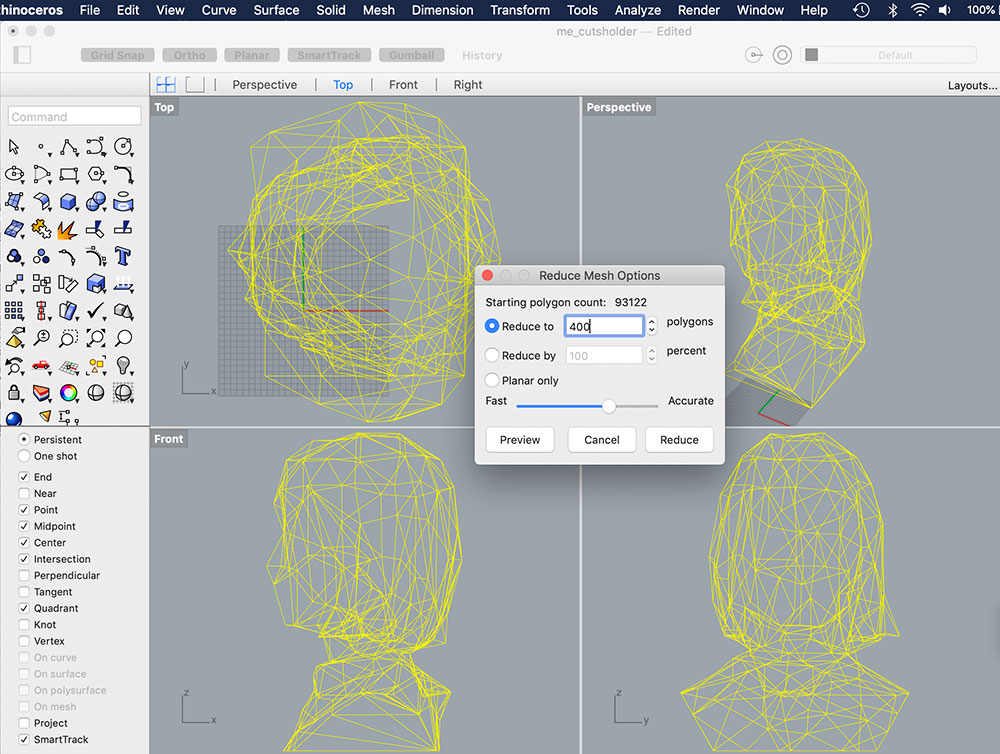
I then extrude a cylinder out from my head so I can put something inside the hole (probably using as a vase again).
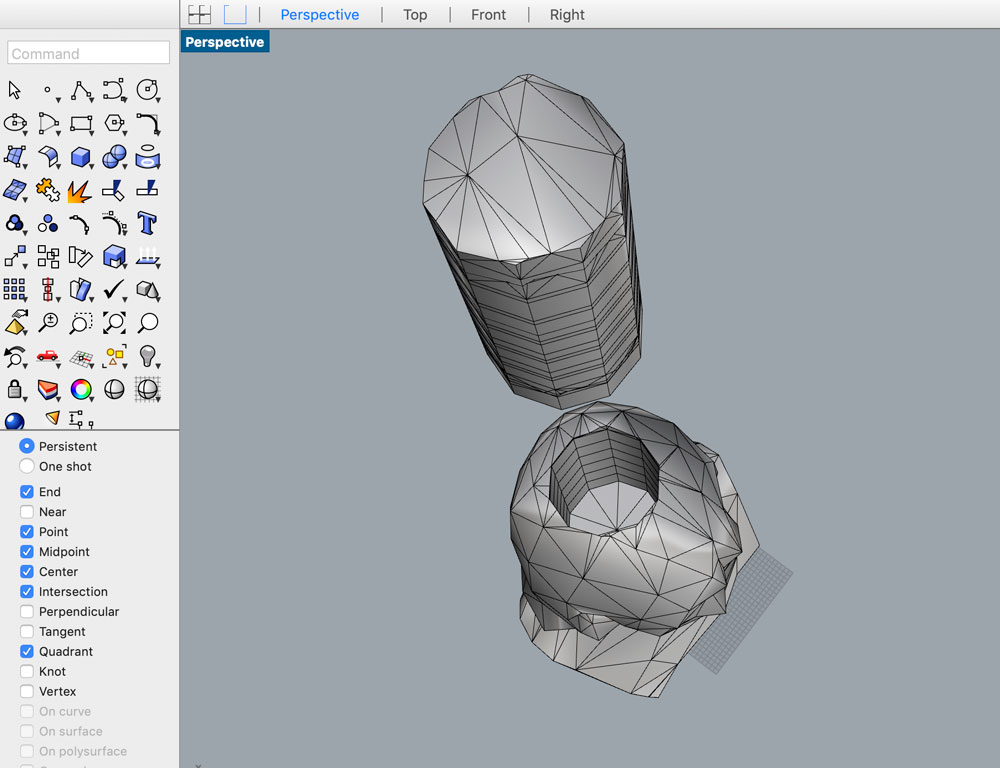
↓ download this .stl file: 05_geo_flavie.stl
I imported the .stl model into Ultimaker cura for slicing and I set it to print.
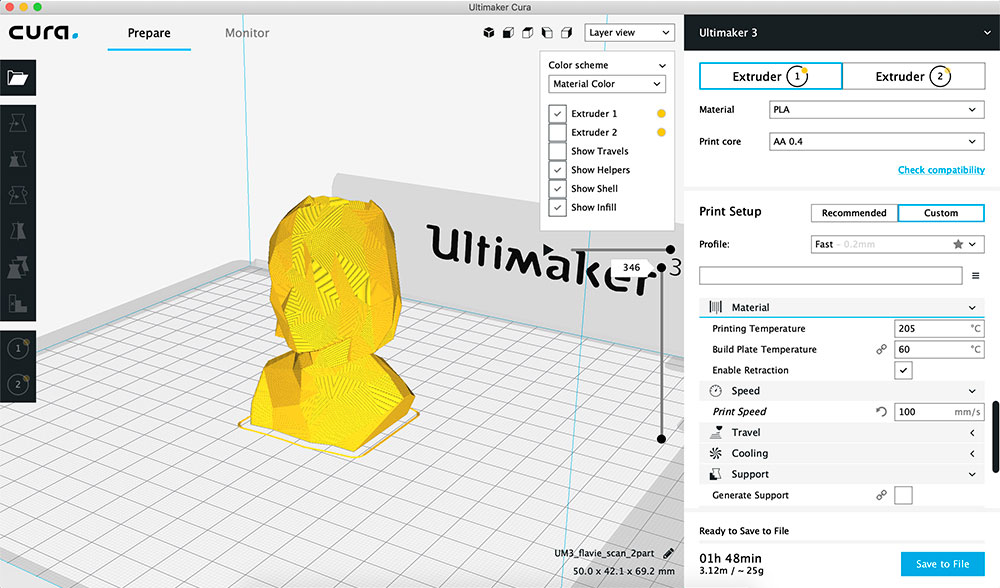
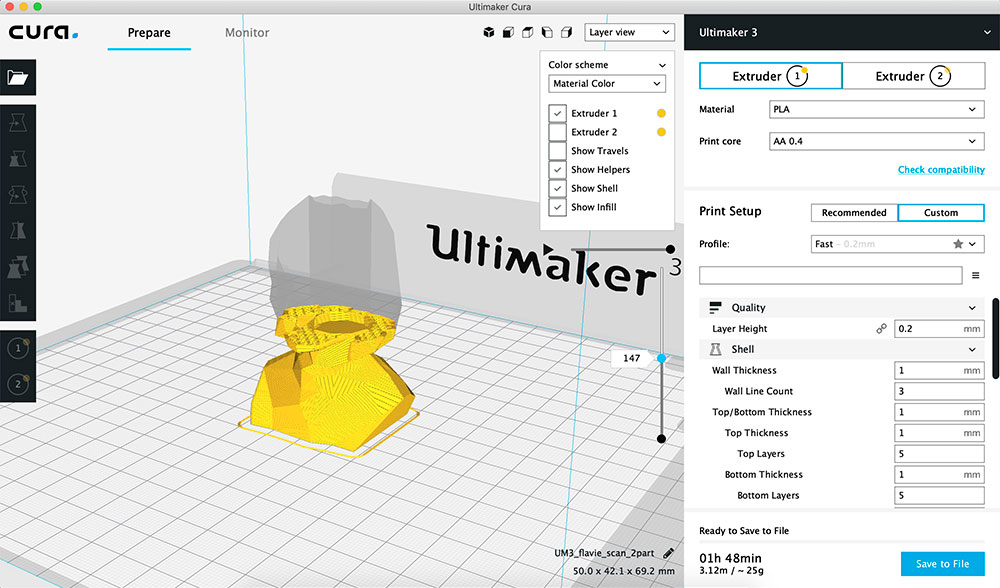
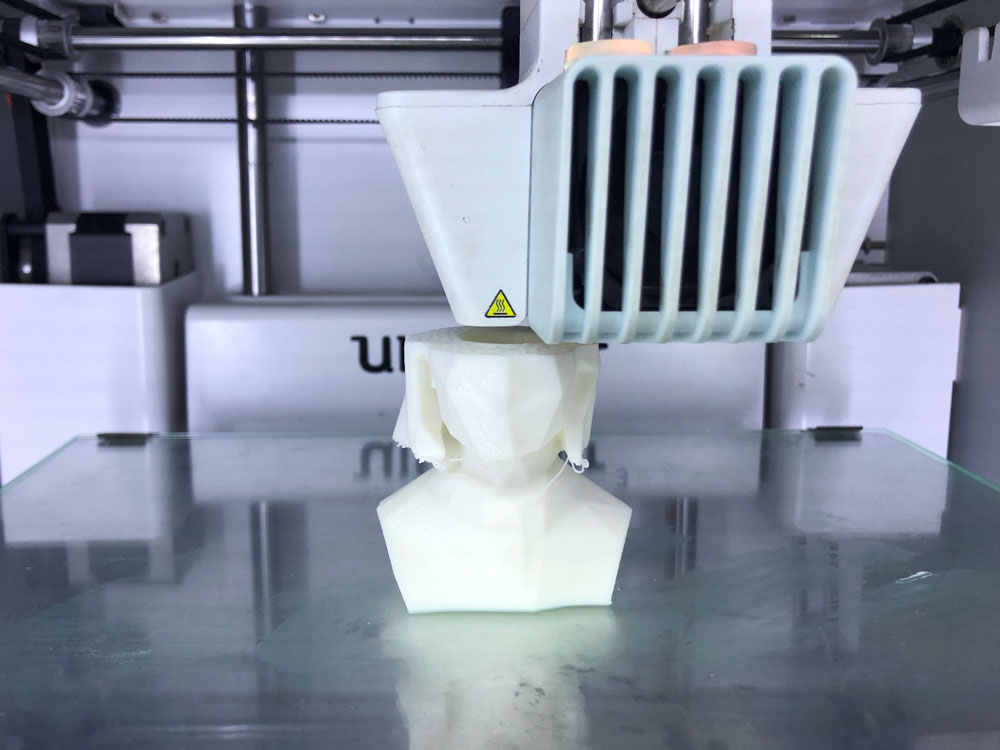
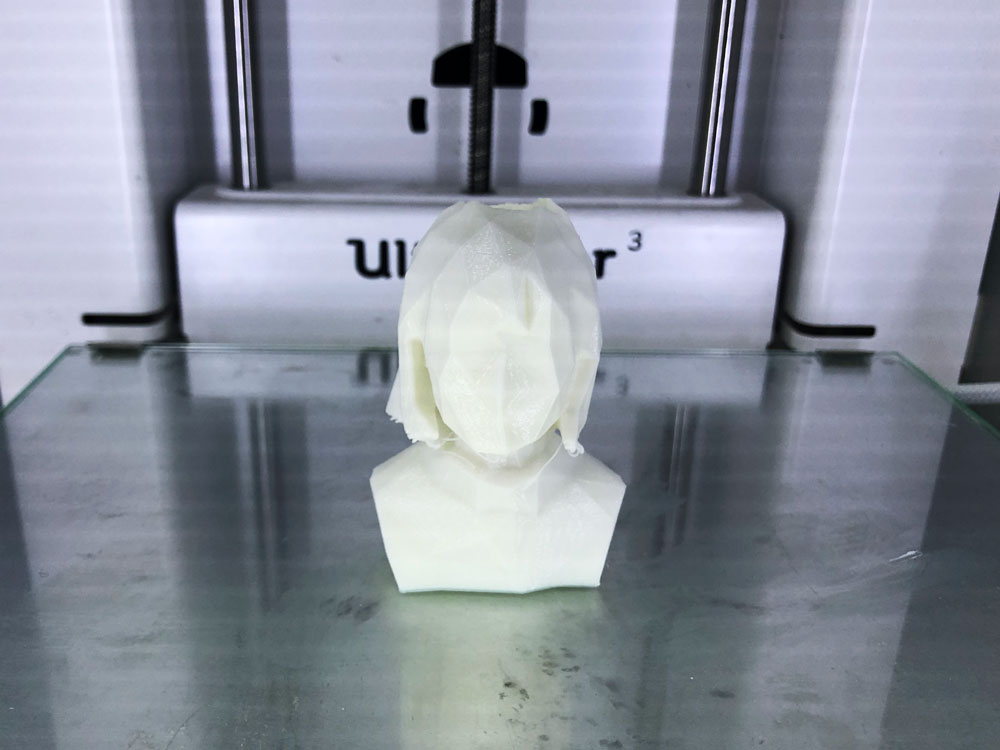
I look good :D
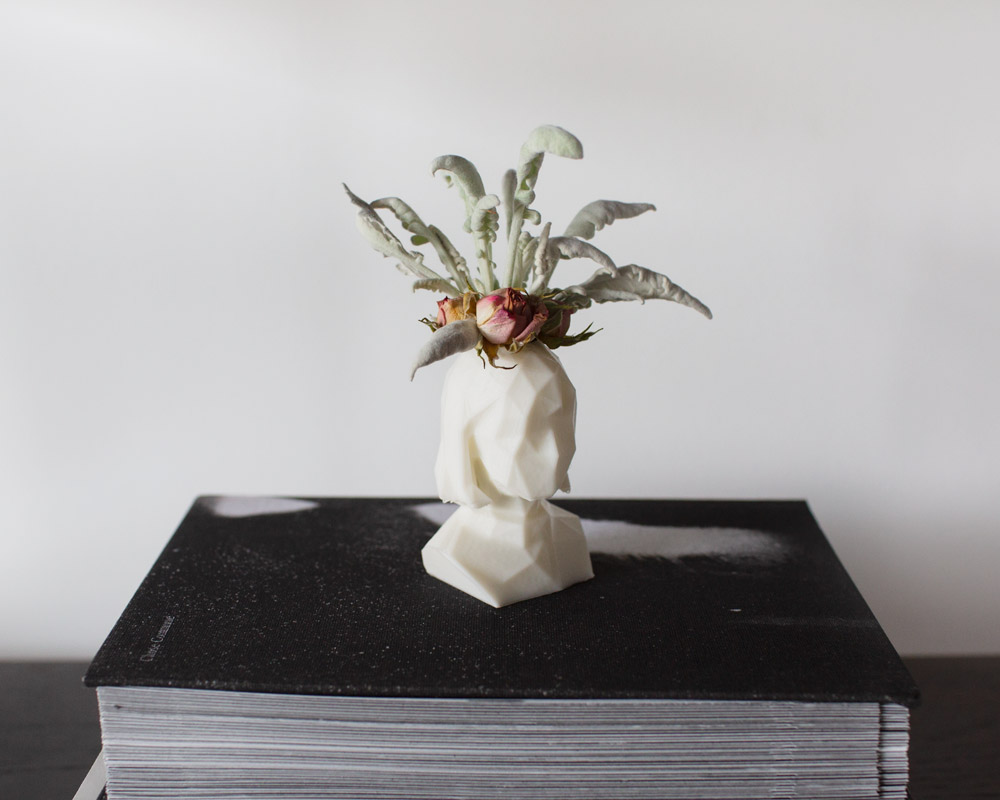
(Updated 02.27.2019)