Making a Sketch
The first step is to make a sketch of the parts and also the how the project will be.I sketch parts i needed for the cnc machine and i'm going to 3D design some parts for the CNC machine.


1.Creating the framework for the CNC machine
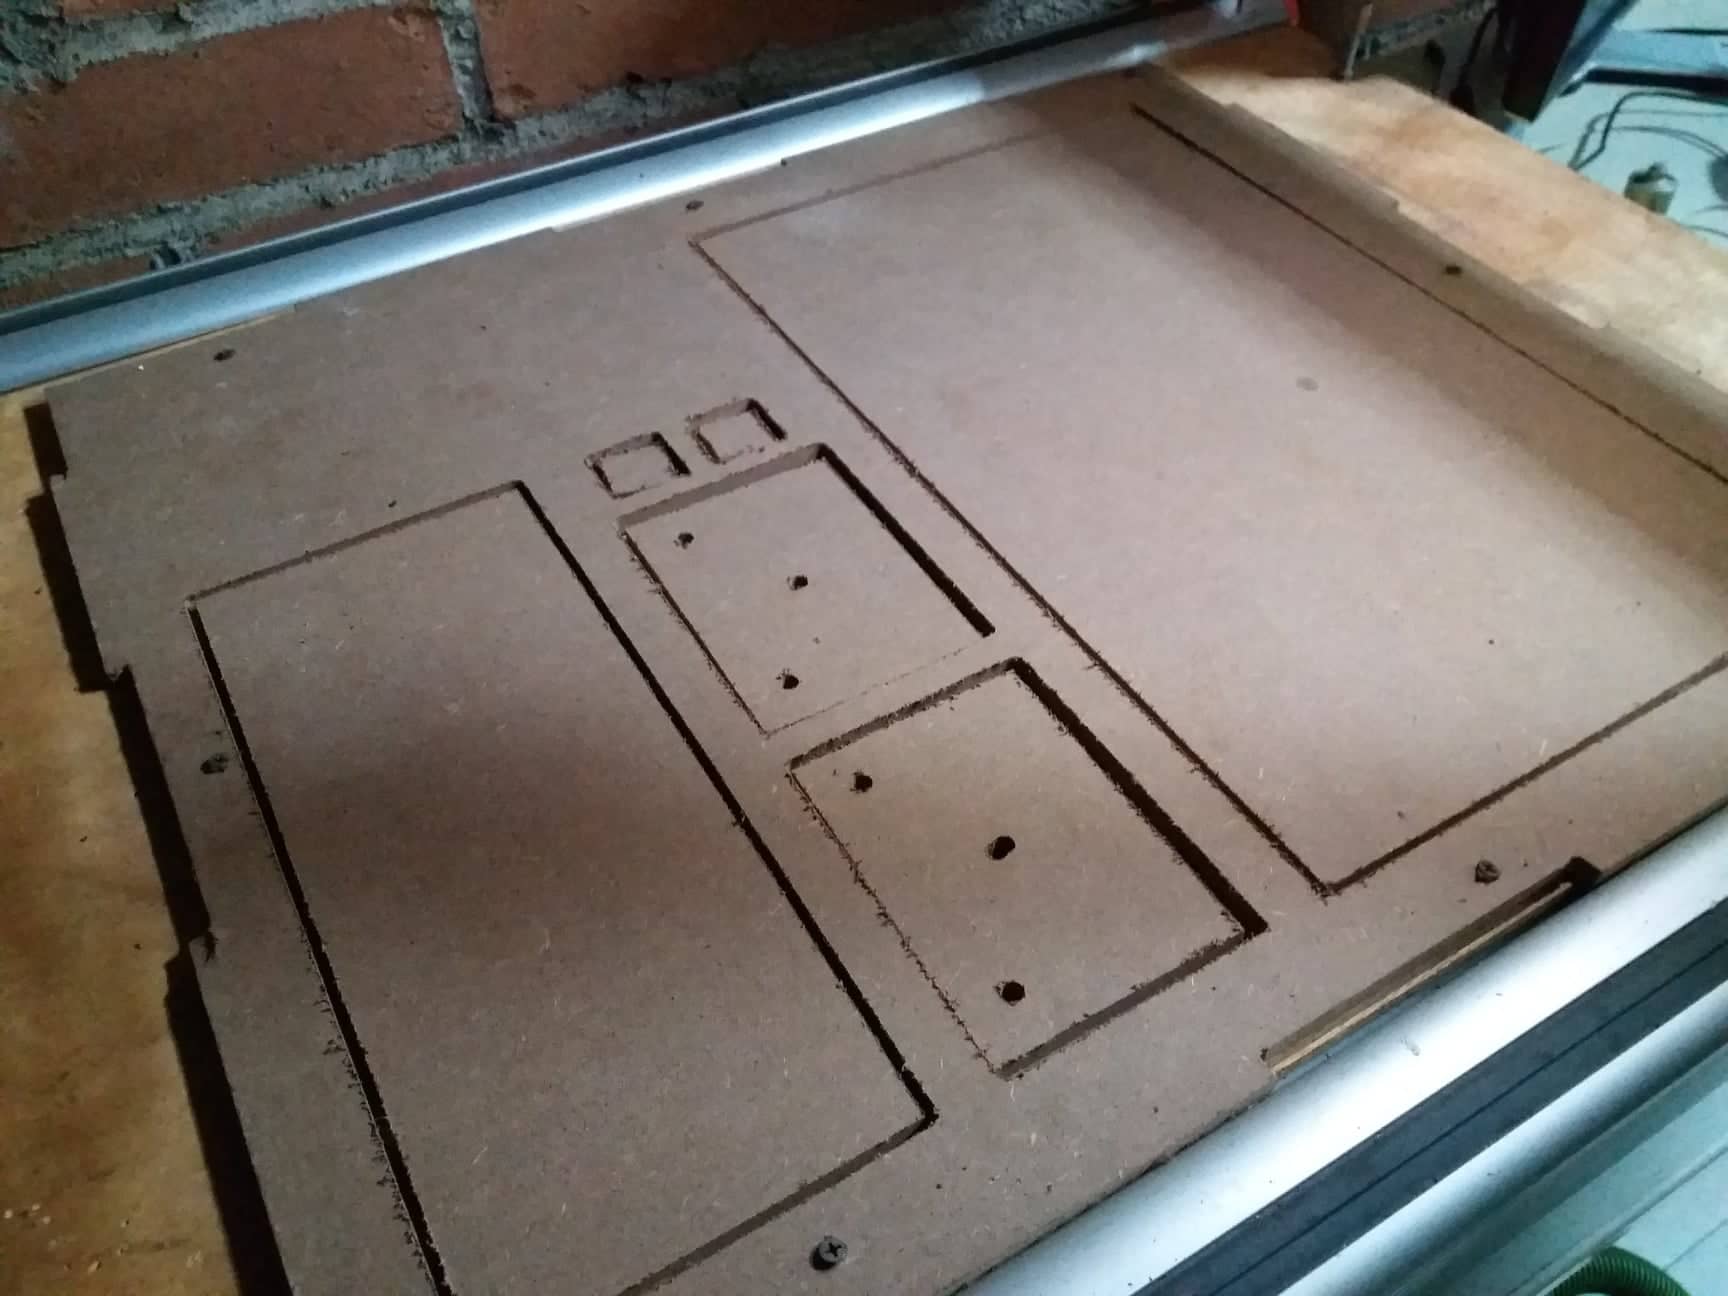
To make my framework i used the week 8 assignment.The version 1 of my project needs to be a little big because i want to expand it to 5-axis in the future.The material i used for the framework is 9mm MDF.Read more about week 8!


2.Creating and assembling the Z-axis
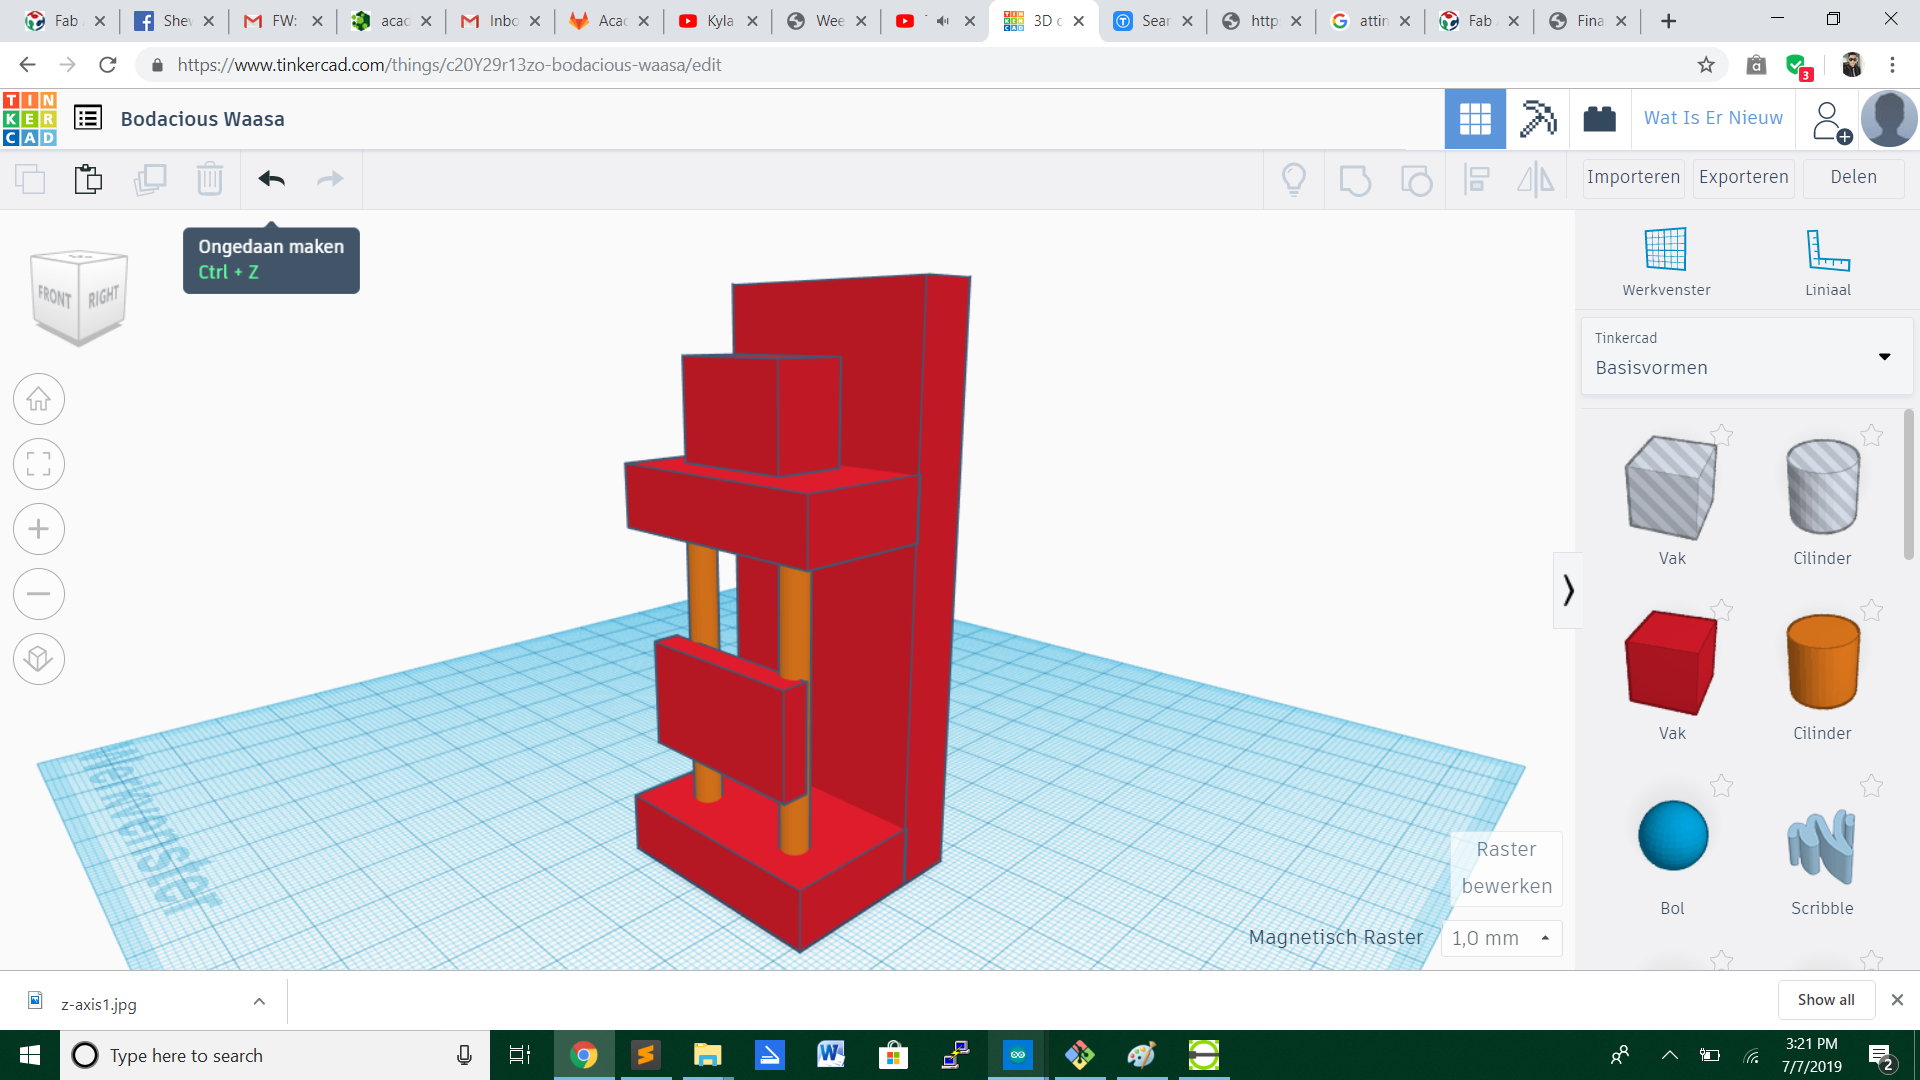
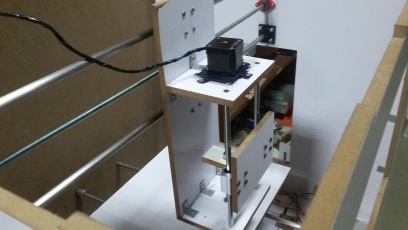
CNC plunge milling, also called z-axis milling, is a CNC milling process. In this process, the feed is provided linearly along the tool axis while doing CNC processing.So for this process i used 9mm MFD and shaft bars to build the Z-axis.
3.Assembling the CNC machine
I started assembling the CNC step by step and i also had some problems and that where i could fine the shaft bar.I found them in time.
Here is the process of assembling the machine :

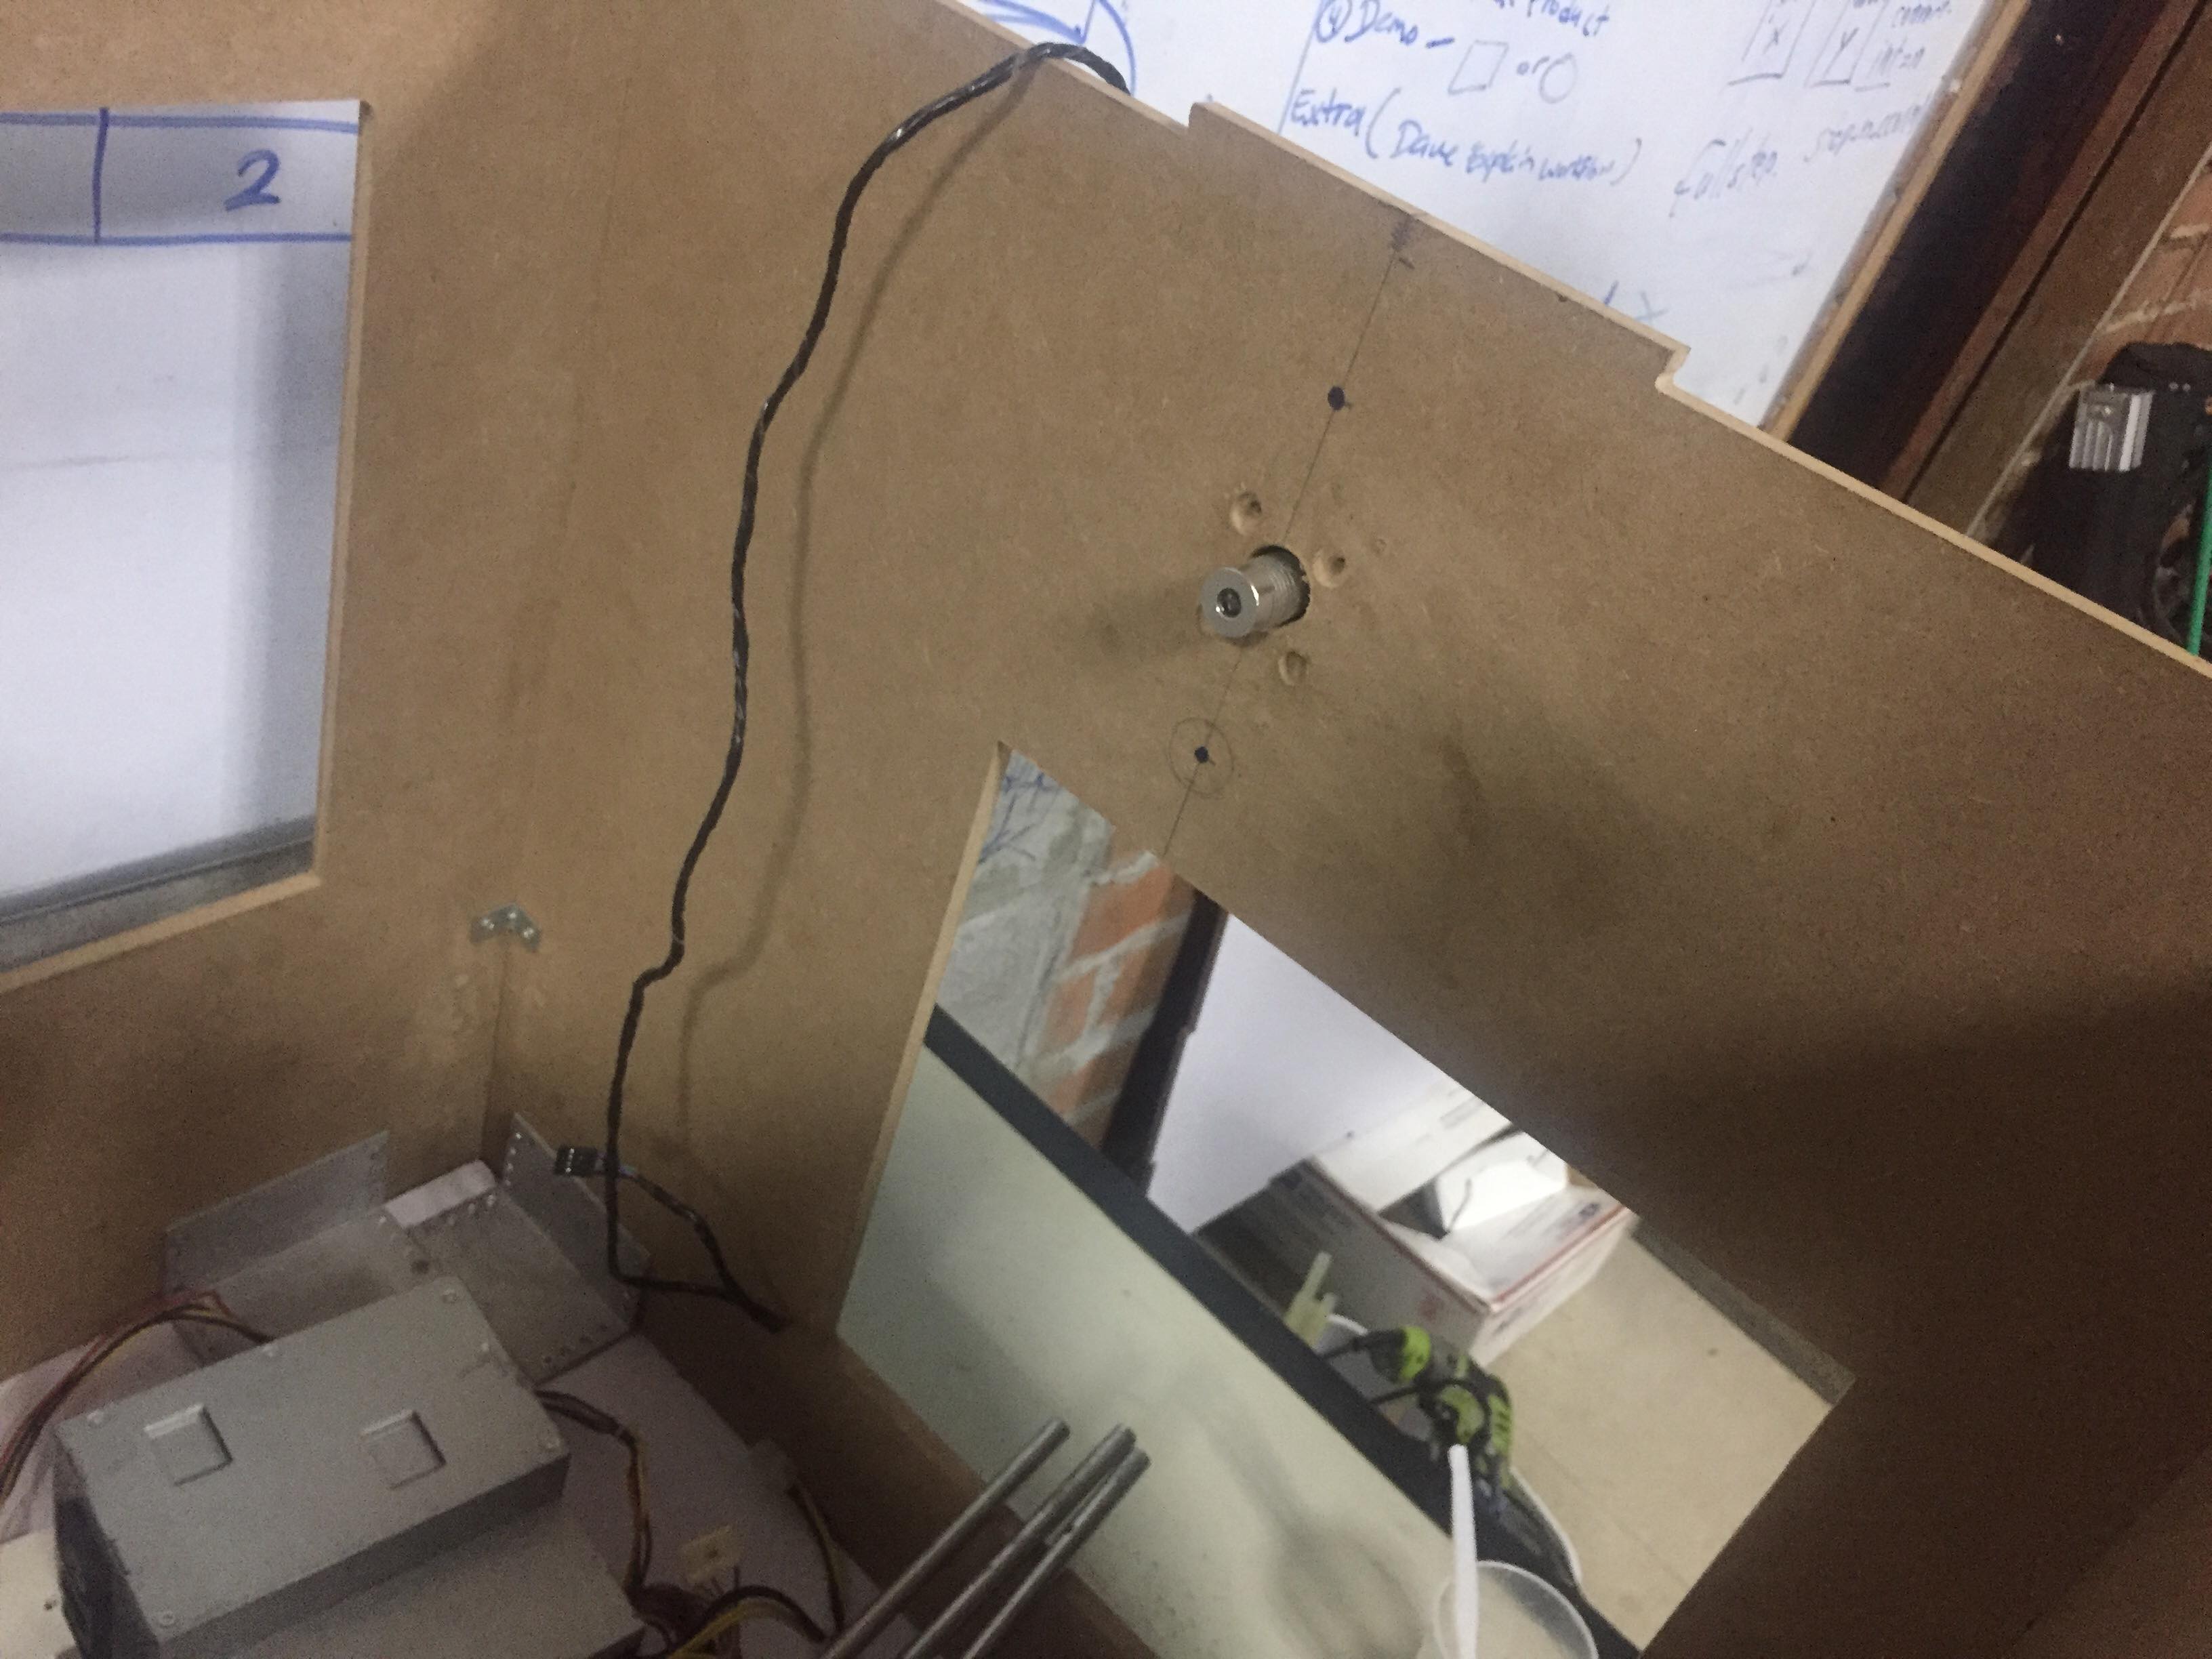
A.Fasten the bar holders and the shaft bar
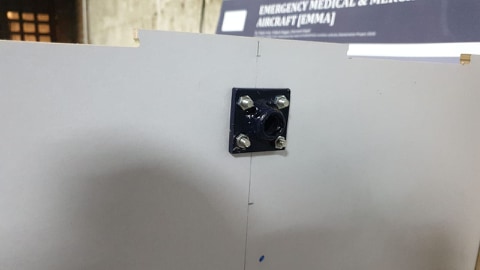
First i fastend the bar holders on to the frame on the same height and same width.I then put the shaft bar on the bar holders.For the Y-axis i fastend the bars by making holes in my frame and that makes it also a little tight.
B.Fasten the steppermotors
For the 3 stepper motors i took 3 metal frames from old CD-roms.The metal frames has screwholes and are easy to fastend on the frame.
4A.Making the stepper drivers
For every CNC machine there are stepper drivers to make the machine work.Stepper drivers are drivers that when givin a comment they have to let the stepper motors perform it.Each stepper motor has it's own stepper driver.Making stepper drivers is based on Week 12 Output devices assignment (Read more about Week 12 assignment).
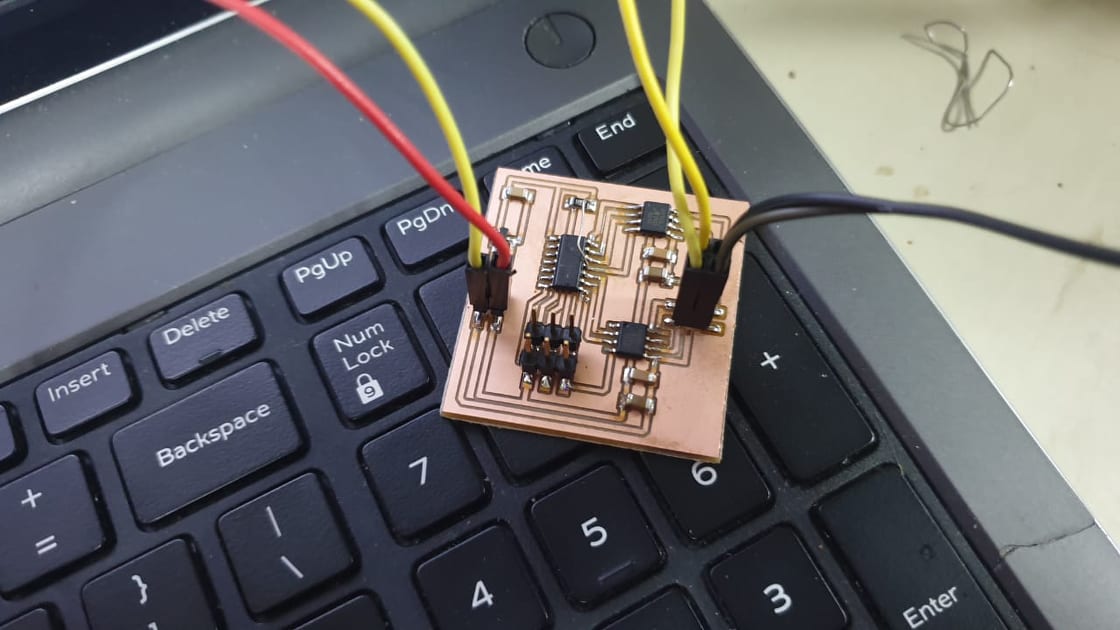


I made three stepper drivers for the CNC machine.One for the X-axis ,one for the Y-axis and one for the Z-axis and to power the stepper drivers i used a computer powersupply.The stepper driver is running thru 12V and i'm using a 3.3V FTDI cable to drive the stepper motors by Serial.
4B.Cable management
For the cable management i used 10 by 10 cable tray.The cable tray is meant to put the cable properly so it can connect the stepper motors at a central point.

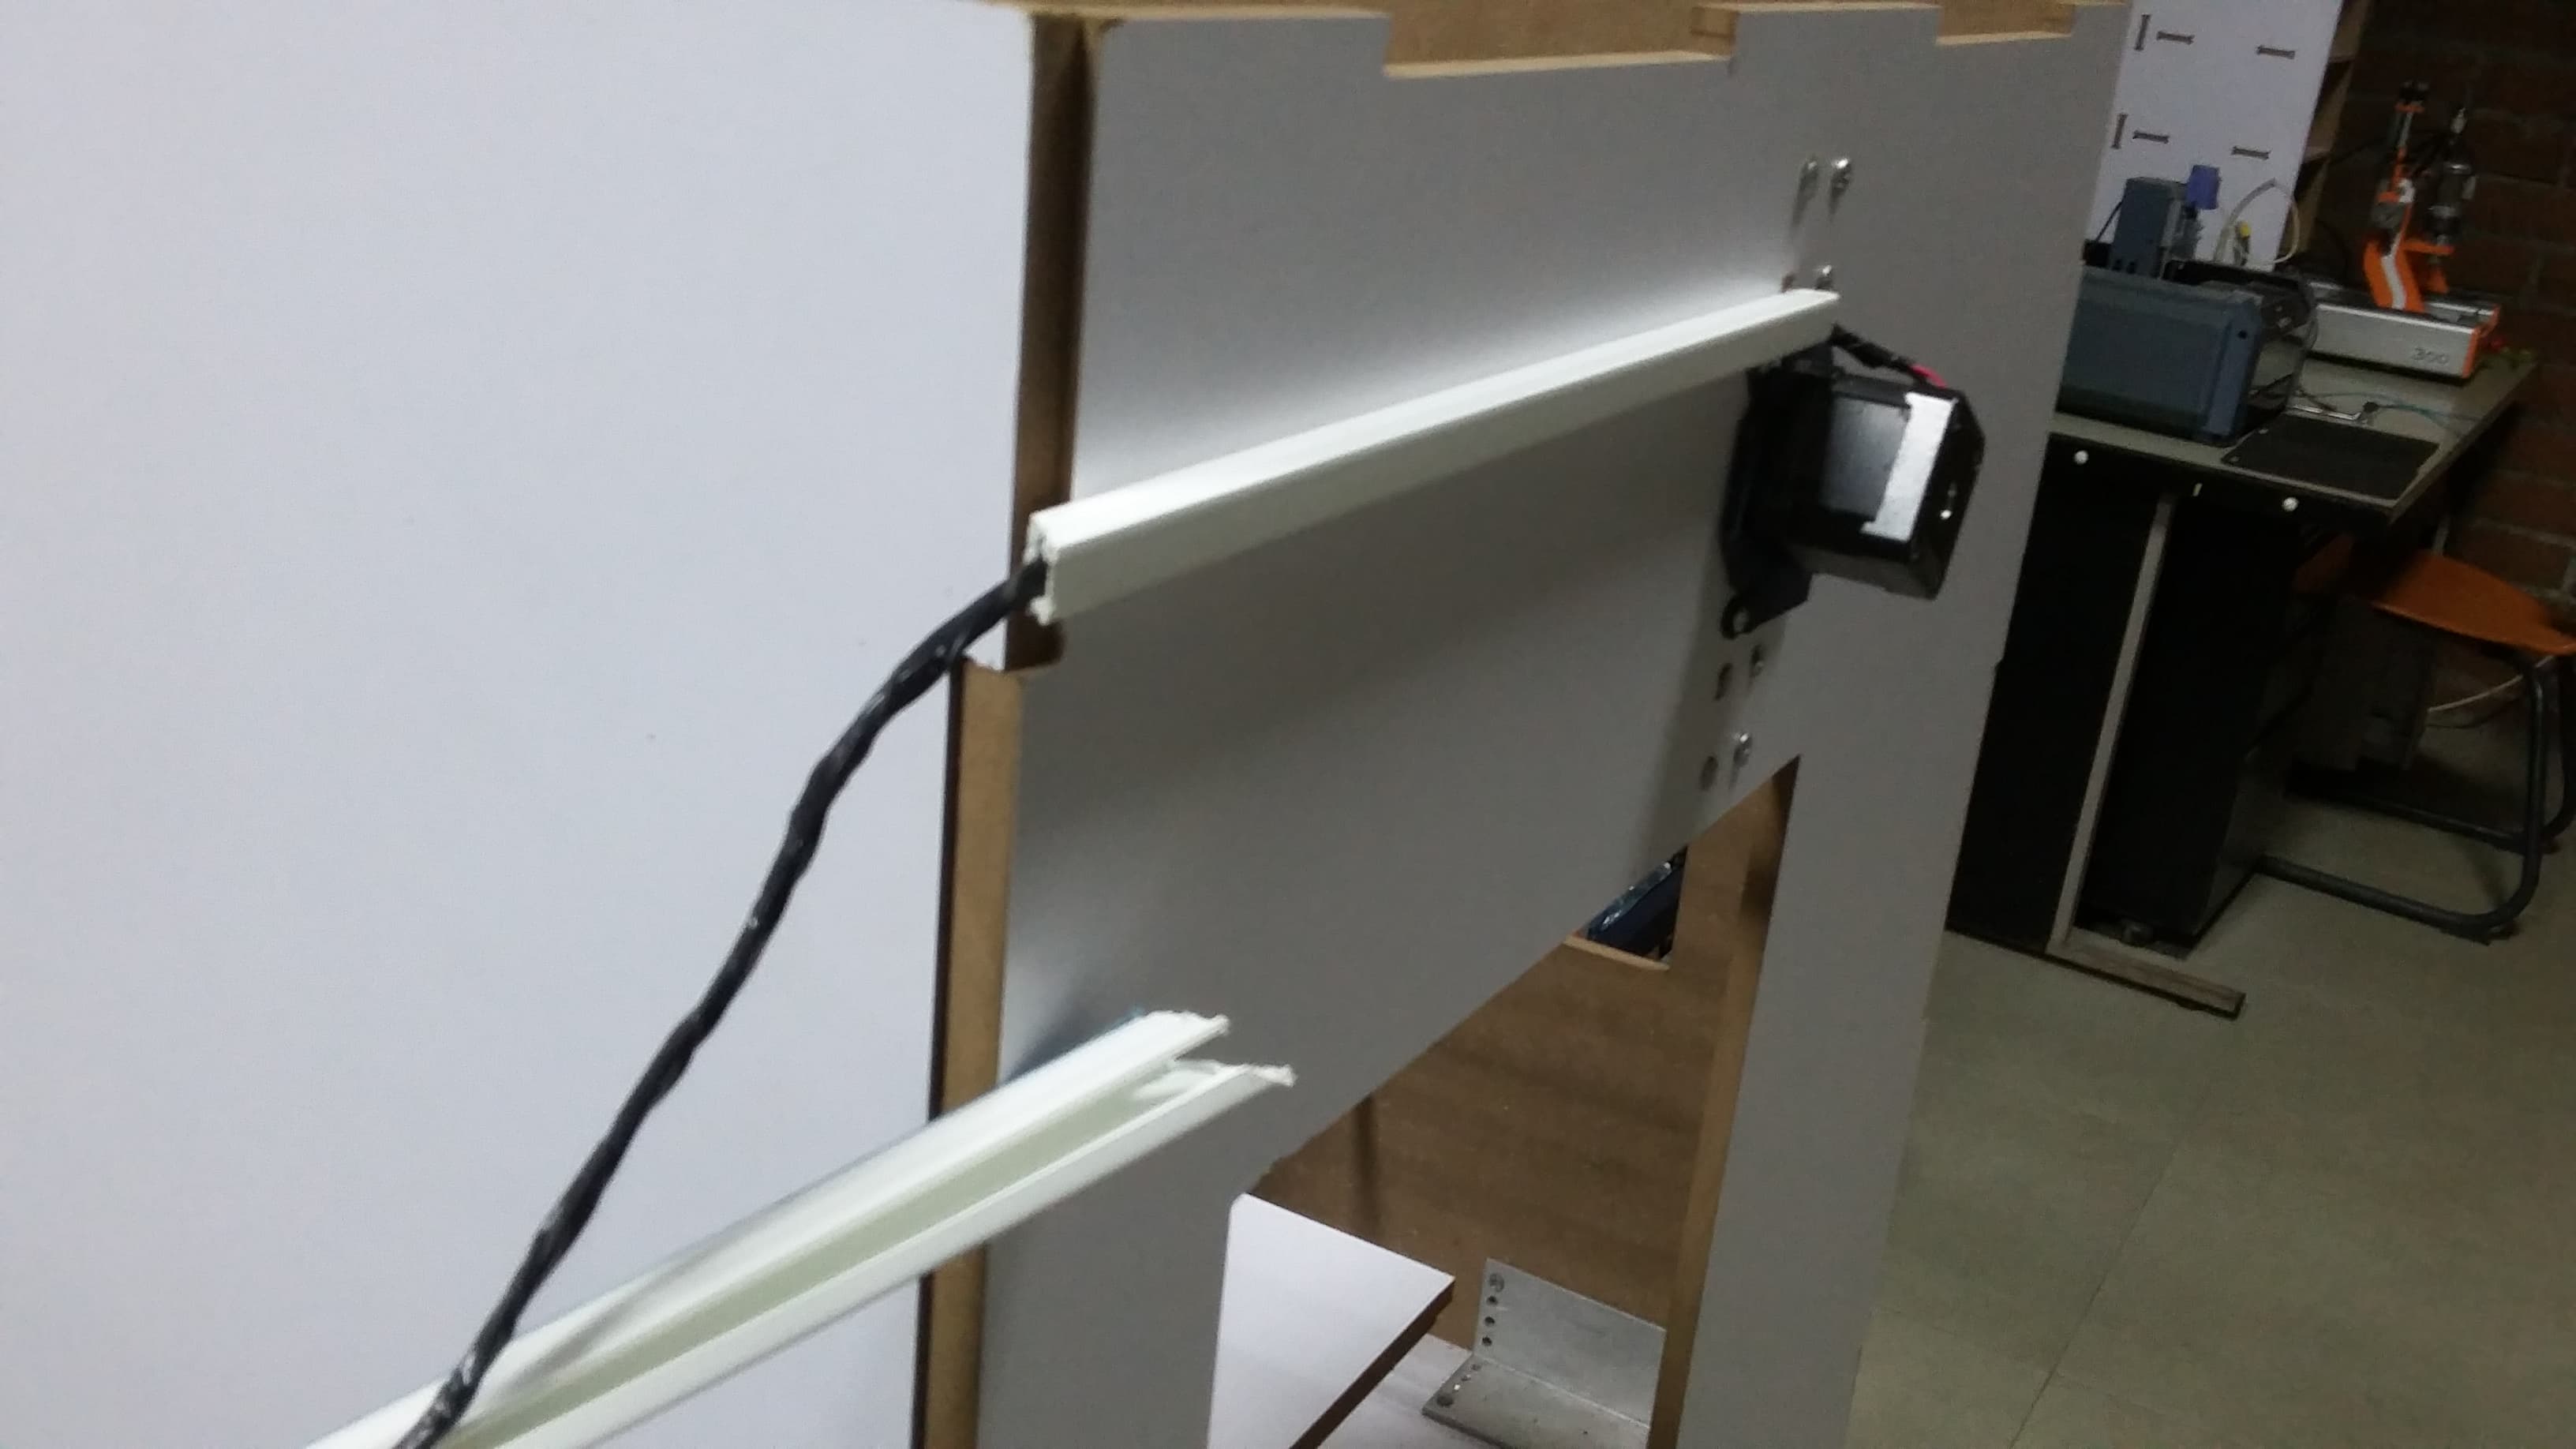
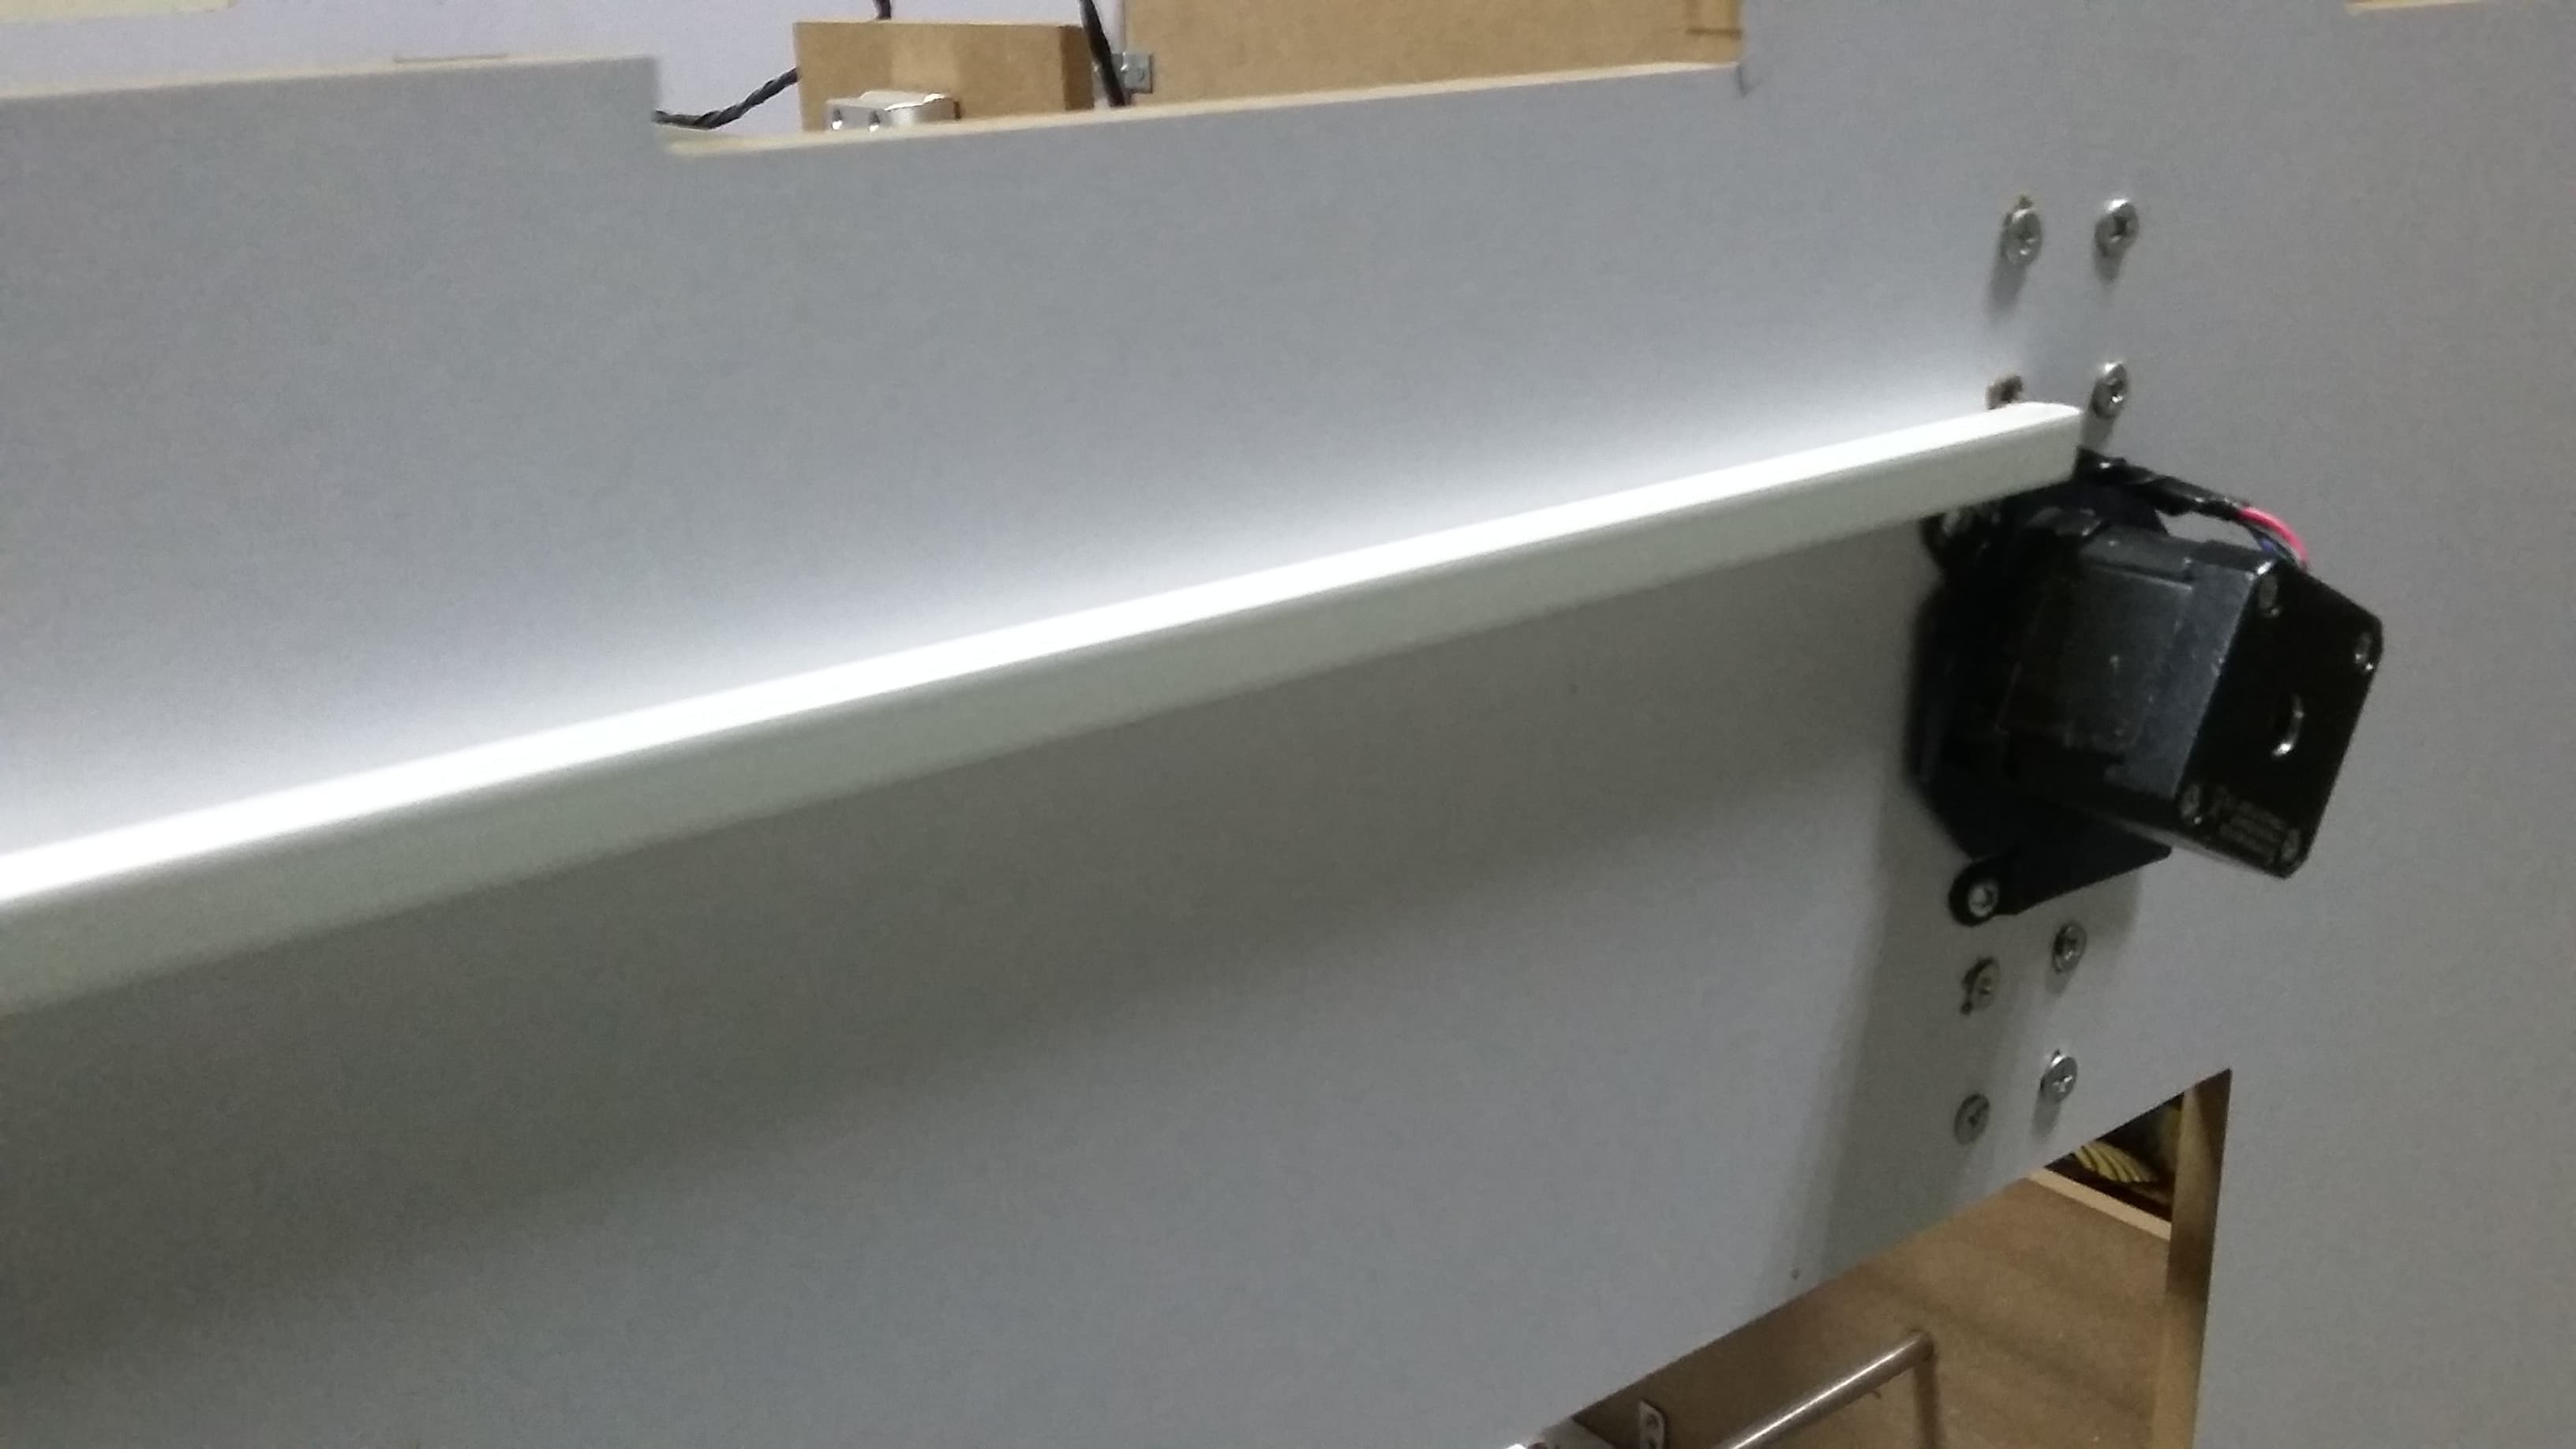
5.Creating a Interface
For jogging the CNC machine i made a interface that is easy to use and also easy to understand by the user.To see the process you can read more about it in the Interface and Application Programming week.(Read more about Week 16 assignment).

6.Testing the X-axis,The Y-axis and the Z-axis
For everything you make you have test it if it works or not.I prgrammed each stepper driver for the X-axis,the Y-axis and The Z-axis With Neil's Bipolar stepper driver code and i also added some code in it.
7.Testing the CNC machine
8.Presentation Slide

9.Presentation Video
10.Selected Licence
For the license click on this link License
11.Work done by others
For the information click on this link Done by others
Files
Will be uploaded soon