project management
Assignment
Work through a git tutorial build a personal site in the class archive describing you and your final project
During the first week we had time to understand the structure of the course. Documentation seems to be the main focus of the course. We have an account on GitLab and we have to use Git in order to document our progress.
What I did
- Understood the concepts of GIT
- Setup git lab account and password
- Learned basics of HTML, JAVA & CSS
- Tried Atom editor and Visual studio code
- Created my own website

Installed git using this link
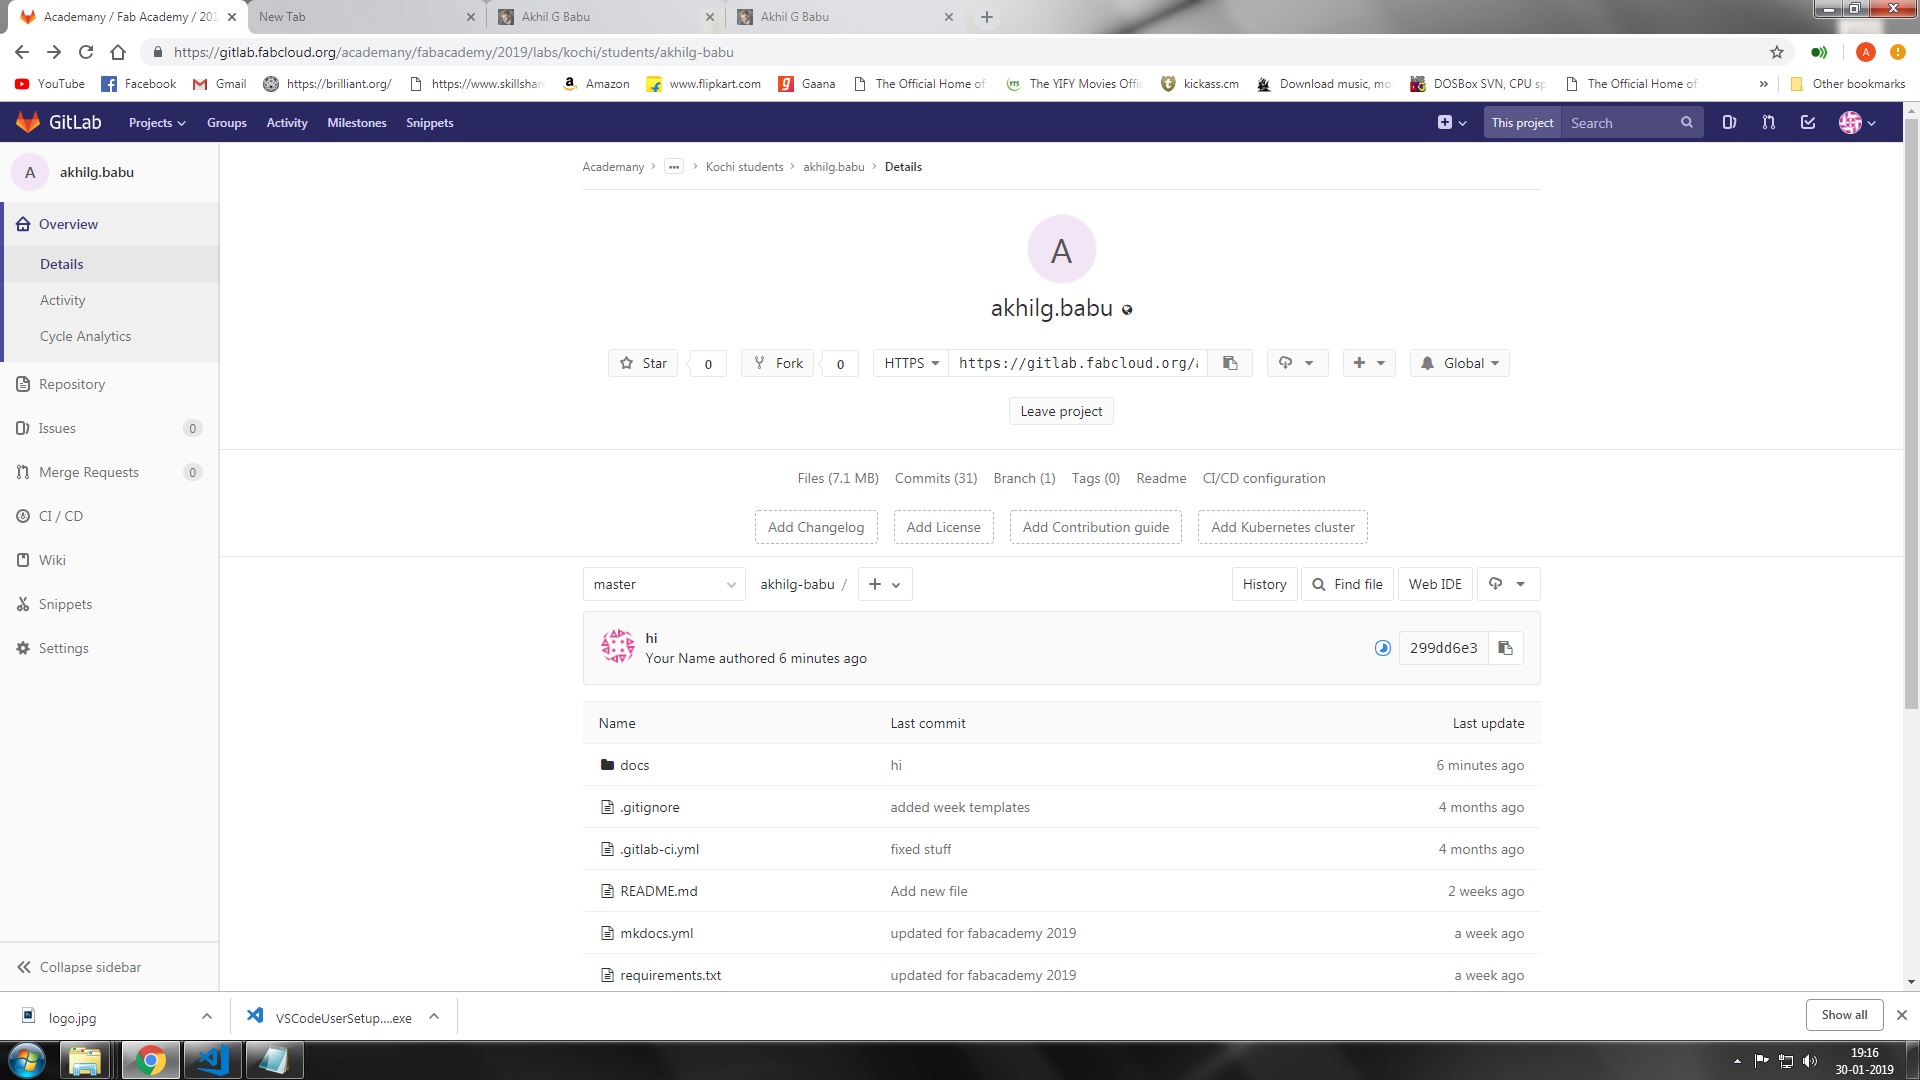
It took me a while to understand the concept of gitlab. As first step we have to install git. The first thing you should do when you install Git is to set your user name and email address. This is important because every Git commit uses this information
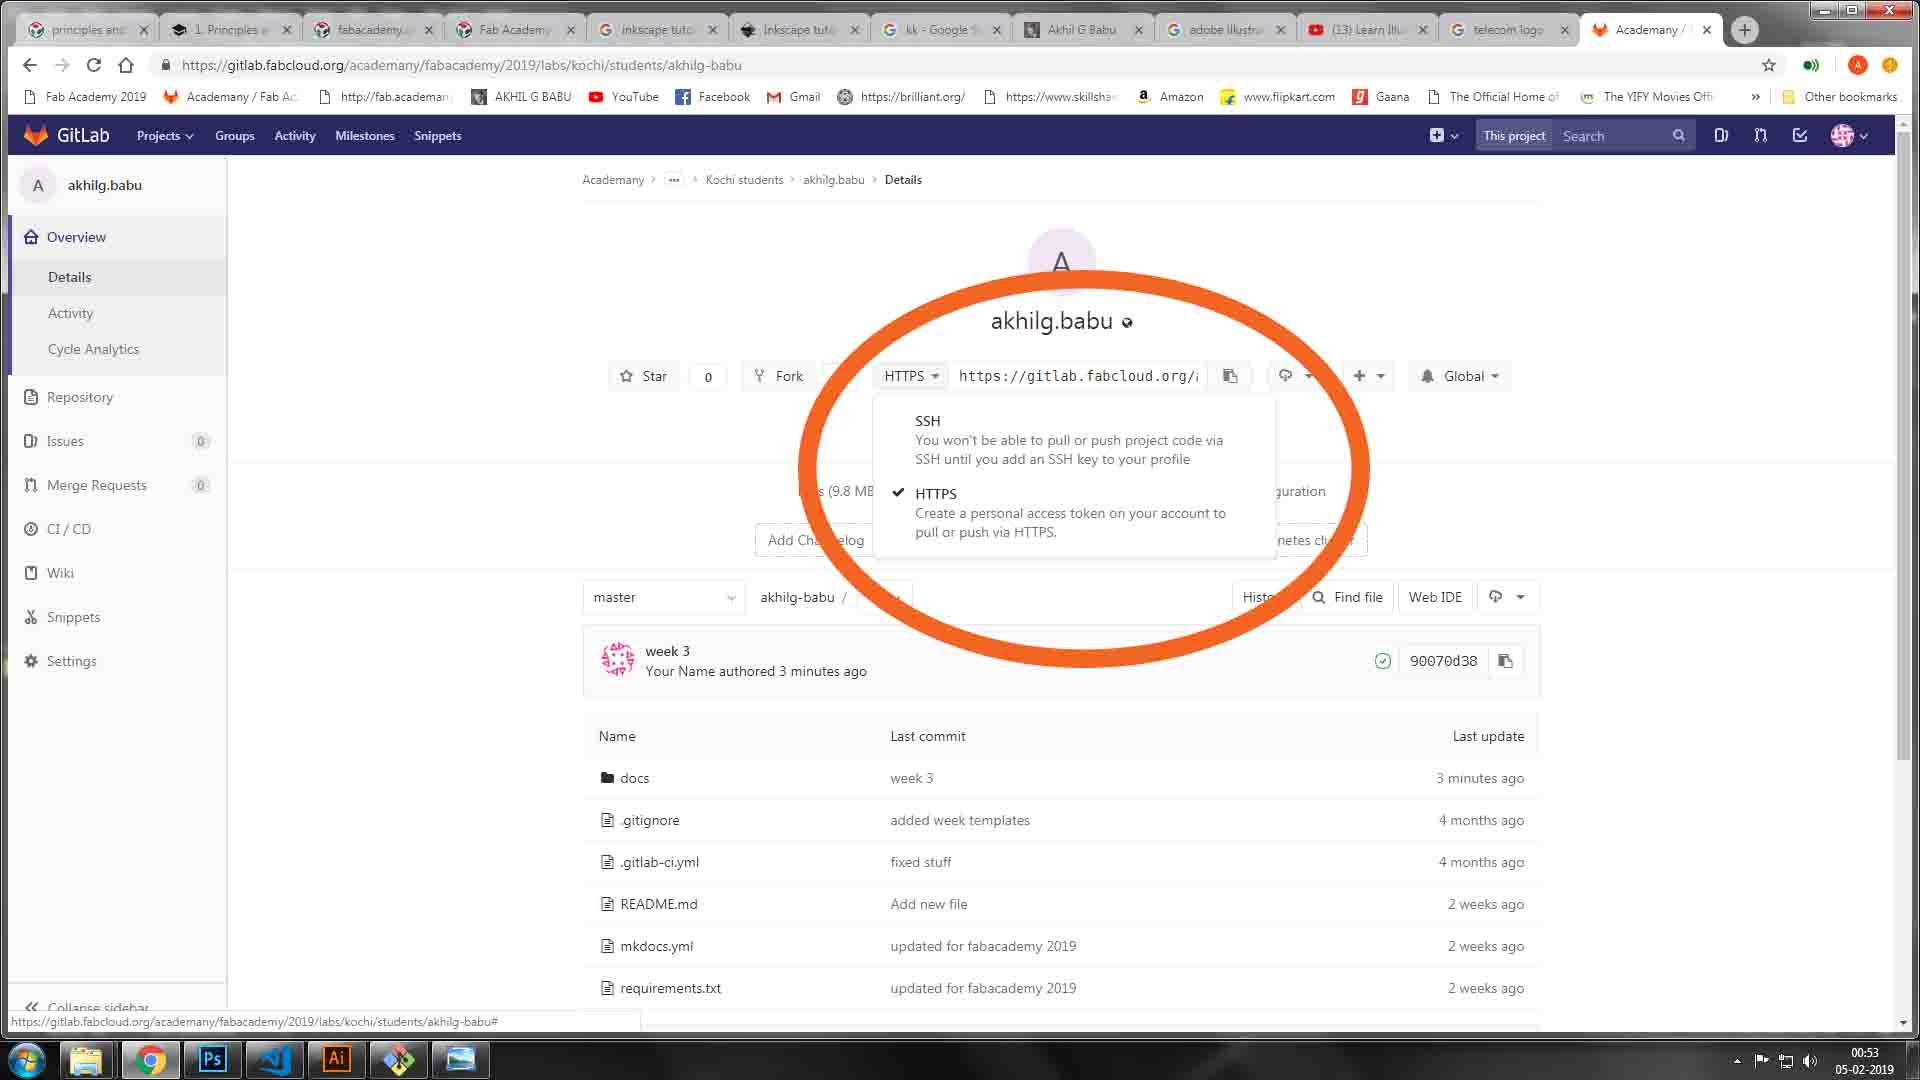
I have created an account in gitlab. As you can see in the above image, there are two access protocols which you can establish a connection with gitlab. The SSH protocol and HTTP(s) protocol.
Generate SSH keys
- Open terminal (Ctrl+Alt+T) and type
- ssh-keygen -t rsa -b 4096 -C "your mail id"
- Enter a file in which to save the key (/Users/you /.ssh/id_rsa): [Press enter]
- Press enter to chose the default location.
Set up a passphrase
- A window will open showing you the SSH keys.
- Id_rsa is your private key and id_rsa is your public key.
Add an SSH agent
- Open terminal (Ctrl+Alt+T) and type
- eval "$(ssh-agent you -s)"
- ssh-add ~/.ssh/id_rsa # Add key to the agent
Add a global username and global email id
- Open terminal (Ctrl+Alt+T) and type
- git config --global user.name "your username"
- git config --global user.email your mail id
Add public key to gitlab account
- Open terminal (Ctrl+Alt+T) and type
- sudo gedit ~/.ssh/id_rsa.pub
- Copy the entire thing and close the gedit window.
- Open the gitlab account (git.fabacademy.org)
- Click on Profile Settings → SSH Keys
- Paste the content under “Key”
- Give a title to identify which PC has the above Key
- Click on Add key and Done.
Cloning gitlab repository using "git clone command"
Open gitlab repo and copy the clone ssh url.
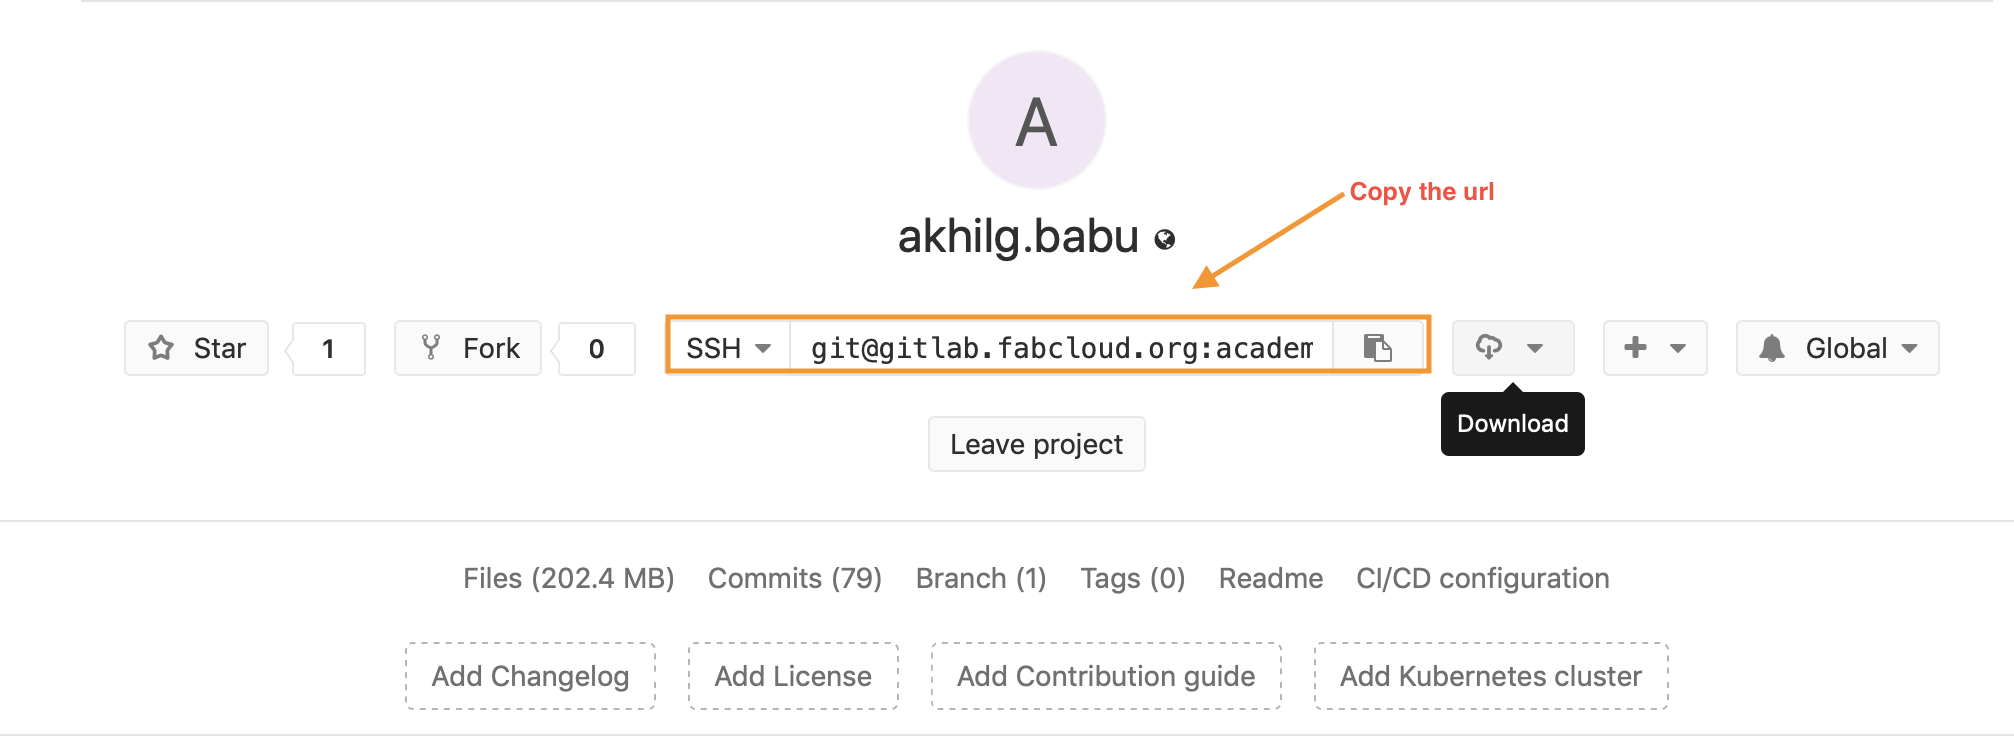 To download the repo to local directory in computer, open terminal and type
 git clone "URL"
To complete the cloning we should enter the passphrase.
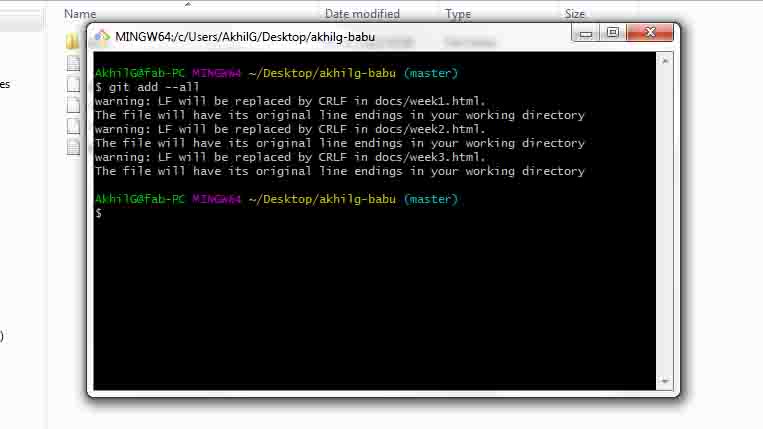
These were the steps that I followed while pushing my files.First,
I went to the folder where my git files were located and then right click on
the window and select 'Git bash here' option. This will open a terminal window.
git add --all
command to add all the files
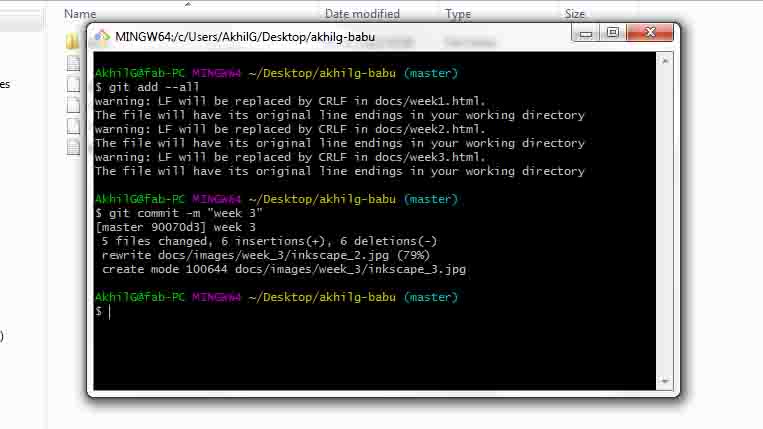
The next step is to commit the files which can be done using the command
git commit -m"Description"
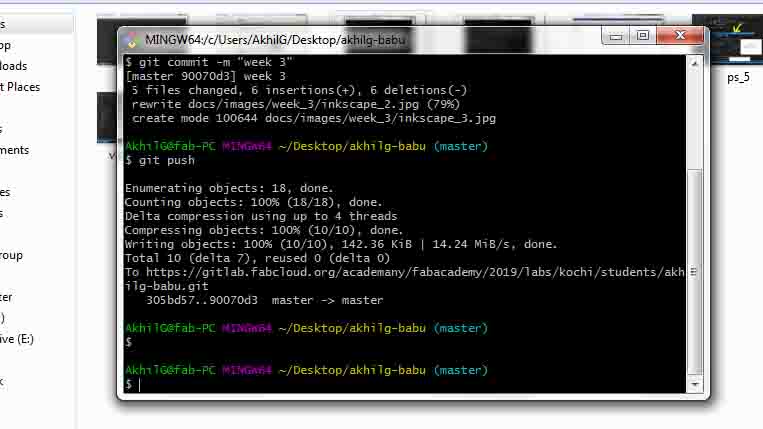
Before pushing the files we have to pull the files first in order to avoid
the clashes when a group is working on a single repository.But since each student
was having a single repository for themselves this wasn't necessary.I pushed my
files using the command
git push
After pushing my files I noticed that the images on my webpage were not shown.
Later I found that it was a problem caused by the image location in the HTML files,
as the git only considers the location from the git folder.I made those changes an now it works fine.
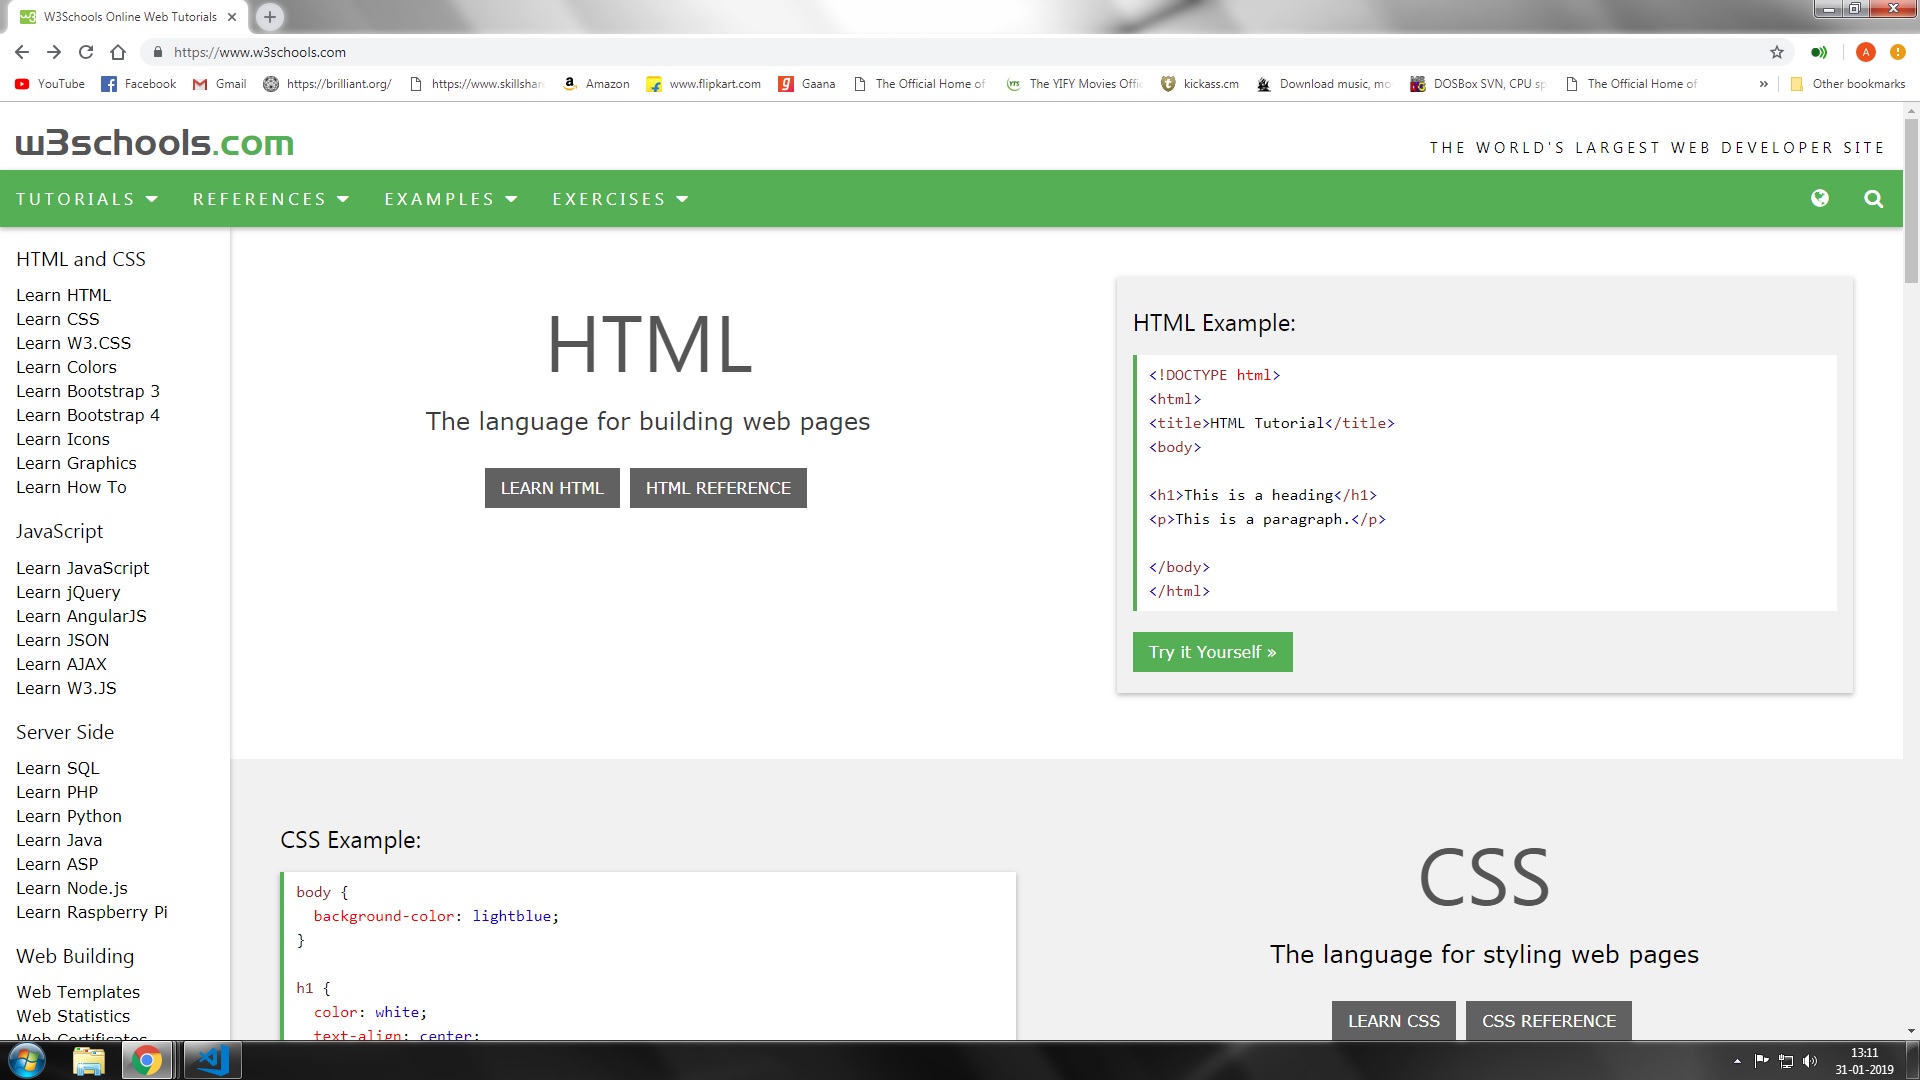
HTML is the standard markup language for building web pages. I have no previous experince in html, so I have to learn from the basics.
w3schools.com is a good website to learn html, css and javascript.
I personally preferred building a custom website.I Downloaded template from Bootsrap
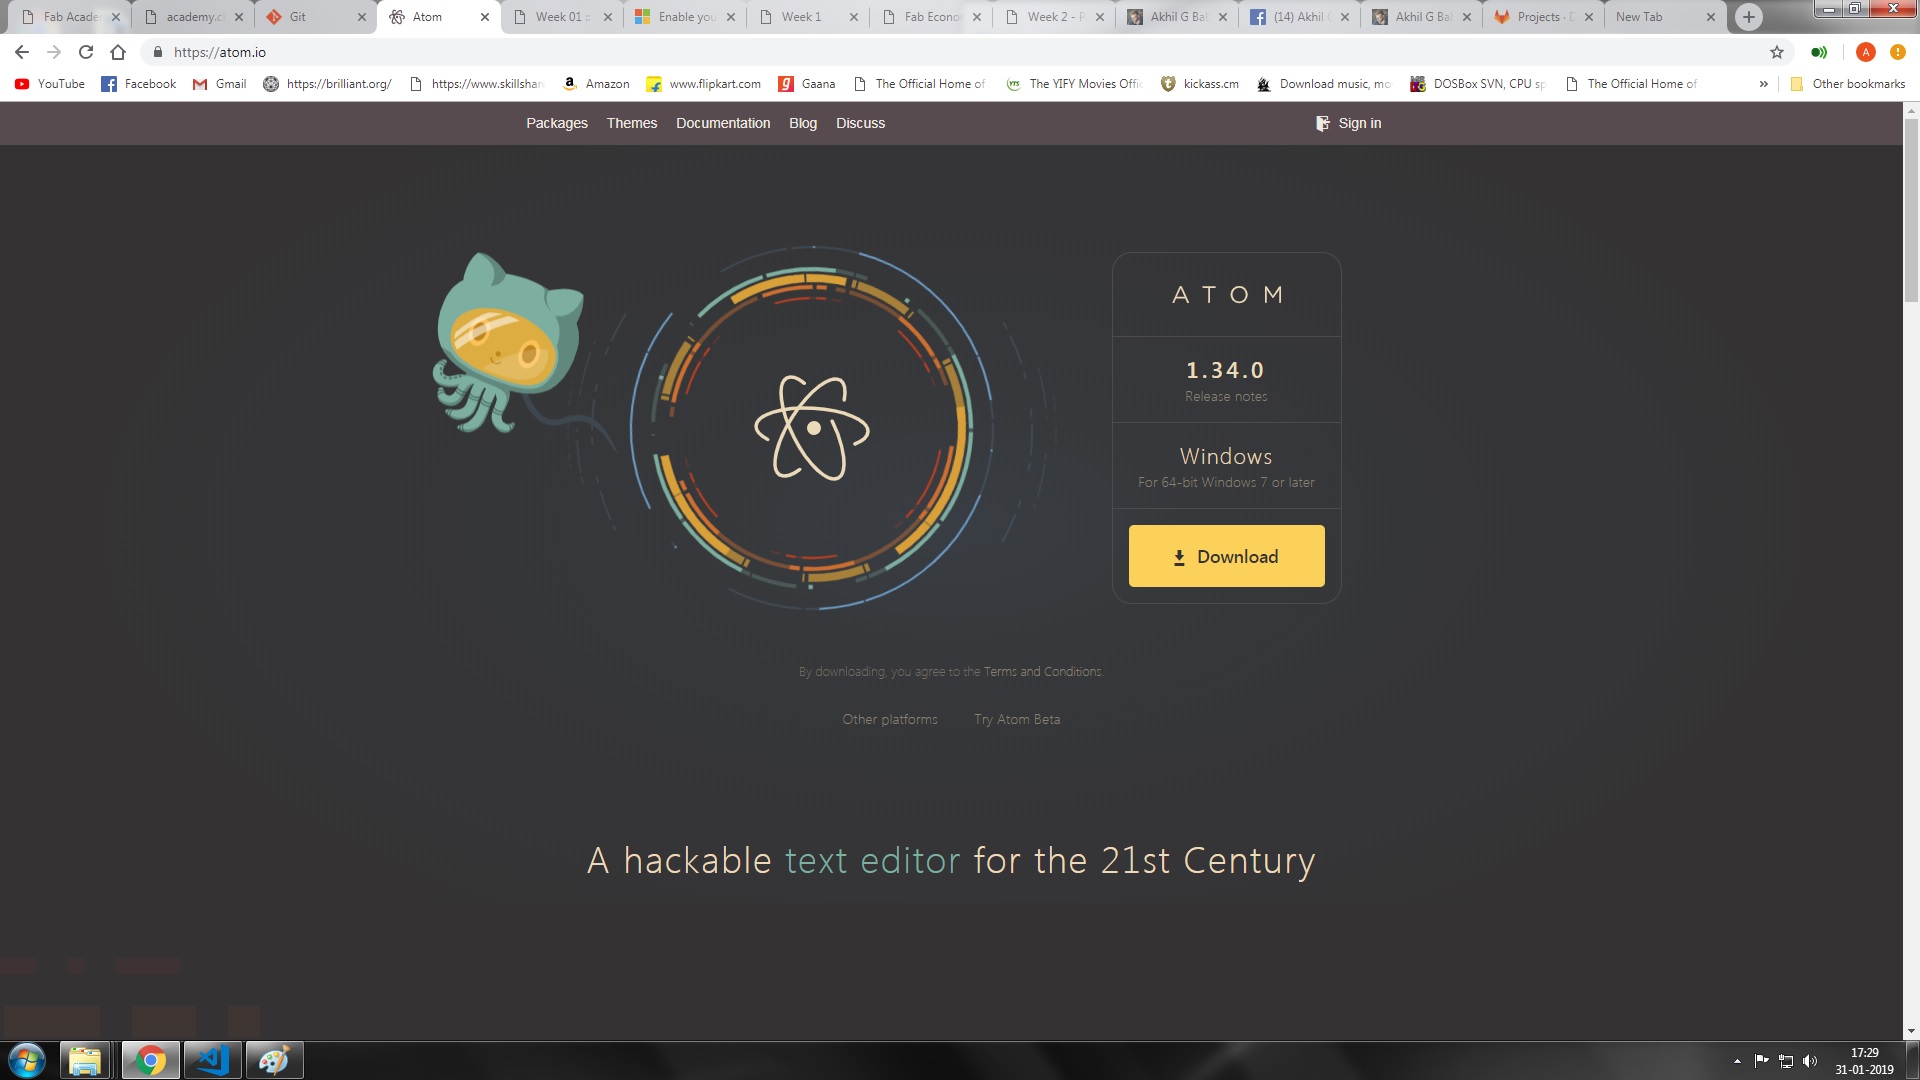
First I tried atom editorwhich is an open-source text and source code editor.
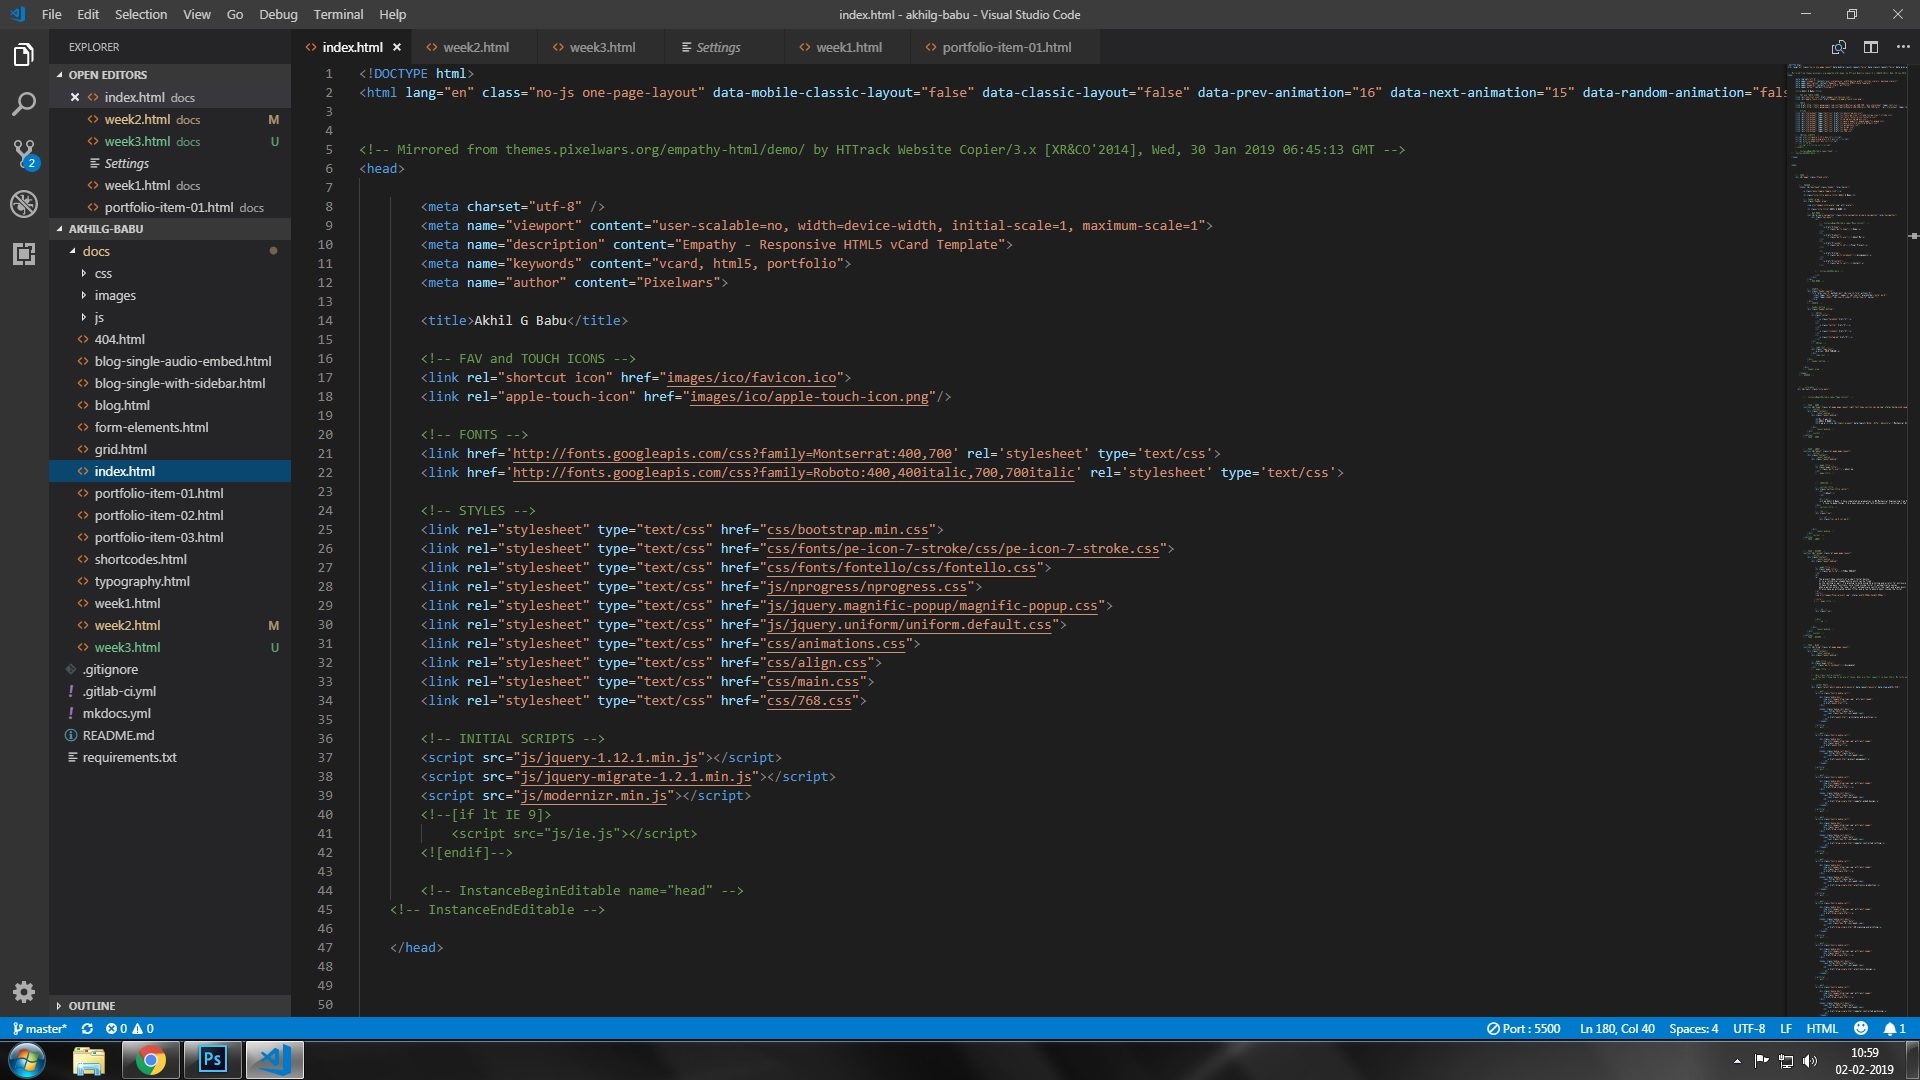
Later I found Visual Studio Code which is much easier to use.
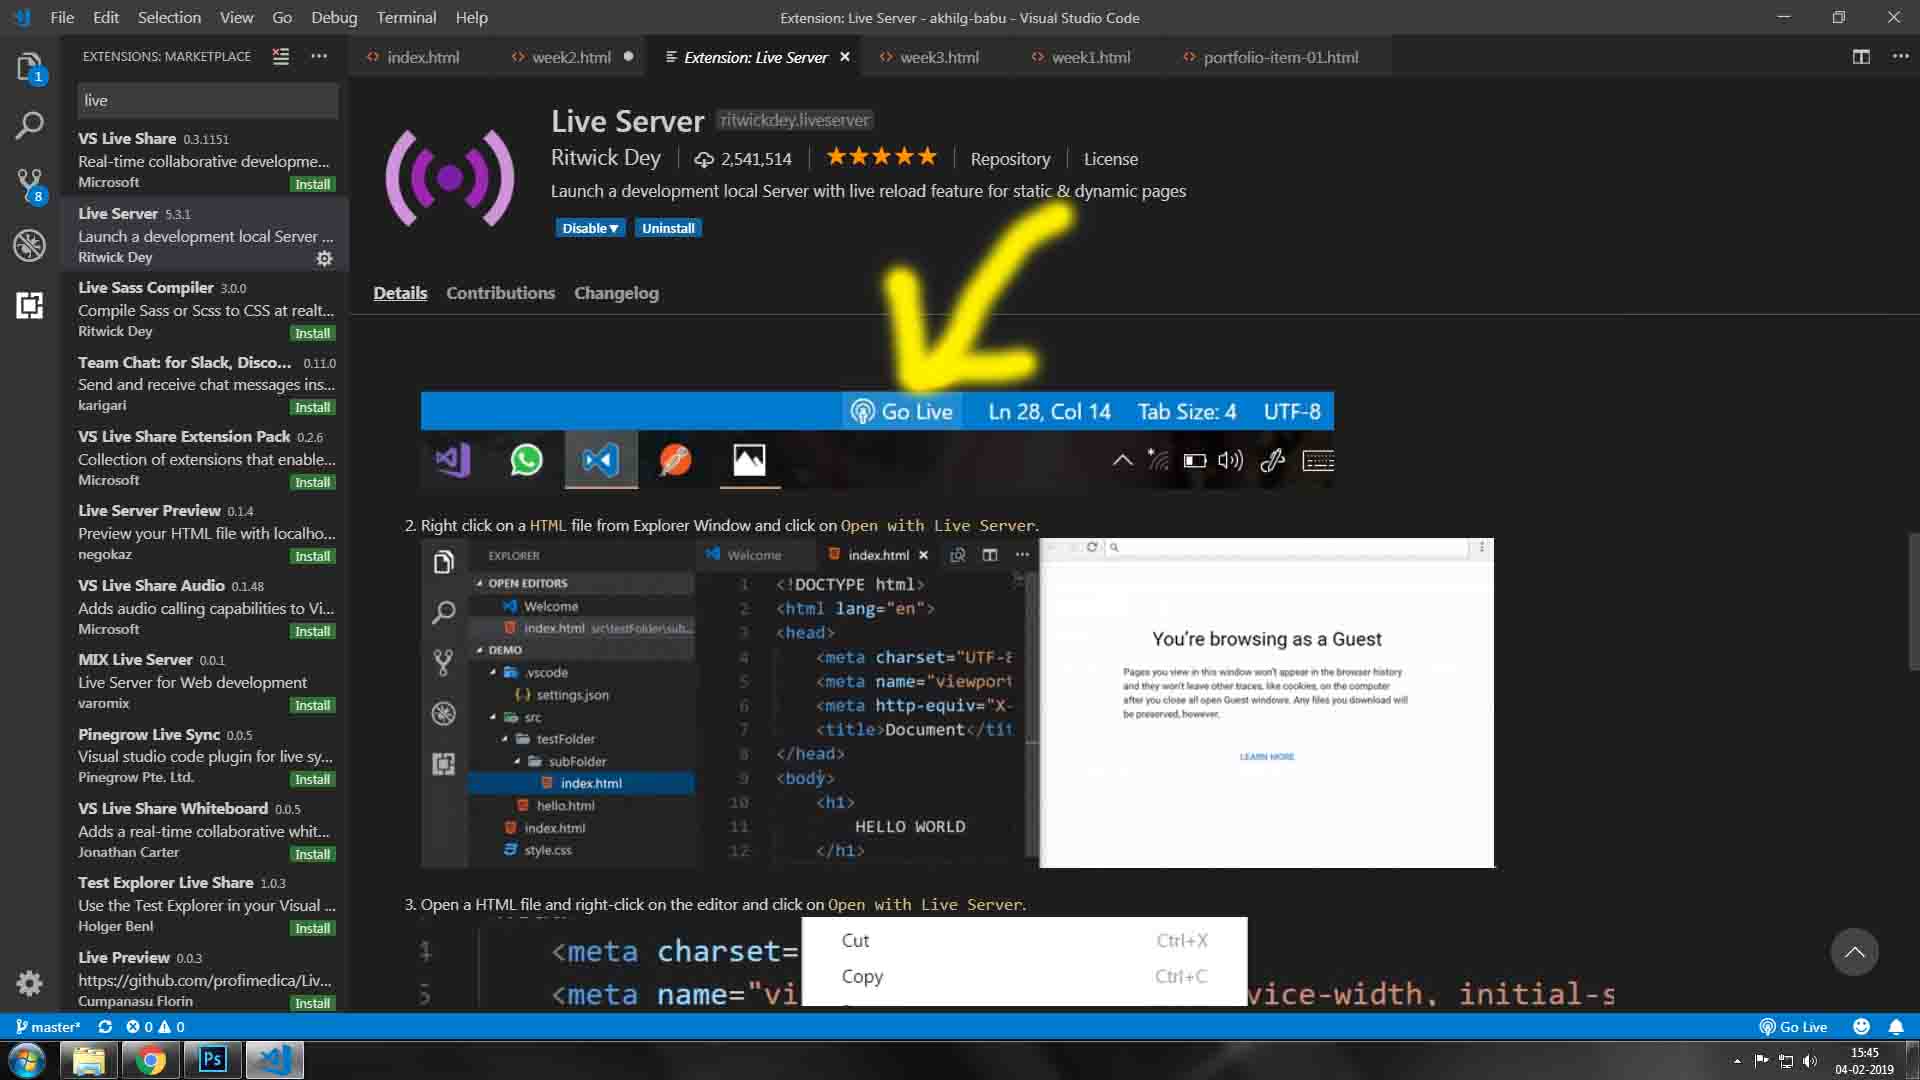
The live "server extention" is Visual Studio Code helped check my page frequently with out hitting refresh button while editing in VSC
Some useful keyboard shortcuts for Visual Studio Code

Finally after 3 days of hard work, I was able to finish my web page
Adding images to html
img src="image.jpg" alt="Italian Trulli"
The
img tag is empty, it contains attributes only, and does not have a closing tag.The
src attribute specifies the URL (web address) of the image:img src="url"
The alt attribute provides an alternate text for an image, if the user for some reason cannot view it
(because of slow connection, an error in the src attribute, or if the user uses a screen reader).
img src="img_chania.jpg" alt="Flowers in Chania"
Adding links of files to be downloaded
a href Can be used to put links on websites
a href="Main directory/sub directory/filename.extension"
This code can be used to add download link
Converting arduino code to html file

To display Arduino code in html. Go to EDIT - COPY AS HTML option to display Arduino code.
Embedding YOUTUBE videos into website

Change a Website's Favicon
A favicon is the small website icon that exists on a browser’s tab, as well as your bookmarks list. The standard size is 16 x 16 pixels, although any square image will scale to fit. It is a small piece of customization that goes a long way.

To create favicon use this website
Clear your browser cache, then visit your website again
Embedding 3D models into website

I'm using fusion 360 for my designing purposes. I want to add my 3D design to my web page. Since fusion 360 is a cloud based drawing system, it is comparatively
easier to embeded design to the browser.
To do this first go to https://a360.autodesk.com/ and sign in using autodest username and password.
There you can see your design files. Select the file and there is a share link option inside that menu select embeded and select the frame size
below that there is a code, copy the code and paste in the desired location in html.
Here is the example