Embedded programming is also known as embedded software development or embedded systems programming.Embedded Programming is the dominant methodology of for programming the microcontrollers. Embedded programming involves the programming small computers that tend to drive devices.
Individual Task.
Read a microcontroller data sheet.
Program your board to do something, with as many different programming languages and programming environments as possible.
Reading the Datasheet.
The first task is to read a microcontroller Datasheet, so for I select ATtiny44 because I used that IC in my board last week and I am going to program it in this week.
BUT what is a microcontroller?
The easiest way of thinking about it is to compare a microcontroller with your PC, which has a motherboard in it. On that motherboard is a microprocessor (Intel, AMD chips) that provides the intelligence, RAM and EEPROM memories and interfaces to rest of system, like serial ports (mostly USB ports now), disk drives and display interfaces.
A microcontroller has all or most of these features built-in to a single chip, so it doesn’t need a motherboard and many components.A microcontroller is a compact integrated circuit designed to govern a specific operation in an embedded system. A typical microcontroller includes a processor, memory and input/output (I/O) peripherals on a single chip.A microcontroller's processor will vary by application. Options range from the simple 4-bit, 8-bit or 16-bit processors to more complex 32-bit or 64-bit processors.
The purpose of reading the datasheet is to know your Microcontroller. Before starting to work over any device you must know its features, limitations, benefits and many other qualities. The datasheet of ATtiny 44 can be downloaded from HERE .
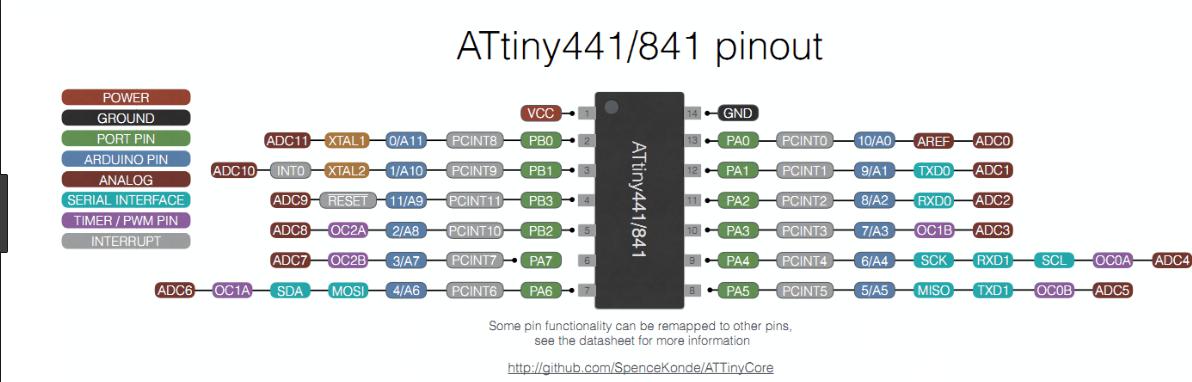
Pin Configurations.
Pin Descriptions
VCC:Supply Voltage.
GND:Ground.
Port B(PB3...PB0):Port B is a 4-bit bi-directional I/O port with internal pull-up resistors (selected for each bit).The Port B output buffers have symmetrical drive characteristics with both high sink and source capability except PB3 which has the RESET capability. To use pin PB3 as an I/O pin, instead of RESET pin, program (‘0’) RSTDISBL fuse. As inputs, Port B pins that are externally pulled low will source current if the pull-up resistors are activated.
Port A(PA7...PA0):Port A is a 8-bit bi-directional I/O port with internal pull-up resistors (selected for each bit). The Port A output buffers have symmetrical drive characteristics with both high sink and source capability. As inputs, Port A pins that are externally pulled low will source current if the pull-up resistors are activated.
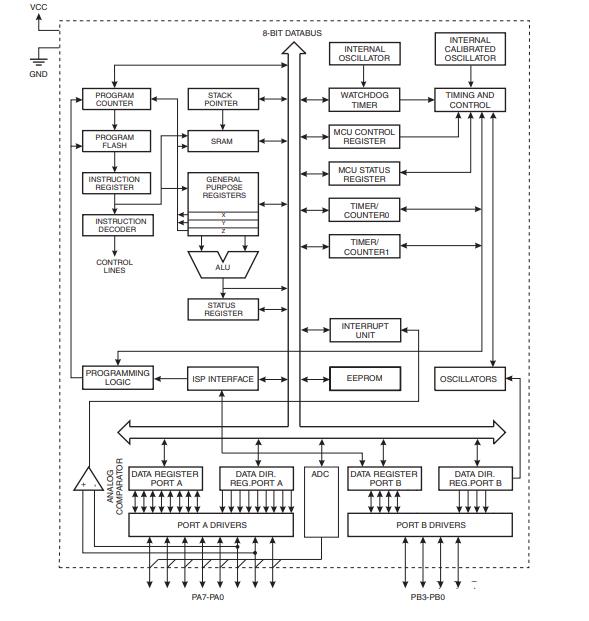
Block Diagram.
The block diagram mentioned in "Overview" section defines the internal structure of IC, it shows how 8 bit Databus is connected with different parts of IC. This can help to understand the IC system and make it easy for programmer to pass set of instructions.
Following are the specification of ATtiny44 microcontroller that we need to know before using it.
Operating Voltage: from 1.8V to 5.5V, depends on the Operating frequency.
Maximum speed of operation is 20 MHz with the supply voltage of 4.5V to 5.5V
Available in 14 and 20 pin QFN/MLF/VQFN.
In case power consumption we have three modes of operations. Active, Idle and Power down Mode. Each mode have their own advantages and disadvantages. We can say its power consumption from 0.1uA to 210 uA at 1.8V and 1 MHz. we can that power consumption is directly propostional to the performance.
Memory: 256 Byte of EEPROM and SRAM, Each. As we know EEPROM is volatile and SRAM is non-volatile as each of these have there own part in the performance of microcontroller.
There are 2 timer one is 8-bit and another is 16-bit in it. 12 Interrupts and many IOs mutliplexed with SPI interface and many more.
There is still lots of other information on data sheet like inbuilt oscilator, different types of sensors, architecture etc. But if think if we are start working with the microcontroller the above 5 things are enough to start with, gradually we can explore other features as well.
Programming.
Programming with Arduino IDE.
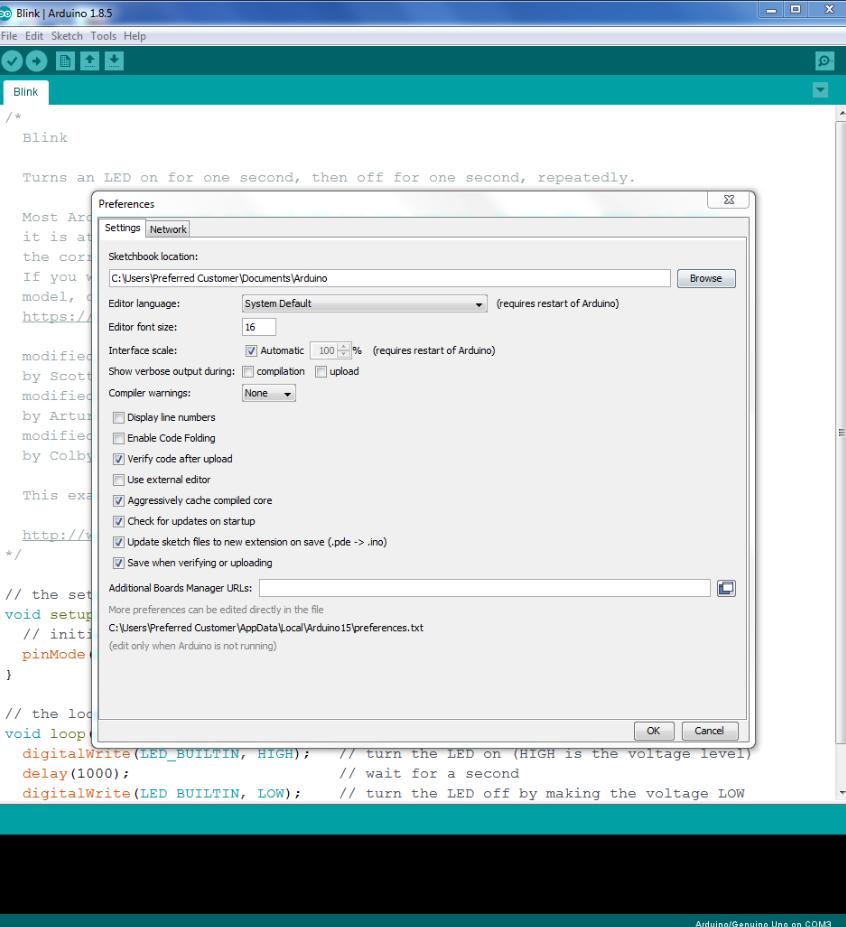
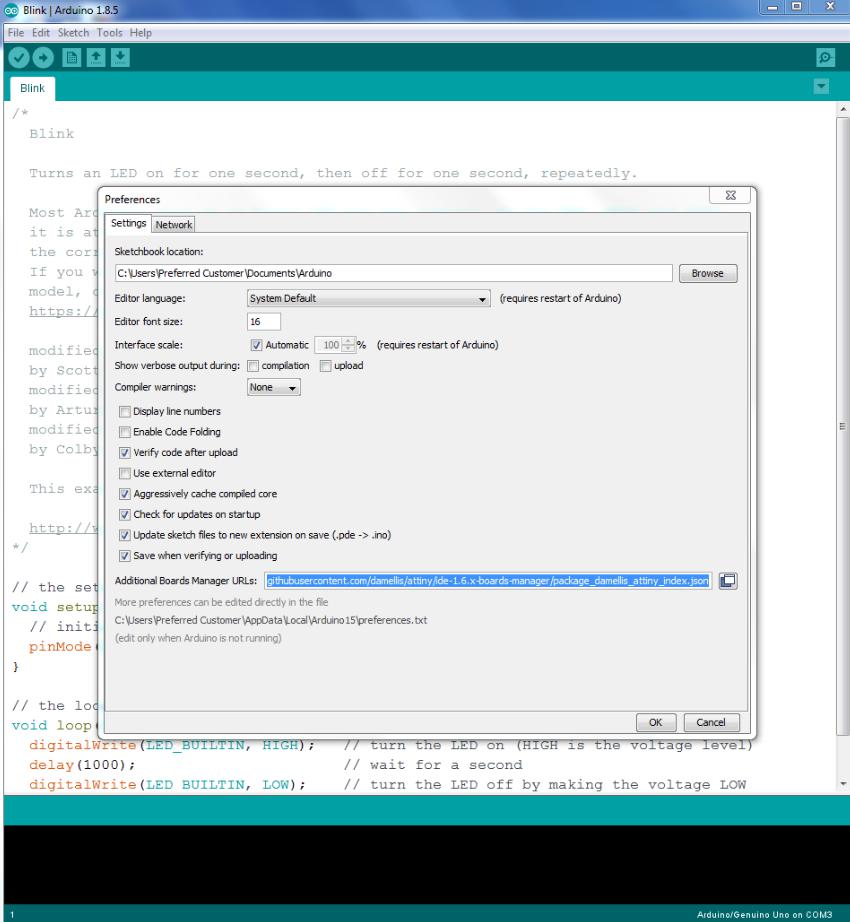
Inorder to program your board using Arduino IDE, first you have to perform following steps so that the IDE can detect your board:
Clear the coloumn "Additional Boards Manager URLs"
Copy the link given over Here. Paste it and press "Ok"
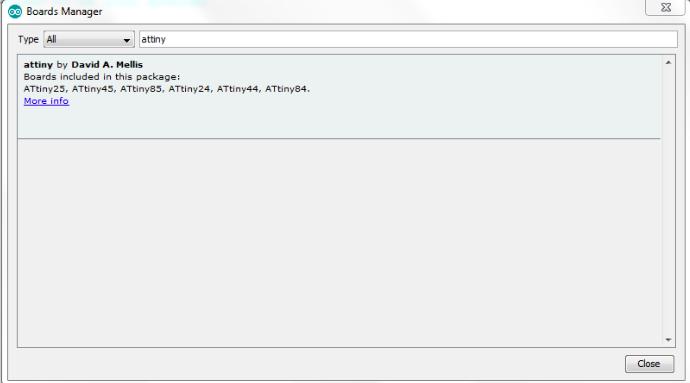
Then Go to "Tools", "Boards", "Boards Manager", and search for ATTiny, once you find that board then install it.
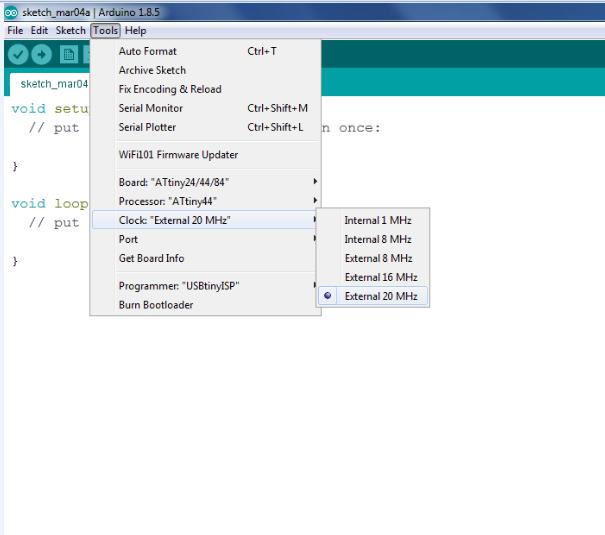
Again Go to "Tools", "Boards", "Boards Manager", and select ATtiny24/44/84.
Then from "Processors" select your repective board i.e.ATtiny44.
Now from "Clock", select the clock source of your chip i.e.External 20MHz.
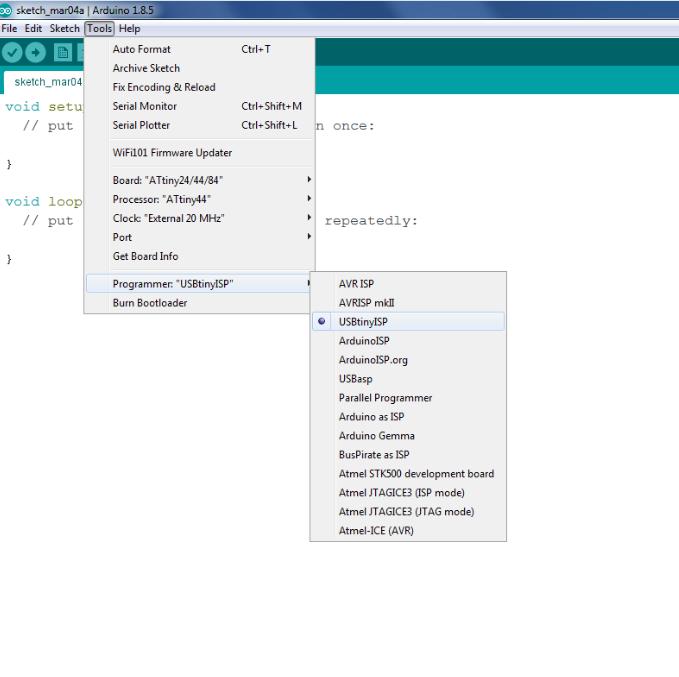
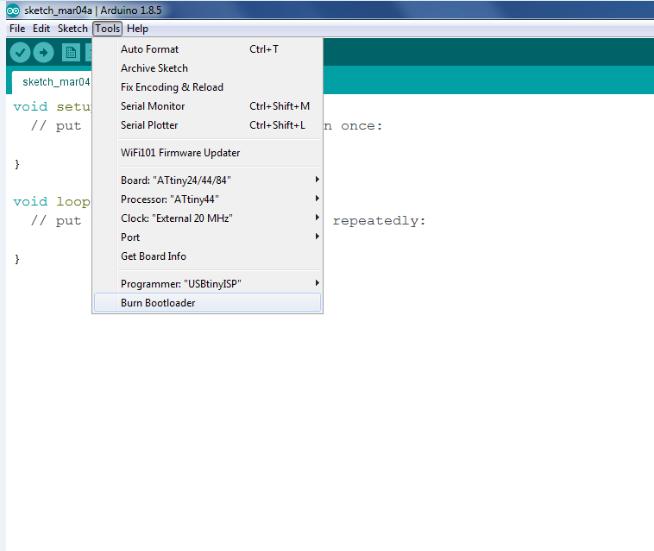
Go to "Programmer" and select USBTiny ISP, instead of "AVRISP mkll".
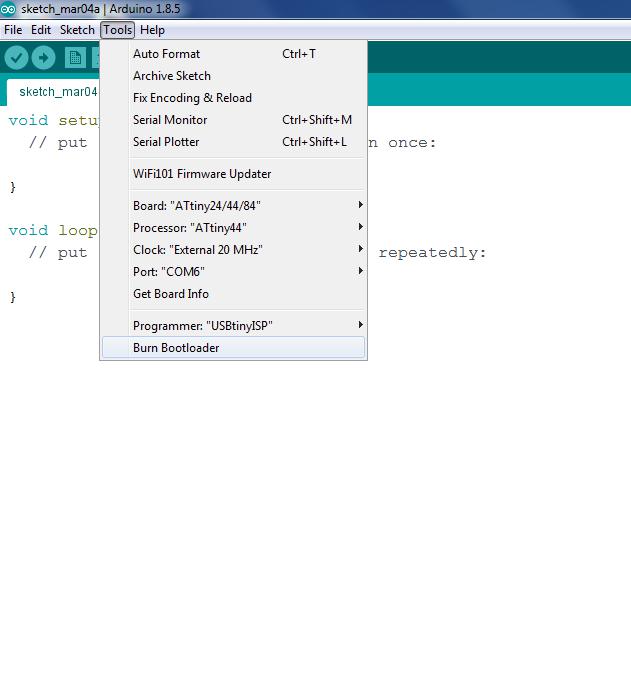
After setting all this, click on the Burn Bootloader option and see if it is successfully uploaded or not.
If "Yes" then proceed uploading other codes, if "No" then check your Hardware connections or repeat above steps until done.
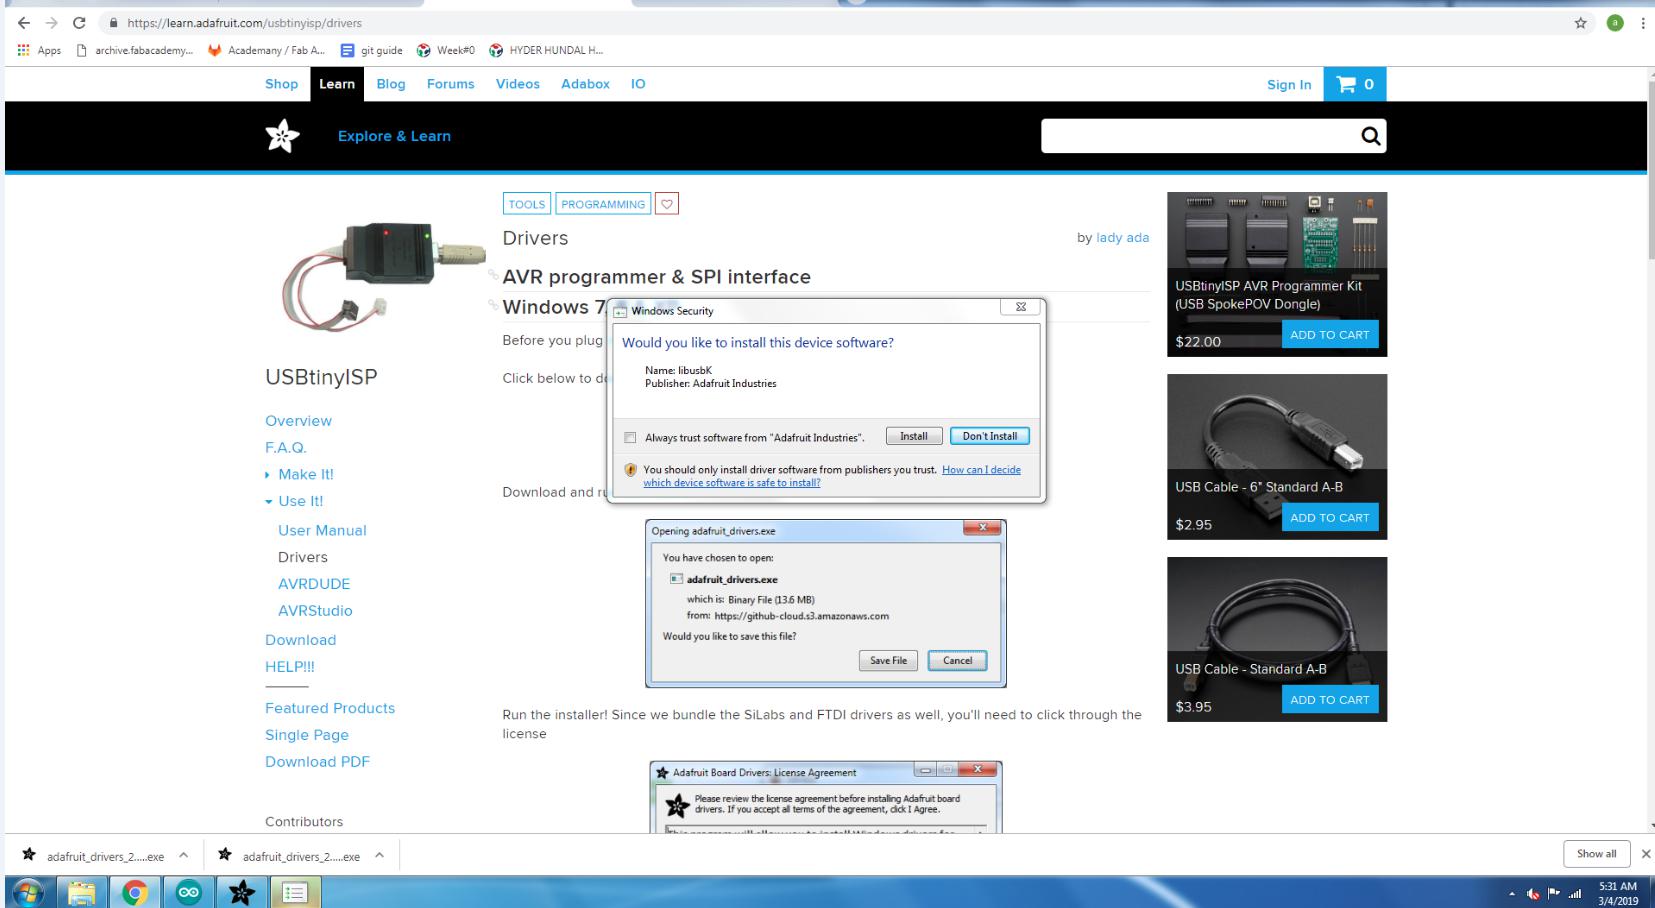
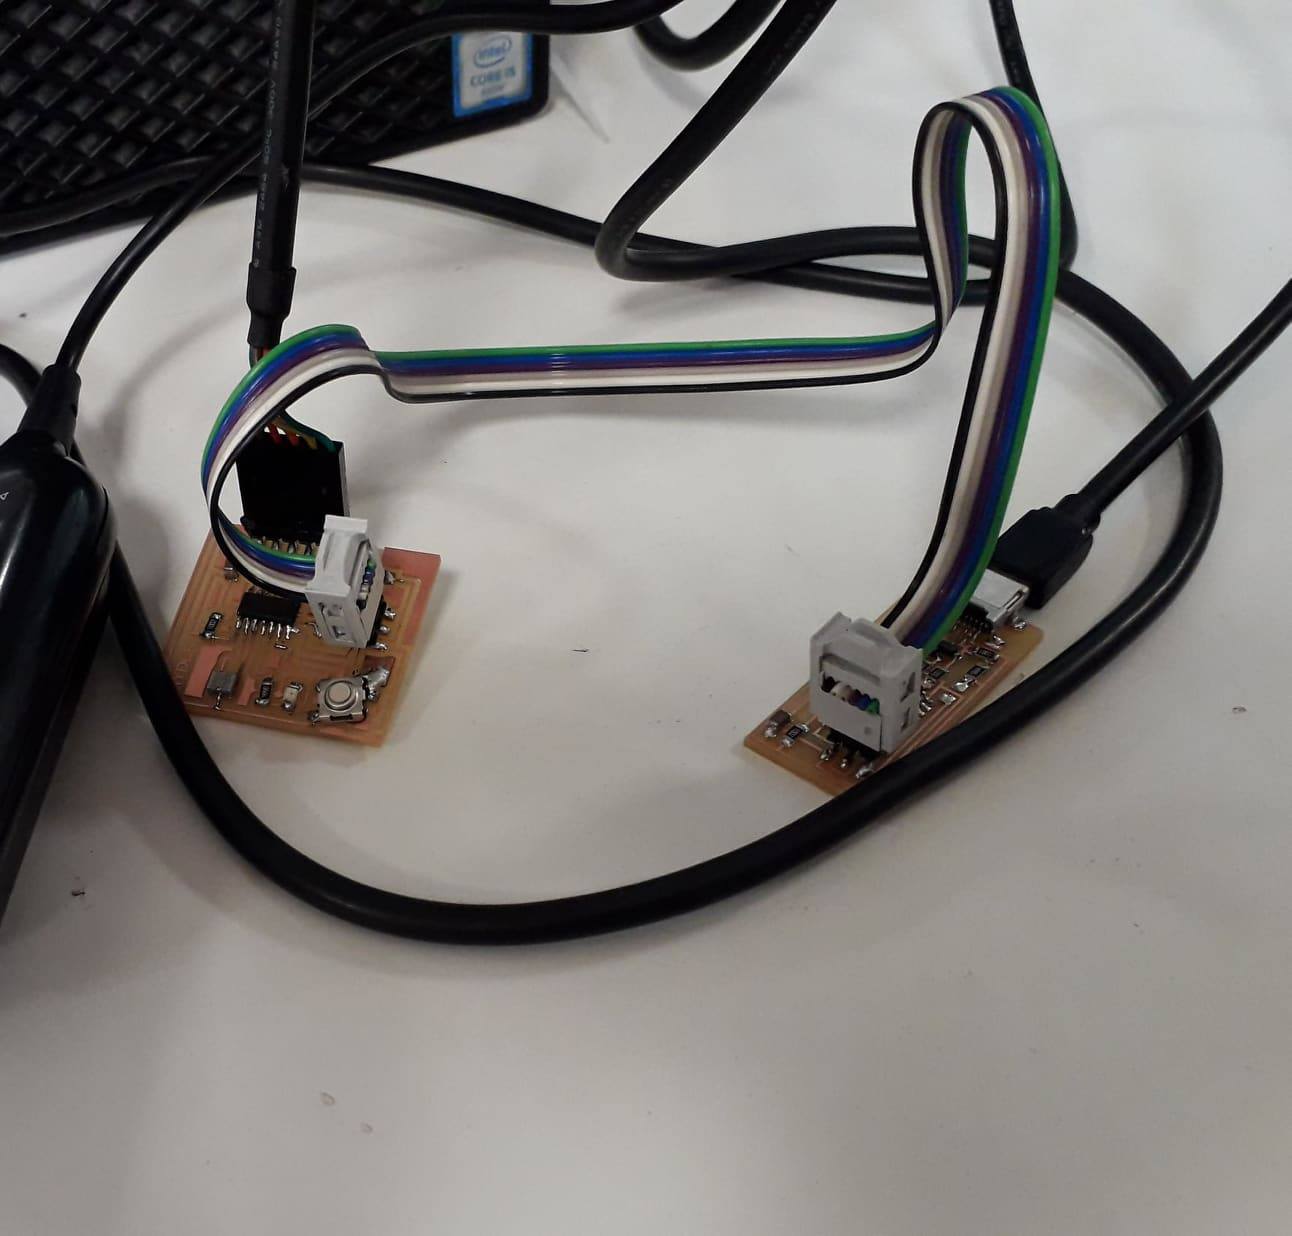
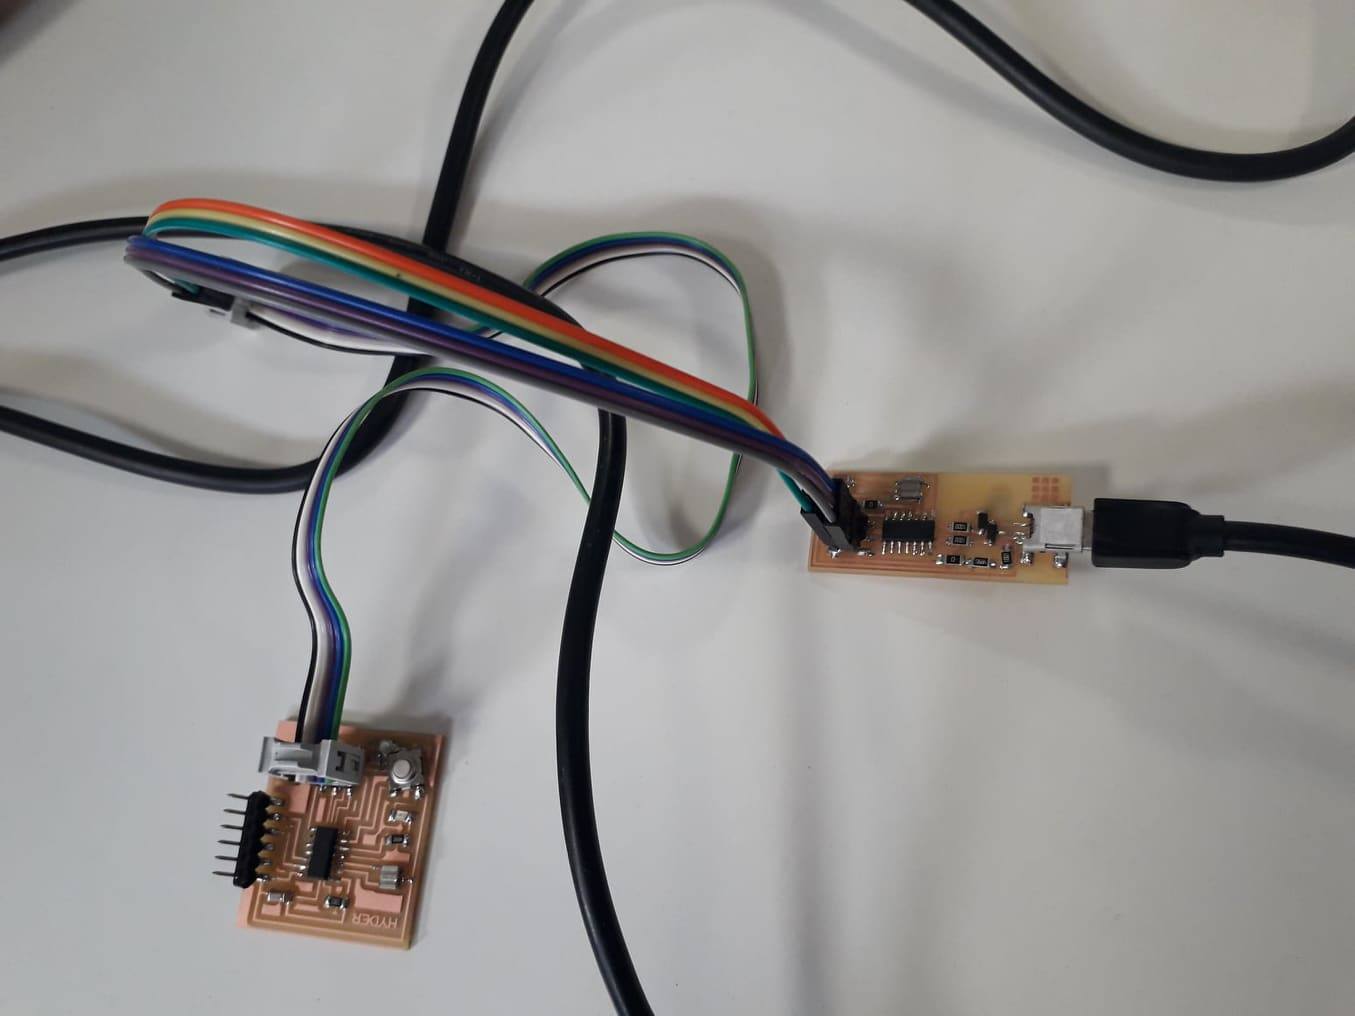
The following snaps are showing the all steps.
Actually I forget to take the screenshot of done burnning bootloader.
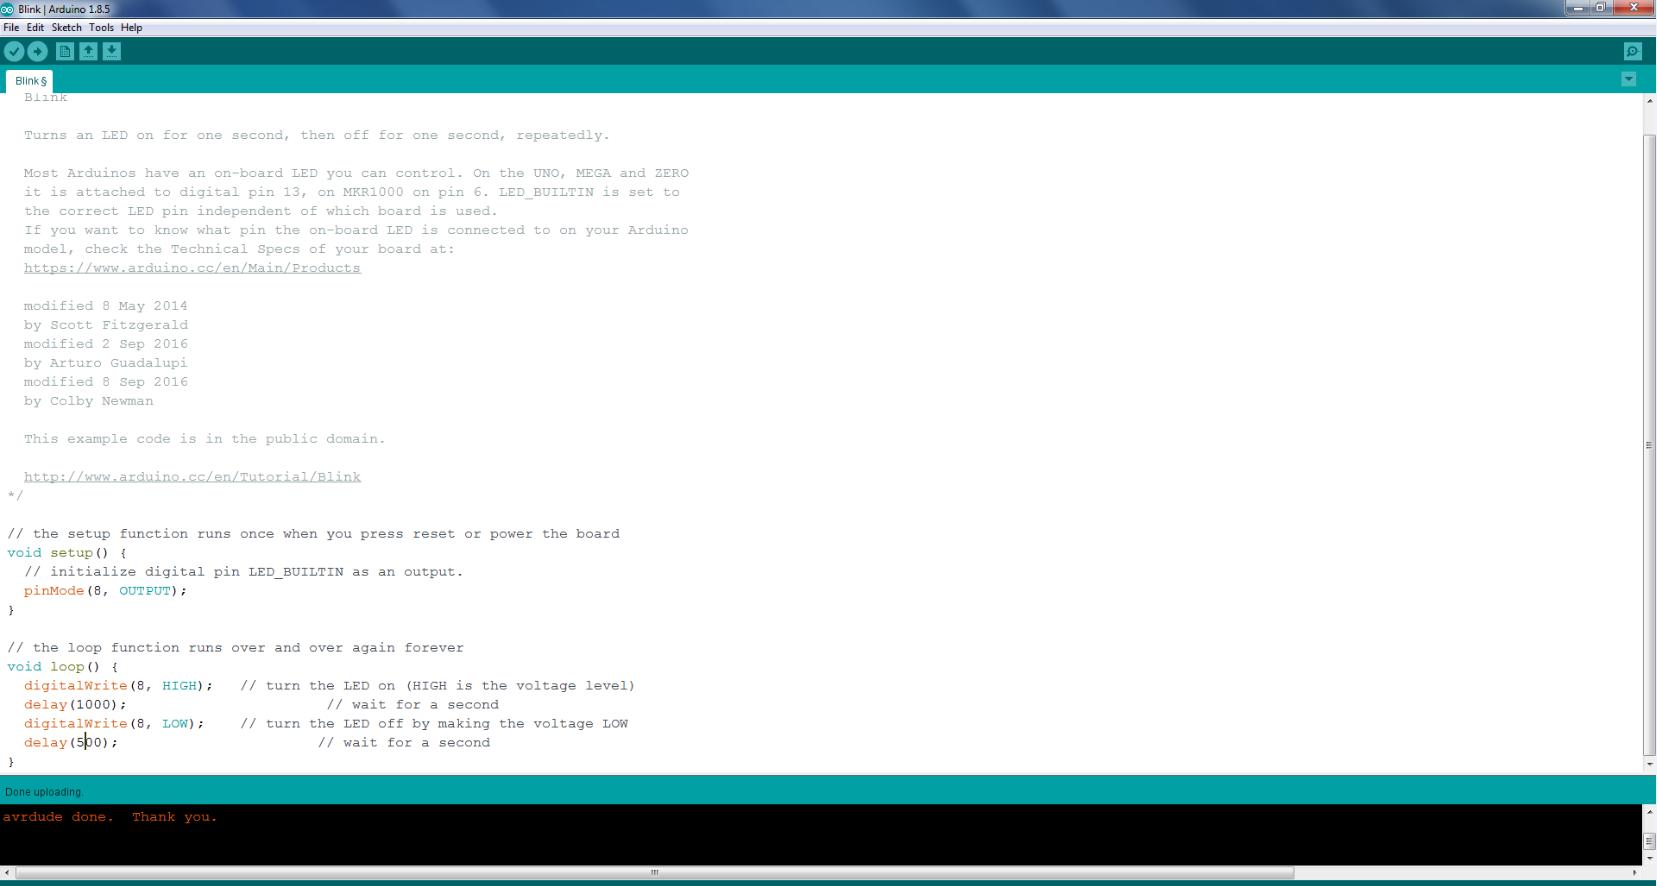
Now its time to test some sample code, I try a blink code from the examples of Arduino
I have set the attiny's pins#5 PB2 as pin#8 in Arduino and the code the uploading is done.
Using Atmel Studio.
My second choice to do programming is Atmel Studio. This time I wrote code in C language, here is the procedure:
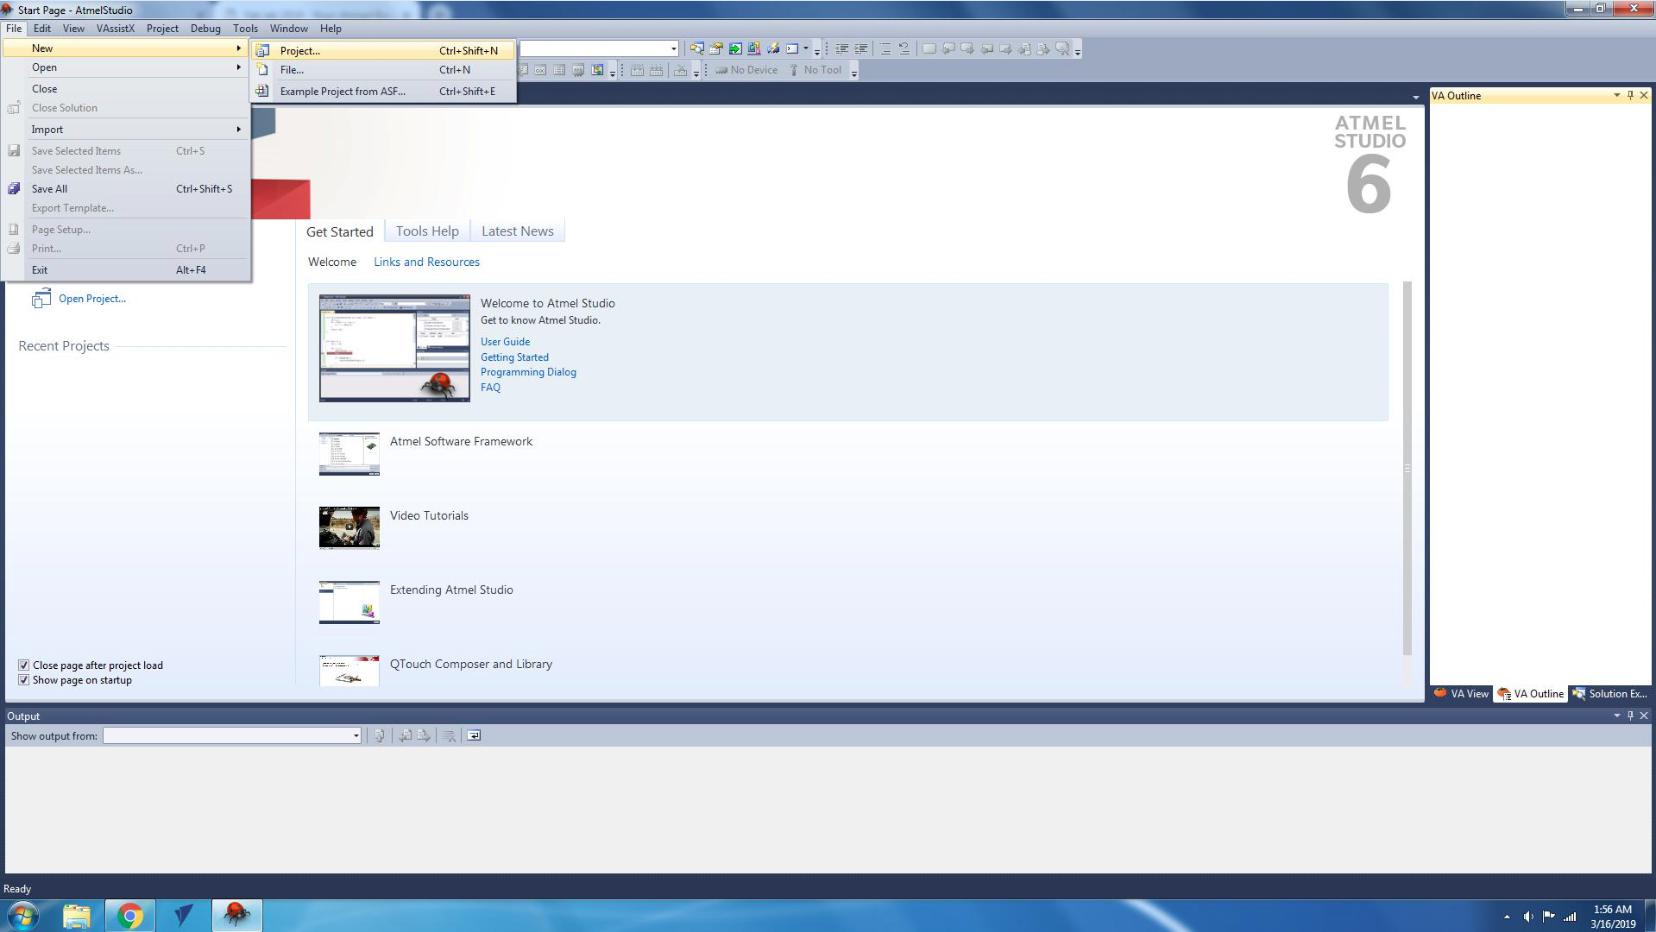
Open the Atmel Studio.
Click on the new and then click on project.
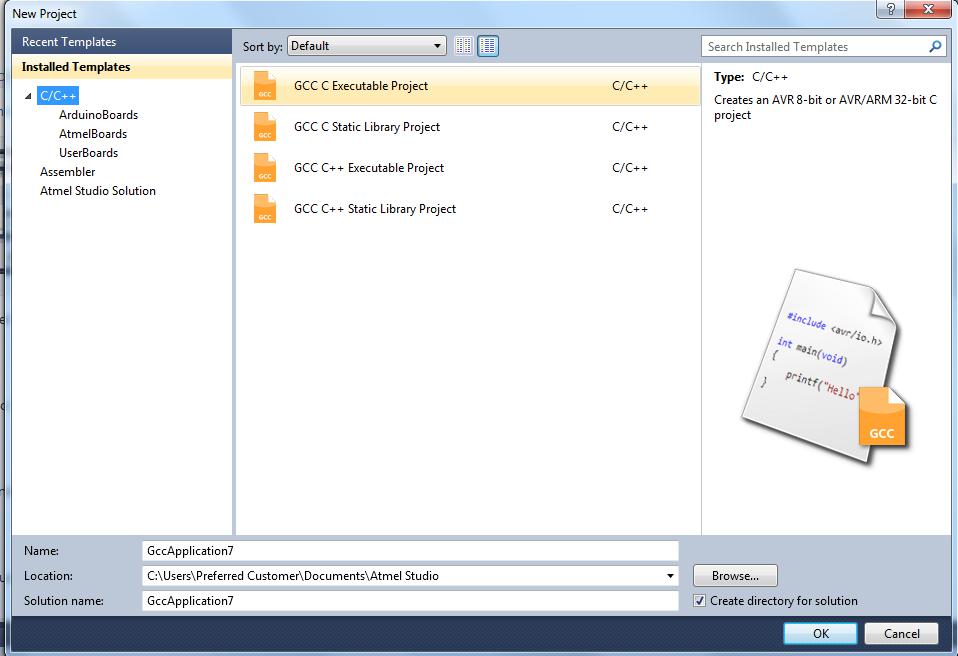
Select the language and executable project.
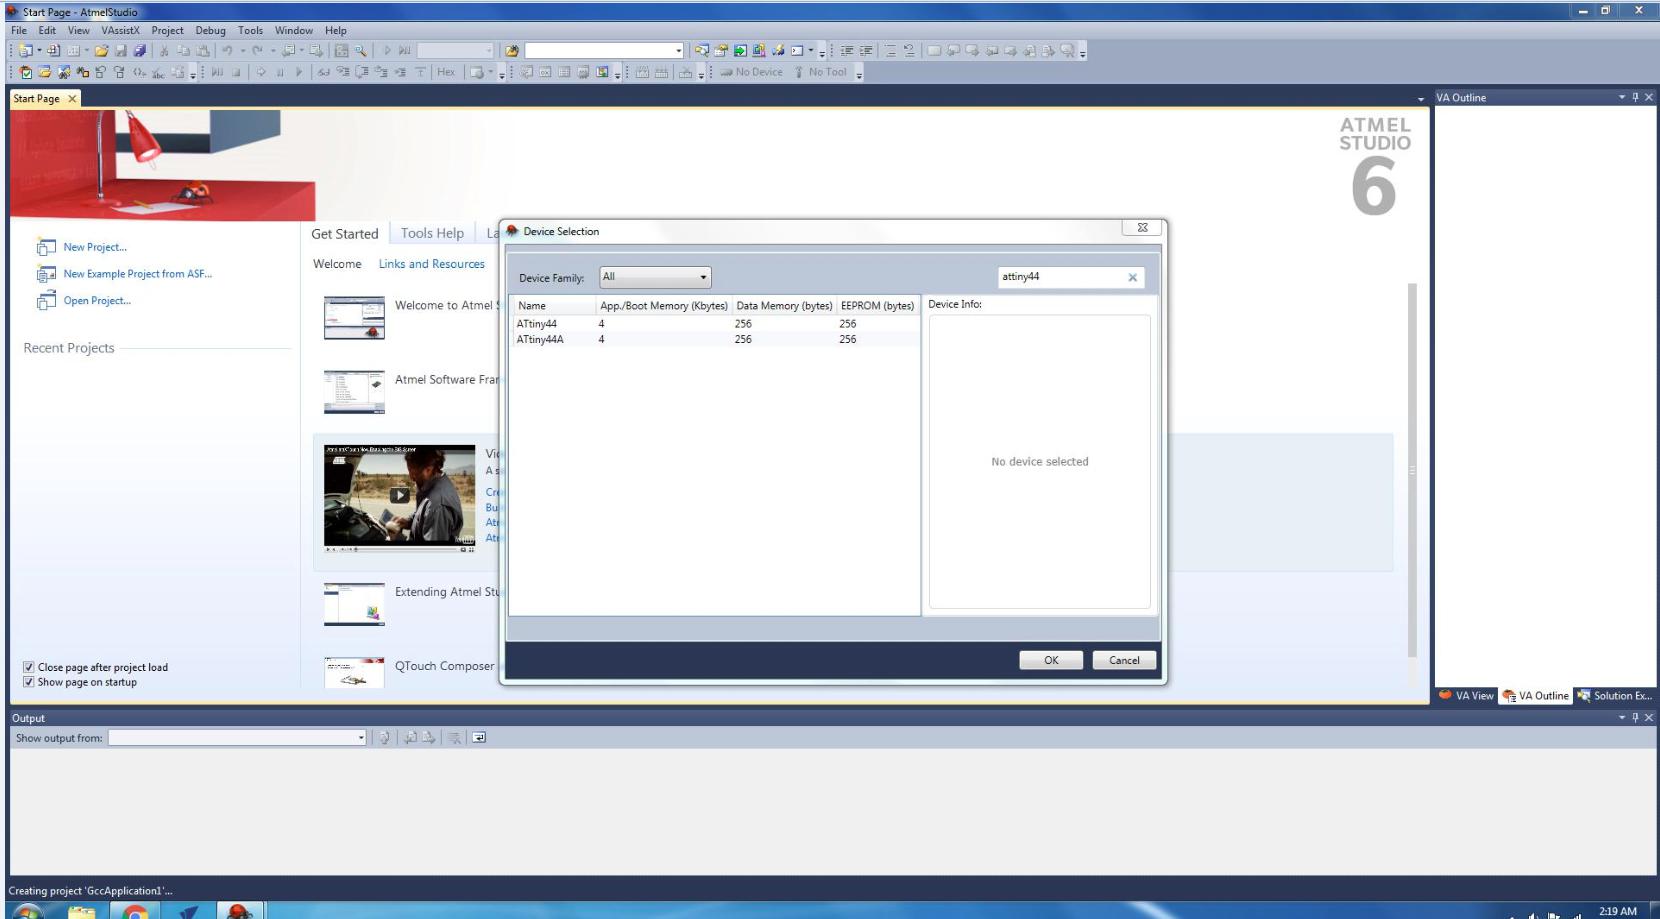
Select the device you are writing code for, I select the Attiny44.
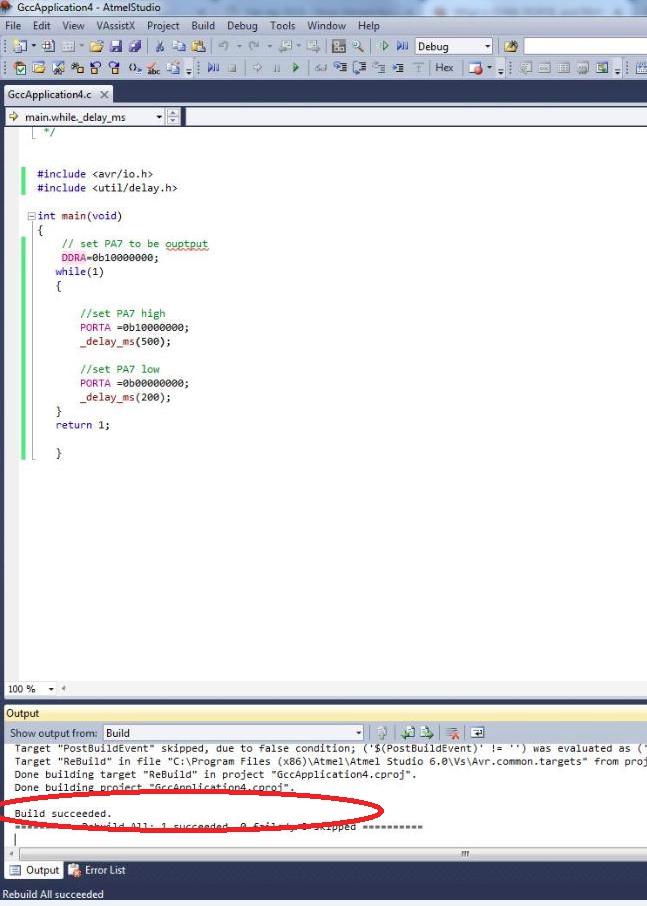
Then wirte the code you want for your circuit.
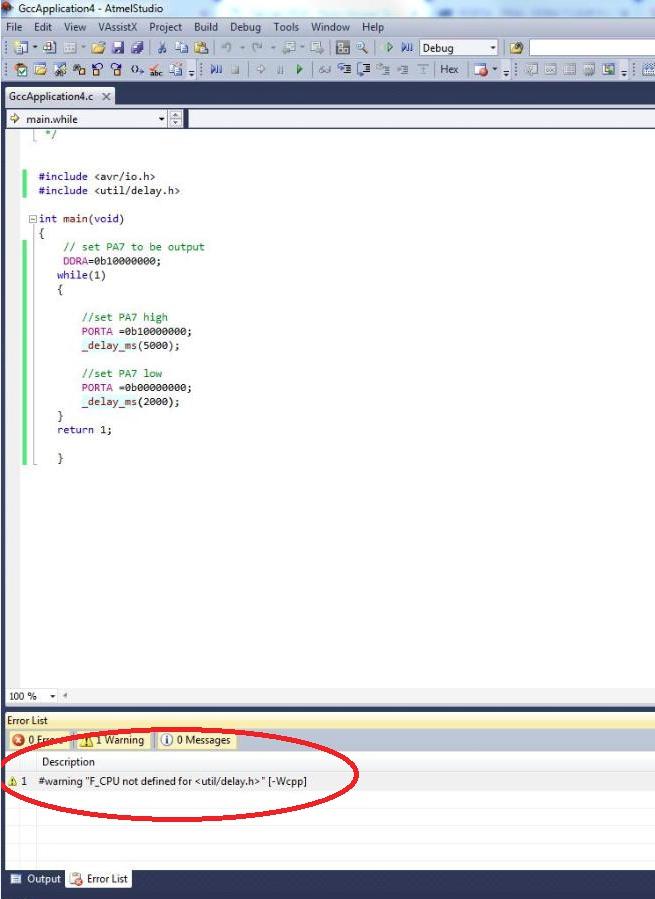
This is my first time I am using the Atmel studio and making a a hex file.I googled for information and knowledge.You can also visit it from here. (1) (2) and (3) .
We are using the 20MHZ resonator in the circuit.In last I set my pin in code but forget to take snap.
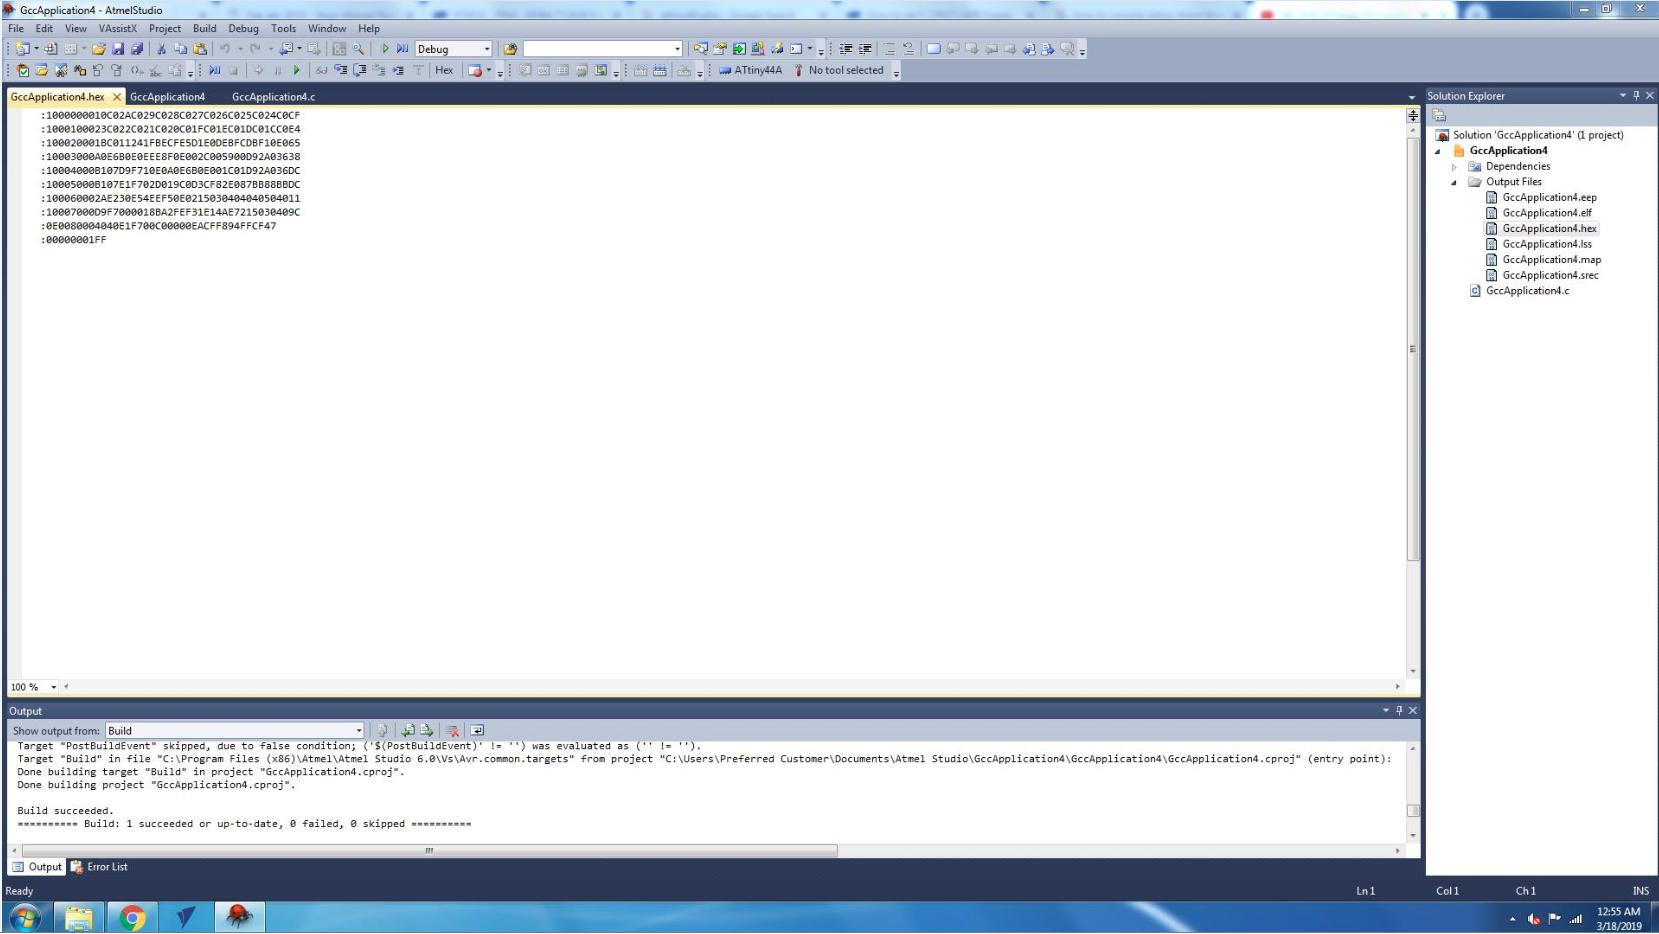
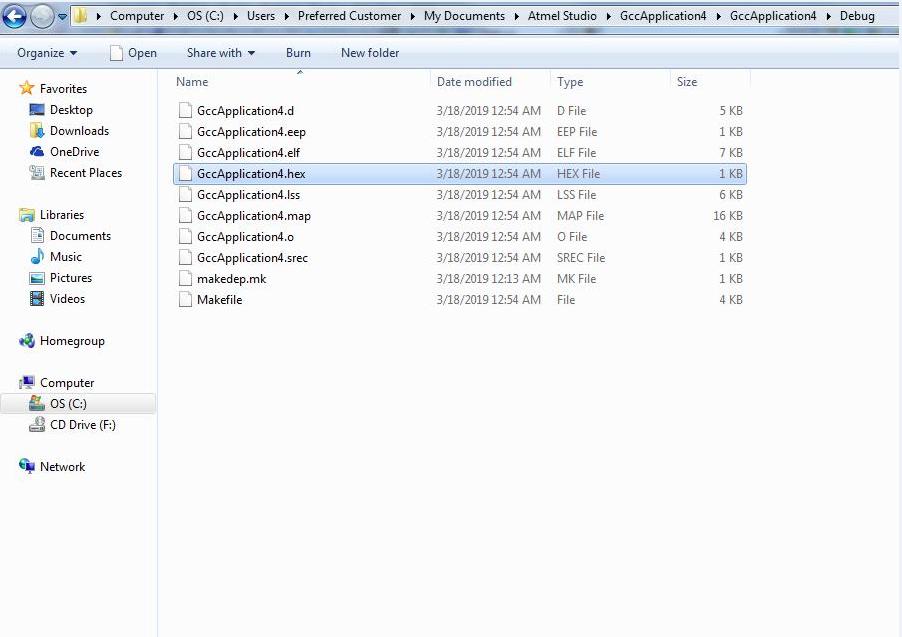
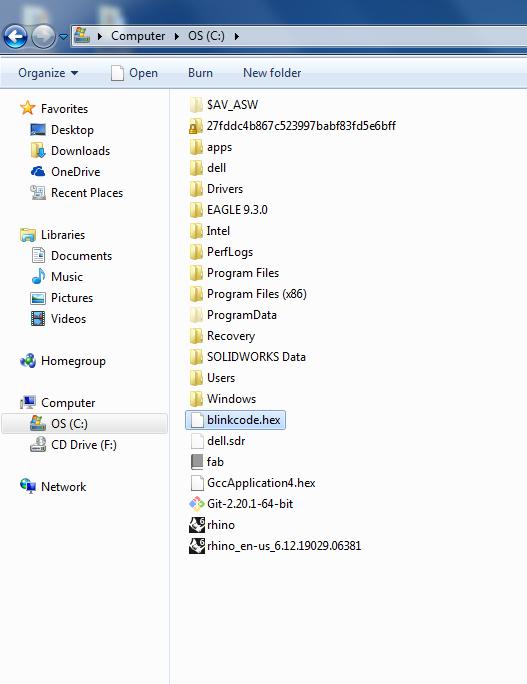
Now we a hex file of the code. and make a copy of it and named it blinkcode.
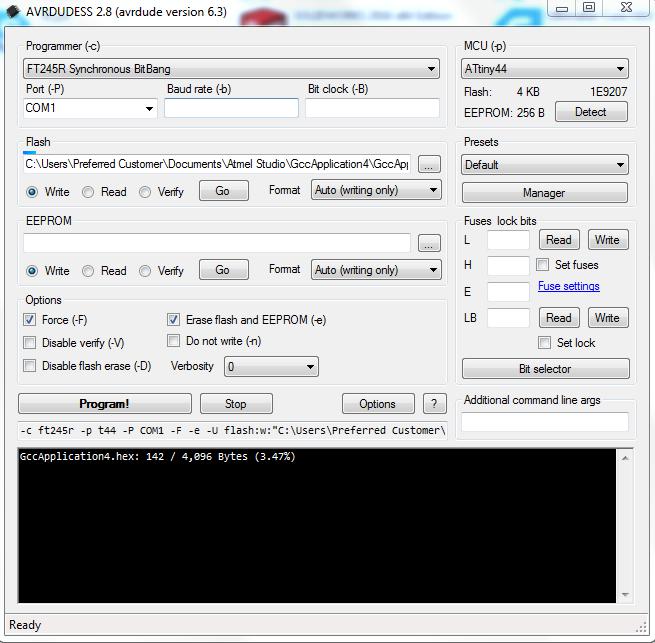
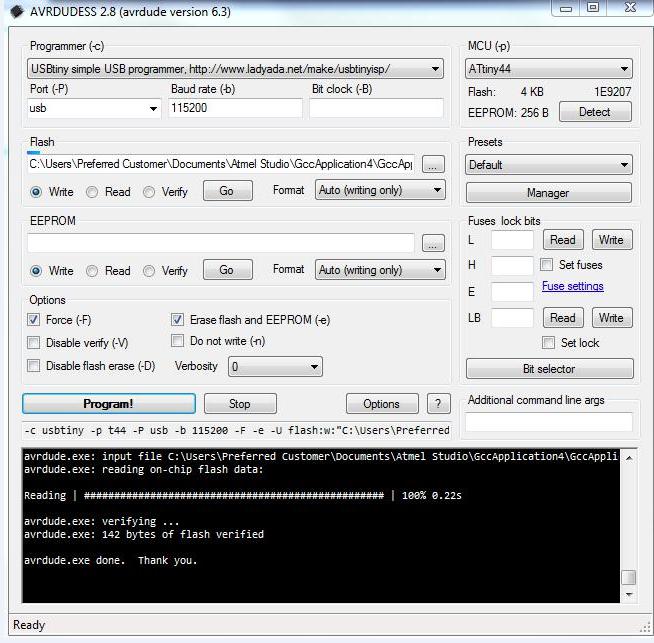
After this we installed avrdude in our PC.
we set the programmer, Baud rate and port and click on the detect, an it detected my programger and board finally.
Then we addressed the file and click on the progam.
Final program is done in it.
Group Task.
Compare the performance and development workflows for other architectures.
Following are a few different microcontroller architectures available in the market.
80510
ARM
AVR
PIC
They are differentiated on the basis of their operation at the lower level. While 8051, AVR and PIC come in 8-bit, 16-bit and 32-bit, the ARMs generally come in 32-bit and even 64-bit. The 8051, AVR and PIC work closer with the I/O peripherals and can be lower power and faster as a result.
RISC and CISC Architectures
RISC (Reduced Instruction Set Computer) performs more instructions with lower cycles as compared to CISC architectures. CISC processors include the Intel x86 and 8051, Motorola 68000 and Zilog Z80 families.One of the key advantages to RISC is the load/store architecture which separates memory access and ALU operations (arithmetic logic unit). This improves cost, power consumption and heat dissipation, making them desirable for light, battery operated devices. RISC processors can be found in the ARM, AVR and PIC microcontrollers.
AVR
AVR is a family of microcontrollers developed by Atmel that use the RISC processors. AVR are most commonly used in the Arduino line of open source board designs. These are available in 8-bit tinyAVR, megaAVR and XMEGA. AVR32 is the 32-bit offering, which was intended to compete with ARM processors. These are not compatible with the original ARM and include additional SIMD and DSP instructions as well as audio and video processing features. One of the nice features of most AVR models is that they can reserve a bootloader region to store re-programming code. The code can then re-program through any interface available.
PIC
PIC stands for Peripheral Interface Controller. It is a family of microcontrollers developed by Microchip with a wide variety of options available. They are not strictly RISC processors as they differ very slightly in their operation. The product range includes the 8-bit PIC10, PIC12, PIC 16 and PIC18, the 16-bit PIC24 and dsPIC and the 32-bit PIC32MX, PIC32MZ, PIC32MM and PIC32MK. The 8-bit range focuses on lower cost, the dsPIC focuses on digital signal processing. The PIC32 series of microcontrollers uses the MIPS32-M4K core technology, which is a 32-bit RISC architecture. MIPS is a direct competitor to the ARM processors covering all types of applications in home entertainment, embedded and networking products, mobile, wearable and IoT devices.
8051
The Intel MCS-51 (also known as 8051) is a CISC architecture. These are available in 8-bit, 16-bit and 32-bit microcontrollers. 8051 silicon IP cores are typically smaller size, lower power compared to ARM Cortex-M and MIPS processors. They are used in everything from USB flash drives to washing machines and complex wireless communications systems-on-chip.