For this week our main task is to explore different 2D and 3D design softwares and create an illustration using both of them. It is all about Laser and Vinyl cutting. From this 3rd week our fab academy is going much and more interesting. This week is full of learning environment, learning and working with different CAD softwares like, SolidWorks and InkScape. And, working with machines like 'Epilog Laser cutting Machine' and 'Vinyl cutter machine'.
Assigned Task
Group Assignment:
Characterize your lasercutter, making test parts that vary cutting settings and dimensions.
Individual Assignment:
Cut something on the vinylcutter design, lasercut, and document a parametric press-fit construction kit,accounting for the lasercutter kerf,which can be assembled in multiple ways
Group Assignment
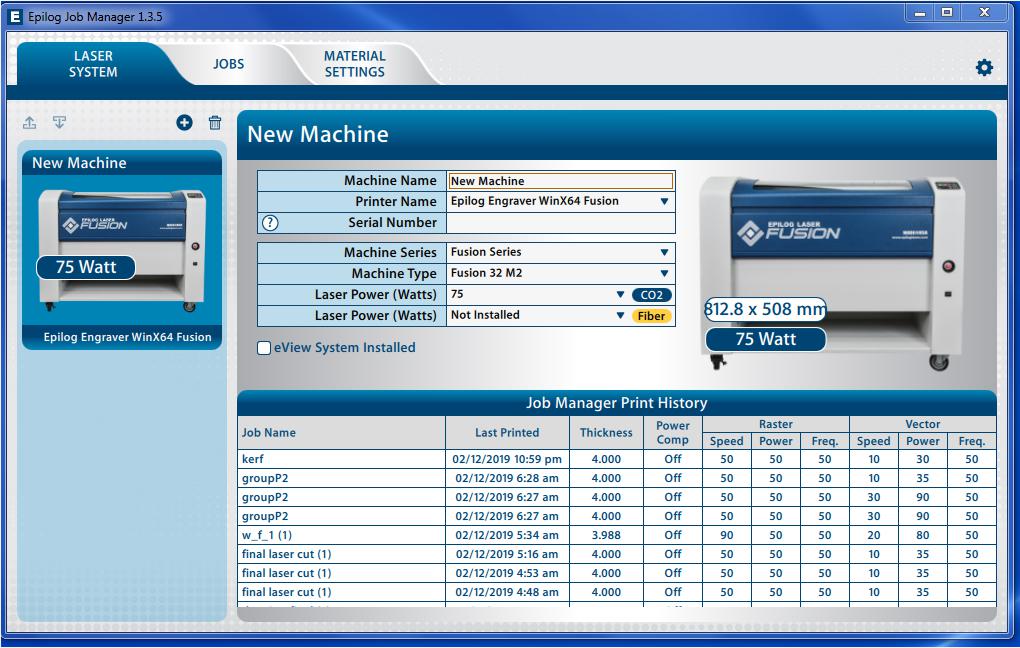
It is my first time to work on laser cutting machine. This is 75 Watt CO2 laser cutting machine with a bed size of 32x20 inches. This is the
Epilog Laser Cutter's
machine with the great quality assurance and safety measures (especially limit switches which prevent machine if someone opens the top cover while machine is in function).
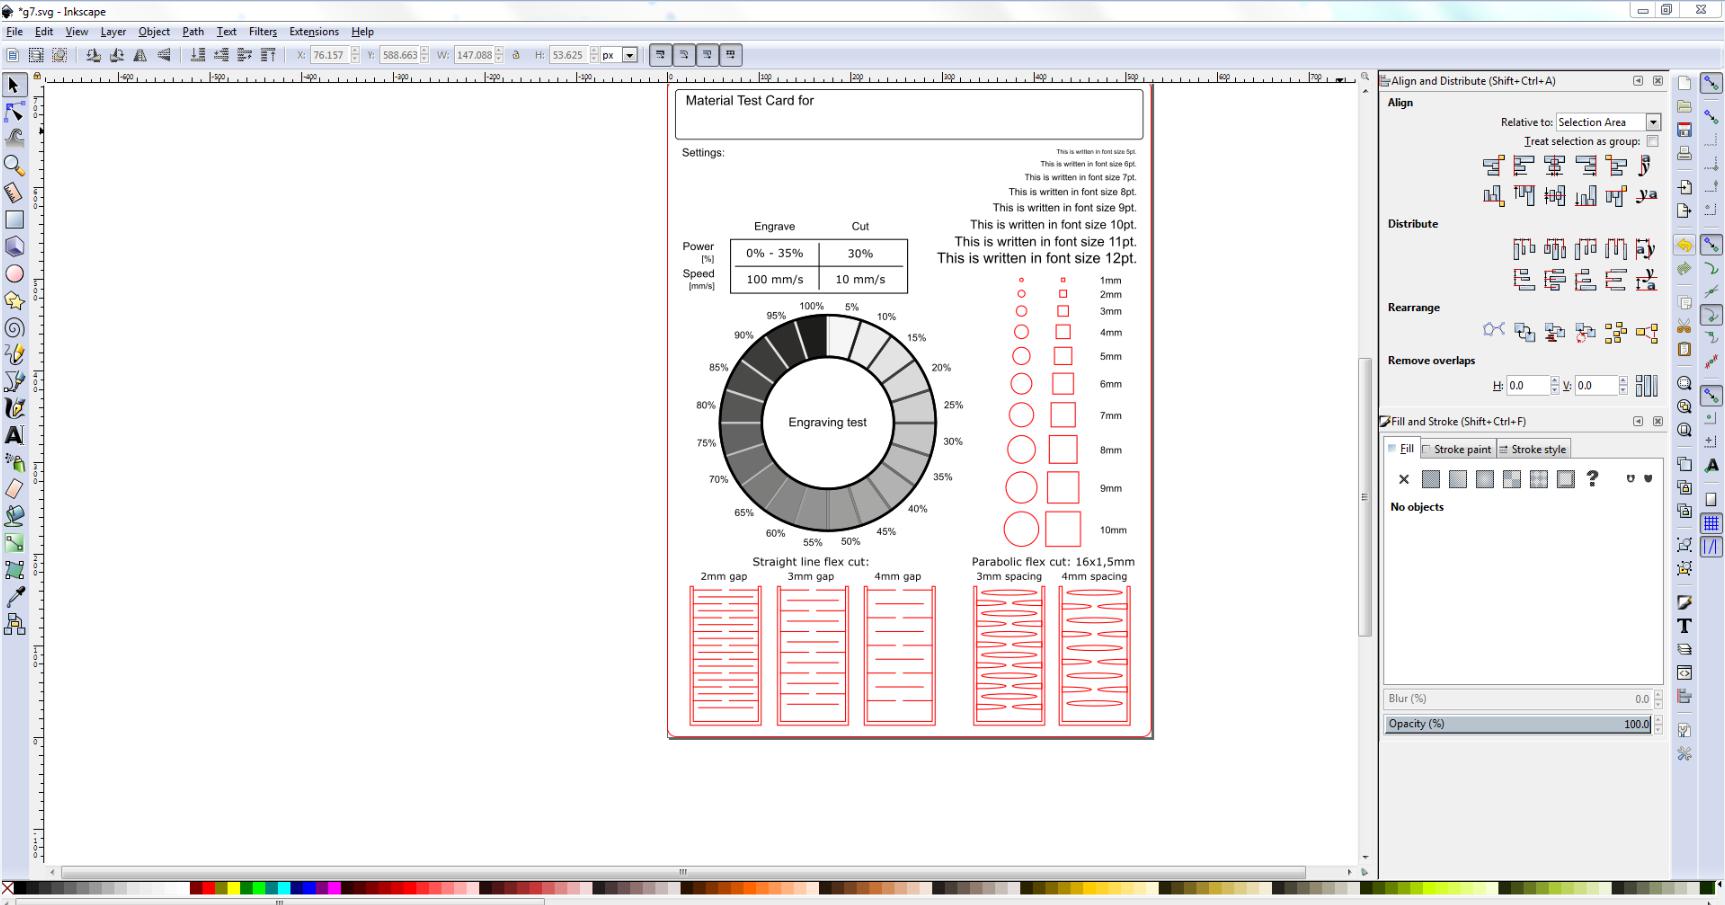
For group assignment, we are using two thing, one a material test card which we found on Internet from
Material Test Card for Laser Cutting and Engraving
. This card is helpful to document the machine performance on any material. We are using 4mm cardboard to test machine parameters. In this test we are checking its engraving power
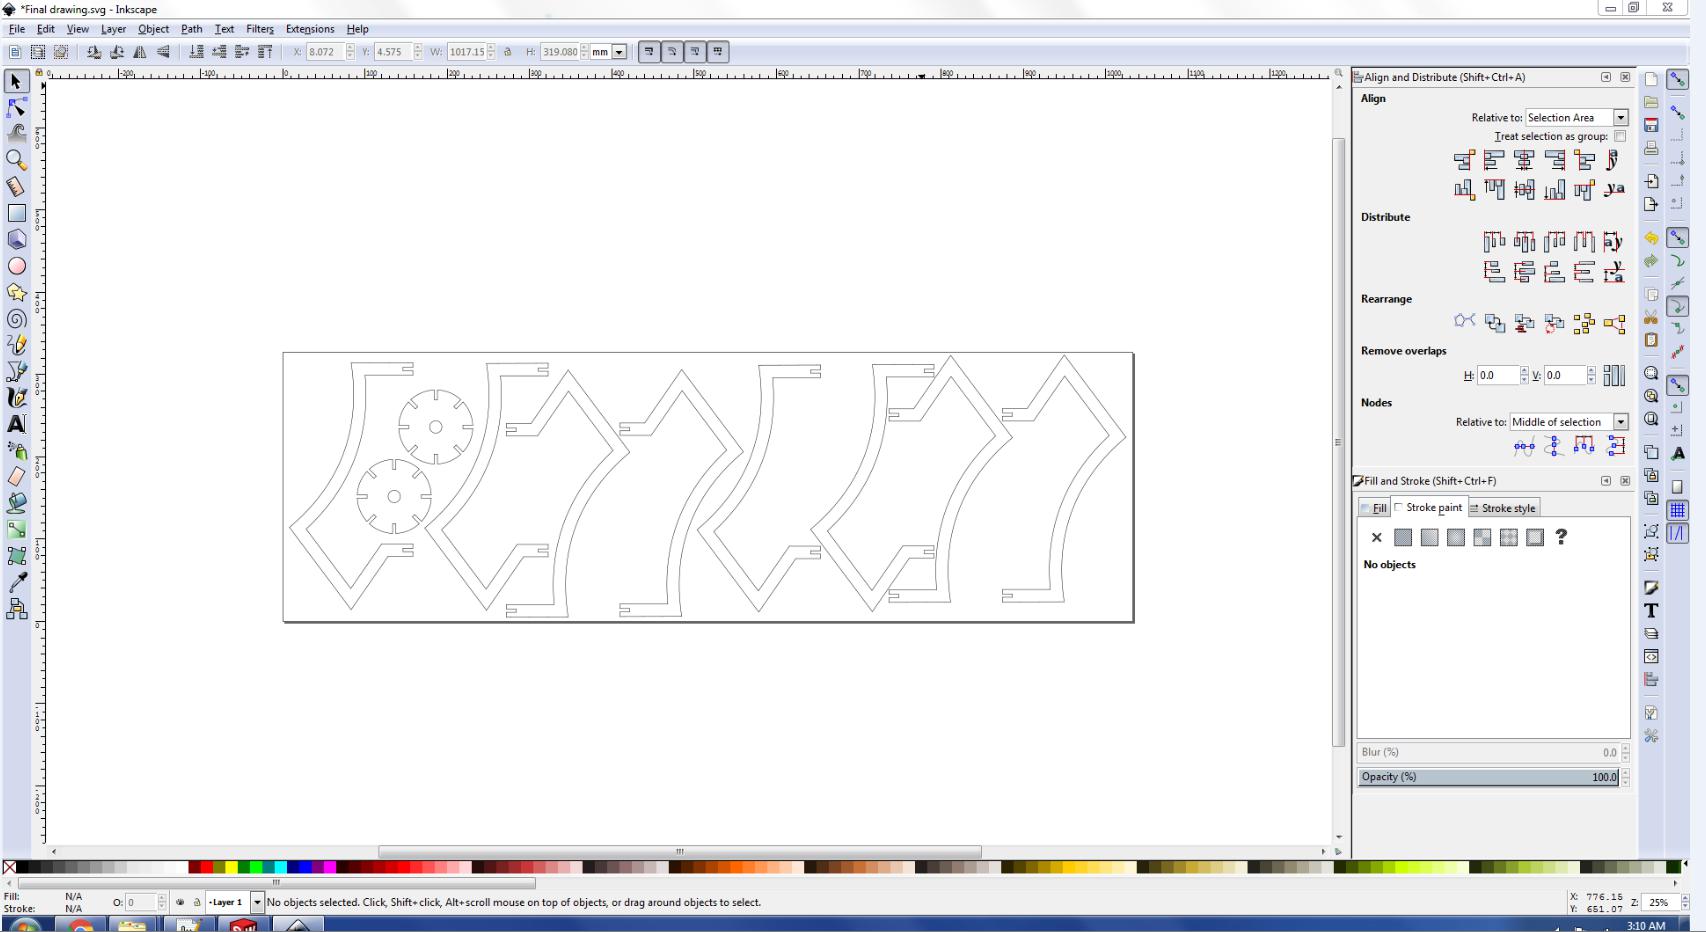
, engraving performance on different font sizes, cutting accuracy by cutting different size shapes and, parabolic and straight line flexes by varying line spacing. And the other one is we are making some sketches
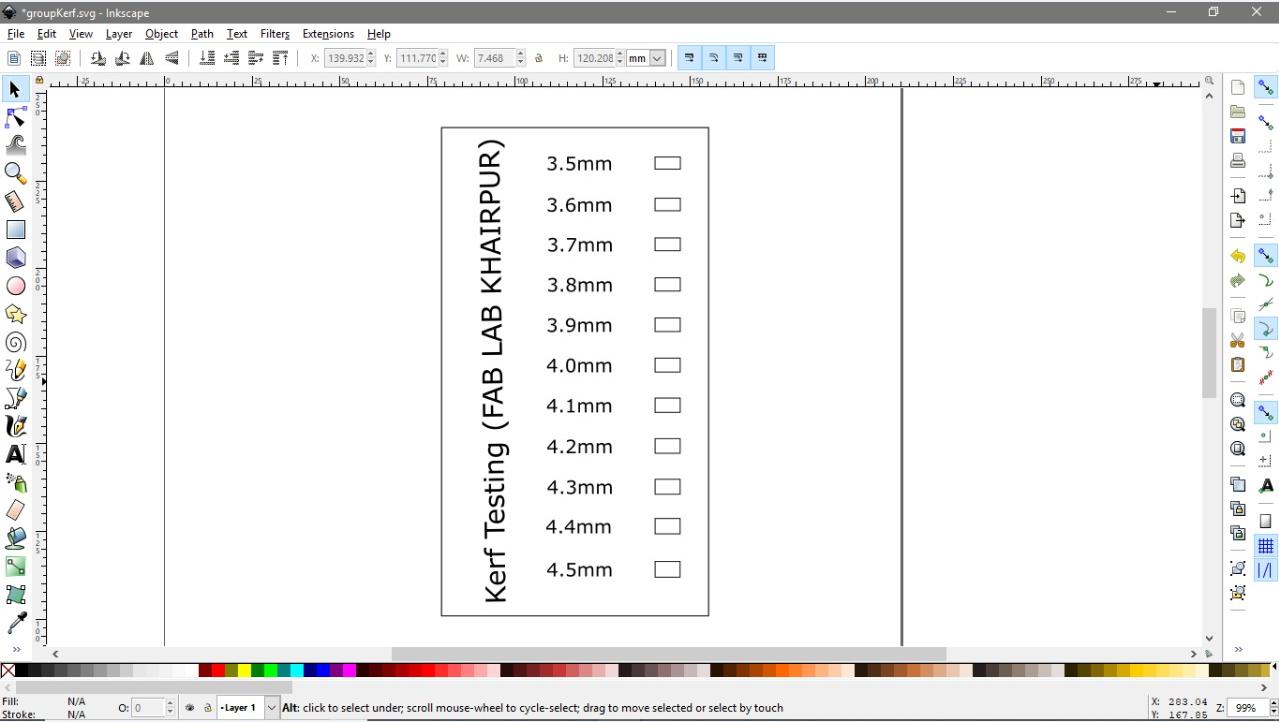
on the inkscape, drawing some rectangles of different sizes for the kerf measuring.
Material test card
we made 11 of these small rectangle with varying heights from 3.5mm to 4.5mm. What we will do is check which one of these 11 rectangles has perfect height of 4mm.
Click the Shift+ctrl+F.
Select the whole drawing.
Set the stroke style.
set the stroke rate 0.001in for cut and press enter.
Save the file as a .pdf(so we can send the job to the epilog), while saving file as a pdf it system will open a dialog window, asking for dpi (dots per inch) you need to set it to 600 and click ok.
Next open the pdf file and click printter icon.
Select the machine (epilog) and click print
Kerf testing
In the next step we cut all this in laser cutter.
Open the epilog.
Go to the preview and check the drawing placement on the bed of laser cutter and and verify that raster stuff does not appear in vector mode and vise versa.
Click on save.
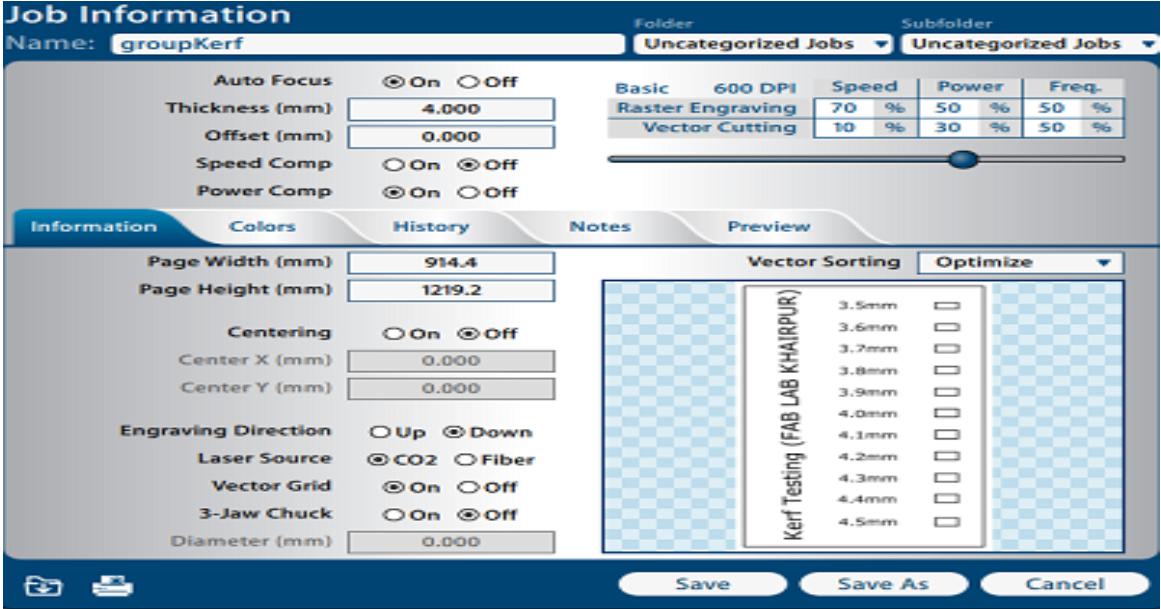
Click on the information.
Set the thickness of the material.(we have a cardboard of 4mm thickness).
Set the power and speed of raster and vector cutting.(we set the power 30 and speed 10 for vector cutting).
Click on the save.
Click on the printer icon.
Epilog preview
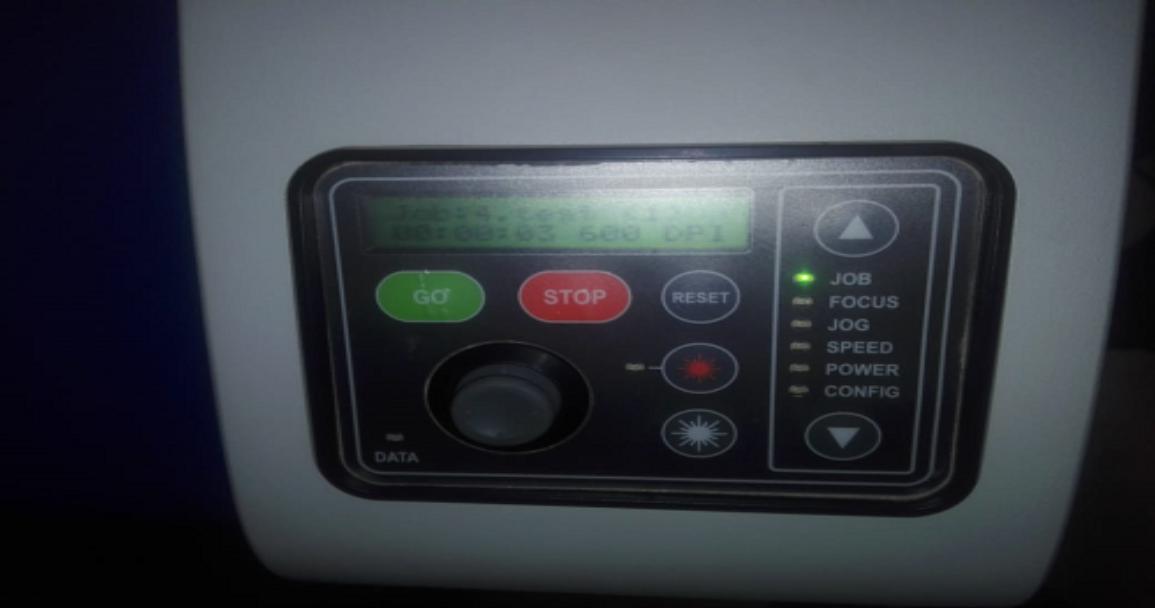
Now run the machine, and check if machine has received your job or not.
Machine has received our file so click the button go and leave it to machine now.
Machine
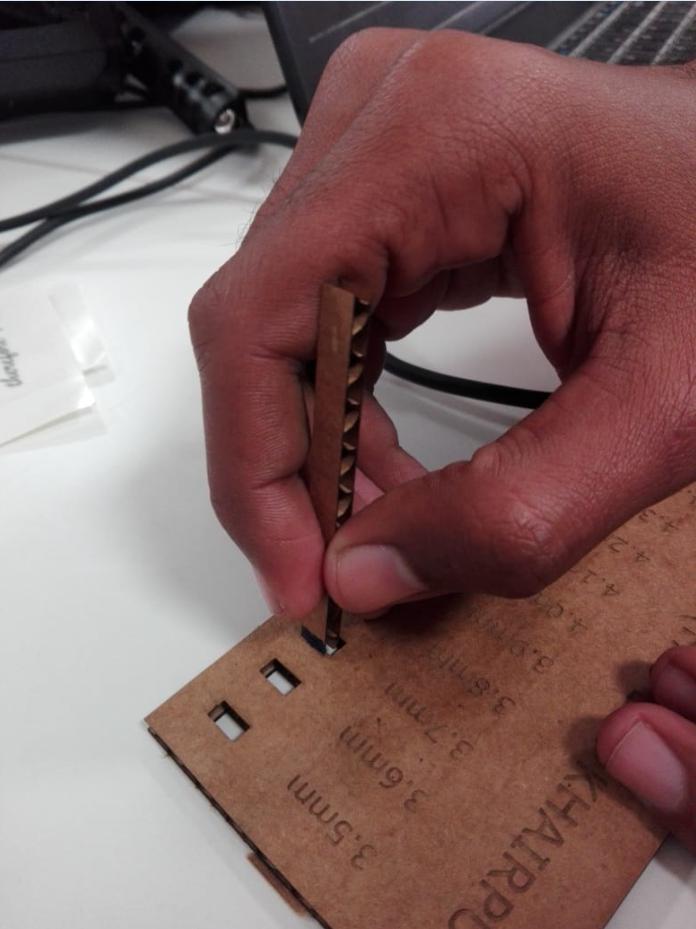
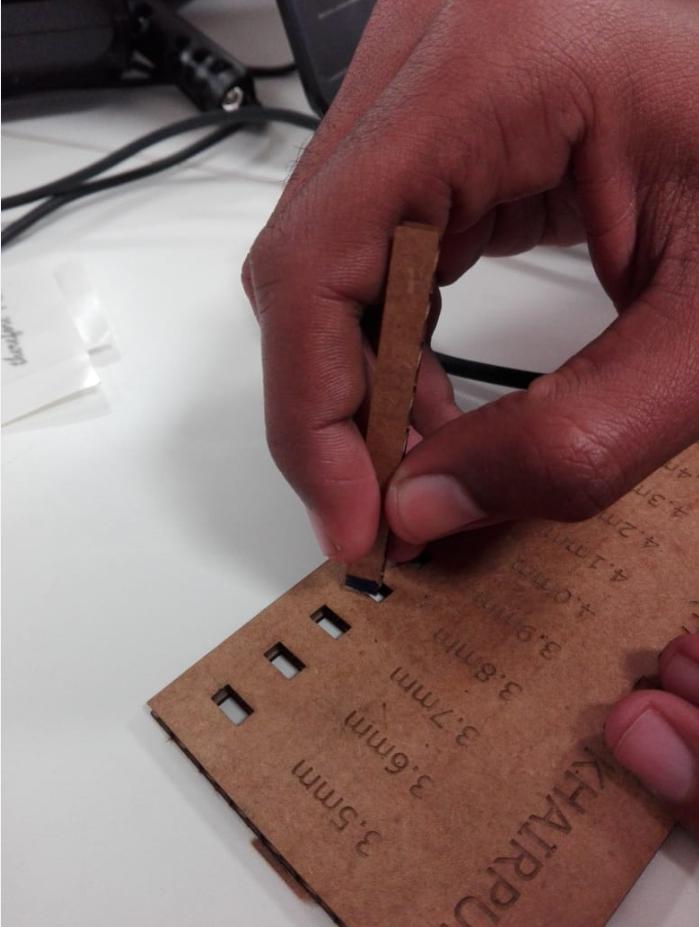
In this step we are measuring in easch rectangle.
Testing
After measuring the different reactangles, in last we observe that the kerf is 0.1mm .
Individual Assignment
Laser cutting (press-fit construction based)
Laser cutter' is a computer controlled machine and it uses a laser to cut the materials. For this week's assignment for laser cutter I want to make lamp, that we can assemble as a presskit.
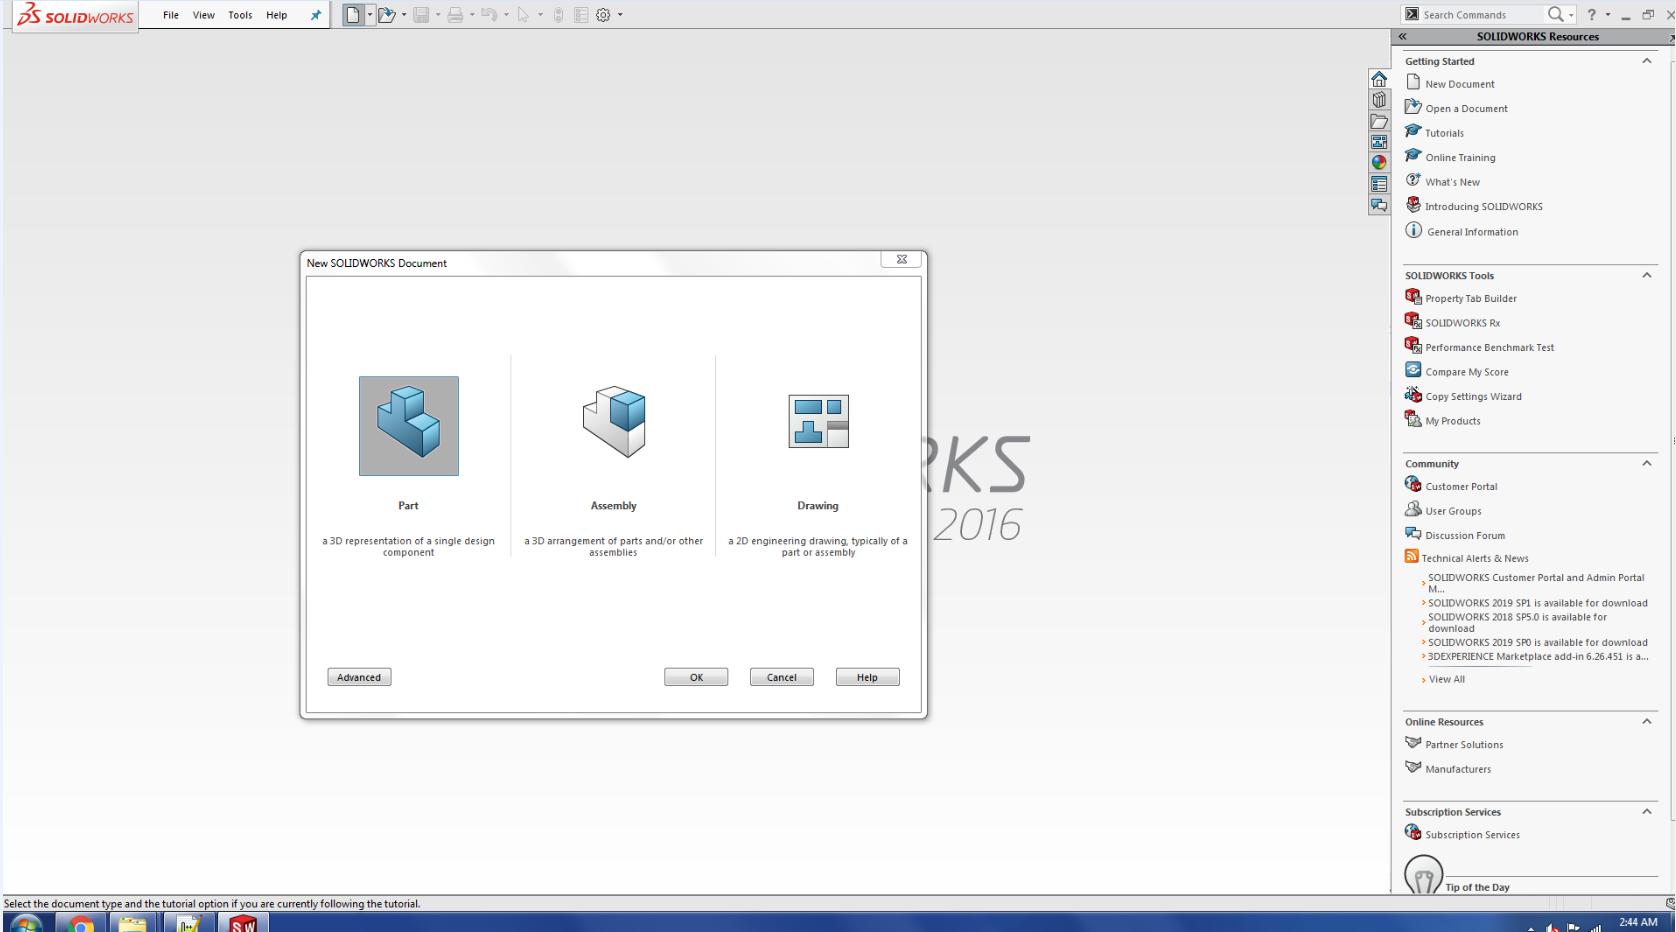
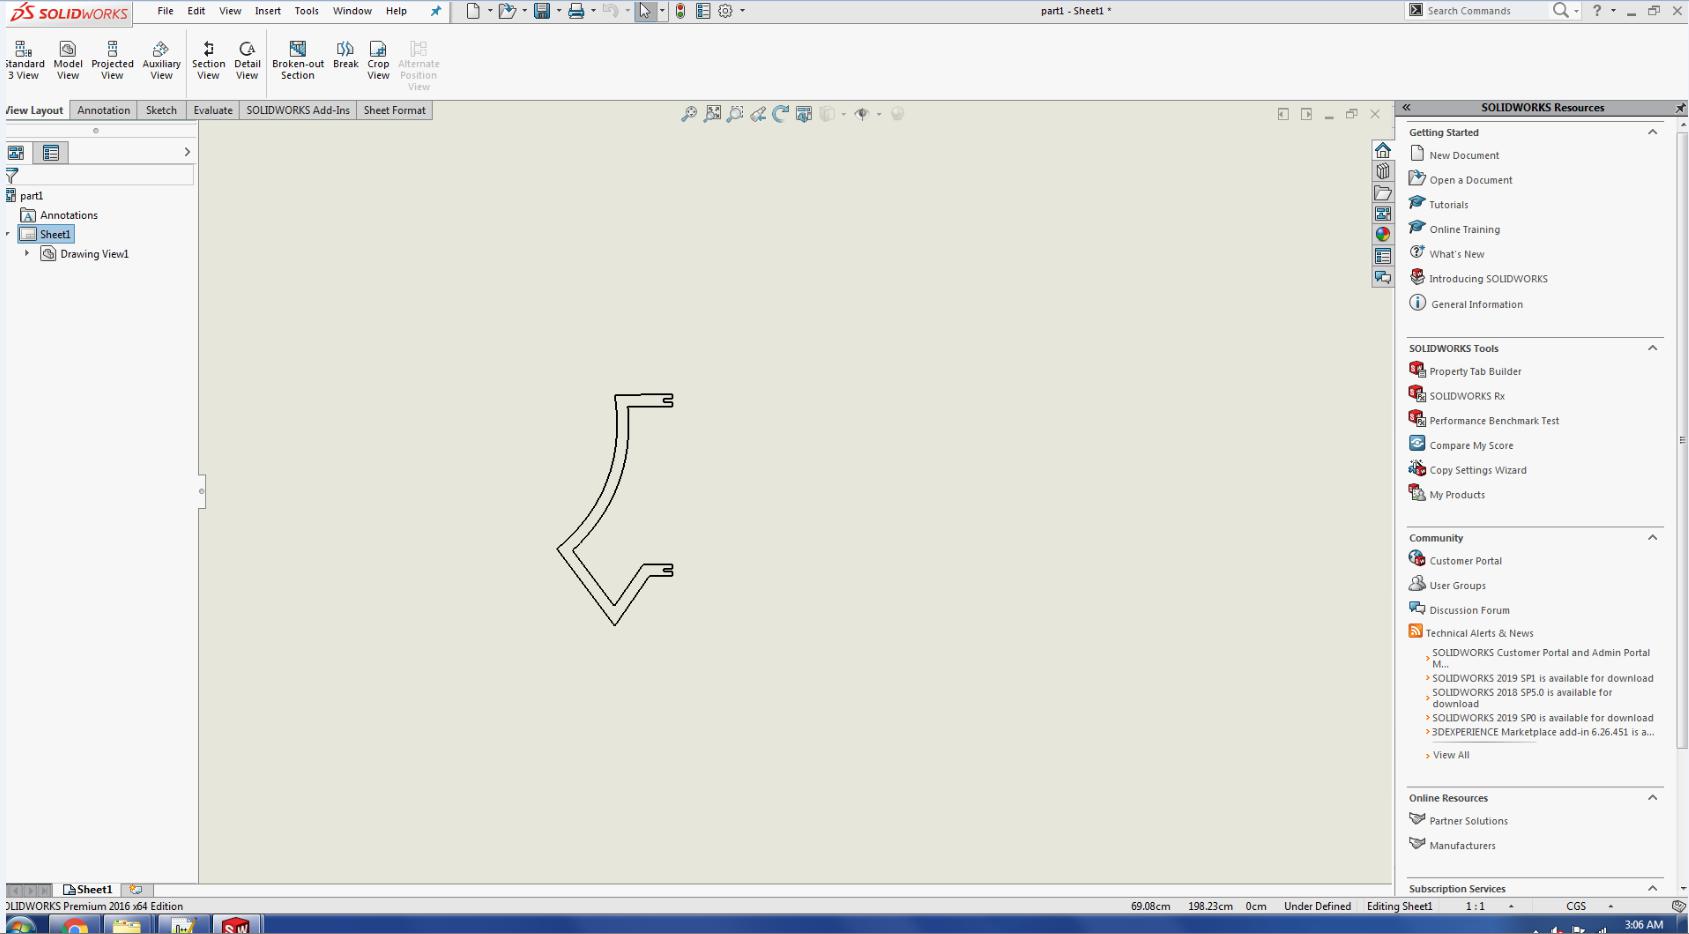
For this task, I started my work with Solidworks and designed a simple lamp using 'SolidWorks'.Some snaps are given below:
I start in Solidworks and make parts of lamp first.
Lamp design
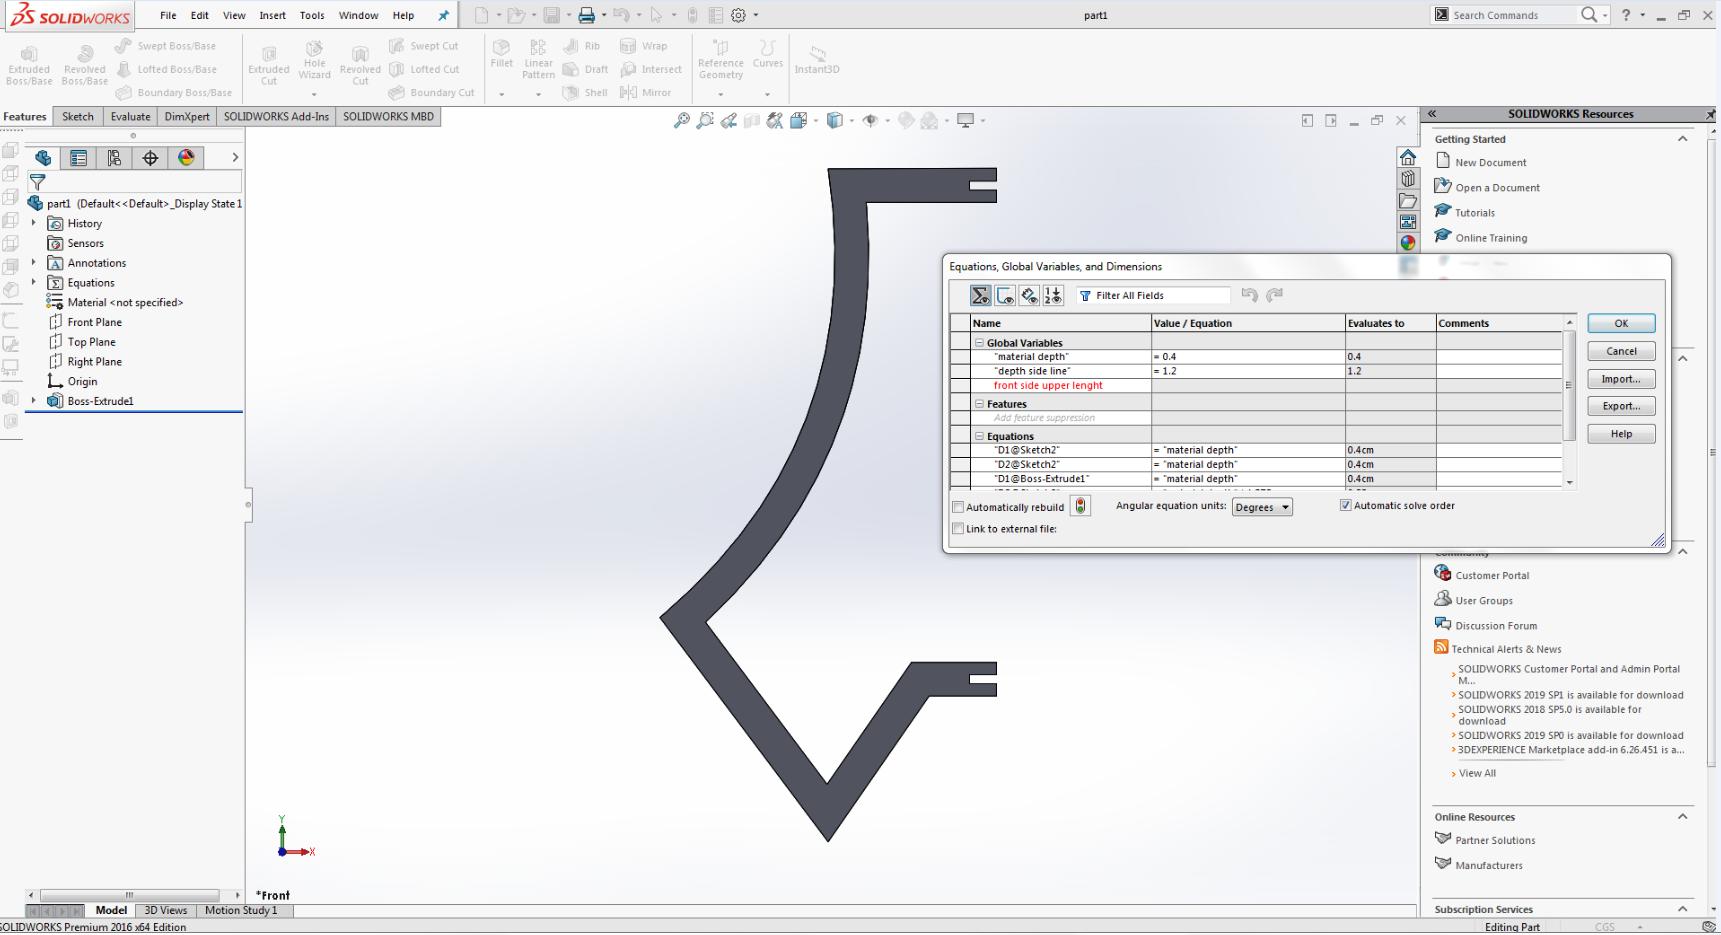
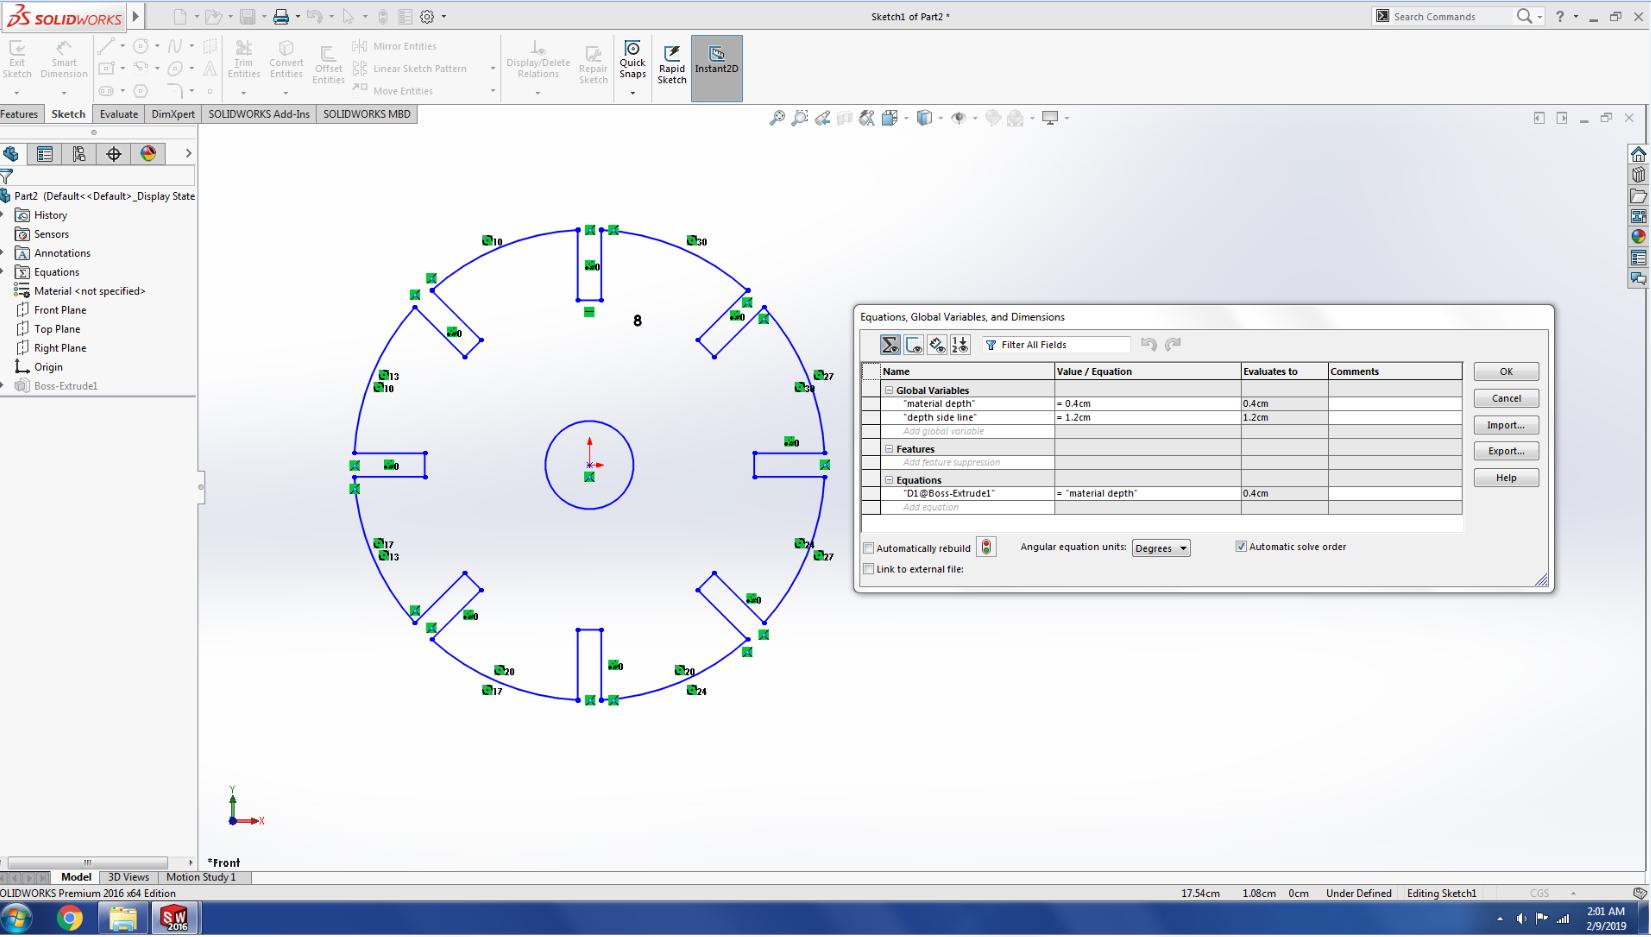
In assignment, the main task is to design parametric parts.I created a set of Global Variables that define a certain parameters of my design.The main advantages of the 3D parametric designing is Capability
to produce flexible designs,existing design data can be reused to create new designs,and quick design turnaround, increasing efficiency.
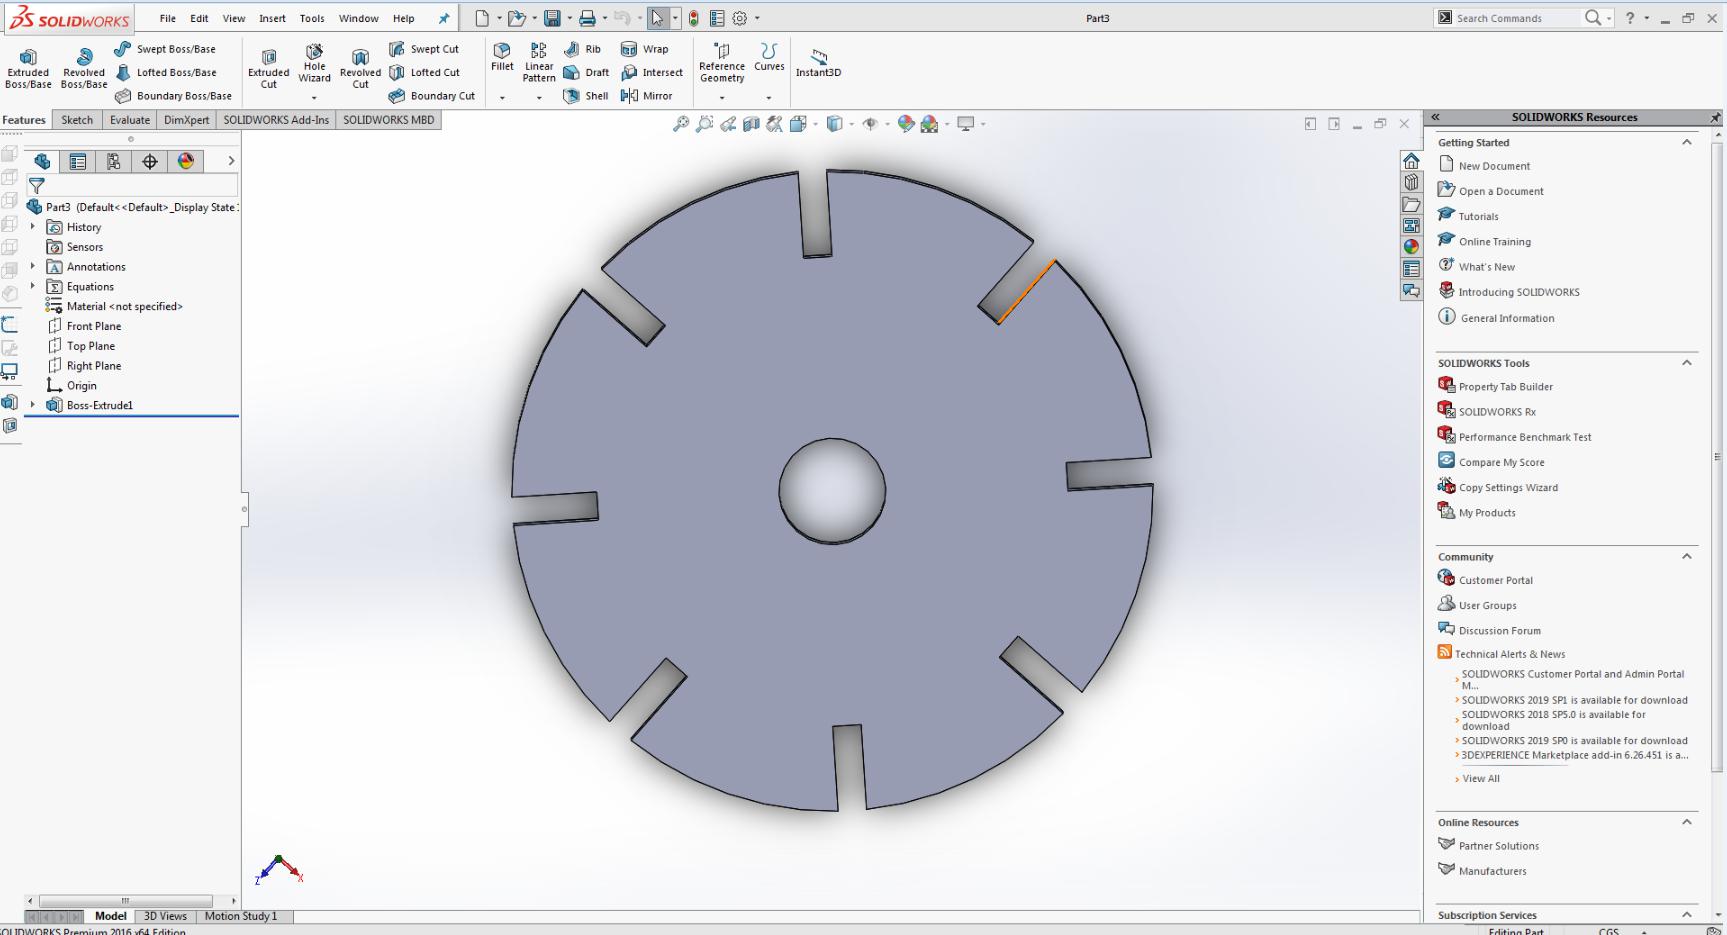
This is the center part of the lamp.
I have to make it aslo a parametric design part of lamp.
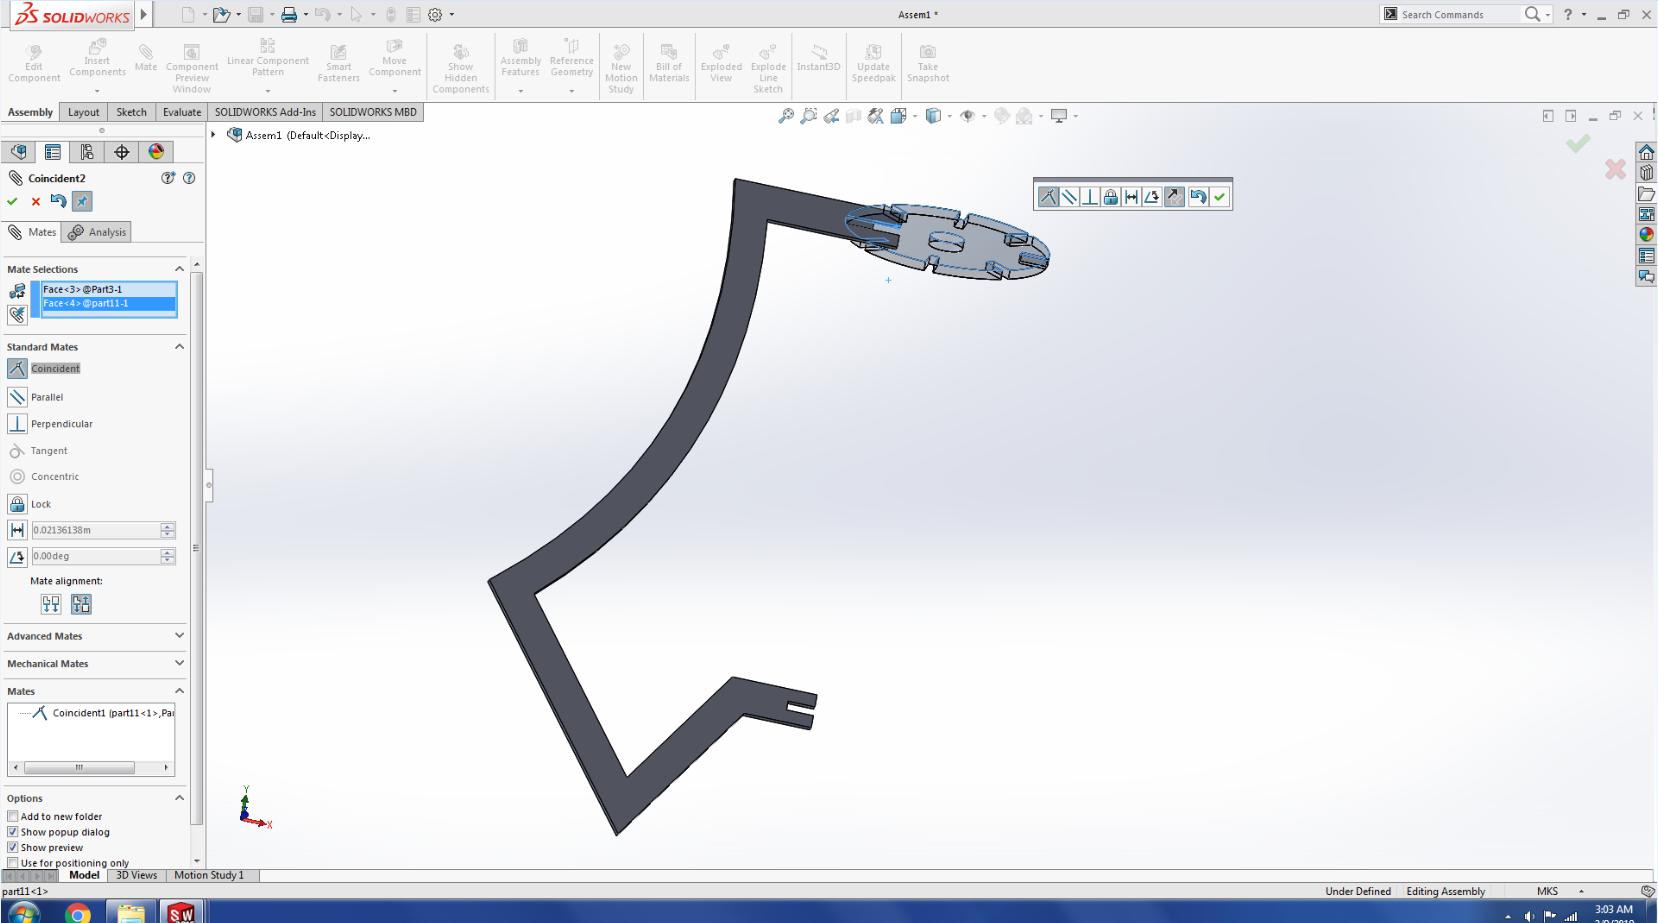
Now we have to assemble the parts.
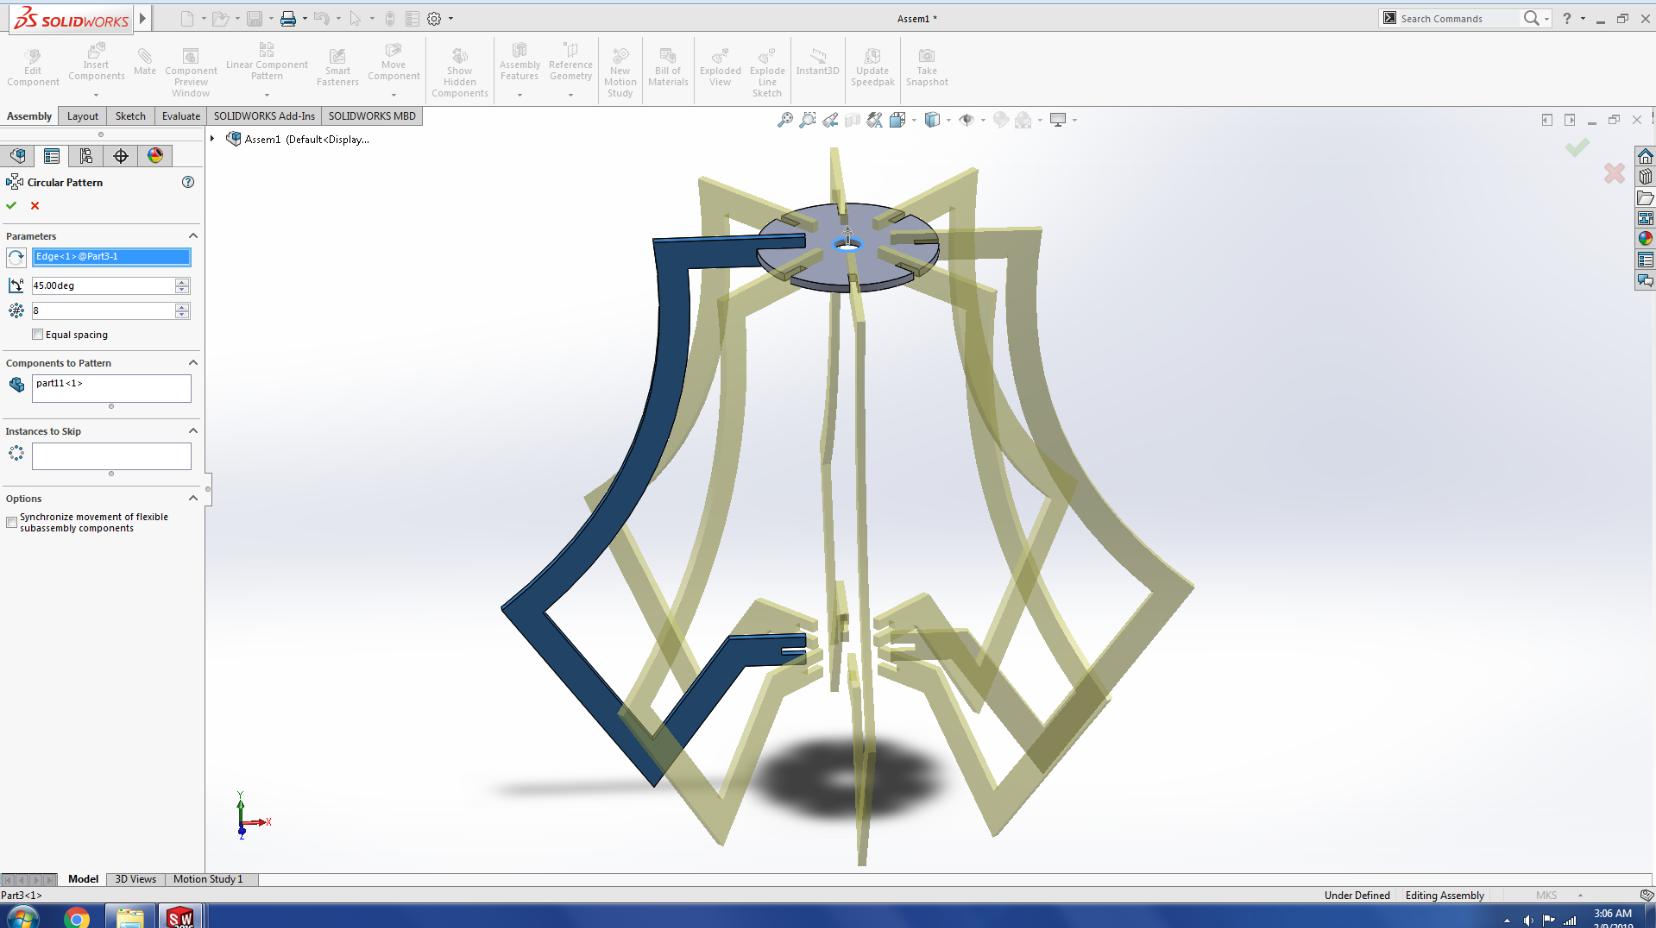
So this is the final assembled lamp.
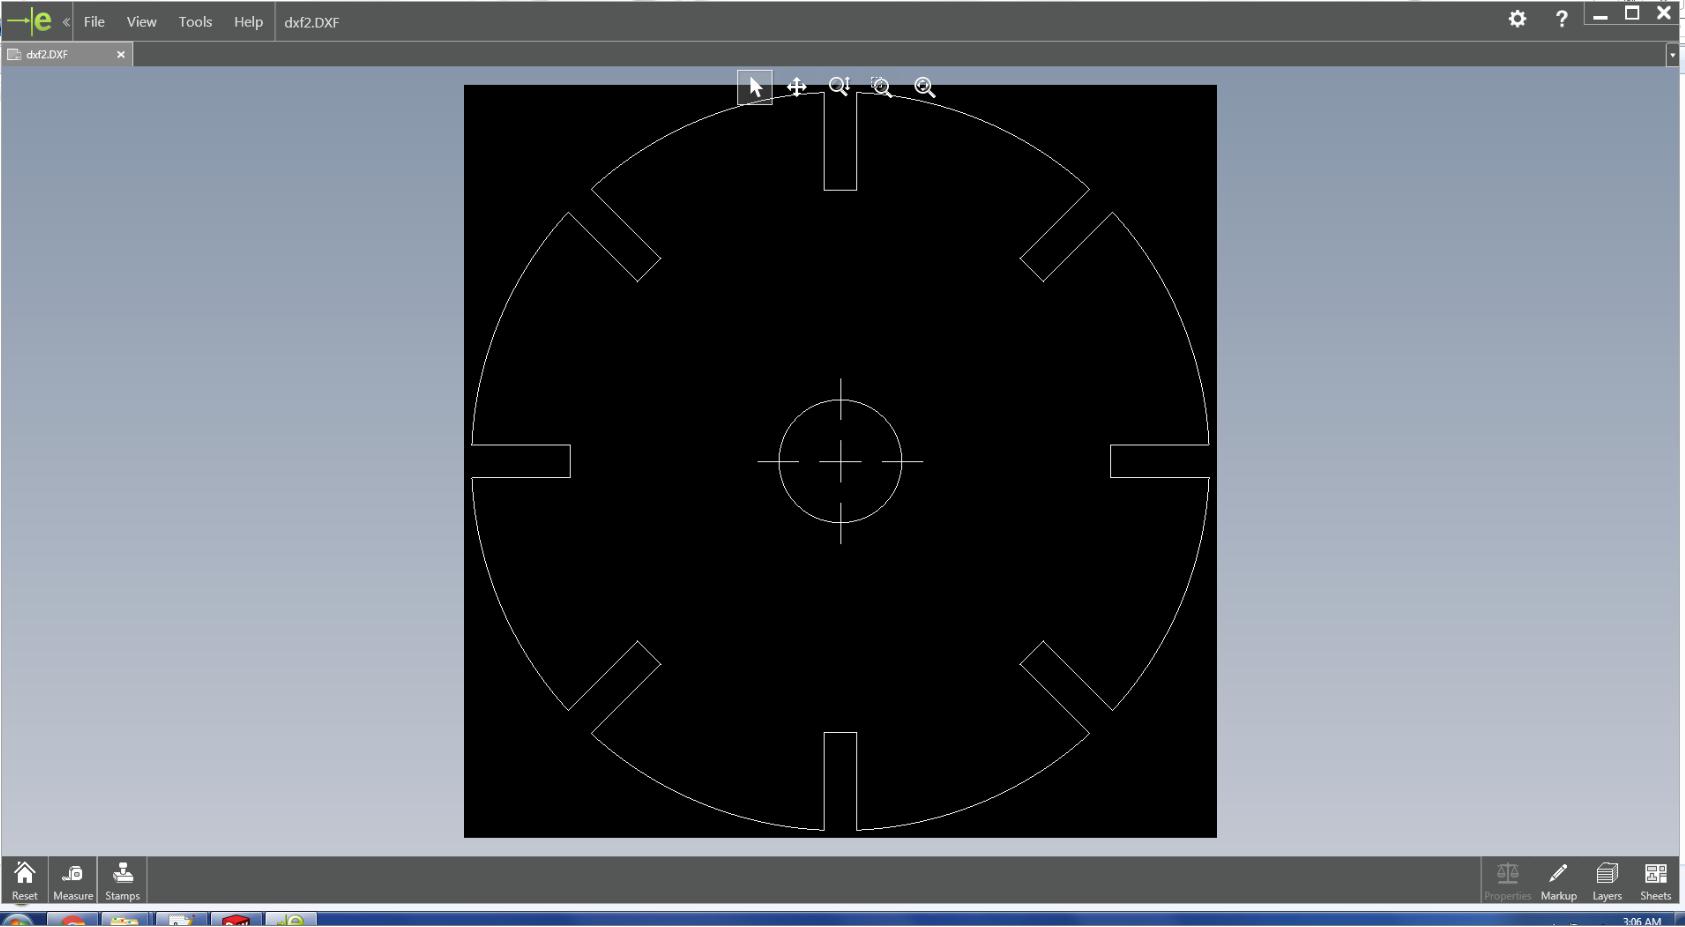
Now if I want to use the lasser cutter so I have to make these files int PDF format. So first I need a dxf file of these files.
.dxf file
In the next step I follow the InkScape and set stroke of 0.001in for laser cutter and make it PDF file
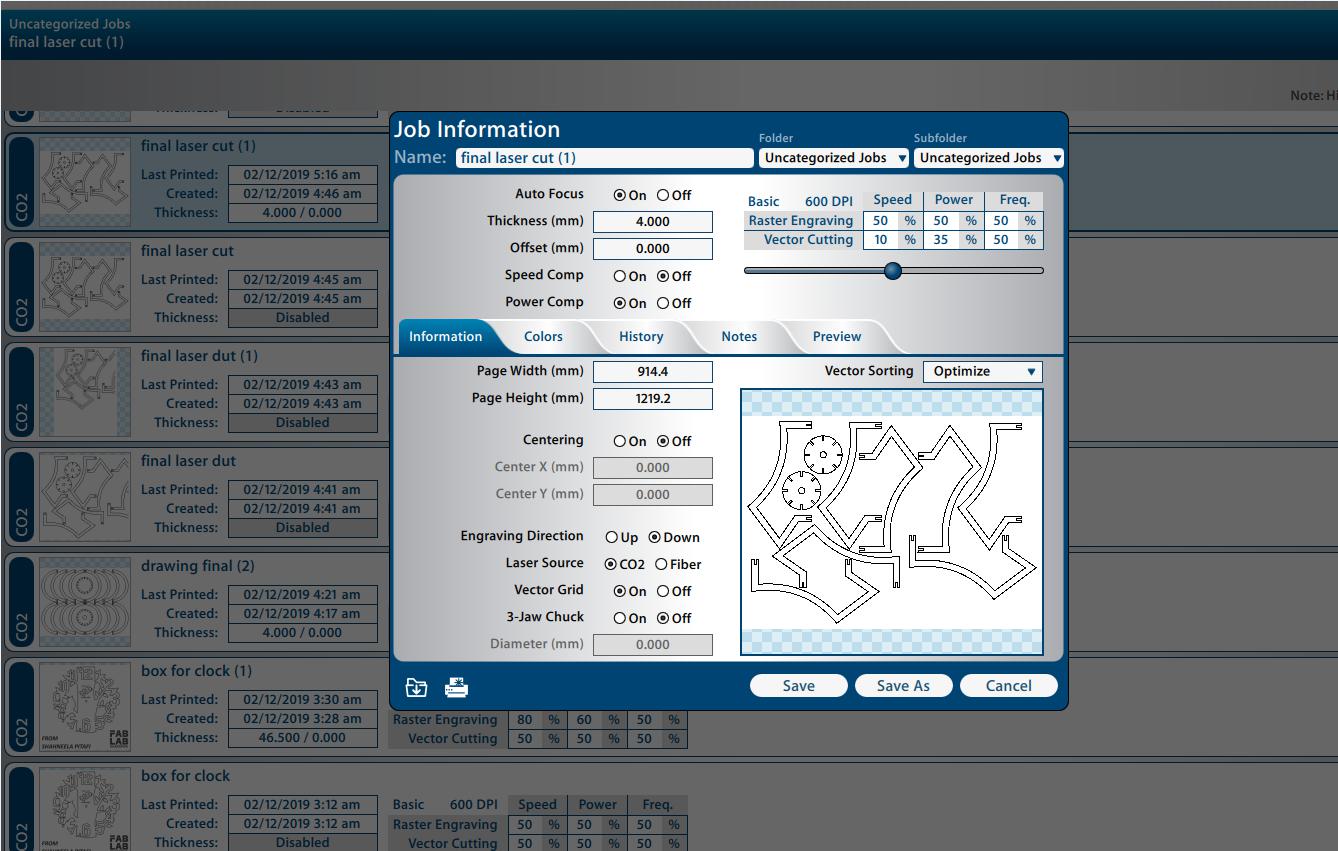
Its my first time I am working in laser cuttig machine. This is the Epilog laser cutting machine.In first I import my file to Epilog and made some settings.
Epilog Software
The thickness of the cardboard we are using in 4mm, where as we set the speed 10 and power 30 for the vector cutting of the laser cutter.
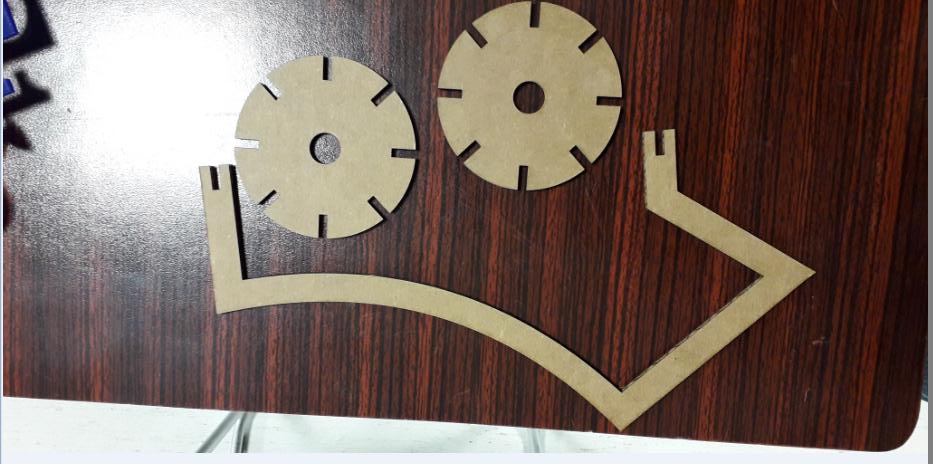
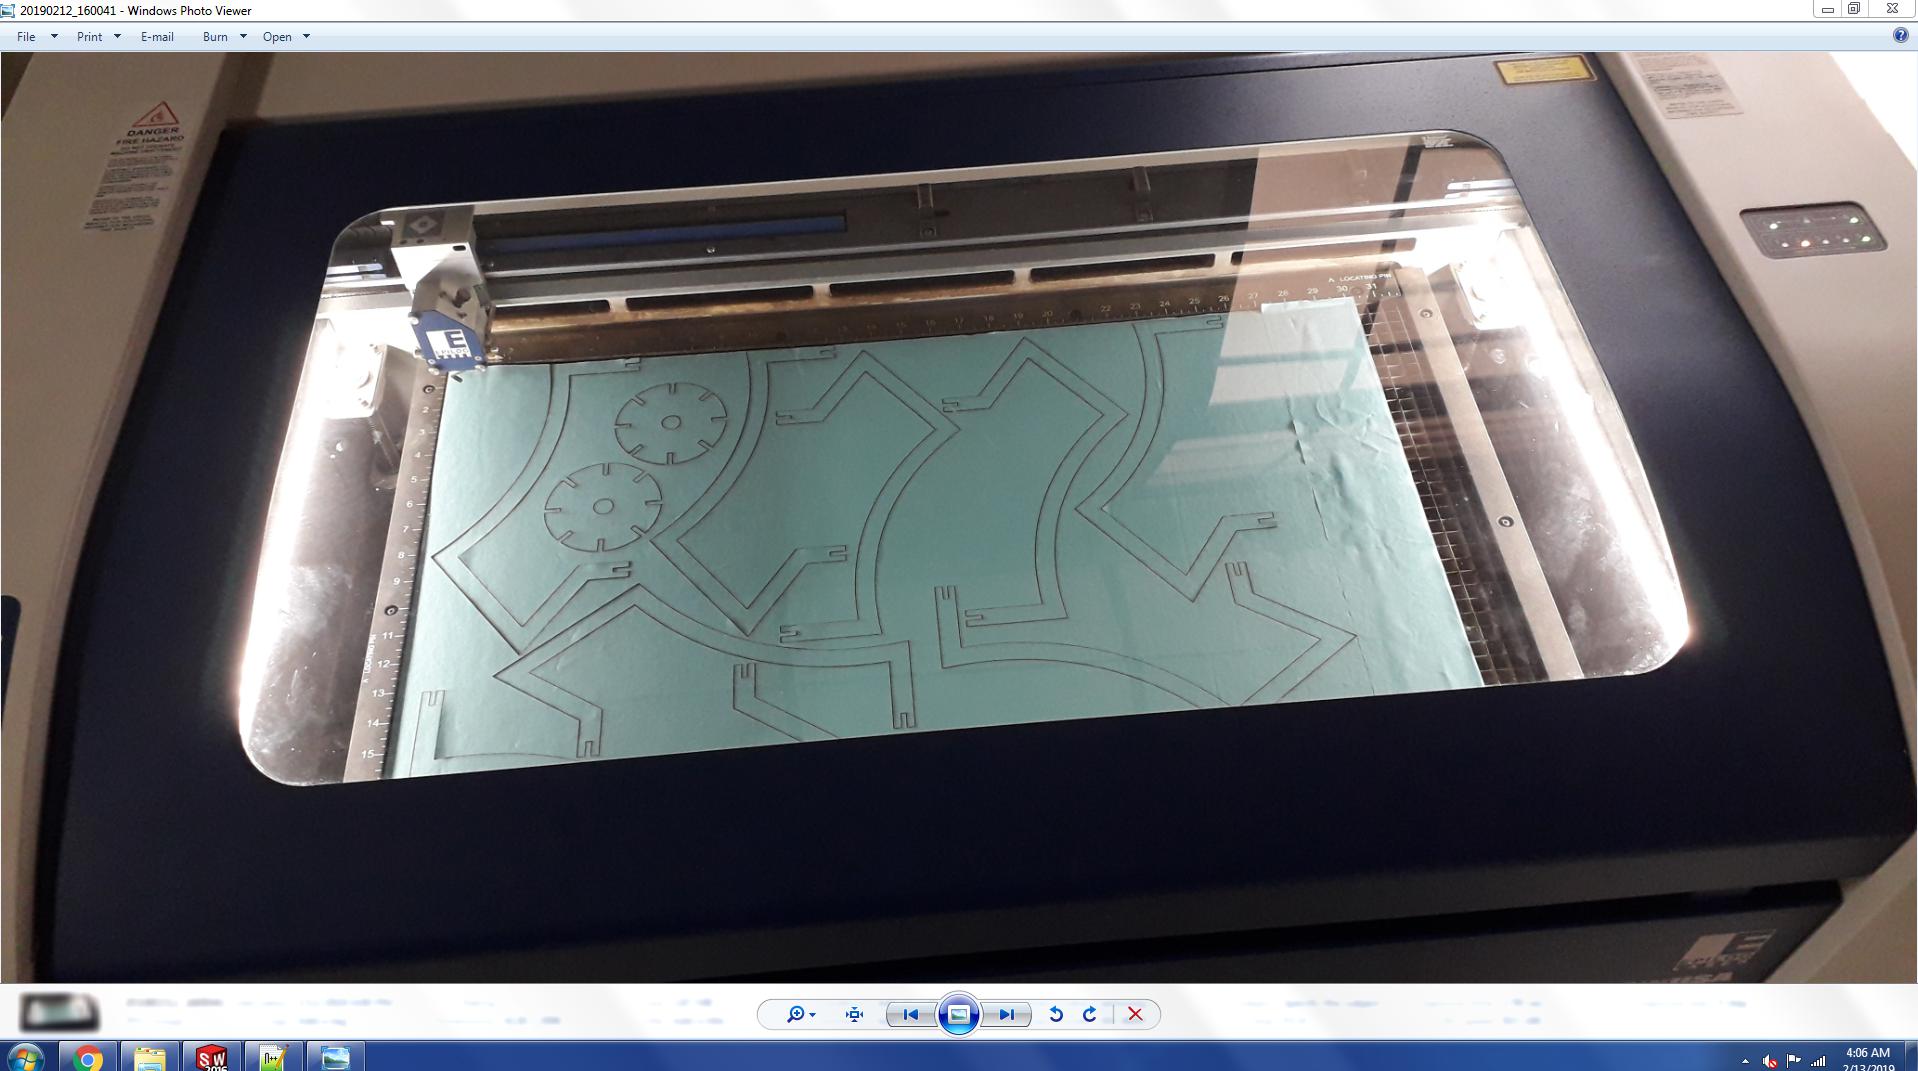
First I cut some parts so i can check the work. so its my test cut of lamp.
Machine is cutting the parts.
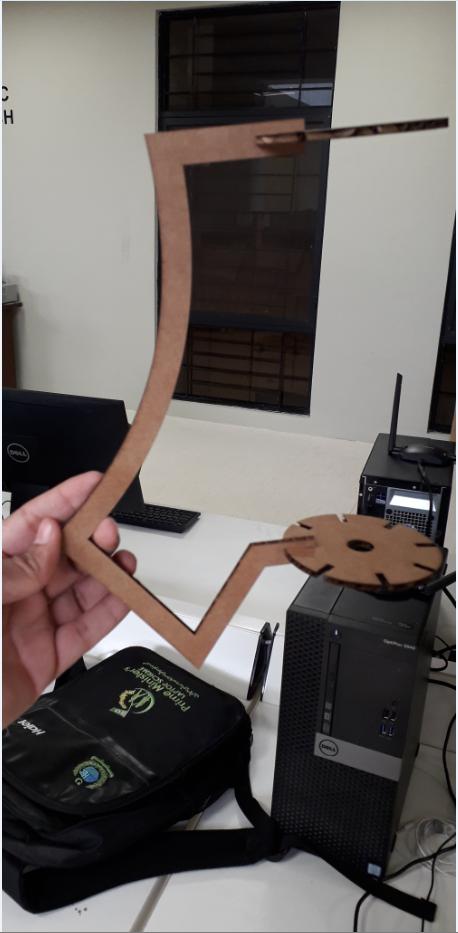
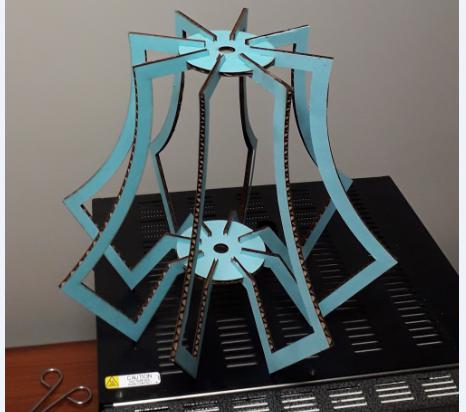
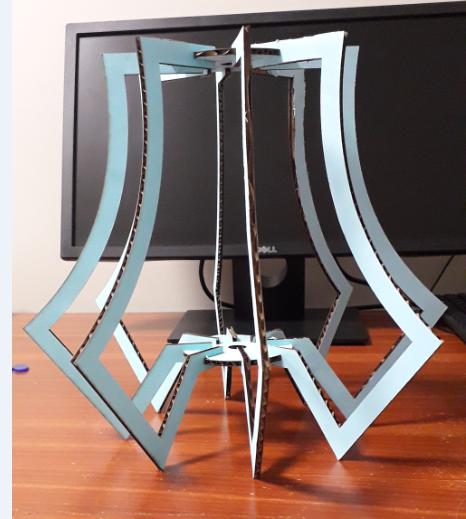
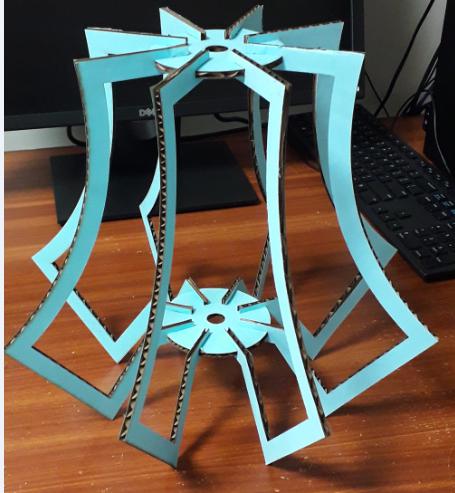
Finally i cut the complete Lamp in laser cutter.
Before cutting I paste a coloured sheet on cardcoard for a grace and great look.
Final LAMP.
Vinyl Cutting
Vinyl Cutter is a machine that is used for trimming Vinyl and other materials into many shapes or letters.A 'Vinyl cutter' is a computer controlled machine. This
machine is controlled by a computer and operate similar to a printer.It is basically a cutting device controlled by computer.Computer controls the movement of sharp blades of the Vinyl
Cutter.We have Roland GS-24 Vinyl cutter in our lab for vinyl cutting.
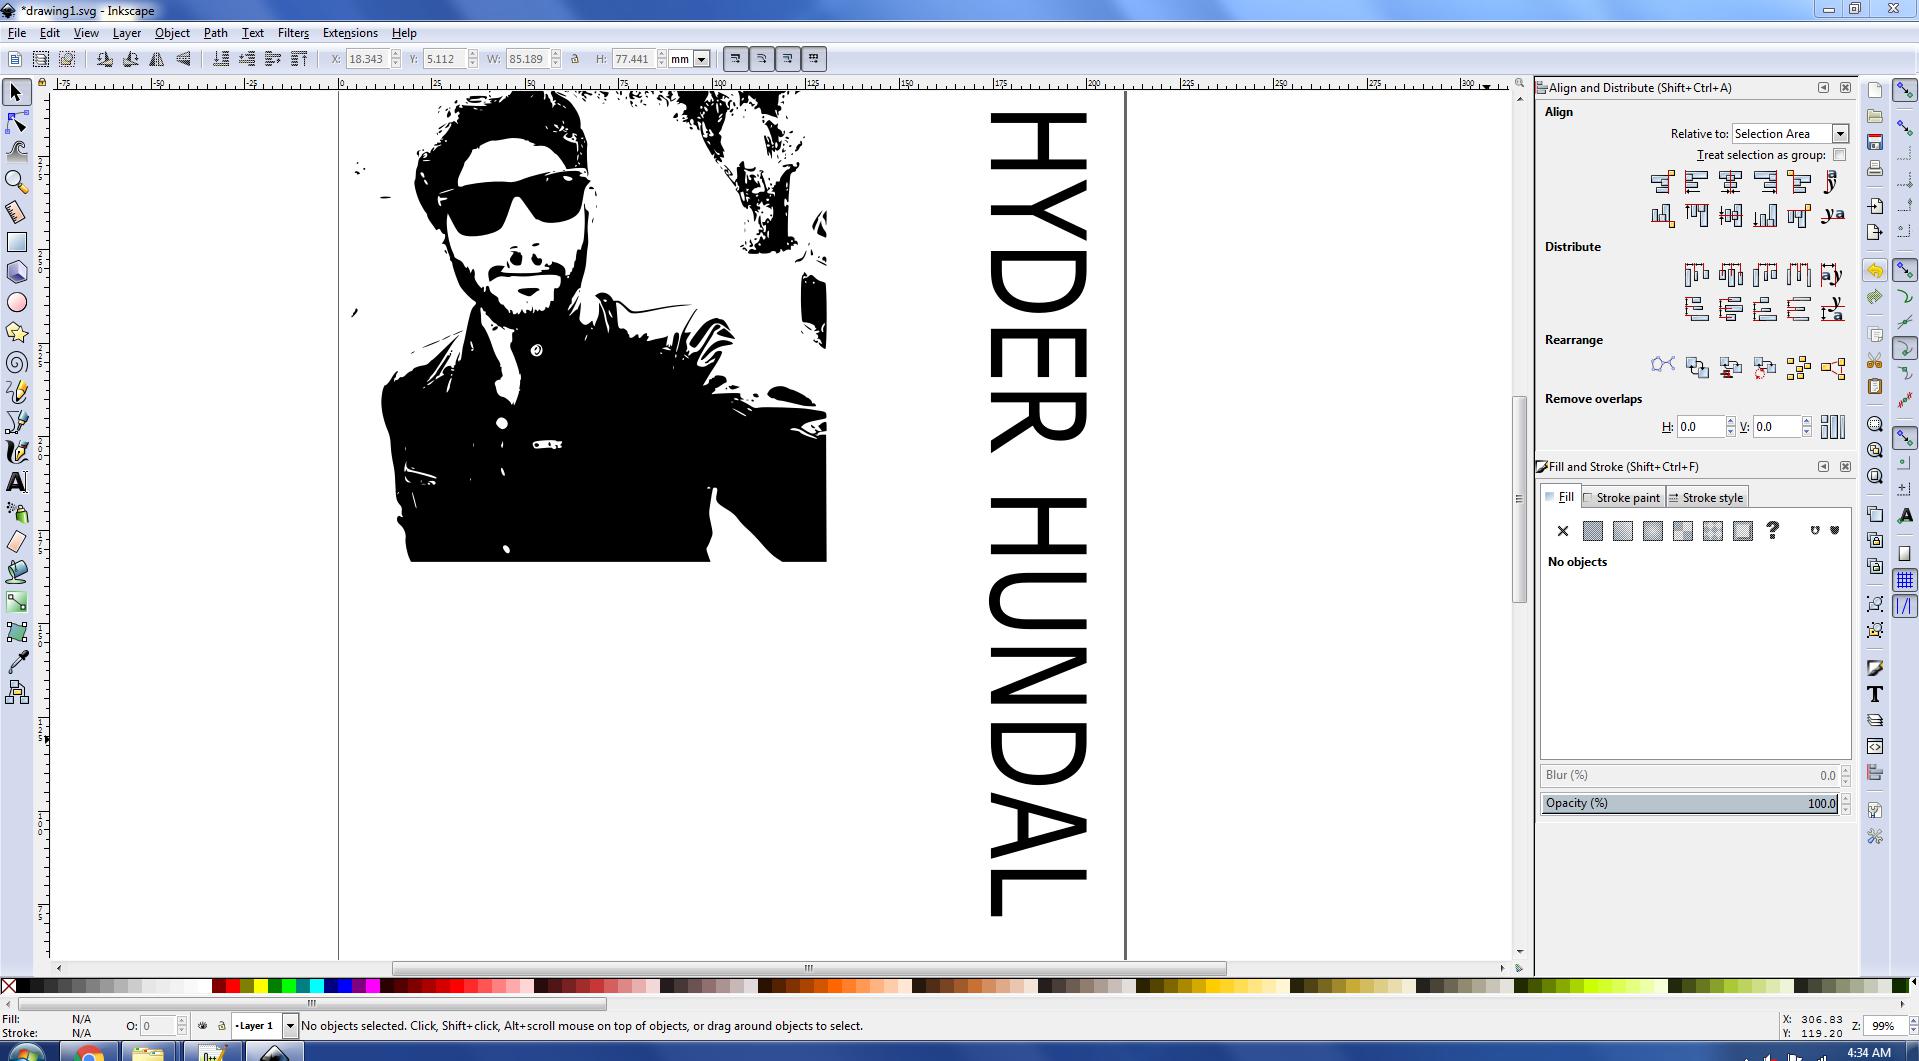
Inkscape
used inkscape for the designs and sketches for vinyl cutting.
I start with the logo of fablab.
Open the Inkscape.
Import the file that you want to cut on vinylcutter.(I selected the fablab logo).
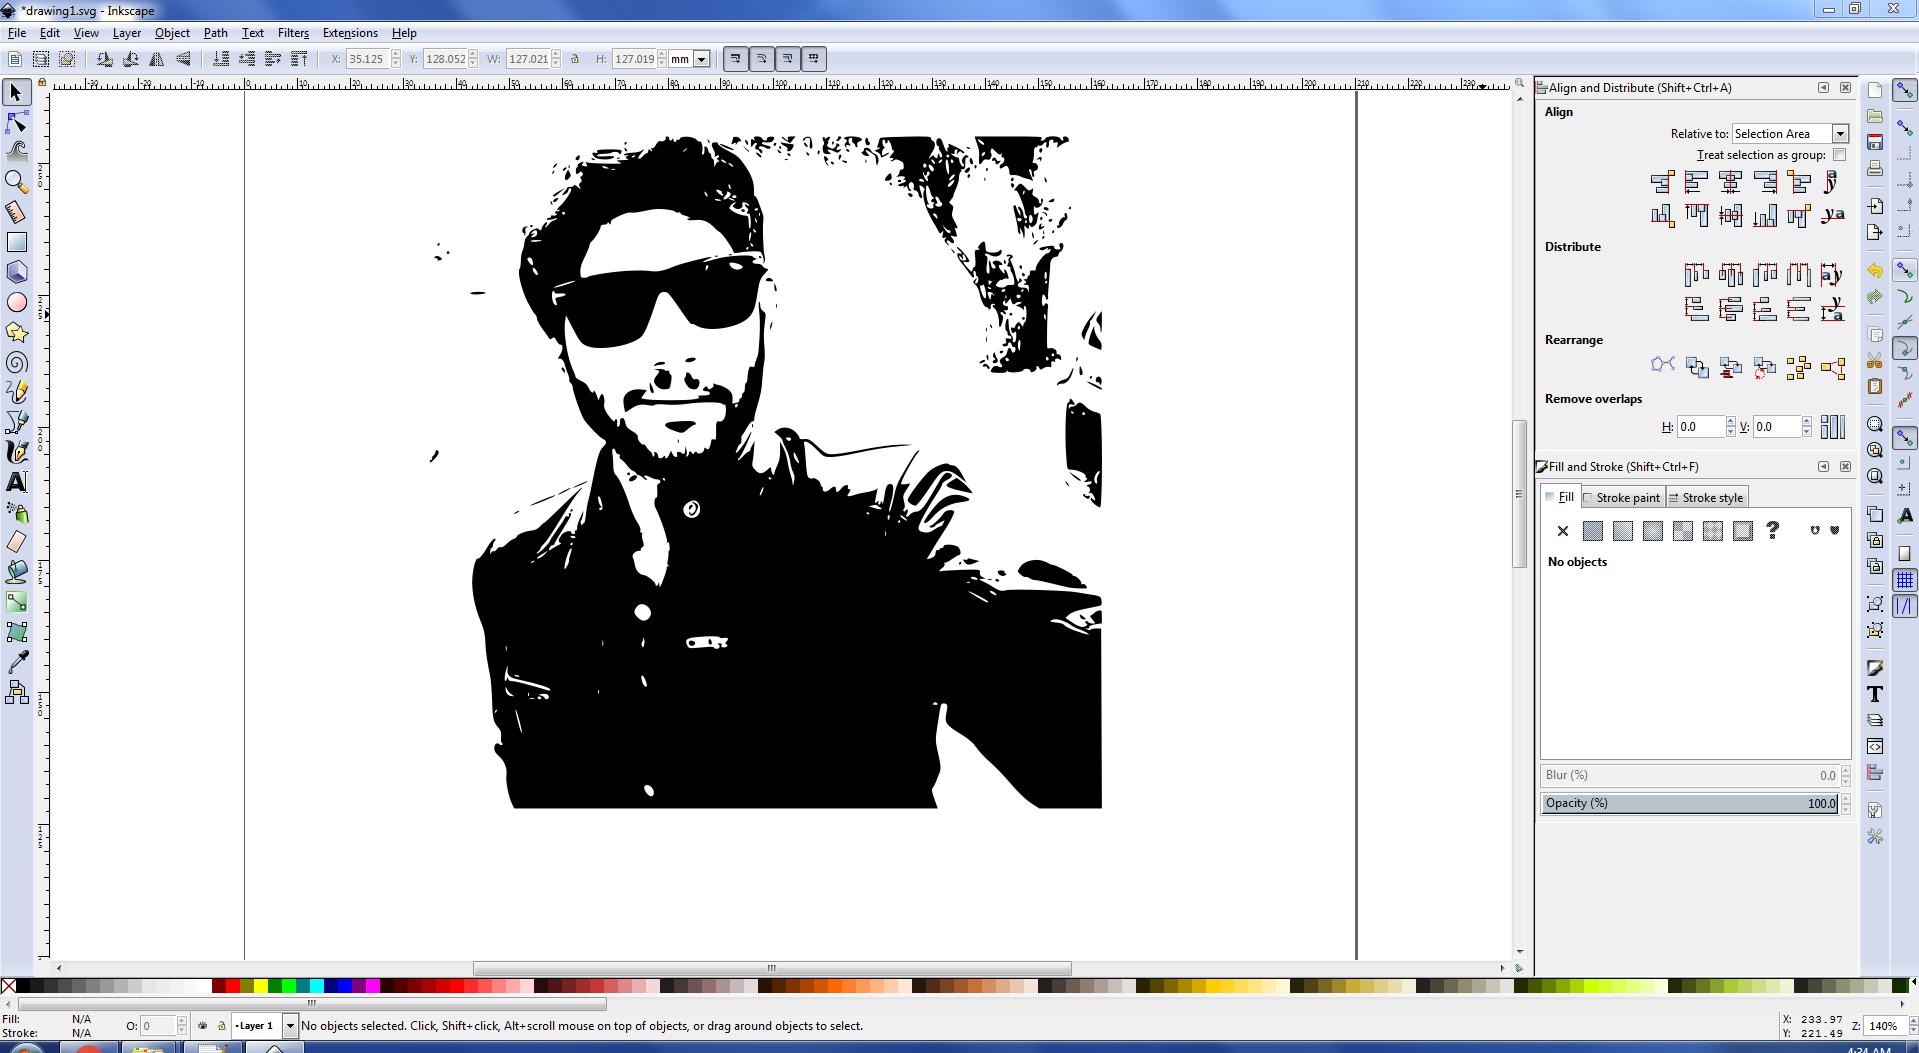
I also imported an image.
Select the image you want to trace.
Click on the path from menu bar.
Select the trace bitmap and adjust the mode according to your need.
Press ok.
Separate the trace layer to the image or delete the original image.
After that I write some text for cutting.
After that export the vectored image, give a path to it and click export.
So open the exported png image with paint and save it again but as a bitmap image.
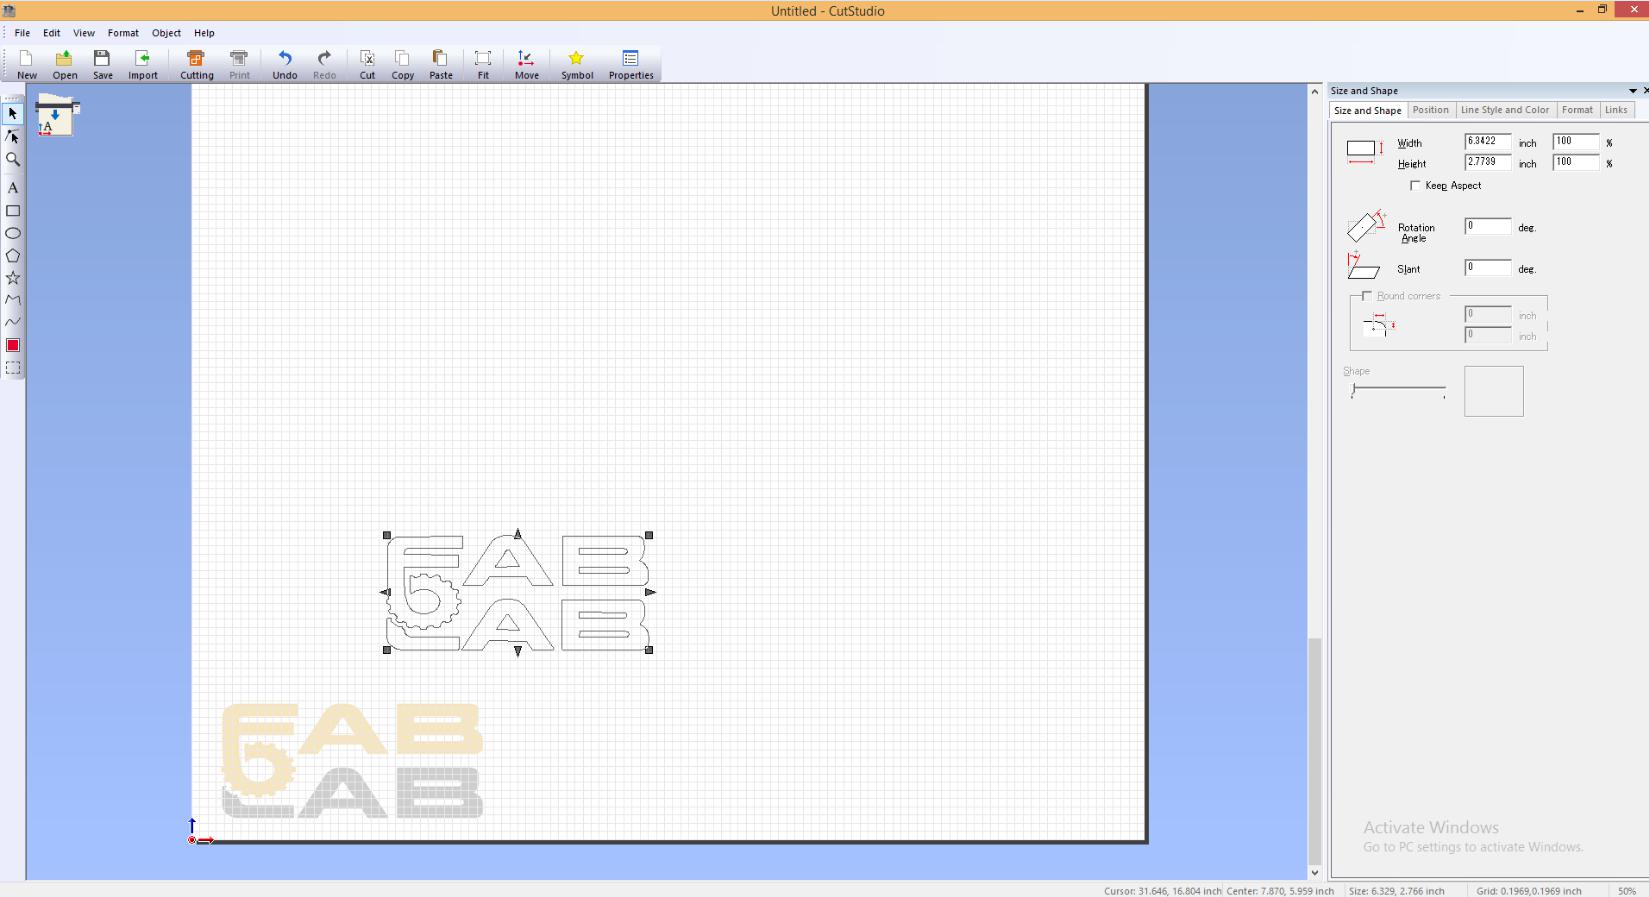
Scatch
After this I tried my own sketch In InkScape.
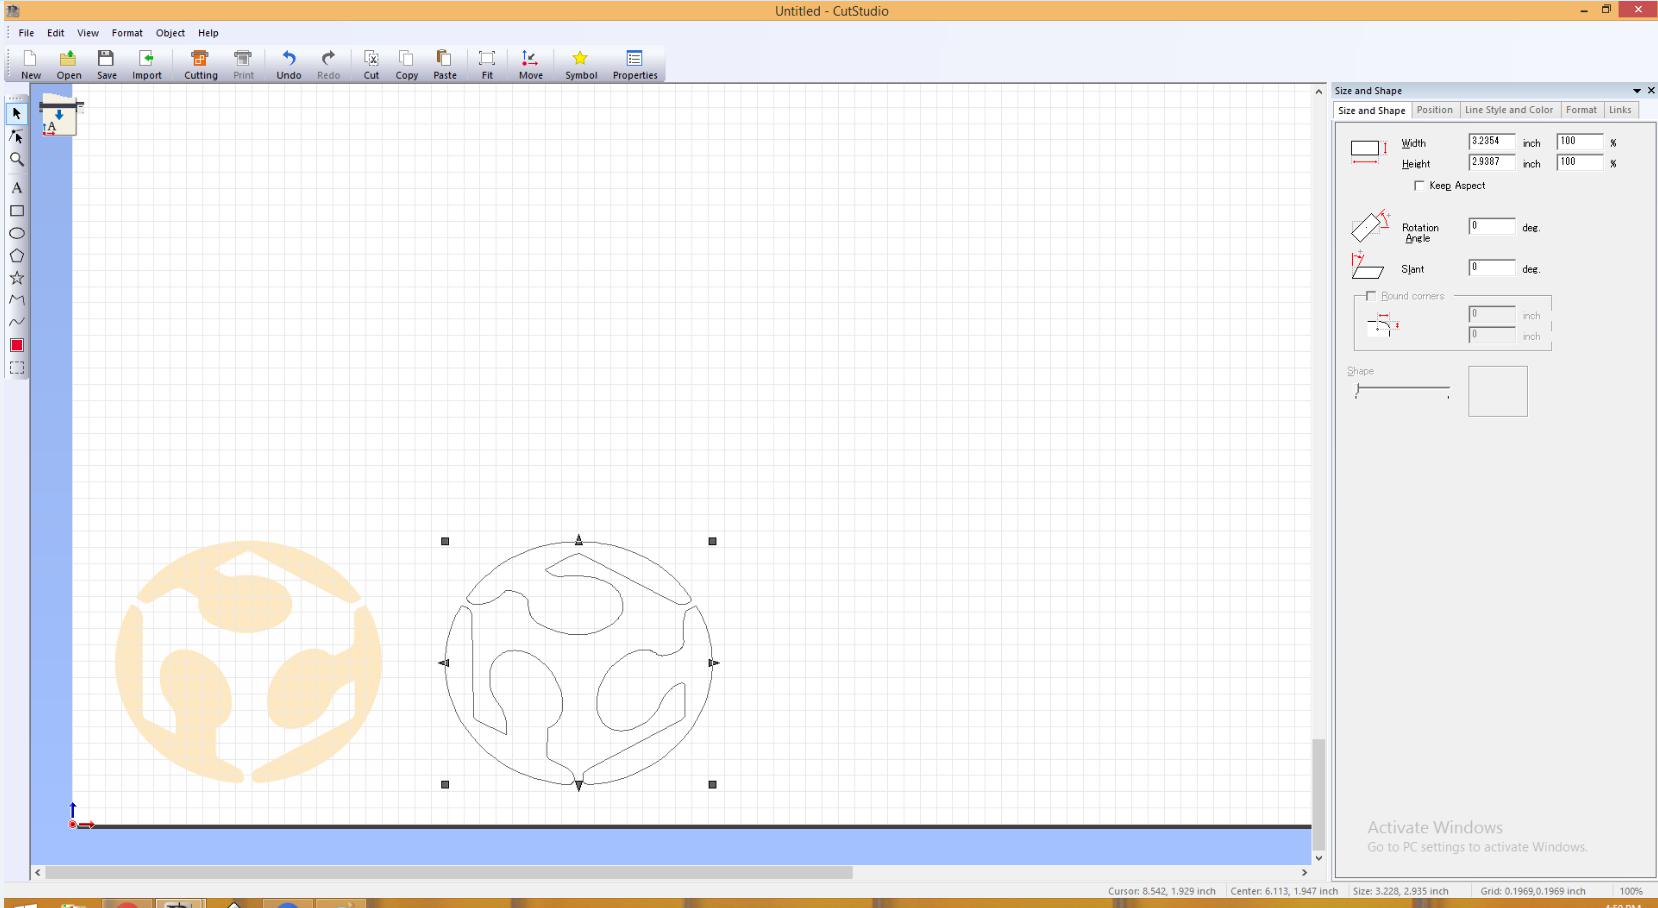
Steps of using Cut Studio.
Open the Cut Studio software in PC.
Import bitmap file.
From right side panel set the dimension of imported image.
Right click on the image and click on Image Outline.
Now a window appear, from there click on Extract Contour then OK it.
Now we have Contour of the image, and this is what a vinyl cutter needs.
Till here, everything is done so, press Cutting tab.
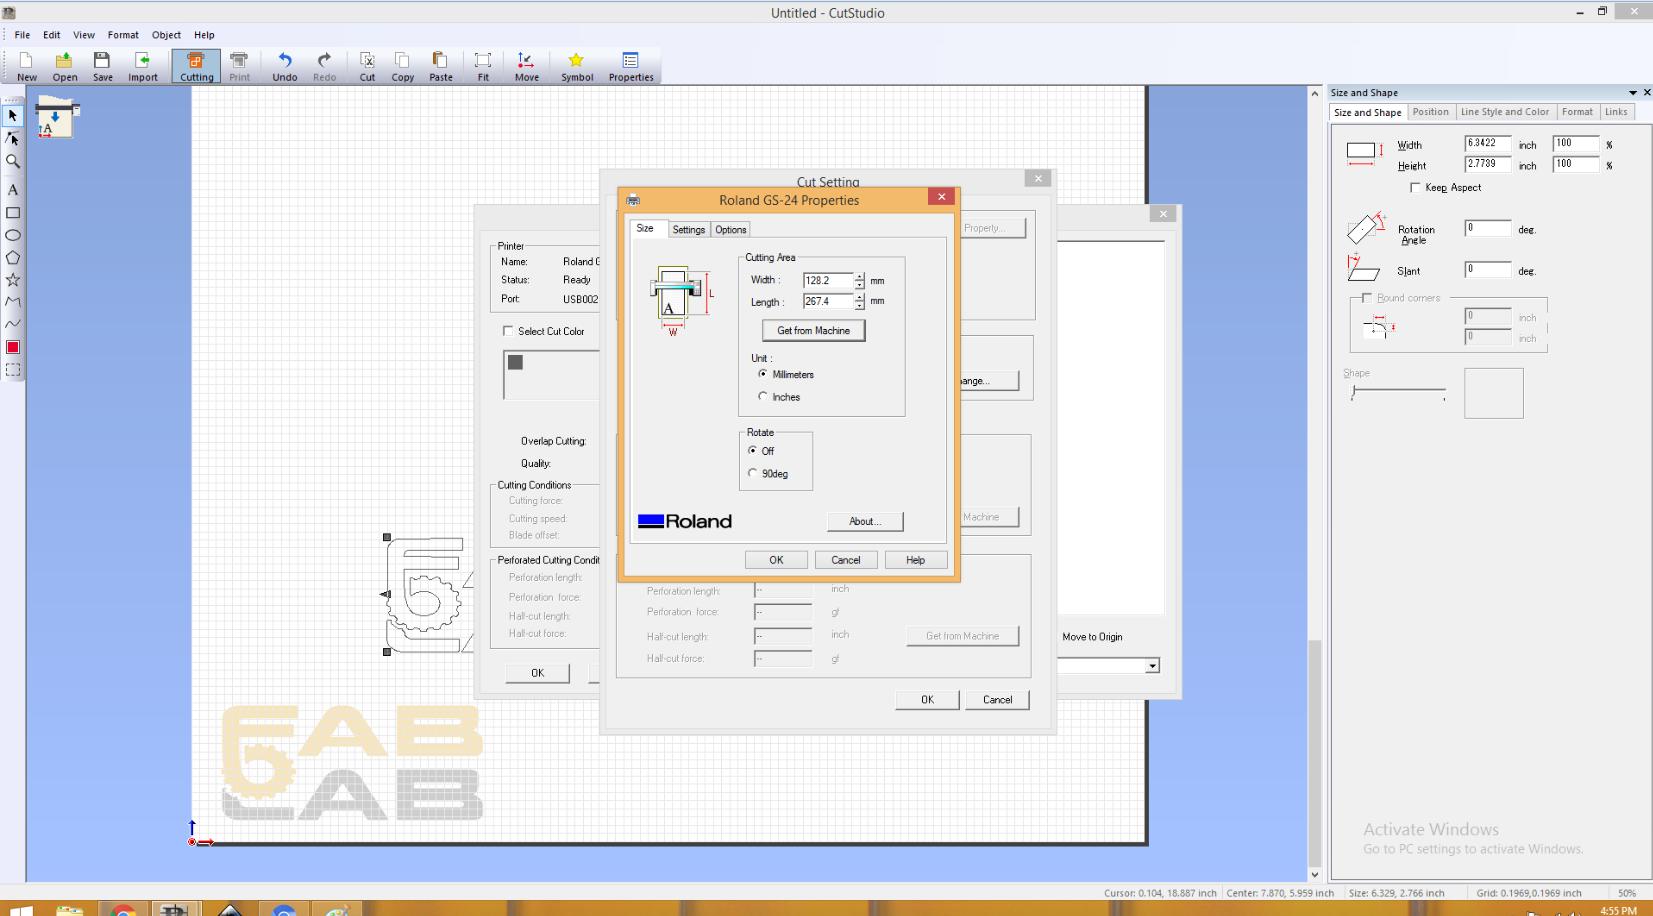
Now click on cutting adjust the width and height of your vinyl sheet
Cut Studio
After this I made setting according to the piece that I have put in the Vinyle machine.
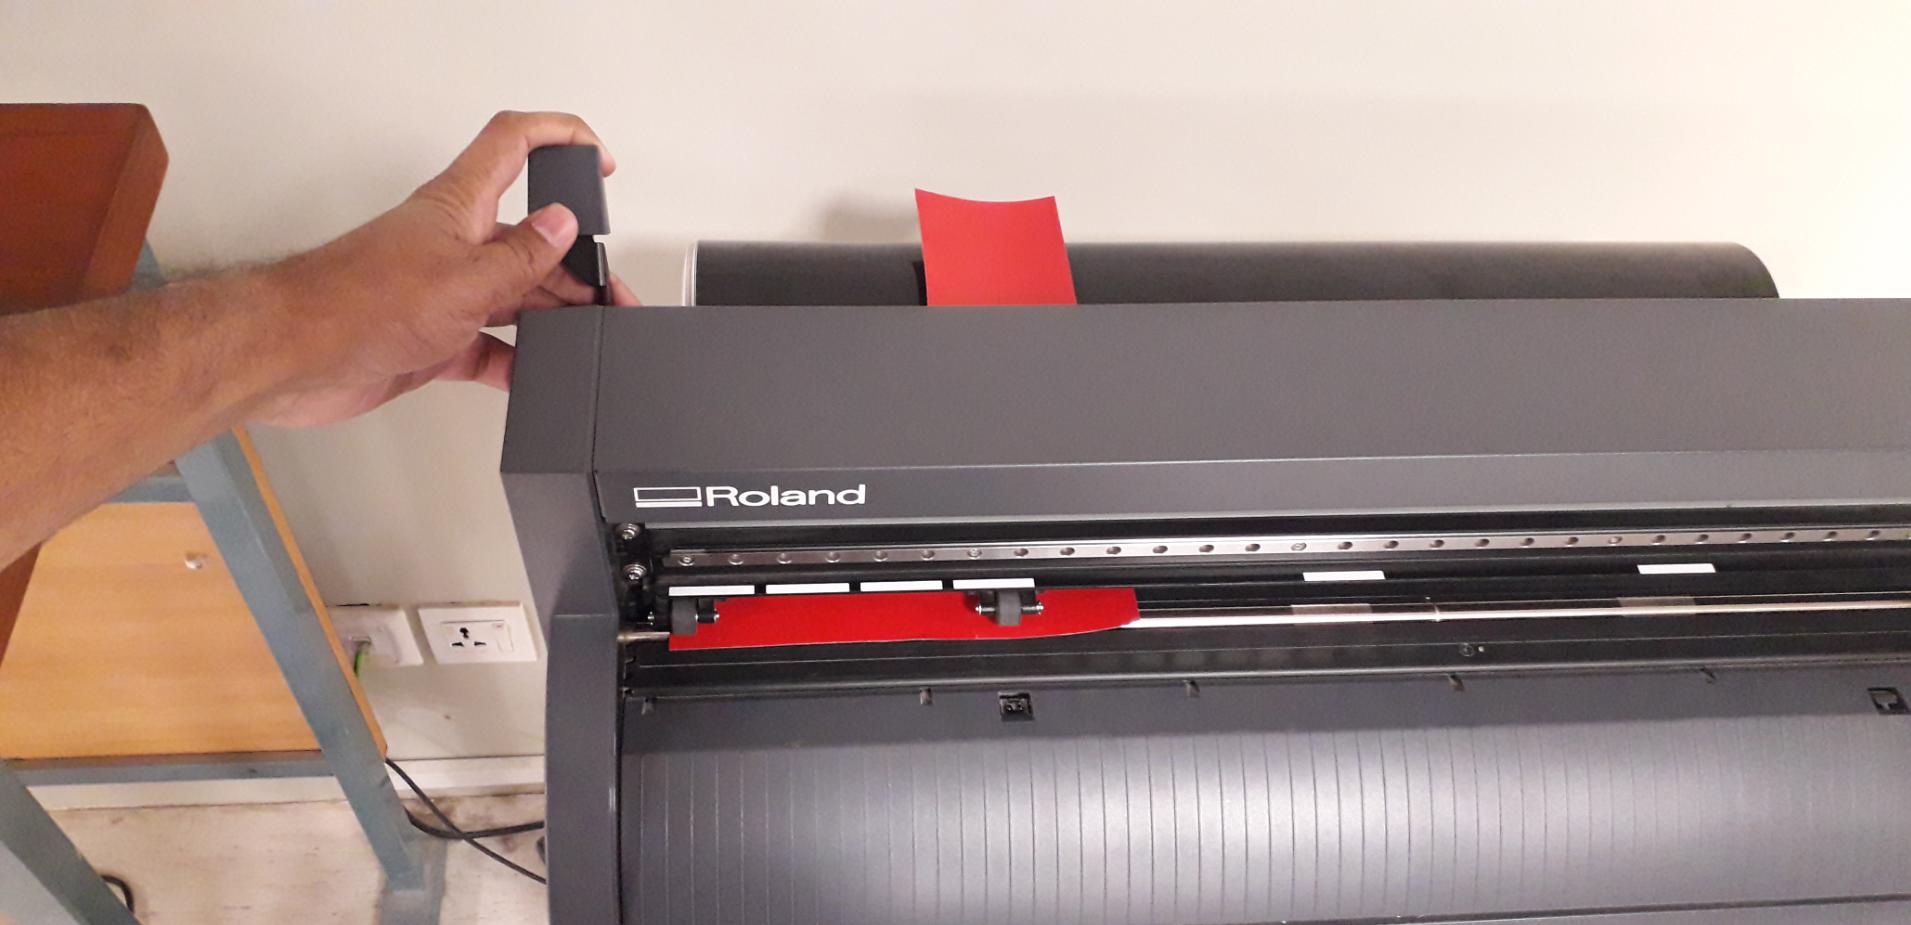
Steps of inserting Vinyl Sheet in Vinyl Cutter.
Switch On the Vinyl Cutter machine.
Press back the lock handle.
Insert vinyl sheet in it, either in the form of piece or roll. I used a piece of vinyl sheet
Align the sheet through wheel holders and one can also set it using white marked lines.
Now, pull back the handle lock to lock the current position of the vinyl sheet.
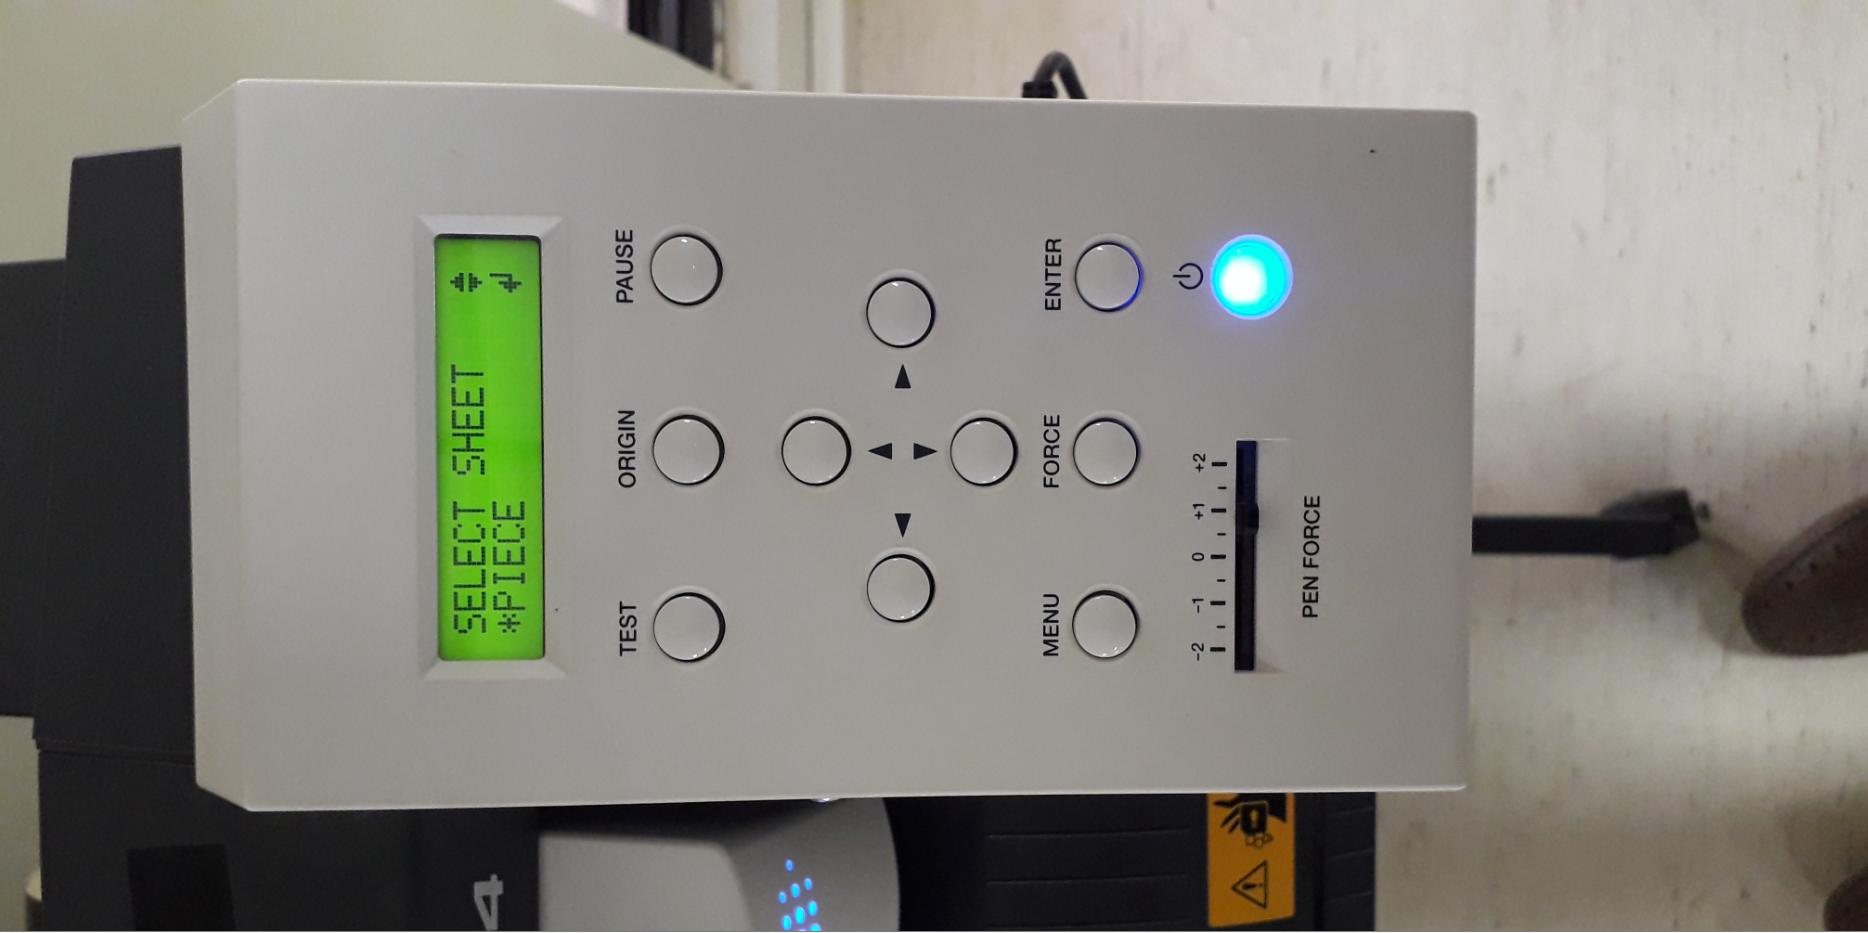
Now, using operating interface of the vinyl cutter machine, select the sheet type (sheet or piece) then press 'ENTER' button. I used piece, because I set and fix a piece of vinyl sheet in it.
Now, the cutting head moved and scanned the actual size and dimension of the inserted piece of vinyl sheet, and showed it on the screen of operating panel interface of the vinyl cutter machine.
After all above steps, the machine is now drawing my design through its small pin.
Machine
I am using the piece of vinyl so for i am selecting the option of piece, otherwise we can also use roll instead of peace.
There are some parameters like pressure applied and force to cut the vinyl.These are shown in the image.
Finally machine cut that piece.
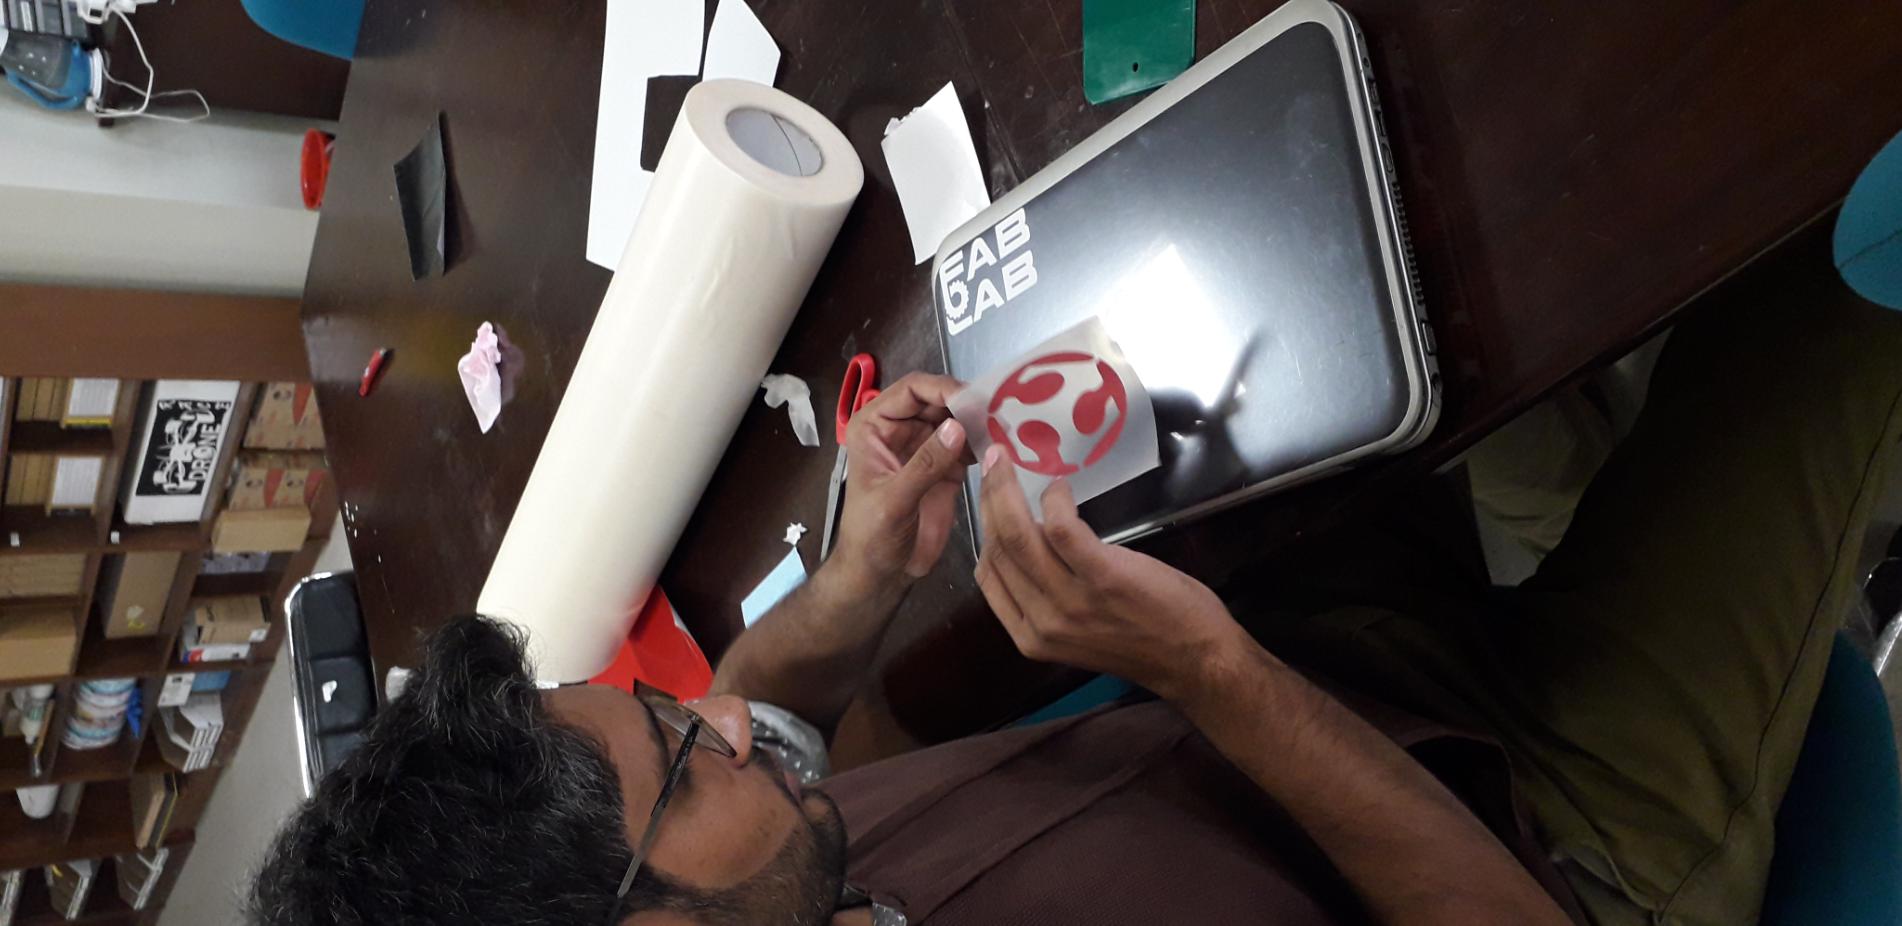
And I started my side of work.
Remove the unwannted part first.
Paste a transfer paper on it.
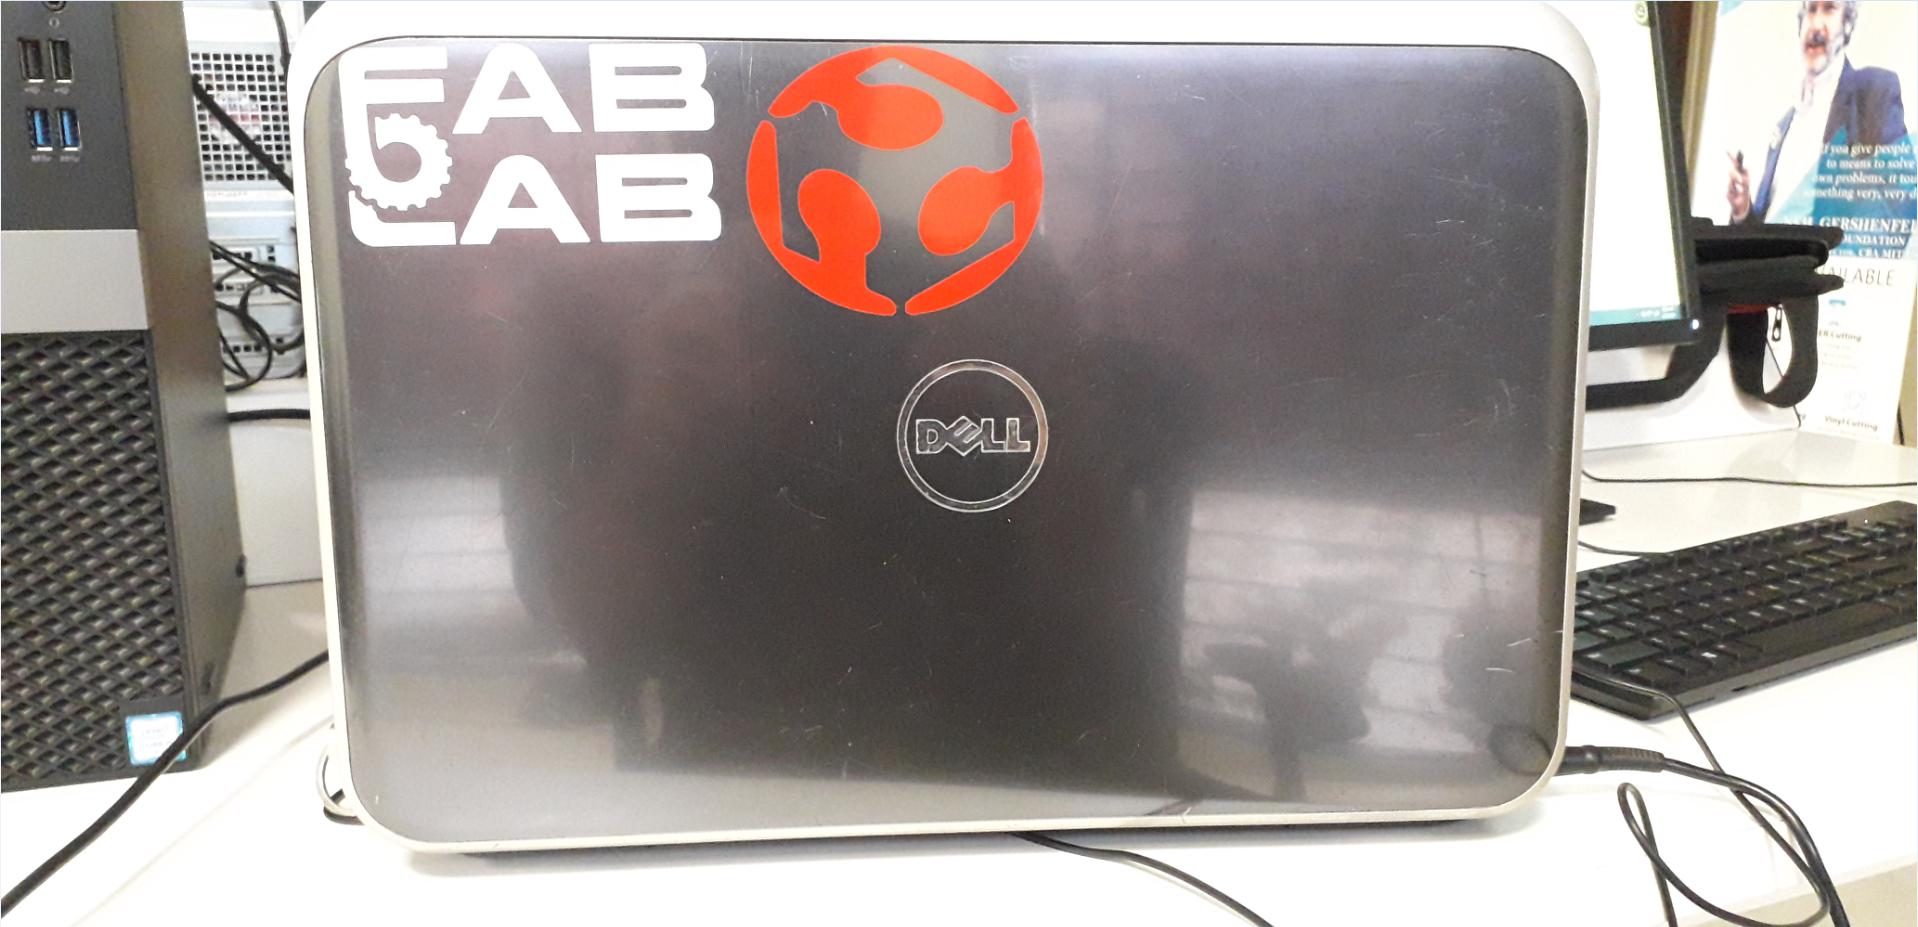
Paste the cutted part with trasnfer paper where you want to paste(I pasted on my laptop).
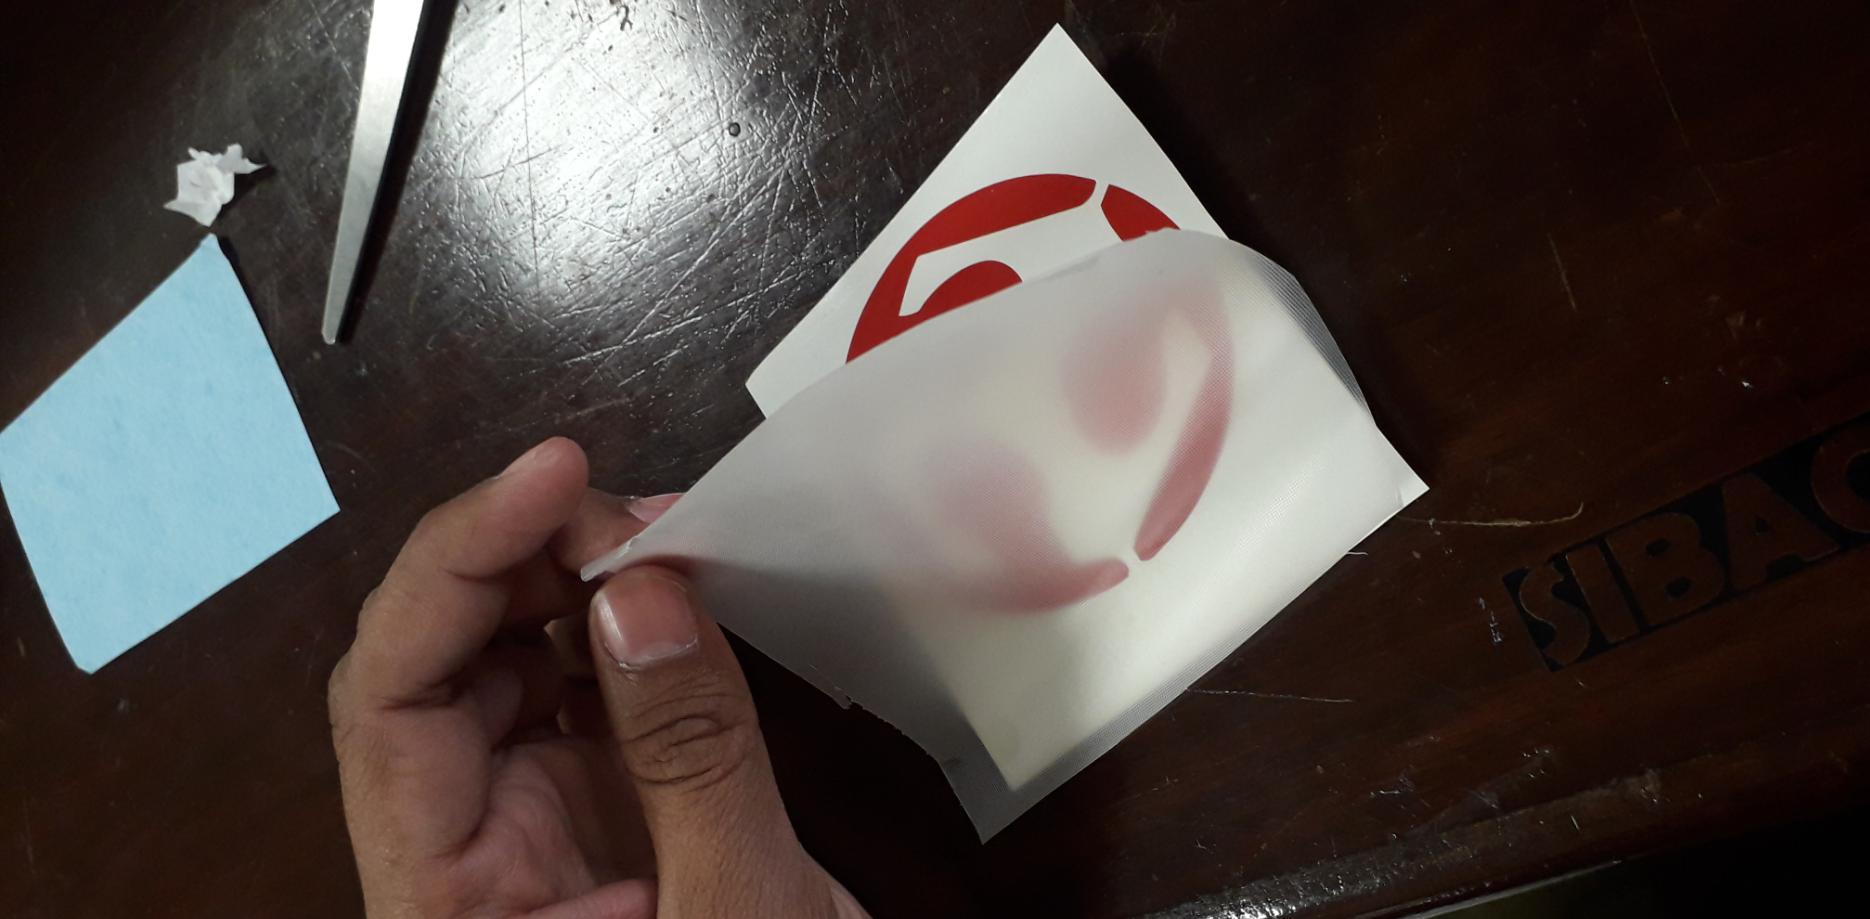
After this cutt of the transfer paper.
And Finally and finally I end up with this result.
I will cut the remainig sketches that I made, Now I dont have more time for all this.