For making a test design we made a simple curvy shape in solidworks.The Curve was saved as .stl file and the tool path was generated in Vcarve. All the steps for making the composite are given
below and also illustrated through pics.
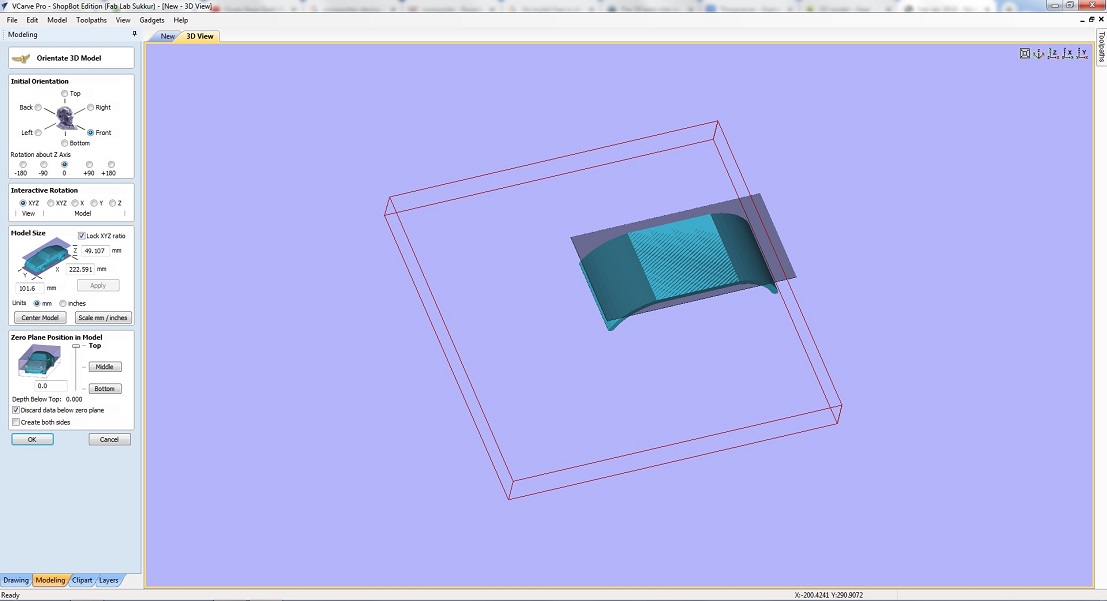
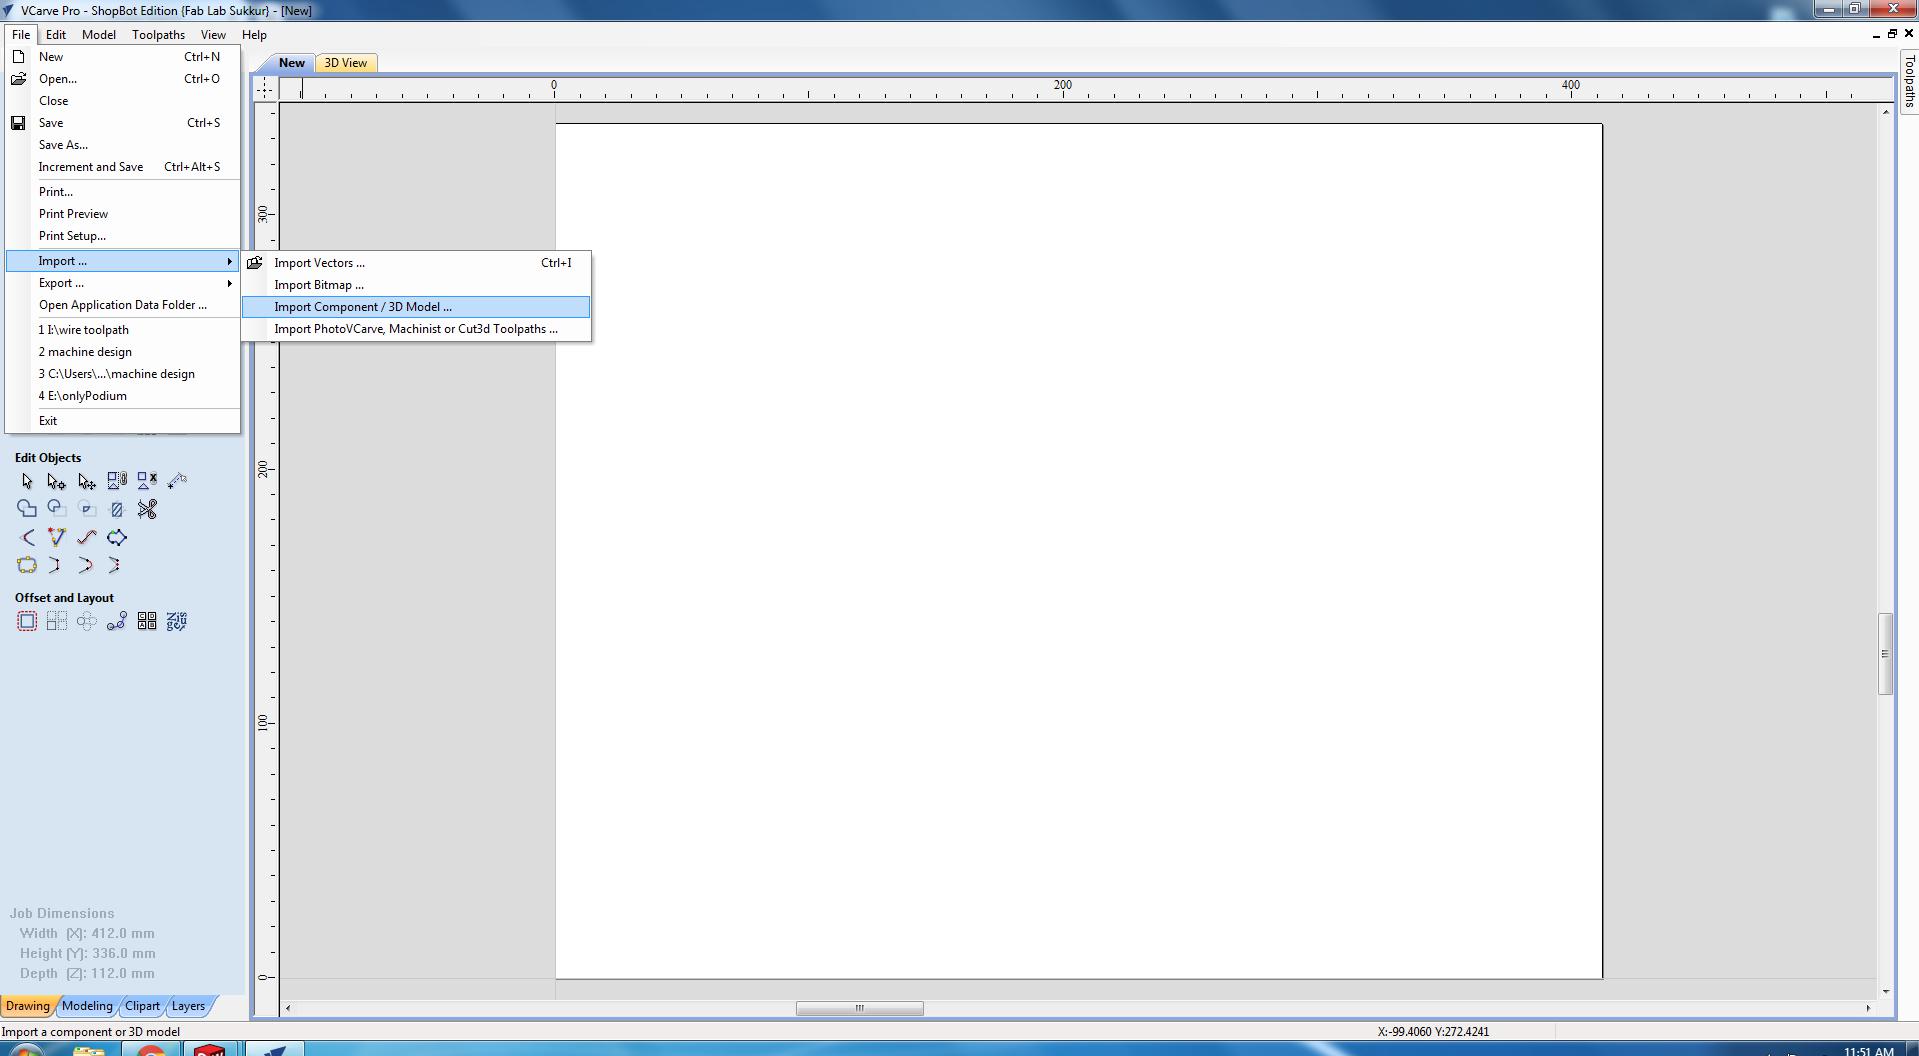
Initially, a new Vcare file was opened and the dimensions were set according to the size of the model (222 x 101mm).Then by importing the Component/ 3D model , the model is imported. Here we make
some settings as described in the video attached for individual assignment section.
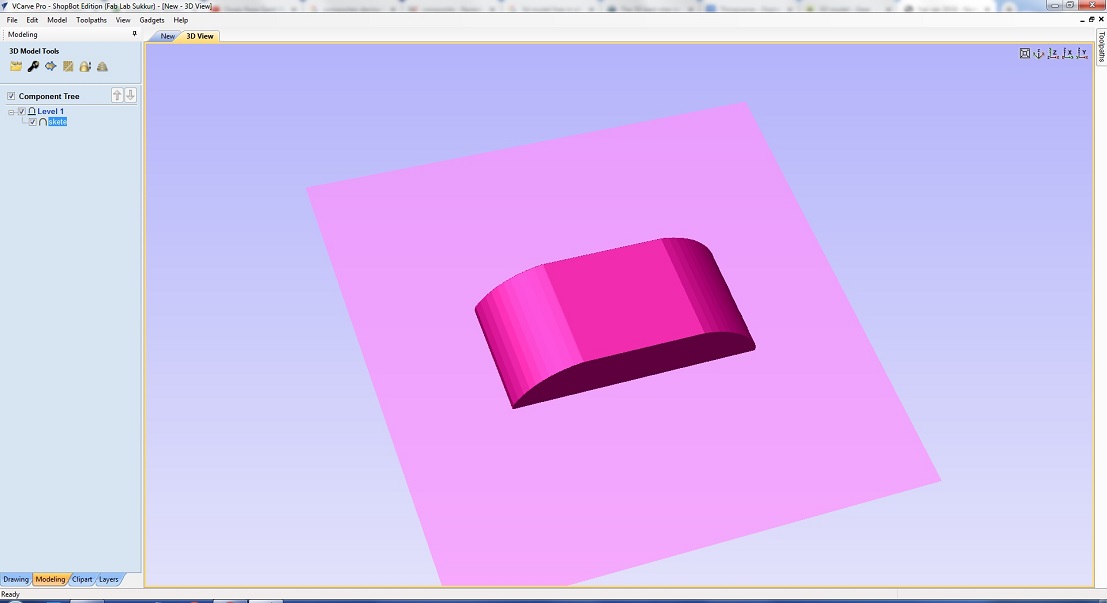
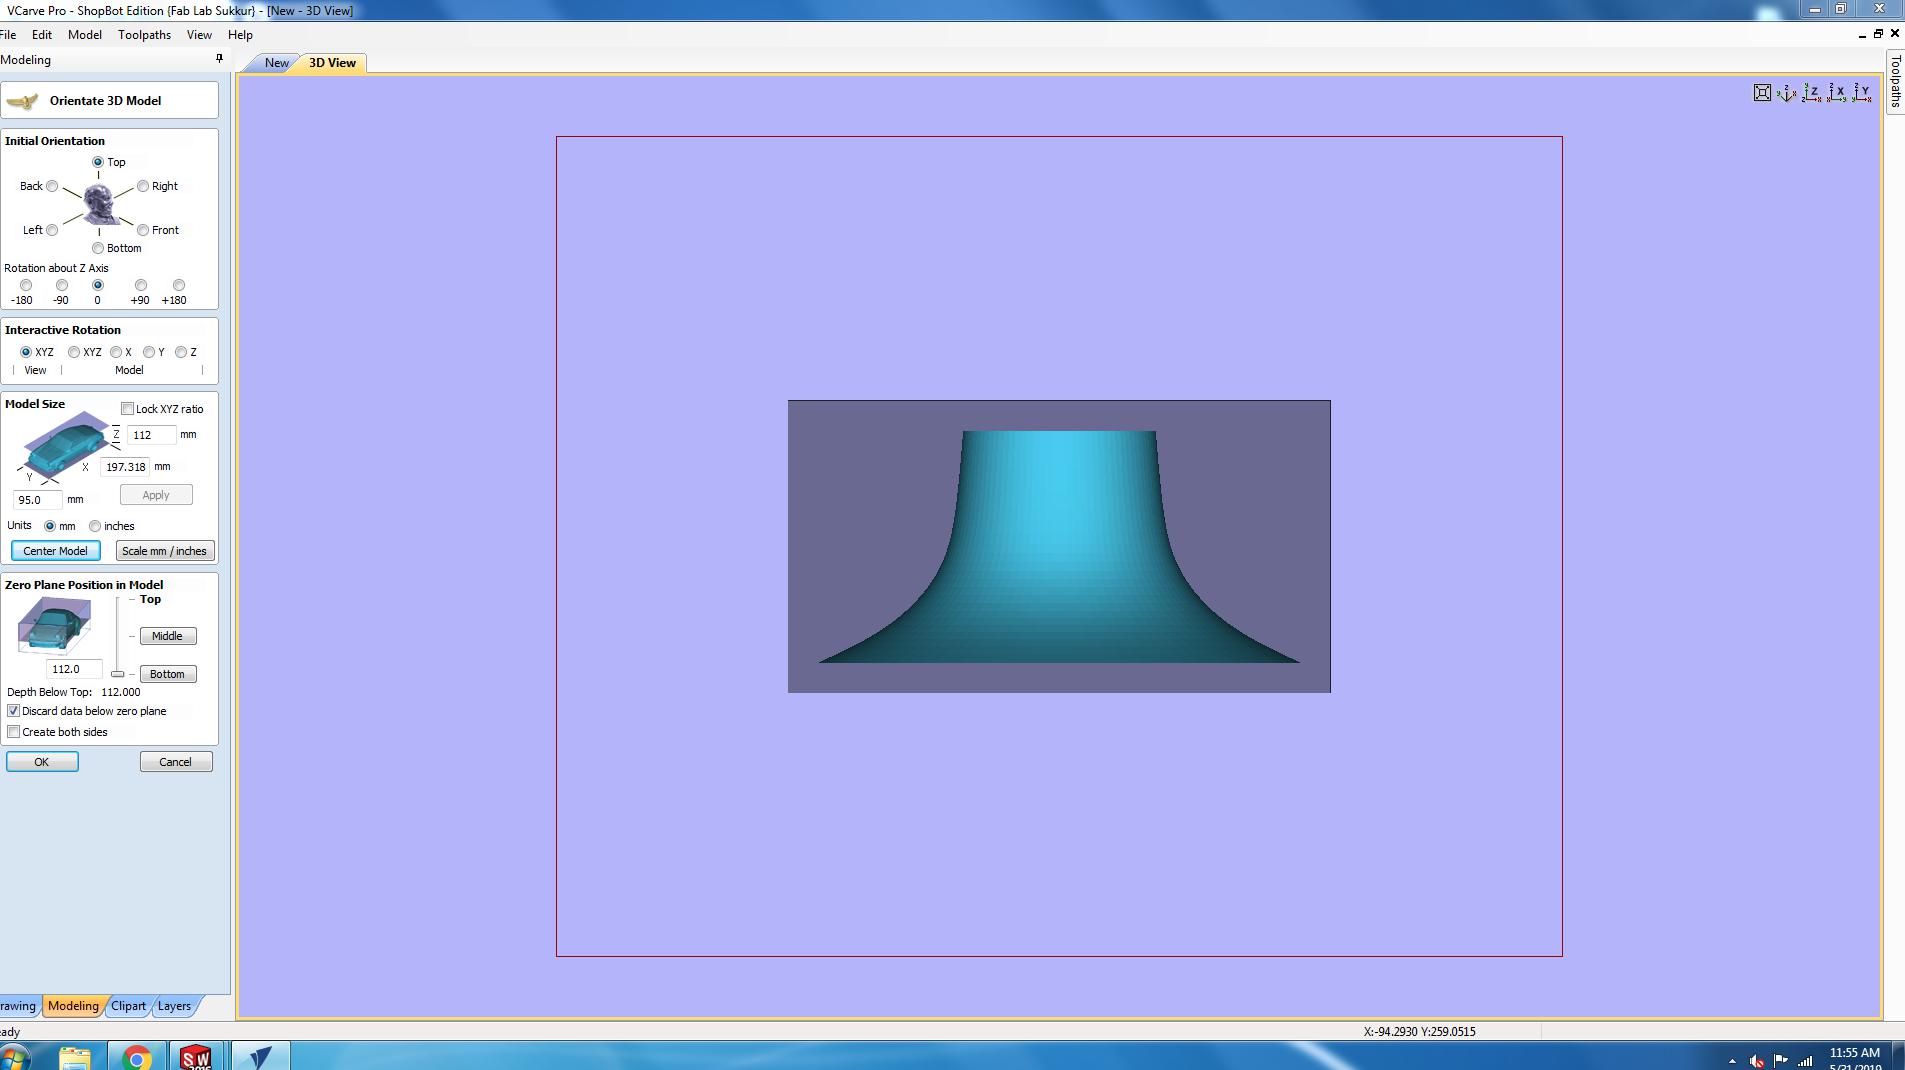
The 3D model is being set in the proper plane
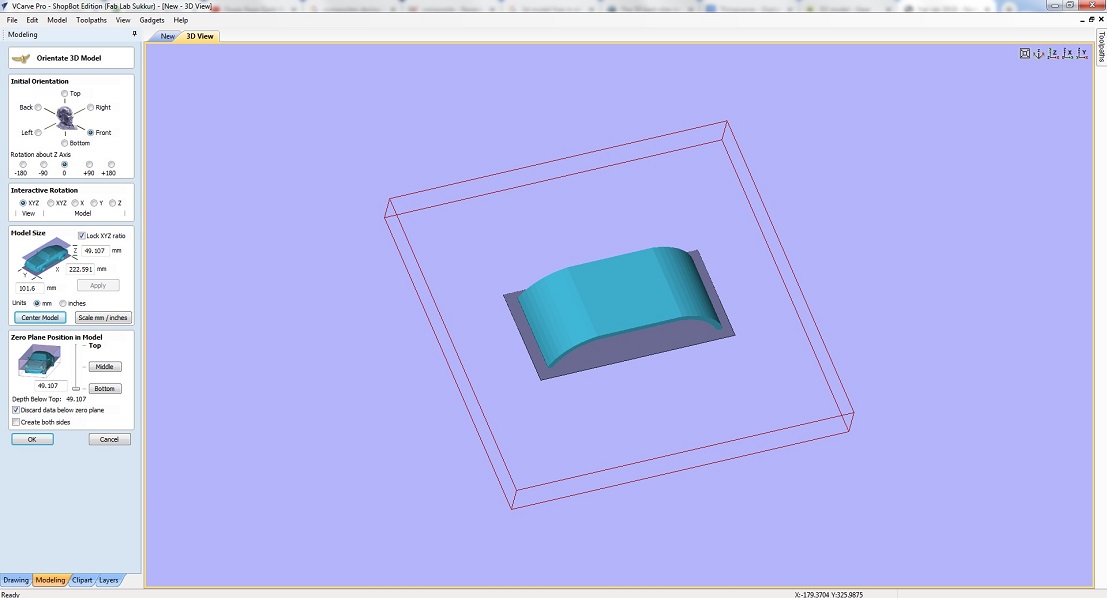
In the next step we place the model at center so that the model comes inside the dimesnions we set. The 3D model is placed at the center
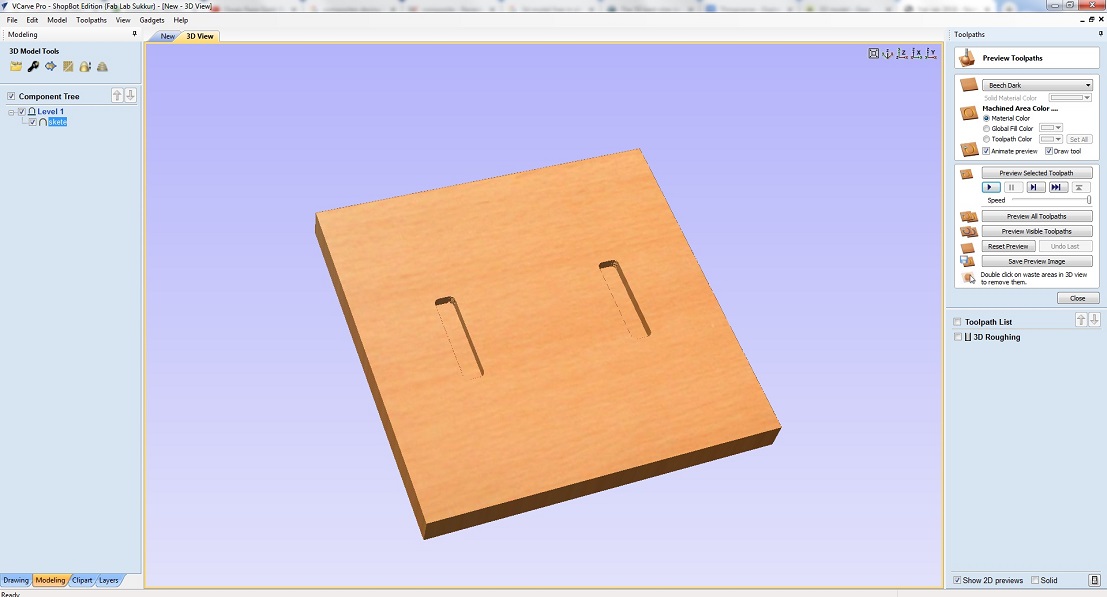
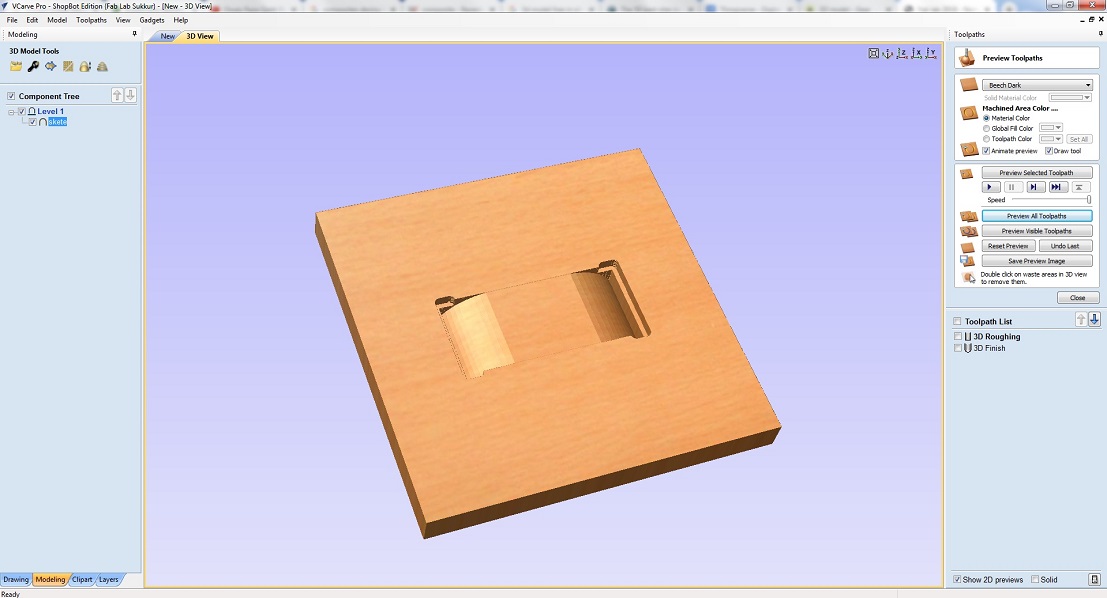
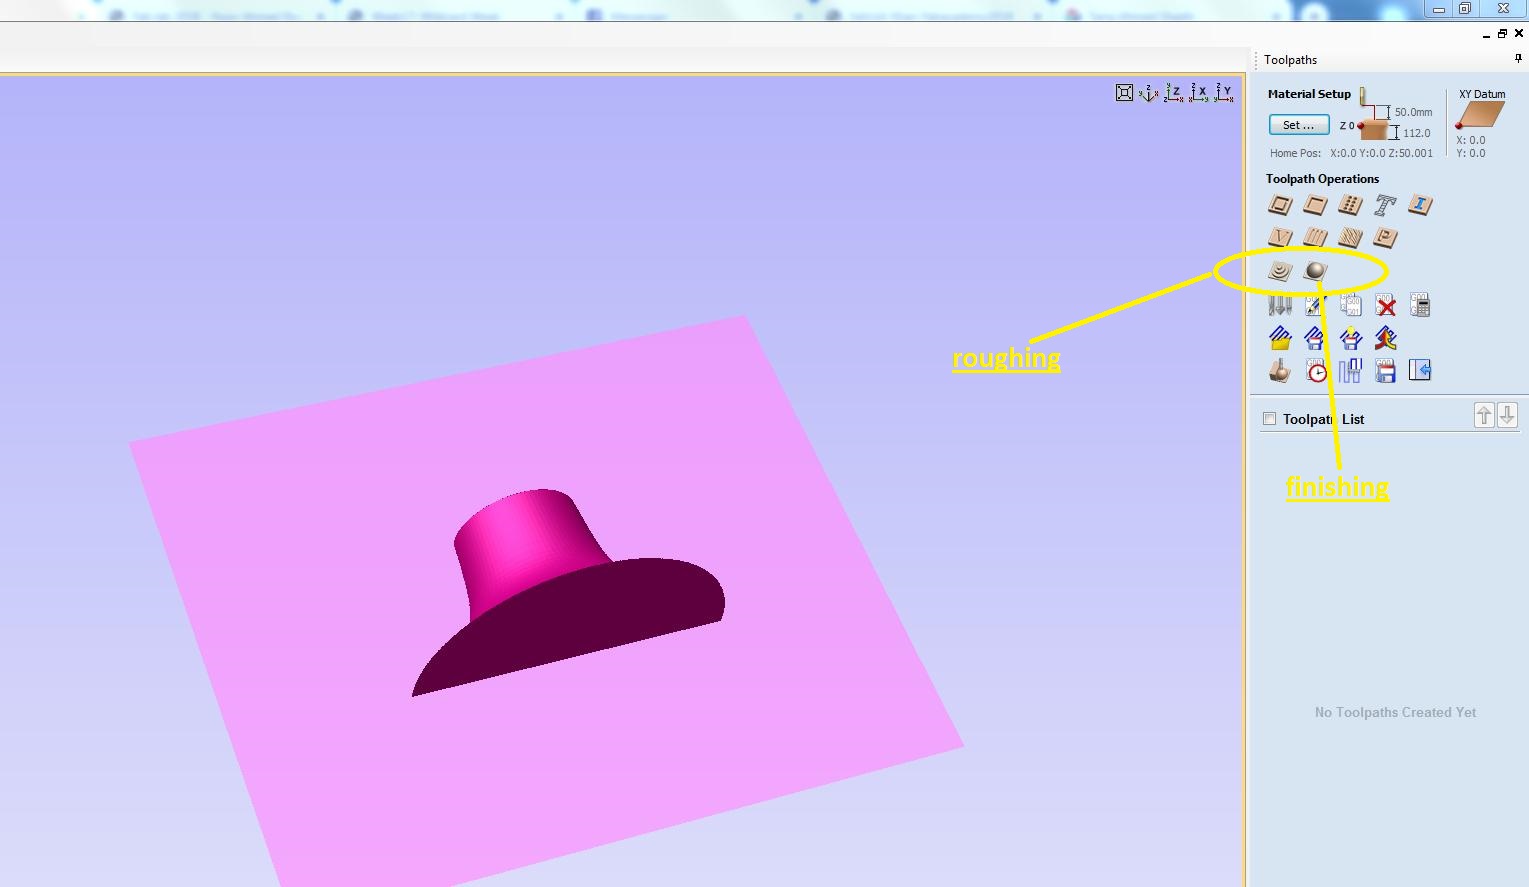
From the toolpath tab, we generate the toolpath for roughing and finsihing.
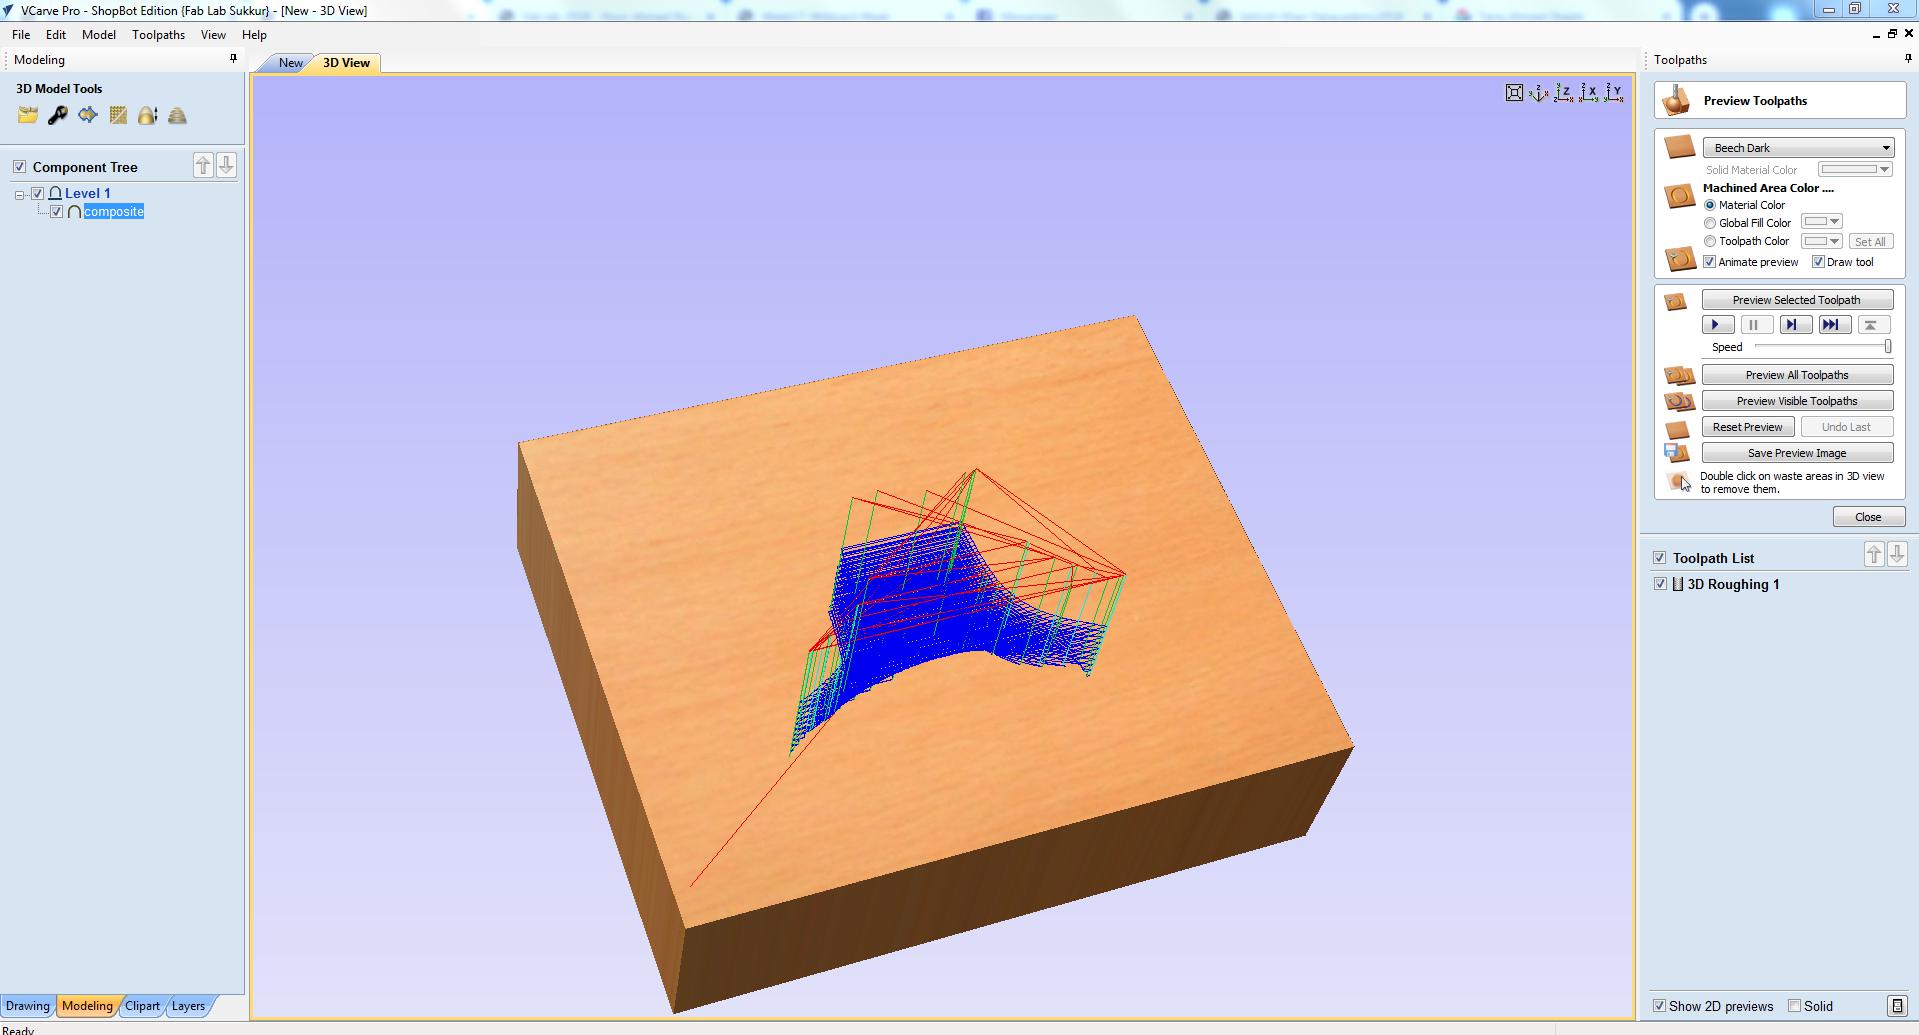
The roughing is being done with the tool foam roughing 0.5 inch tool which is already added in the tool list The preview of model after roughing The preview of model while finishing
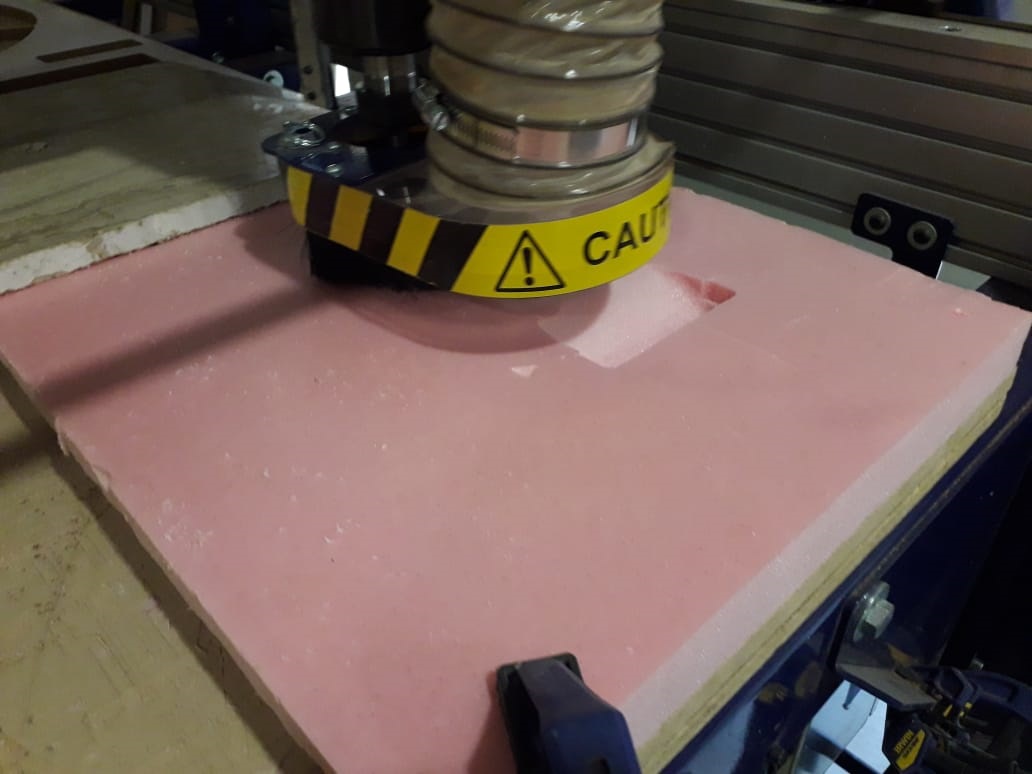
The next step was to cut the model on the 40mm foam, the toolpaths were generated and then used in cutting on shopbot. shopbot at work of roughing & finishing the model
We are using Jute as the fiber, we already cut the two pices on Laser cutter. The arrangement of the composite is shown below:
Layer1: Food wrapping plastic
Layer2: mold of oam covered with wrapping plastic
Layer3: 2 pieces of jute fiber mixed in resin
Layer4: wrapping plastic
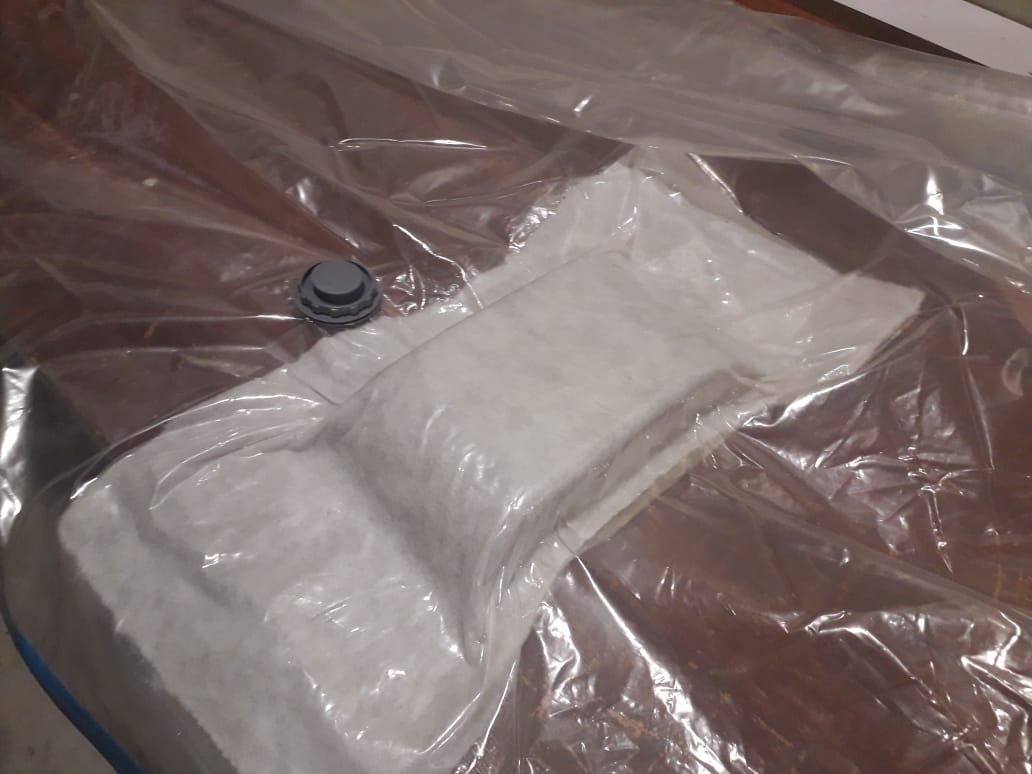
Layer5: Breather for vaccum
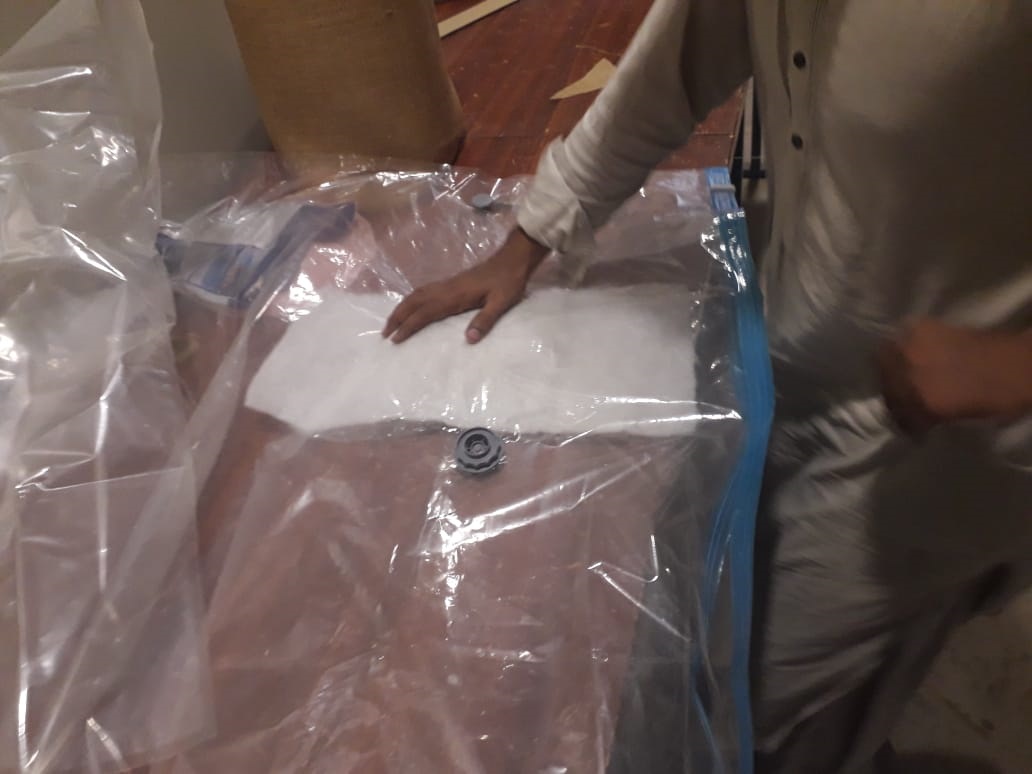
The arrangement of vacum for the model The model is being put in the vaccum for curing for at least one day
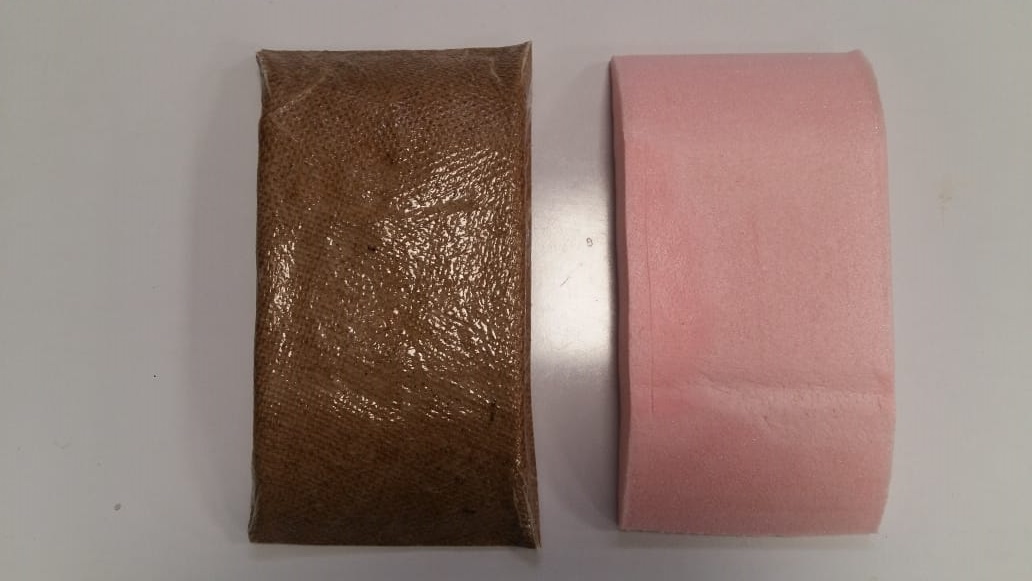
The model was put for curing for the whole day and then the next day, we removed the mold and removed all the extra layers. The mold is removed and the hardened composite is ready
Individual task
Design and fabricate a 3D mold (~ft2) and produce a fiber composite part in it, with resin infusion and compaction.
In this week we have many options to work on that, for example: Composites, Textiles, Biotechnology, Robotics, and Cooking. I choose the first one that is Composites.It is really
going to be an intersting week of learning and making new things. This week's task includes to make something by employing the learnt CAD skills along with the digital fabrication process
used and then document it.
Why did I choose to make something using Composites?
I really wanted to try this different way of making things using different kind of resins. Resin casting look really good and satisfying.I have seen some creative ideas on pinterest incorporating composites.
Now comes to the main point, The theme of this assignment is to be aware about the basics of composites.Composites, as its name suggests that its the combination of two or more things/materials which makes
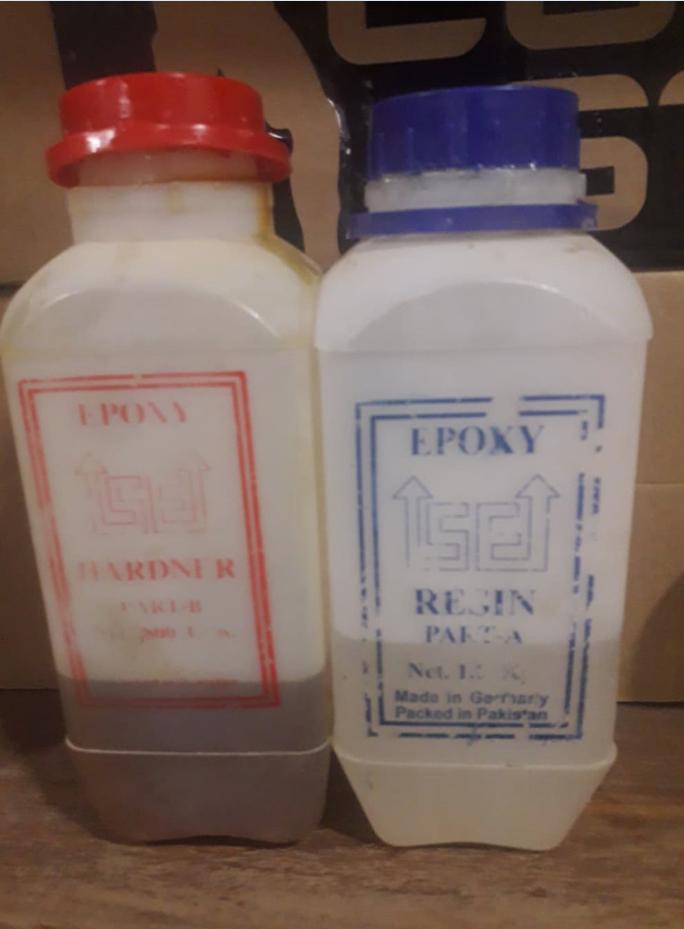
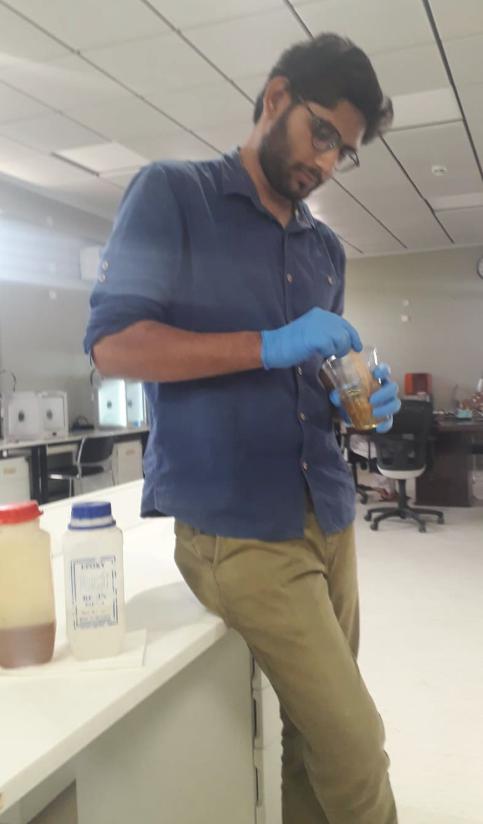
something new by combining or joining them. In this case, the output material is strong material. The epoxy resin which I used in my this assignment, was bought locally from the market. The
epoxy which we are using in our lab is:
Resin and Hardner
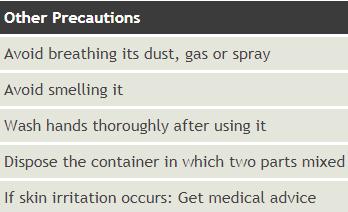
Safety precautions:
3D designing of the mold
Composite making process started with the designing of 3D model. I decided to design a lamp for this task, so by using Solidworks 3D, I prepared its 3D model.
Solidworks desigining
I started my tast from solidworks new part file.
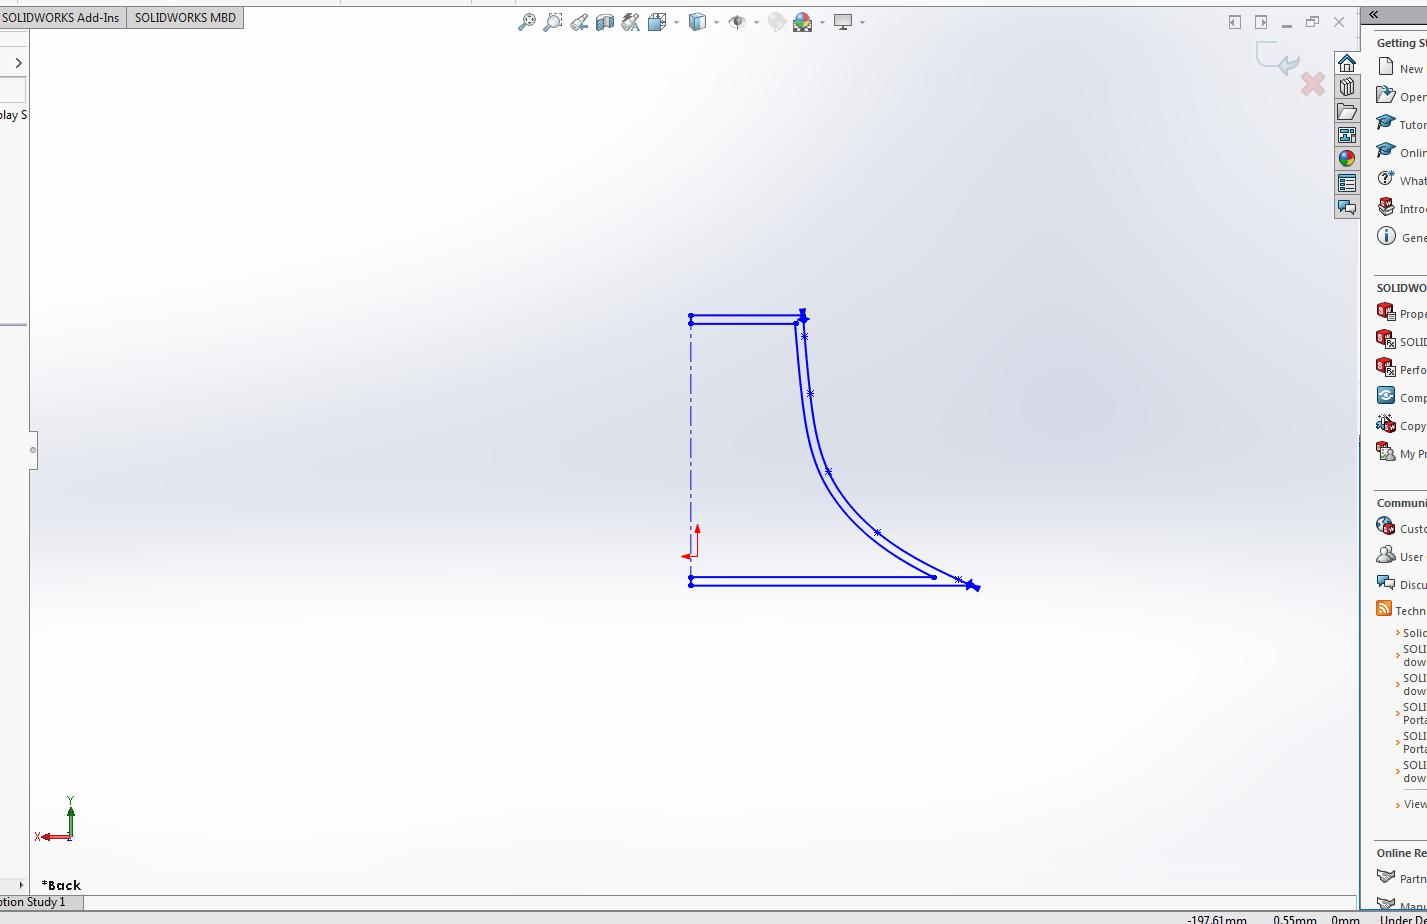
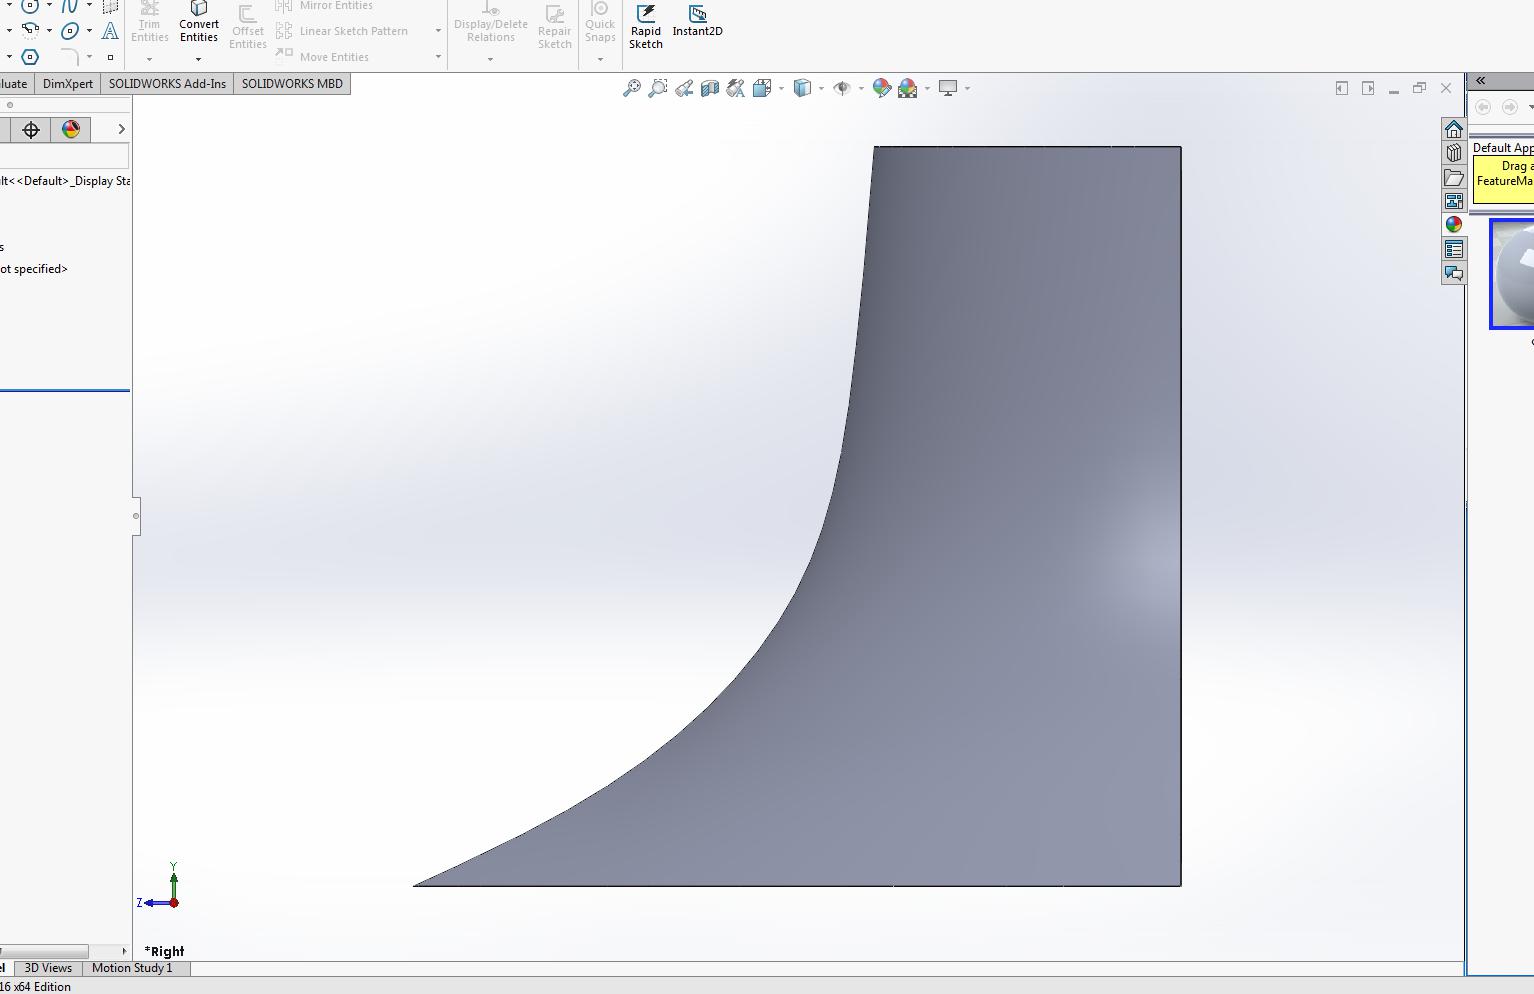
Then I used the spline command and make a side of lamp.
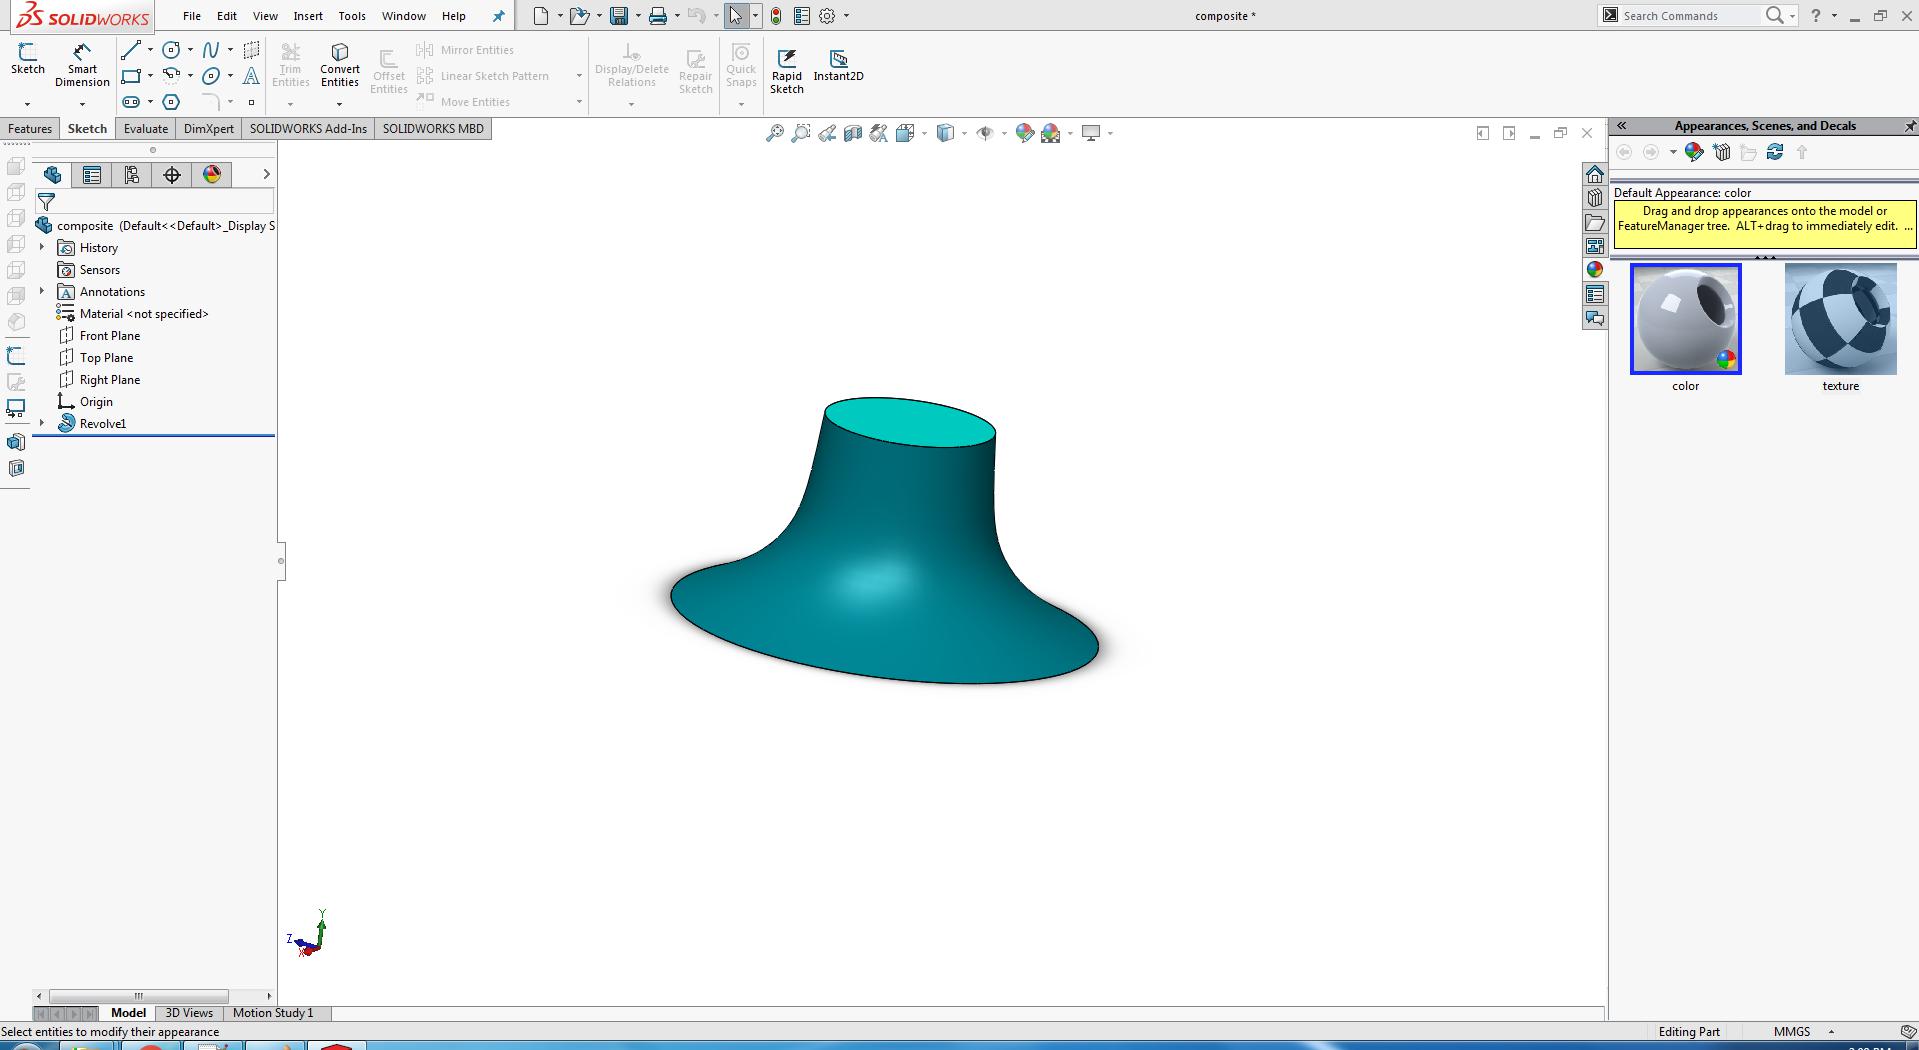
After that I clicked on the features and used the revolved extrude command and made it complete.
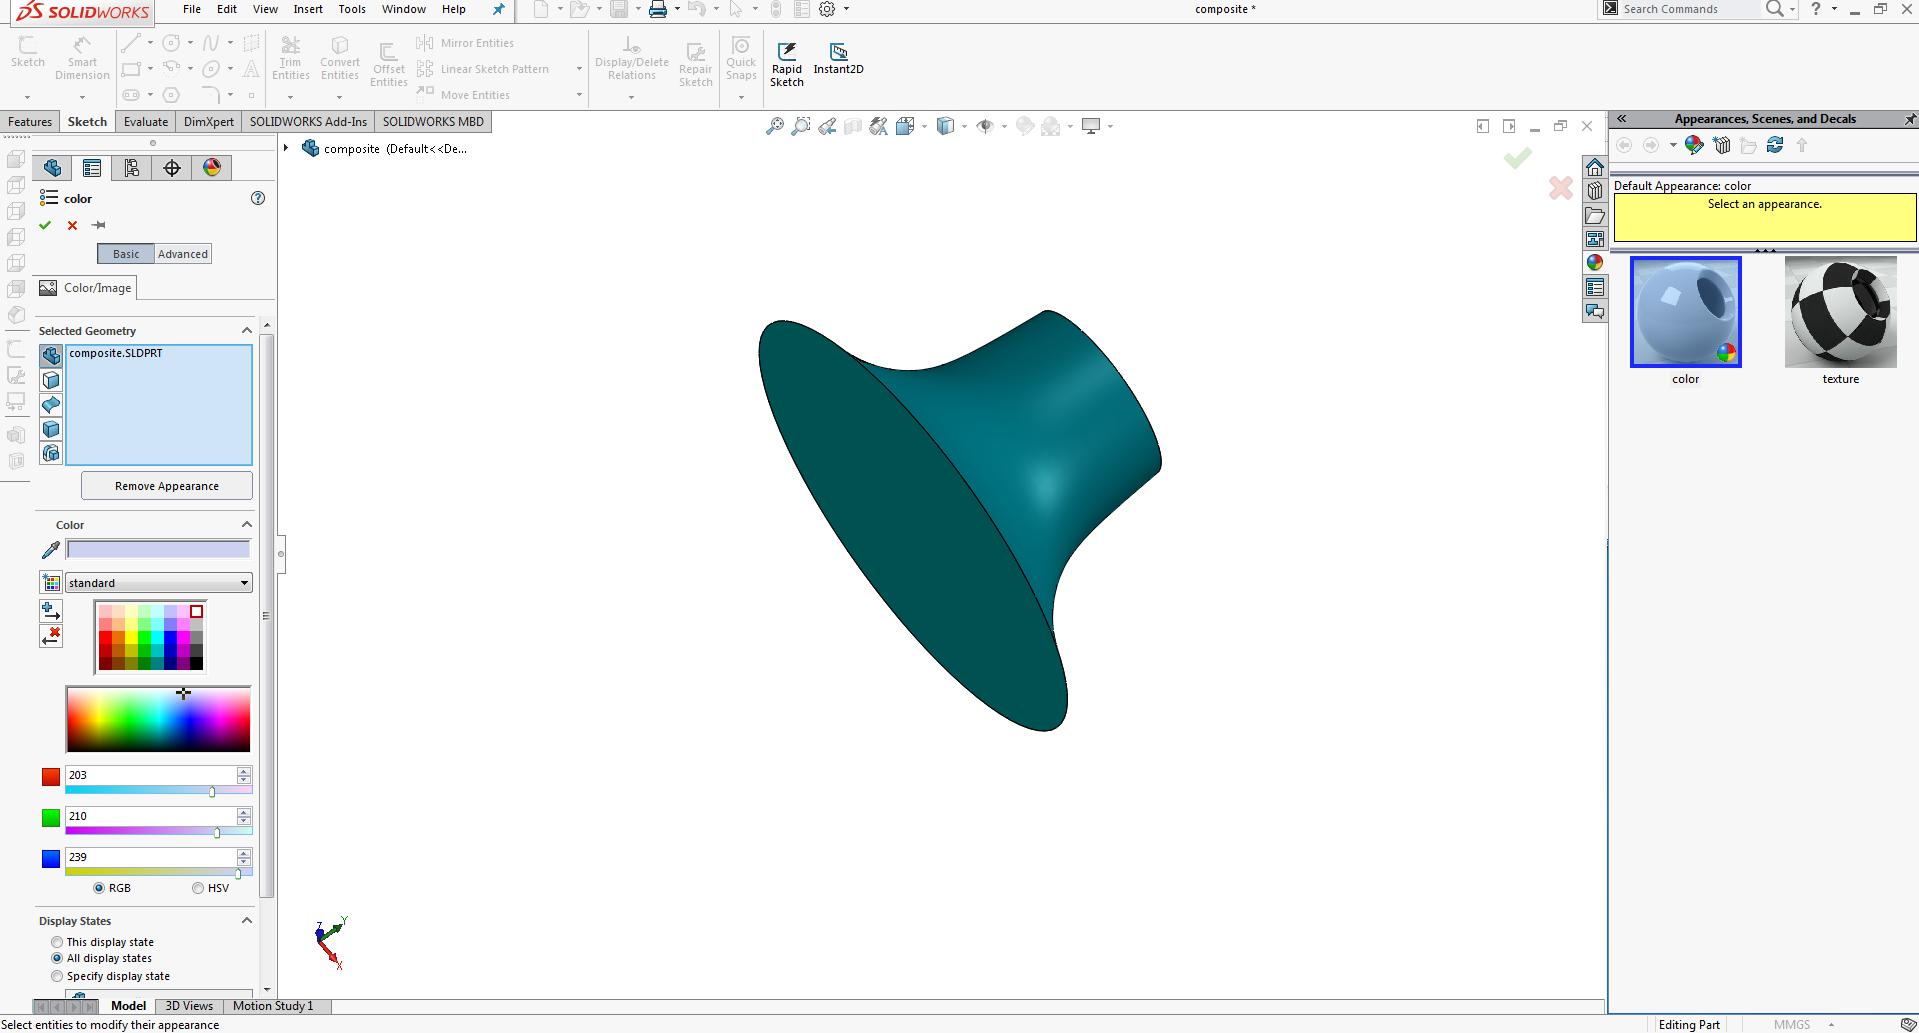
In the next step I click on the edit appearence and colored the lamp in solidworks.
In last save it in .stl file format.
Lamp
Vcarve
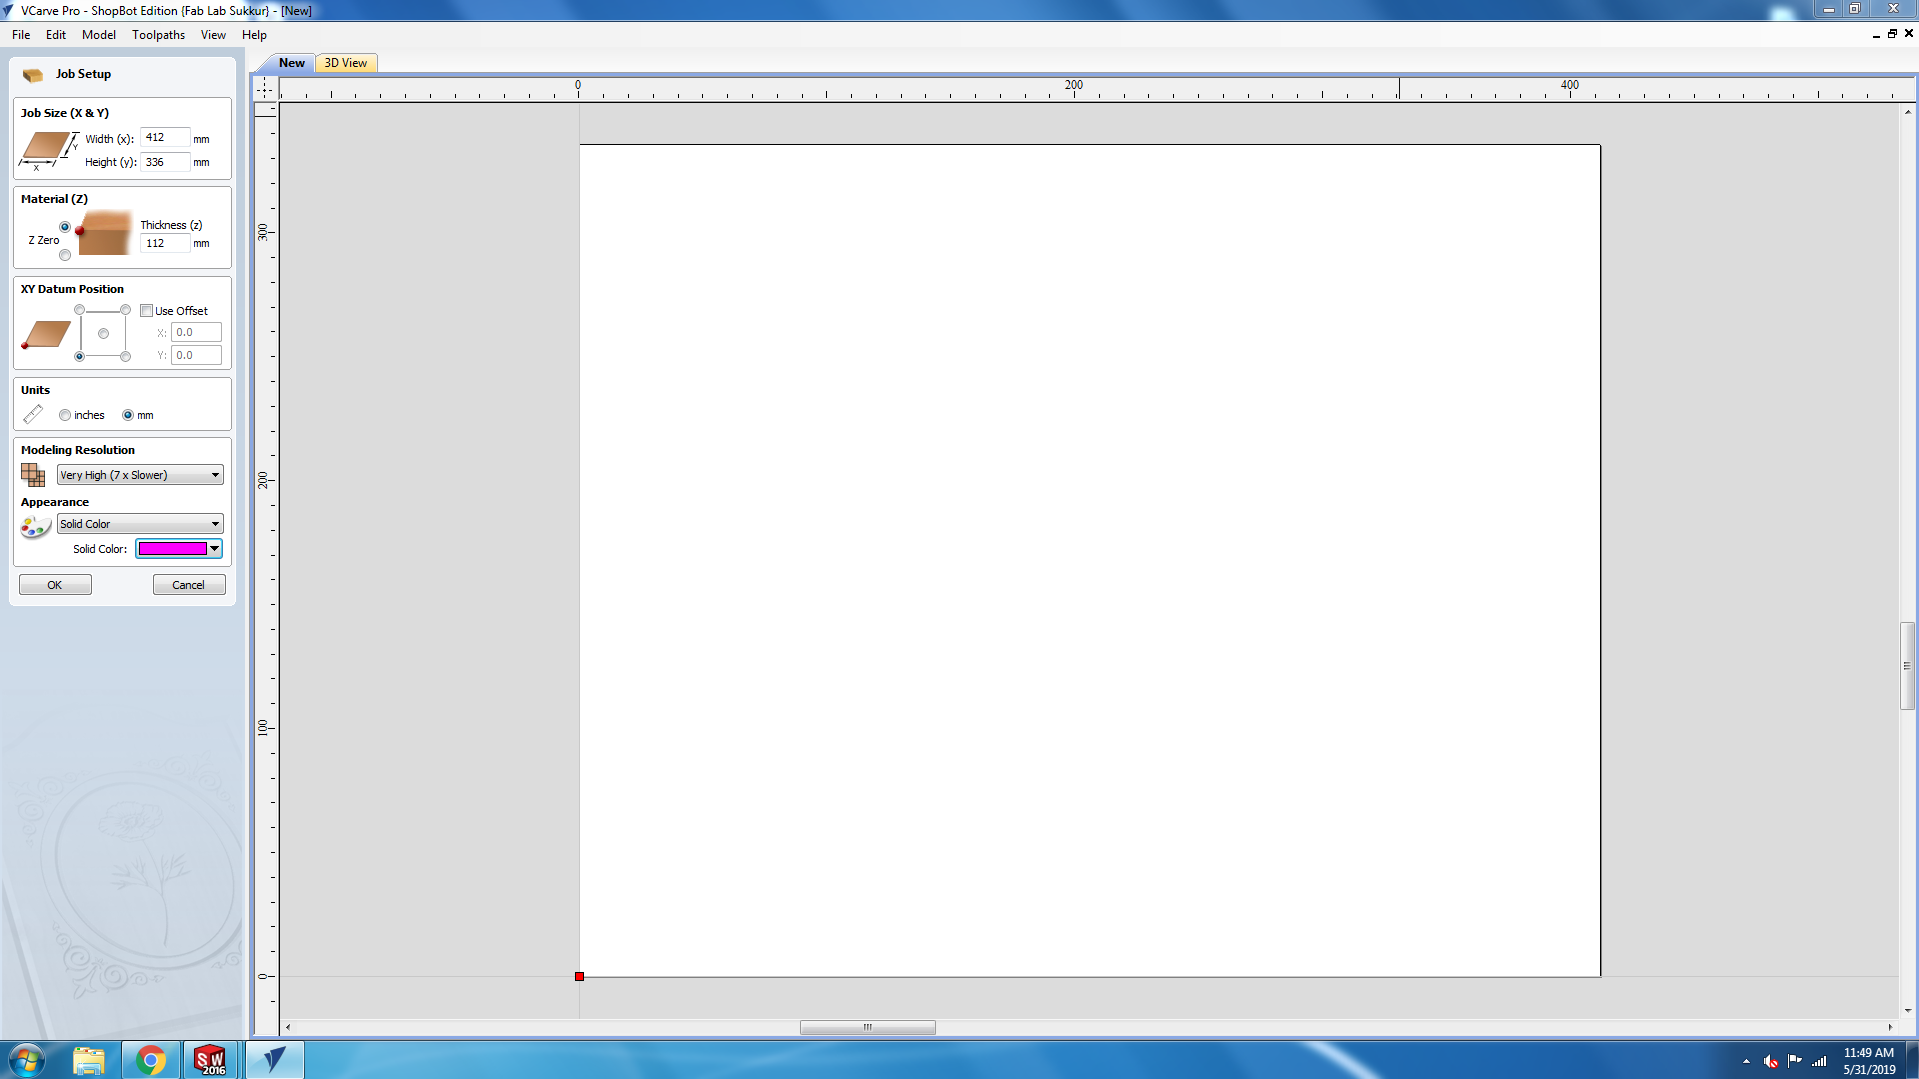
• Open the Vcarve, click on file and select new file.
• Set dimension(X,Y) of bed, unit and modeling resolution and press ok.
• Now go to file menu and click on import and select the import component.
• Select the .stl file of lamp and press open.
• When the .stl file is imported on Vcarve now set the initial orientation, interactive rotation model size and other things and press ok.
• Now generate the toolpath, generate two toolpaths(roughing and finishing).
• First generate the roughing toolpaths. Click on rough toolpath.
• Set material thickness, clearance and start position and press ok.
• After that select the Tool(we selected the ¼” down-cut).
• Name the file and press calculate.
• Now the roughing toolpath is generated, now save it.
Vcarve interface
Import Lamp
Generate toolpaths
Do the same steps again just for the toolpath and generate the finishing toolpath, now we have generated the toolpaths and we have the sbp format files for the CNC Shopbot.
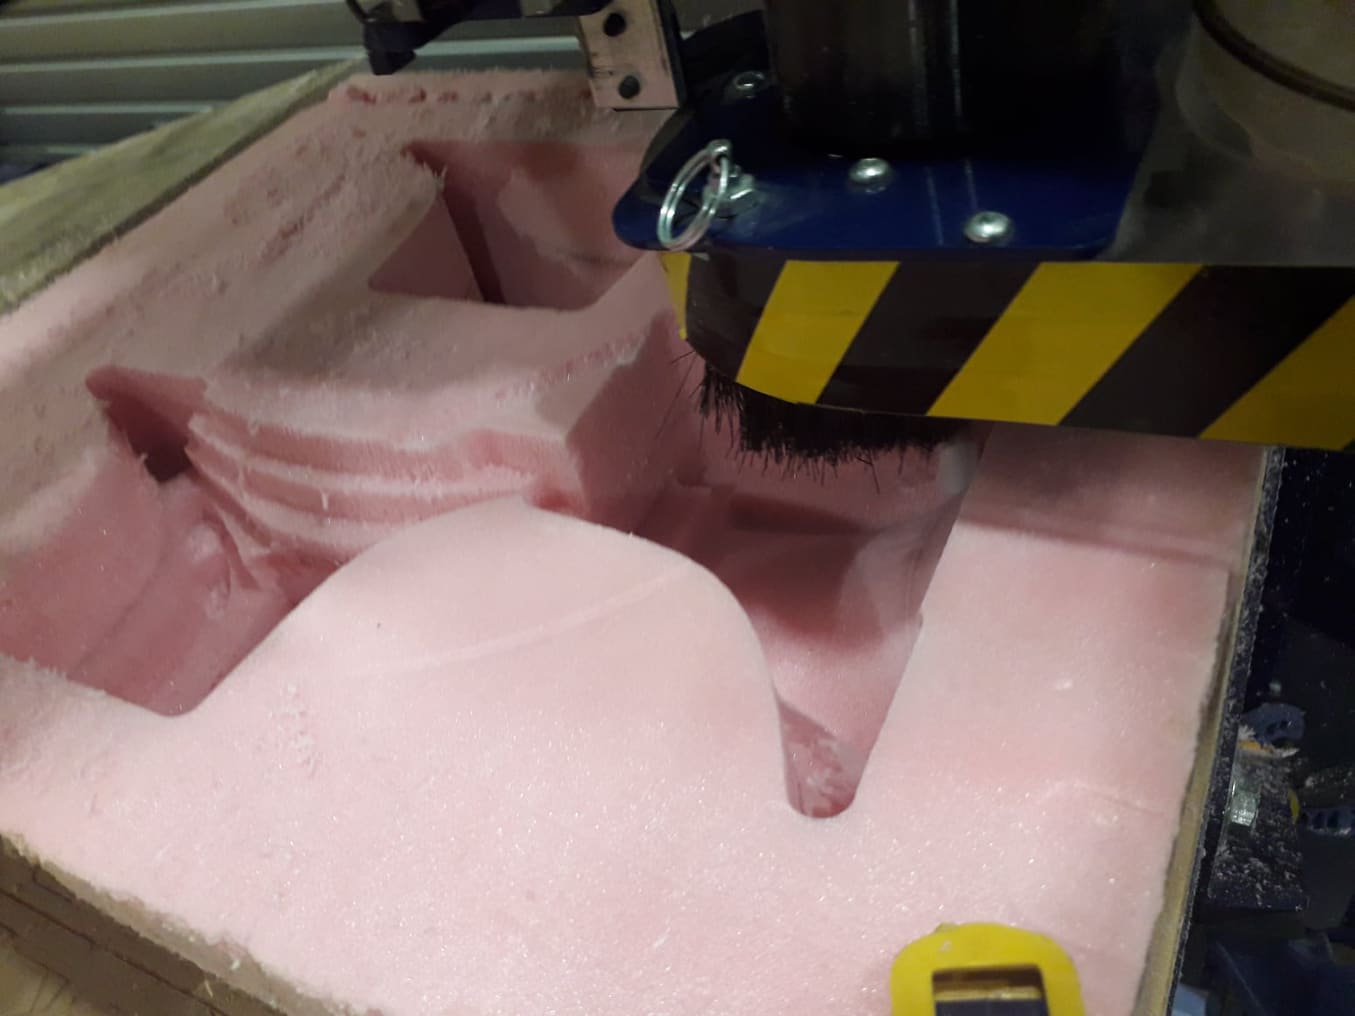
Milling the mold
The shobot machine was used for milling and the pictures during this process are shown below:
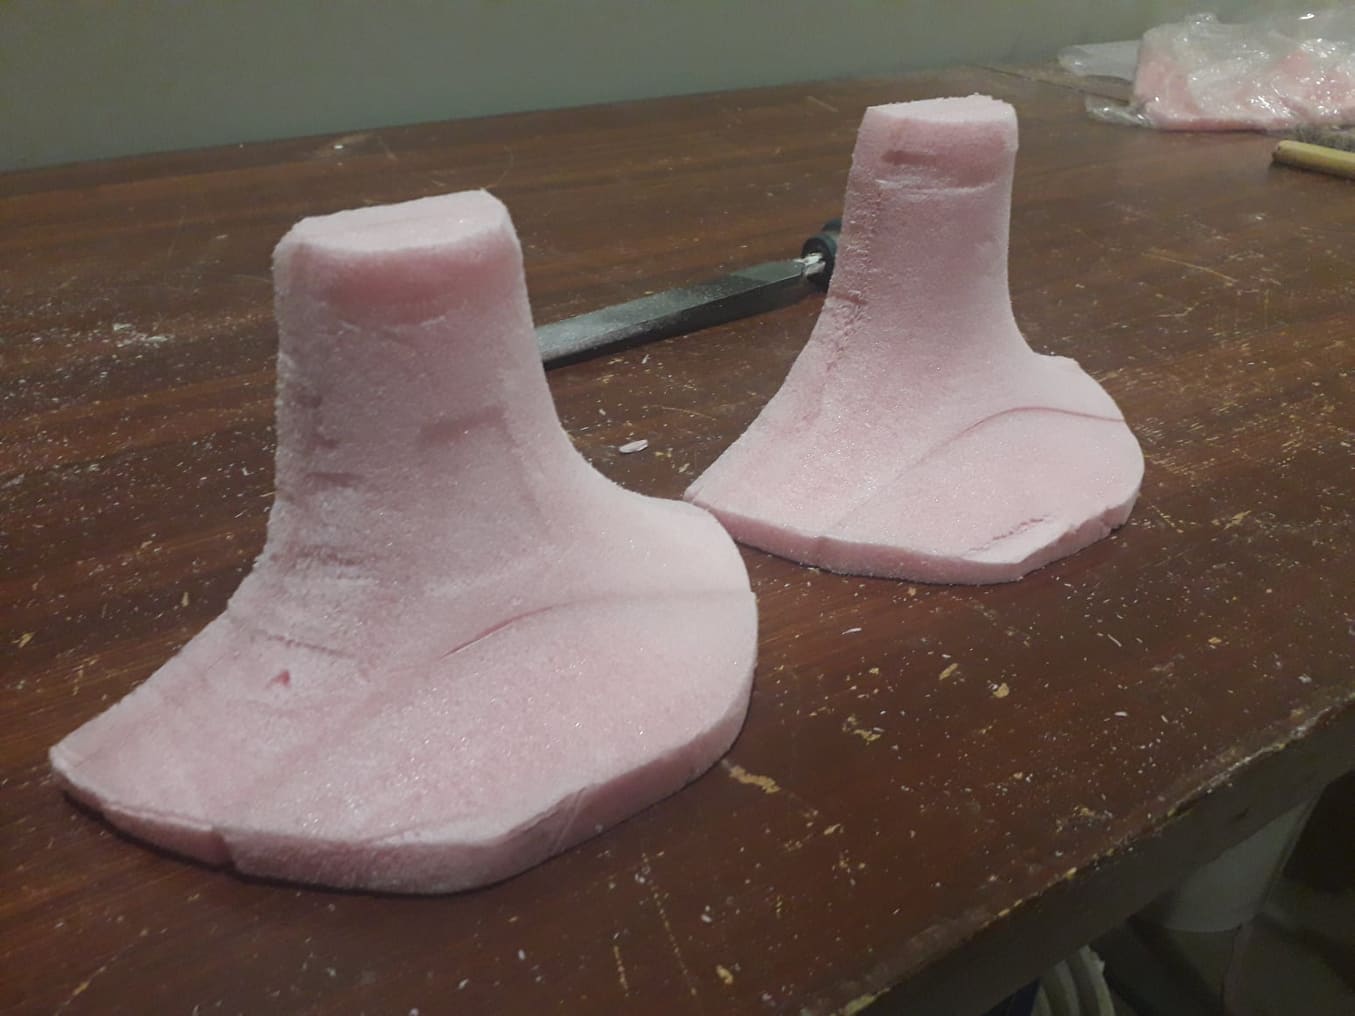
I have milled the lamp in two parts like this. Milling results
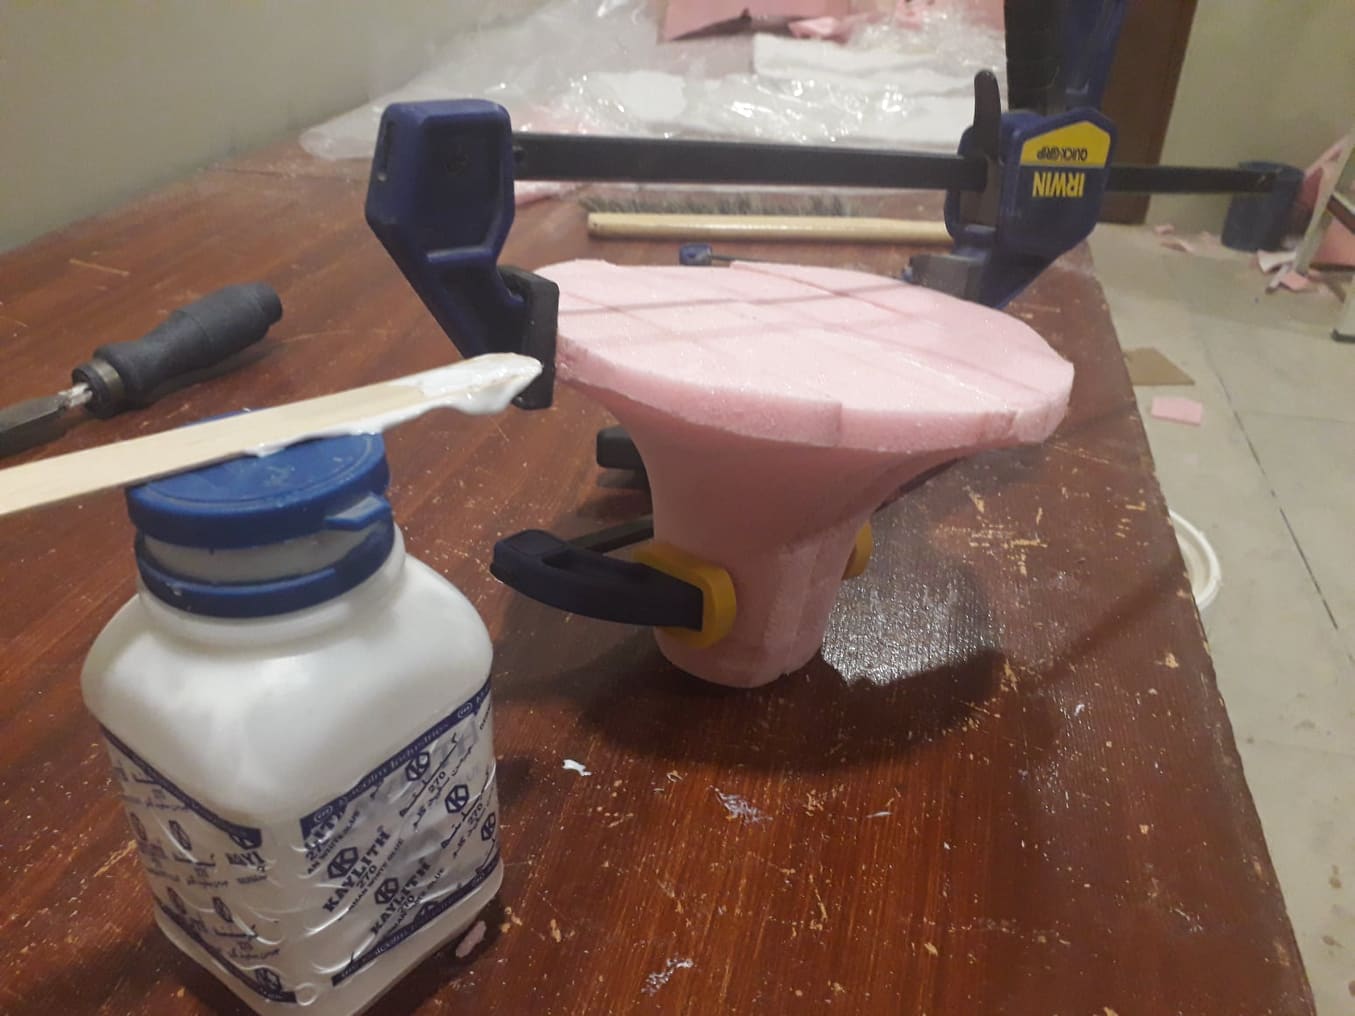
I used the glue and made it a single part of lamp. like this.
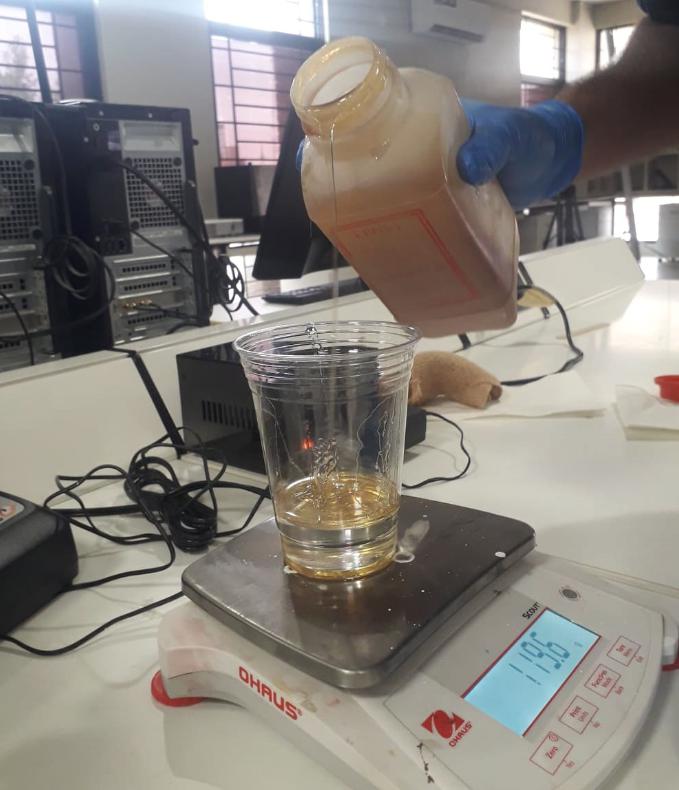
Mixxed the hardner and resin with the ratio of 5:4 .
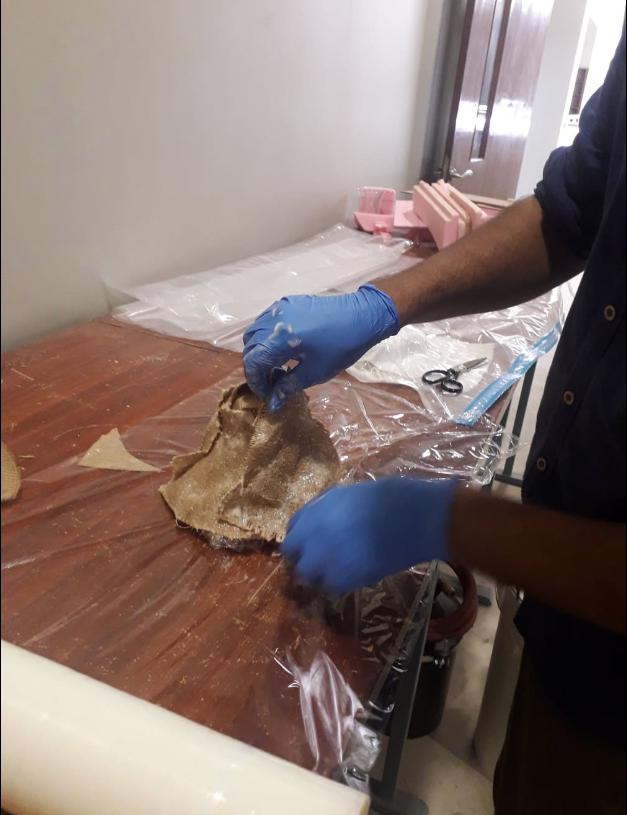
Fabric and Composites
I am using double layer of fabric in my assignment, it makes the surface more hard. The fabric are in arrangement that one layer is set to another with 45 degree of angle.
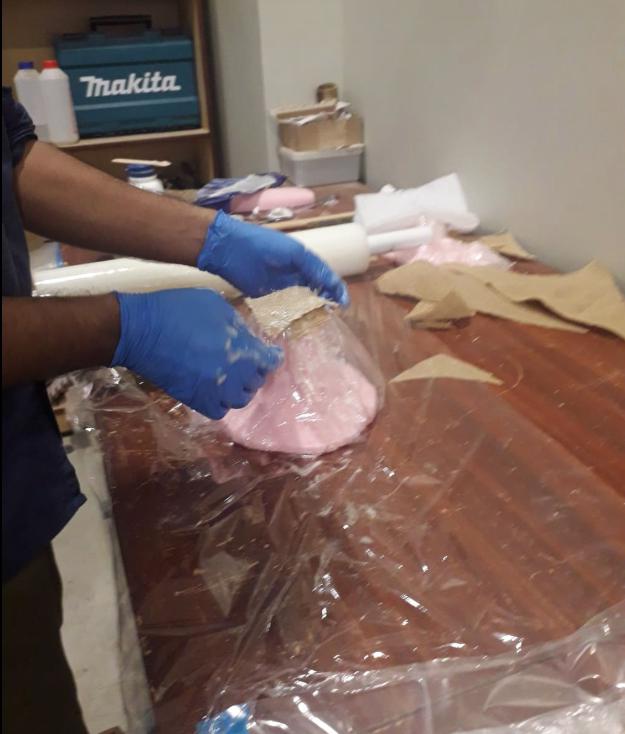
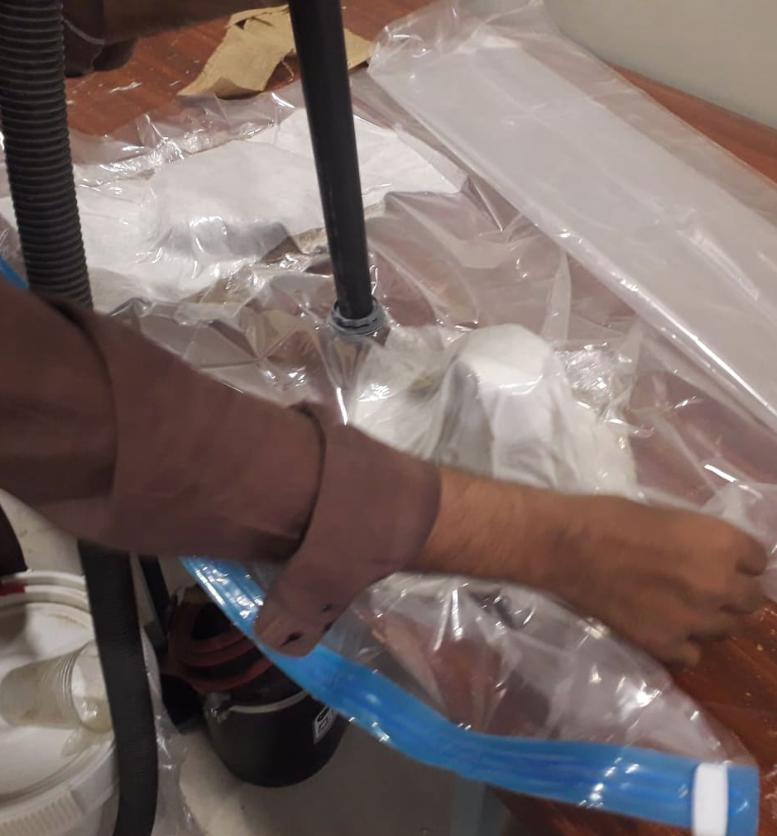
First cover the mold with plastic layer so can it be used again.
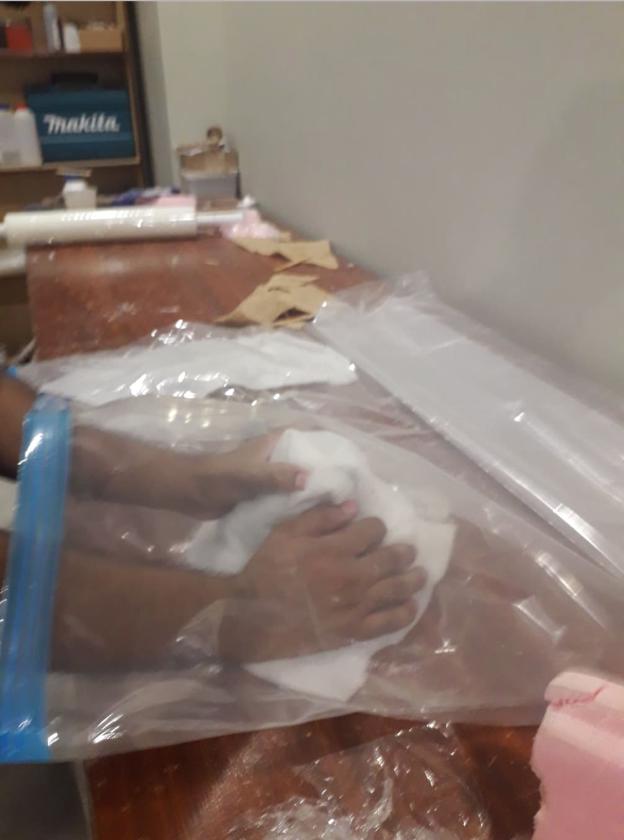
Paste the resin dipped fabric on Mold then again make a layer of plastic on it and squeeze it over surface so it can attain a shape.
Place a breather and put the whole experiment into air bag which is ued to suck the air and build pressure on composite to attain the shape.
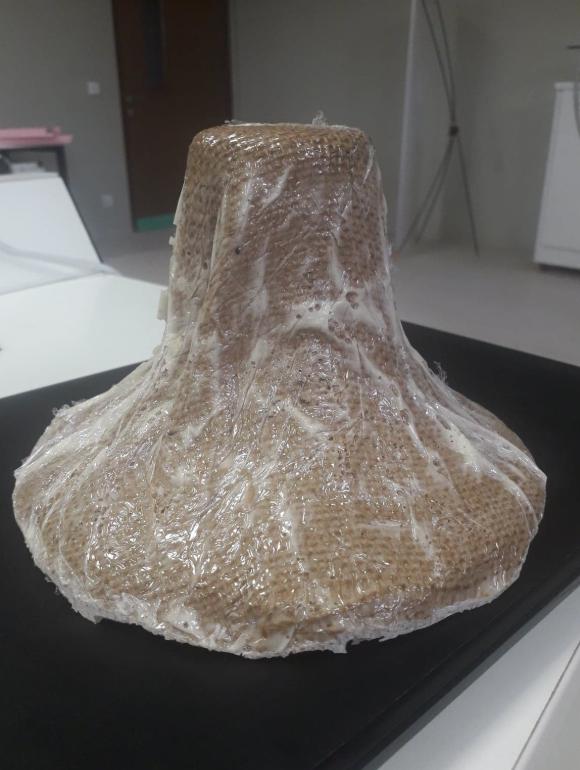
We wait a day to dry the material and the result was hard like rock.
The final result is here. Lamp