In this weeks assignment, we had to design and lasercut a parametric press-fit construction kit, which can be assembled in multipe ways. So I started designing a parametic form in "Fusion360" using the line tool. If you would like to find out more about using fusion for your design, check my computer aided design documentation.

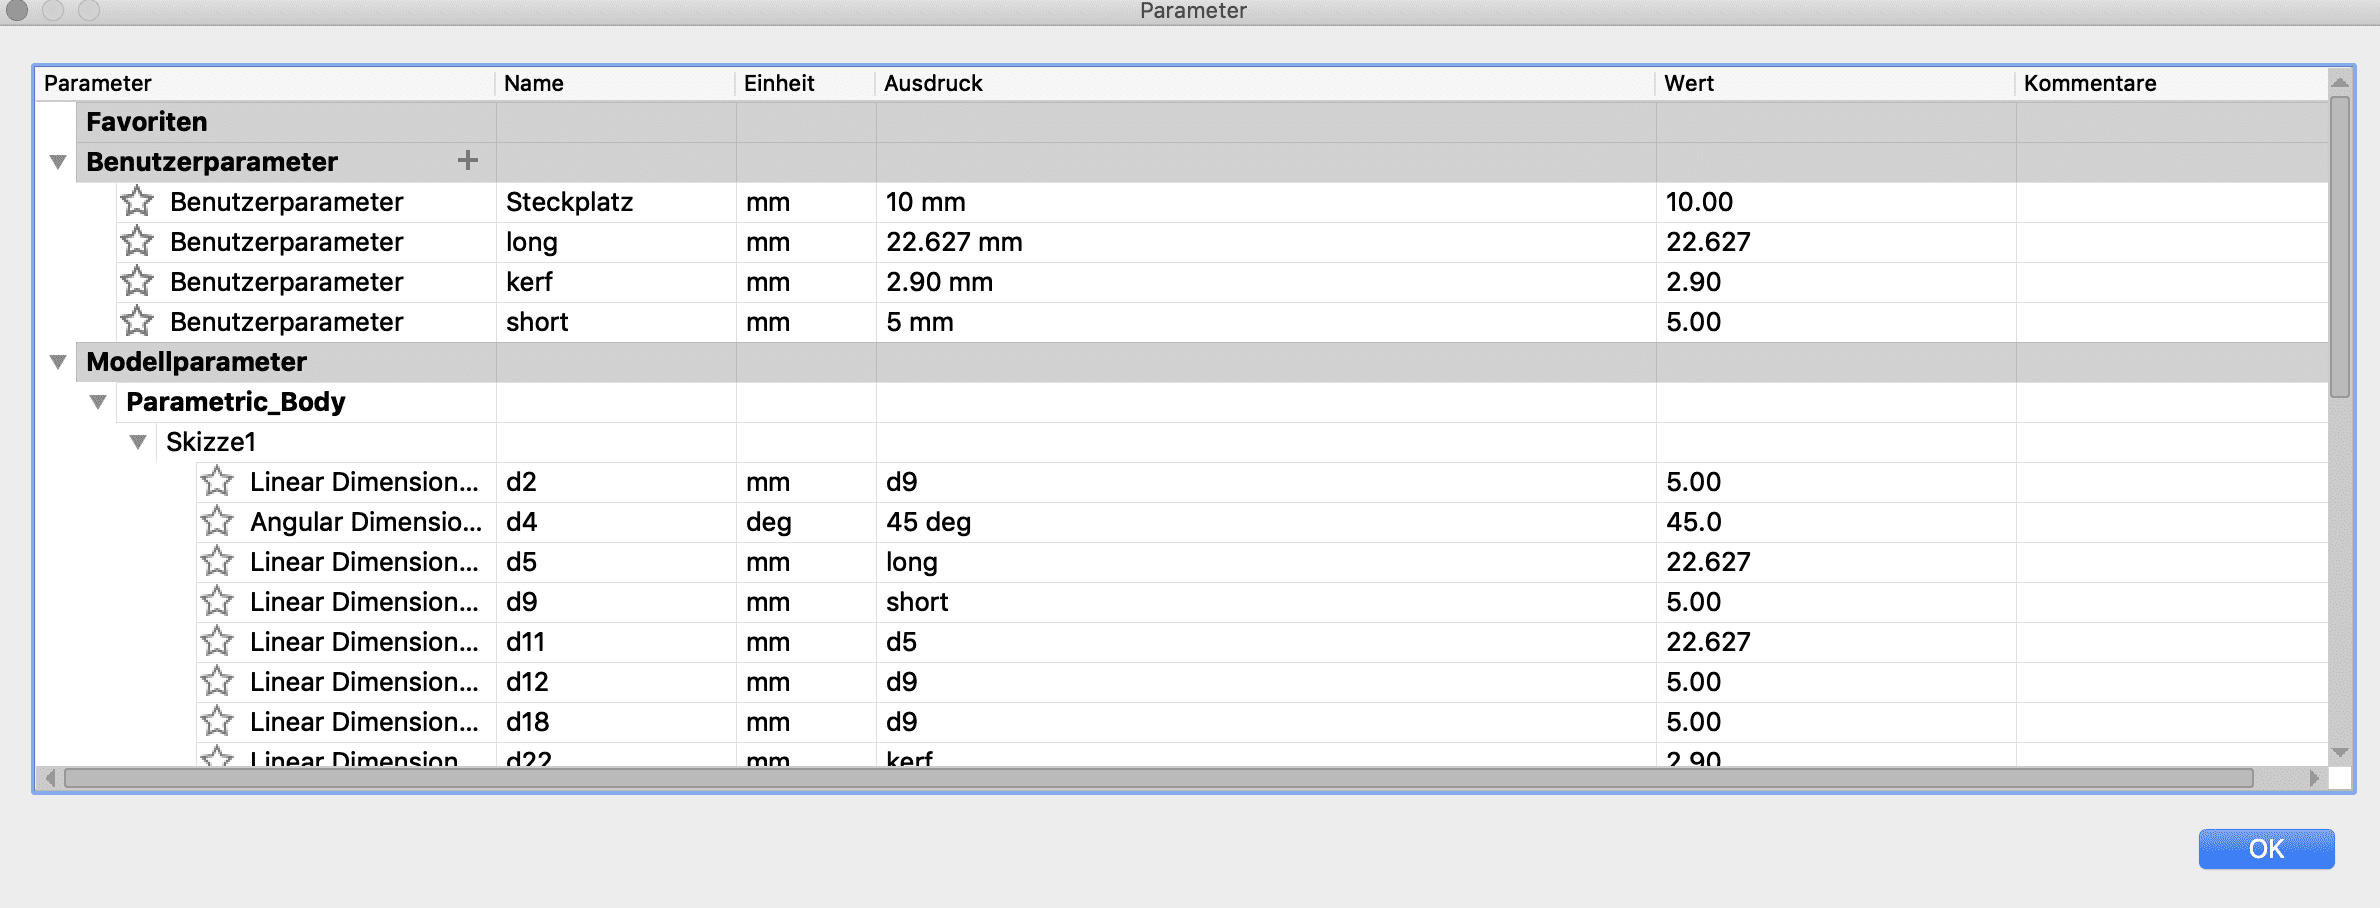
After finishing the design, I had to set userparameters to make my model parametric responsible. The parameters Steckplatz, long ,kerf and short were set by me according to the measurement of my model.
To add a parameter, I just navigate to modify
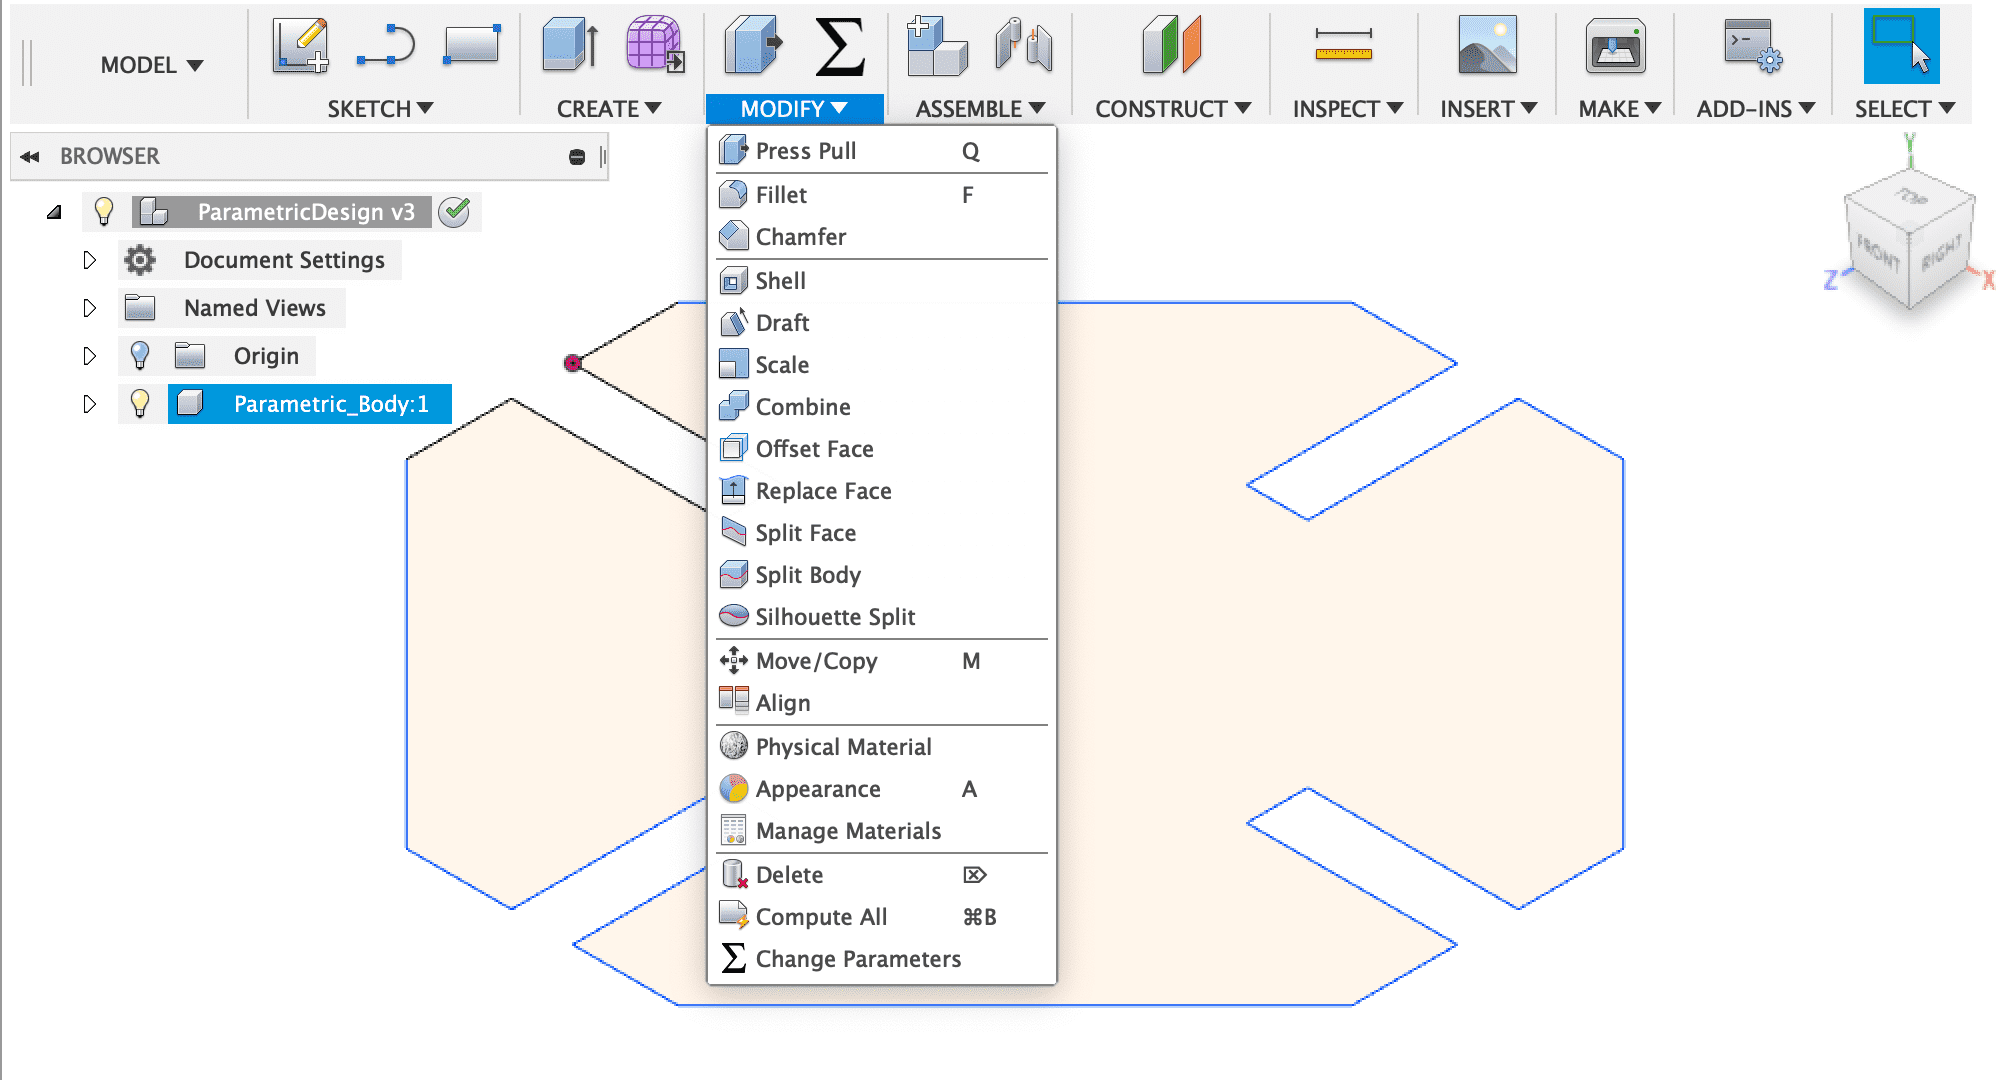
and select change parameters, to get in the parameters menu.
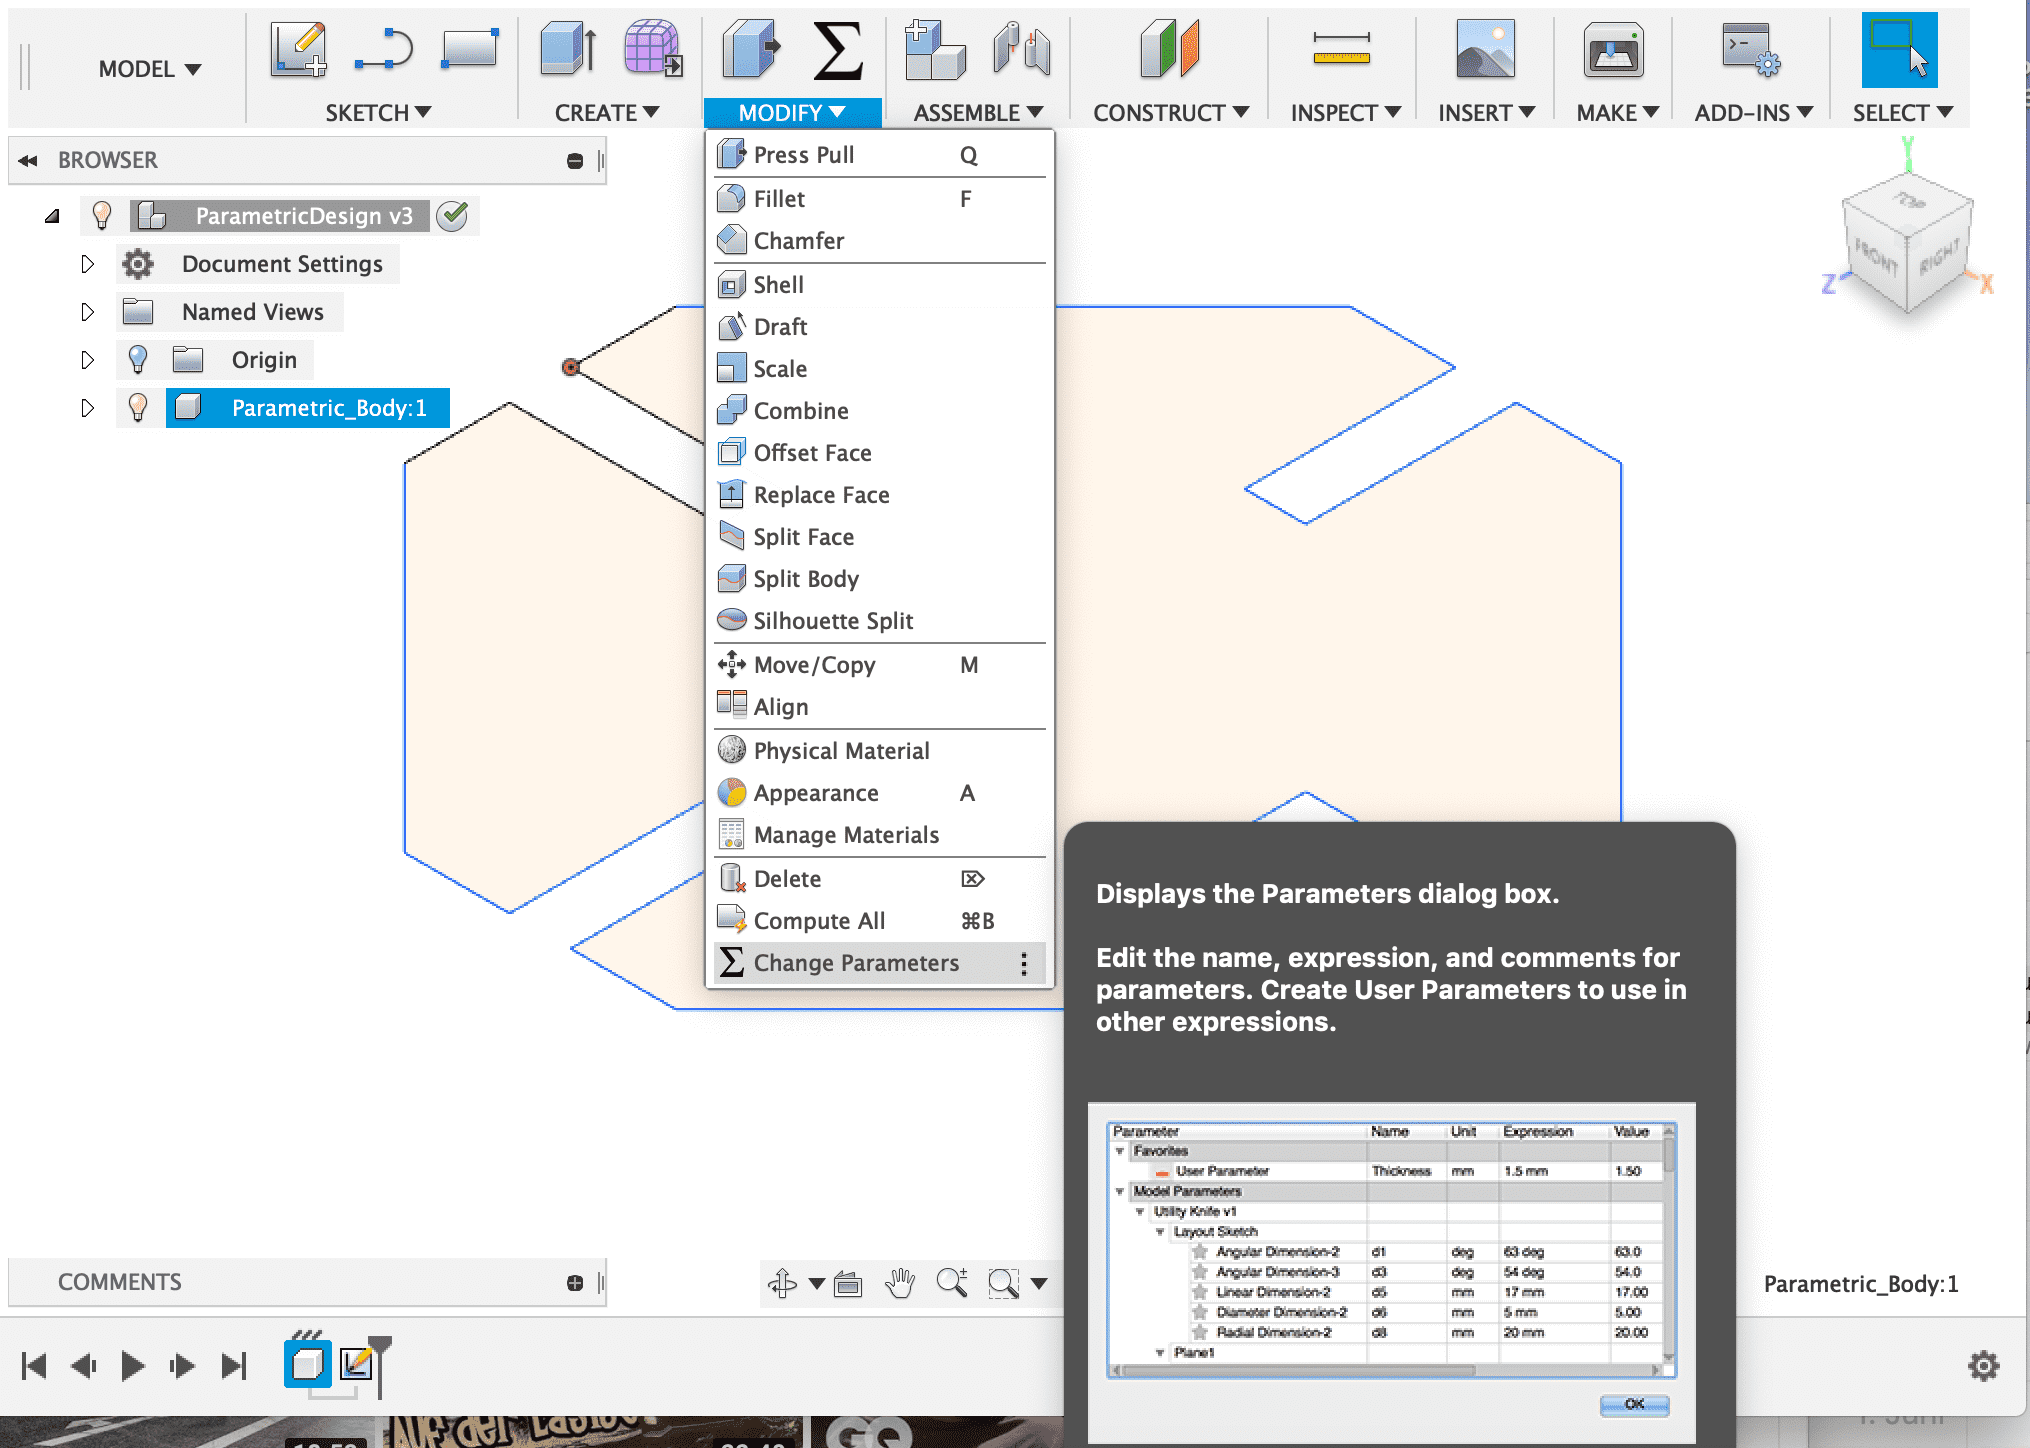
A new windows shows up containing an table with every line I have set in my sketch
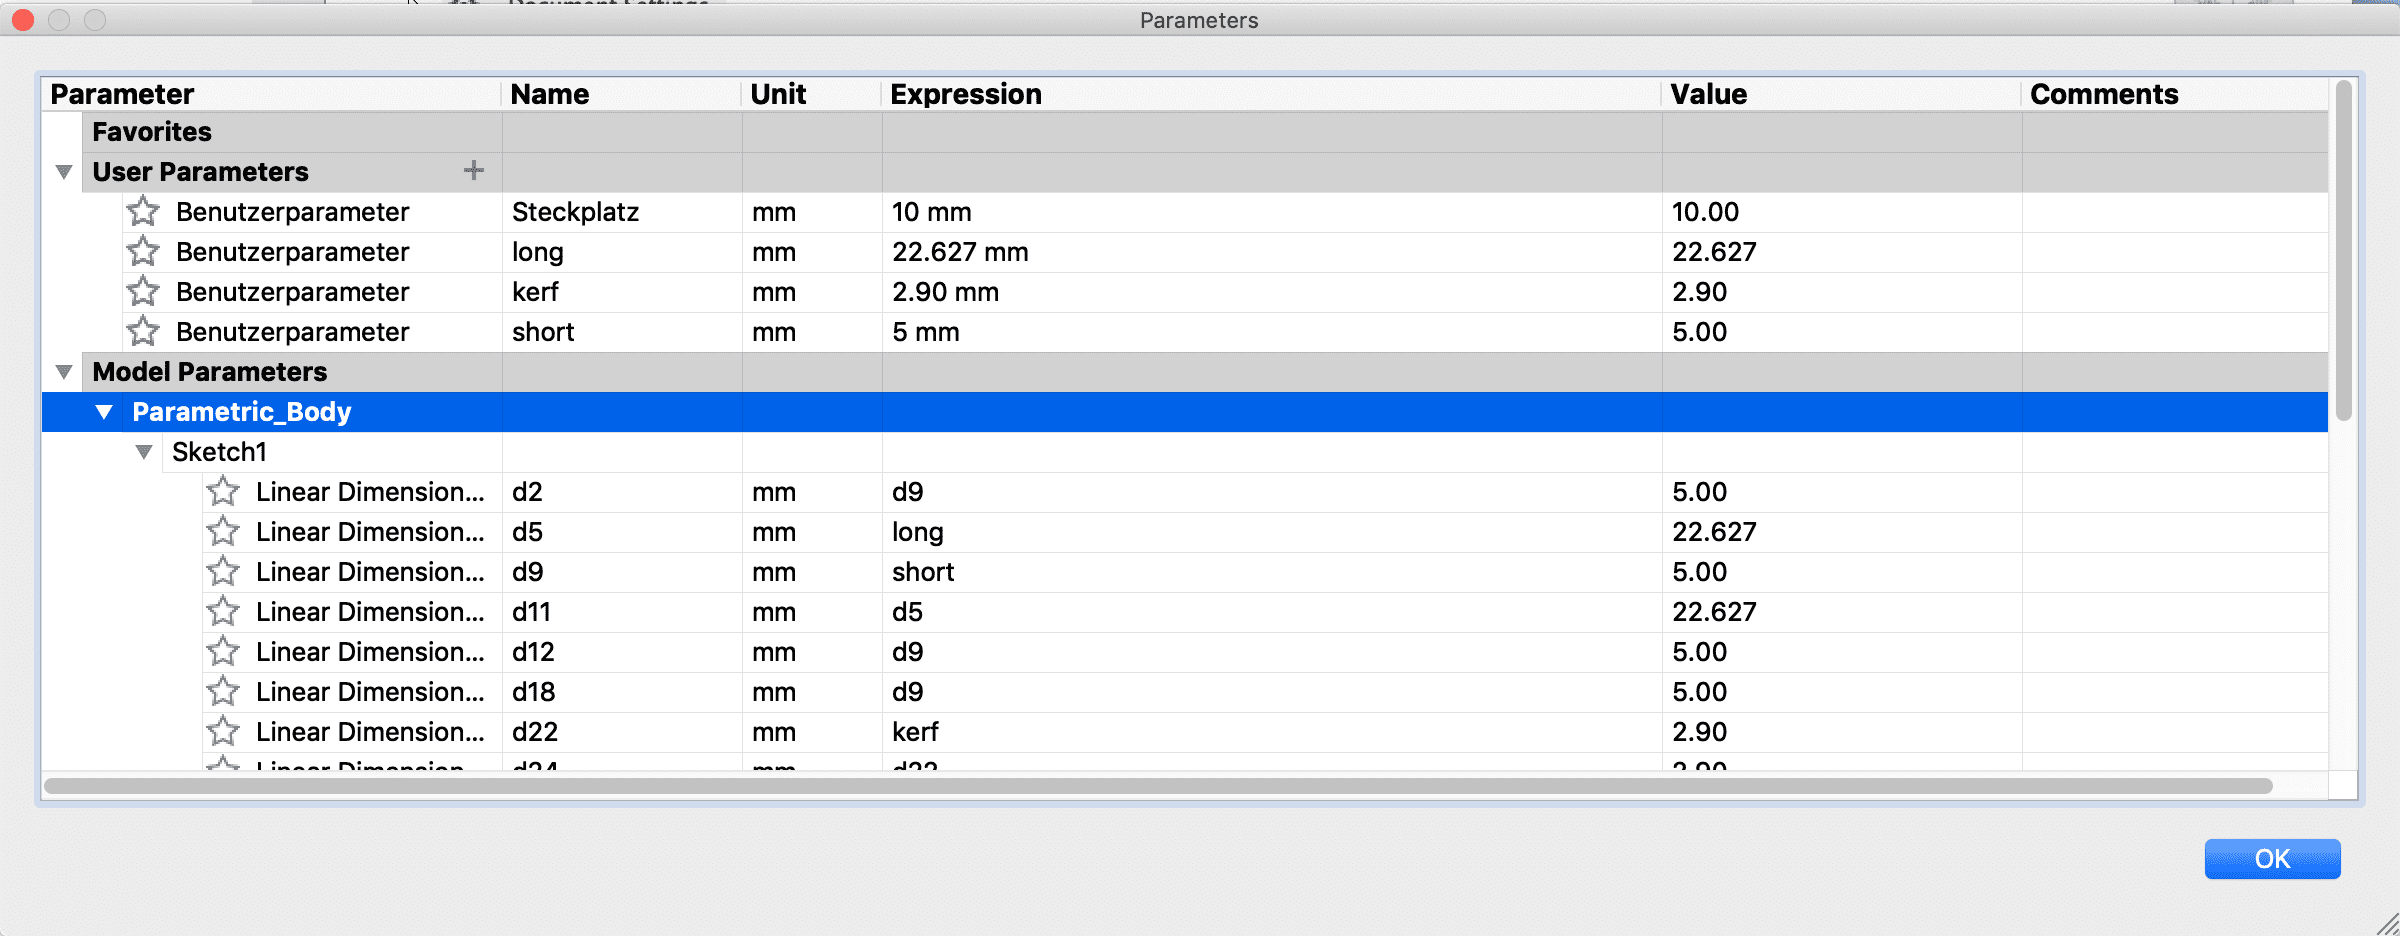
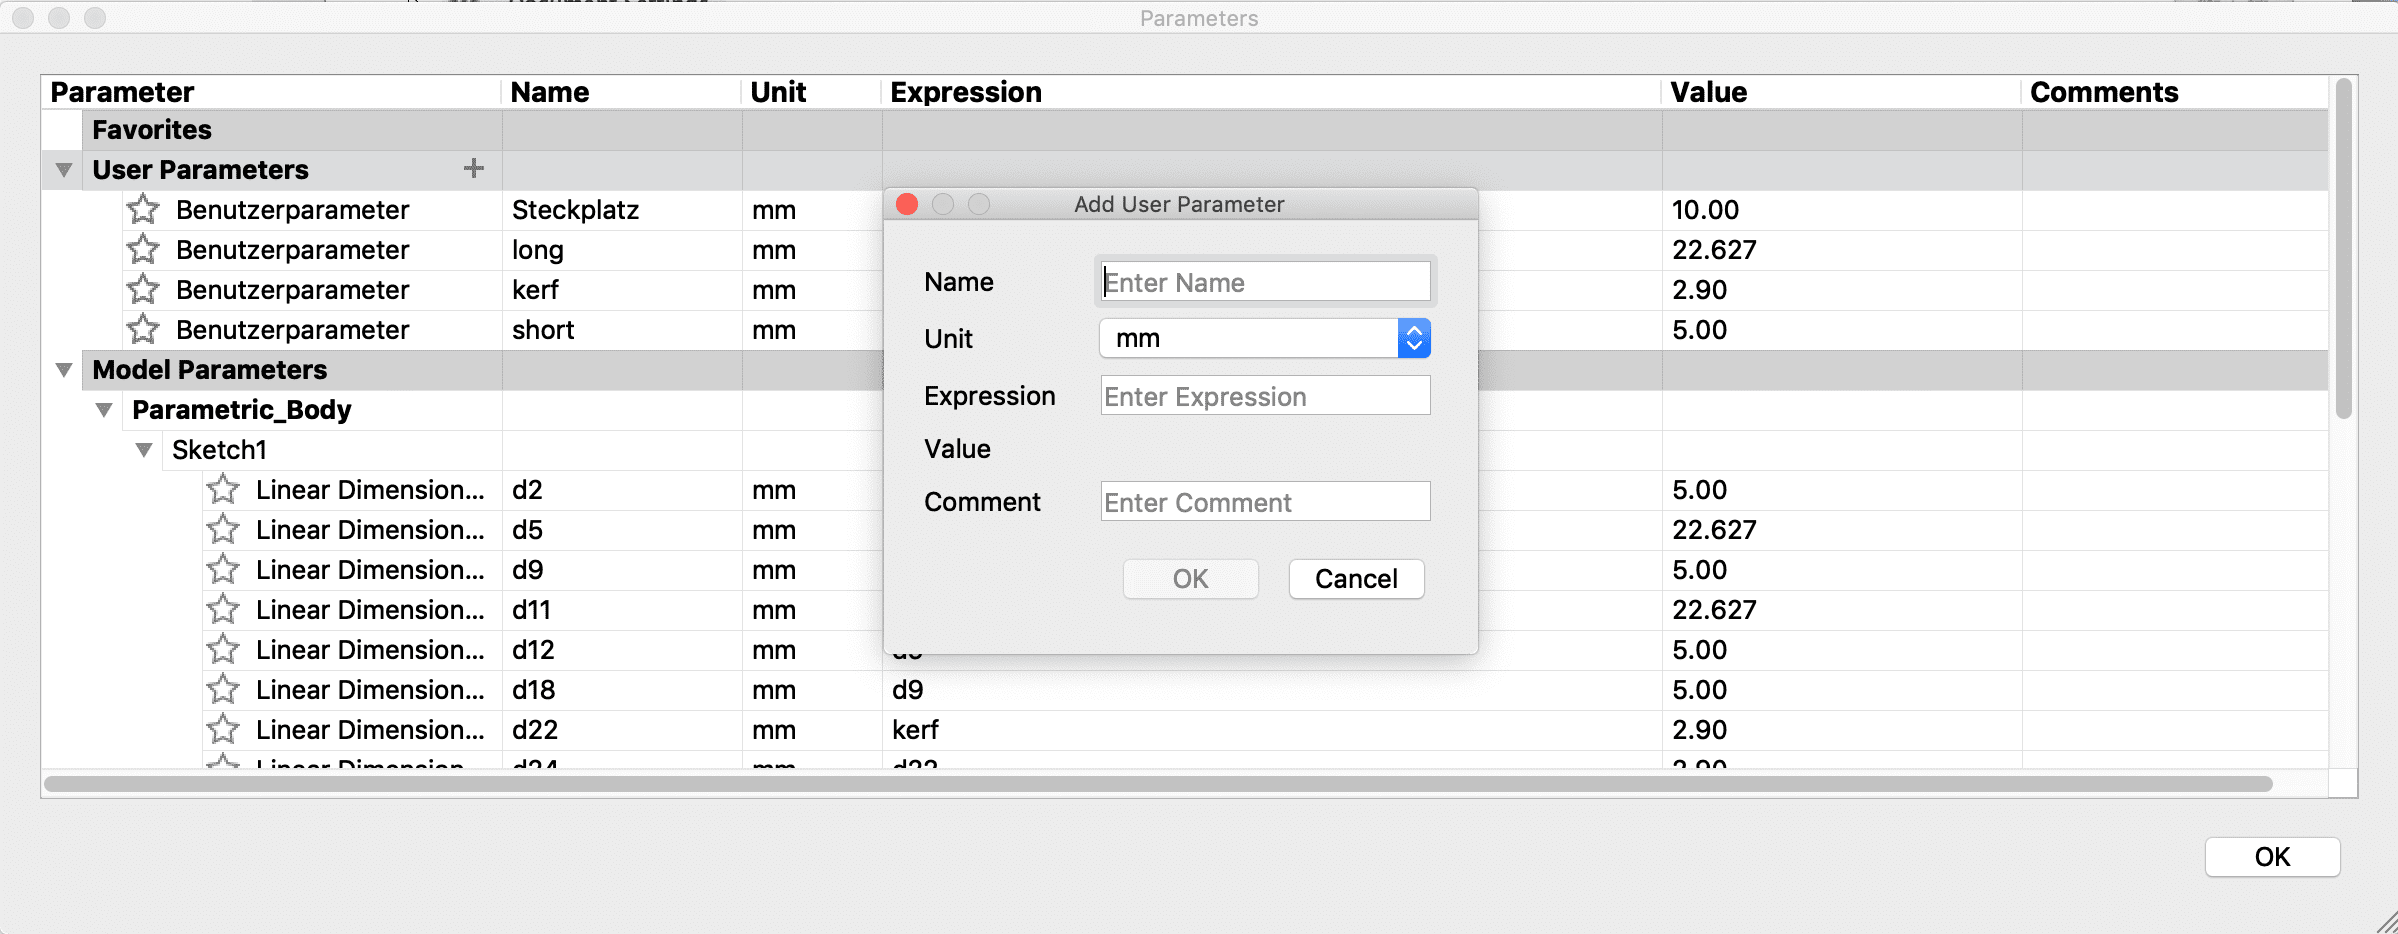
Now I am able to add a user parameter by pressing on the plus icon. It will open another small window. In this window I can type in a parameter name, the name doesn't matter so I will name it Test. The important point is the expression, here I will type in the lenght of the line I want to add the parameter to. I will just type in 10 (the unit is usually set to mm).
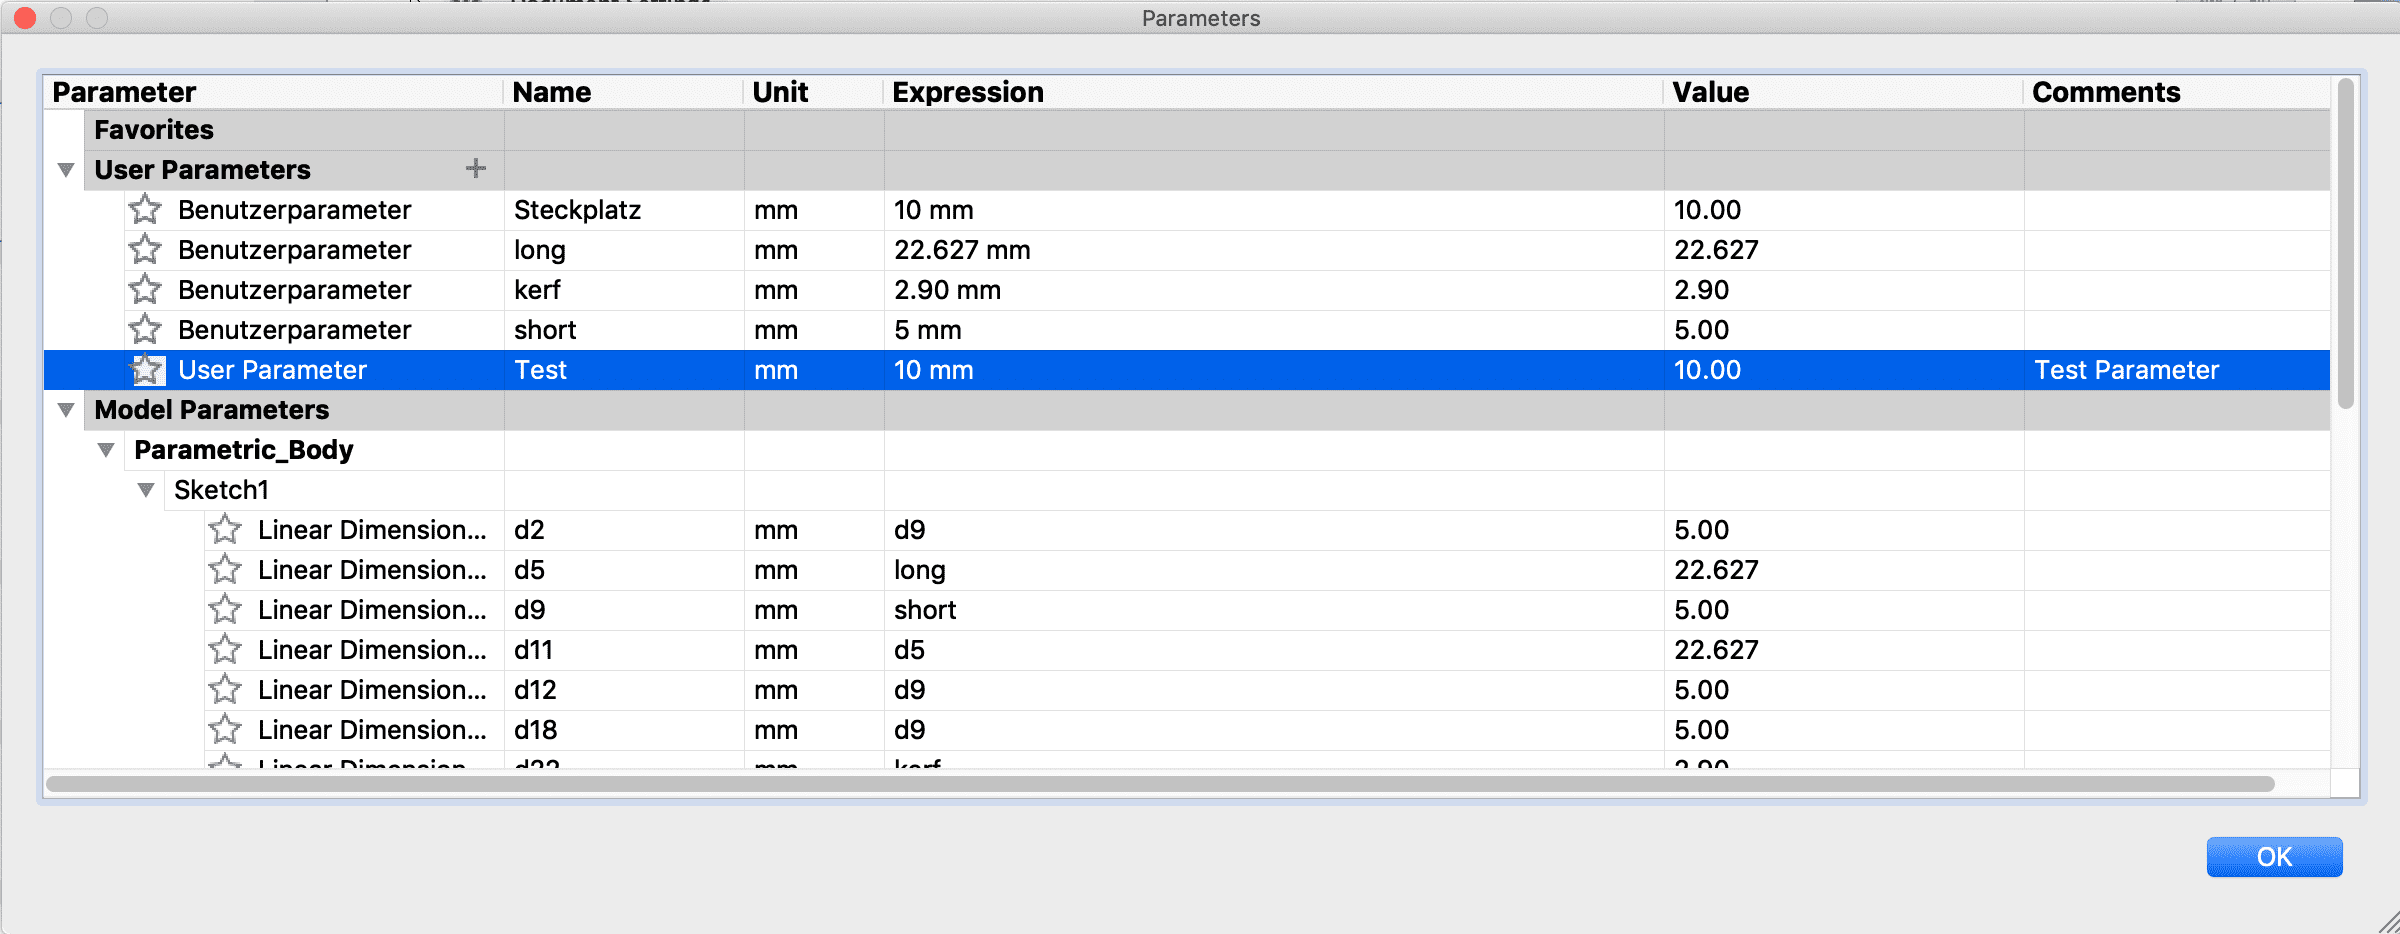
then I will edit the expression of the line "d2" to the test parameter by typing in "Test" in the xpression field.
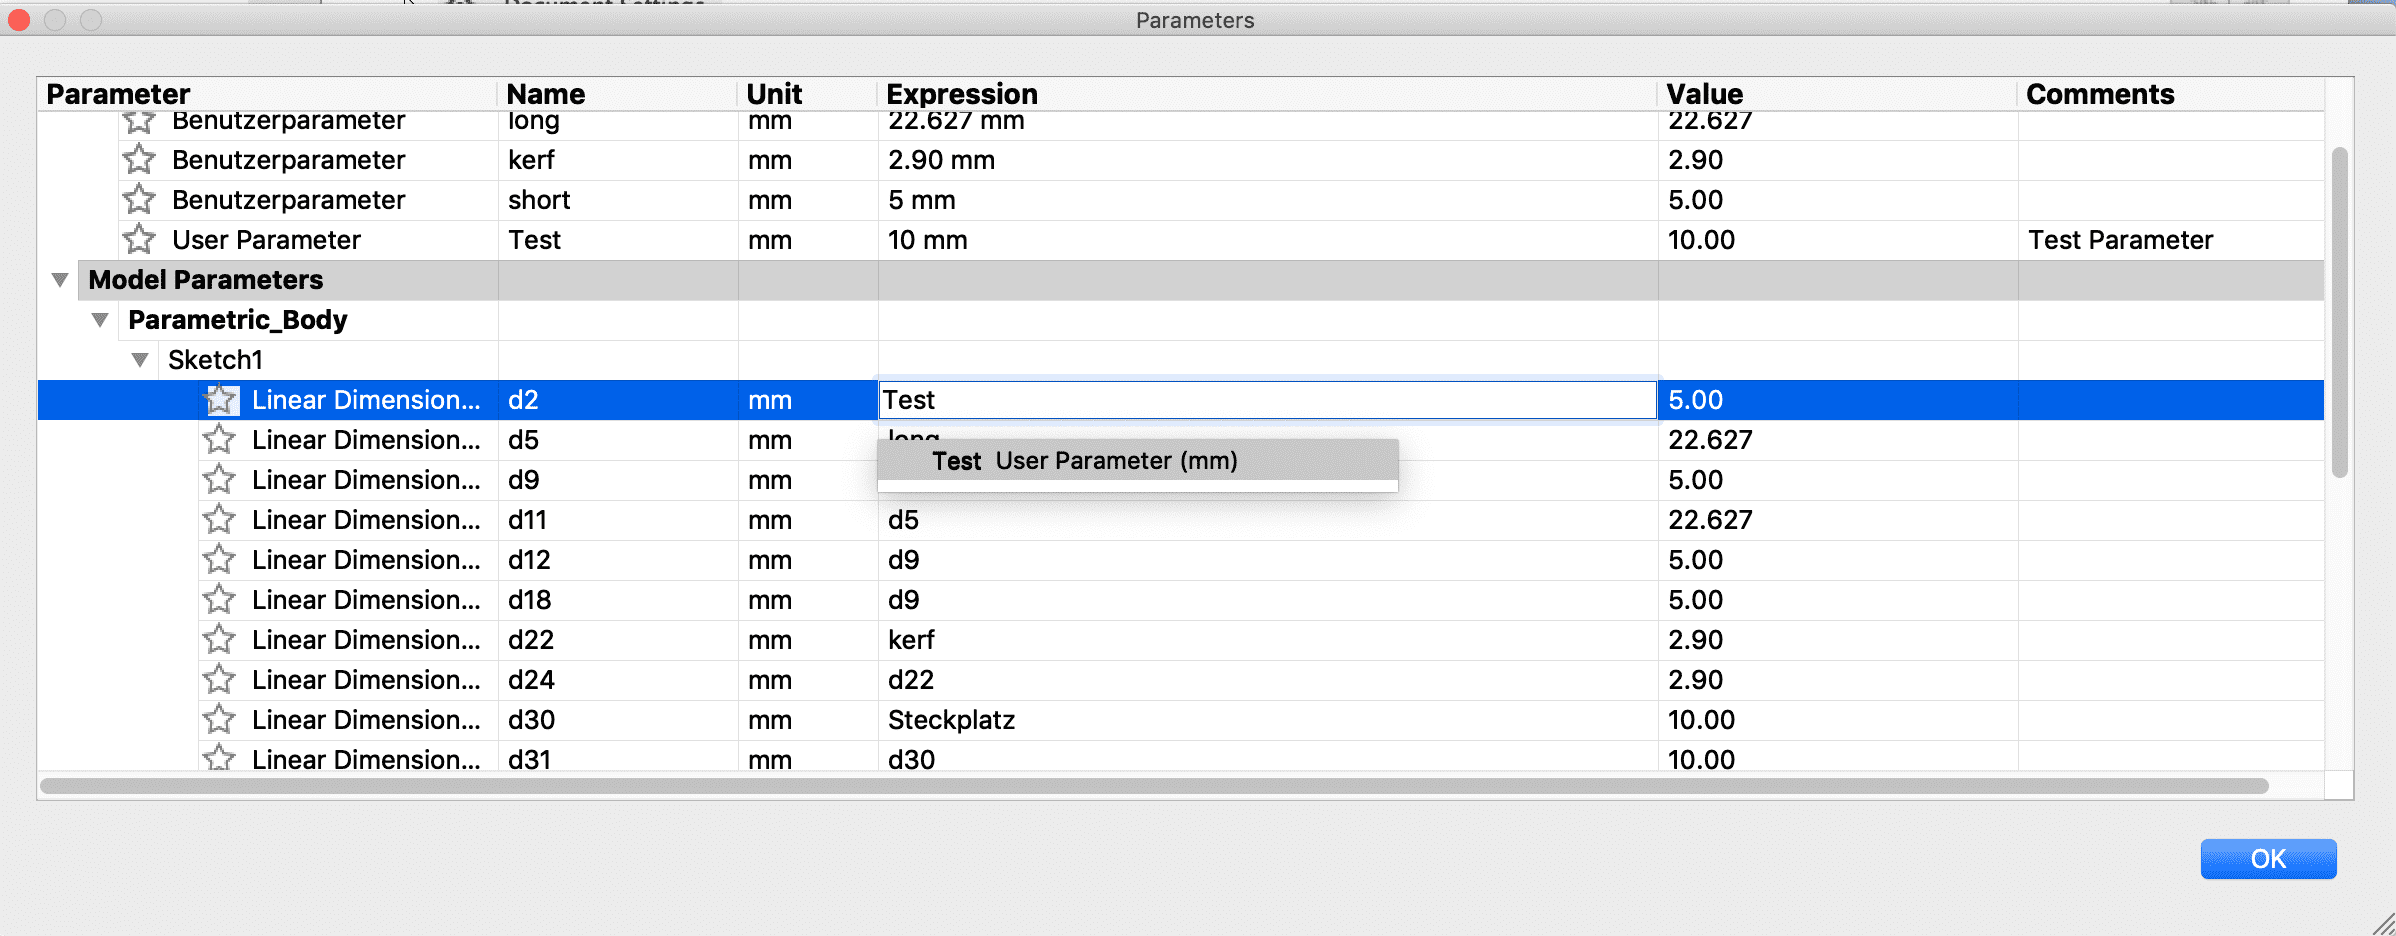
the line d2 will change his value to 10 after we have changed the expression to our test.
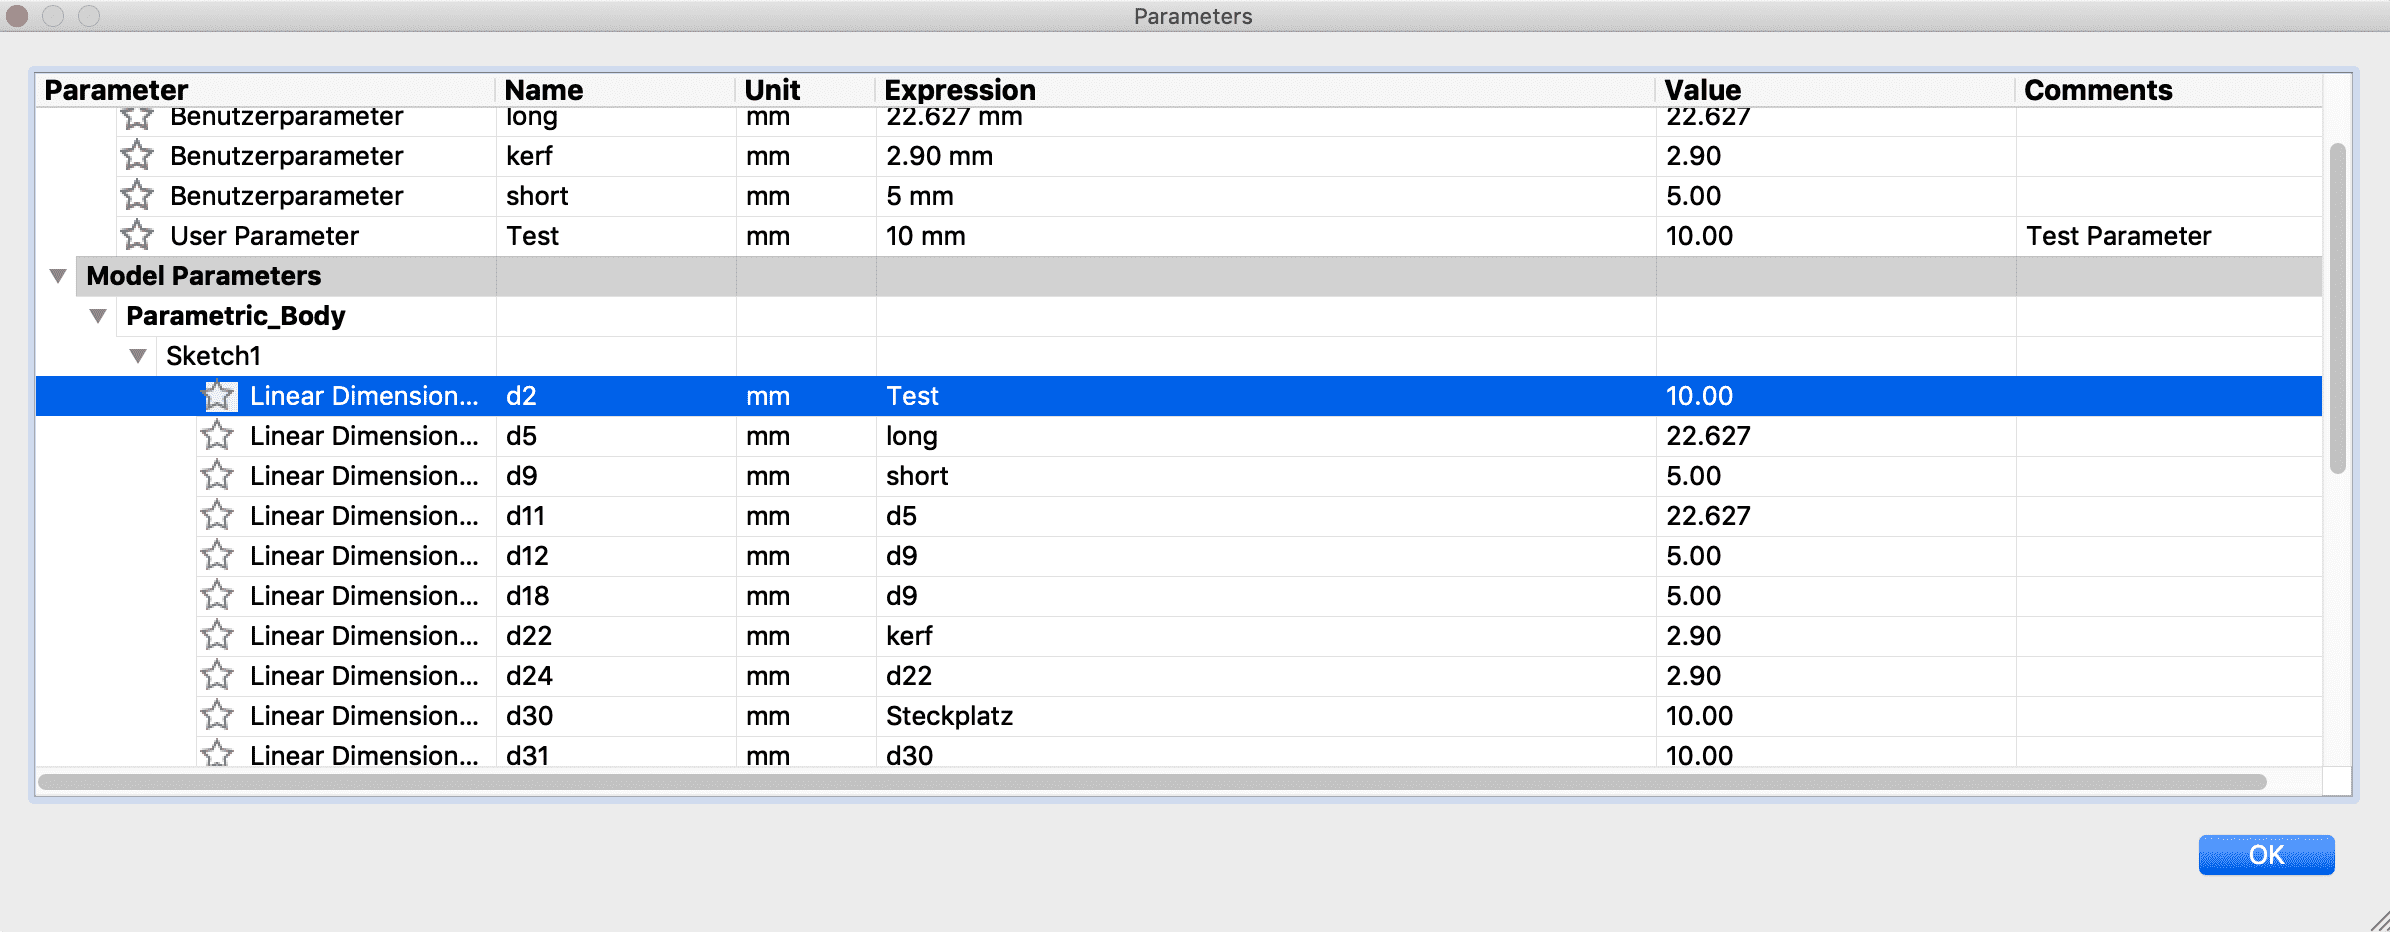
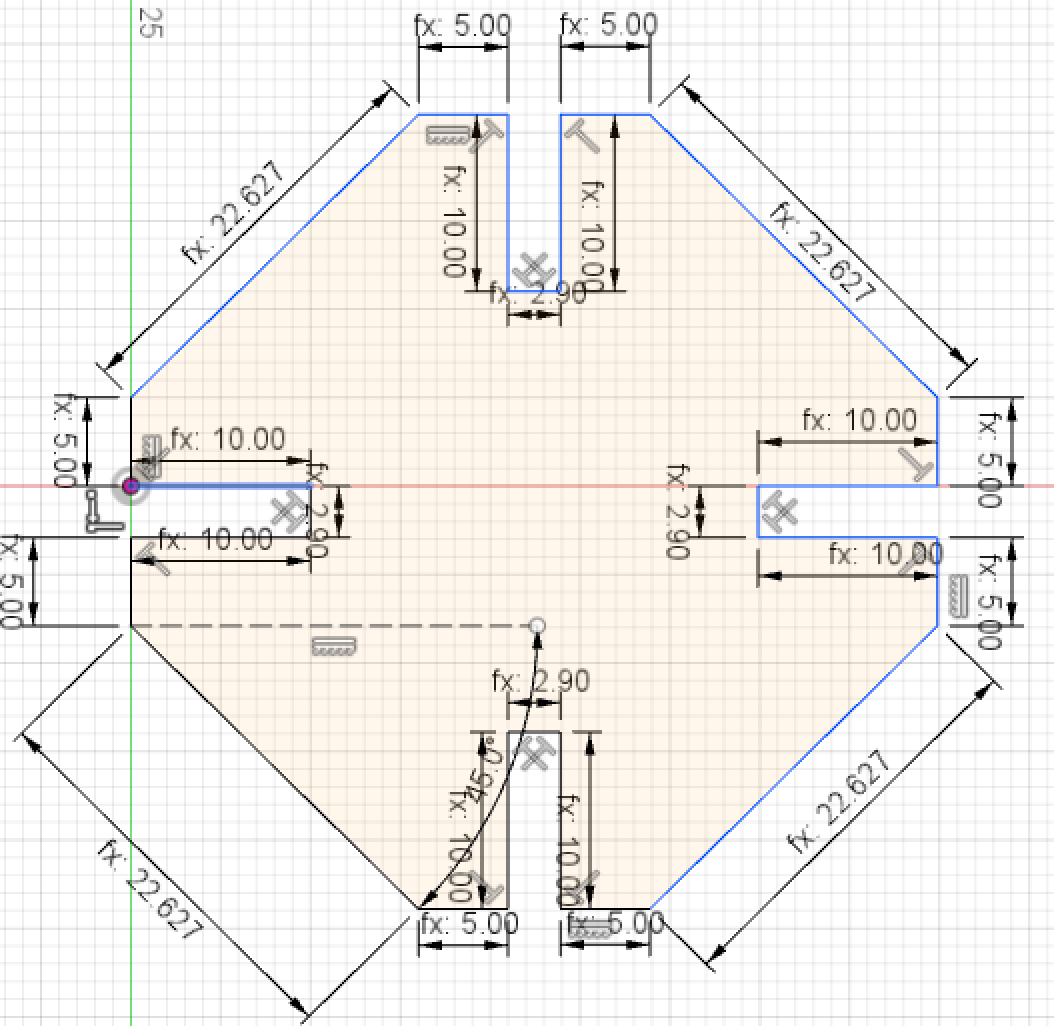
Now the only thing I had to do, to make my model parametric, was to bind every line to his parameter in my case it is for example the line "d9" to "short". Then I simply binded every other line that hast to have the parameter "short" too to the line "d9". If I change the parameter "kerf" to 2,50mm, every side will change his lenght automatically.

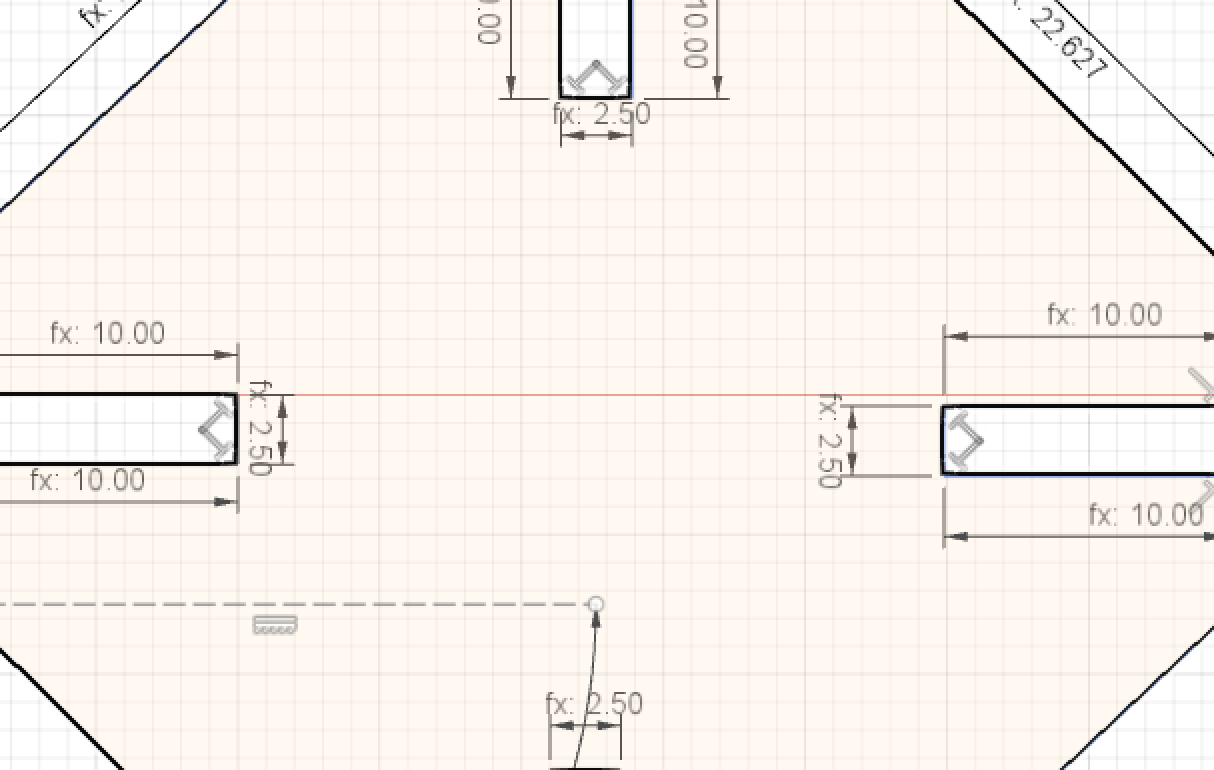
If I set it back to 2,90mm...

All the sides will change back to 2,90mm.
LASER CUTTING
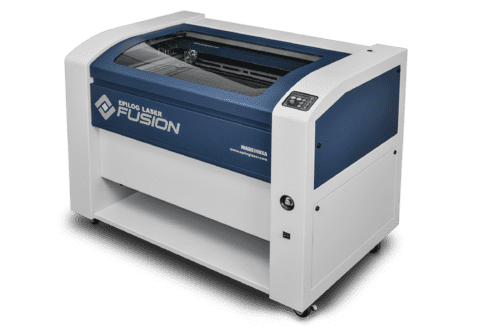
The laser cutter is used to precisely cut 2d designs into different kind of materials. You can either cut or engrave in materials like wood, paper, cloth and acryl. The laser cutter is limited to a certain thickness of material but possible thickness changrs according to the strenght of the laser cutter. I will use a Epilog Fusion Laser with 60 watt power.
I will start off by turning the laser cutter on by pressing on the on/off switch
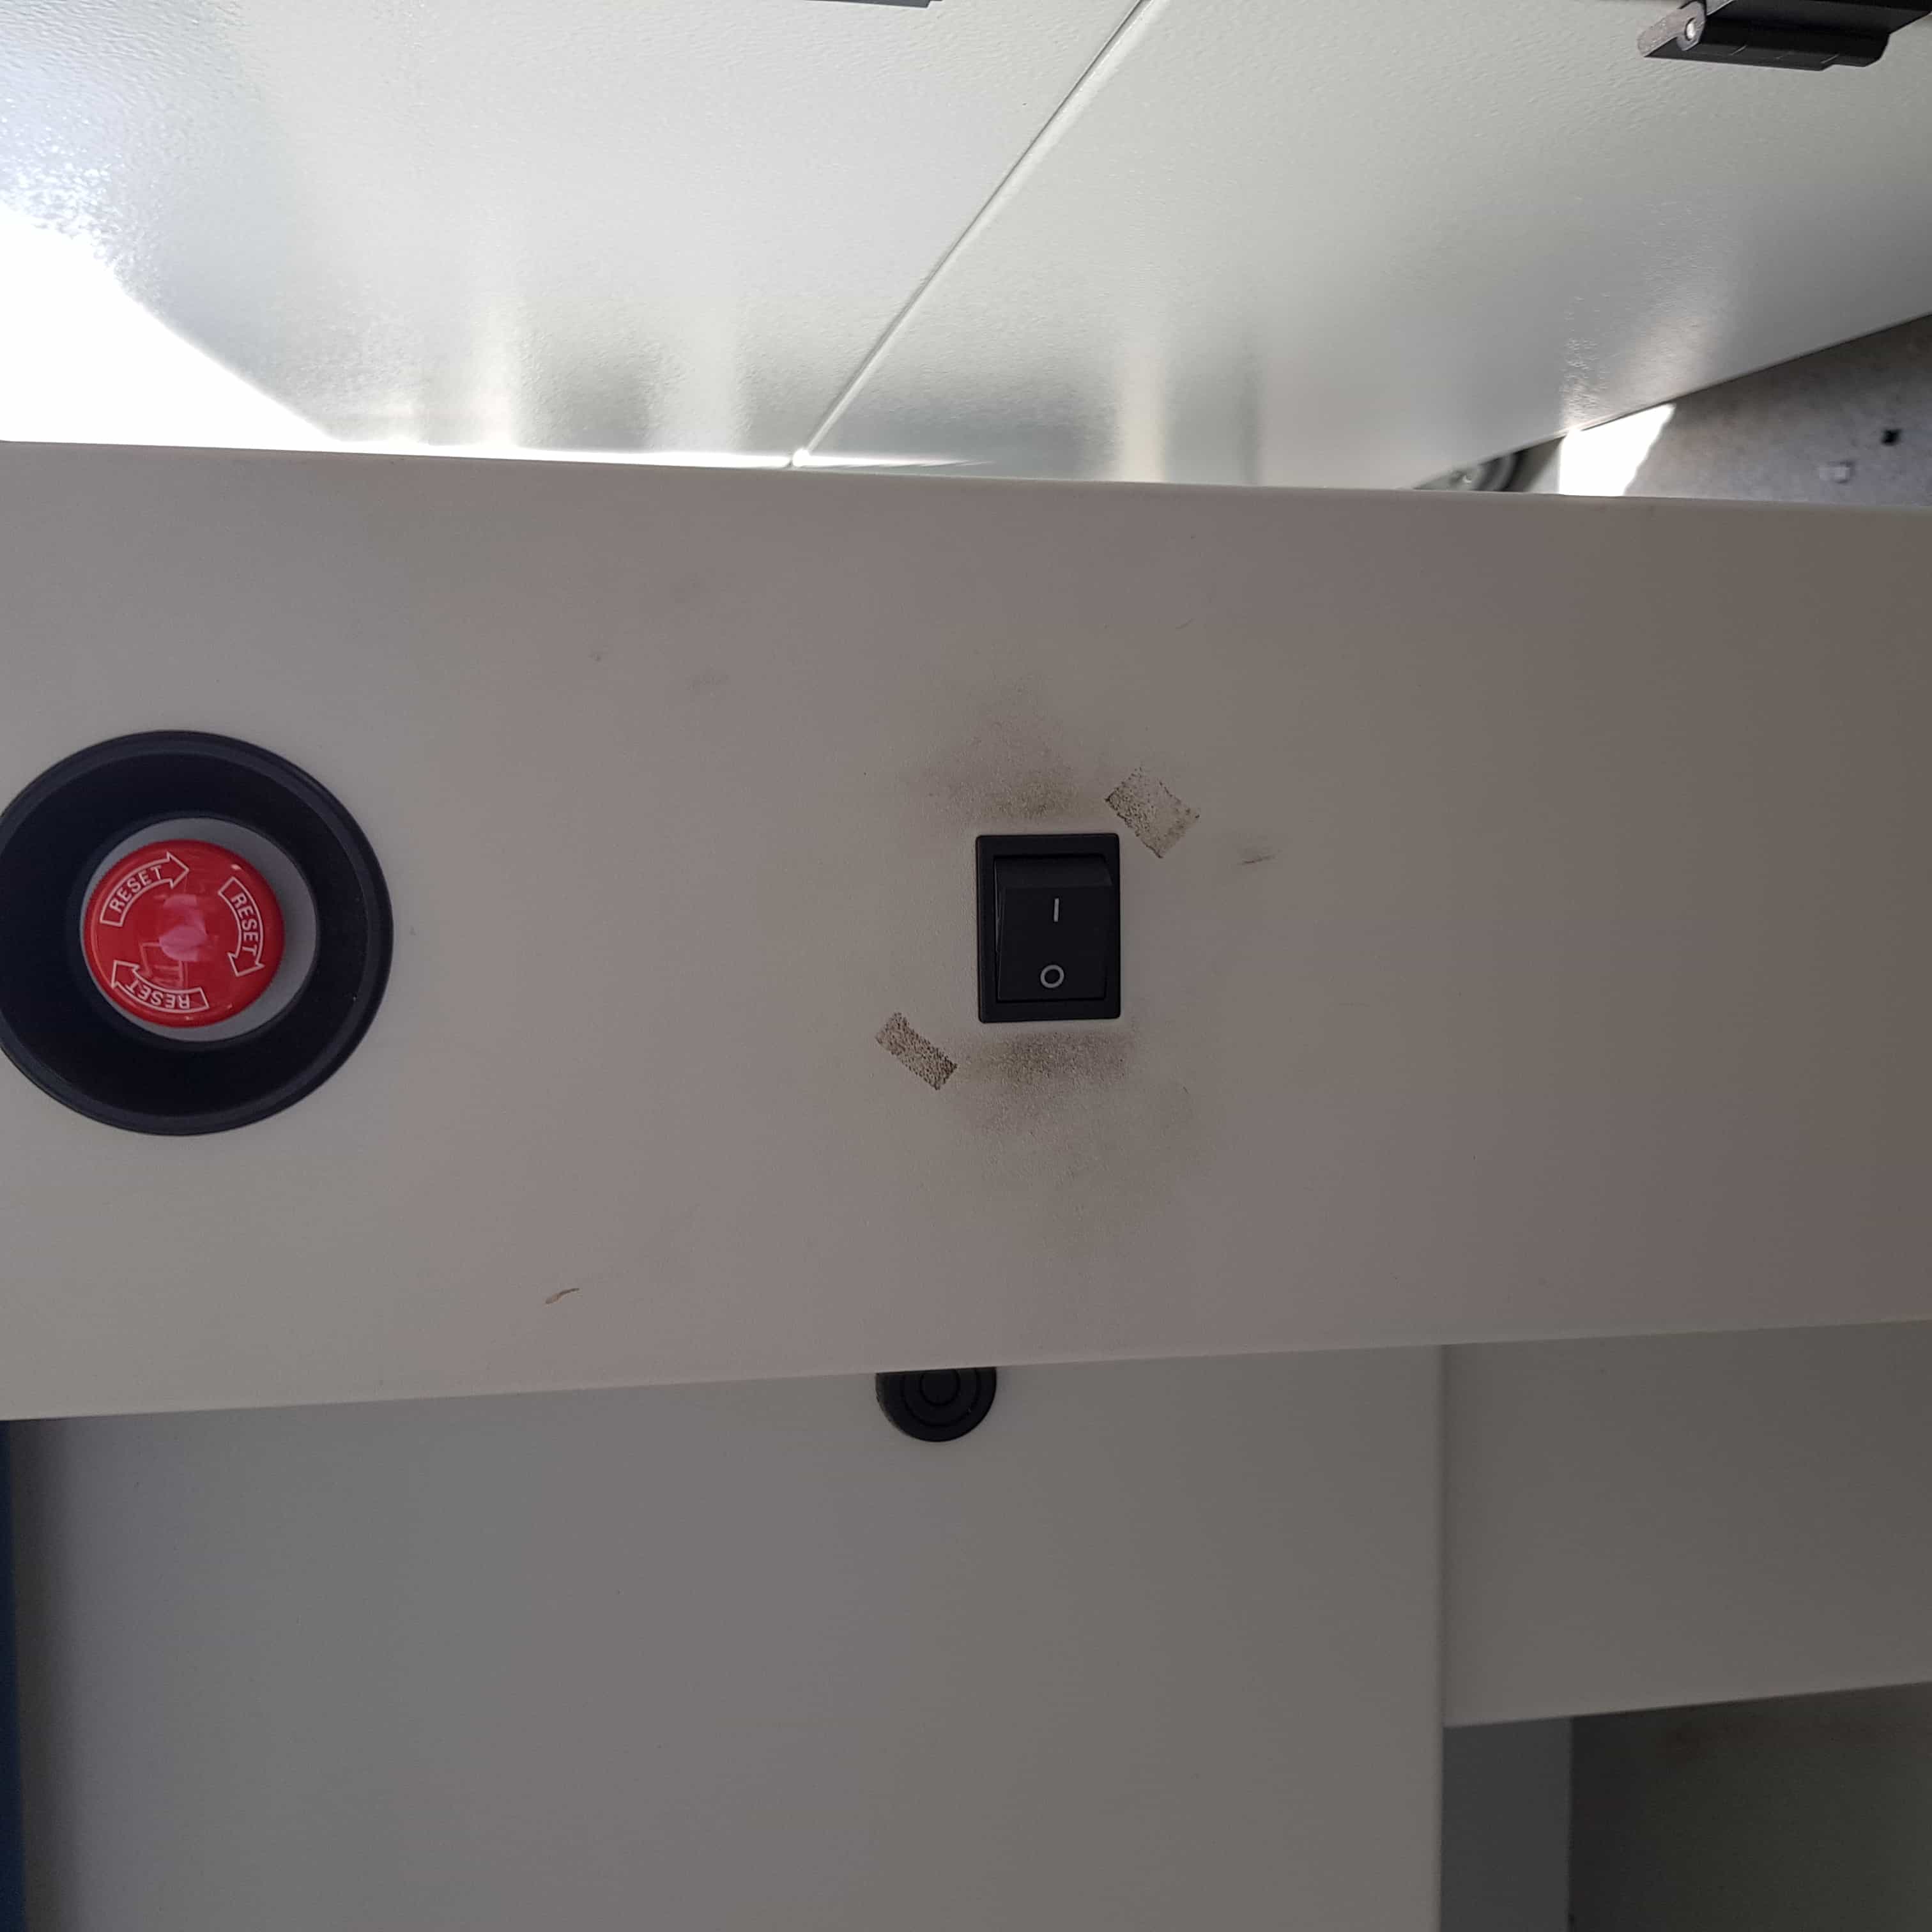
it will take about 2 minutes for the lasercutter to boot up
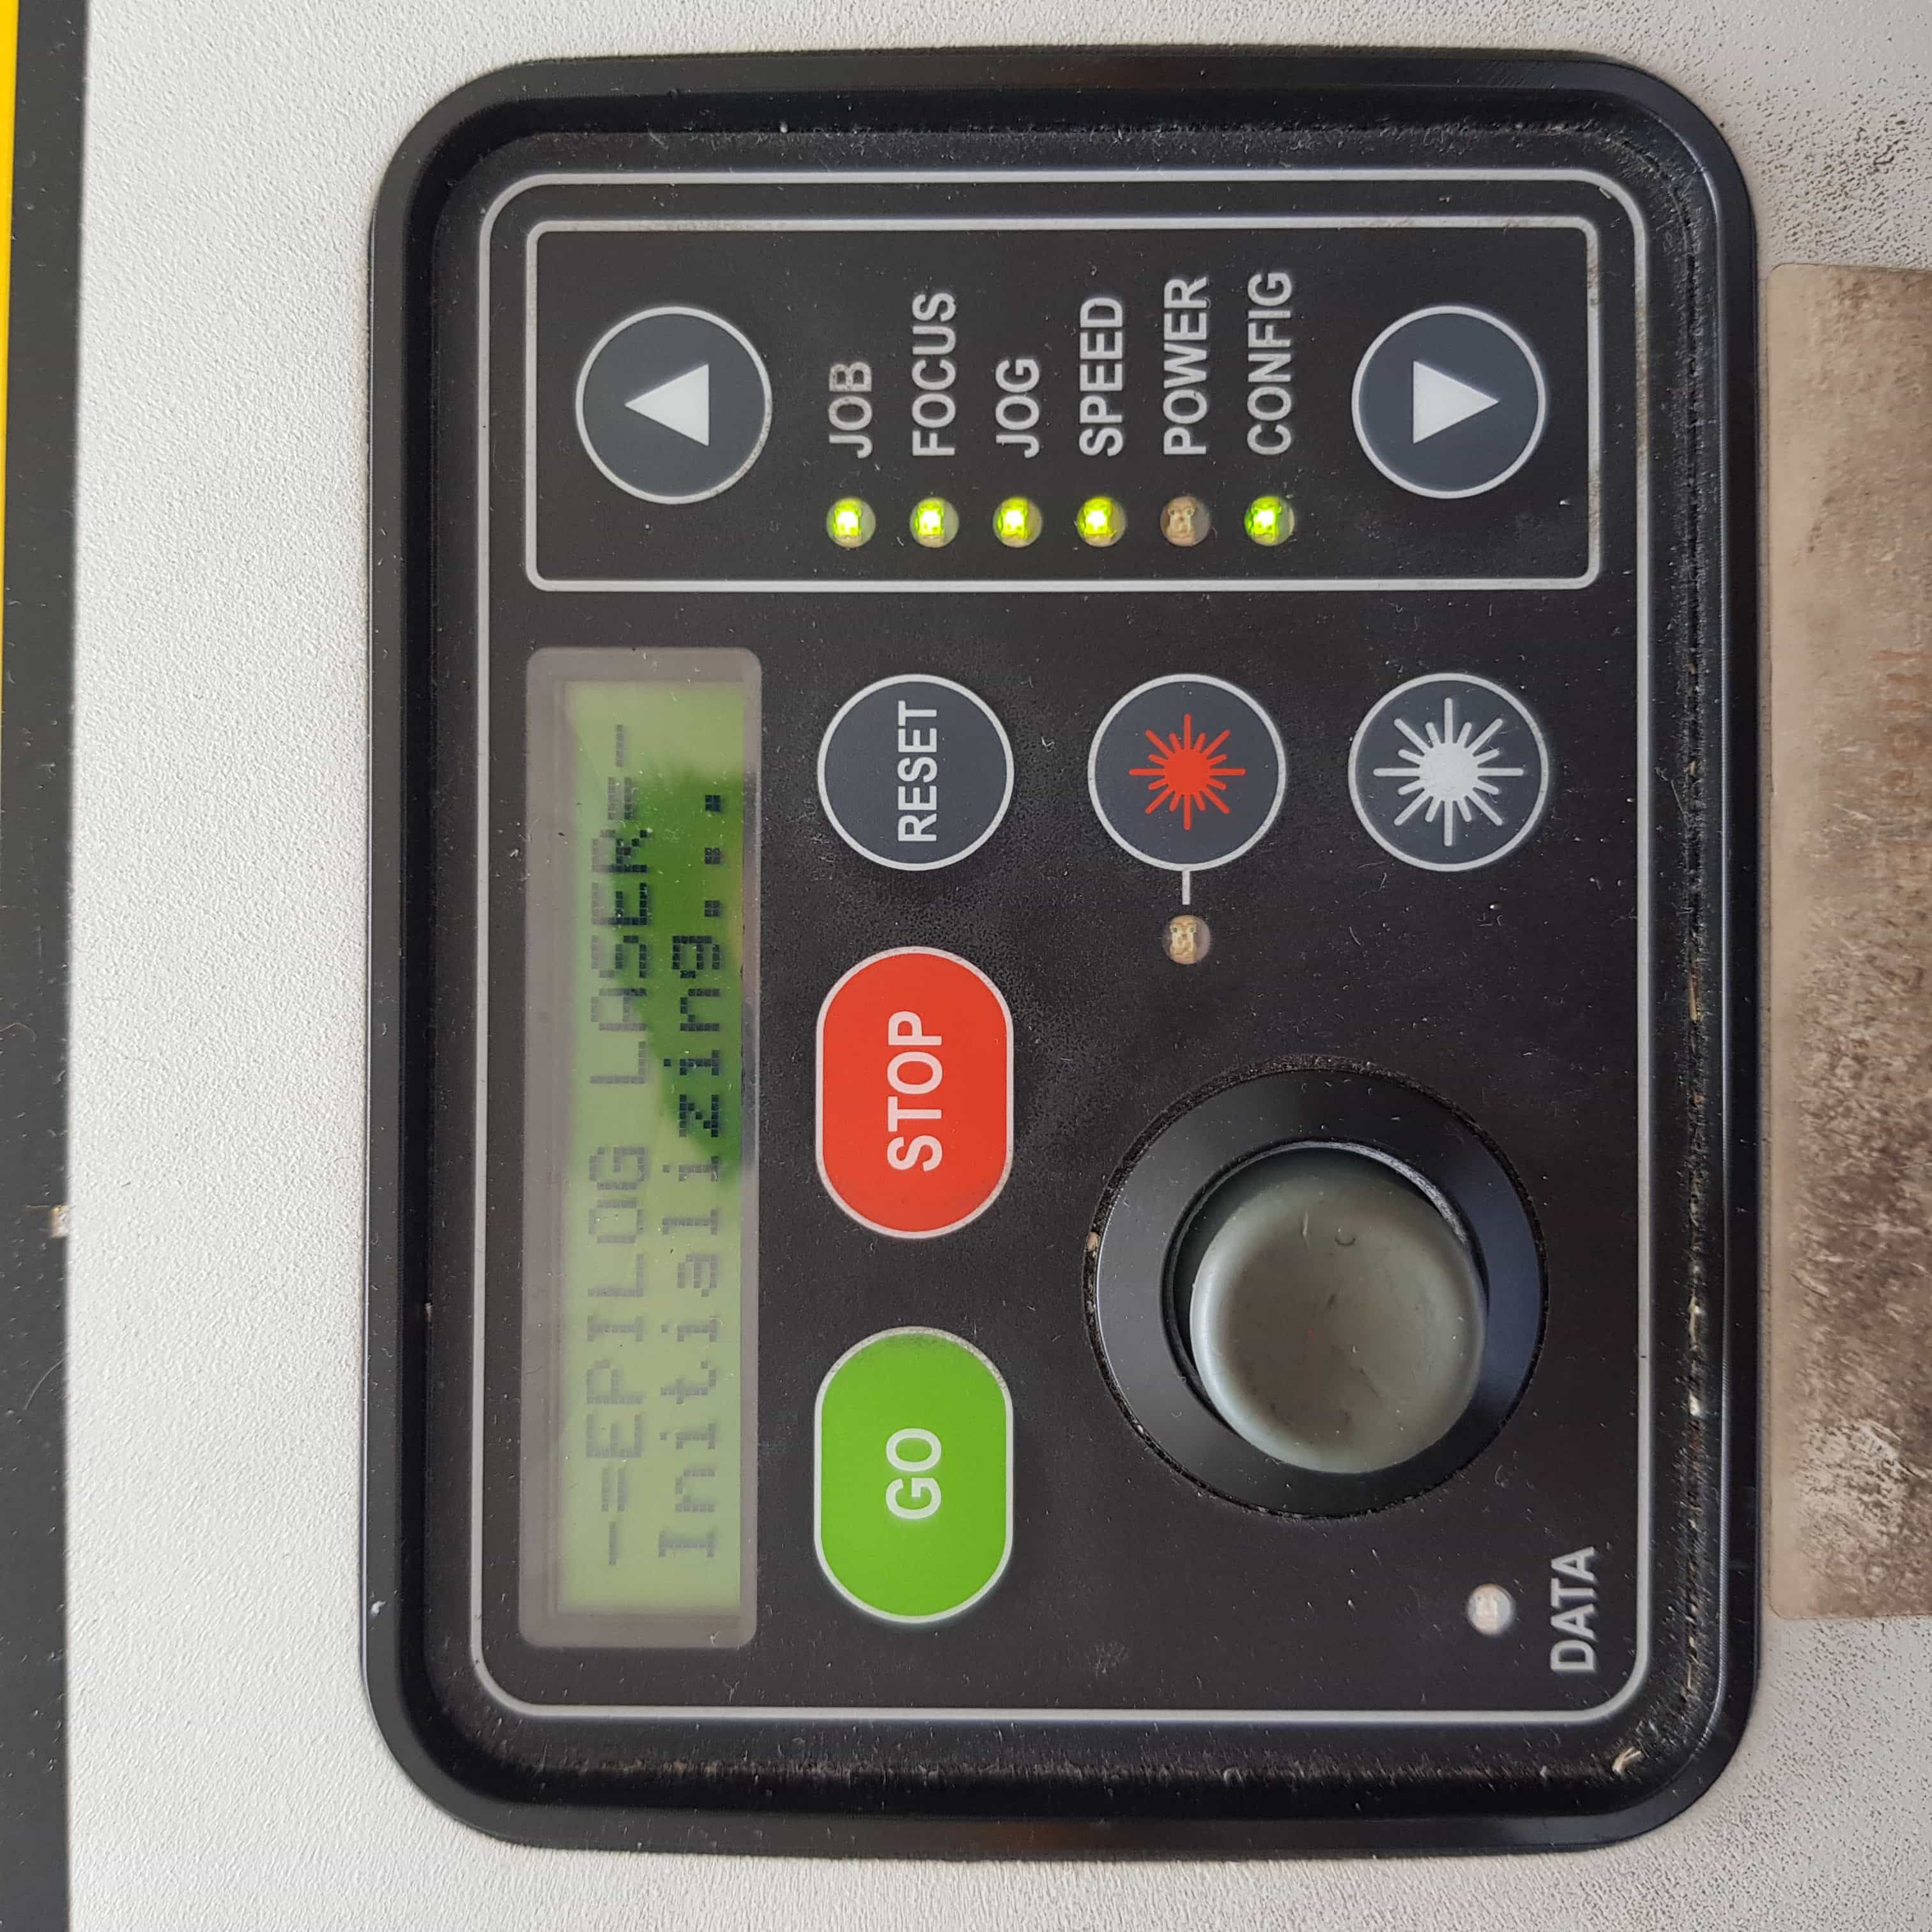
then I place the material I would like to cut to the left upper corner, in my case it's 3mm mdf wood.
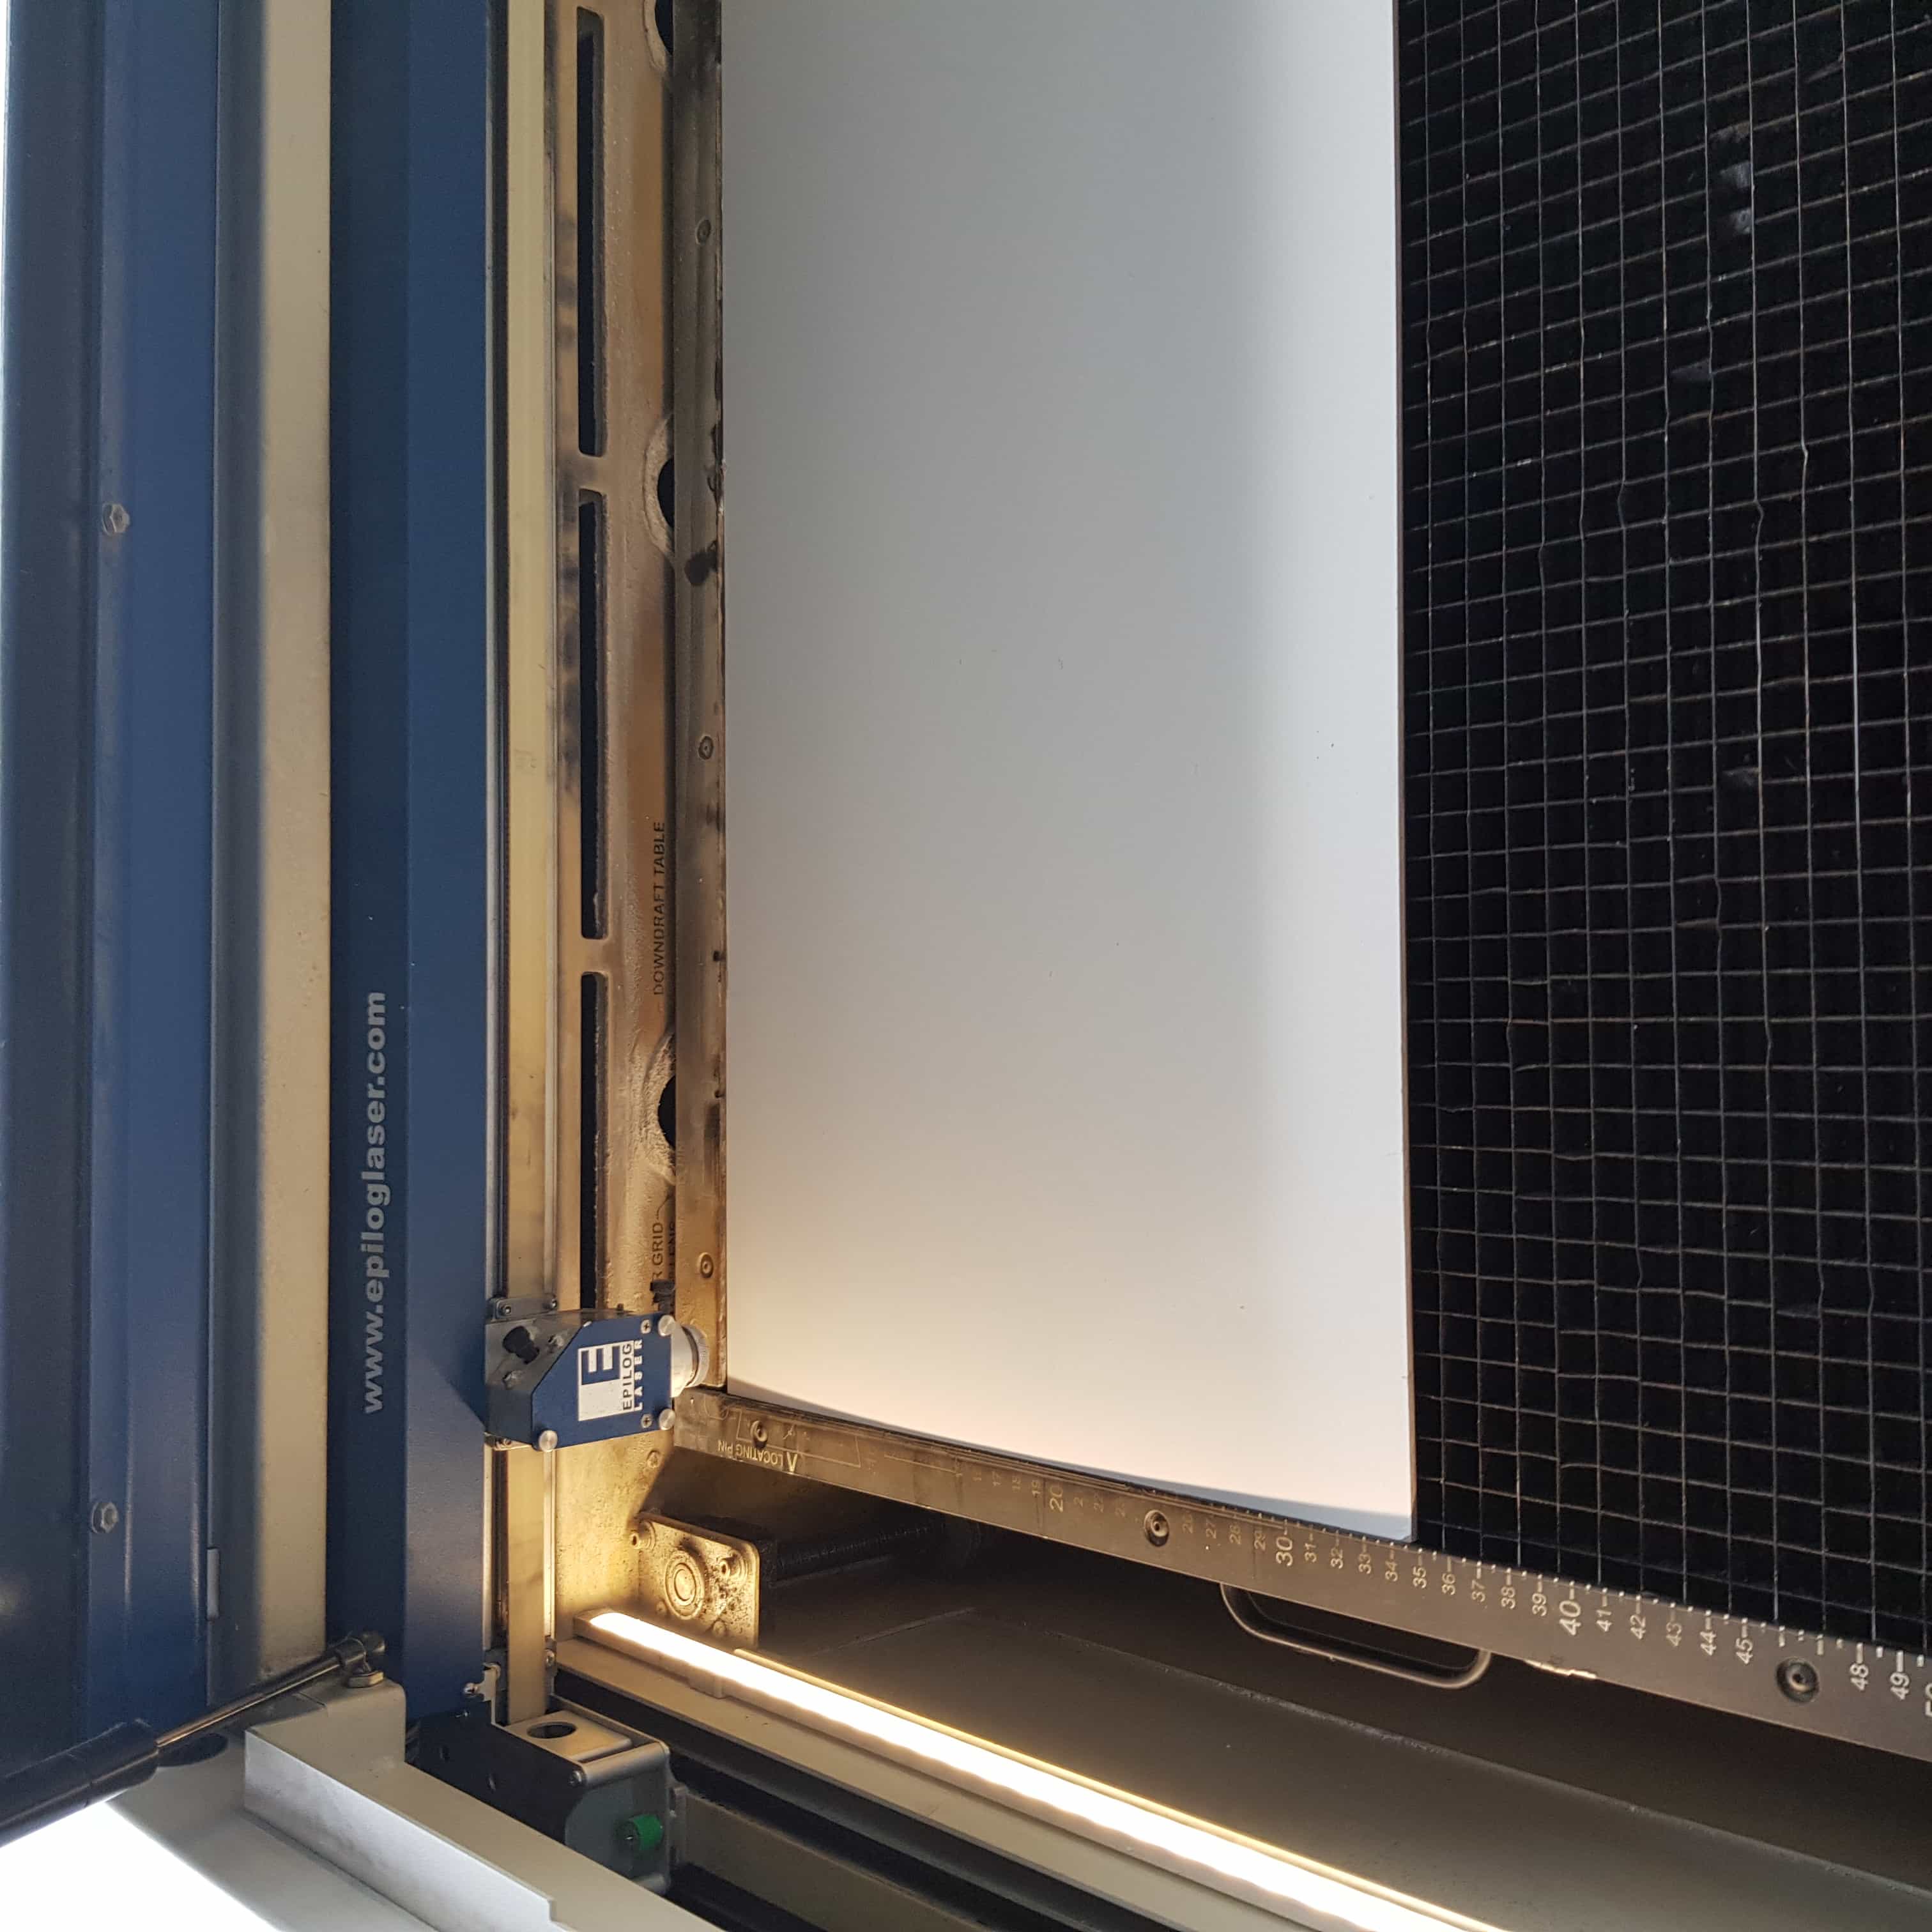
Then I need to set the focus of the laser, I will use the focus tool of the lasercutter.
Note: If you dont have this tool you wont be able to set the focus and also to cut properly, so don't use the machine without having this tool to set the focus it could be dangerous.
I place the tool onto the screws of the head.
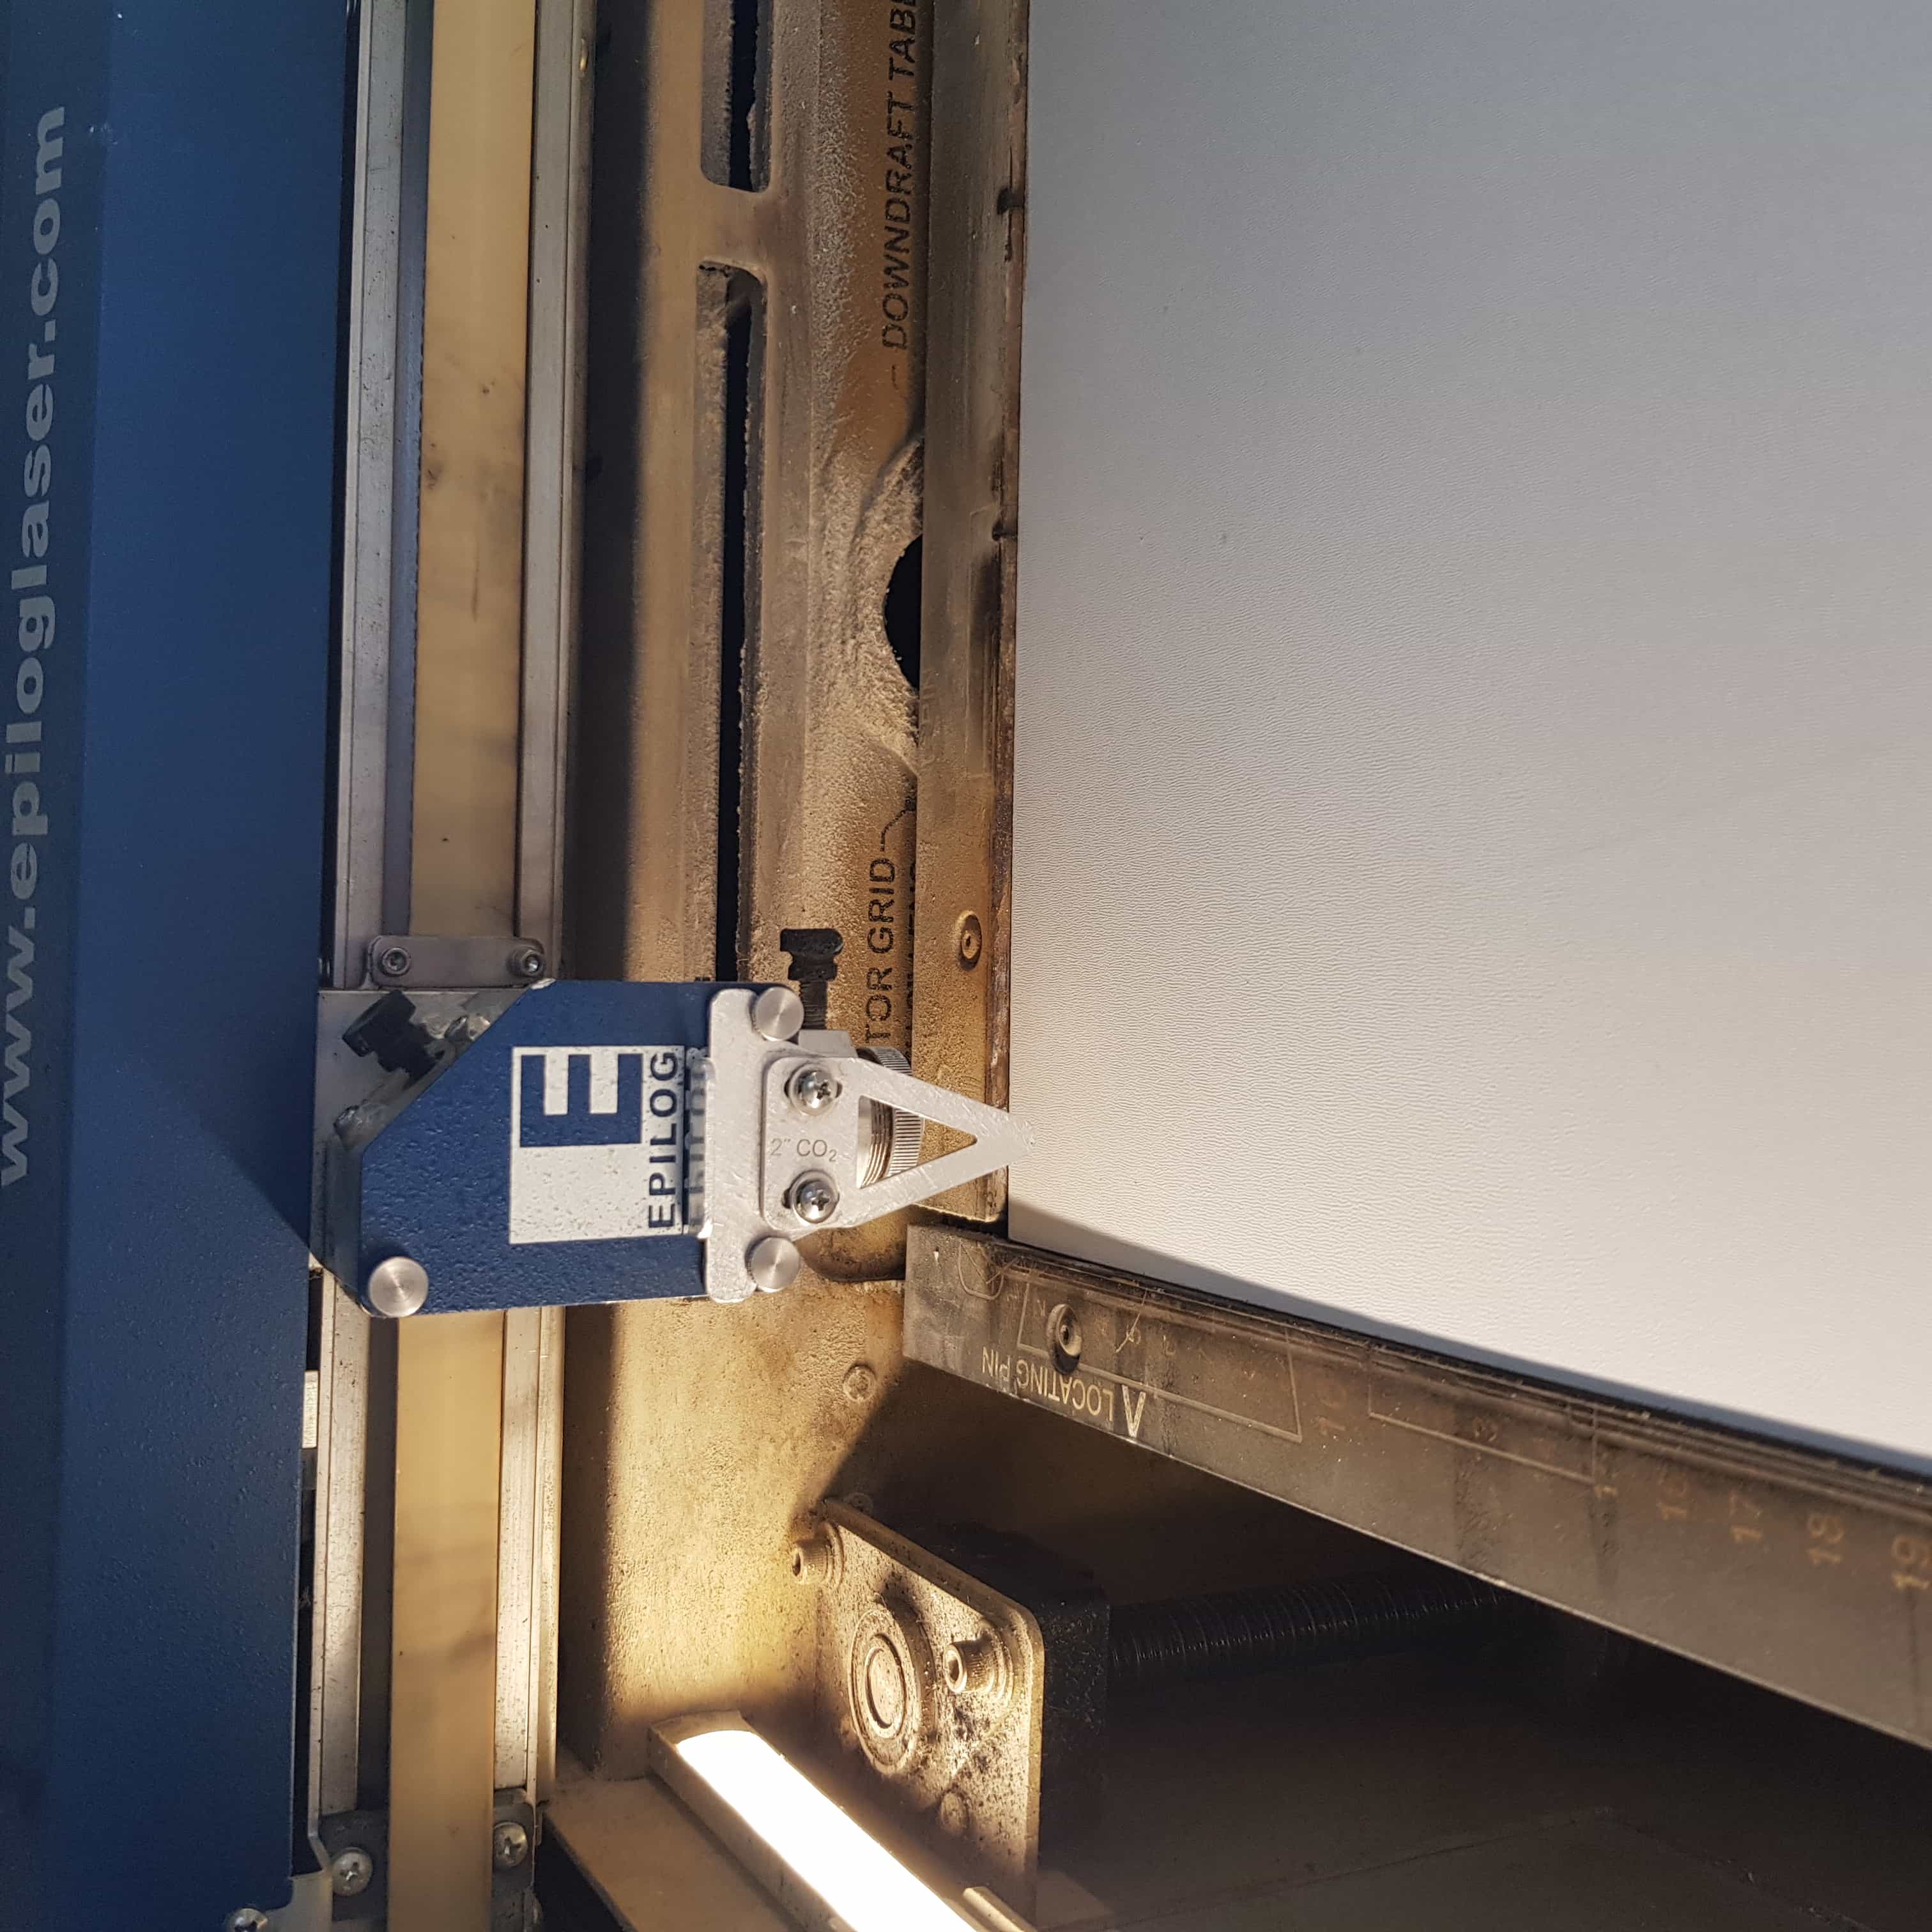
The lasercutter is focused when the tip of the tool nearly touches the wood, as you can clearly see the lasercutter is out of focus. So I will navigate to "FOCUS" on the lasercutter control unit.
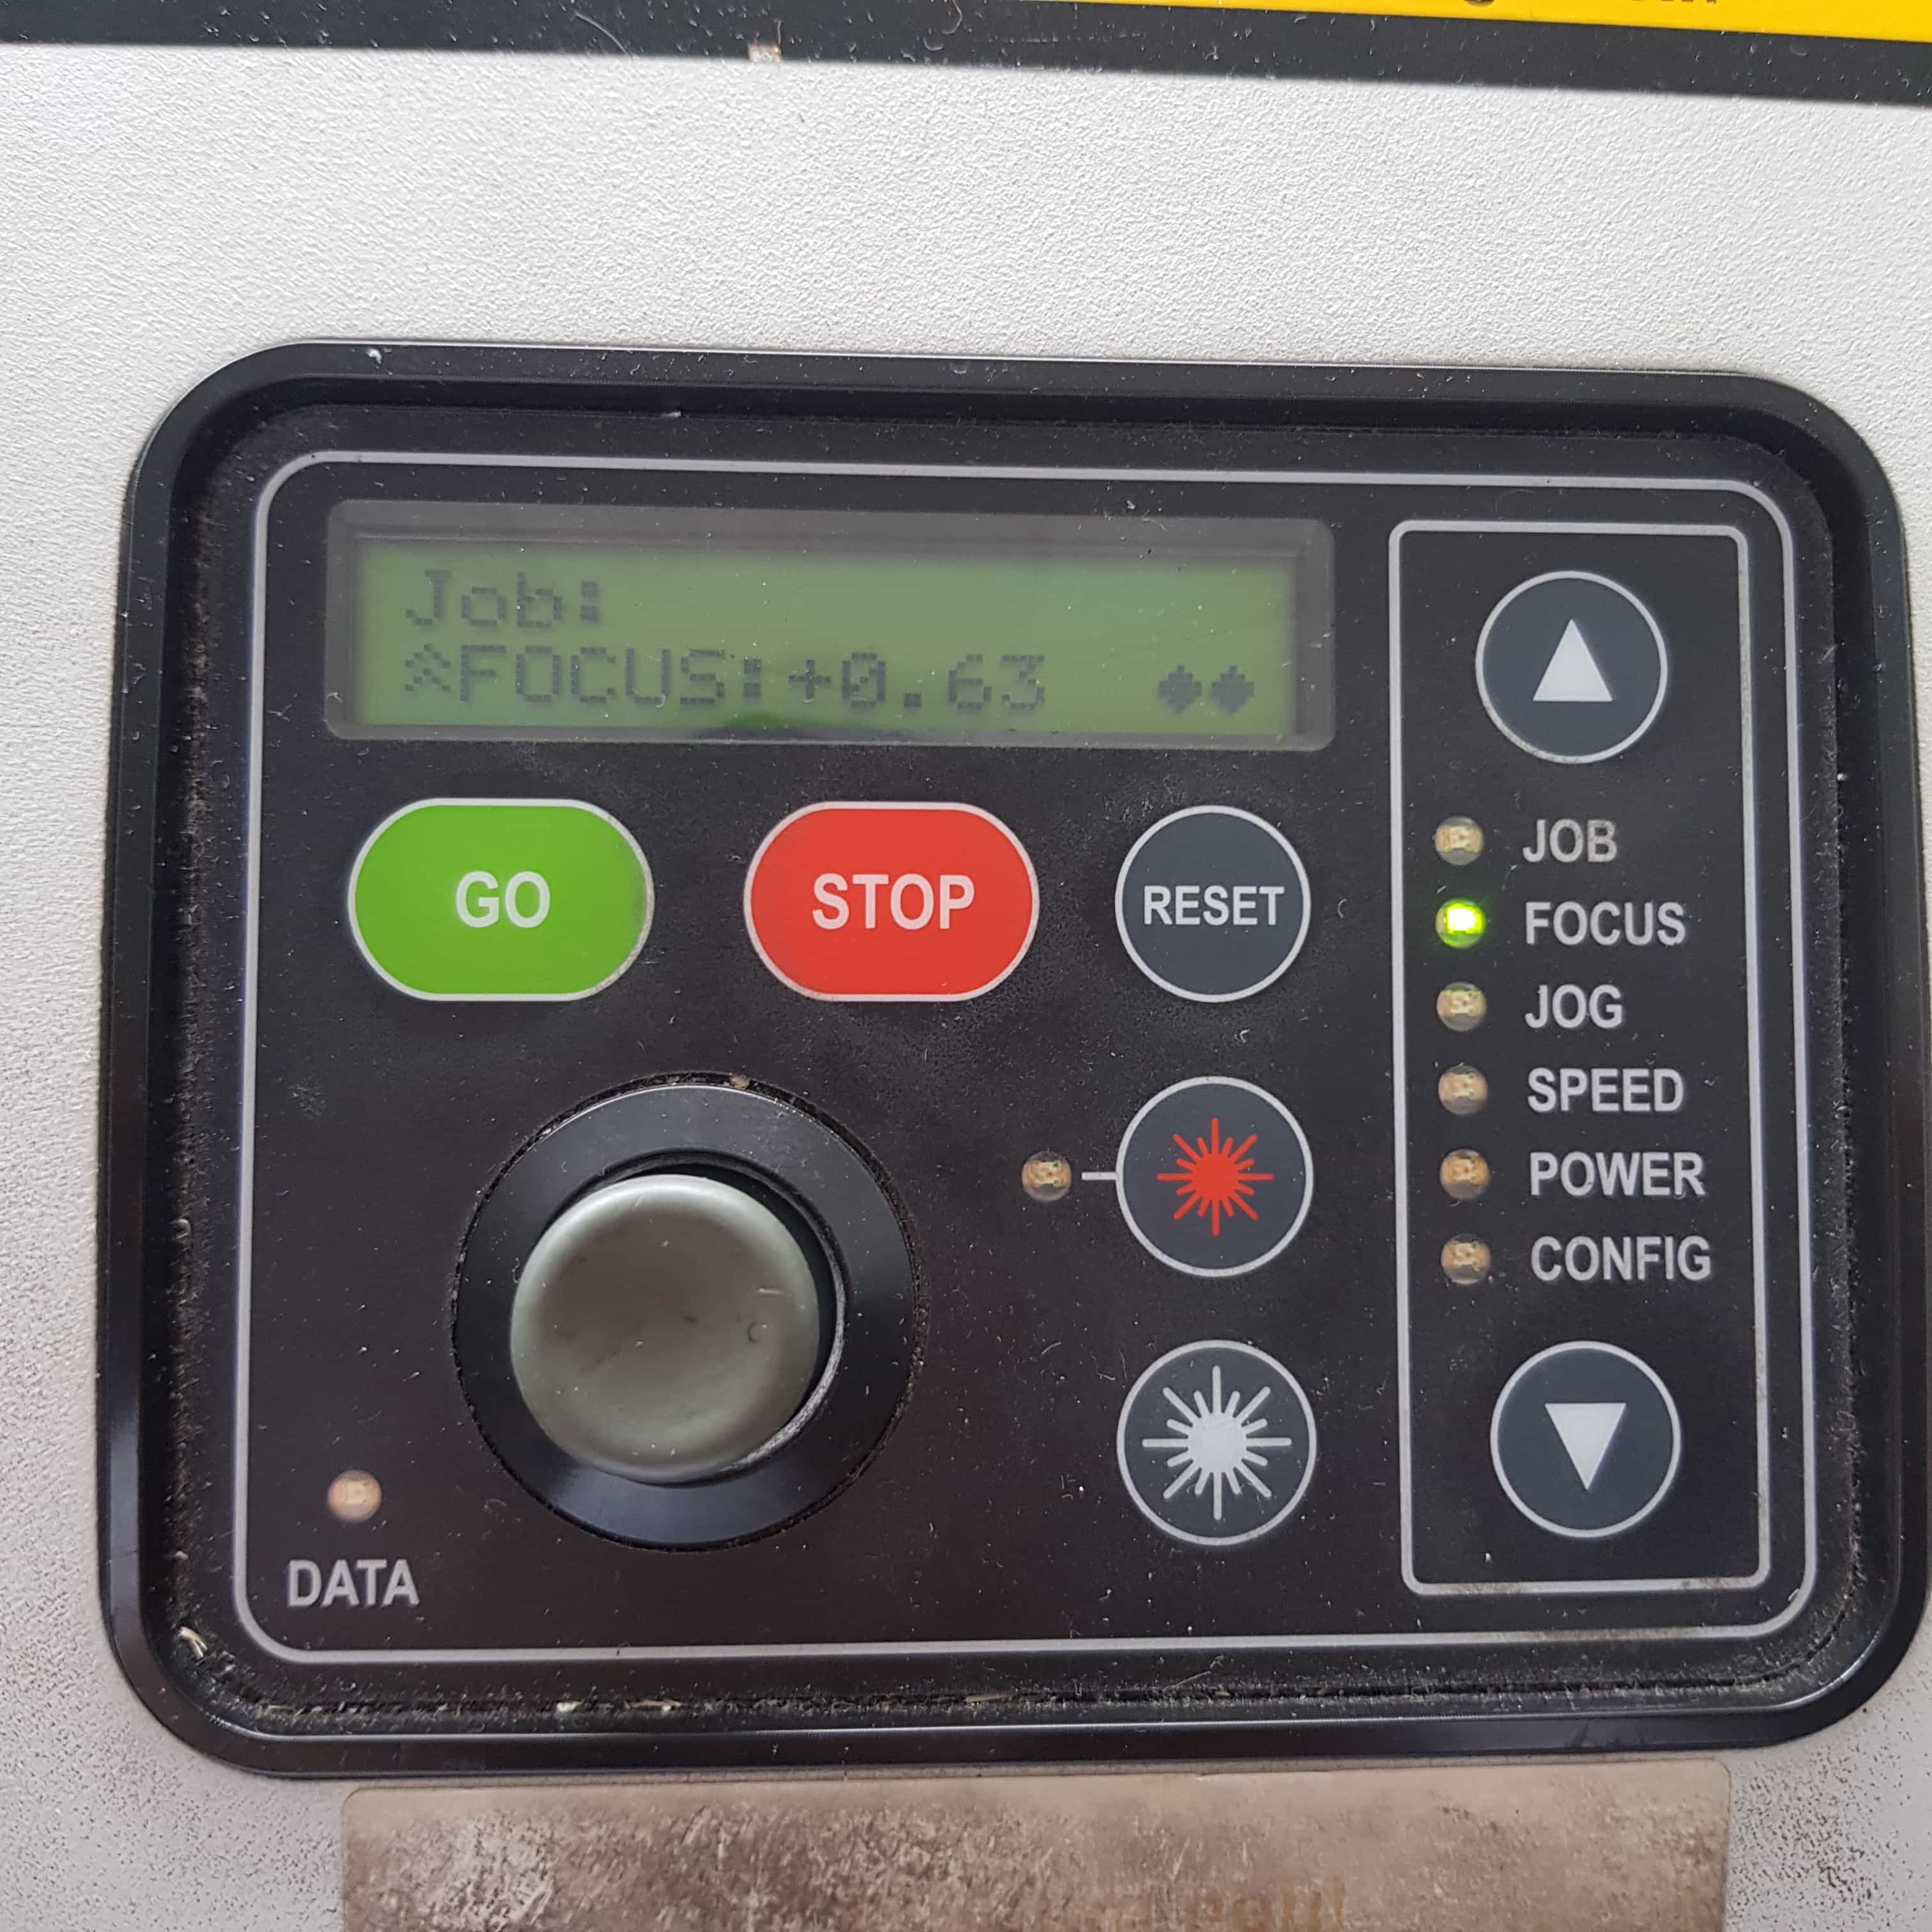
Then I will drive the bed up by pressing the analogstick up.
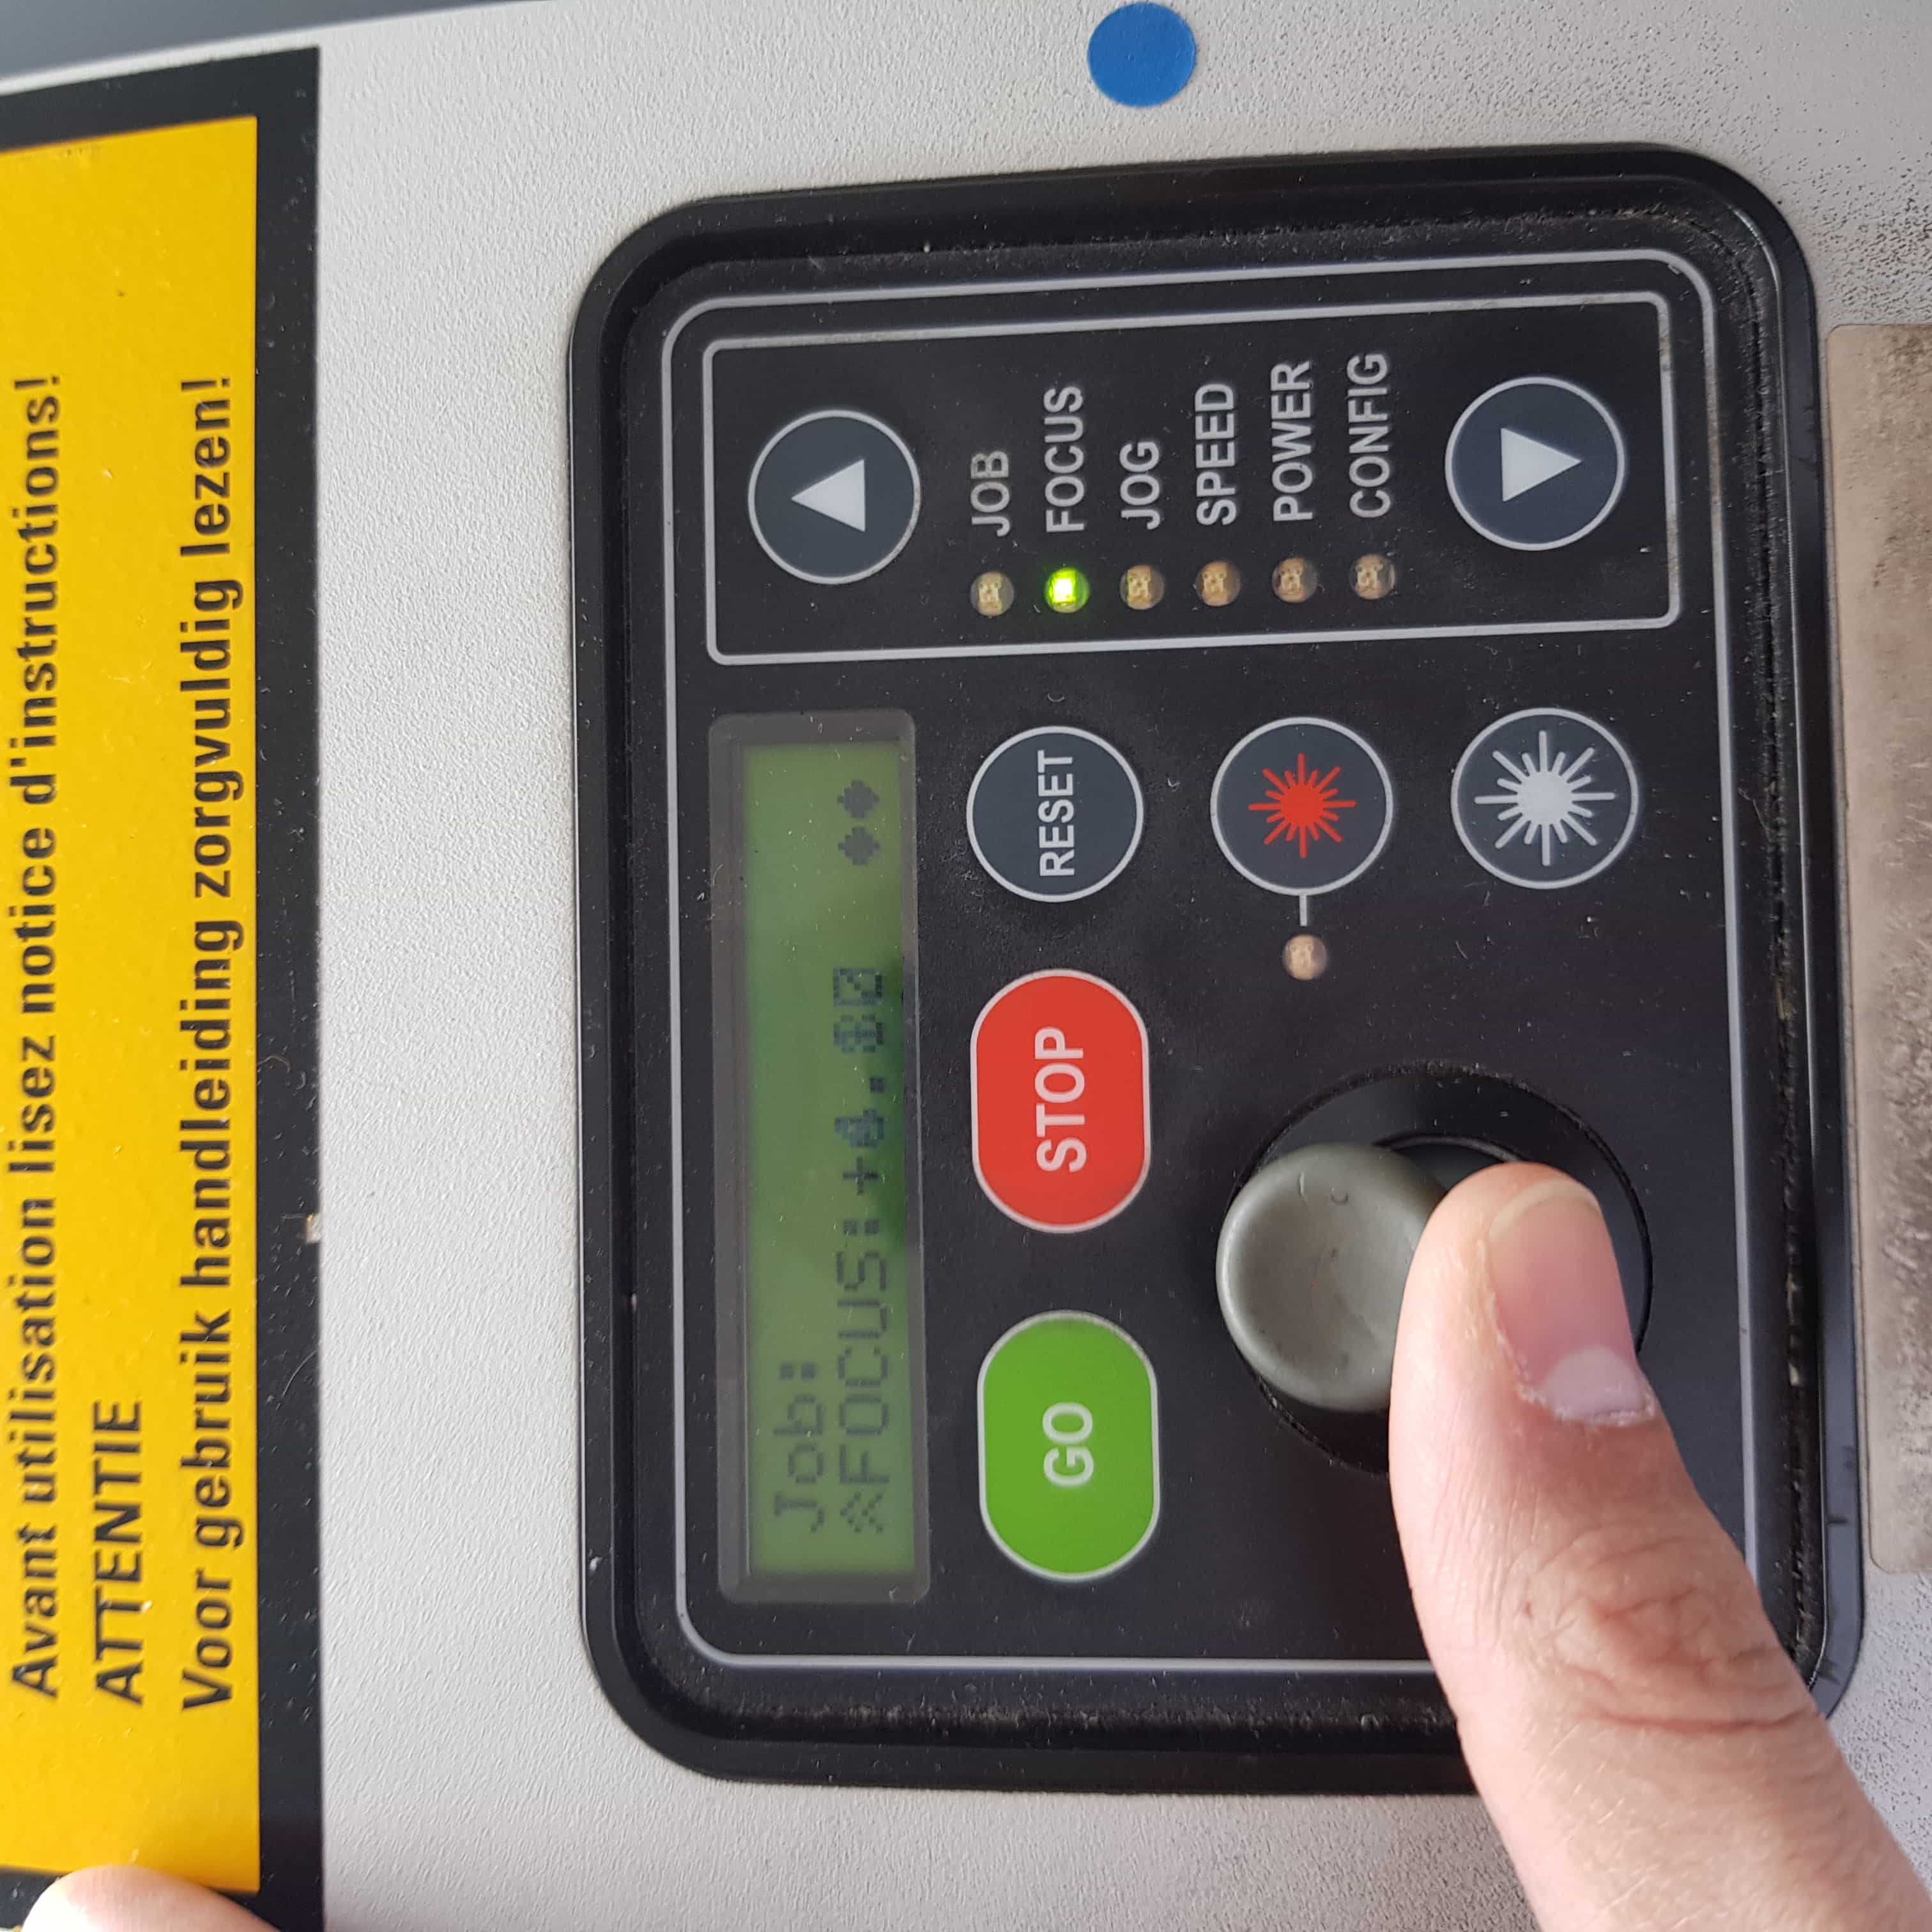
When the tip of the tool nearly touches the wood, the focus is good.
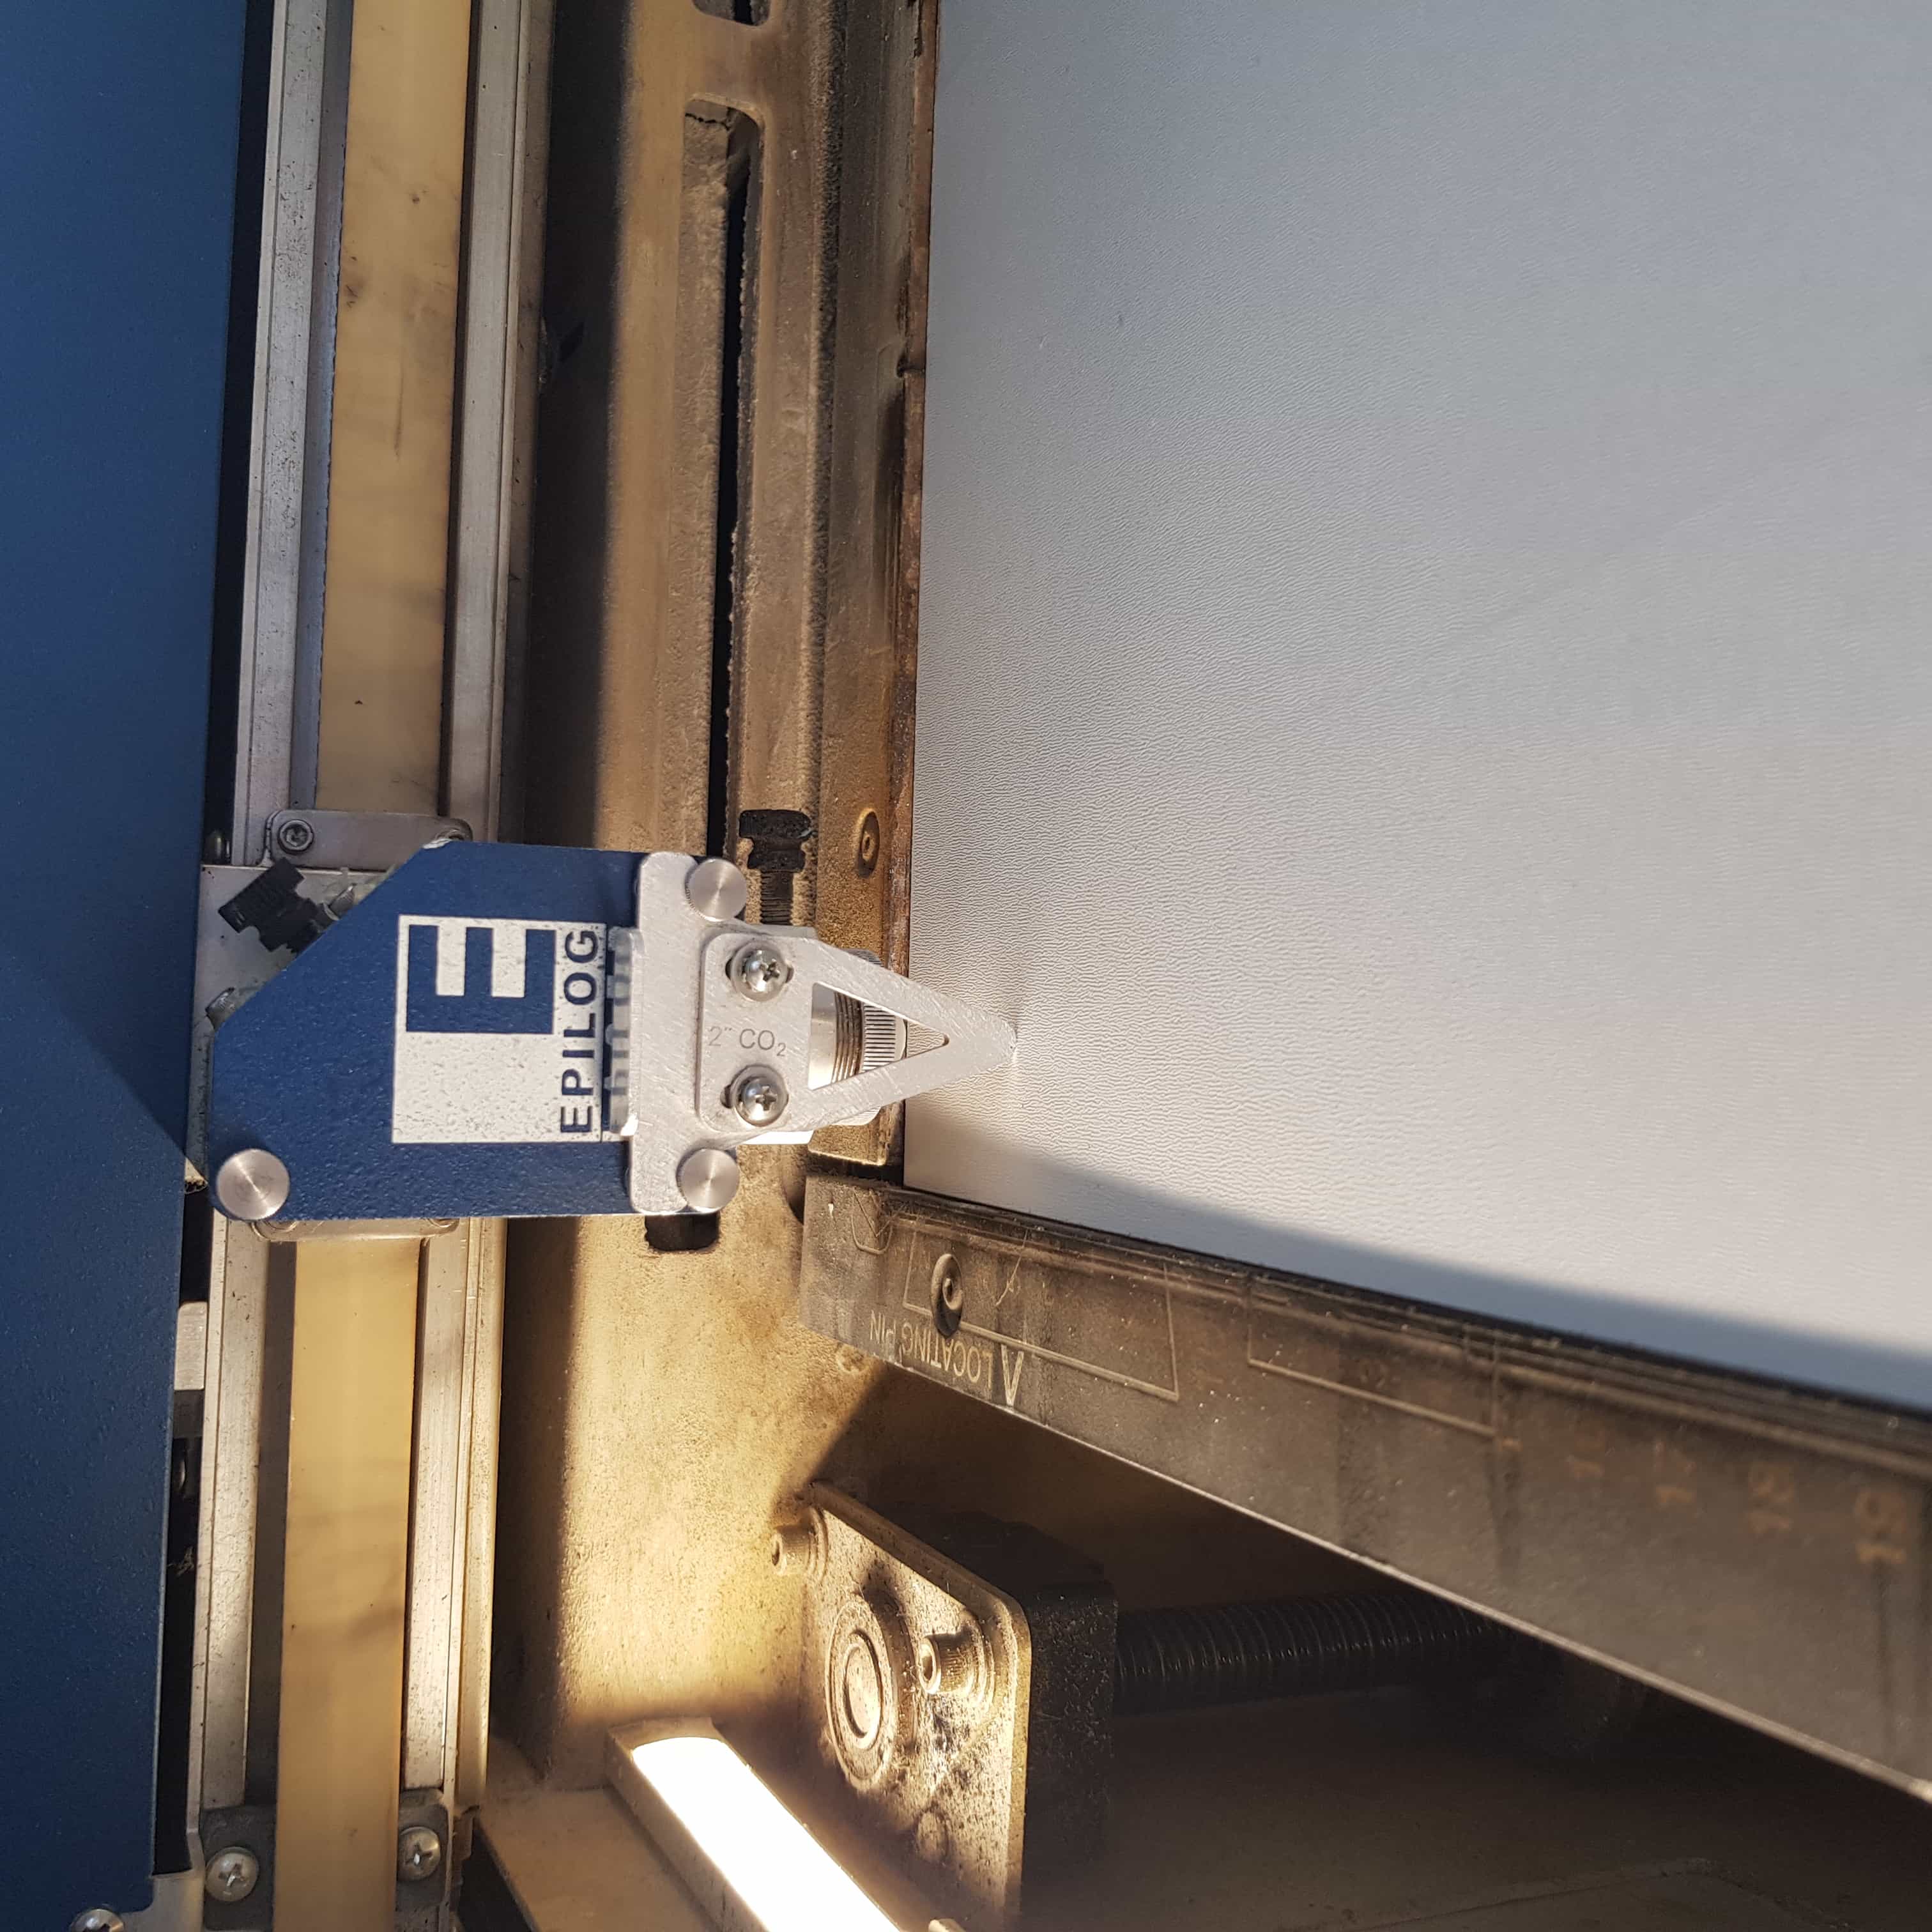
To set the focus I will need to press on the analogstick once so the machine will take over the new focus.
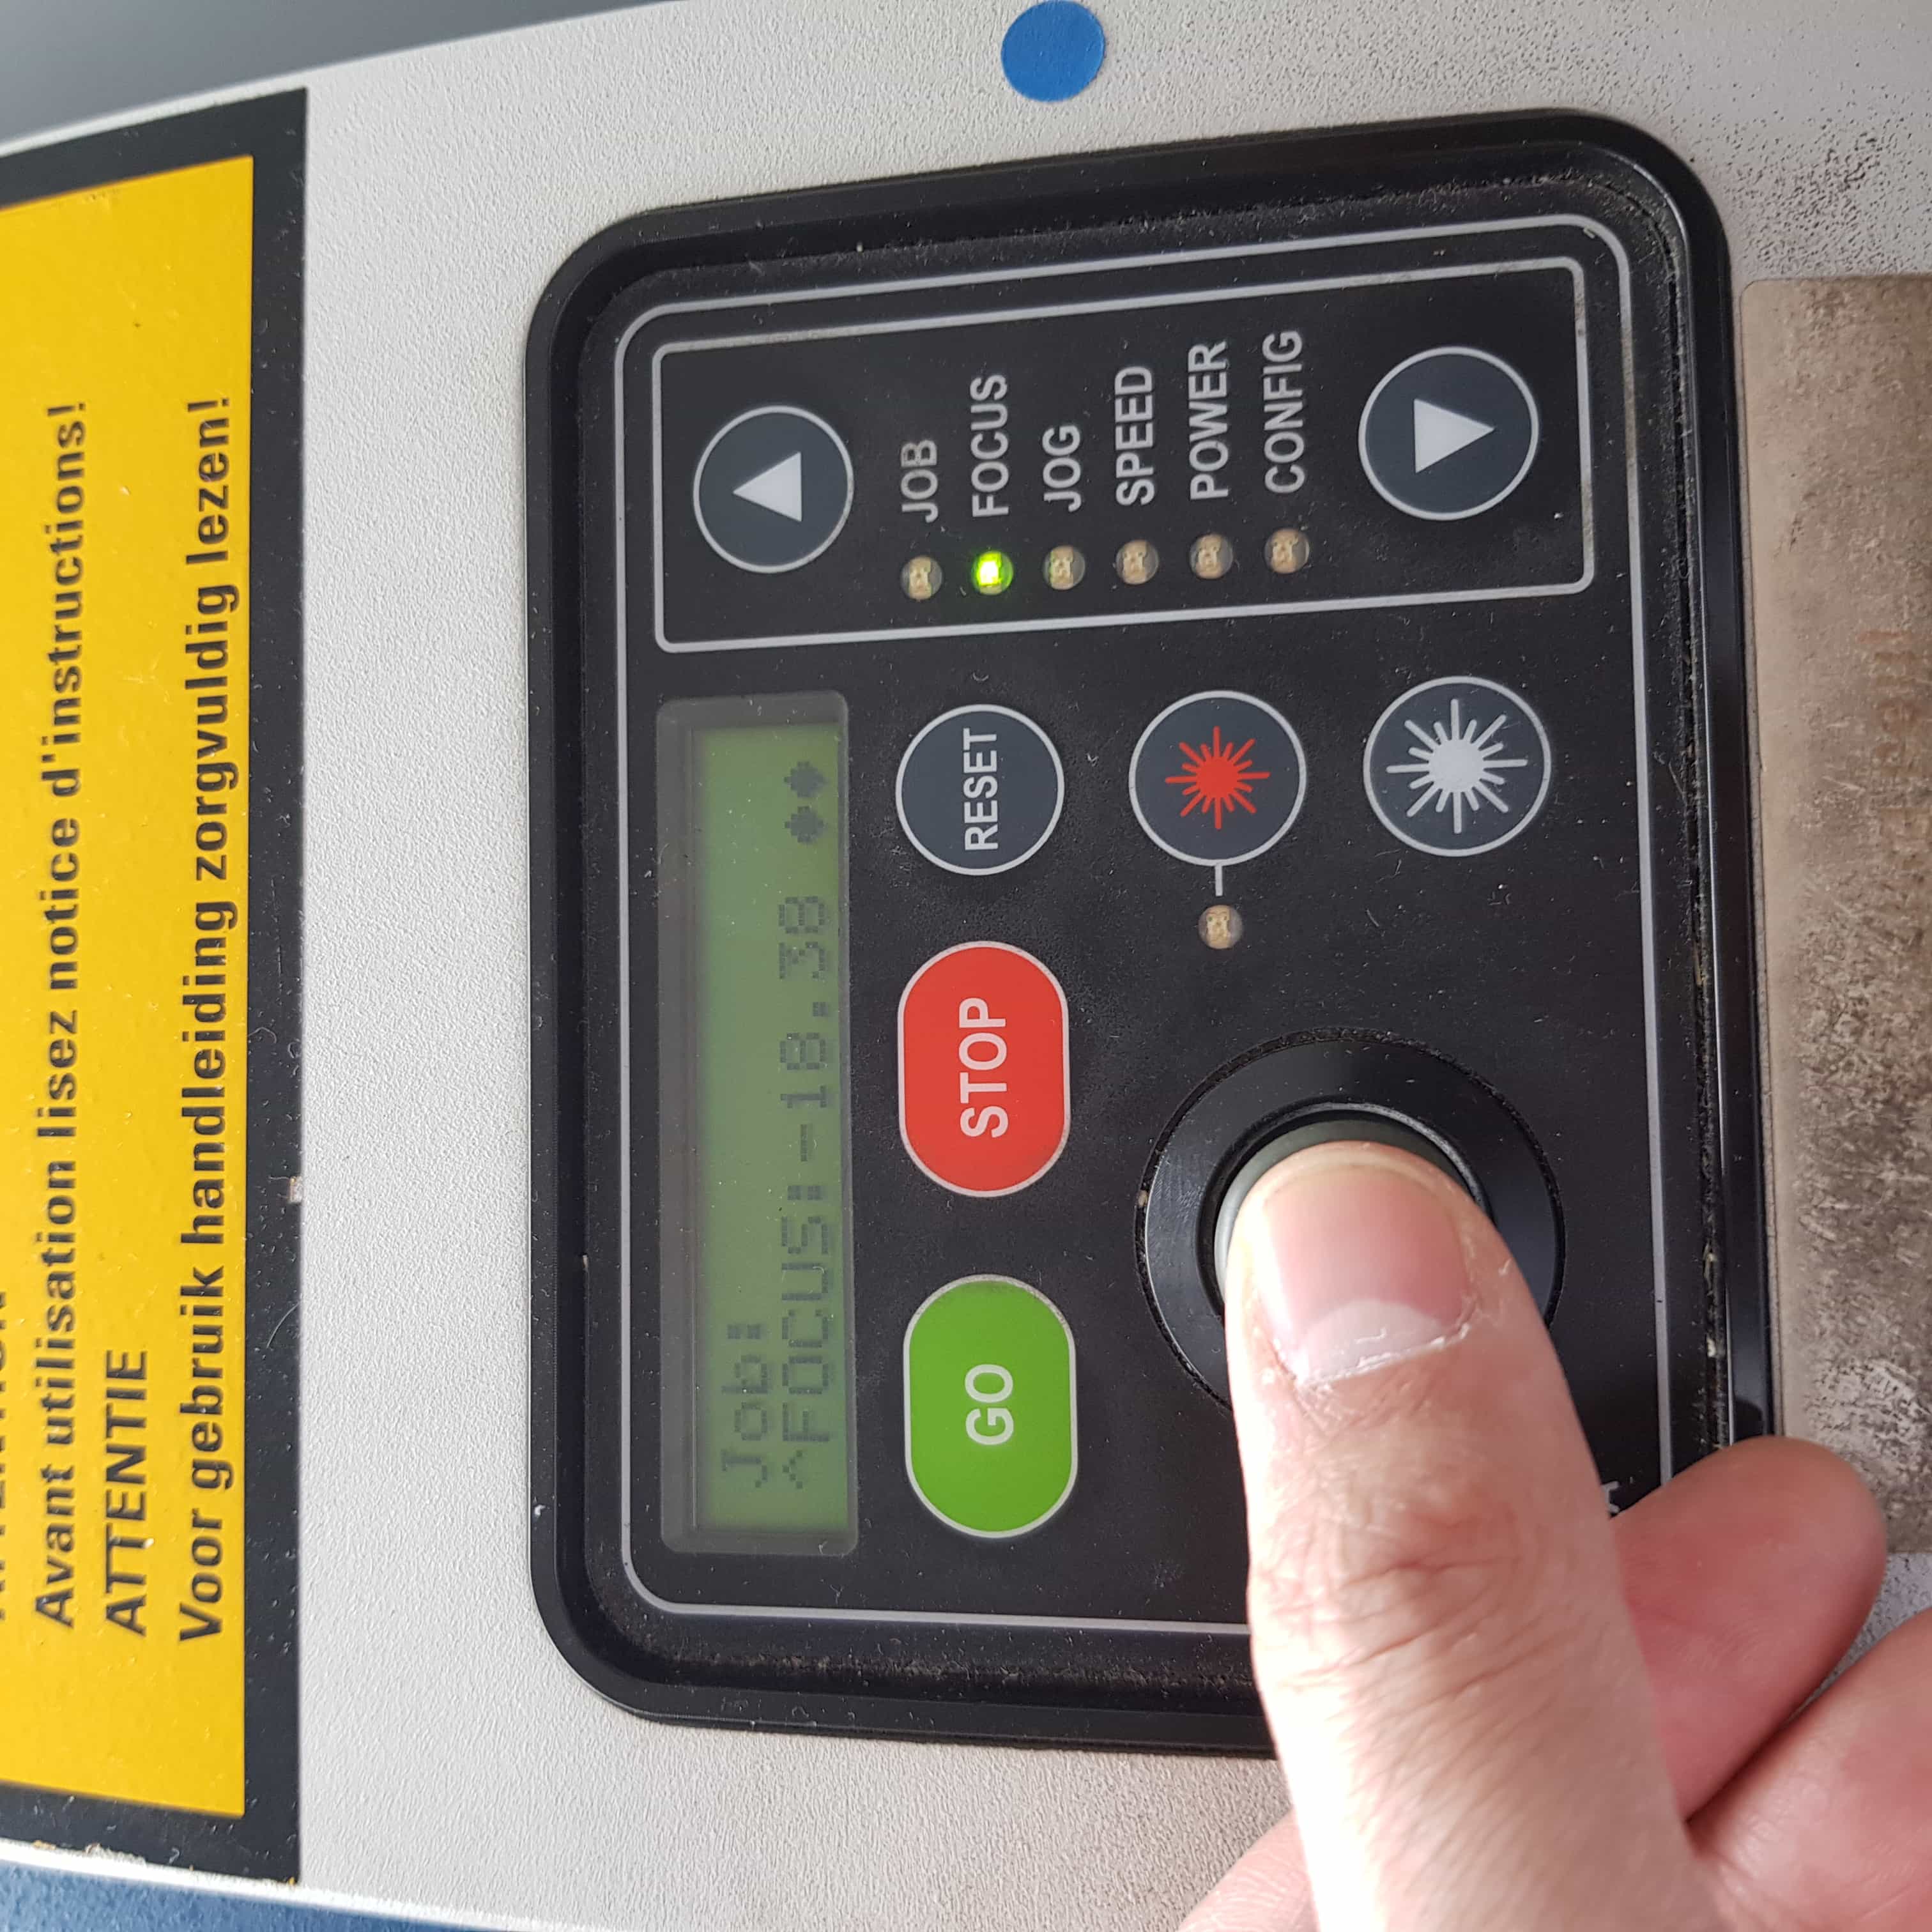
Then I will set the jog, the jog is the homepoint of the laserhead. It declares the point, where the cutter will start cutting. So if you have a piece of woood which has flaws anywhere you can just set the jog to another side. Navigate to "JOG".
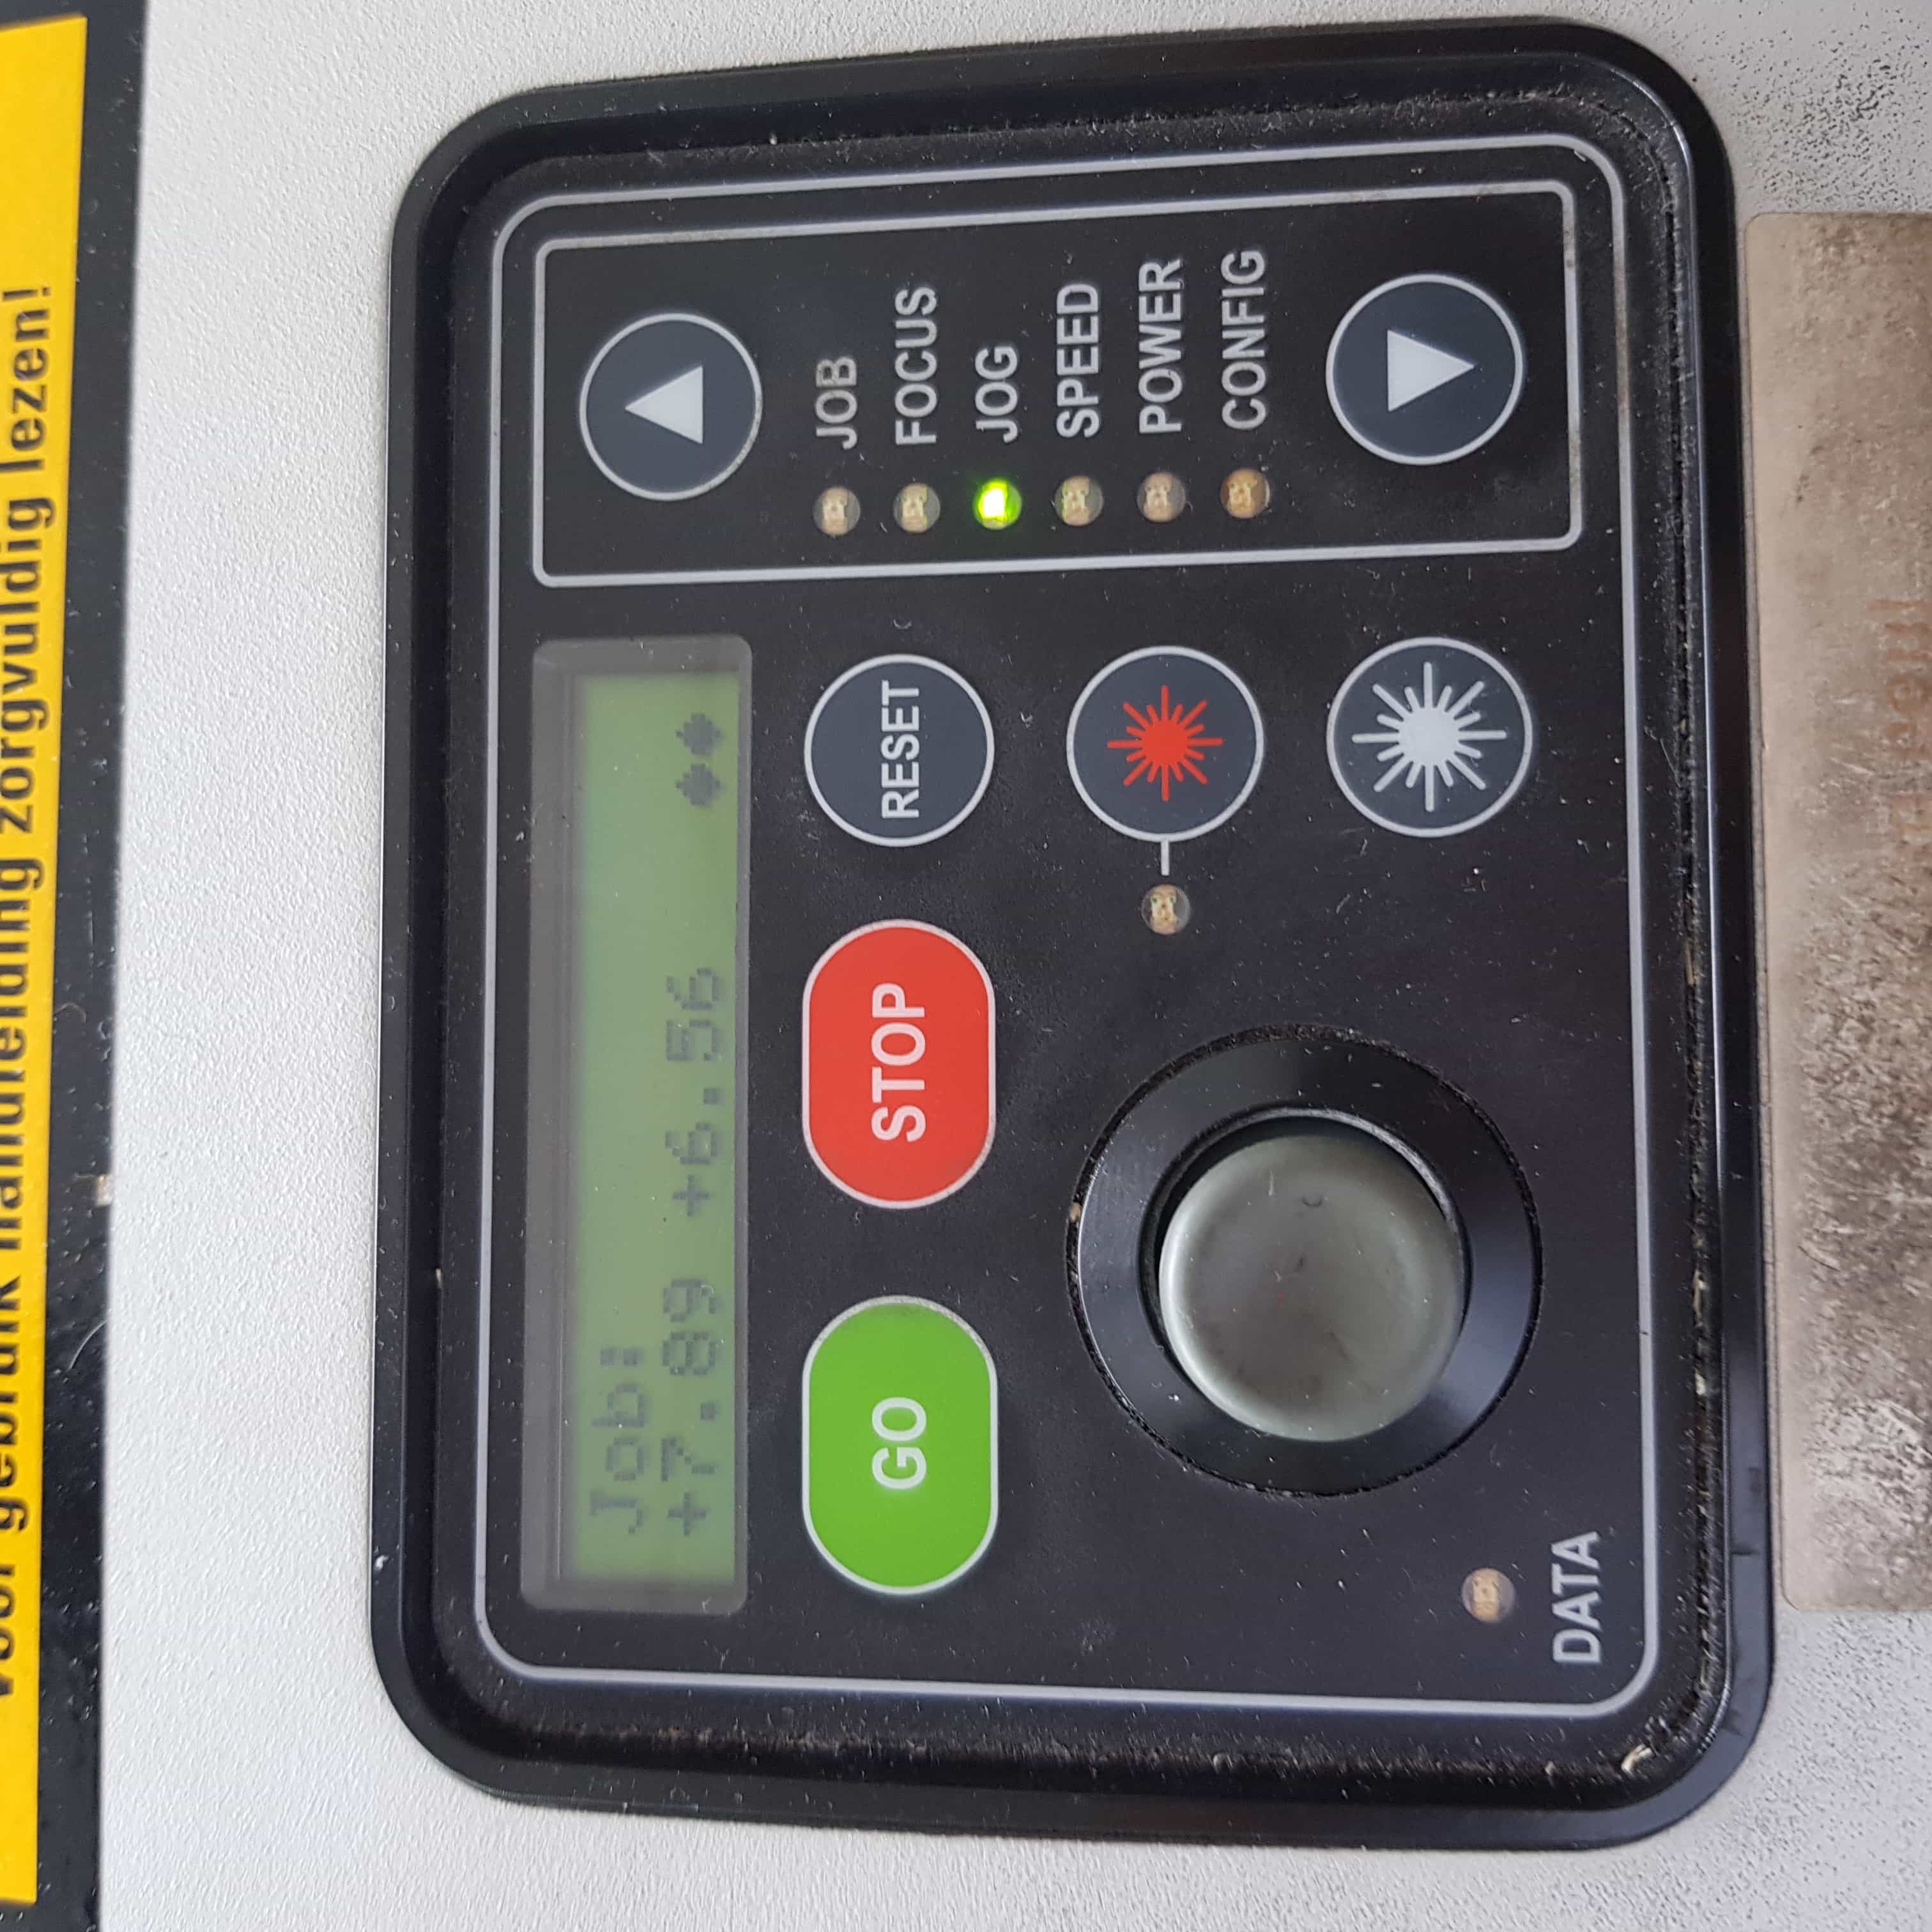
I will set the jog at the top left corner, because I would like to use all of the wood and the closer to the edge my job will start to cut the more space I will have left to cut other things. You should always be aware of wasting as less material as possible, so setting a good jog is always a thing to worry about.
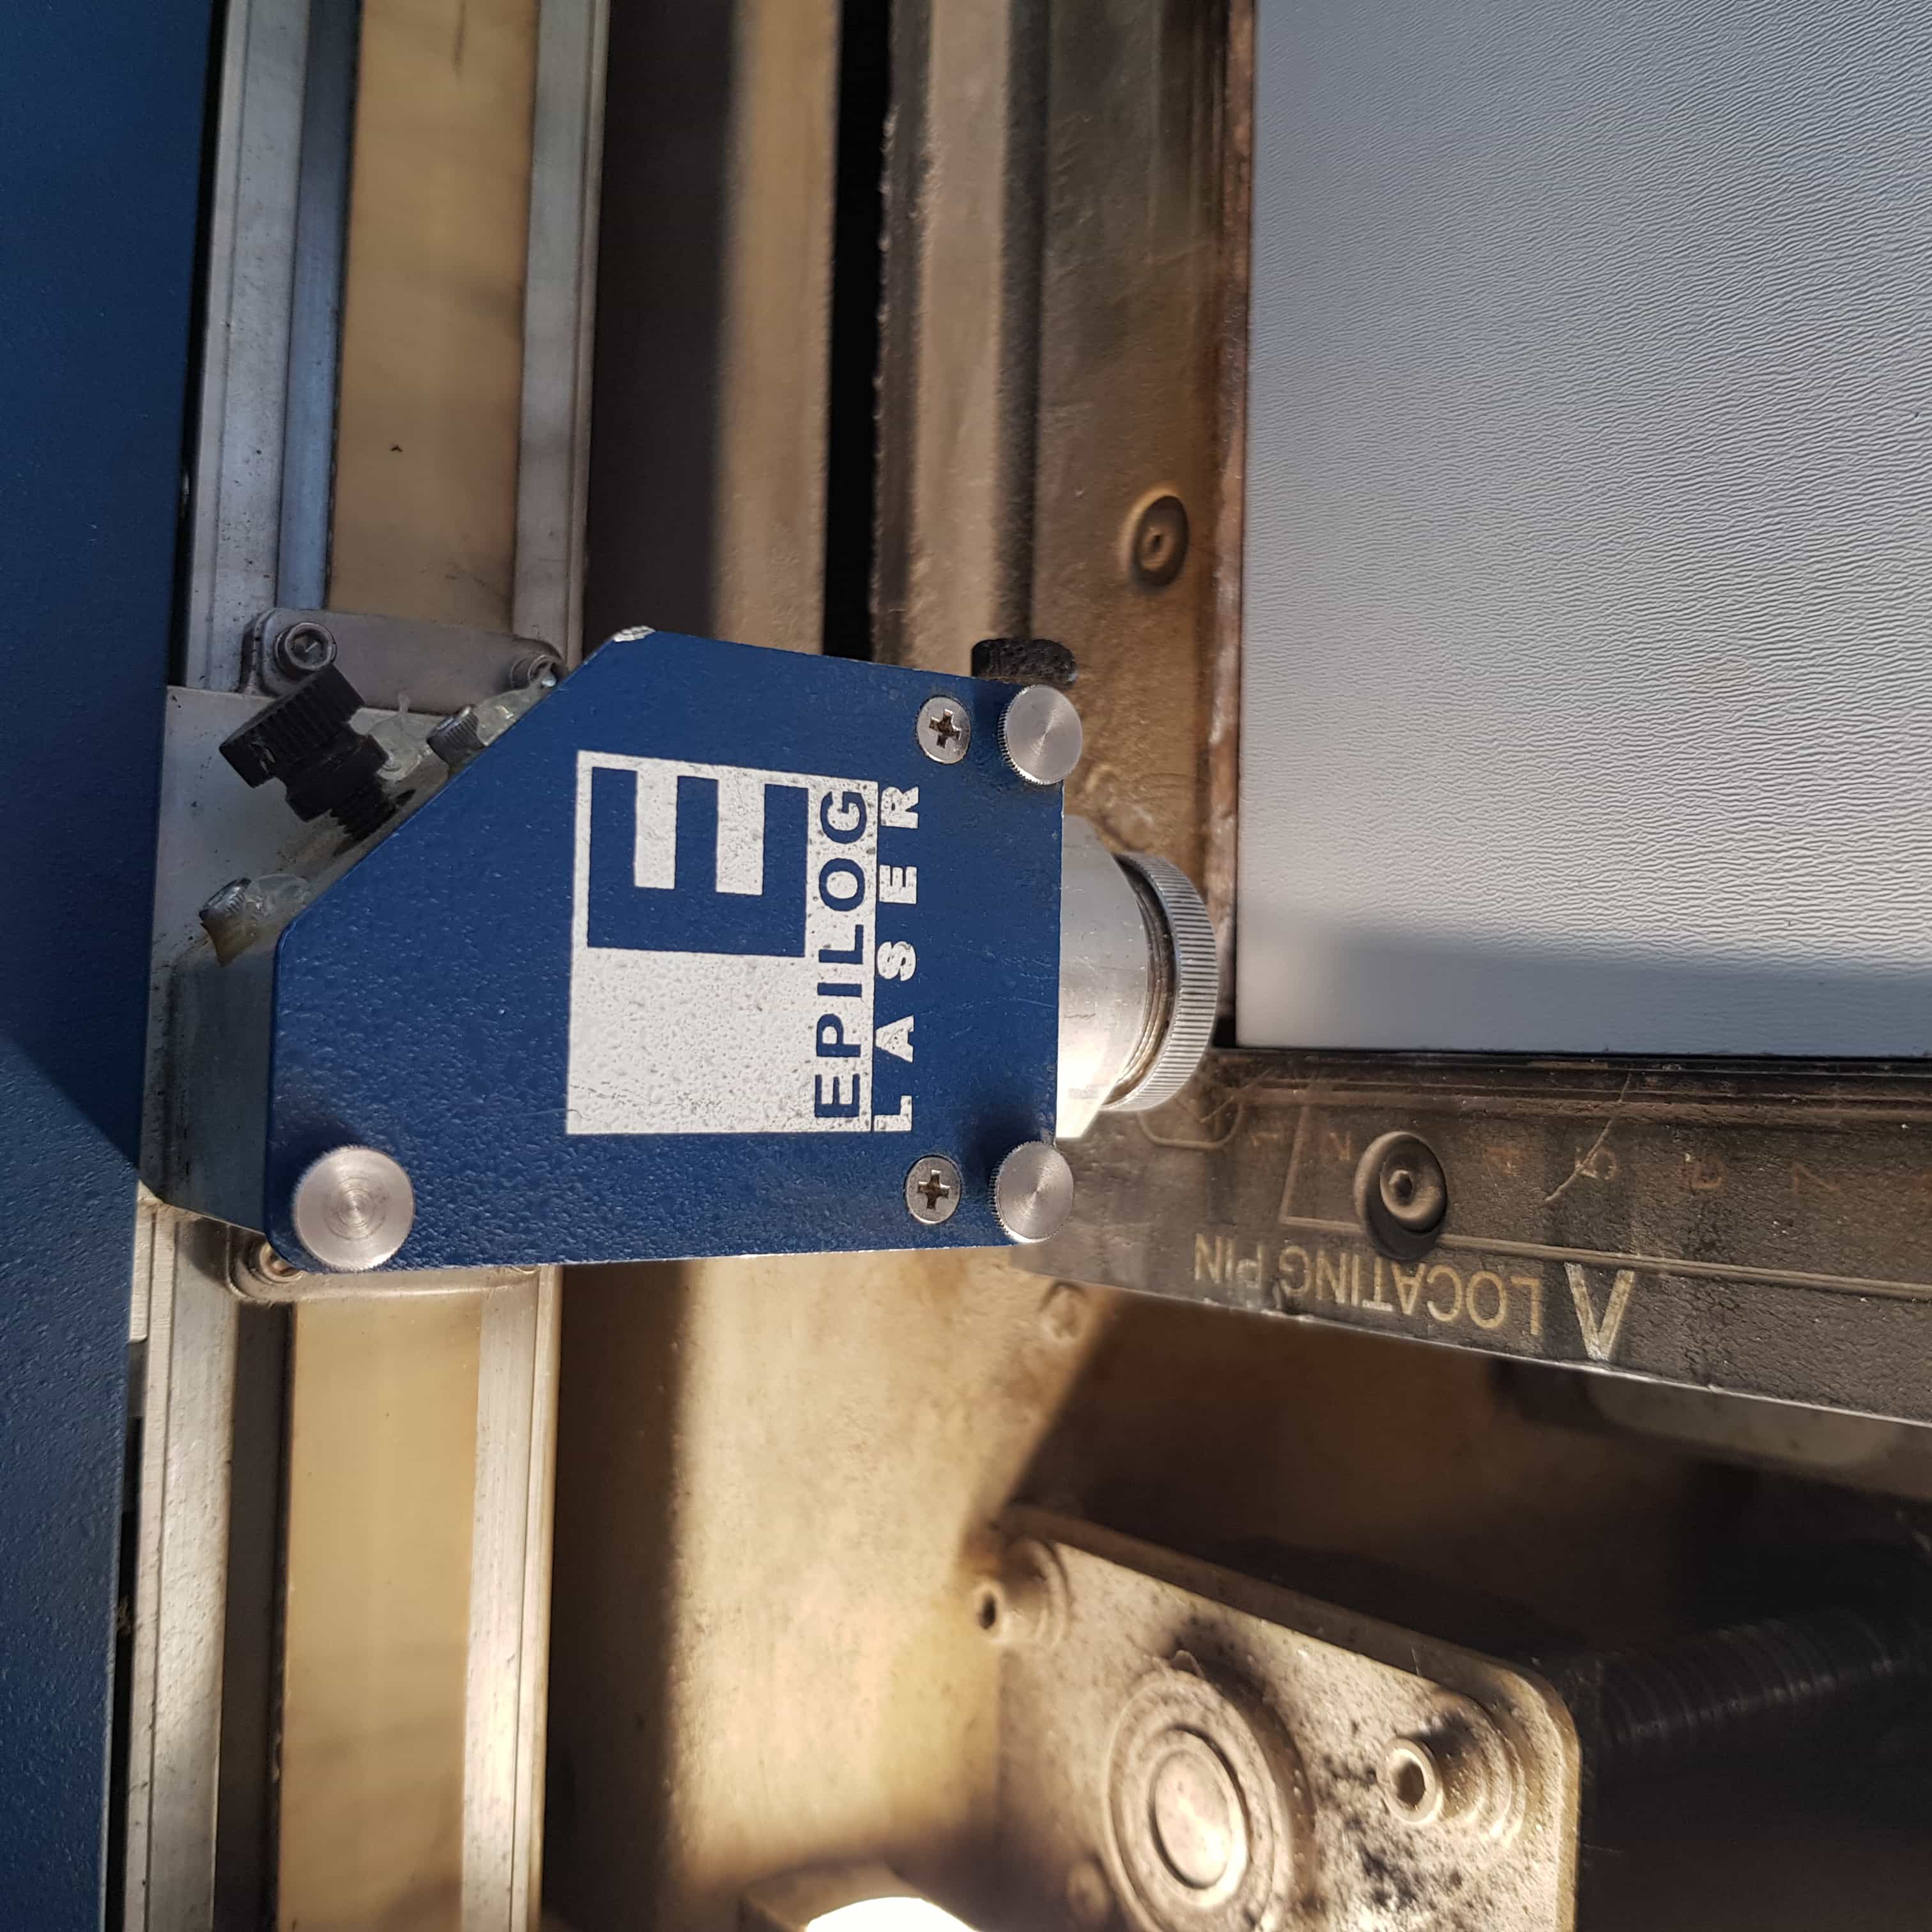
Now again by pressing on the analogstick, I can set the jog. The x and y coordinate on the display tells me how much we are away from the top left corner, which is the zero spot.
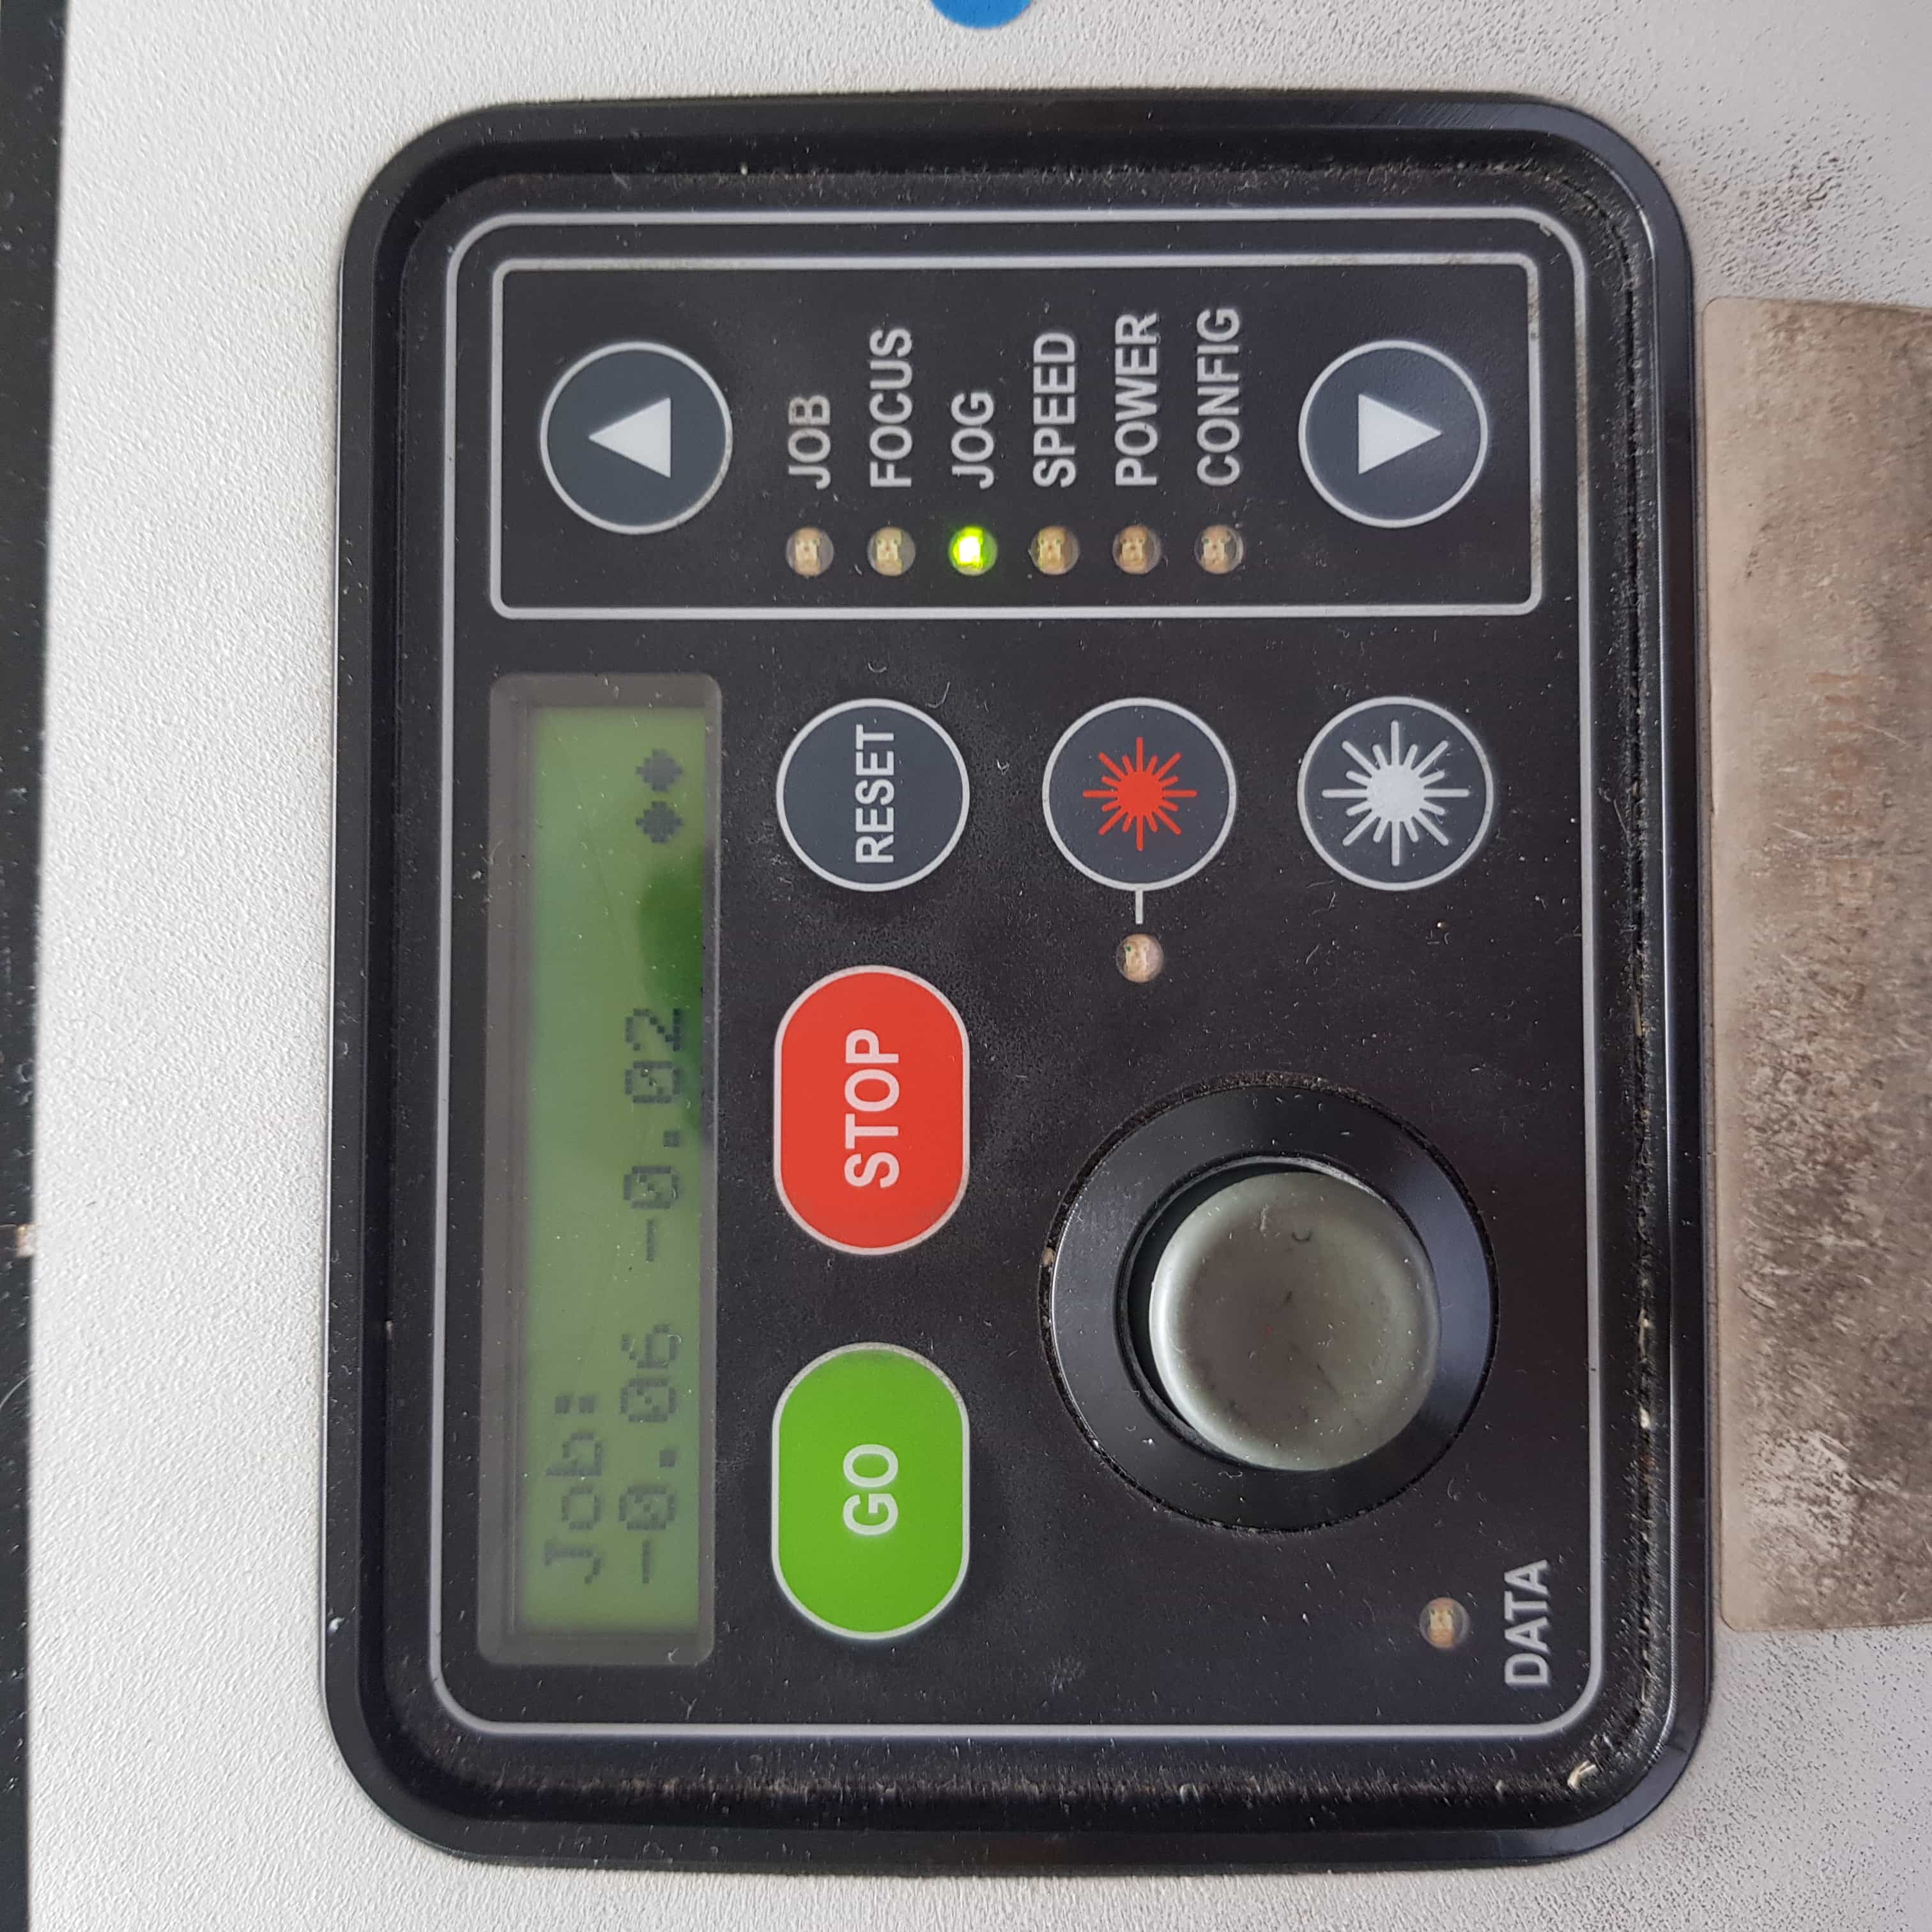
To send a job to the lasercutter I have to open my design on a computer which is connected to the lasercutter. I personally like to use rhinoceros to send my jobs to the lasercutter, but any other software will do the same job because it just sends a print to the lasercutter.
Open the design in rhinoceros or any other software and navigate to File -> Print. On the left side you have to select the lasercutter as a printer.
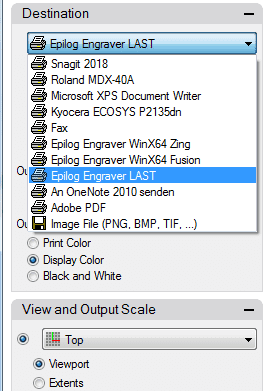
Then I will navigate to preferences to change the settings of the lasercutter.
I will have to change a few parameters to do a succesfull cut. First of all change Raster to Vector. When rastering is selected the lasercutter will just engrave but won't cut. Be sure to have it on vector when you want to cut. I will use the following vector settings
POWER: 100%
SPEED: 14%
FREQUENCY: 30Hz
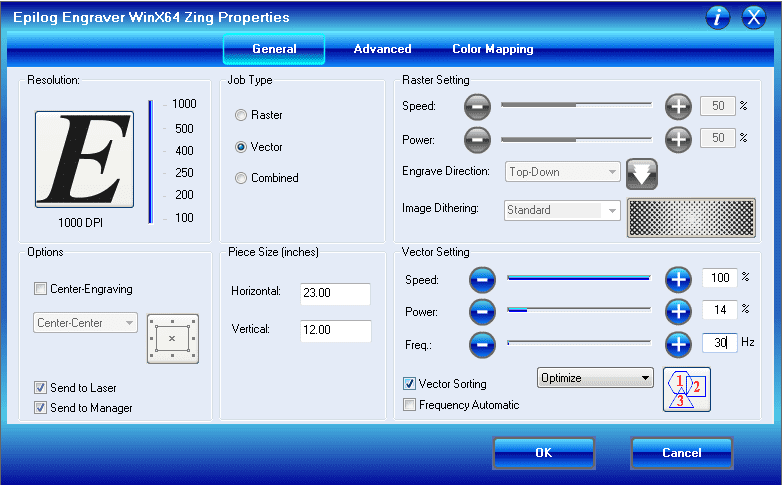
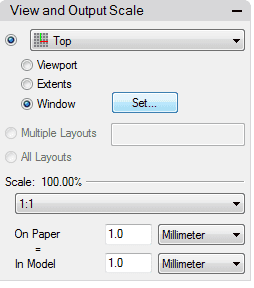
Then I will set the window that will be printed, I have to do this because sometimes not the whole design is in the window, due to your placement in the software. I select window and click on Set.
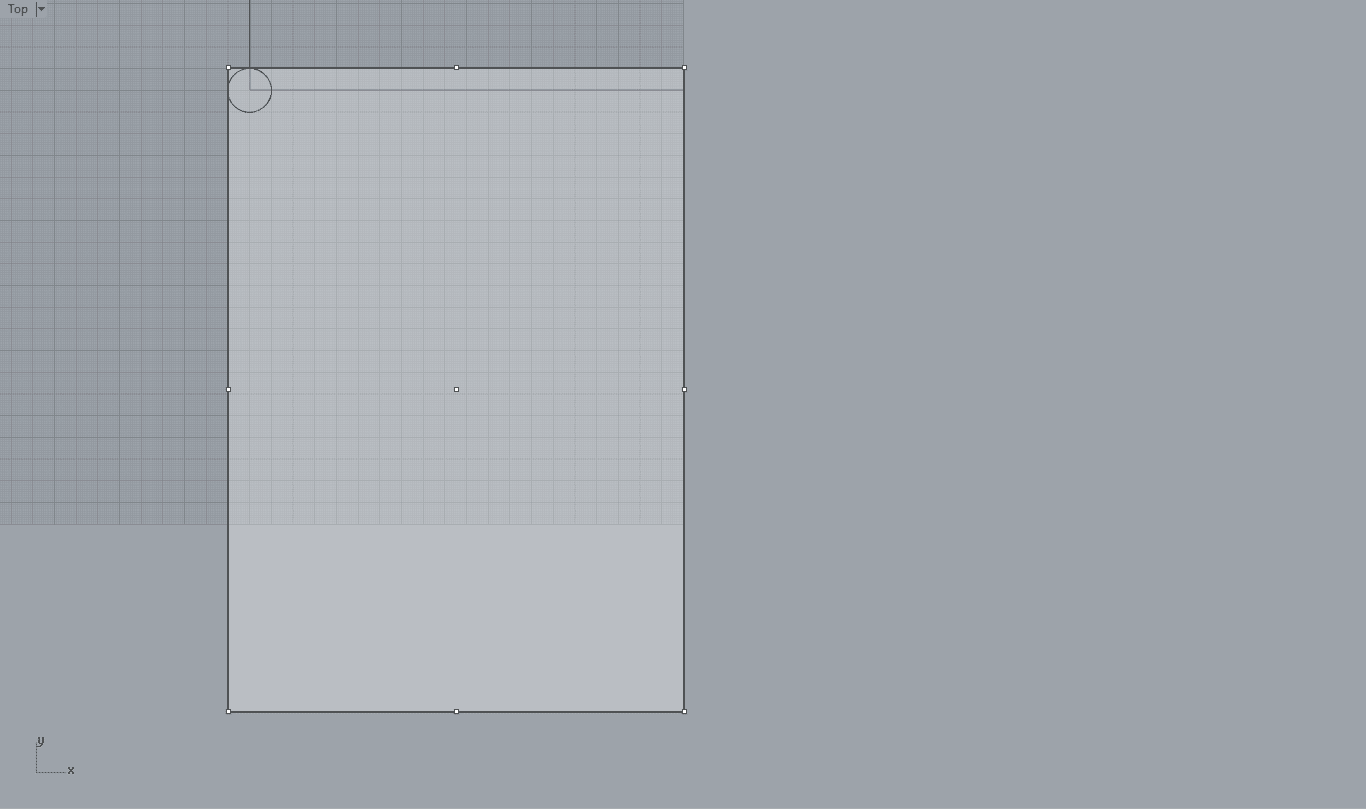
Now I drag the grey window according to my design, so that the things I want to cut are located in the top left corner. The grey window shows the cuttingbed of the lasercutter, if anything is bigger than that grey window it won't fit in the lasercutter and you have to split it.
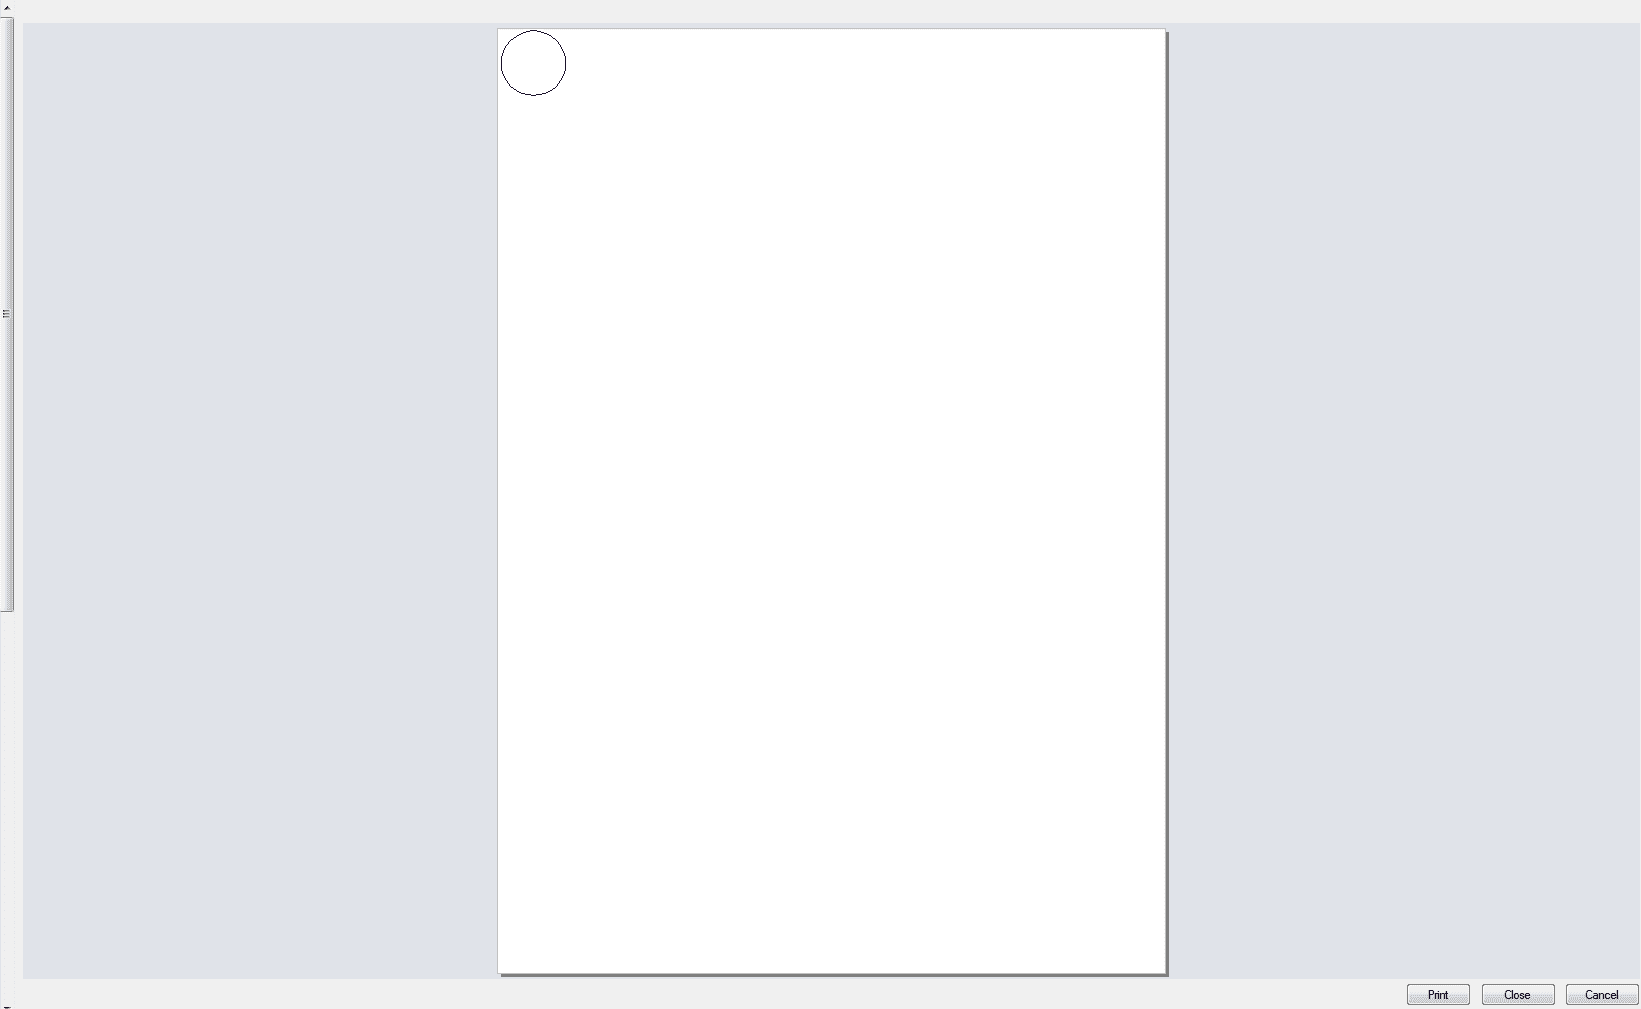
By pressing enter I can set the window and I am able to see it now in the print window. Then I just click on the print button to send the job to the laser cutter.
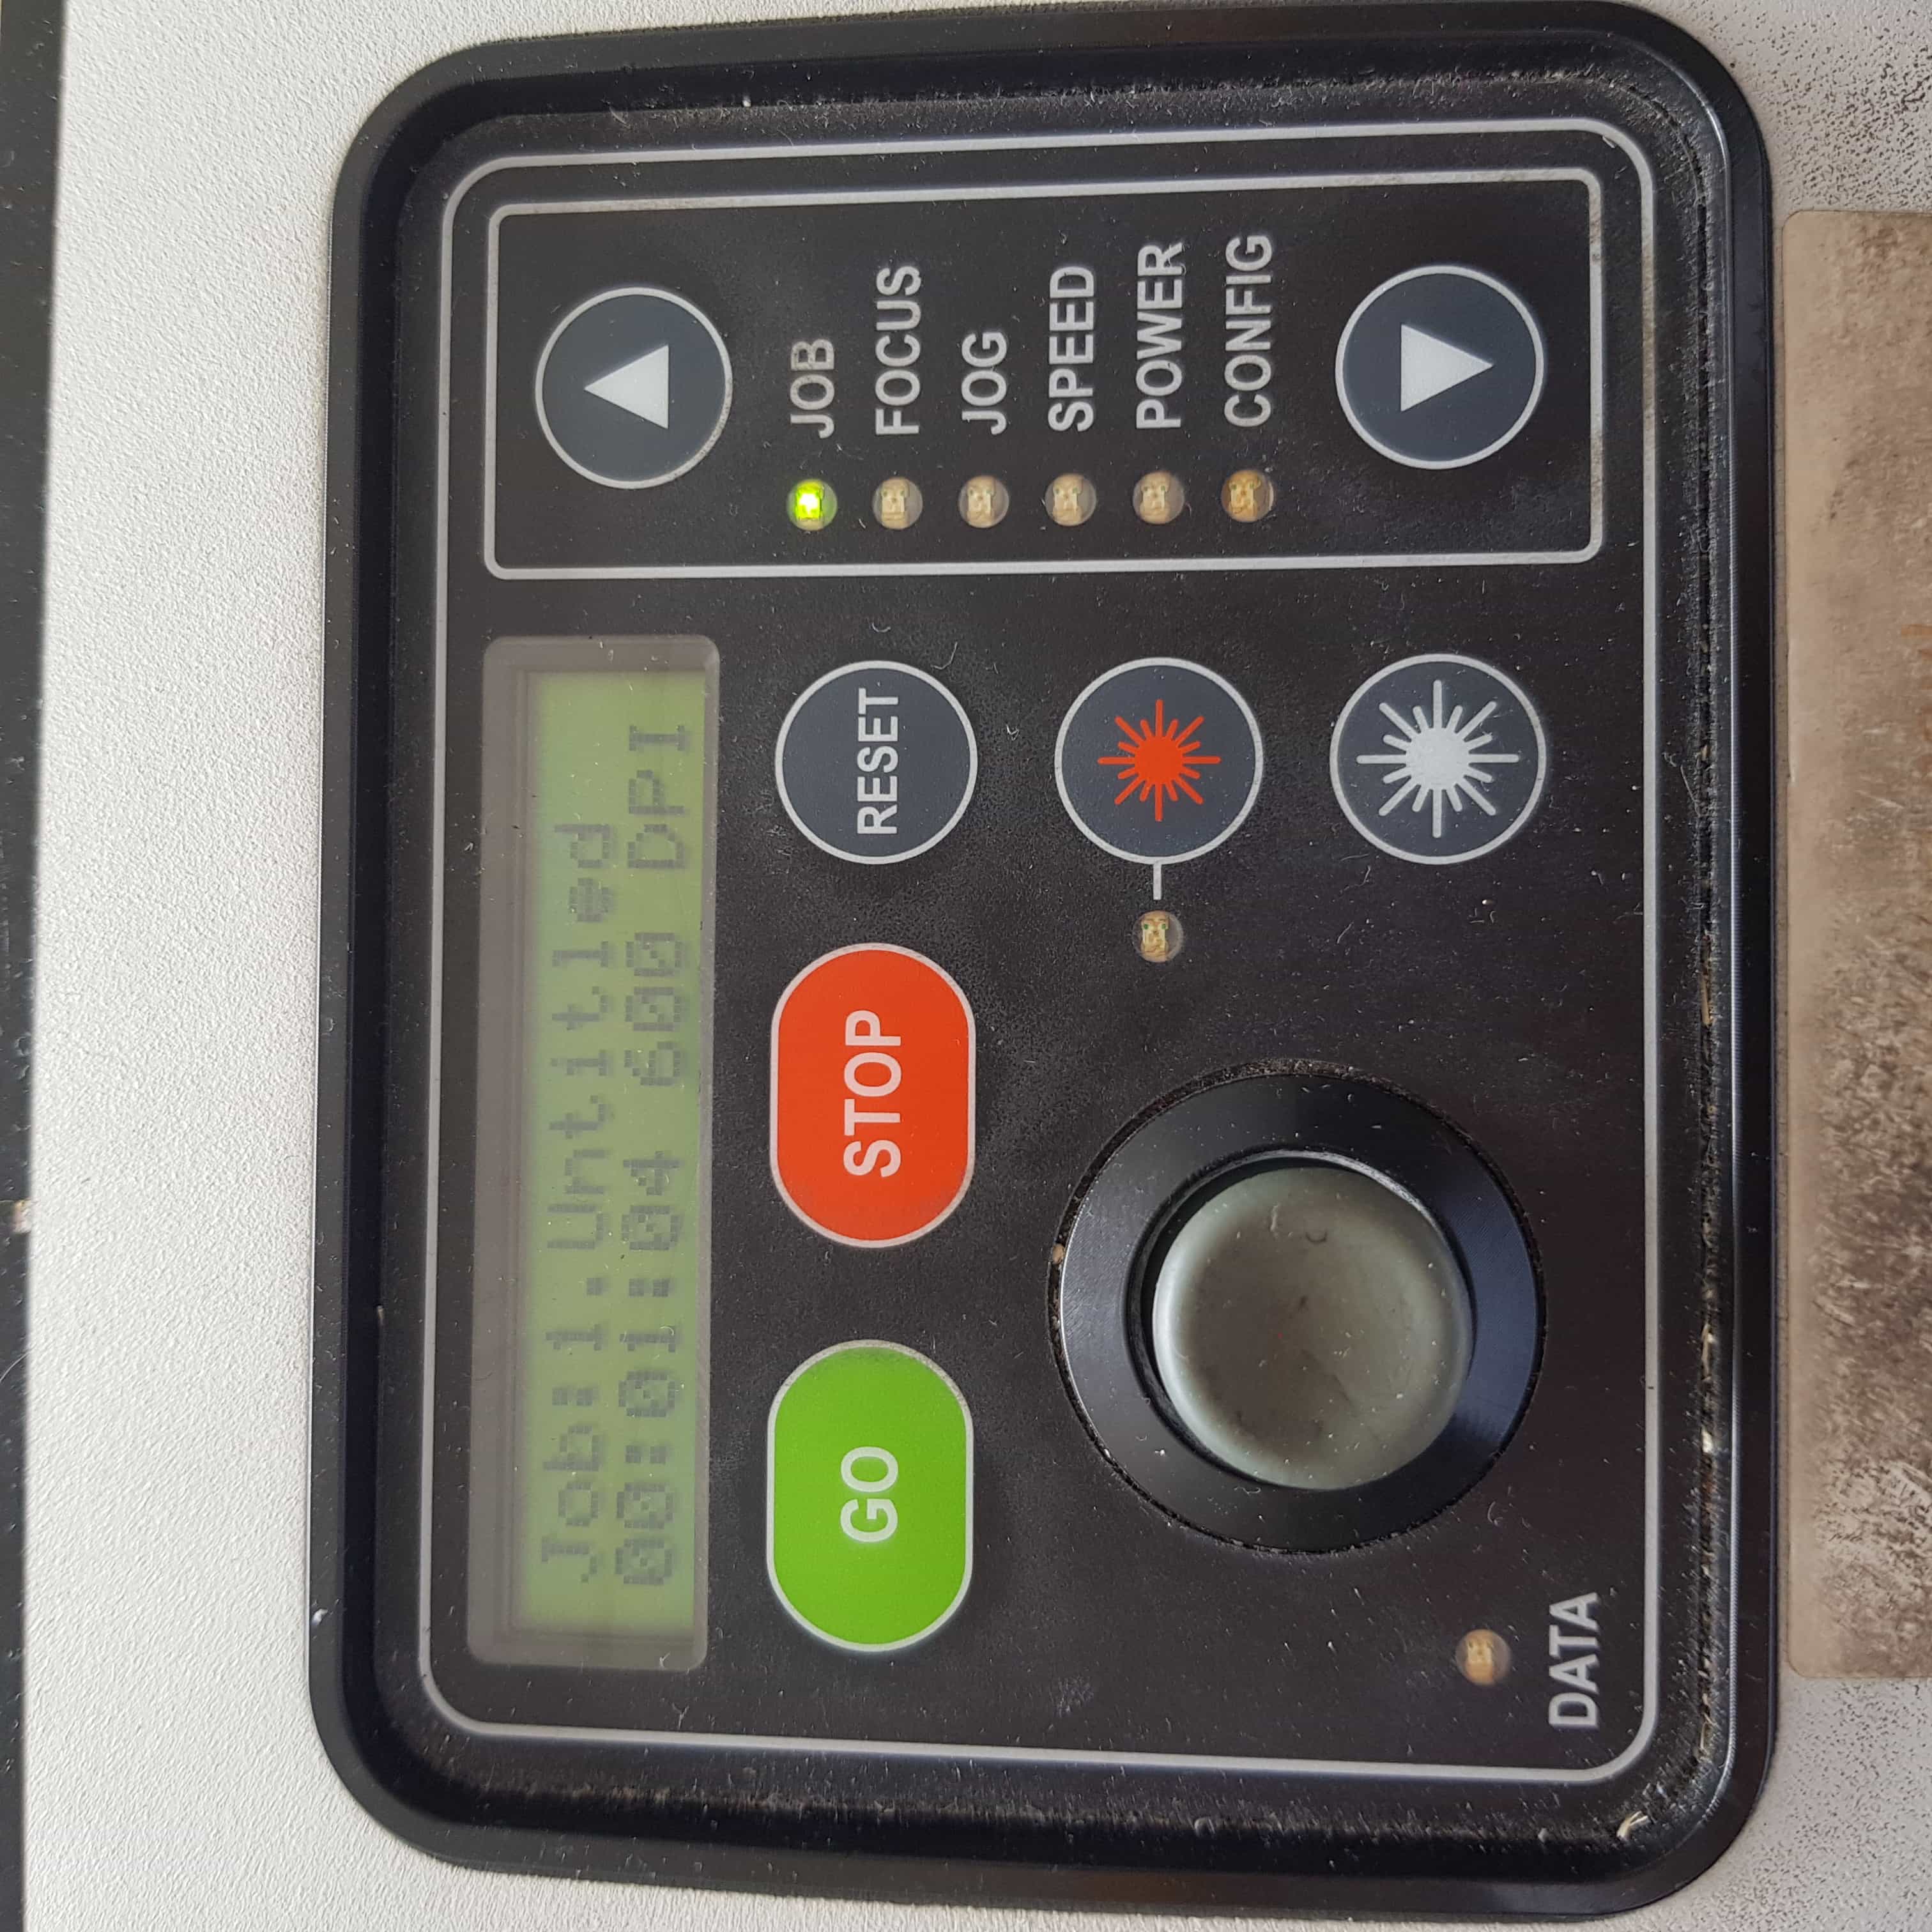
Now if we check the job list of the lasercutter navigating to "JOB", the job should be displayed with a job duration time.
Before I can start cutting I have to turn on the vacuum, that will suck the air out of the lasercutter during the job. It's very important to turn on the vacuum otherwise the laser could start a fire on the material while cutting it.
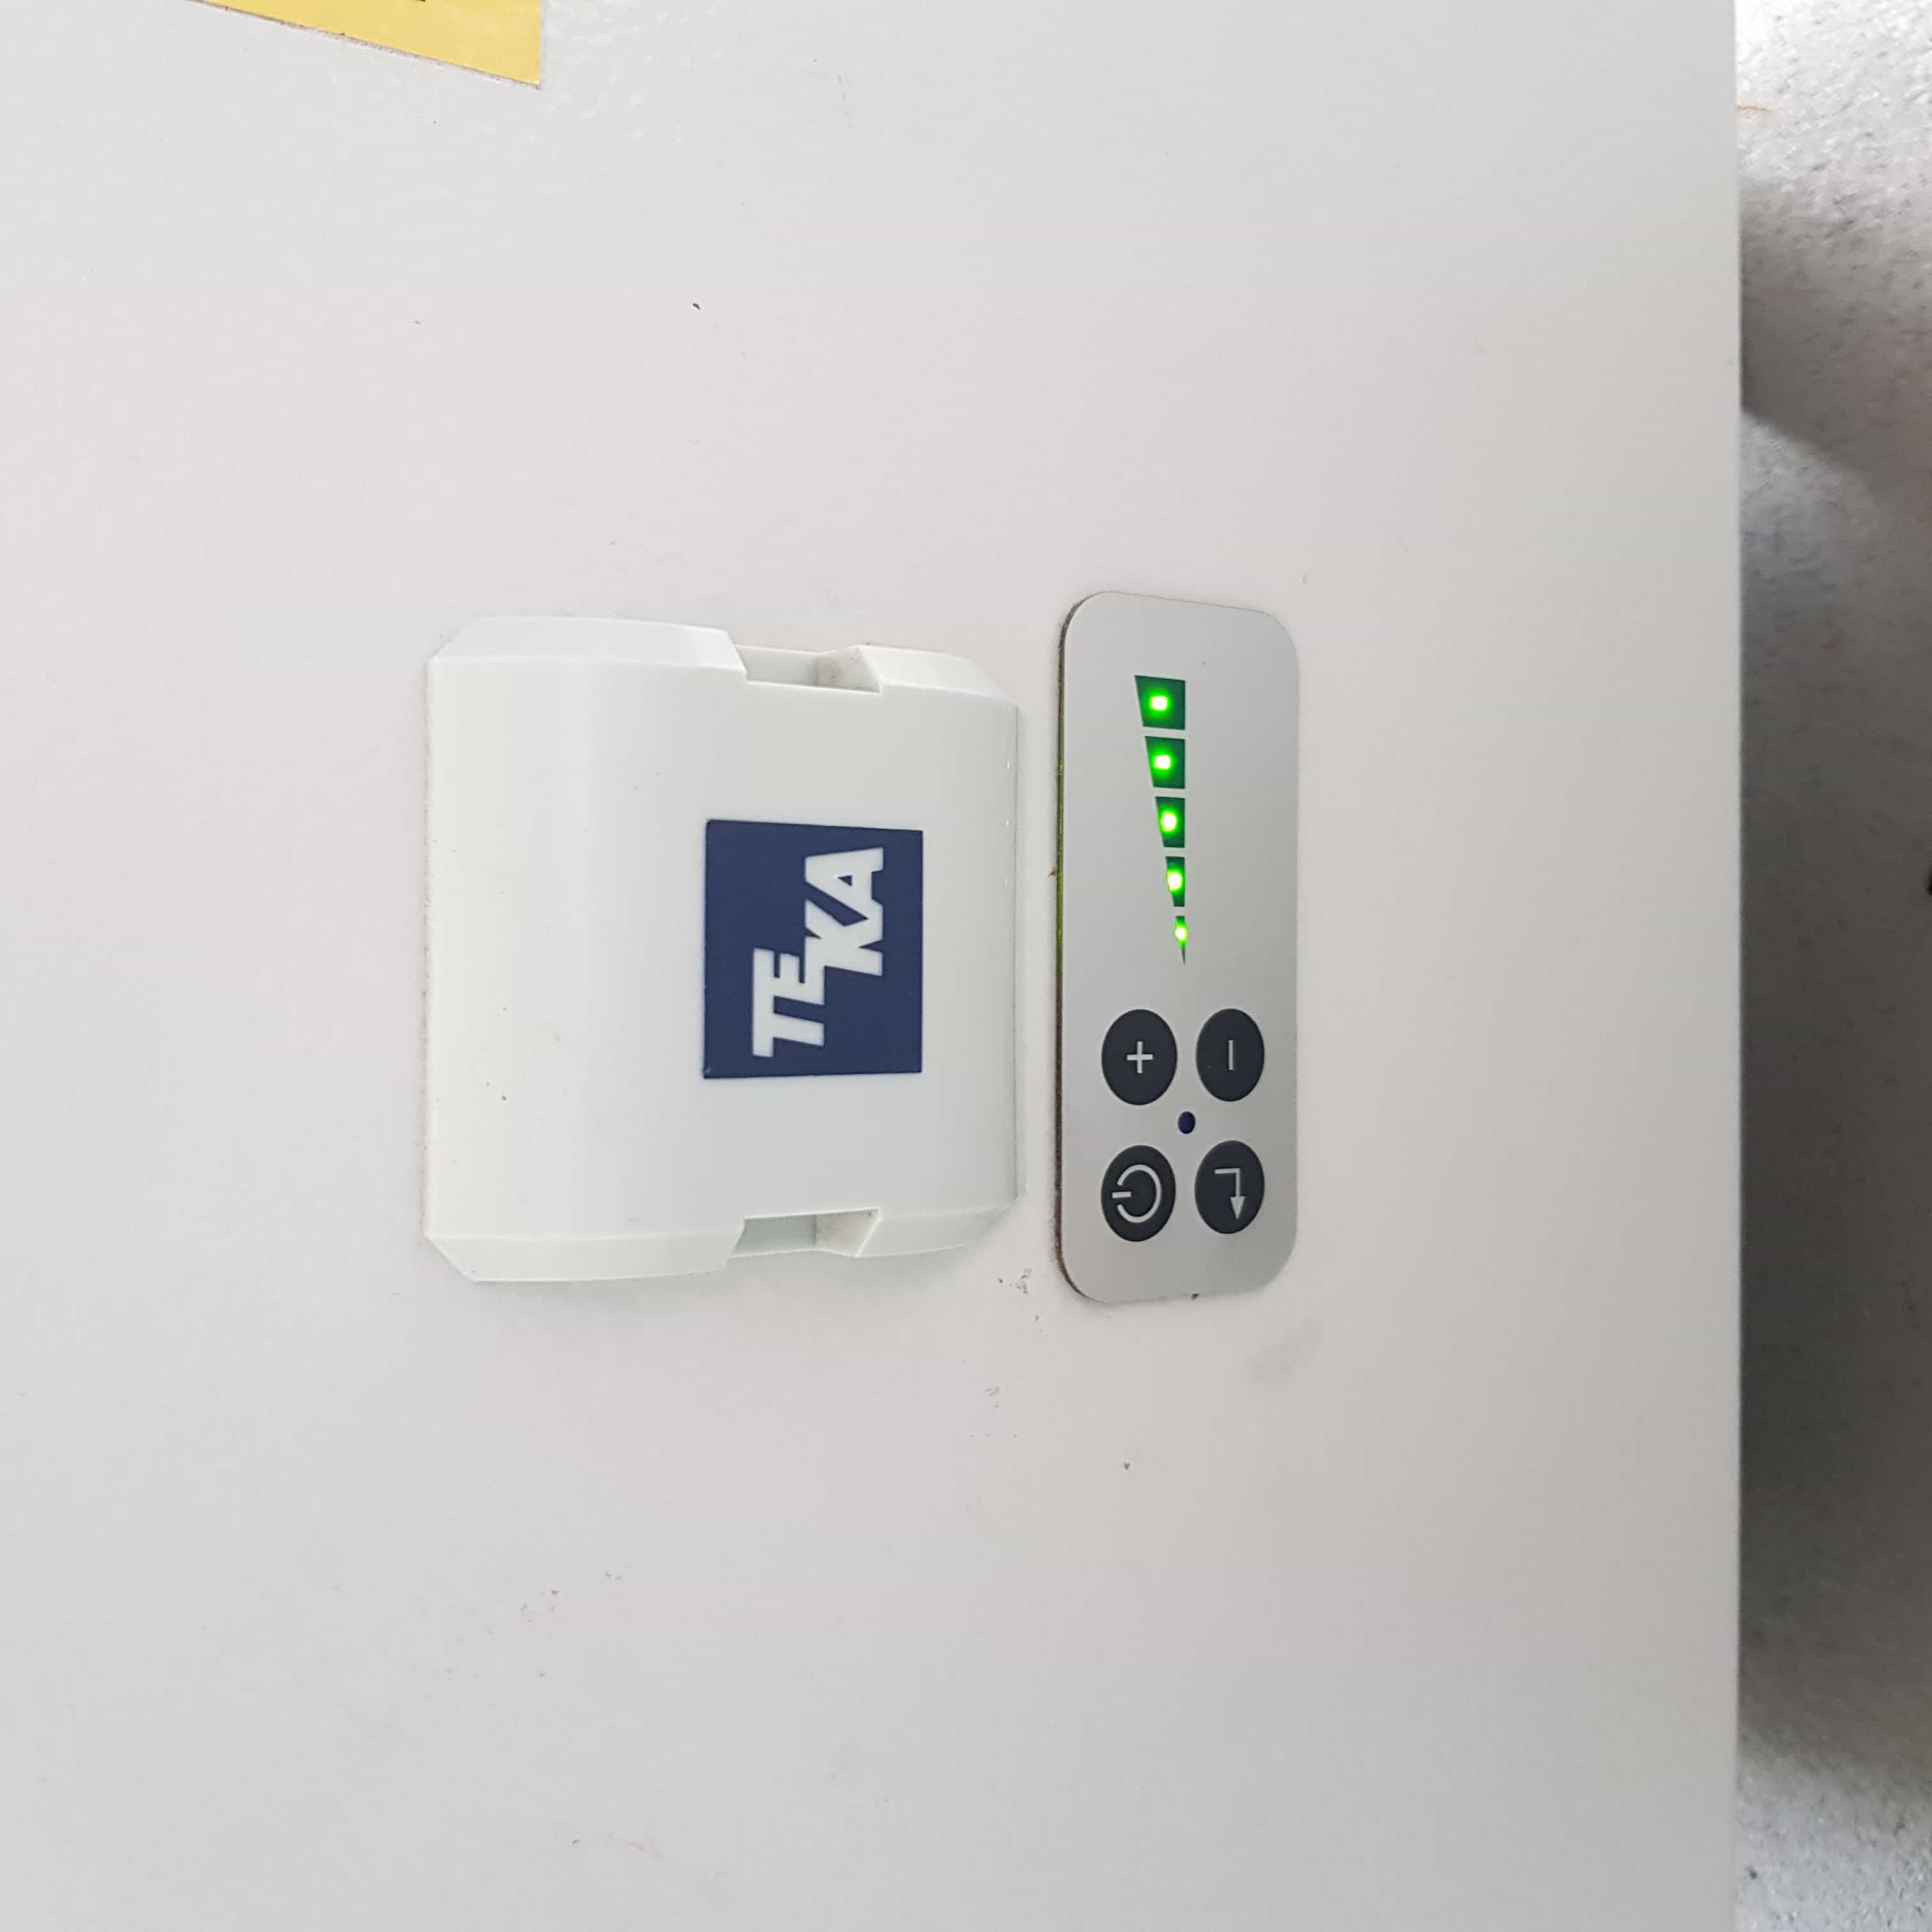
Now the only thing left is to start the job by pressing on "GO". I recommend everyone to stay at the lasercutter while the job is running, cutting flammable materials using a laser always brings some kind of risk with it and failures can always happen, even when it is not your fault the machine can somehow fail.
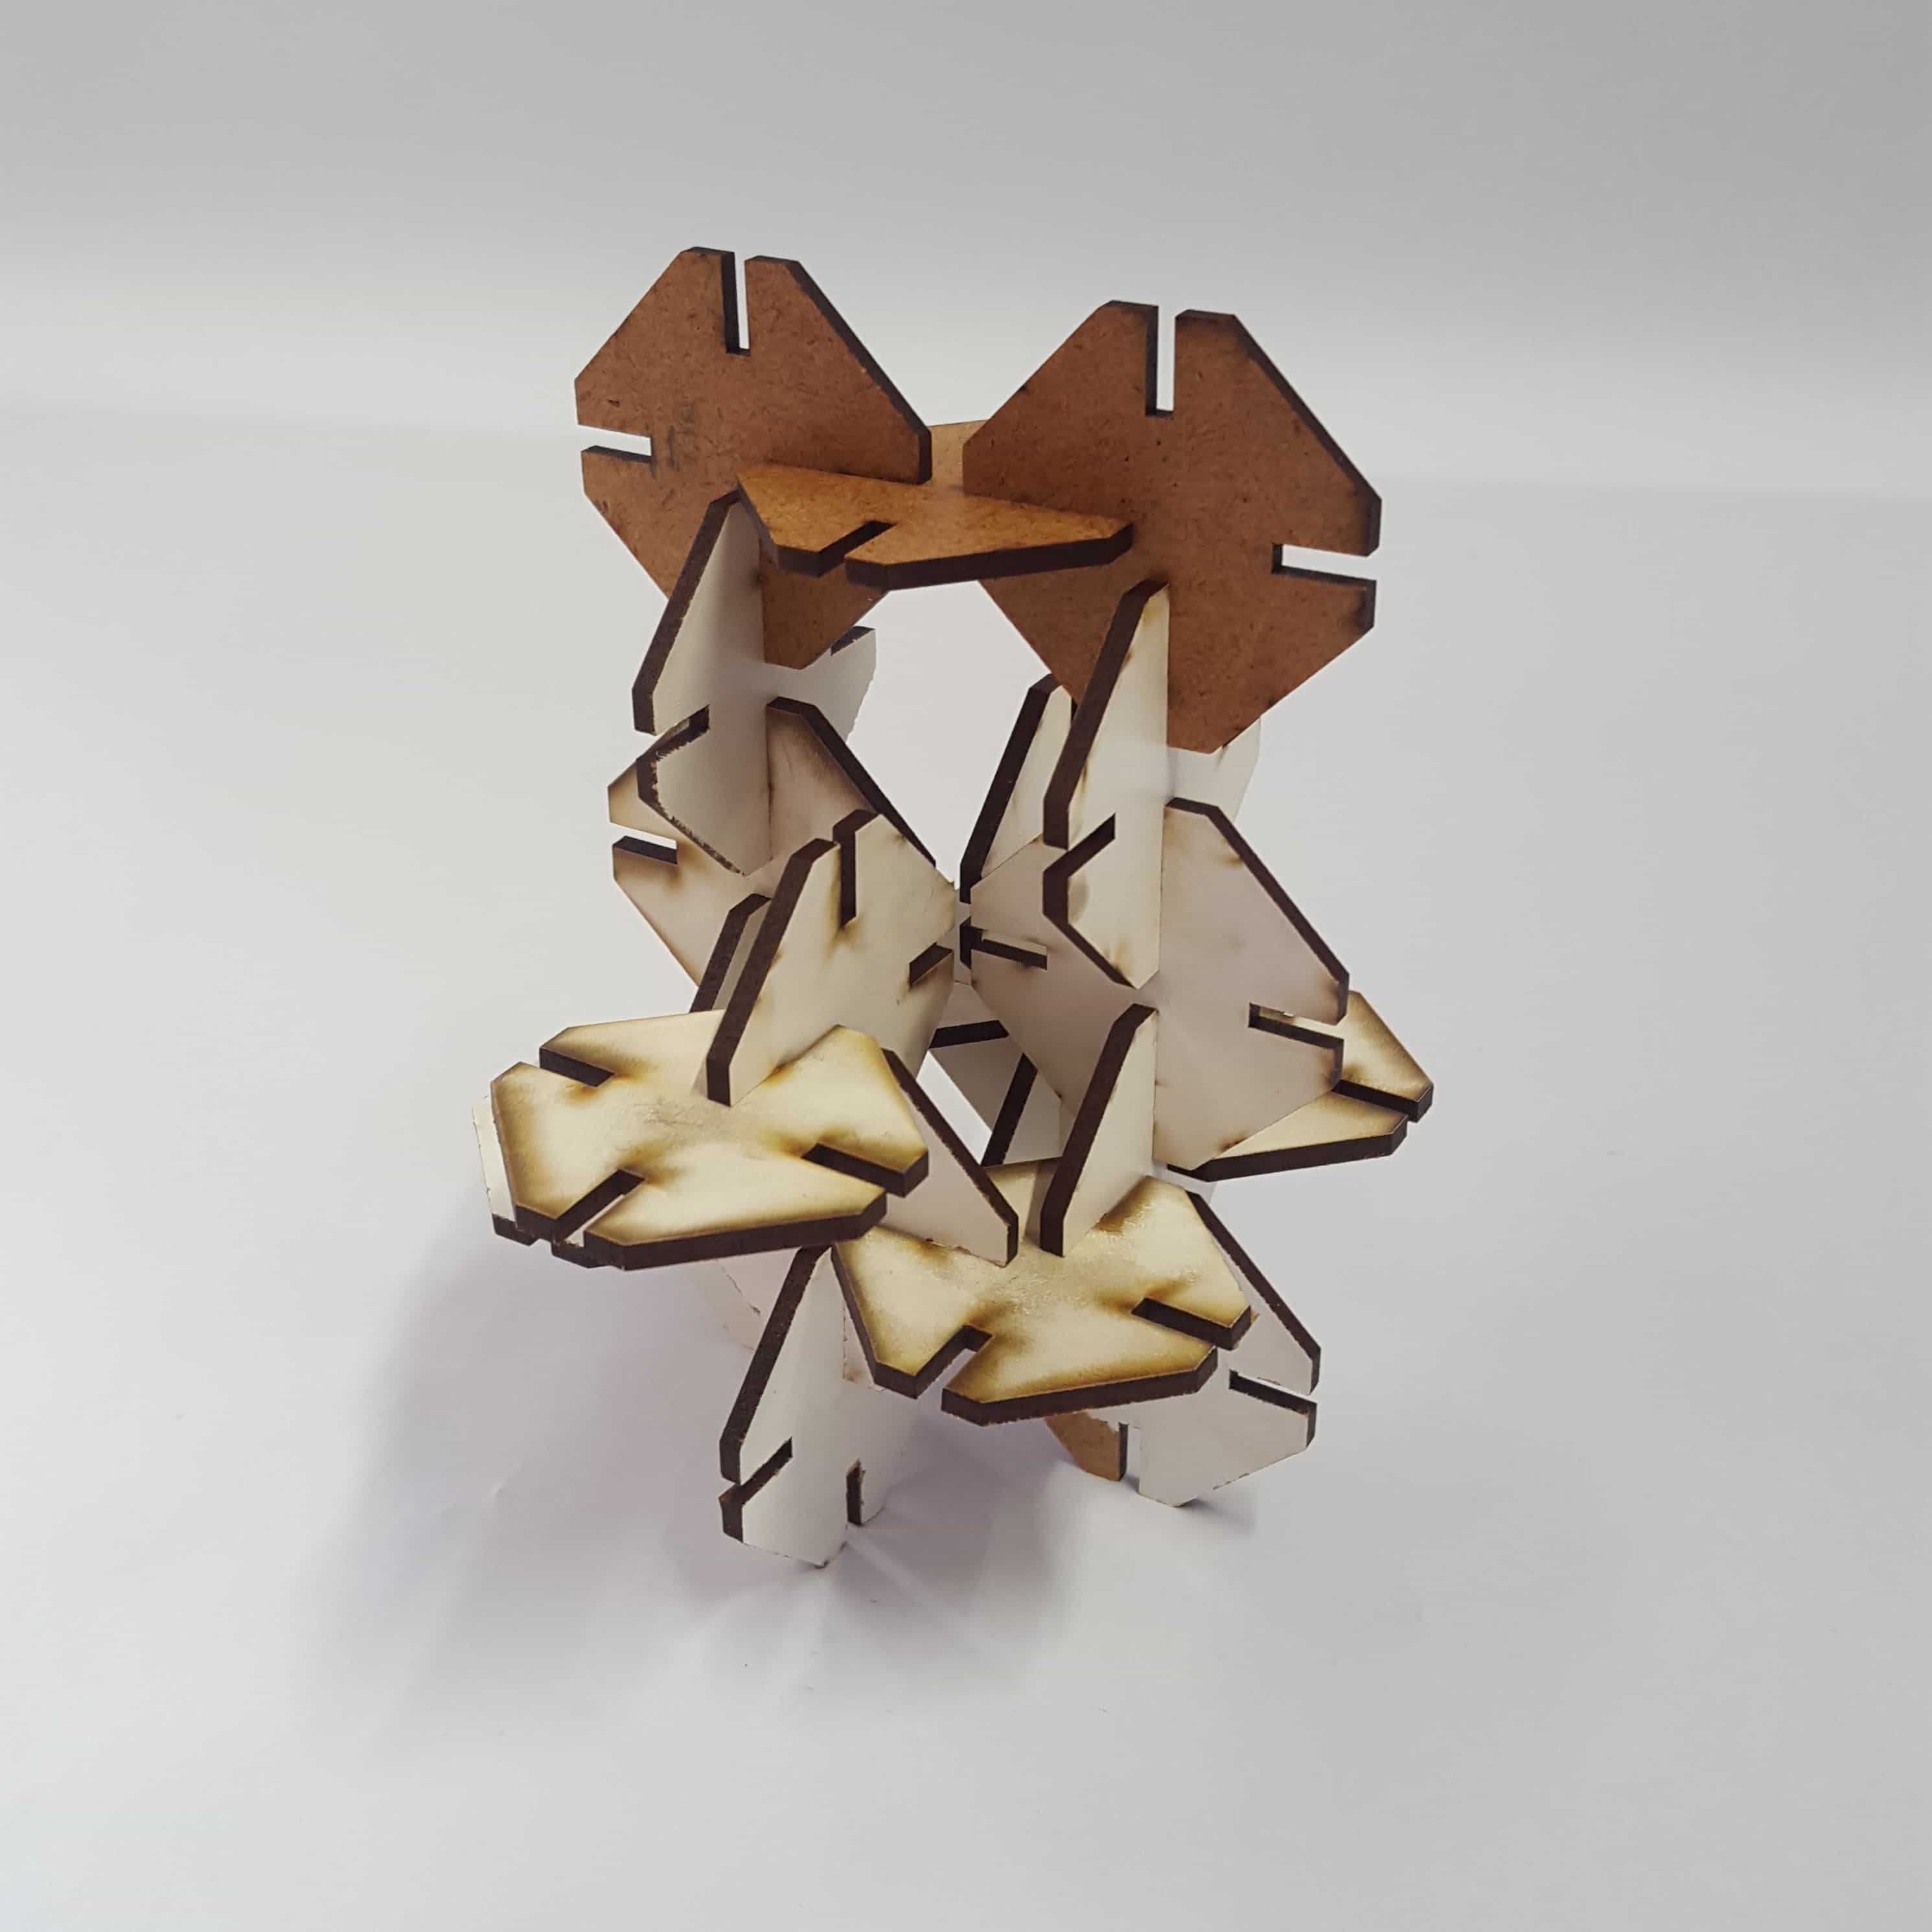
The result speaks for itself, it came out to stick very strong together.
The second part of our assignment was to do a vinyl cut, using a computer controlled vinyl cutting machine. But first of all I had to do a design of something I would like to cut. I decided to do a simpple font to attach it to my laptop.
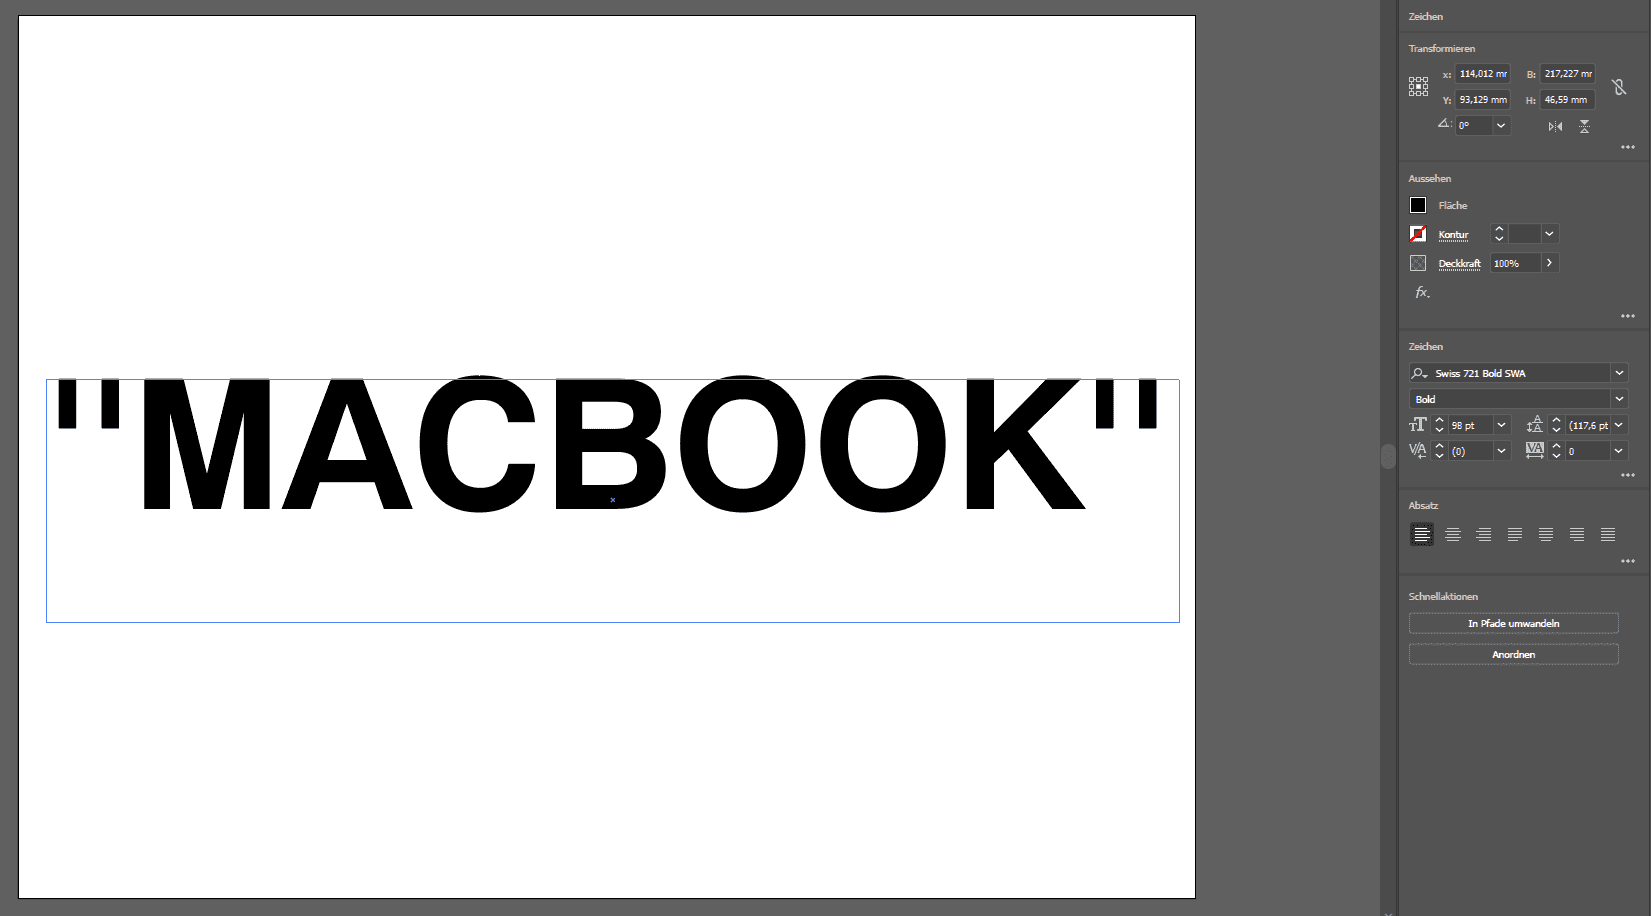
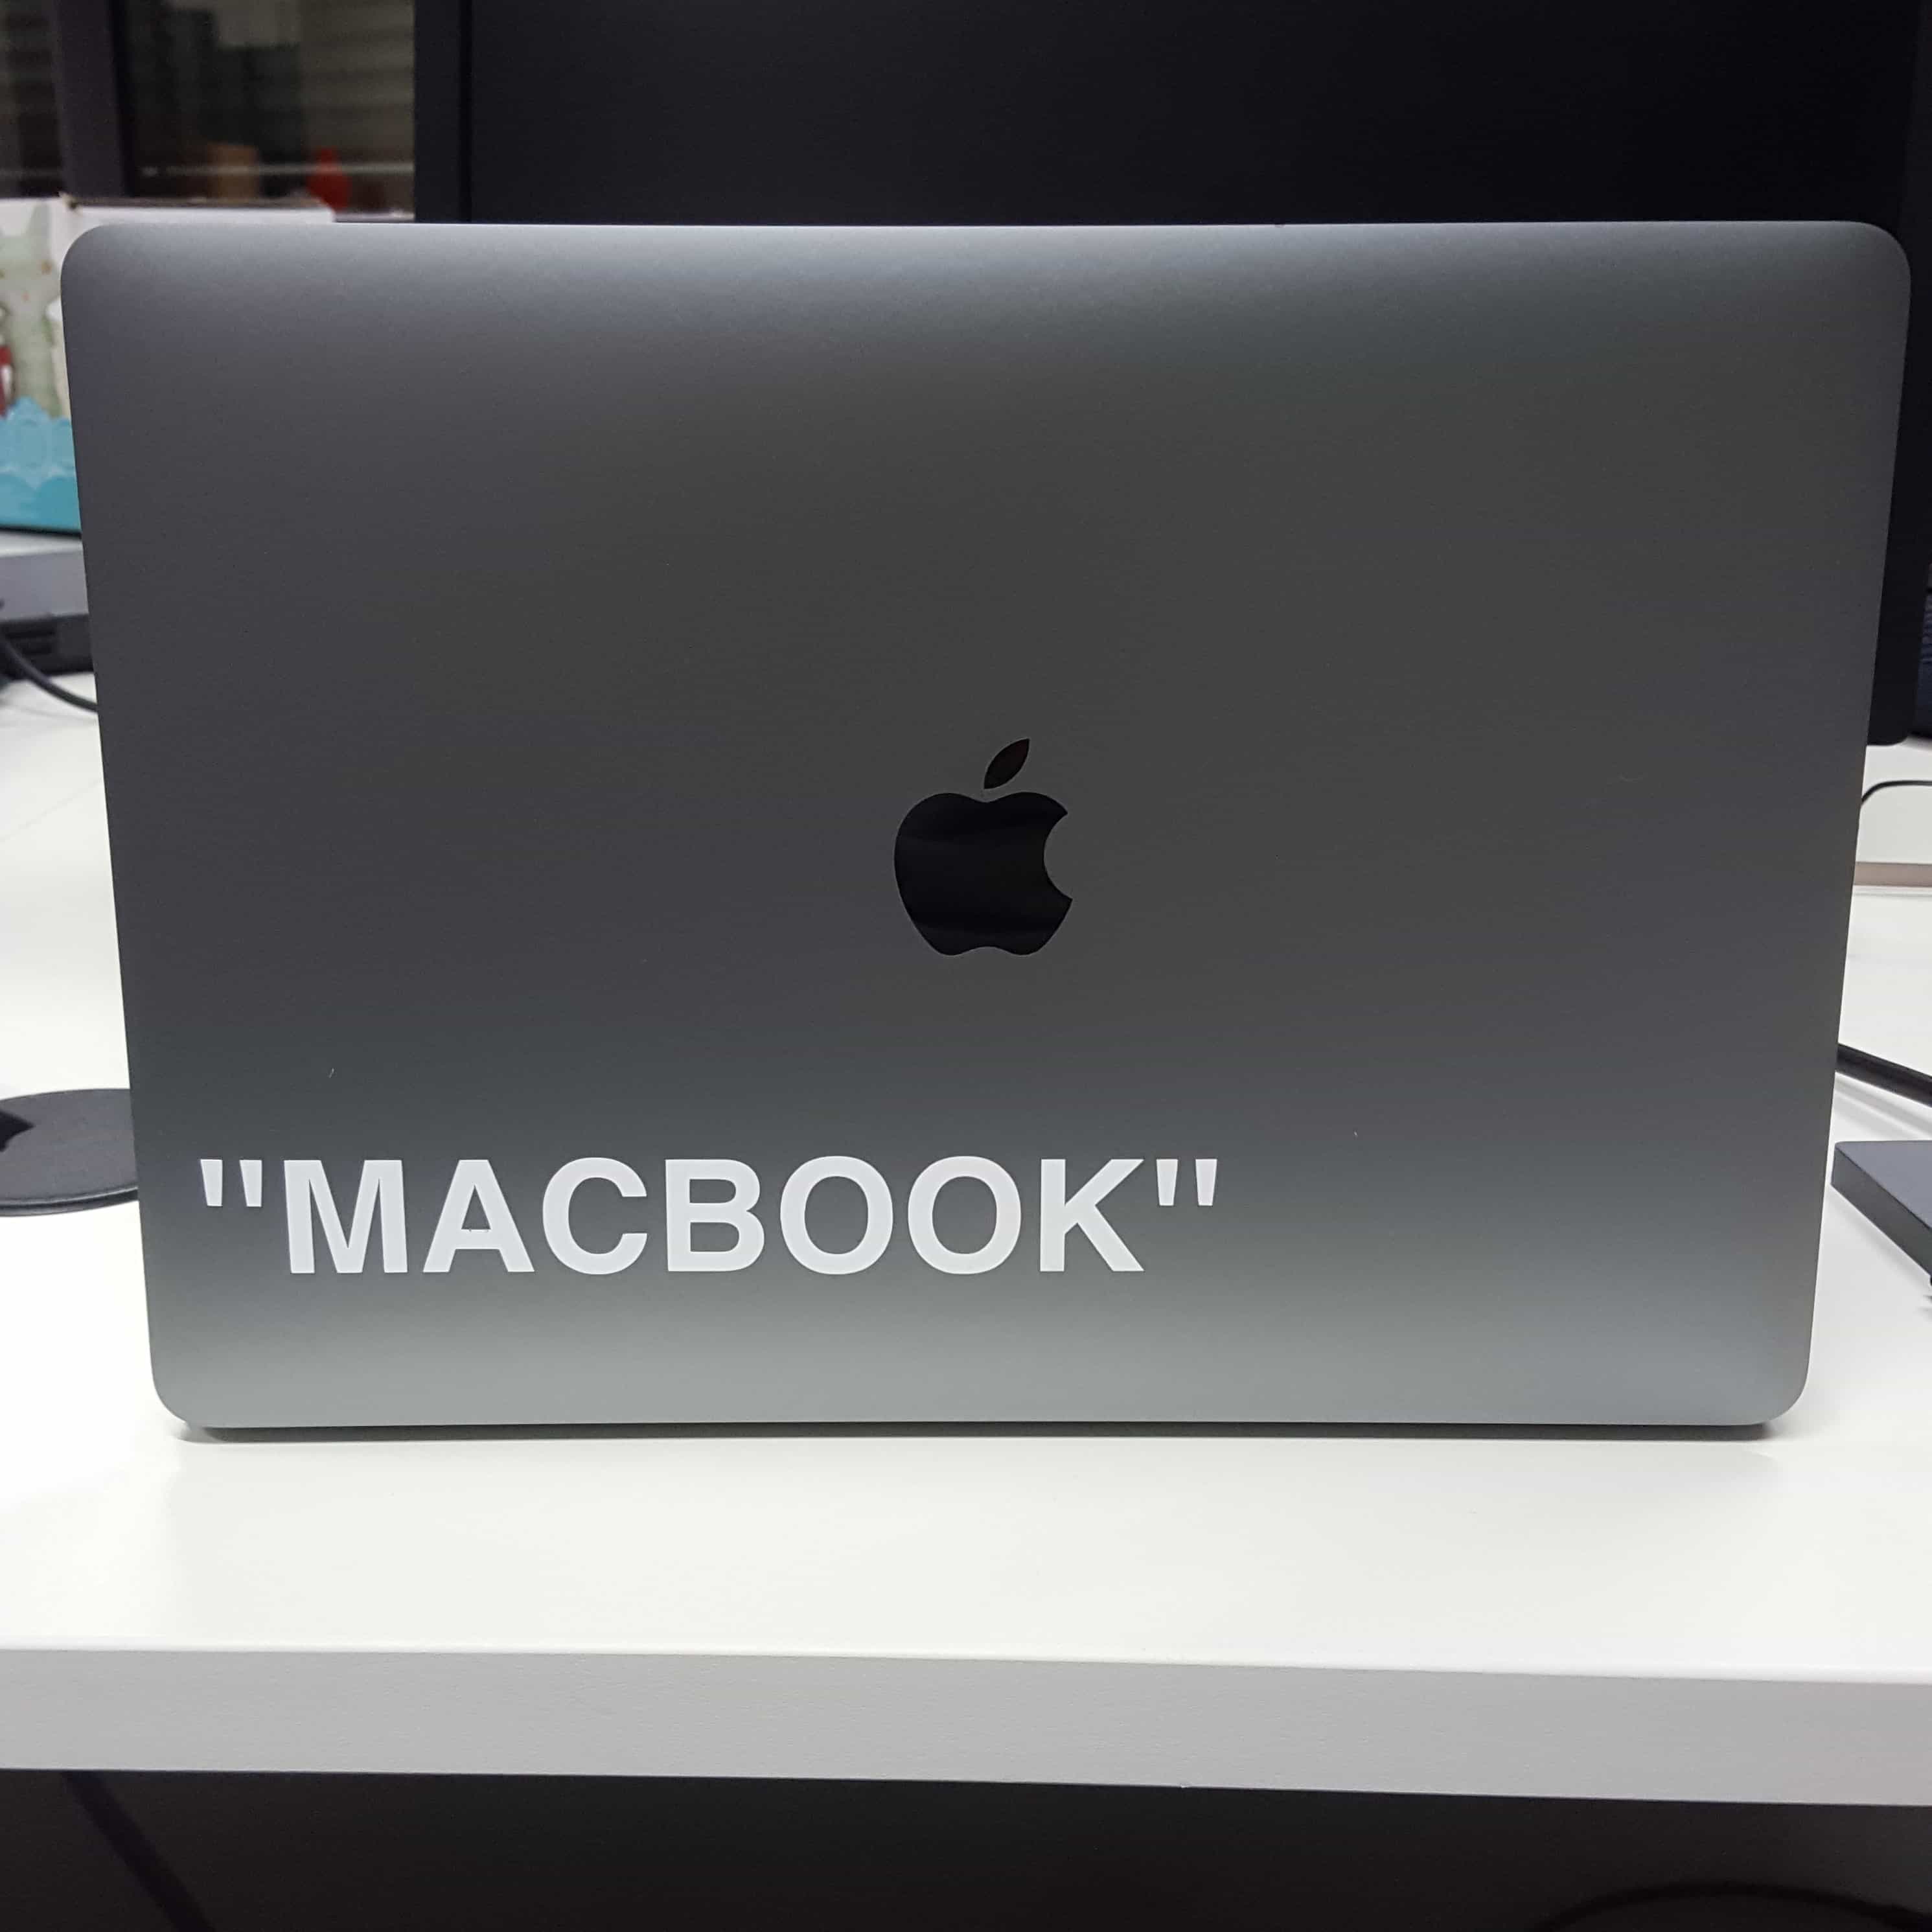
I've used the font "Helevetica Bold" to do a simple "Macbook" lettering in Adobe Illustrator. Now I had to export my file as a .dxf to import it into the vinyl cut software called "Silhouette Studio".
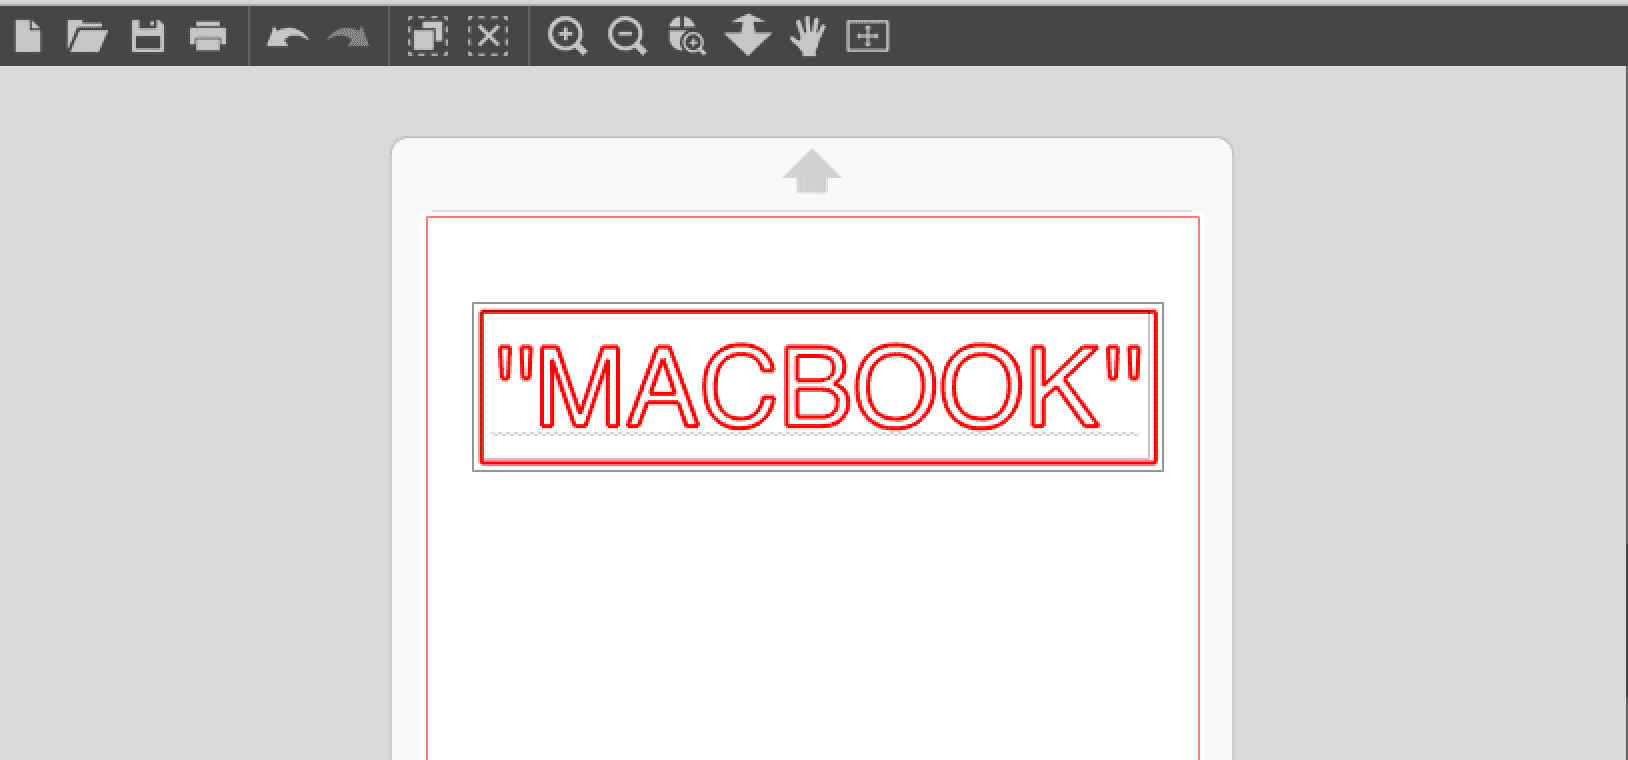
Before I start sending my file to the cutter, I had to do a cut test.
It shows how deep my vinyl will be cutted.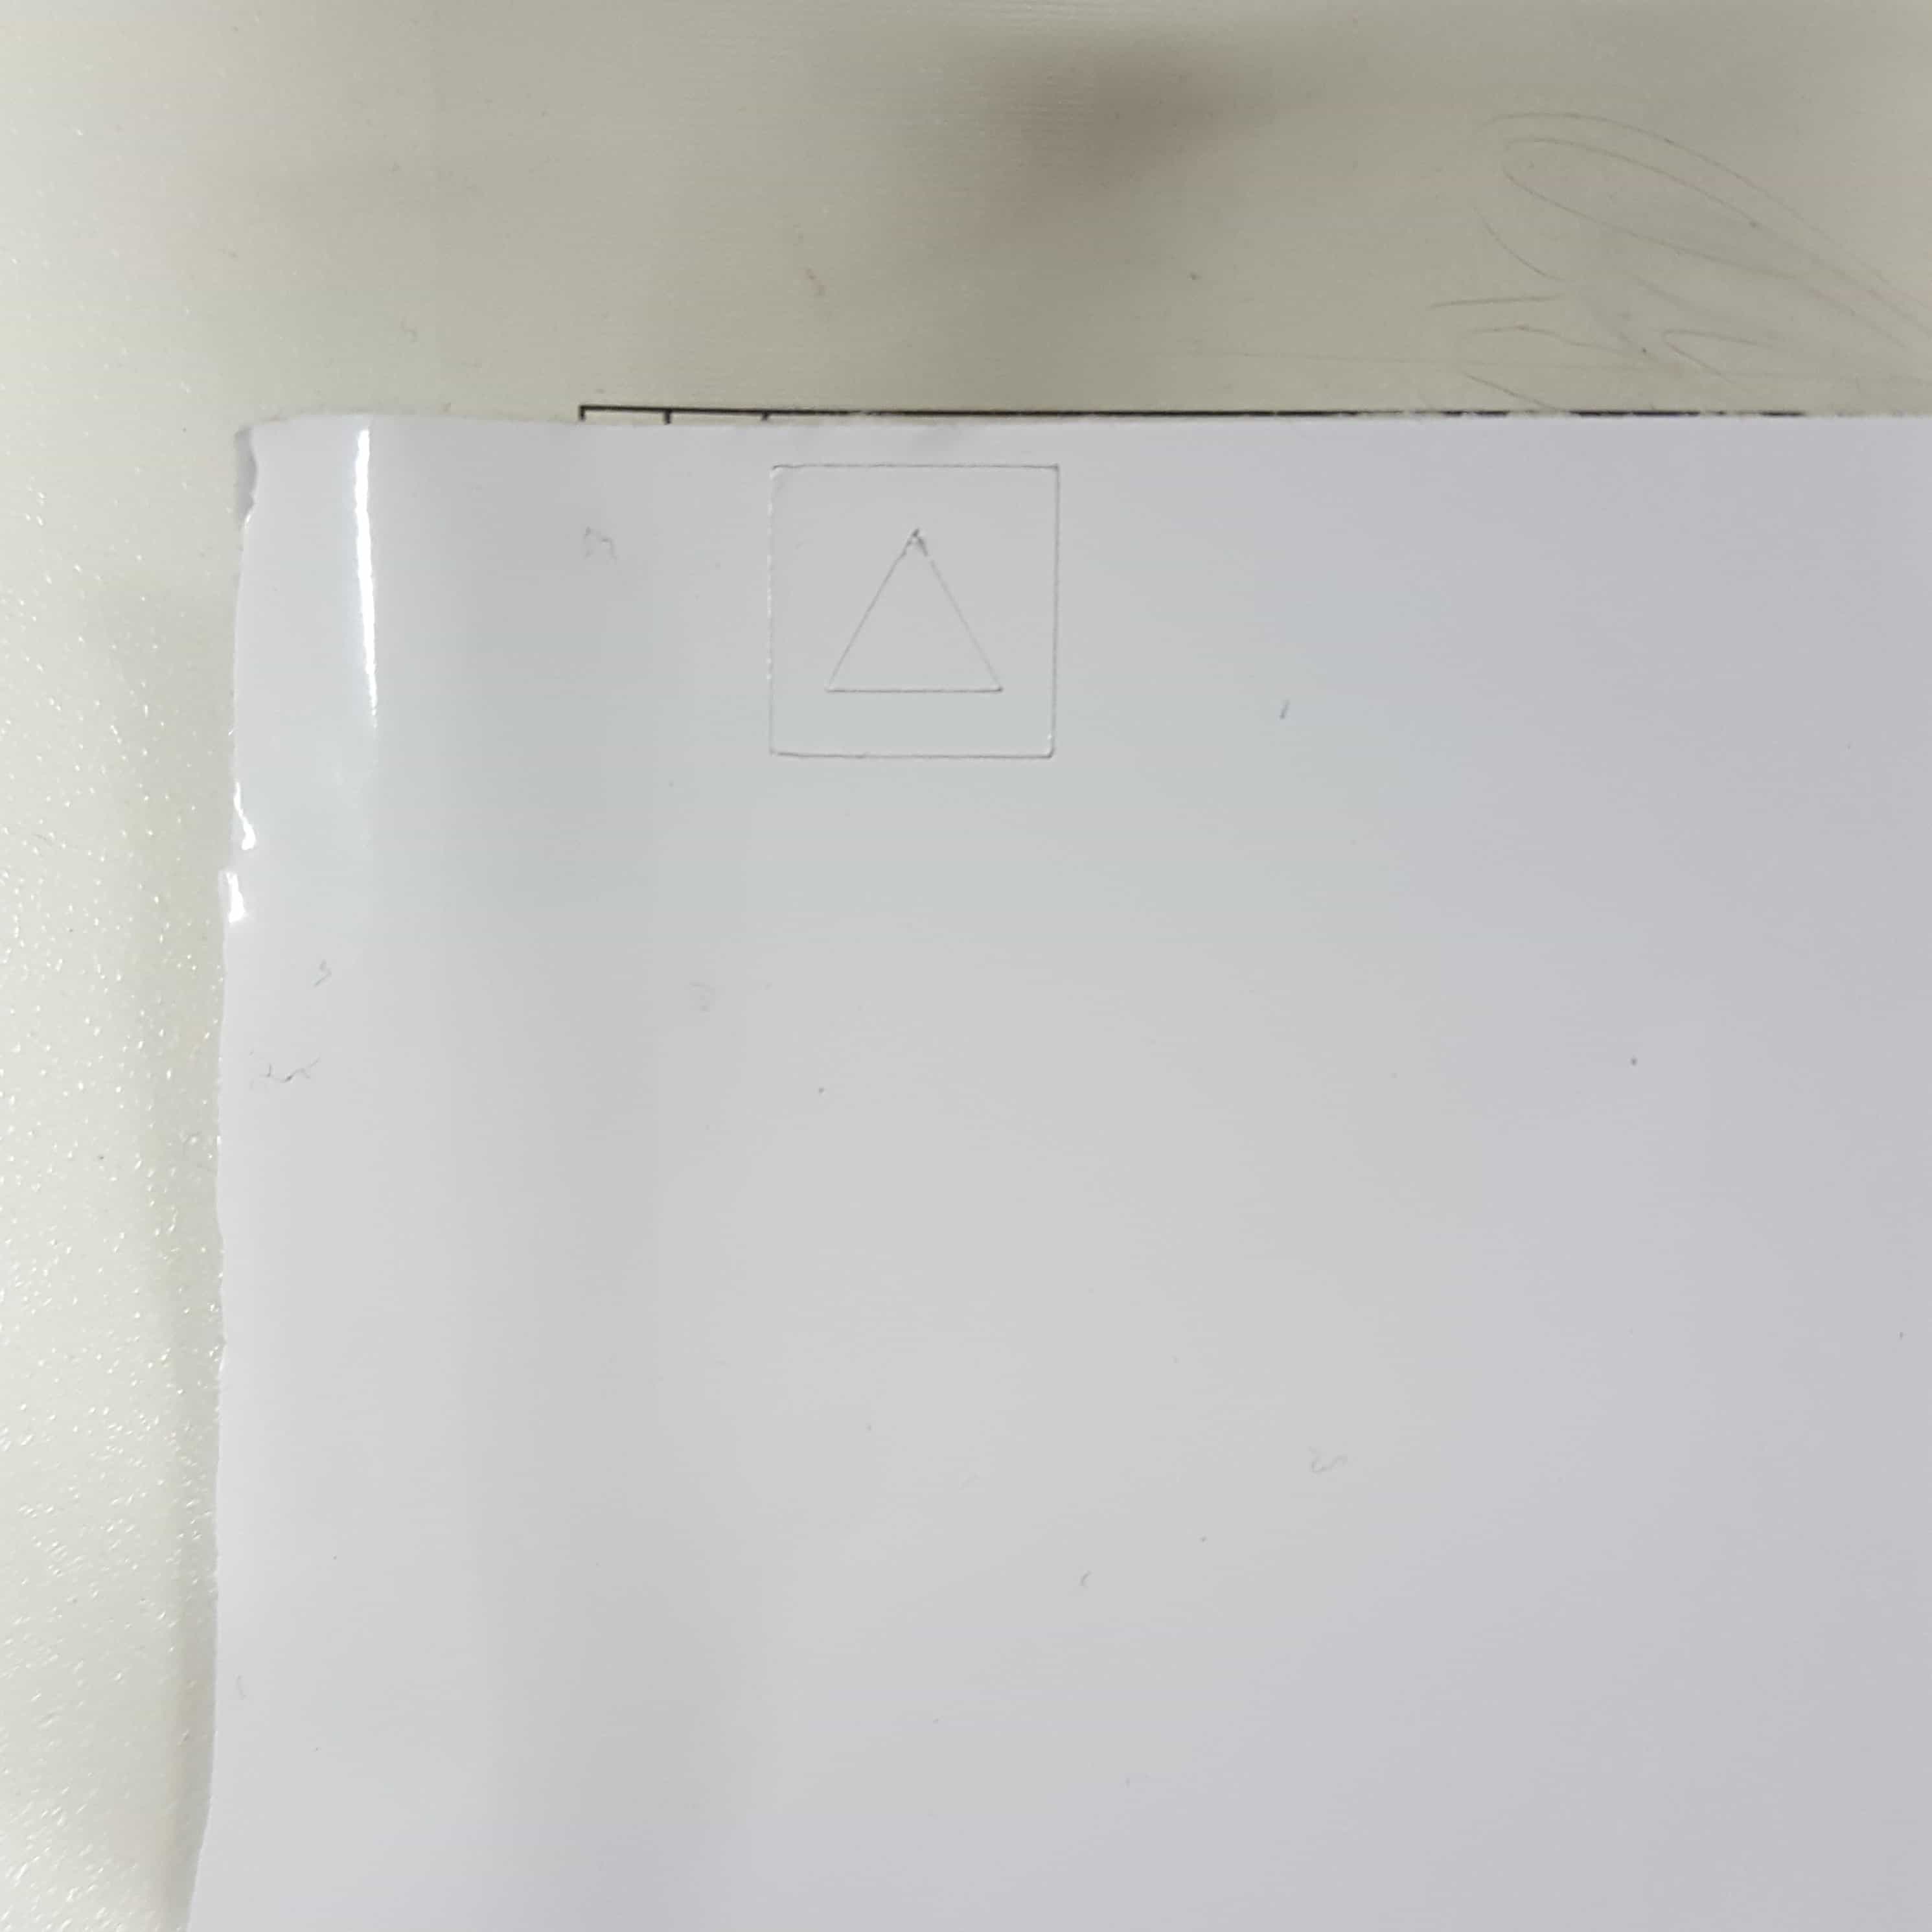
After setting up the knife right, I can start my cut.
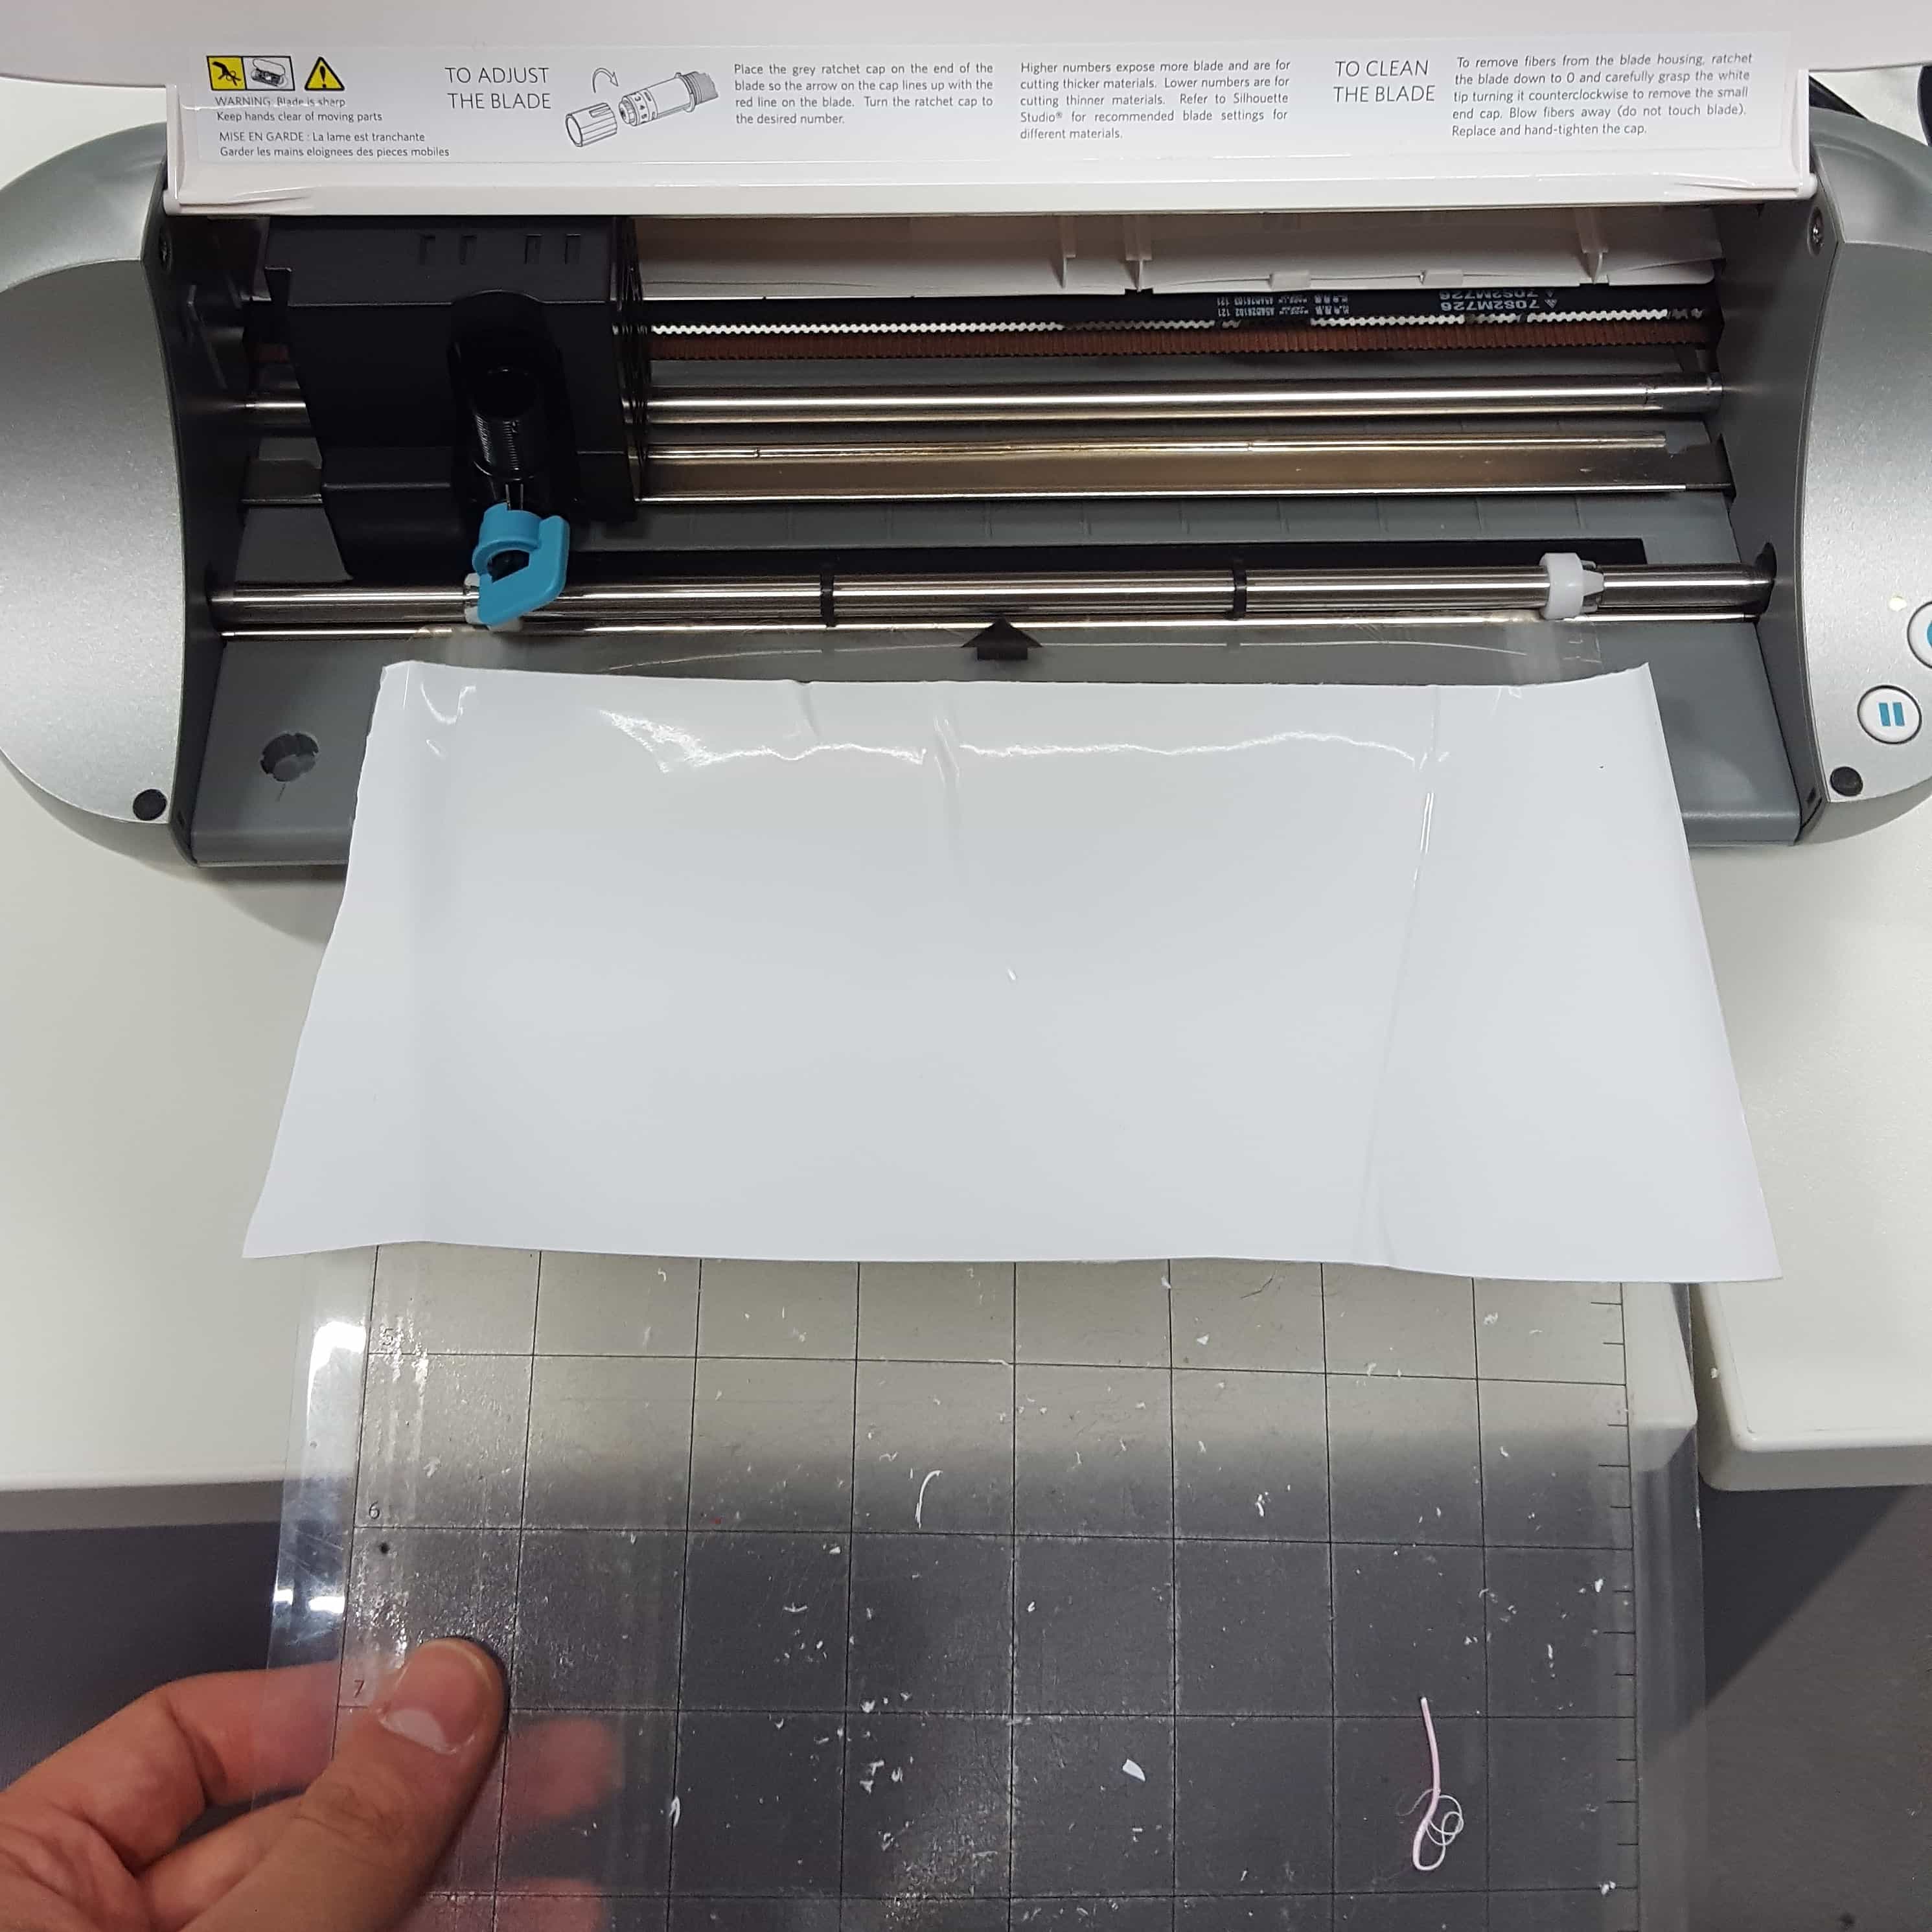
When the cut is finished I can now start peeling the parts off, which I dont want to use.
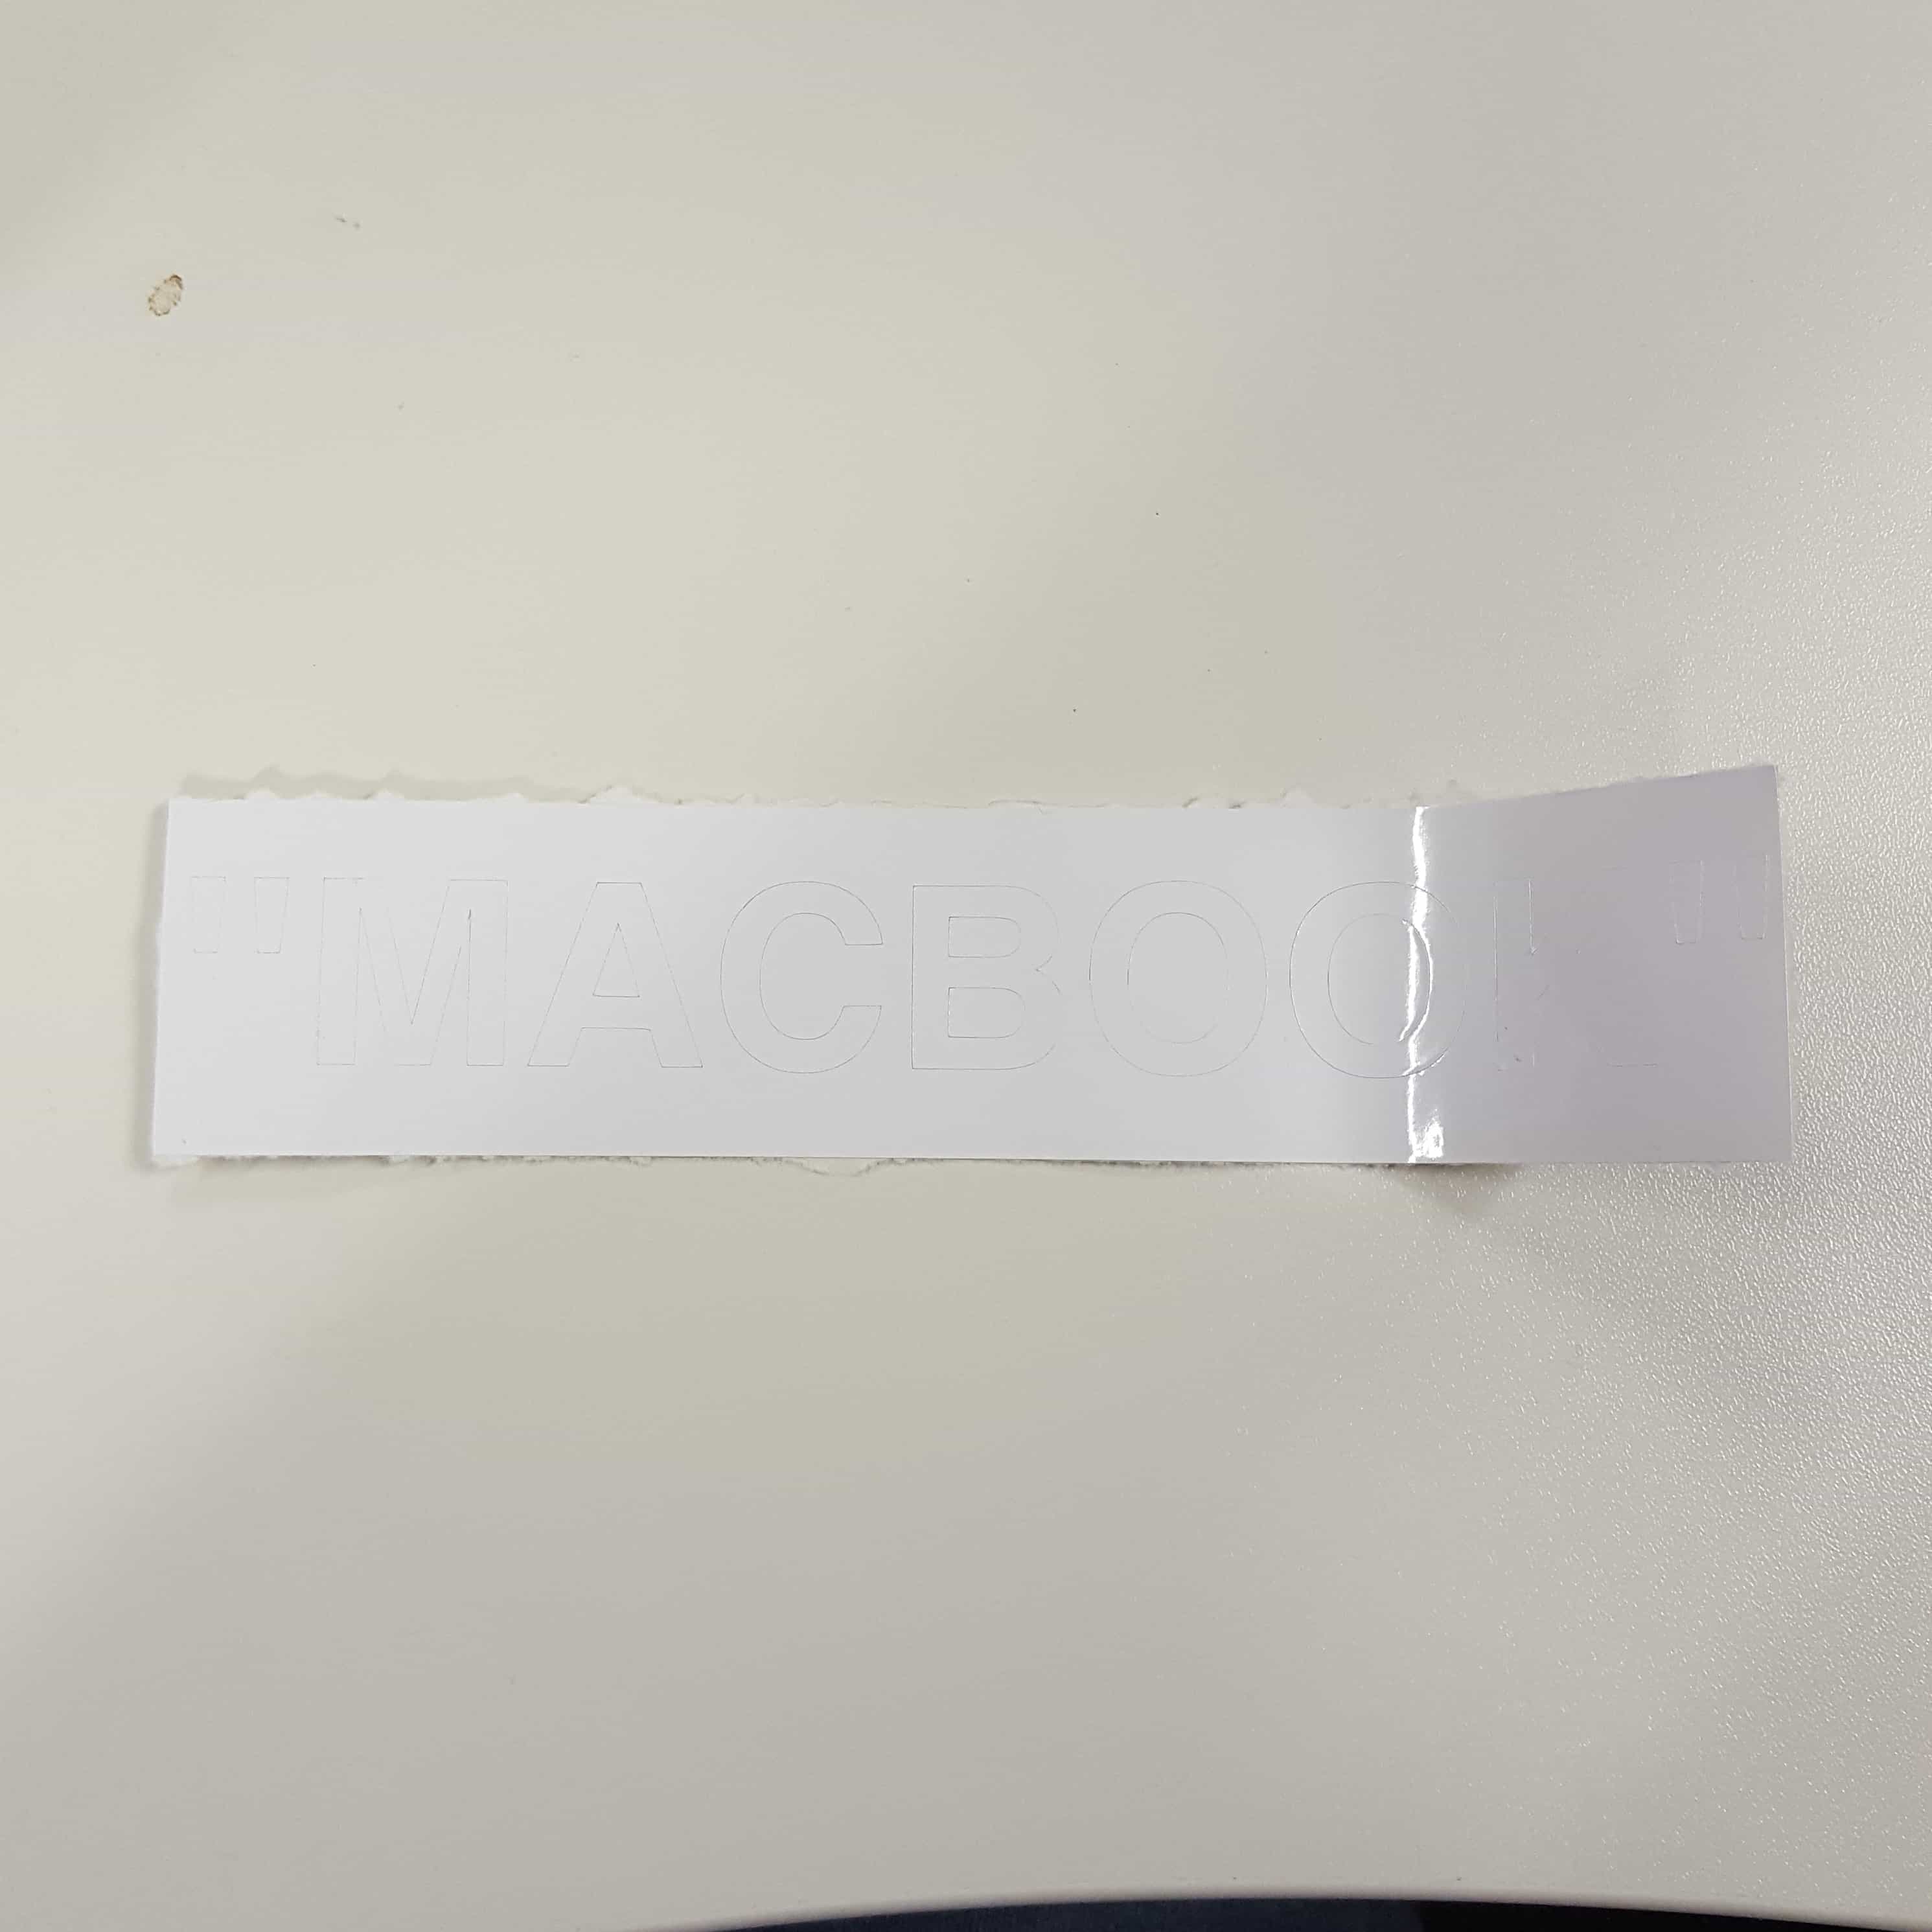
It´s important to only remove the parts that, you dont want to have on your result. Also I had to stick tape to the letters to maintain the allignment and to stick it to another surface easily. These steps have to be made very carefull, because the vinyl wont come off easily. So be patient and go slow.
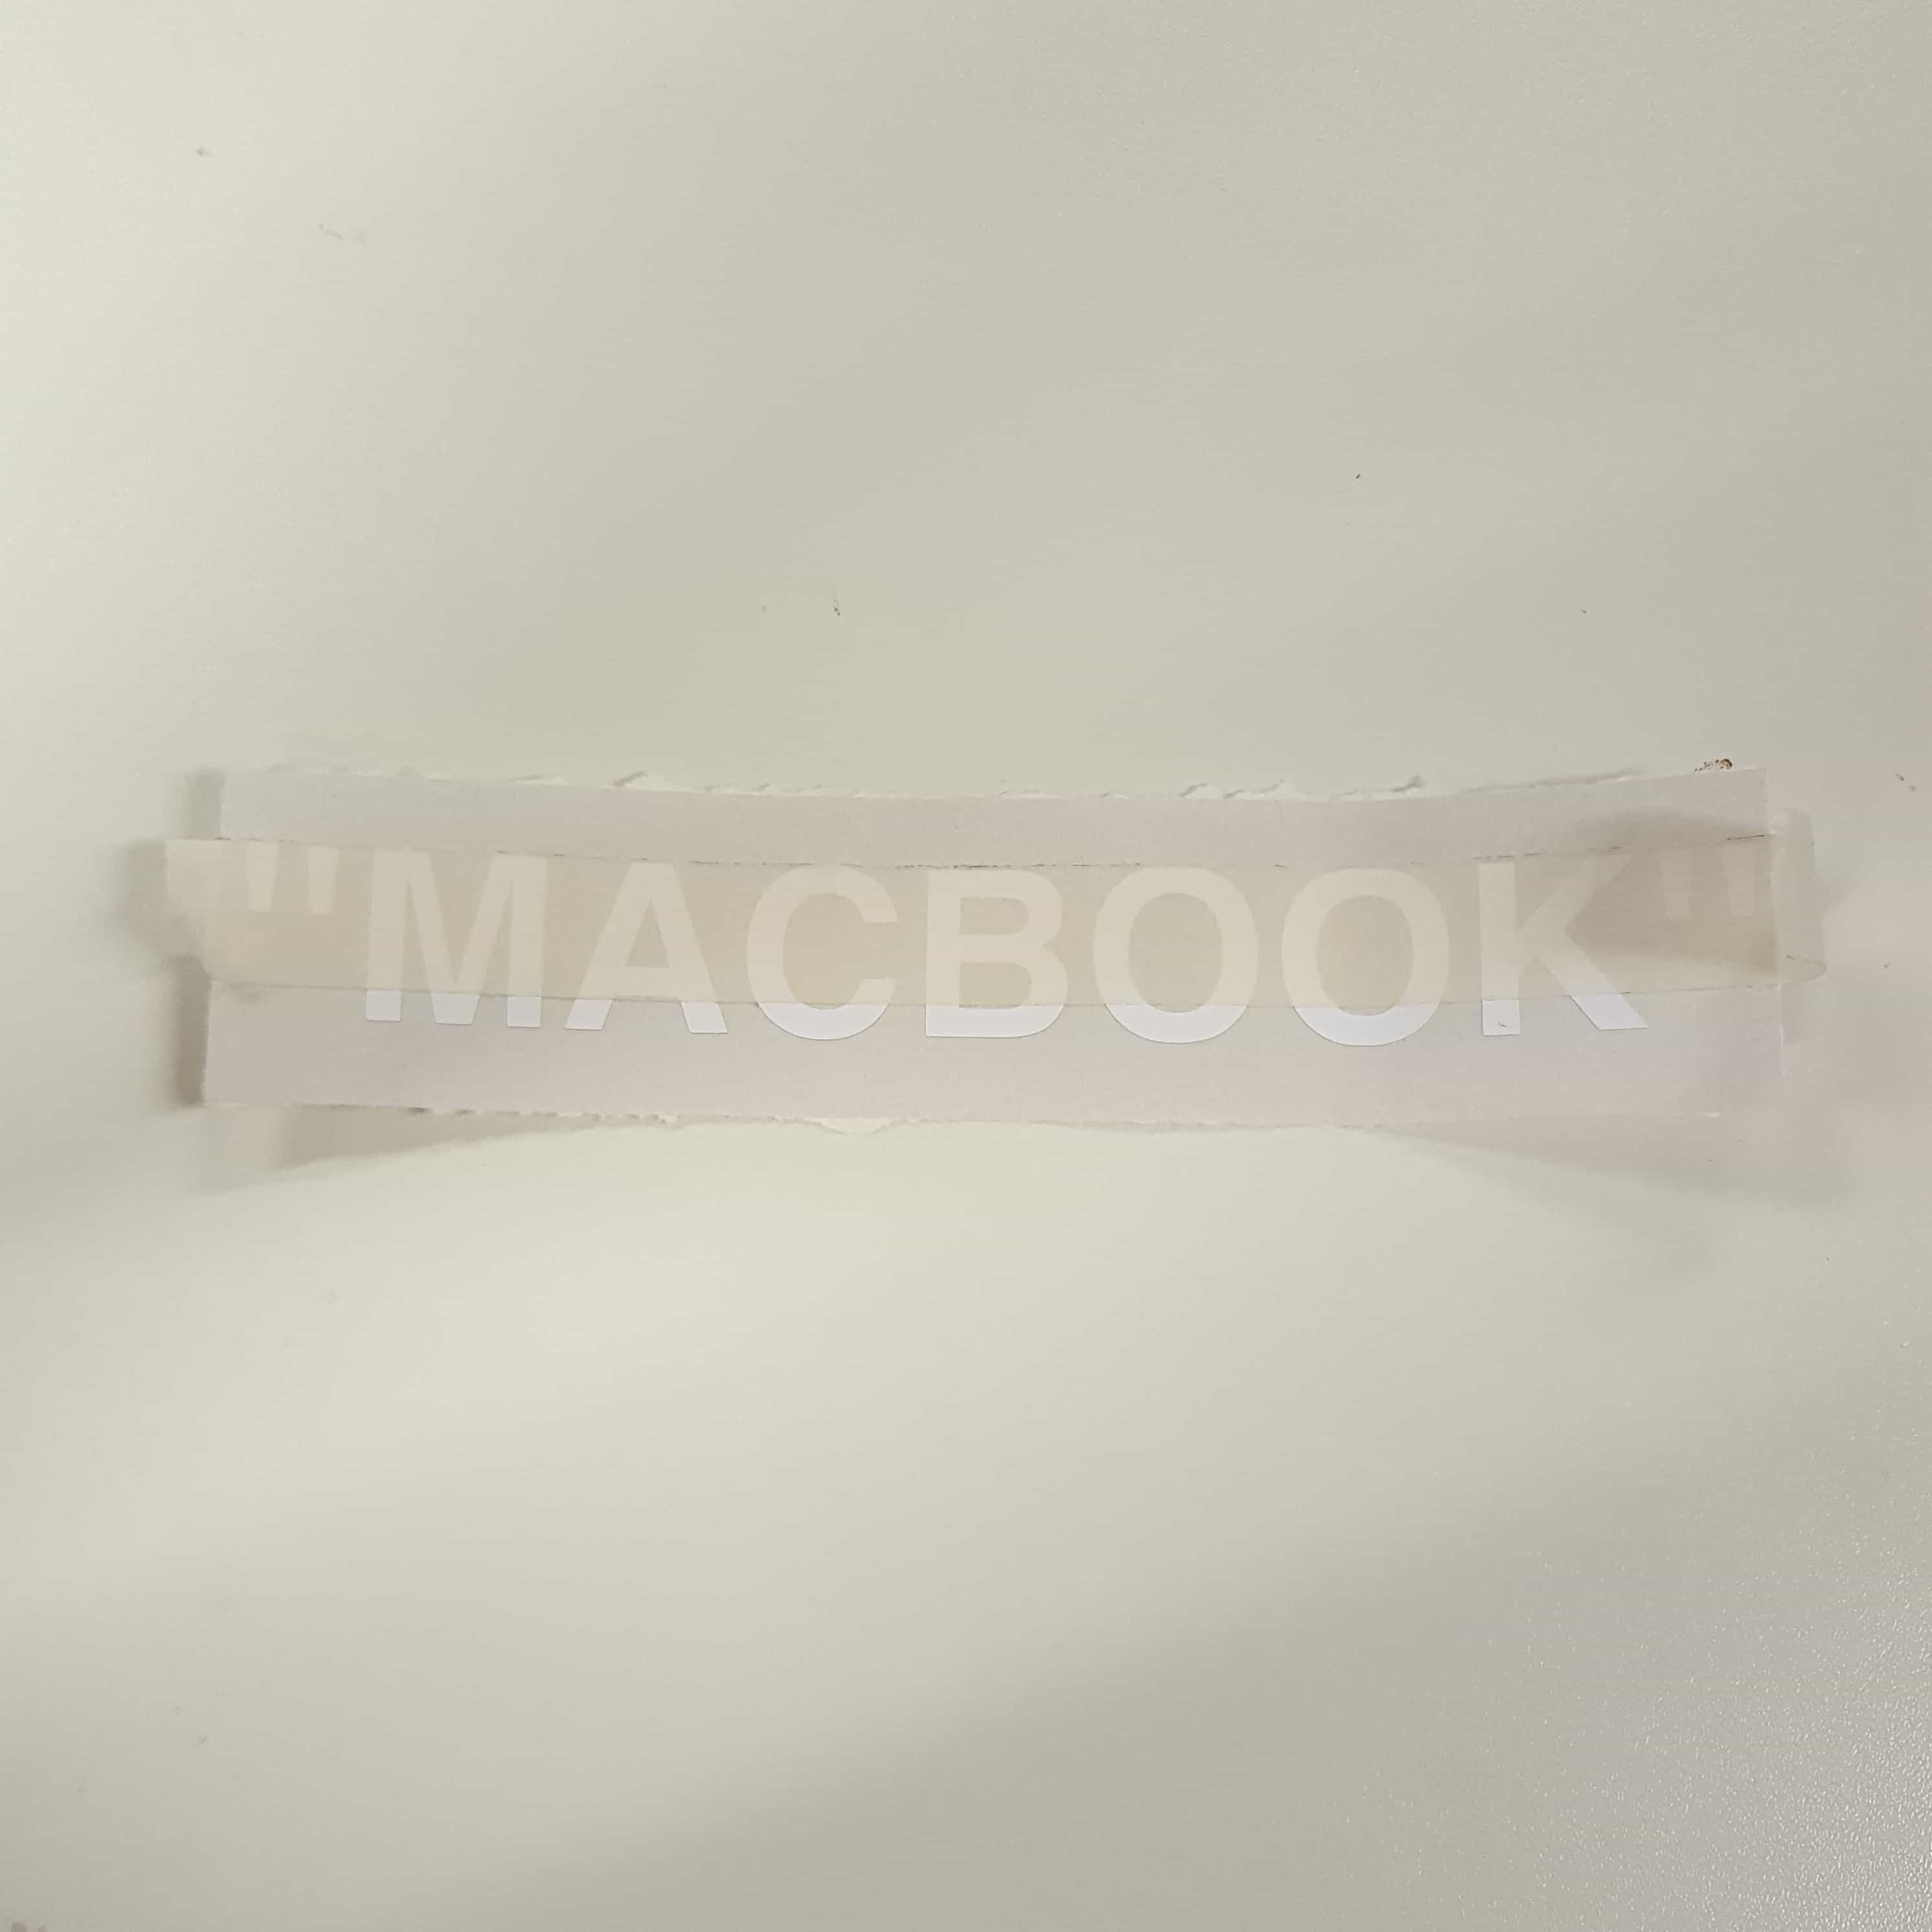
When the letters are stick to the tape you can now stick them to any surface. In my example a laptop
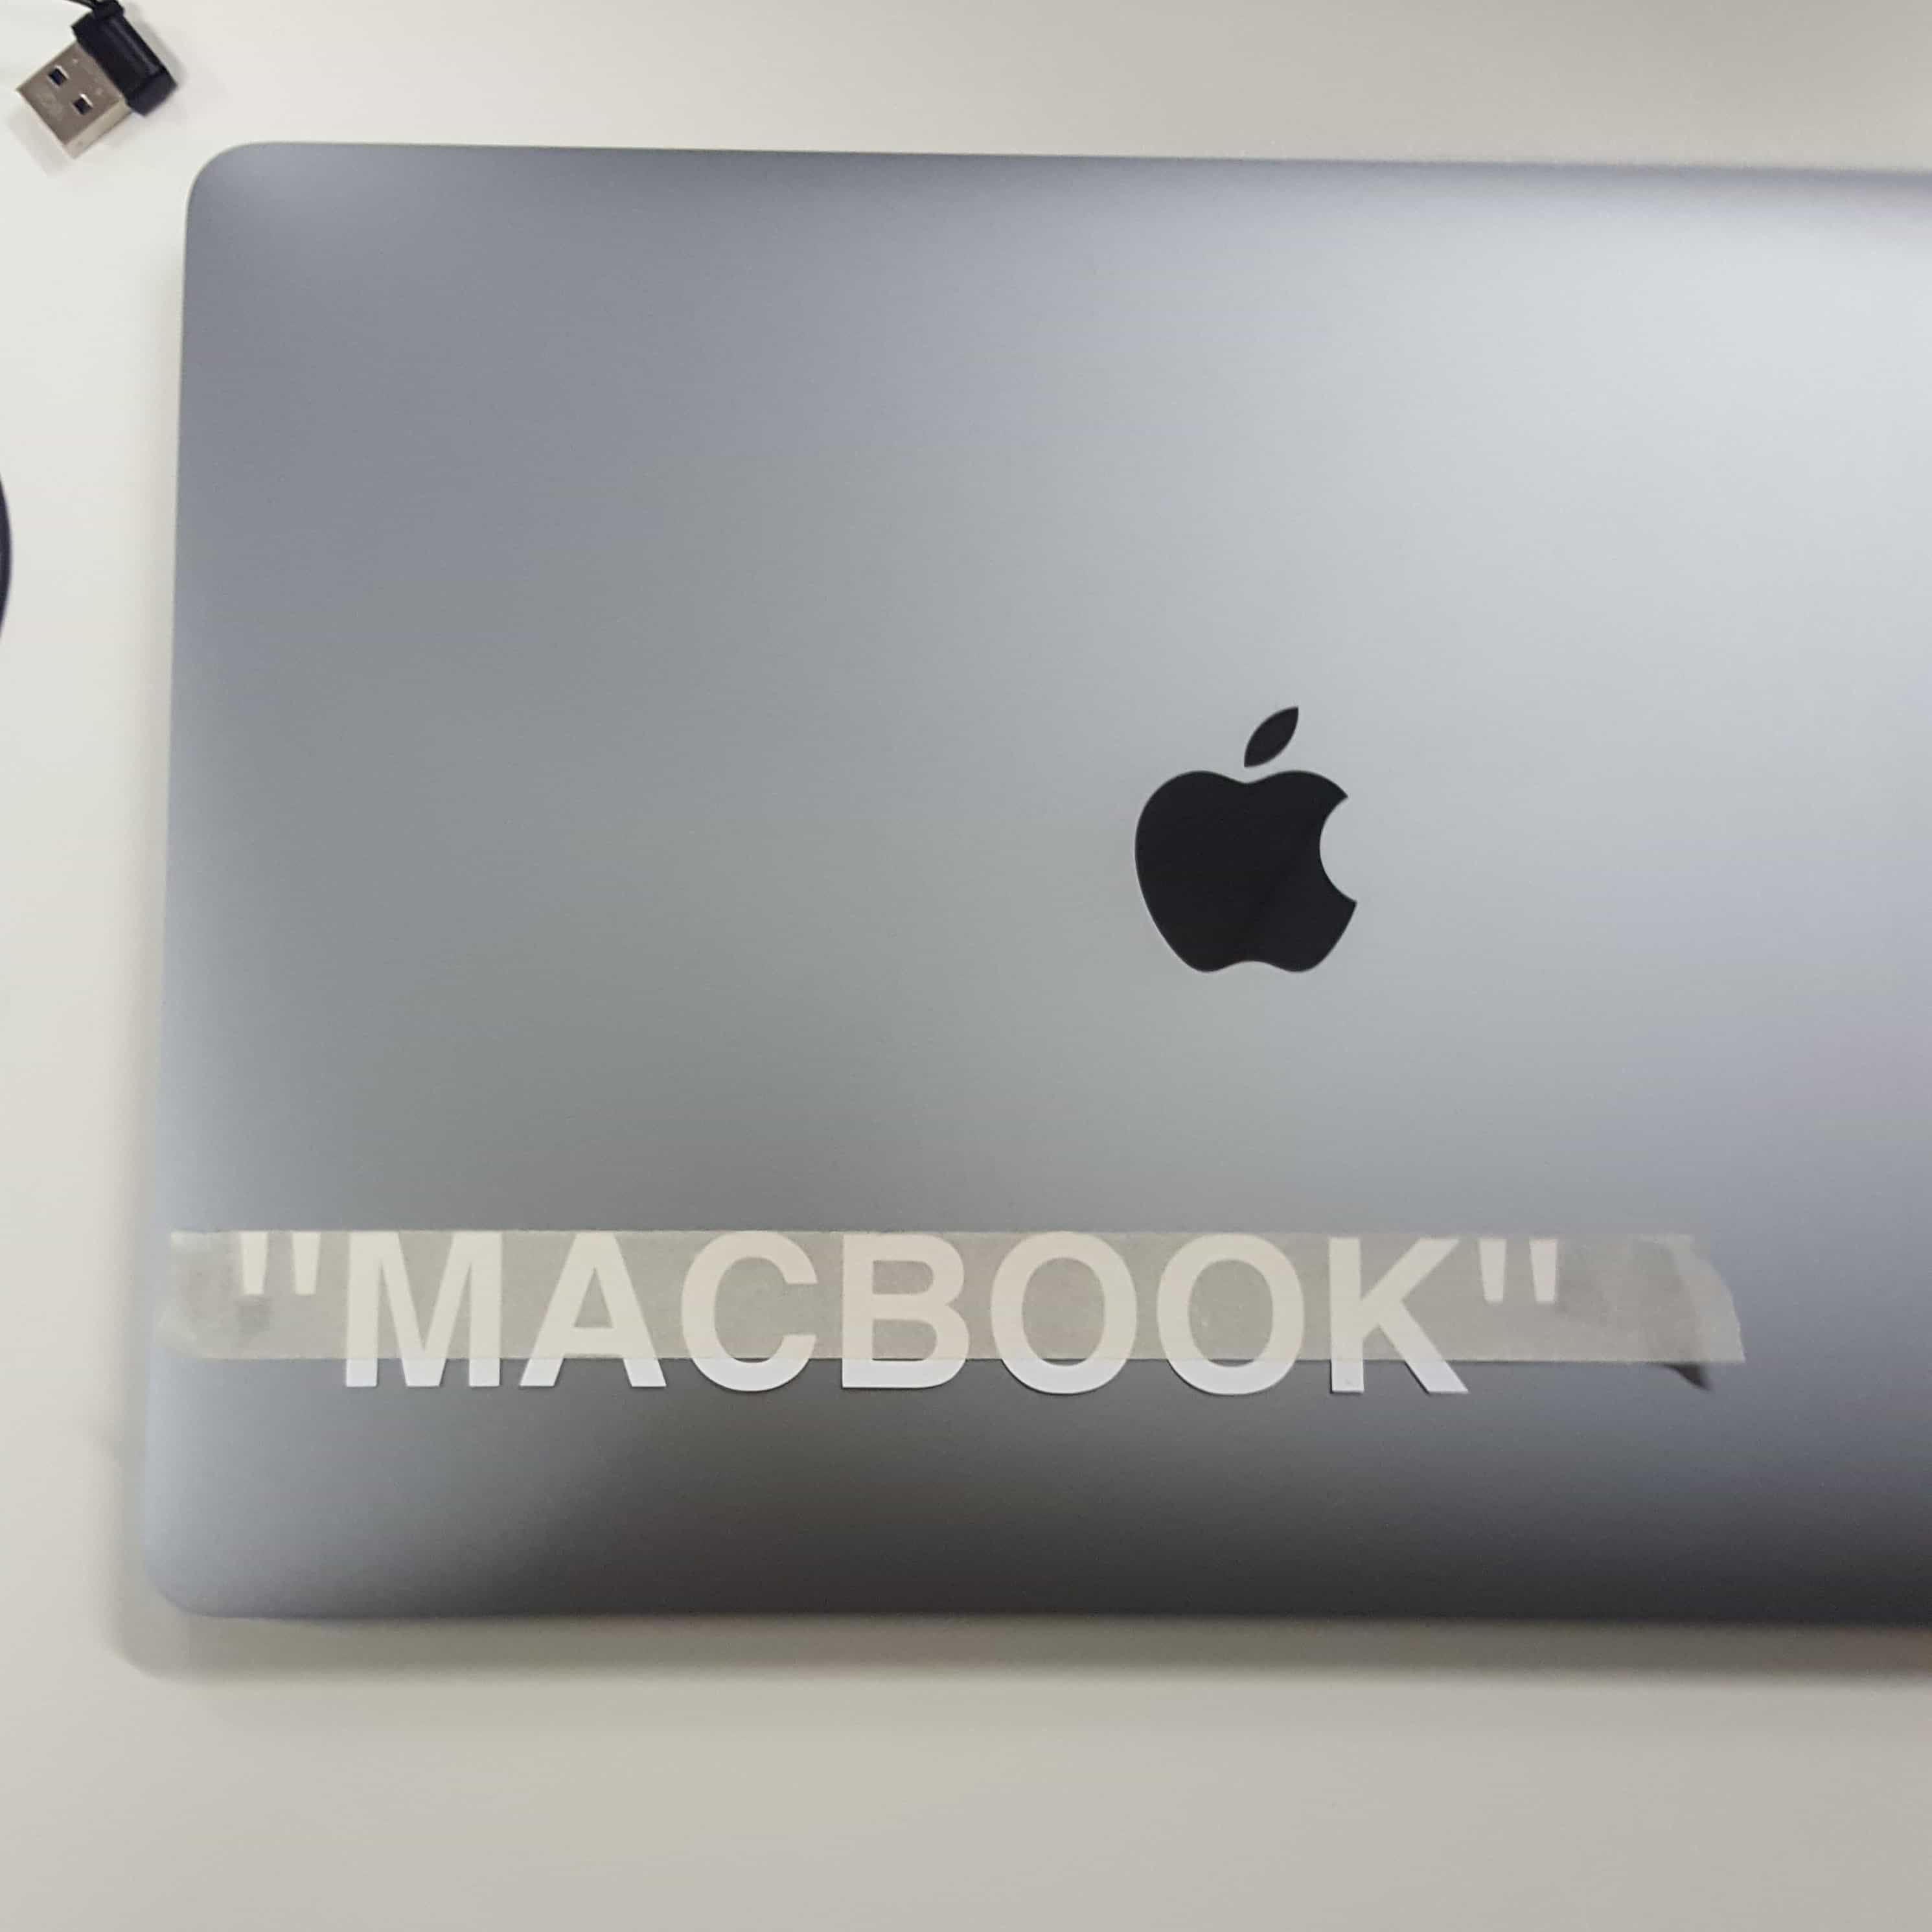
The result is very satisfying, a clean cut and a straight lettering on my laptop.
Click me for the parametric design!