For the Wildcard Week I decided to use the embroidery machine. The machine in our lab is a Brother PR 655.
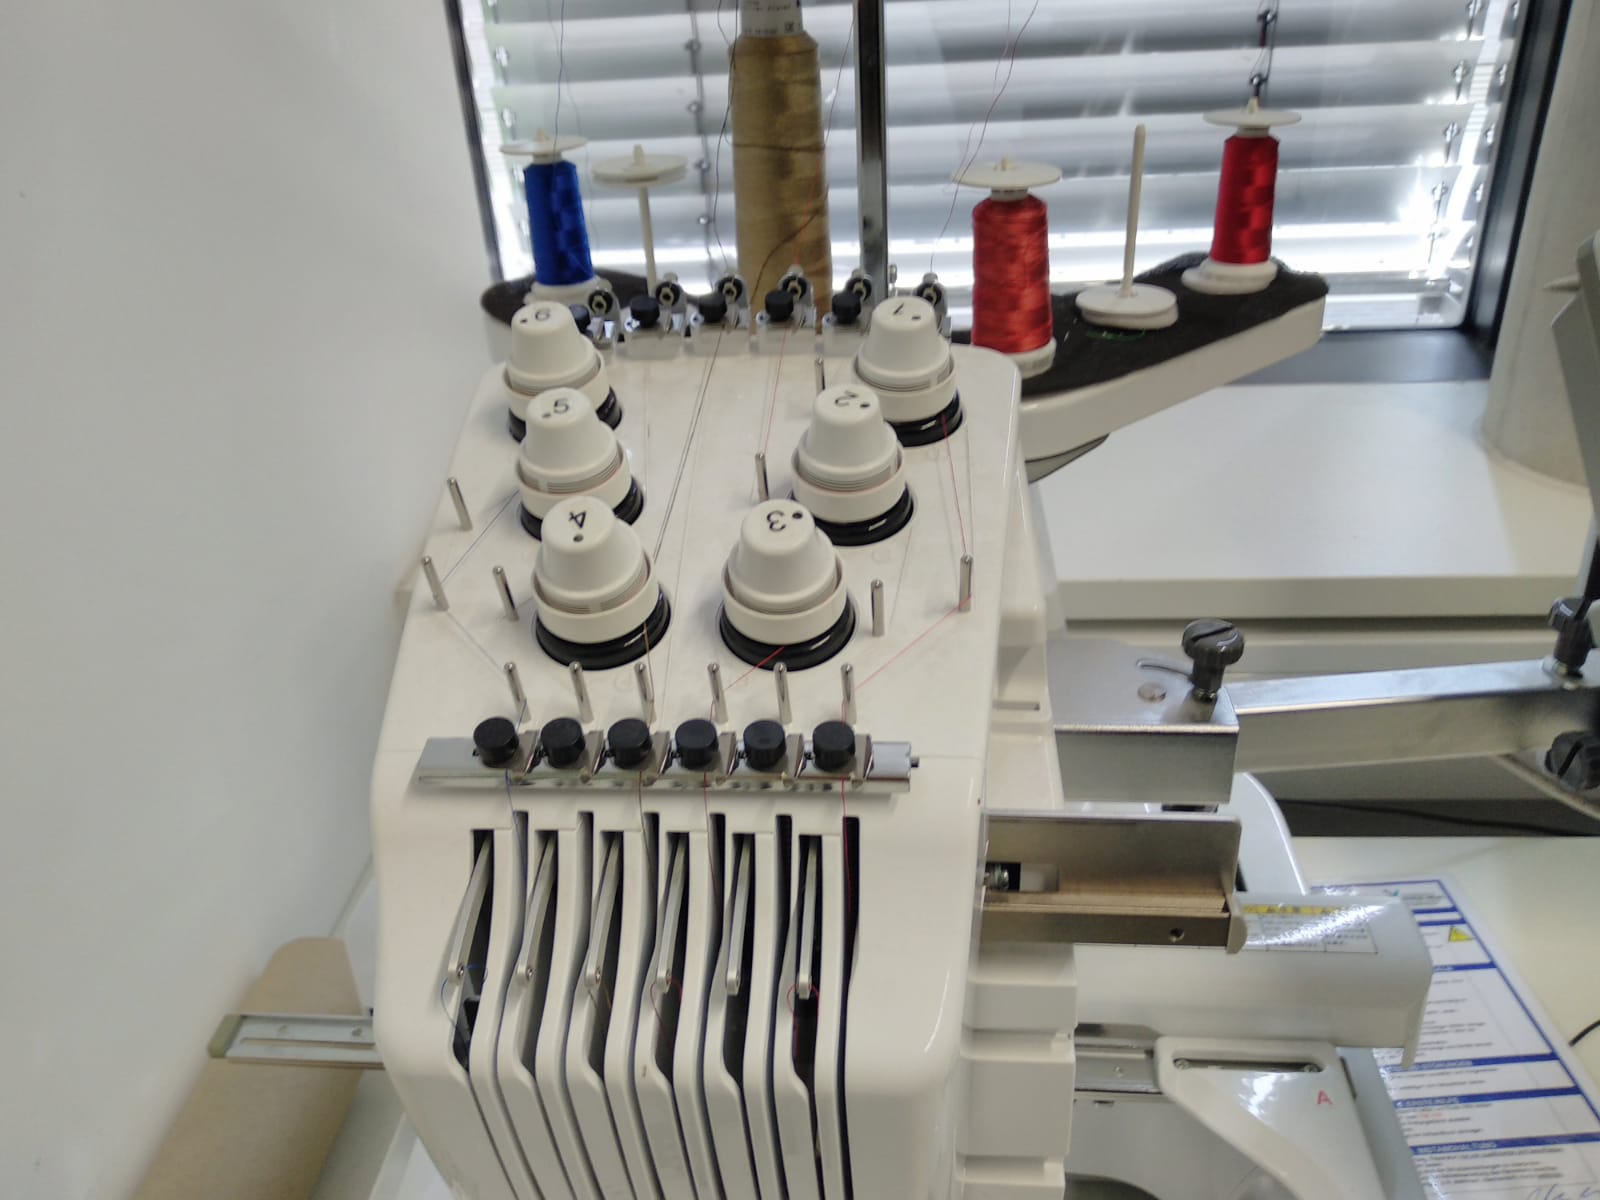
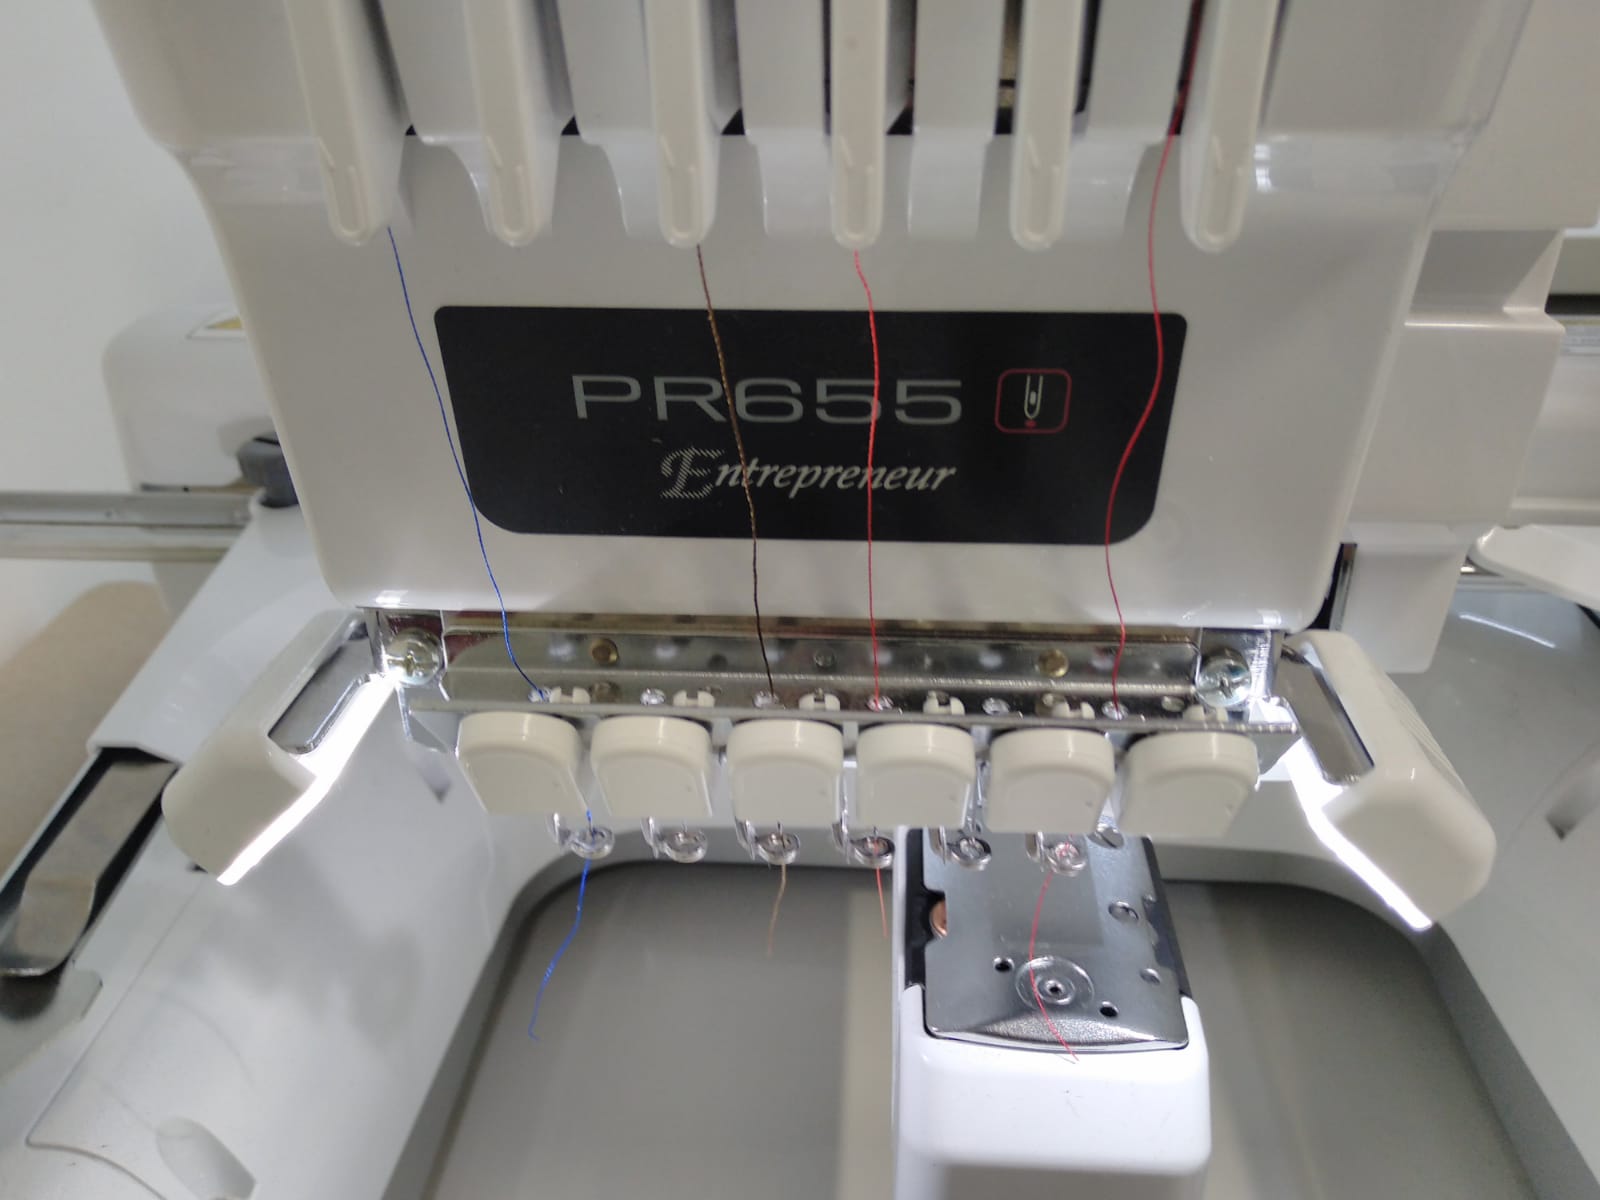
First thing I did was adjusting the placement of the threads. Luckily one thread was still placed correctly, so I could compare everything I did to that one. But there are also a lot of arrows on the machine that make it clear how the thread has to be guided, as long as you read them carefully. For this step the machine can be turned off, which probably makes the process a lot safer when working near the needles. Also check on the bobbin thread by opening the cover and checking if it is correctyl threaded in and not accumulating inside of the machine. The process is the same as with a normal sewing machine.
Before starting the machine always check if the needle is bent, because a bent needle can easily snap an result in injury.
The next step was to put the fabric into the emproidery frame. For the first test I decided to use the 60x40mm frame. I layed the fabric down on top of the outer frame and pushed the inner frame into it. Then I tightened the screw lightly, pulled the edges of the fabric to tension it even further and then tightened the screw completely. When tapping lightly on to the fabric it should produce a drum sound.
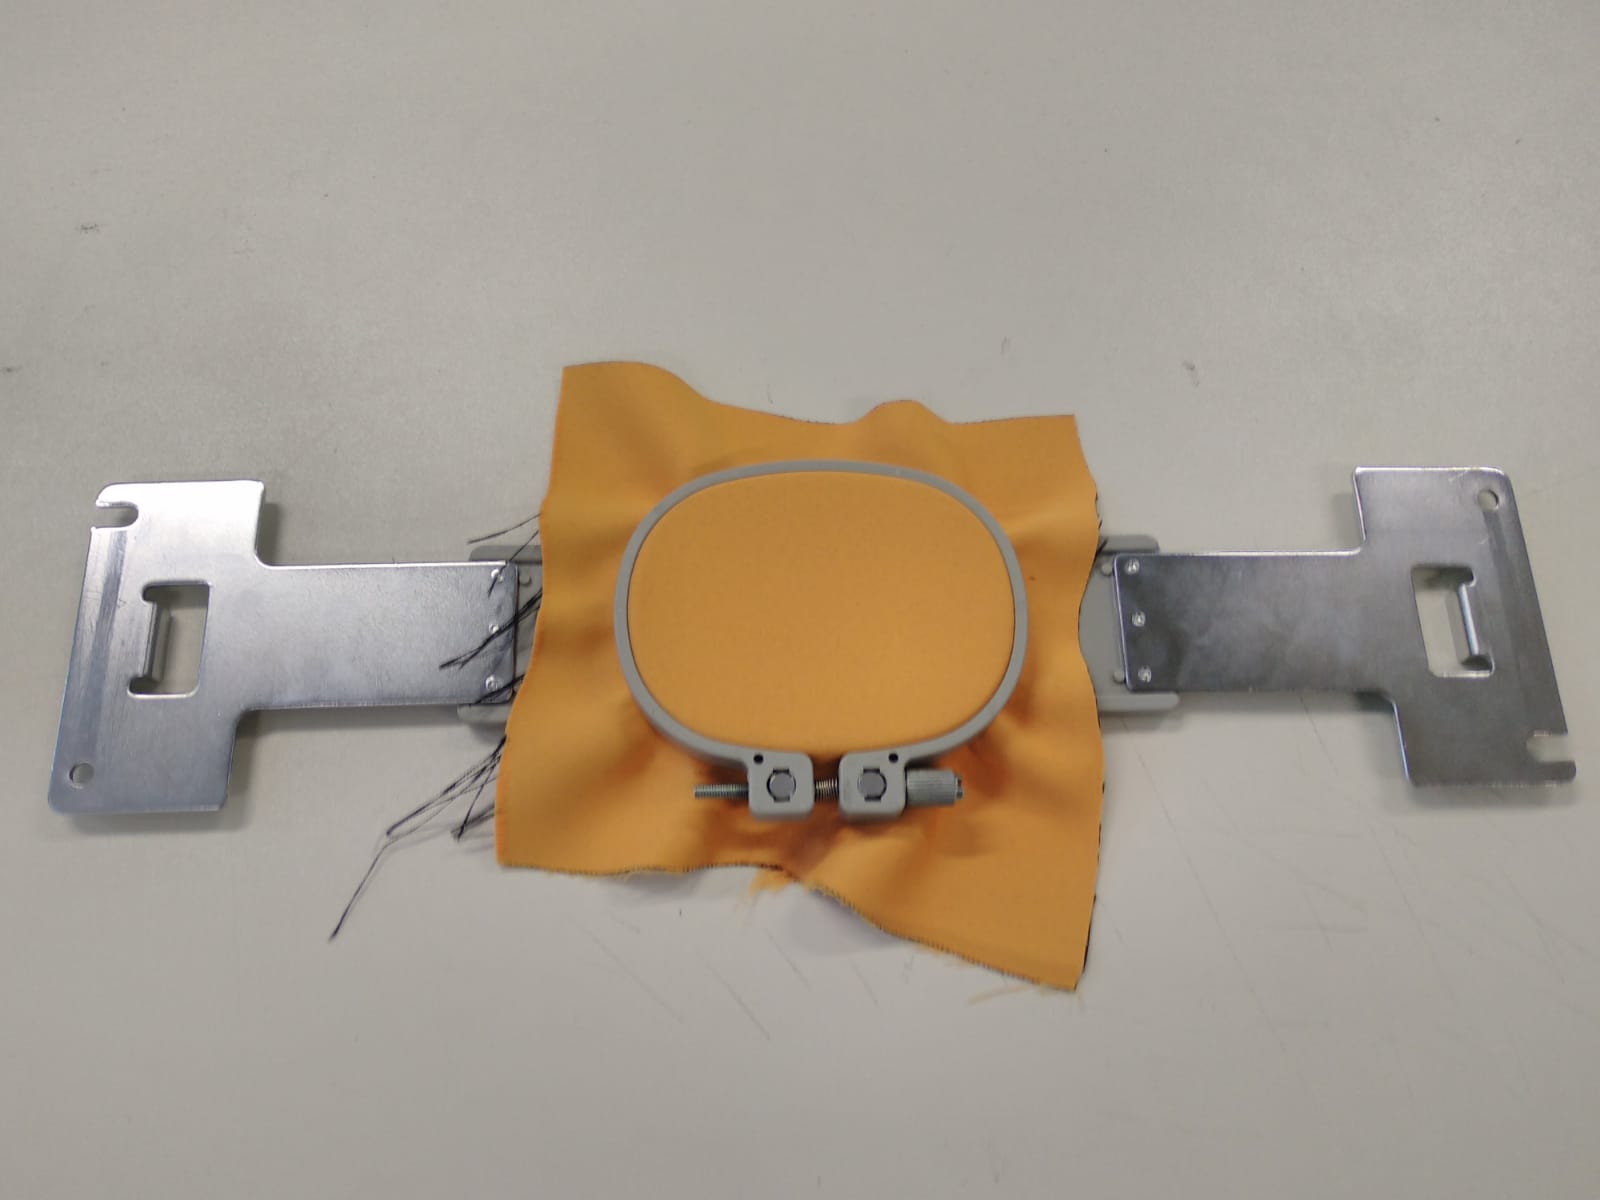
Now the embroidery frame can be clamped into the machine. For this the arms of the machine need to be adjusted to the correct size and the inner frame needs to be upside. The frame can only be inserted in one way, so just check if all holes and guides are alligned and turn it around if not.
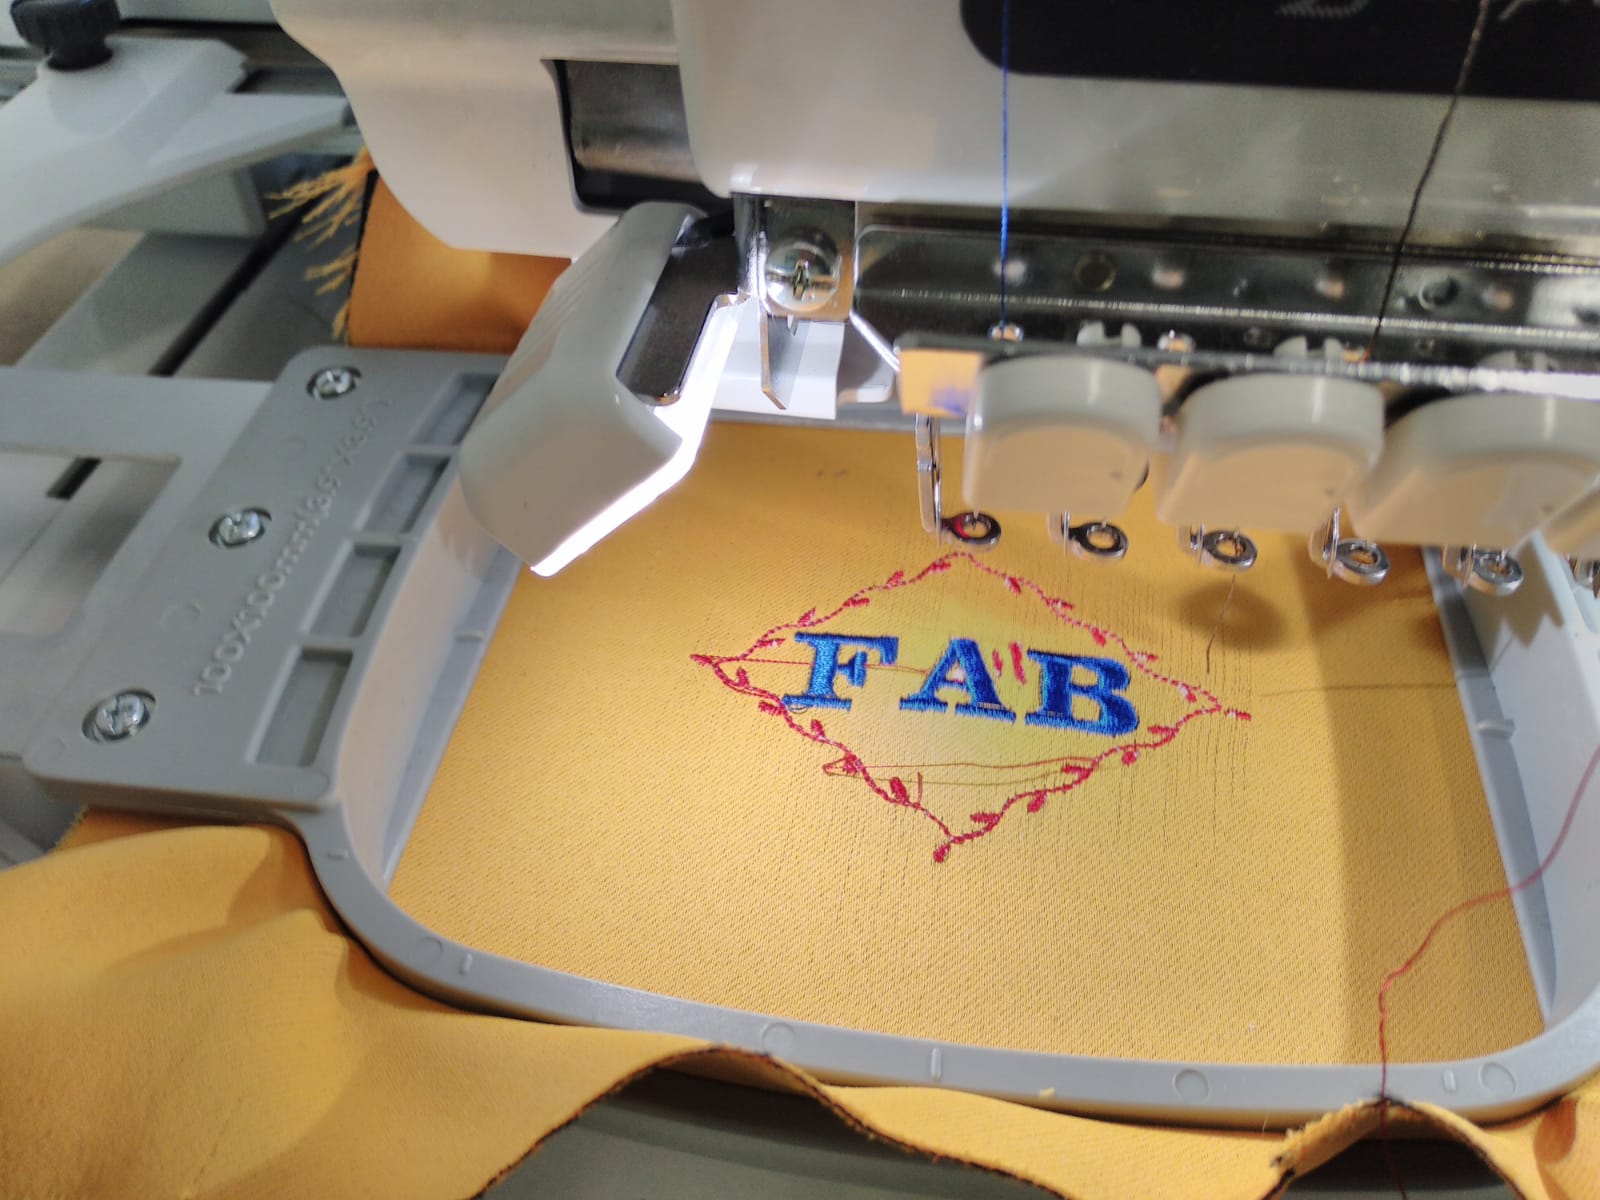
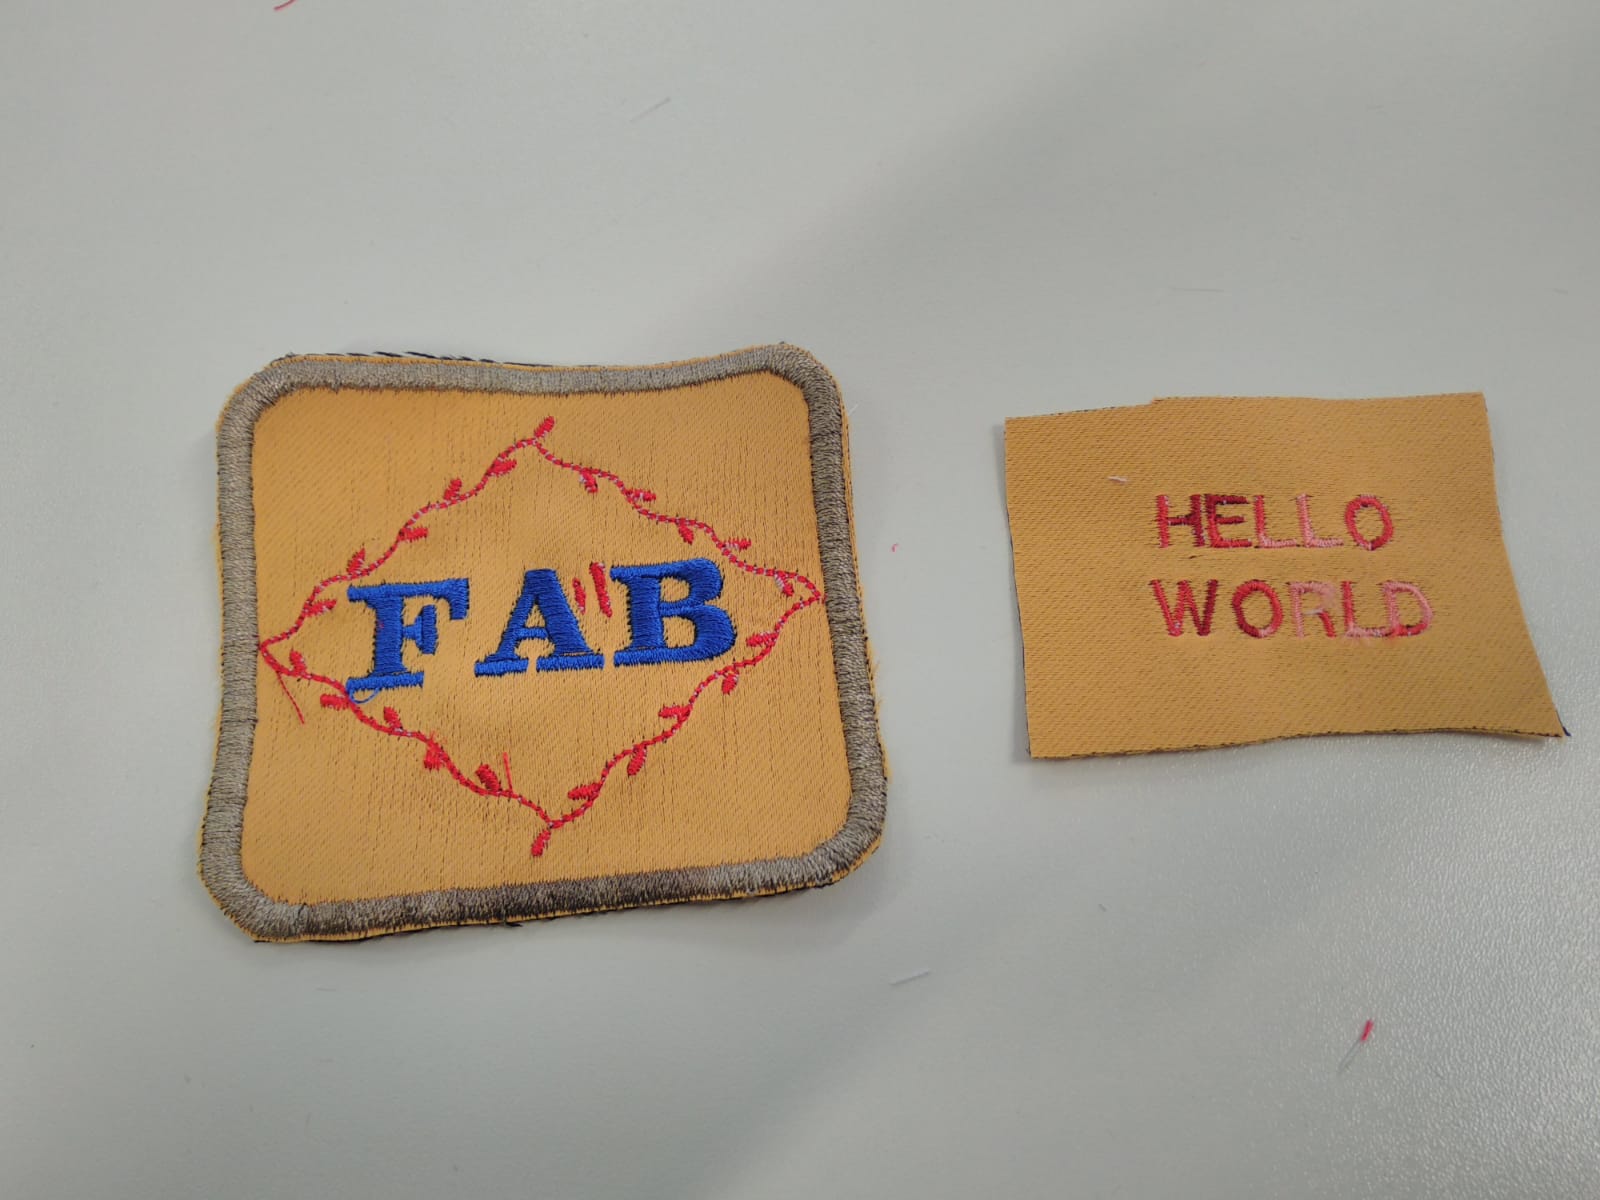
Next I selected the menu for a new embroidery and used the inline tools to create a "hello world" embroidery. For this I just selected the text tool and a font, changed to small size and used the on screen keyboard to type my word. After that I could press "set" and move the newly created text element around on the embroidery area using the arrow keys. In the next menu I could check all the colors. For the "black" text I had created before I selected the spool with a red/pink alternating thread. Before running the programm I pressed the octagon button to let the machine run a simulation on where it will embroider by moving in a circle around the motive without sewing. Everything looked fine. Now I could press the "Lock" button on the screen, which locks all settings and allows the embroidery process to be started using the flashing physical button.
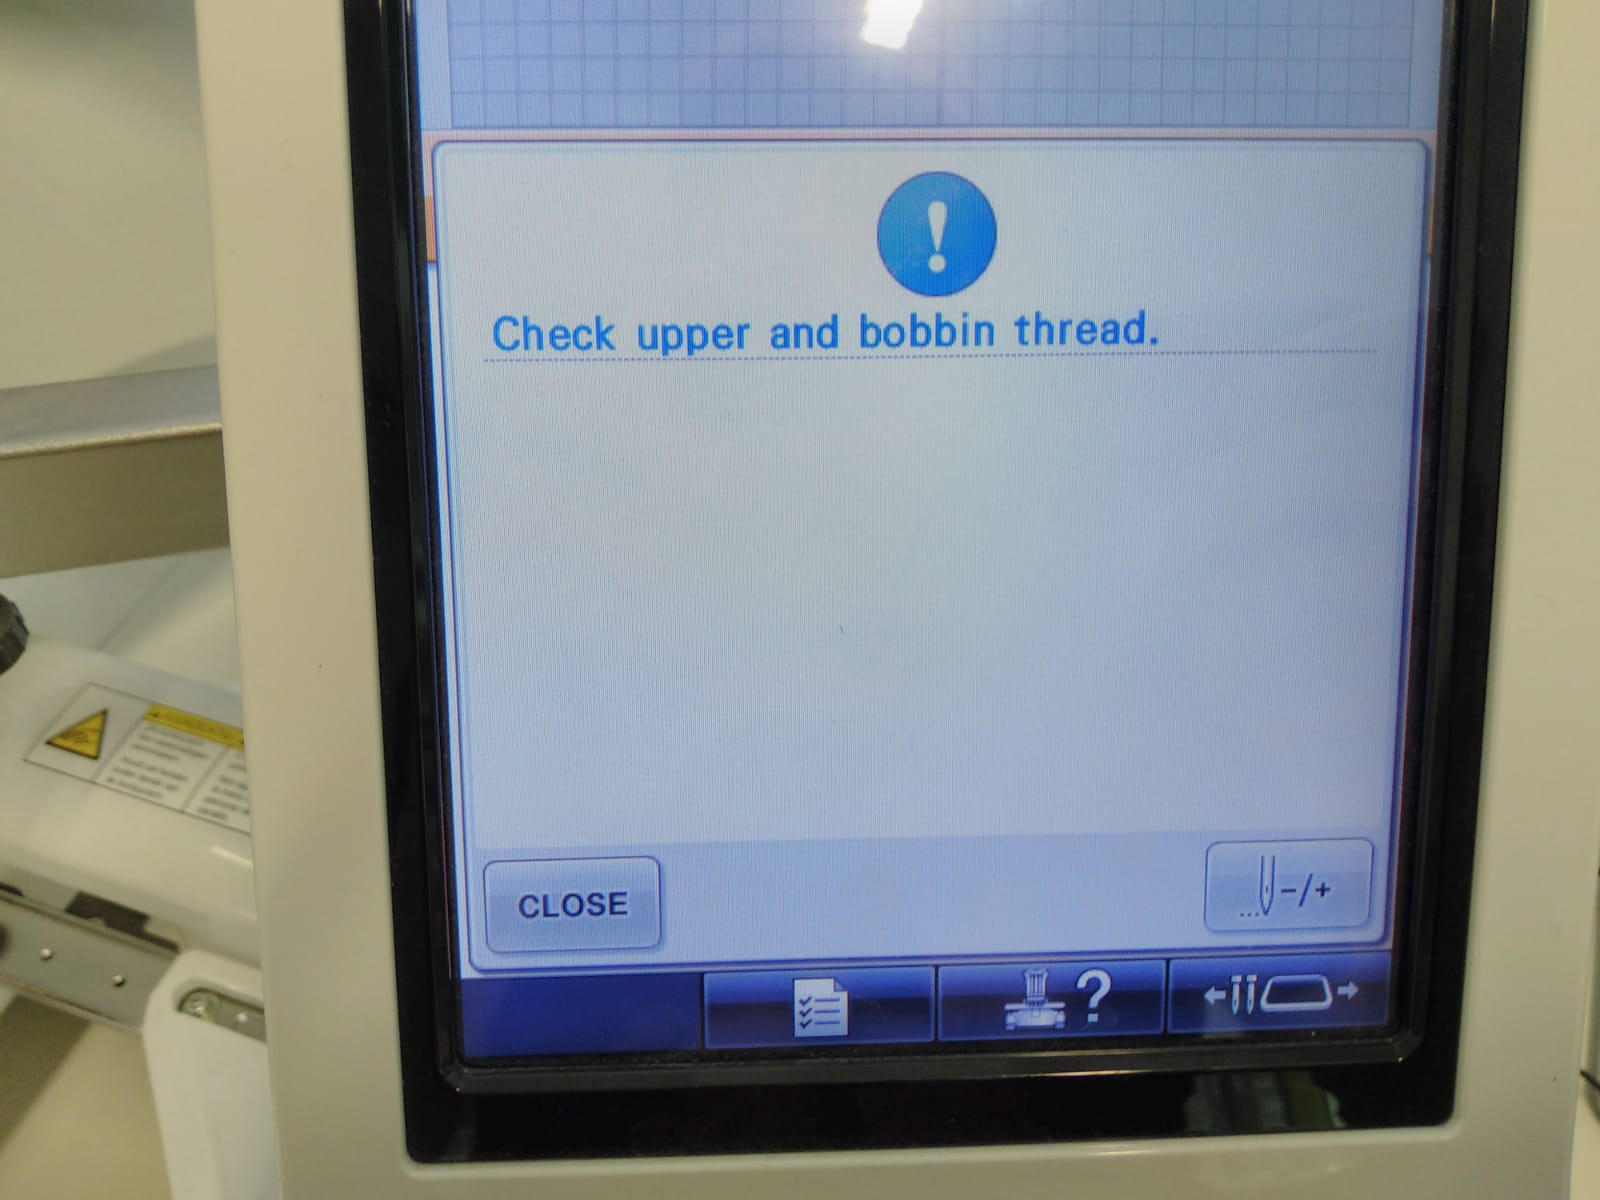
From there everything should happen automatically, but you should still oversee the process in case anything goes wrong. In my case the thread teared near the R, which the machine detected automatically and paused the process. Now I could thread it in again and press "Lock" and the flashing start button to resume the process. The machine will continue where it left off. The rest of the process worked fine, I only had to remove the frame, remove the fabric from the frame and cut off the loose threads on the underside.
I tried creating my own design using Inkscape, but it turned out the embroidery software by Brother can not import standard SVG files. Exporting the file as EPS didn't work either. So instead I created a simple design using the onboard tools to learn more about the usage of the machine. The elements can be selected from the menu and moved around on the screen just like the text of the previous embroidery. As long as the frame is not removed from the machine multiple passes can be run, adding a new element each time.