For this weeks group assignment we reviewed the safety datasheets of different casting materials. A short summary can be found at the bottom of this page. We also created test casts for the materials, the full documentation can be found here.
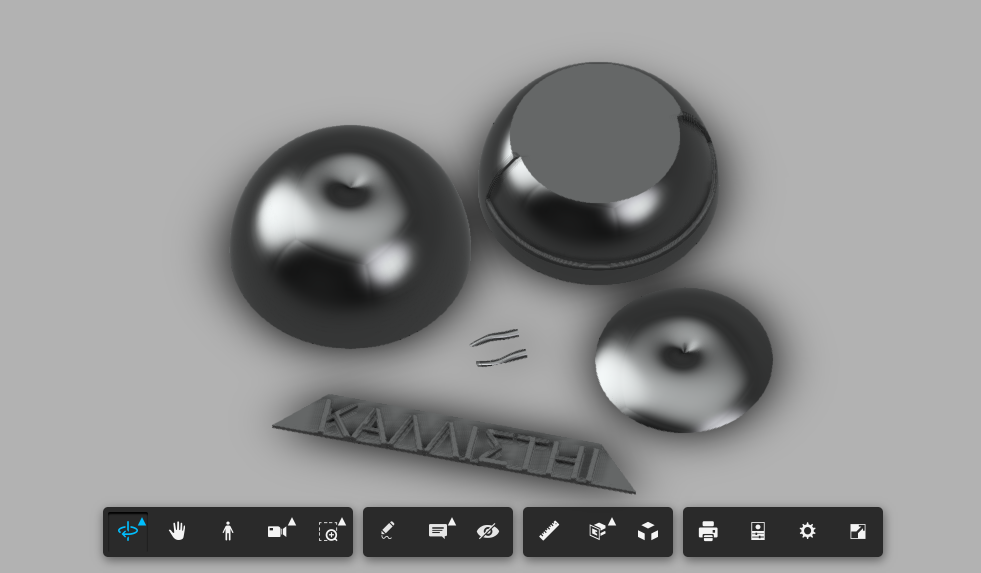
I decided to make a "golden apple of discord". For that I created an outline in Fusion360s sketch mode and revolved it arround the center axis. For the writing I extruded text that I created in the sketch mode. First I placed them letter by letter, but it later turned out that the text needs it's own element. The stem of the apple was created as a cylinder in sculpting mode and each of the circles dividing it vertically was scaled to give it a more natural form. The ends where closed using the tools in the Patch workspace.
To create the mold I had to split the apple into multiple parts. Because of the writing, the spherical shape and the indentations at the top and the bottom I could not simply split it into two or three parts. This makes perfect sense, because if the apple could be easily split it wouldn't cause any discord.
We tried a lot of different ways to split it with the text directly on the apple, but we came to the conclusion that it is not possible to do that while having the letters arranged in a half circle arround the apple. With a 5-axis mill that might have been possible.
The solution was to mill the letters on a seperate flat piece, which would later be heated and bend to be inserted into an indentation at the front of the apple.
discord.f3d
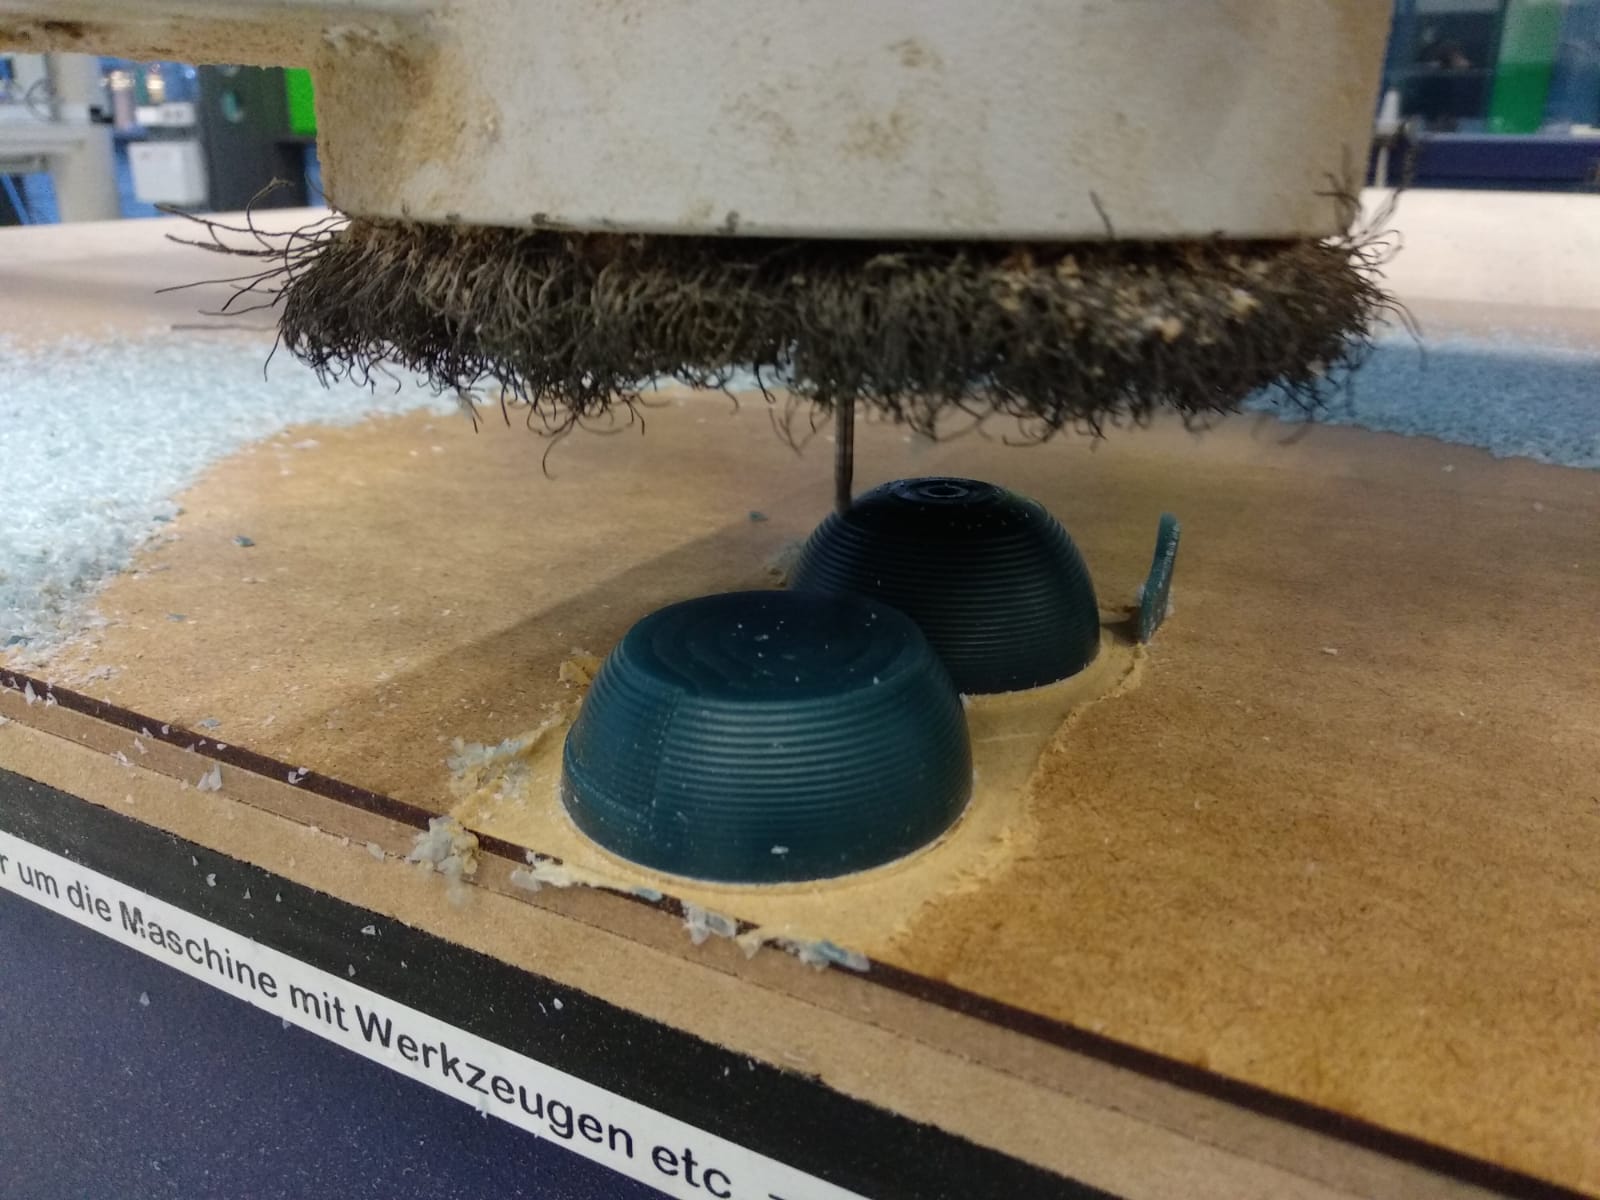
This time the GCODE was generated neither in fabmodules, nor in the CNC program of the mill itself, but directly in Fusion. The first job was done with a flat tool to get a really flat surface where the parts would be glued together.
First the stock has to be defined in Fusion. It must not be smaller than the actual physical piece to avoid damage to the machine.
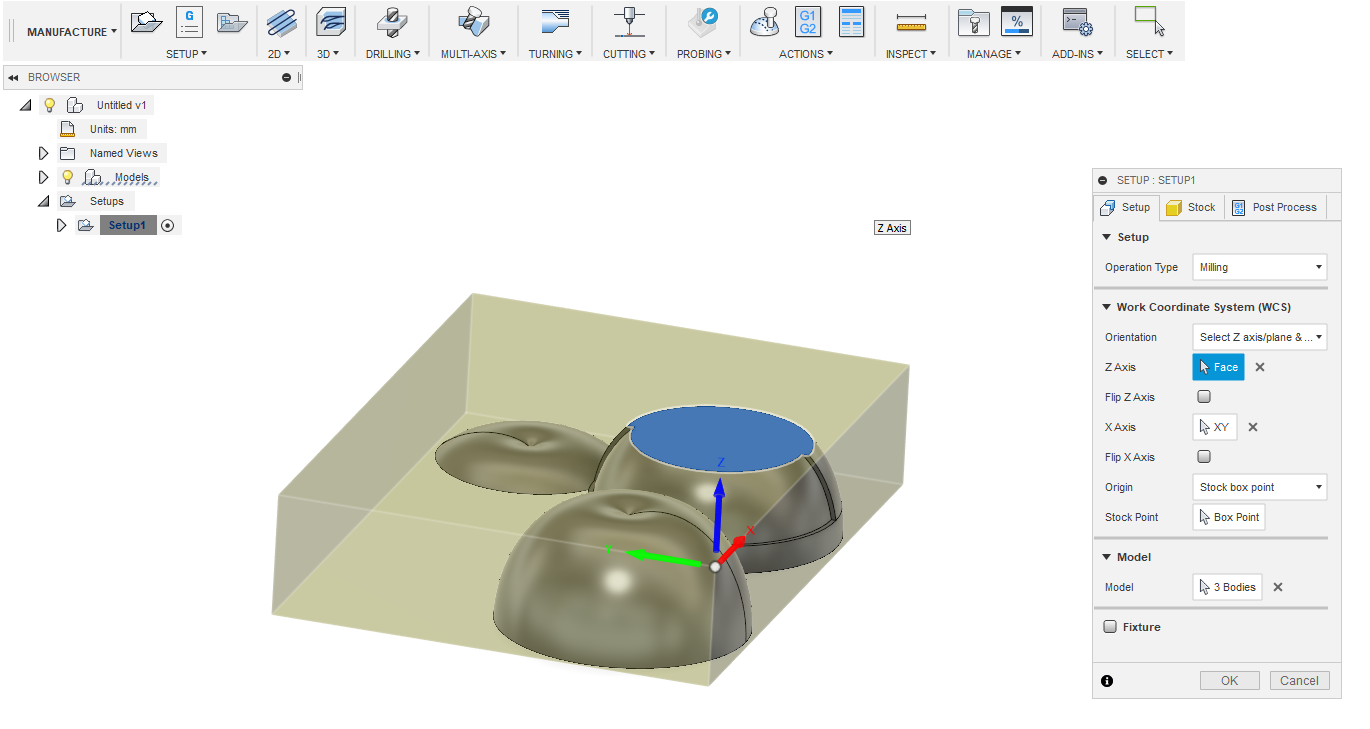
After that the first strategy can be selected.
![]()
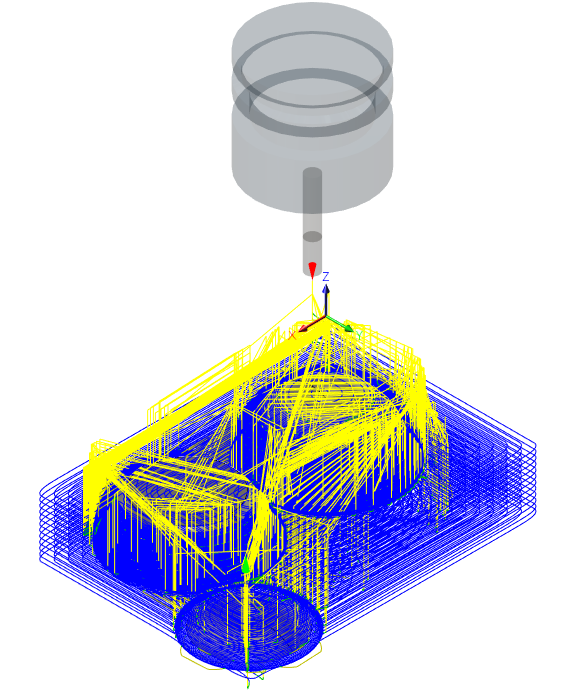
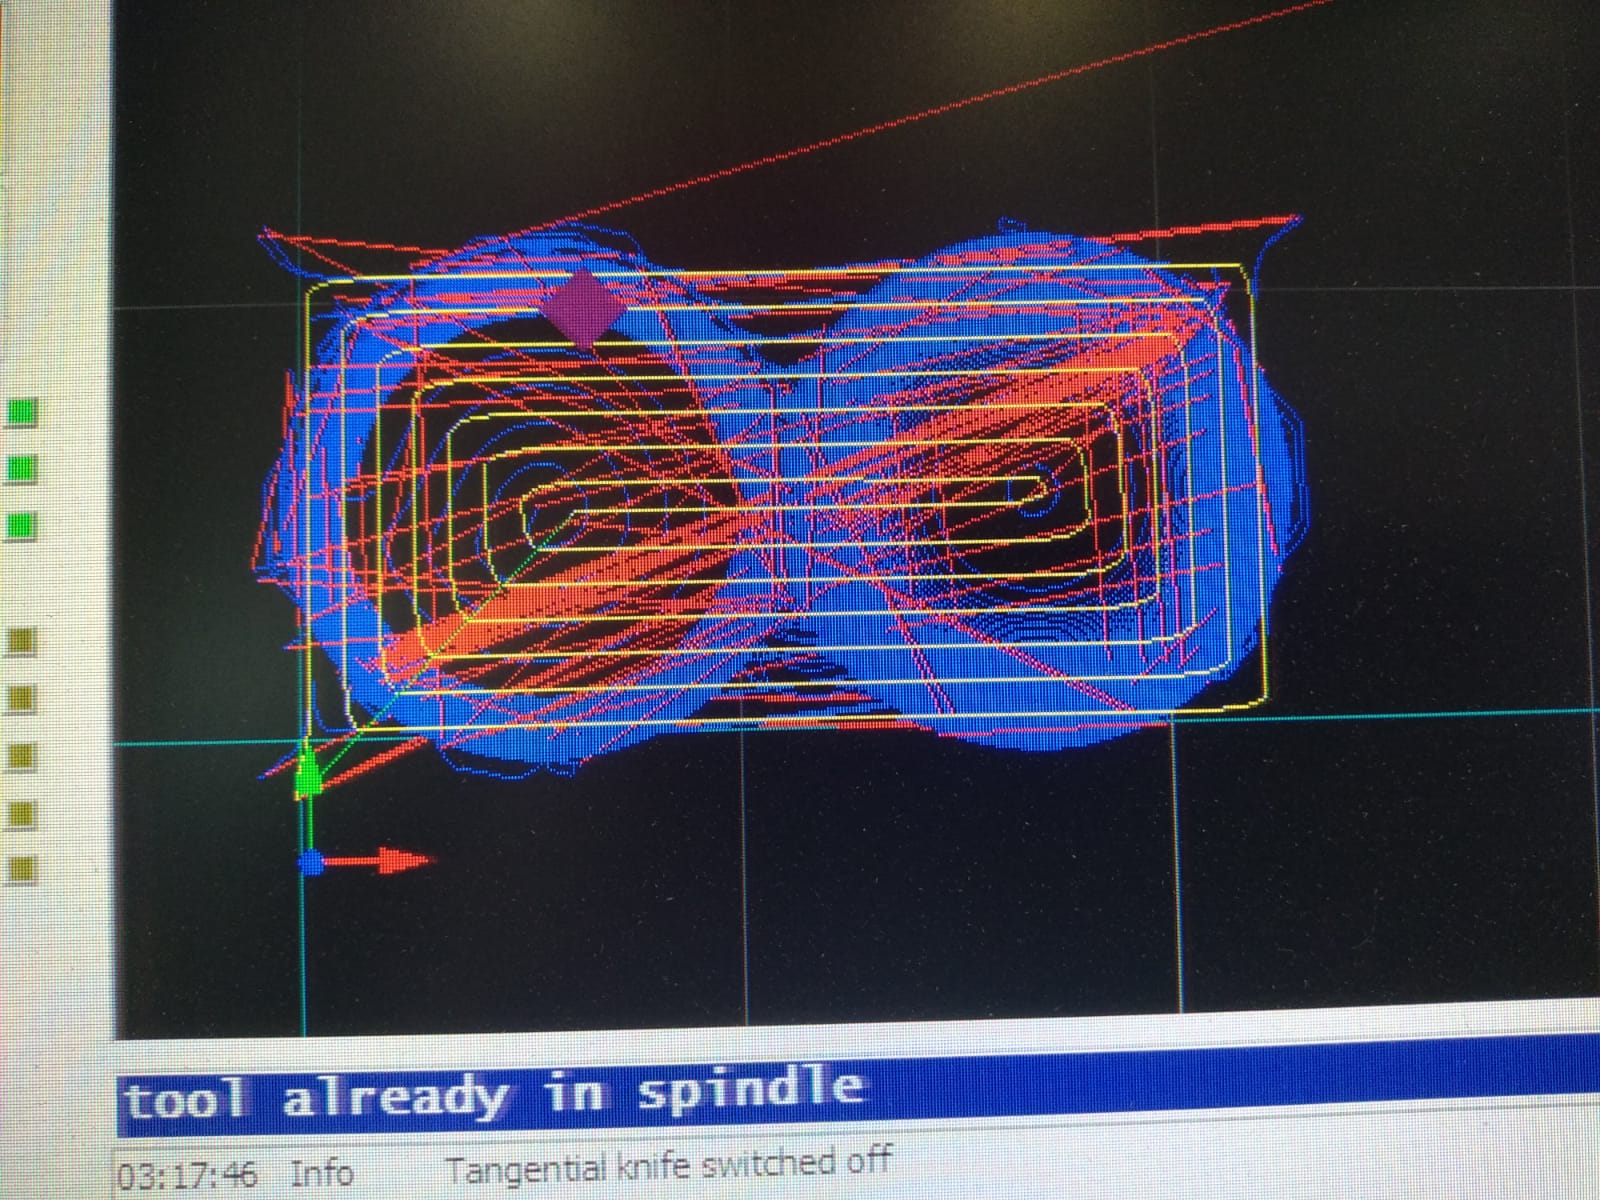
The settings for the first job, run with the adaptive clearing strategy, can be seen in the following screenshot.
![]()
Now the toolpath can be calculated and exported.
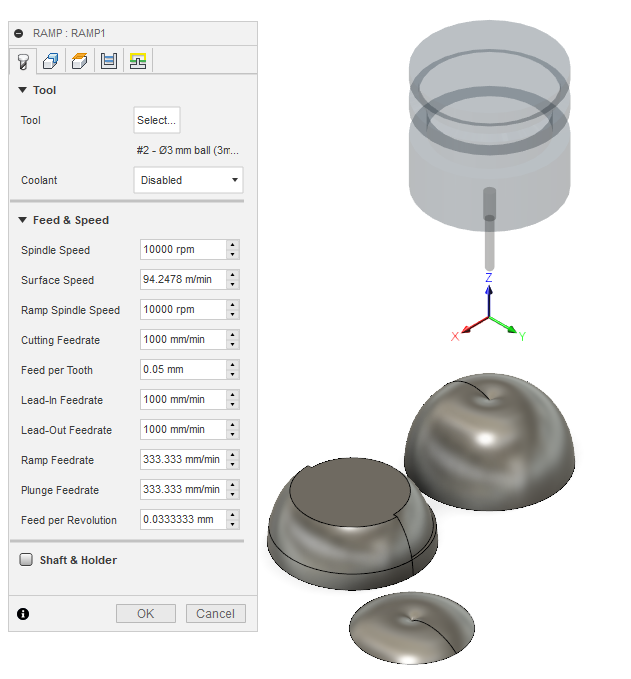
After that a second job was run using a ball tip tool to smoothen the surfaces. For the flat parts of the model a different, much smaller stock was used to save time milling it.
The parts had to be connected using molten wax and a heatgun. I found out that for this it is not sufficient to just drip wax on to the points where the parts should be connected or heat the surfaces only a little bit. To get a good connection both surfaces have to be molten down thoroughly and then quickly pressed against each other.

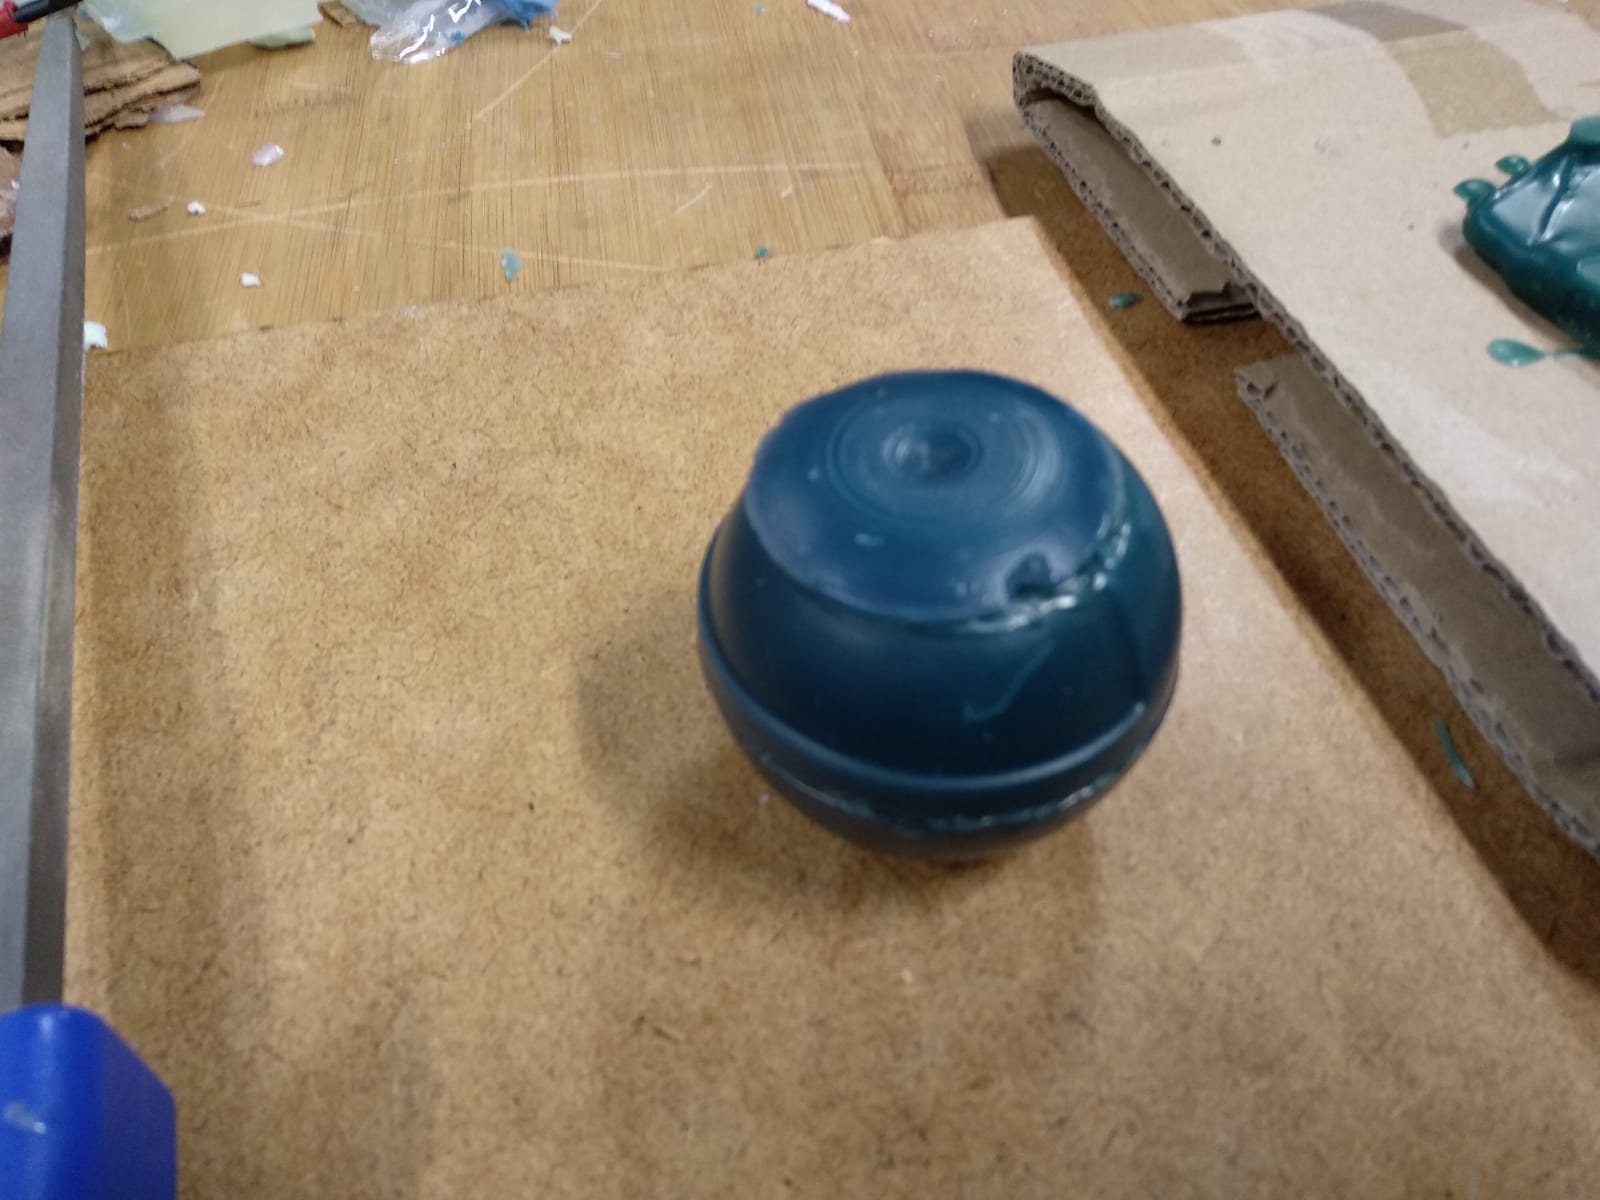
To smoothen the parts that got messed up while glueing I used a file and piece of fabric.
It turned out that the thinnest parts - the stem and the letters - could not actually be milled. The layer that holds the letters in place is only 1mm thick, which is why it broke of every time I tried to mill it. The alternative solution was to 3D print the letters, bend the 3D printed plate using a heatgun and then attach this to the rest of the positive.
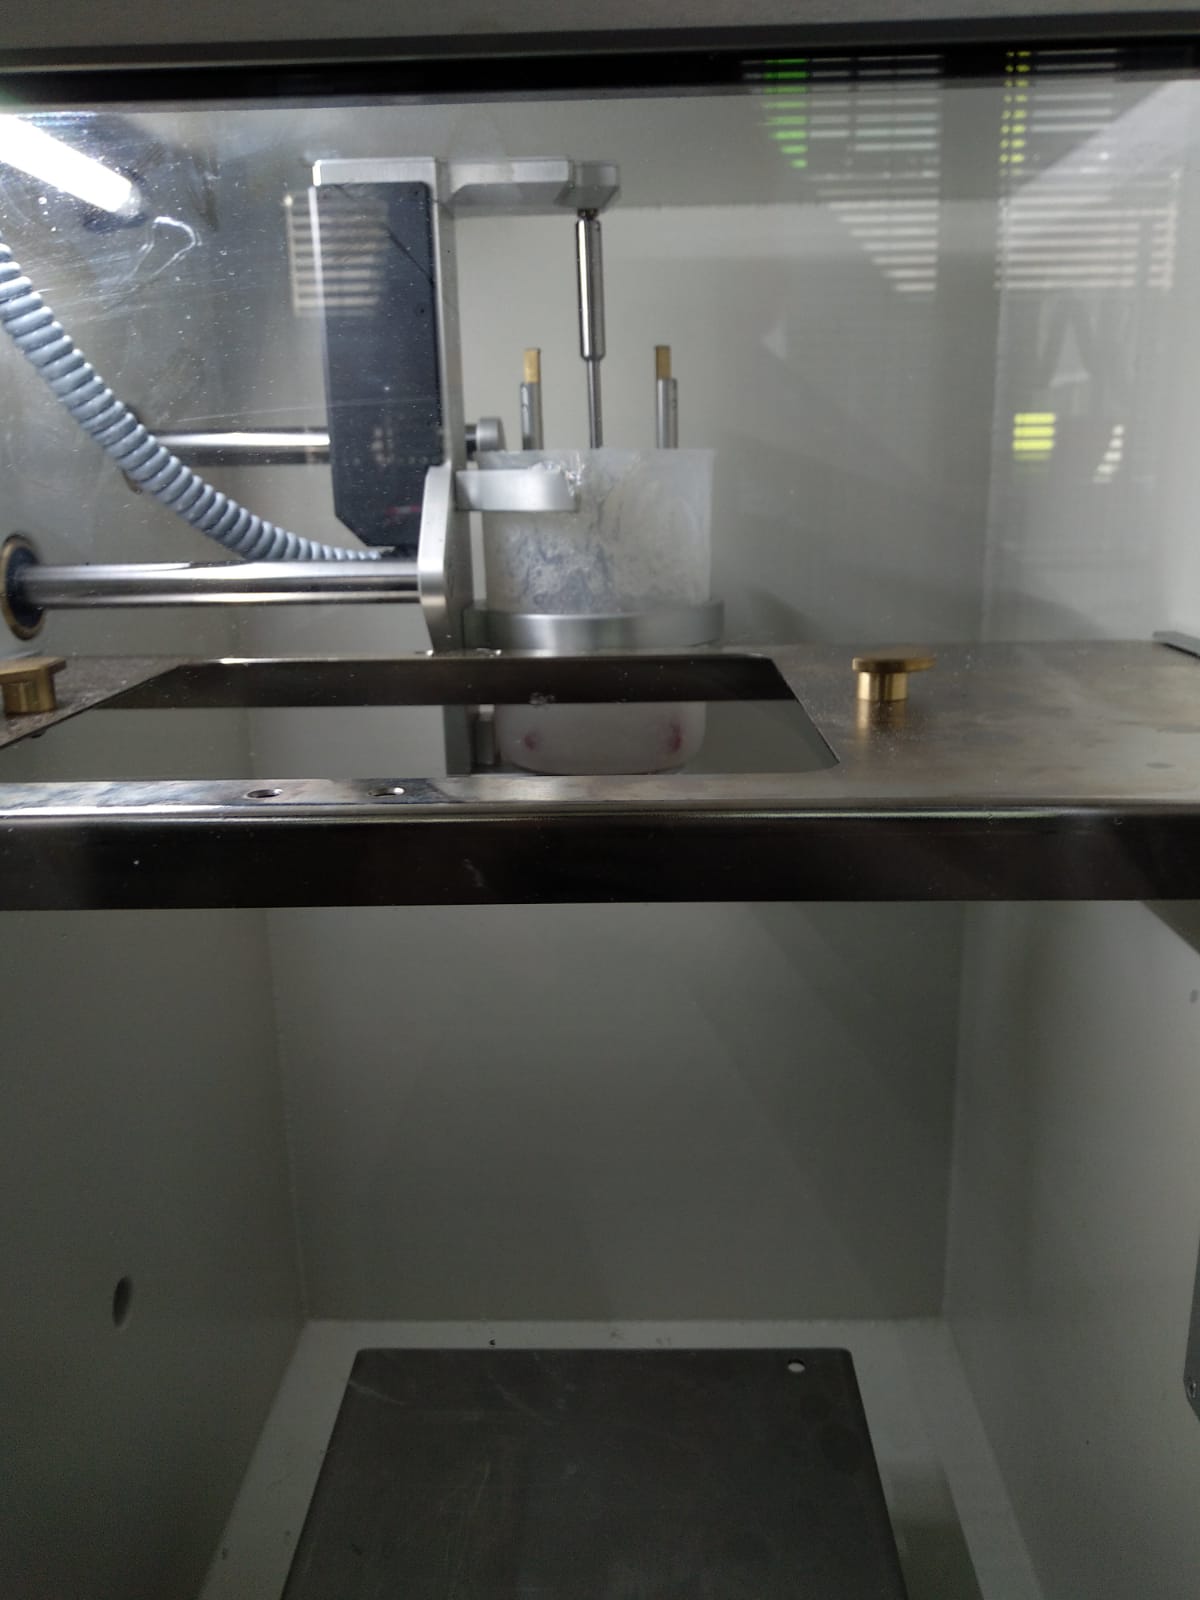
Now I built a small box out of MDF to hold the silicon for the mold and placed the positive inside of it. I used a vacuum chamber to remove all bubbles from the silicon components, turning the pump on and off to avoid spillage. When I reached a low enough pressure I pulled the lever to let component B flow into the cup with component A and turned on the stirrer to mix the components. After that I slowly released the valve, took the cup with the combined components out and poured it into the box.
The component I used was ProtoSil RTV 245. Component A and B are mixed with a 100:10 weight ratio. The mixed components have pot life of around 80 minutes.
For casting I used Neukadur ProtoCast 105 resin mixed with yellow color. This time I did not use the vacuum chamber but mixed the components directly in a cup. I clamped the two sides of the mold together and slowly poured in the resin. After letting it sit for around an hour I removed the clamp and put the mold into an oven at 70°. After another hour the result could be removed from the mold.
The components I used where: TBD
It looked horrible.
The letters where the largest problem with this design. They have too many sharp edges to be easily milled and 3D printed letters are hard to combine with a wax milled positive. If I had used hard foam instead this might have been easier.
Another problem was the general shape of an apple. It can not easily be created without any undercuts and at the same time dividing it into large enough pieces so they can be milled without beeing torn apart. In this case it might be feasible to use an actual apple instead of a manufactured one and only add the letters.
The last problems happened during casting. The mold was not clean enough, so there was some dirt caught up in the cast, there where a lot of bubbles trapped inside which could have been prevented trough more air exhausts and last but not least the color was way to yellow which made the apple of discord look like an ugly lemon.
The safety datasheet for RTV 245 does not specifiy any special precautions that need to be taken apart from a well ventilated working place and protection equipment to protect hands and clothes. It notes that in case of a fire toxic fumes can come from the material.
The safety datasheet for 105 epoxy resin notes that the resin is highly irritant when coming in contact with the eyes and will also cause skin irritation. It recommends the use of protective gear for the skin and the eyes, as well as a well ventilated working area. (Or breathing protection if enough ventilation can not be ensured.) It also notes that there might be a significant heat buildup, especially when mixed with aliphatic amine.
⬅ Back to overview