.png)
Hi! Welcome to Week 10
This week’s assignment was to design a mold around the stock and tooling that I'll be using, mill it (rough cut + (at least) three-axis finish cut), and use it to cast parts!
This week’s assignment was to design a mold around the stock and tooling that I'll be using, mill it (rough cut + (at least) three-axis finish cut), and use it to cast parts!
We started this week with a note from our instructors: "this week is gonna be fun", and it actually was.
For this week, I am going to make a candy mold, a stamp, and will experiment with casting my face.
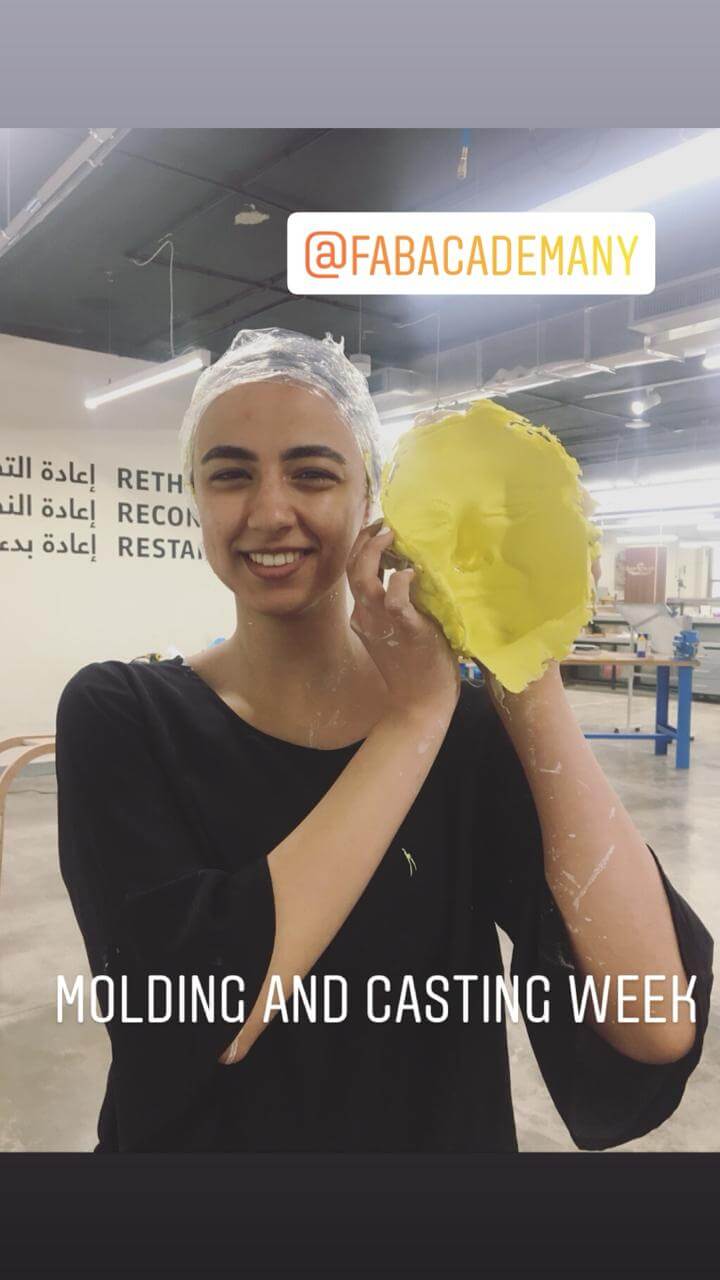
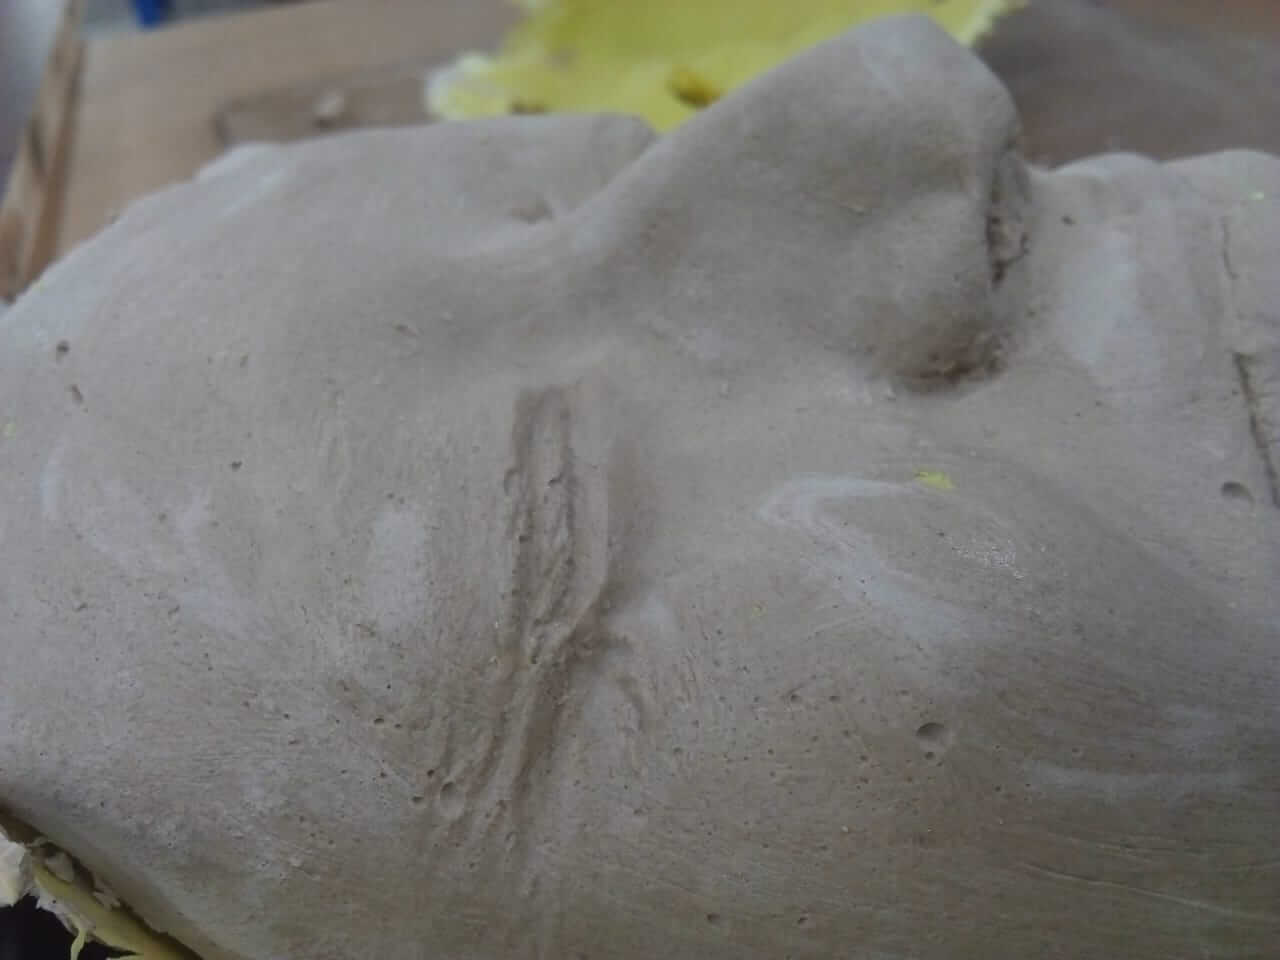
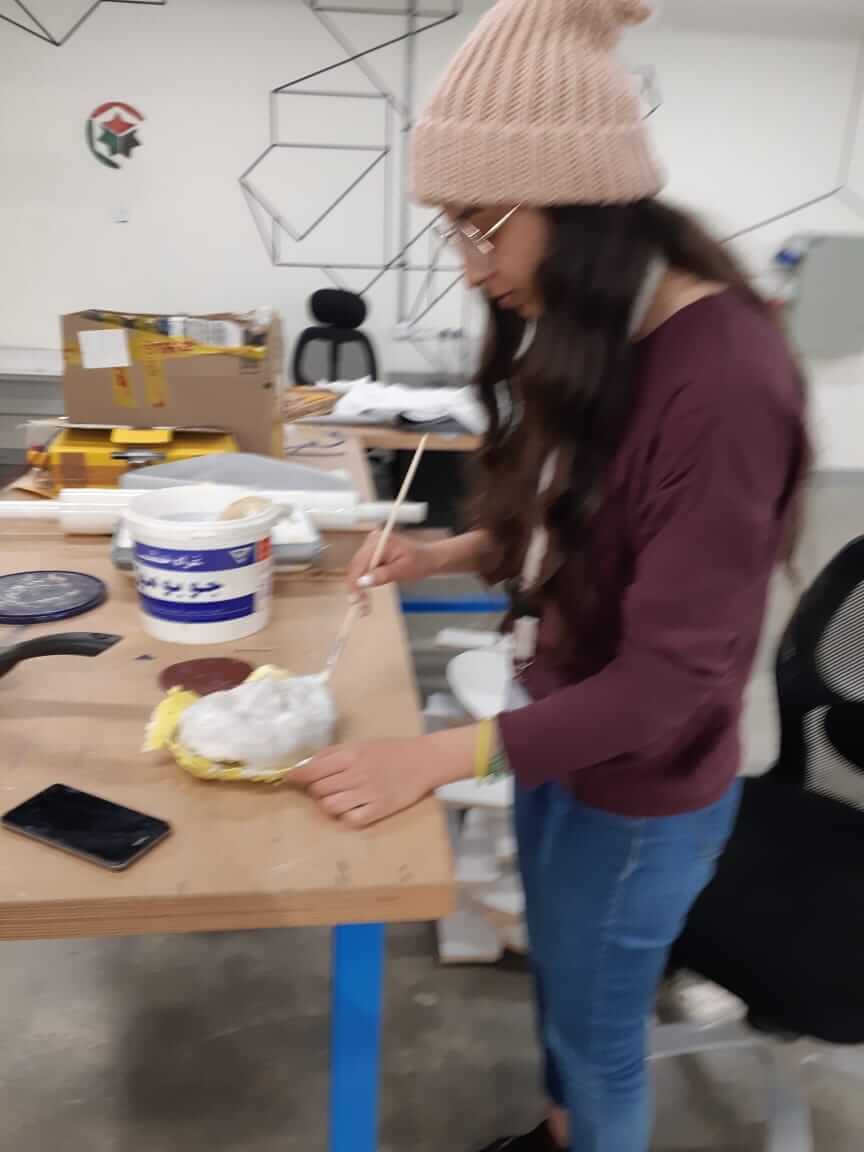
I started with making a mold of my face. I used alginate, the kind used by dentists to make sure it's going to be safe to place on my skin.
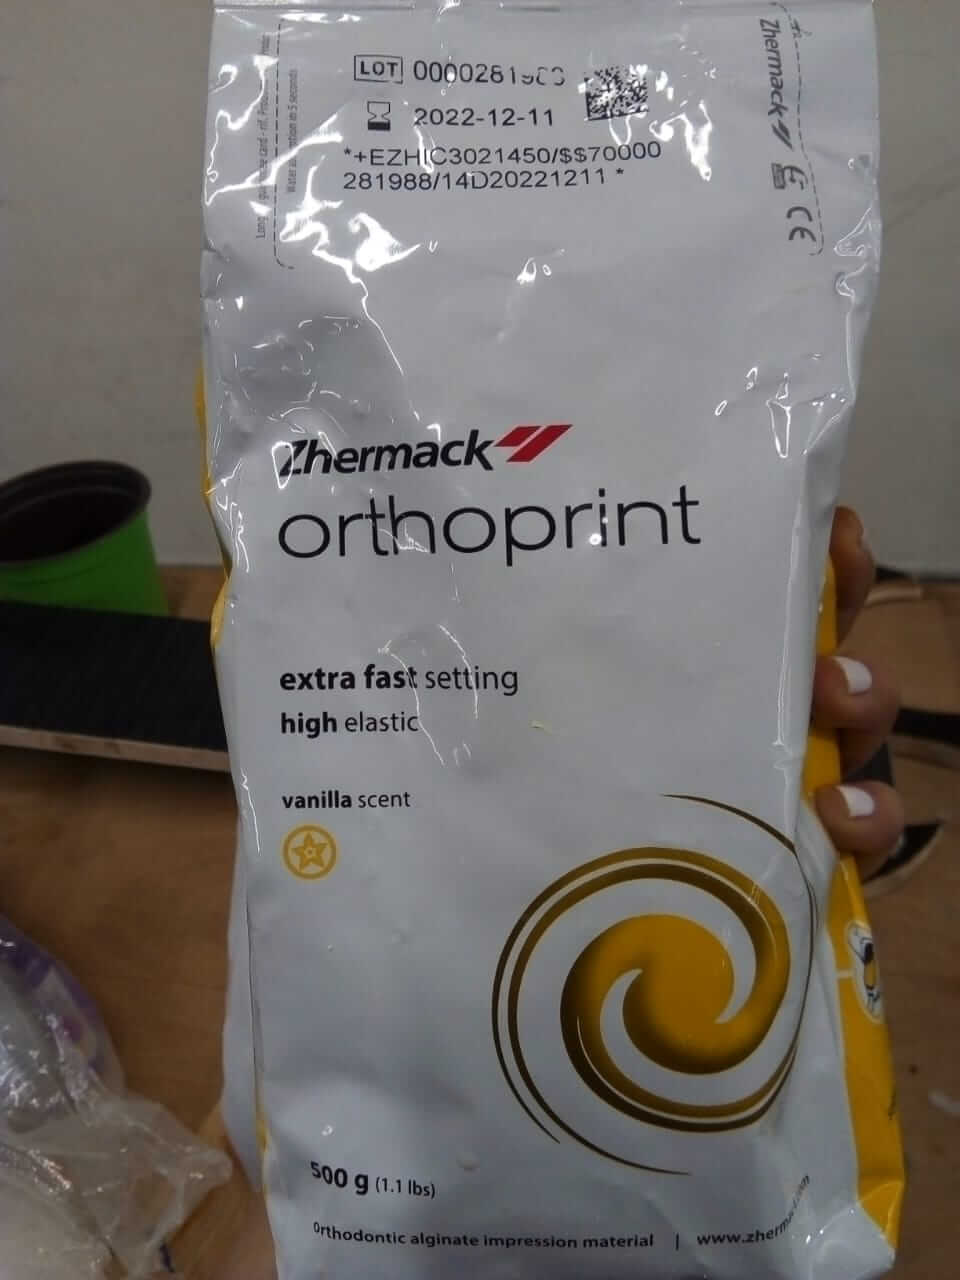
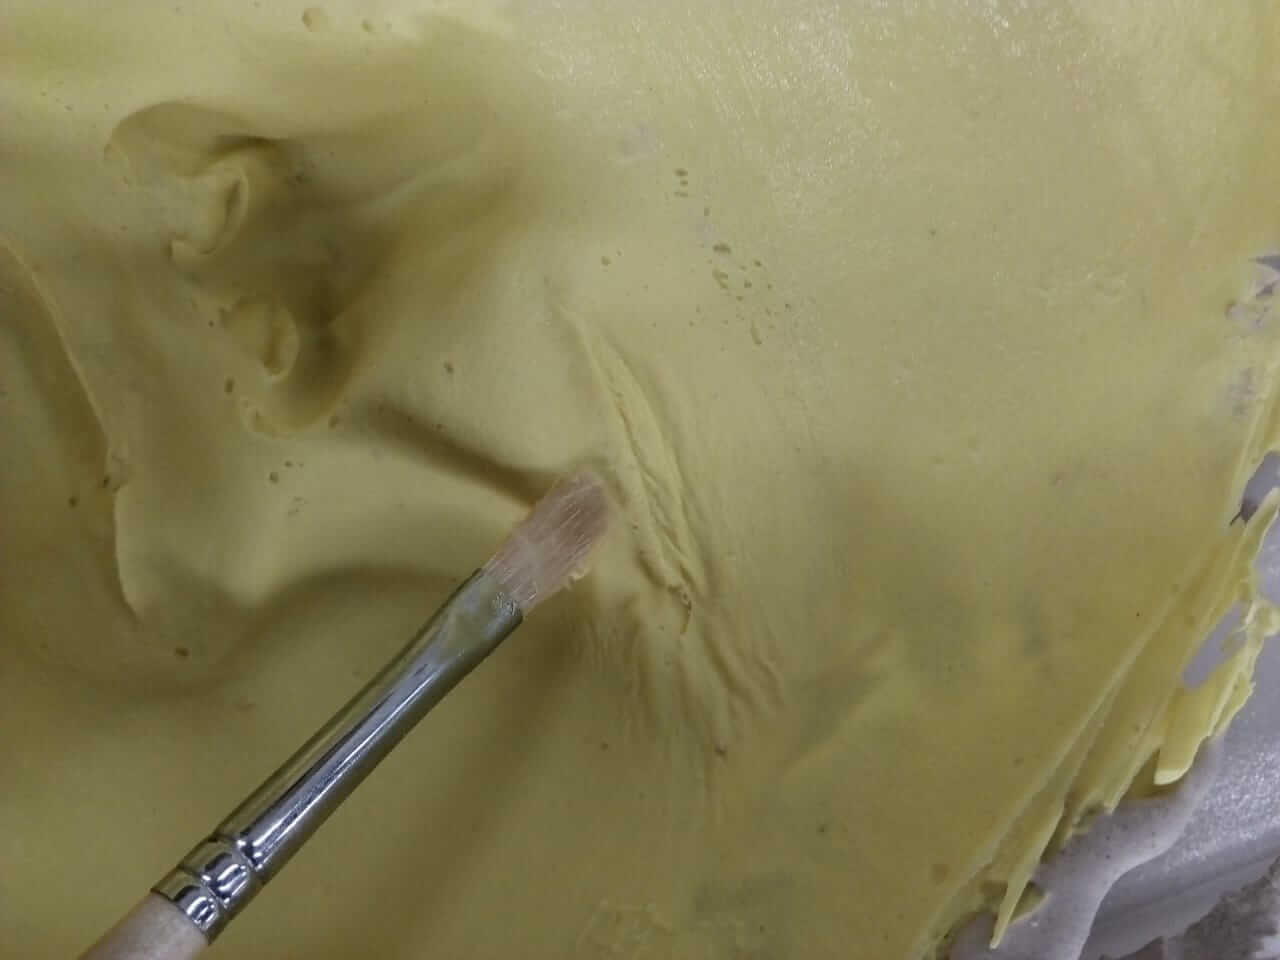
The first step was to cover my hair with plastic wrap, and then I applied a heavy coat of petroleum jelly on my eyelashes and eyebrows so that the dry alginate won't peel them off when it's dry. Next, the alginate powder was mixed with water to form a paste, which I applied to my face, on the first try, the paste dried before I could Apply it all over my face, and so I removed it and started again by applying the petroleum jelly, mixing the powder with water and then quickly applying the paste, and it worked well on my second trial! I waited for around 10 minutes before removing the mask.
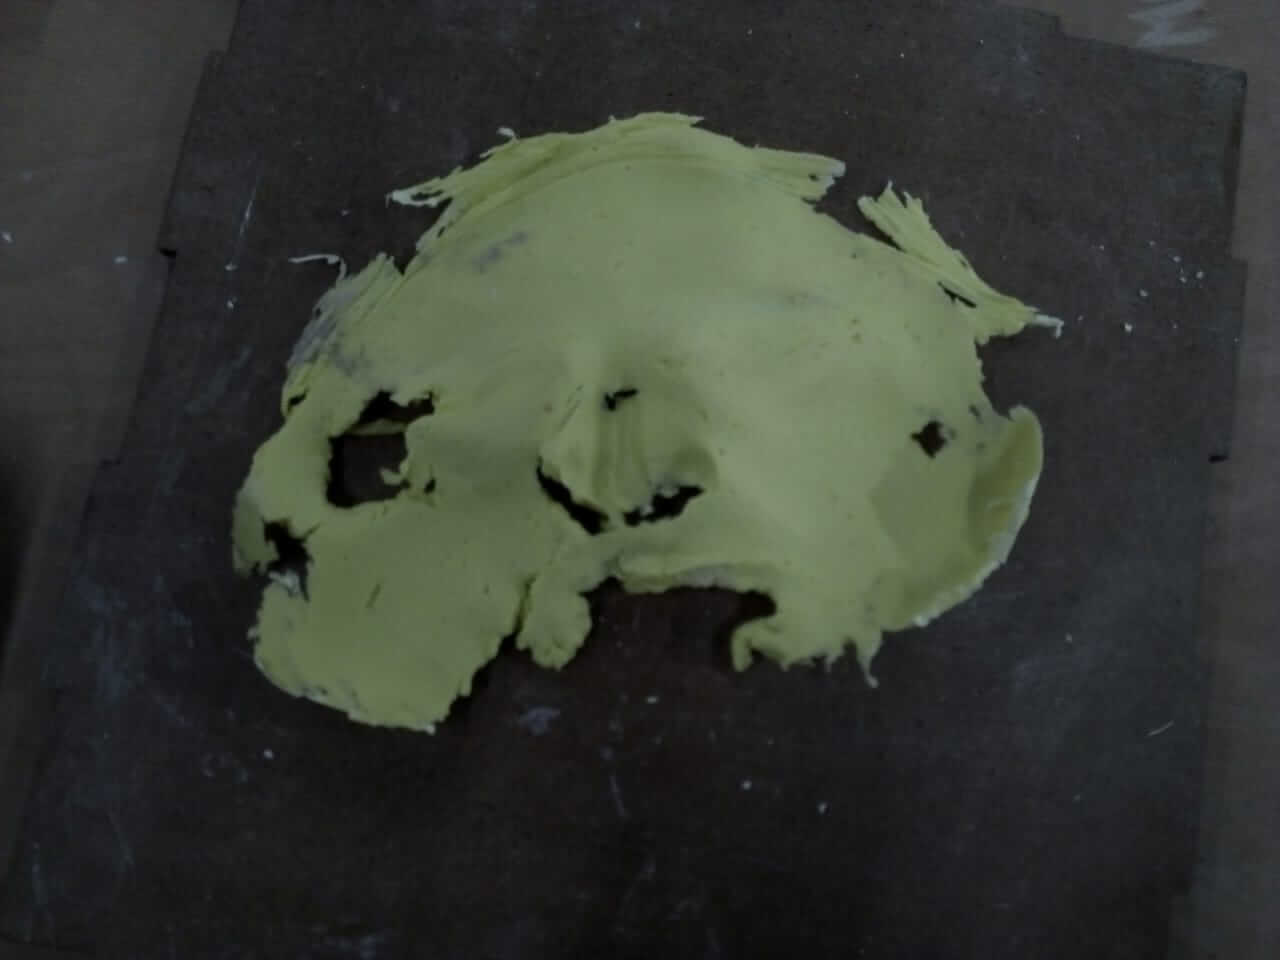
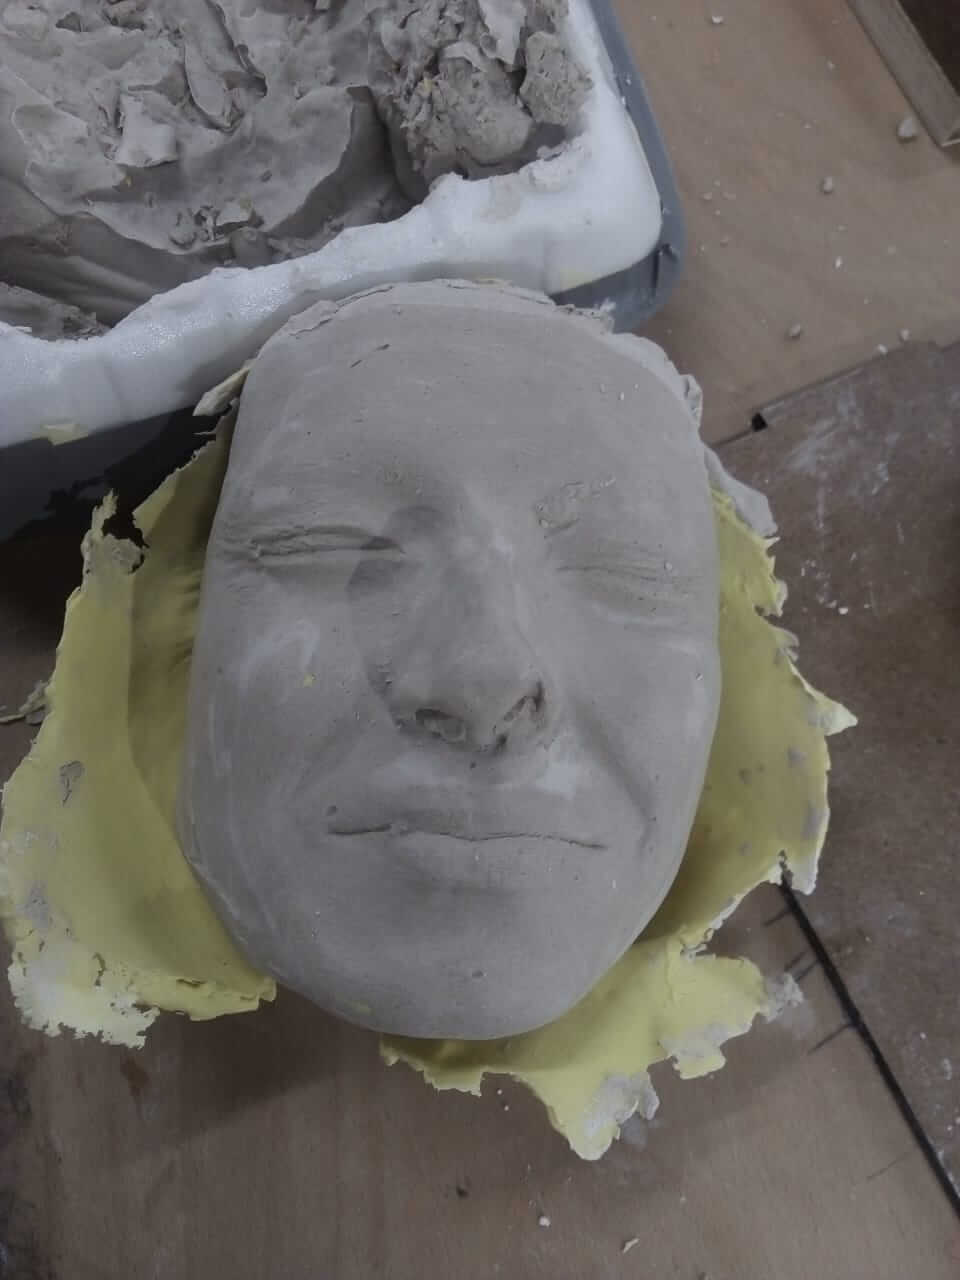
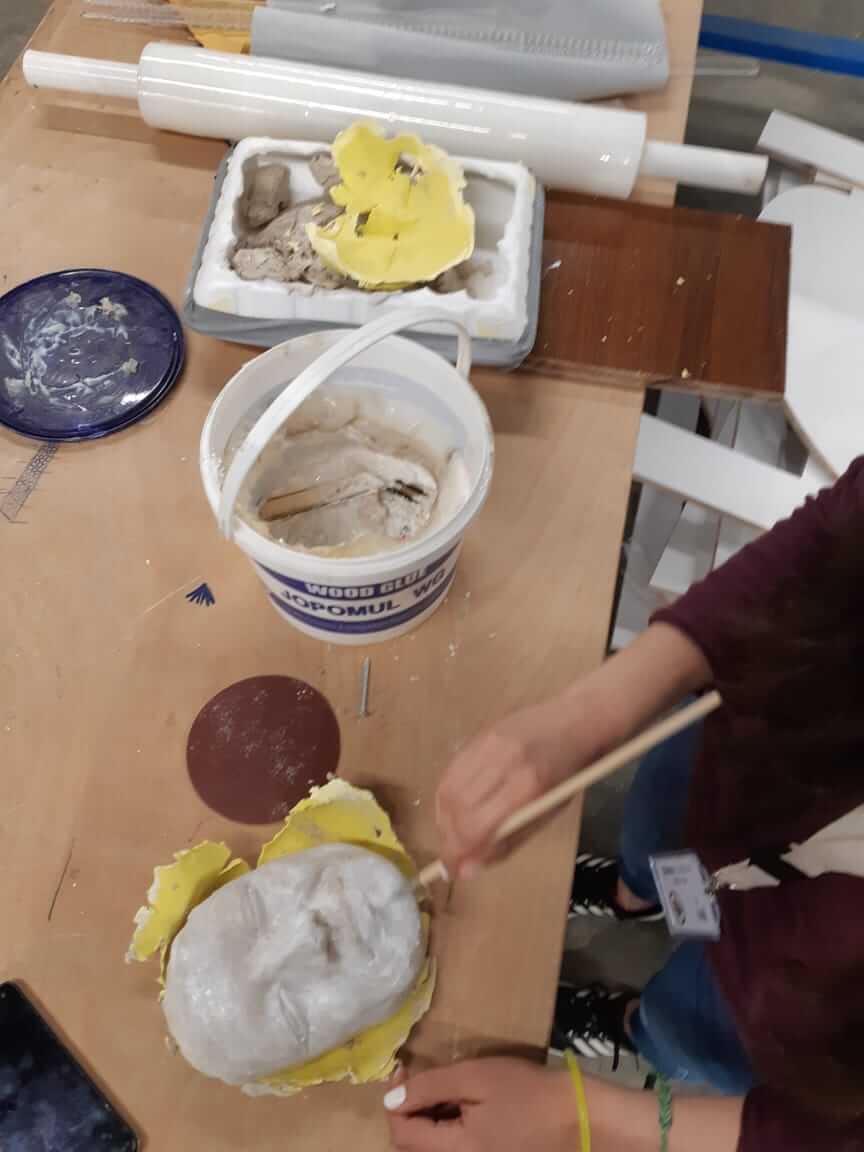
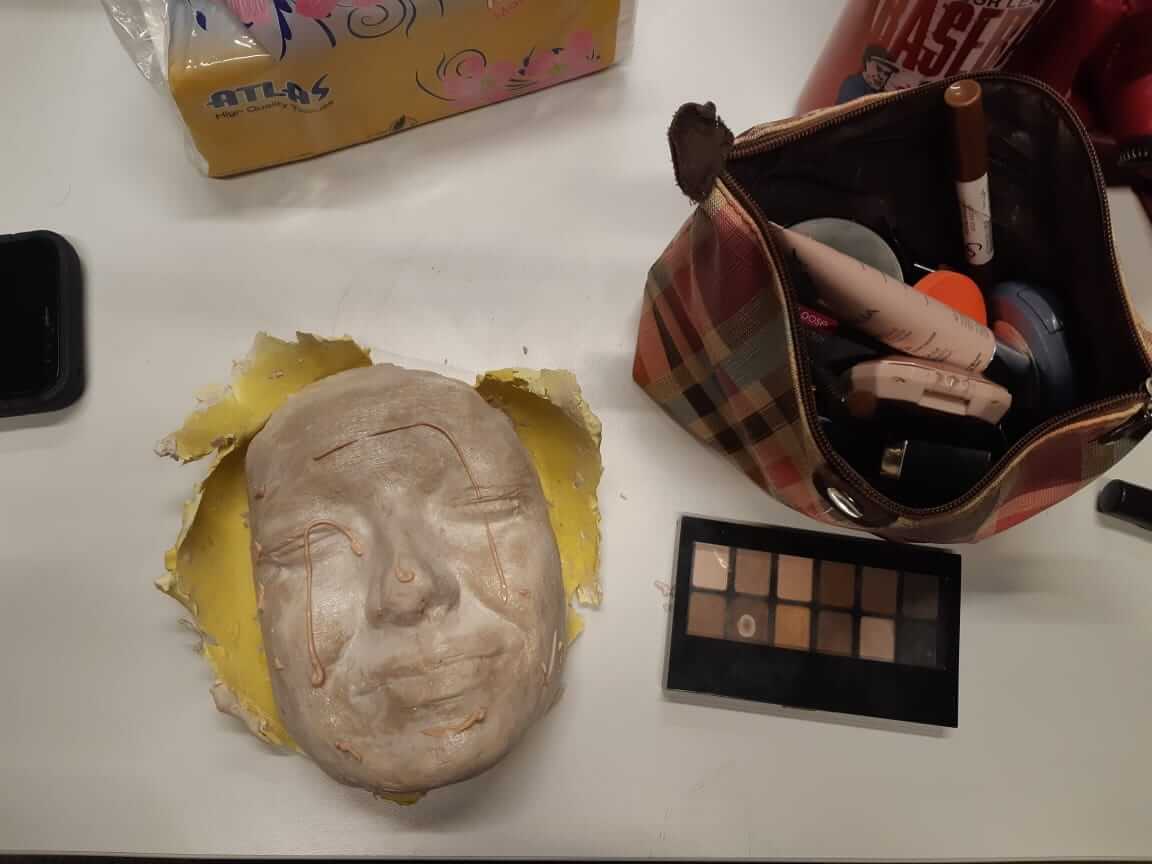
Now that I had the print of my face, I mixed some gypsum powder with water and poured it to a container, and then I placed the mask above it, and I tried to make the pressure all around the mask the same to avoid any distortion that could result from the flexible mold. After letting it dry, I then coated the mask from the inside with petroleum jelly to keep the cast from sticking to it, and then poured gypsum into it and left it to dry. and once it was, I removed it and coated the cast with 2 layers of wood glue to set a base for painting it.
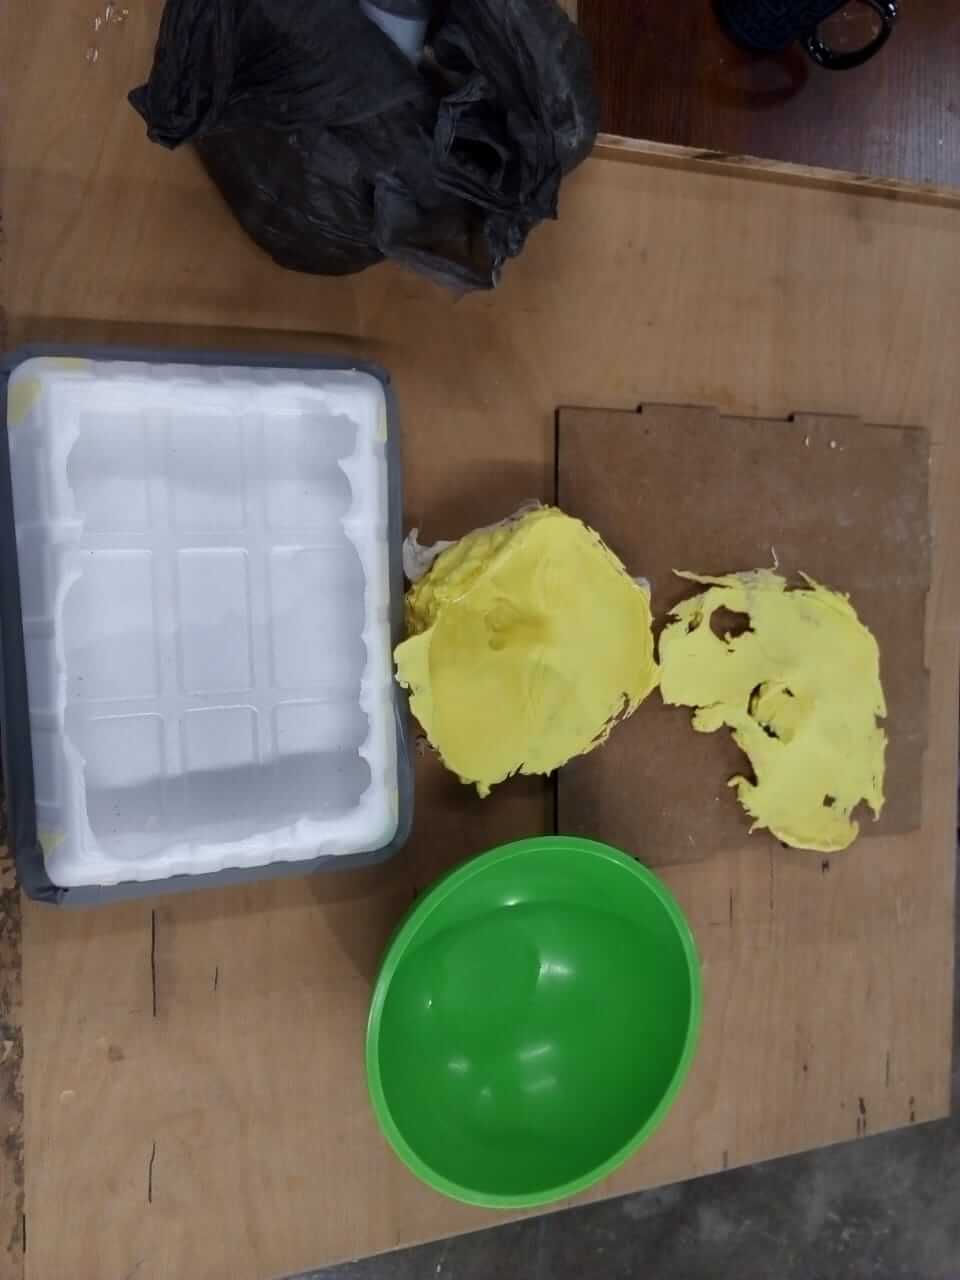

Once it was dry, I removed it and coated the cast with 2 layers of wood glue to set a base for painting it.
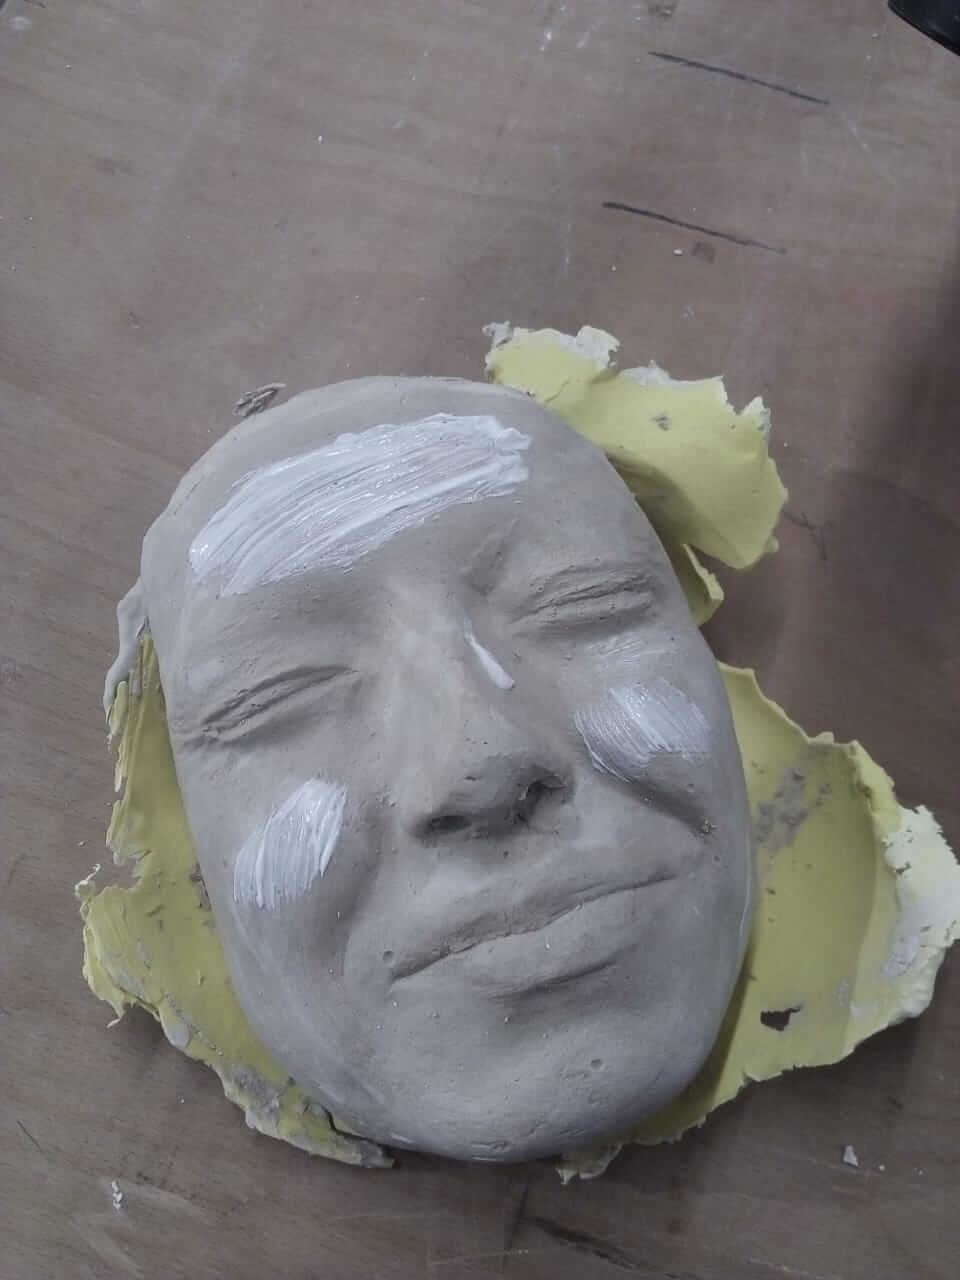
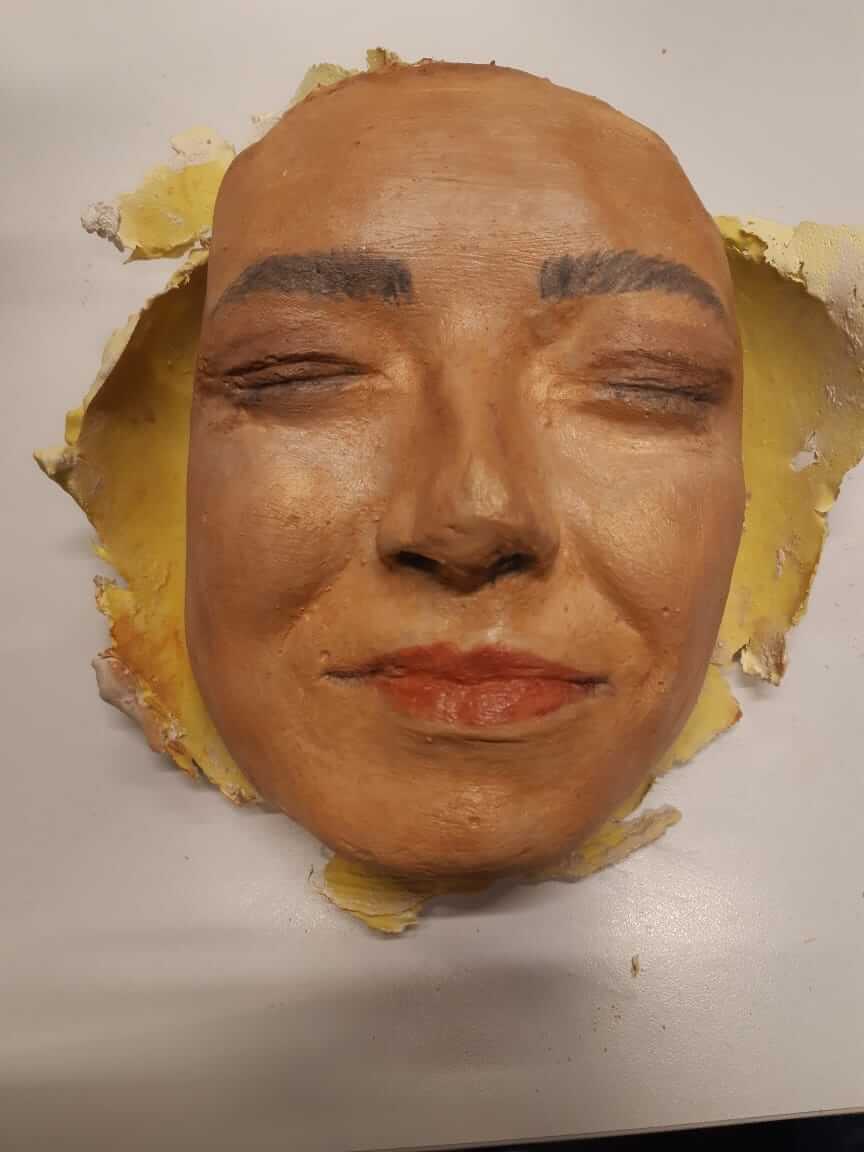
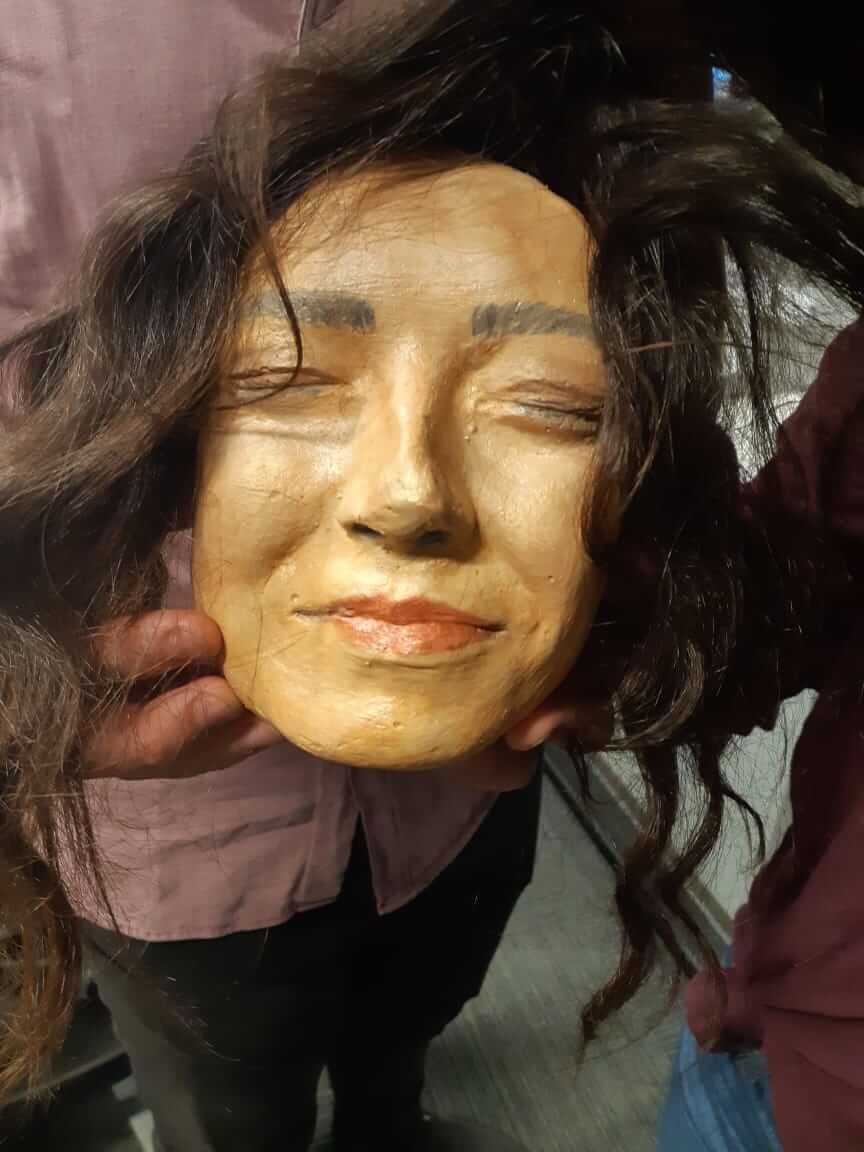
Now, everything was ready, and it was time to act like a makeup artist and paint the face. Et voila:
Next, I moved to milling the first negative mold. I used the SRM-20 machine and a wax block. I prepared the file using Fusion360, and you can download the Original file or the STL file.
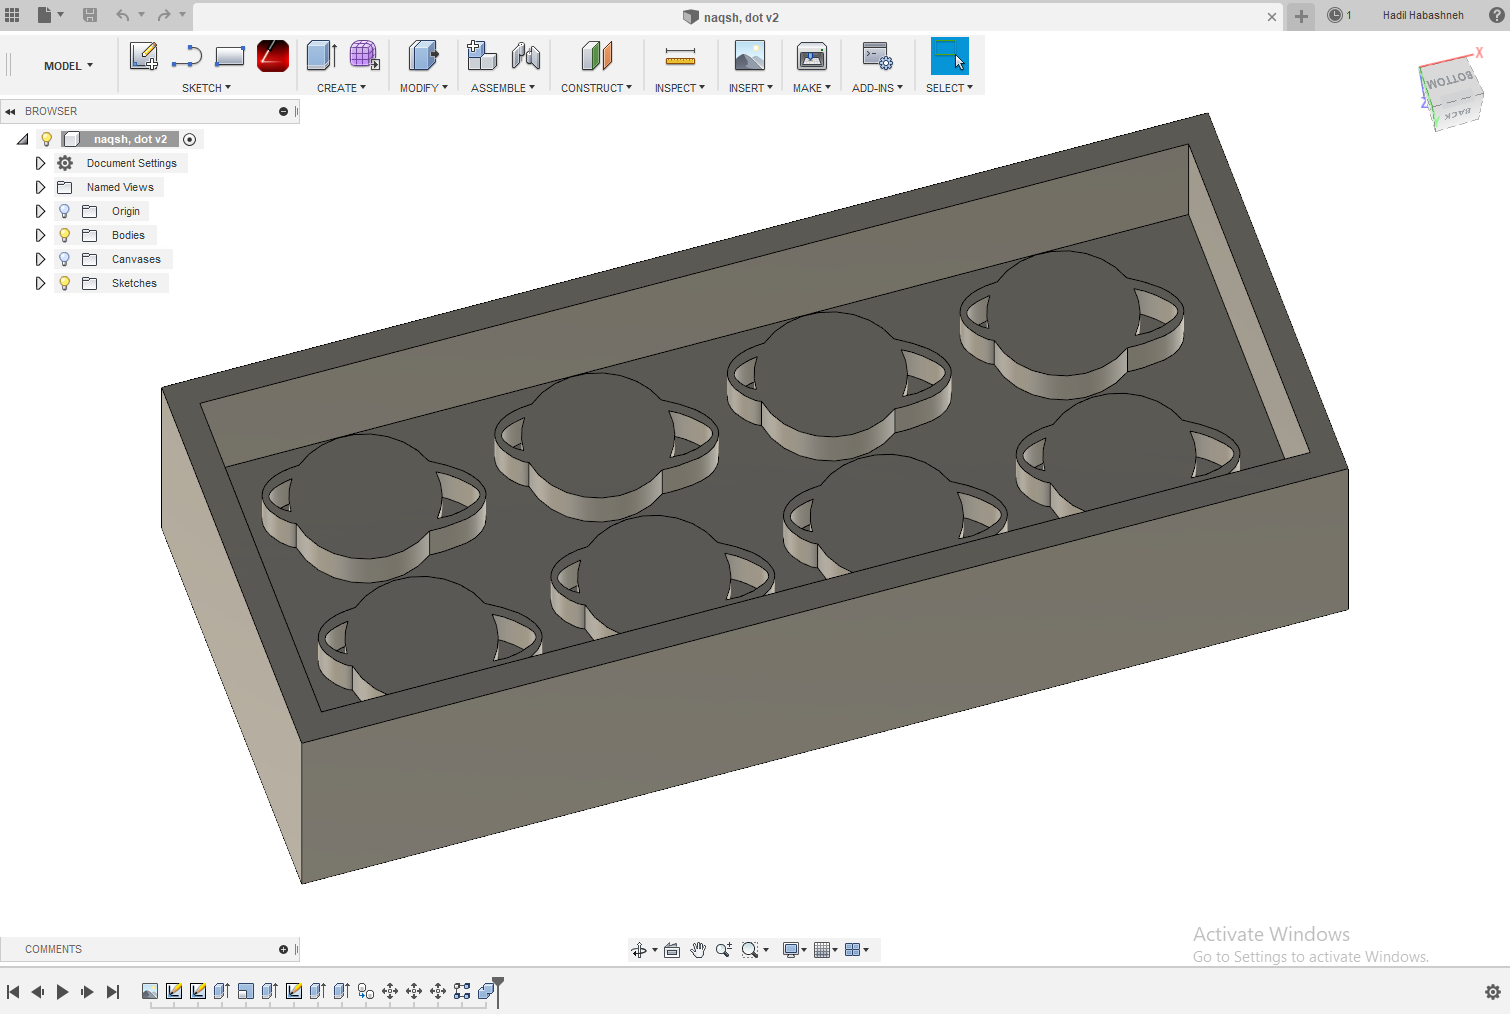
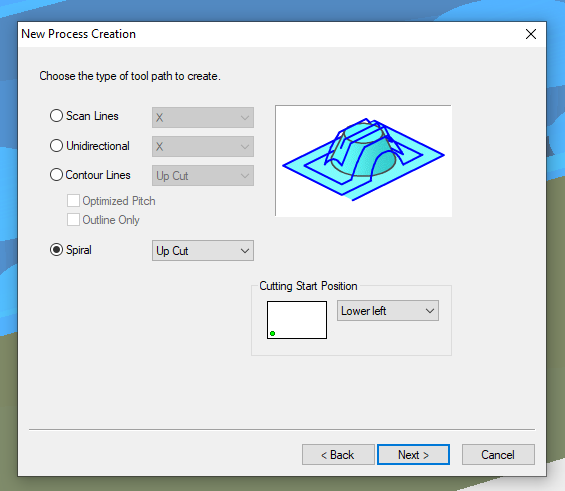
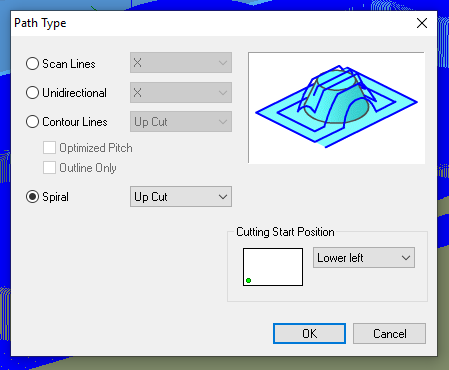
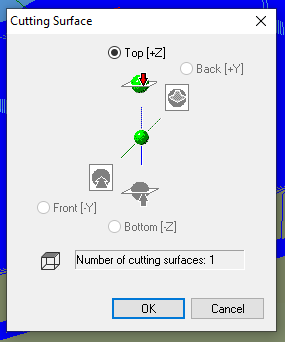
I placed the wax block on the bed of the machine and fixed it using double face tape, and then open the software MODELA Player 4, I opened the STL and placed the origin point in the middle because so that any difference between the dimensions of the design and the actual block would be divided between the 2 sides instead of having it on one side which might cause a problem. I could have used a different cutting tool in the roughing and finishing process to save time, but the problem was that it was late and I had to leave the lab (and so I won't be able to change the cutting tool), and so what I did was to use the same head for both processes, and although this choice meant that I needed more time to finish the piece, on the next day it would be ready and I won't have to spend more time to set the finishing process. And so I sat the following settings:

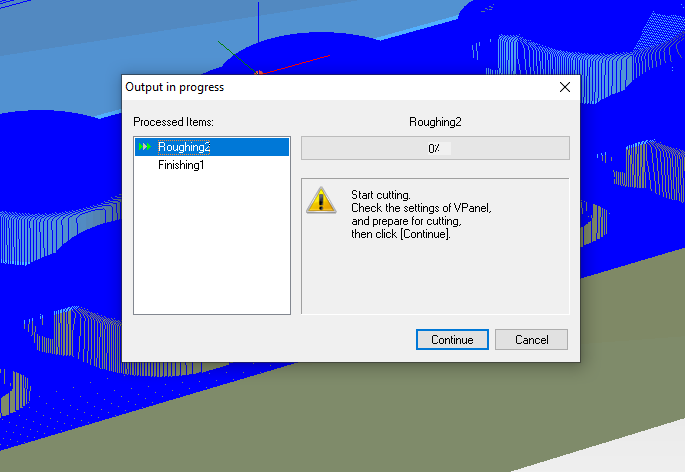
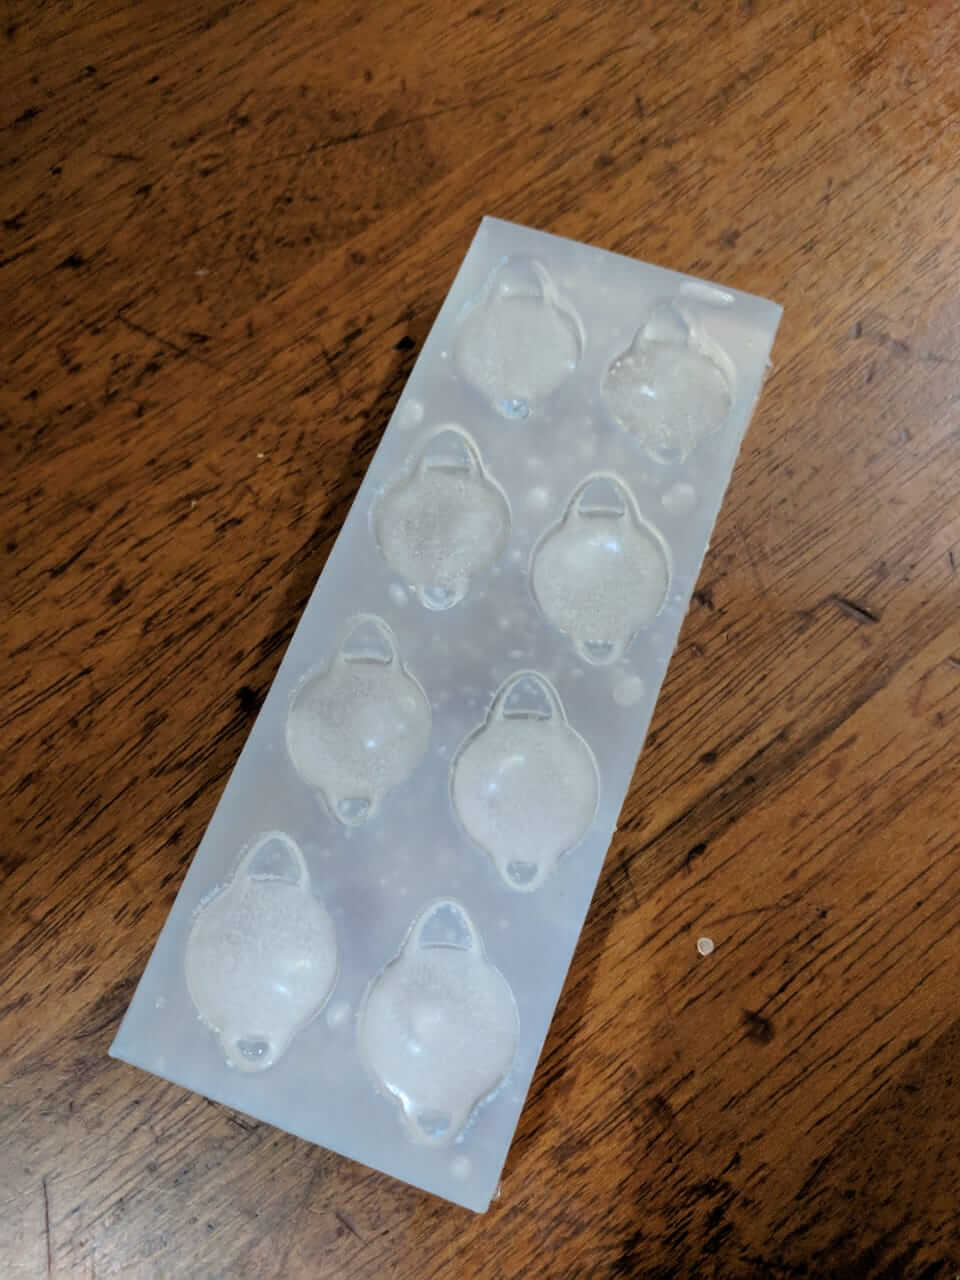
I started the process, and the nextd day the negative mold was done.

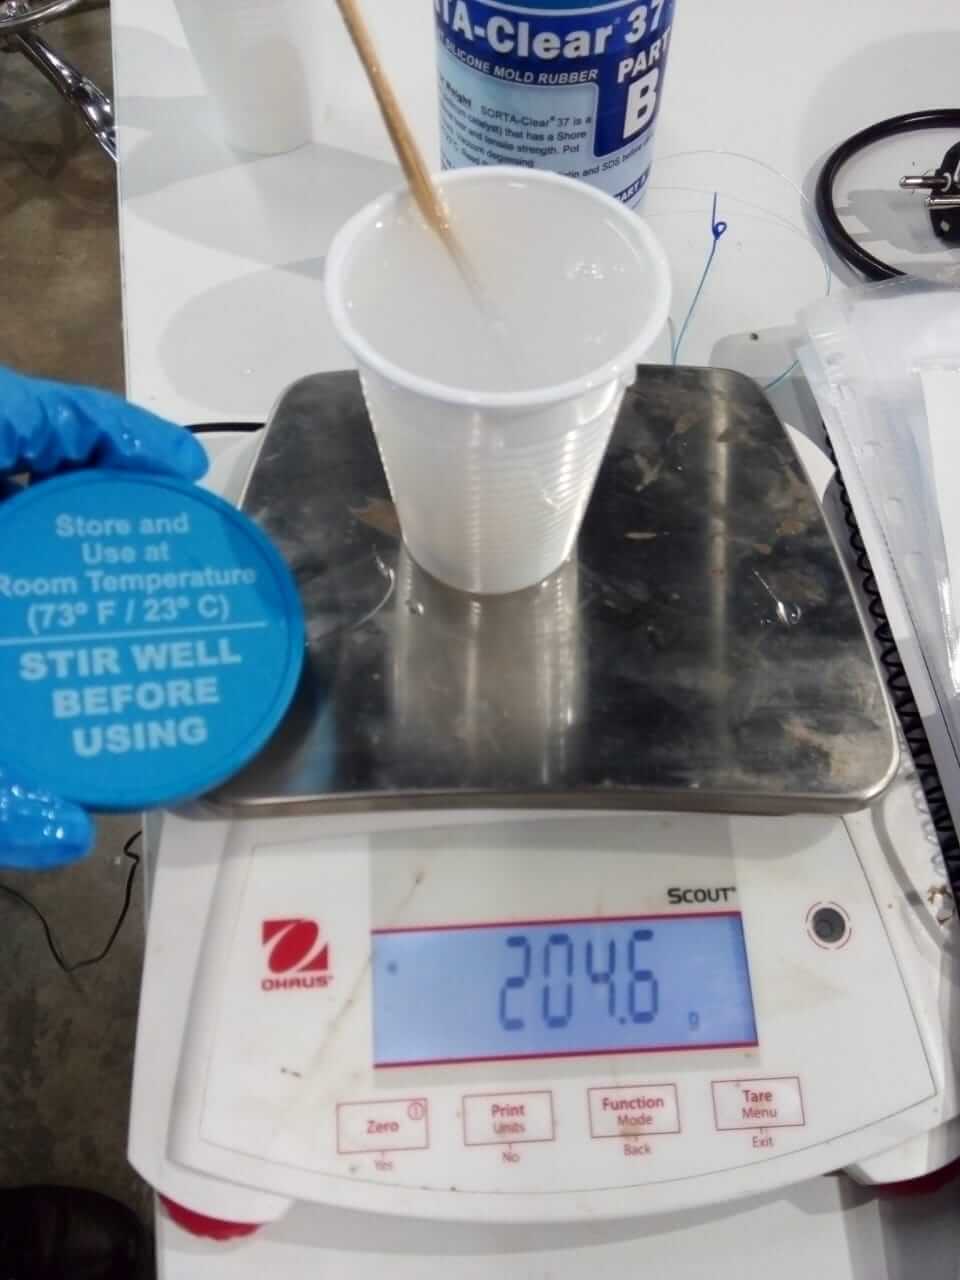
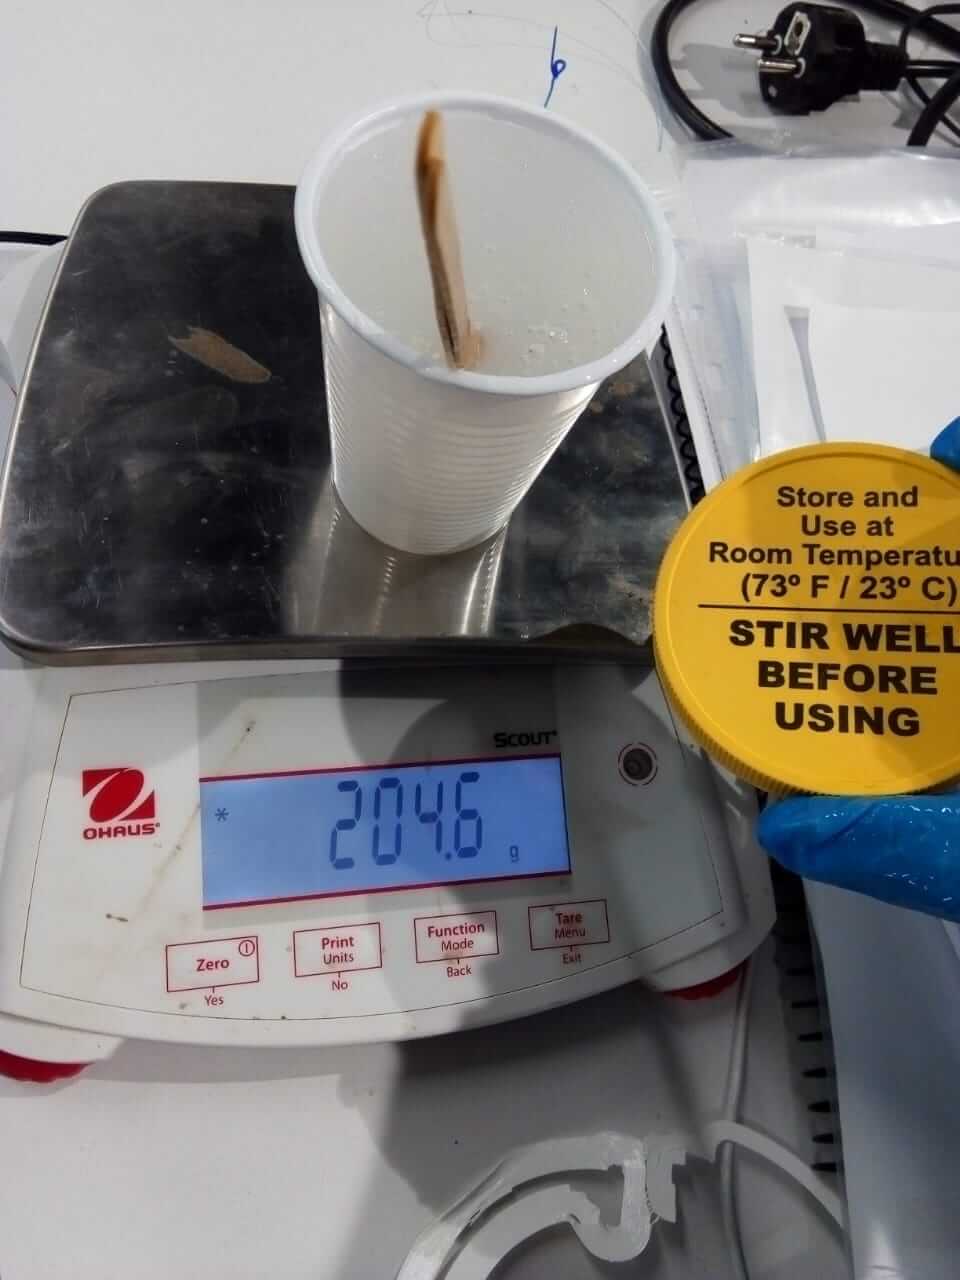
I poured some food-safe SORTA-Clear 37, this is it's data sheet (from it I learned that the cure time is 4 hours, the ration to mix is 1A:1B by volume, and that it is food safe and I can use it for culinary application) , in it that was going to be the mold I will use later with food.
![]()

I used equal masses of each container and mixed them well, and then I poured them into the wax mold.
Because I have mixed the 2 liquids, I have created a lot of bubbles, these would show on the cast if they weren't removed, and so I placed the mold with the liquids in a vacuum chamber, and with some pressure, they were removed.
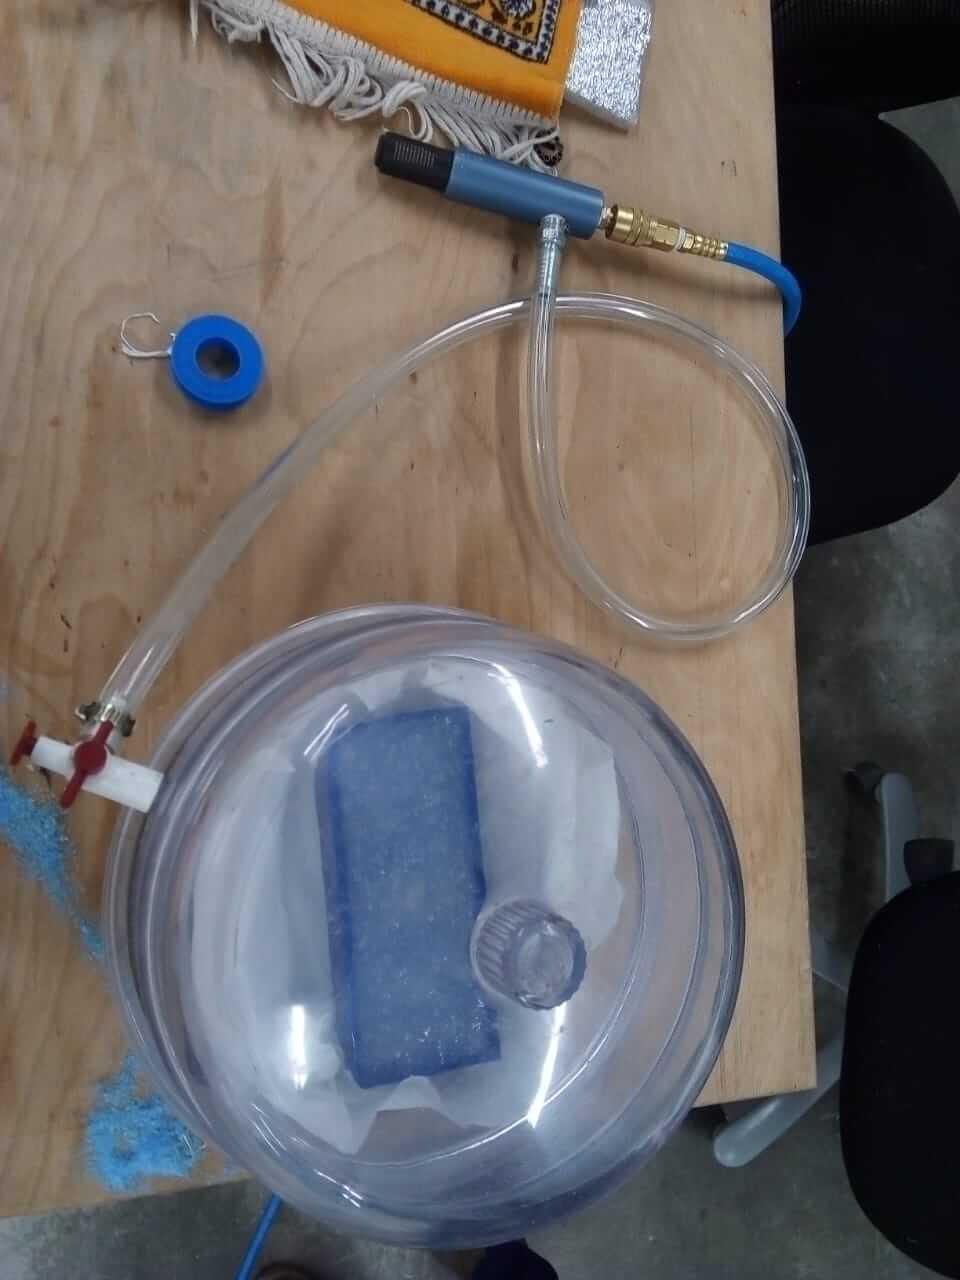
Here you can see the process and the resulting mold.

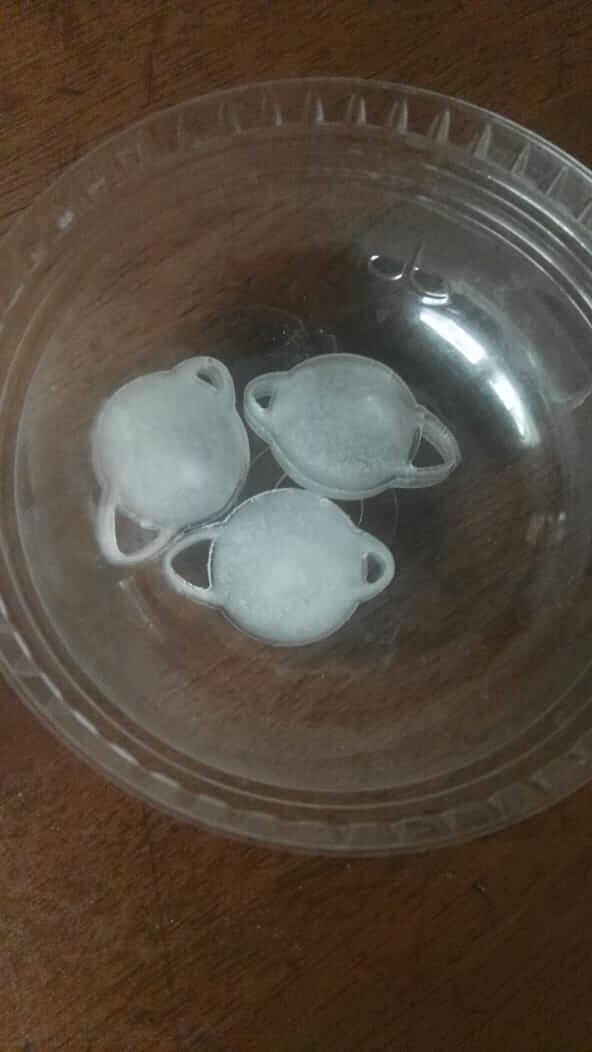
I placed some water in the mold, and in the next day, I had some cool ice planets.
Now for the final mold. I decided to make a stamp. In the beginning I was going to make the result that would come from pouring resin into the wax mold my final project, but it turns out that i have to have 3 steps at least for it, and so I will be making the same steps I did before.
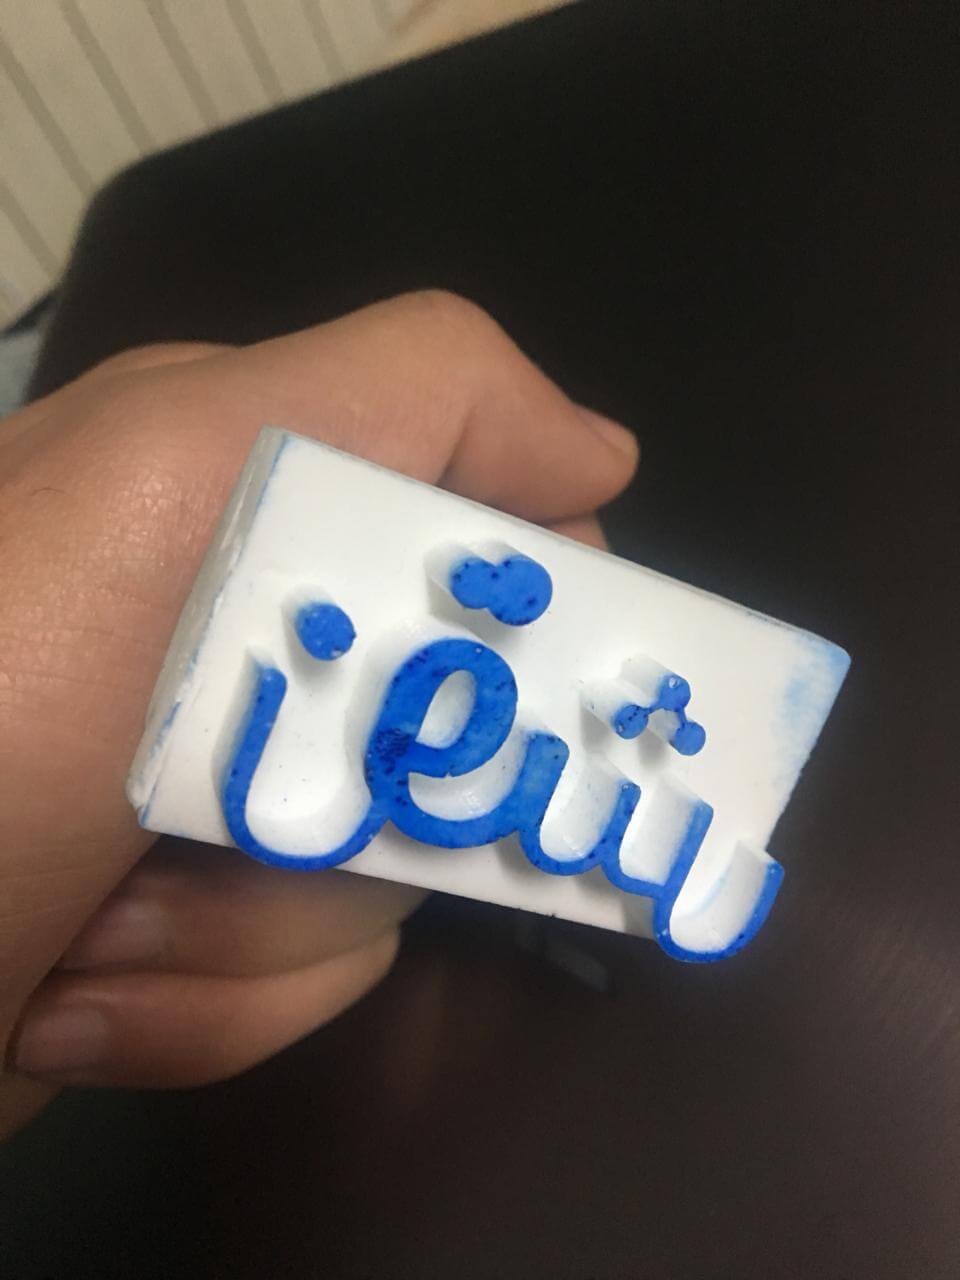
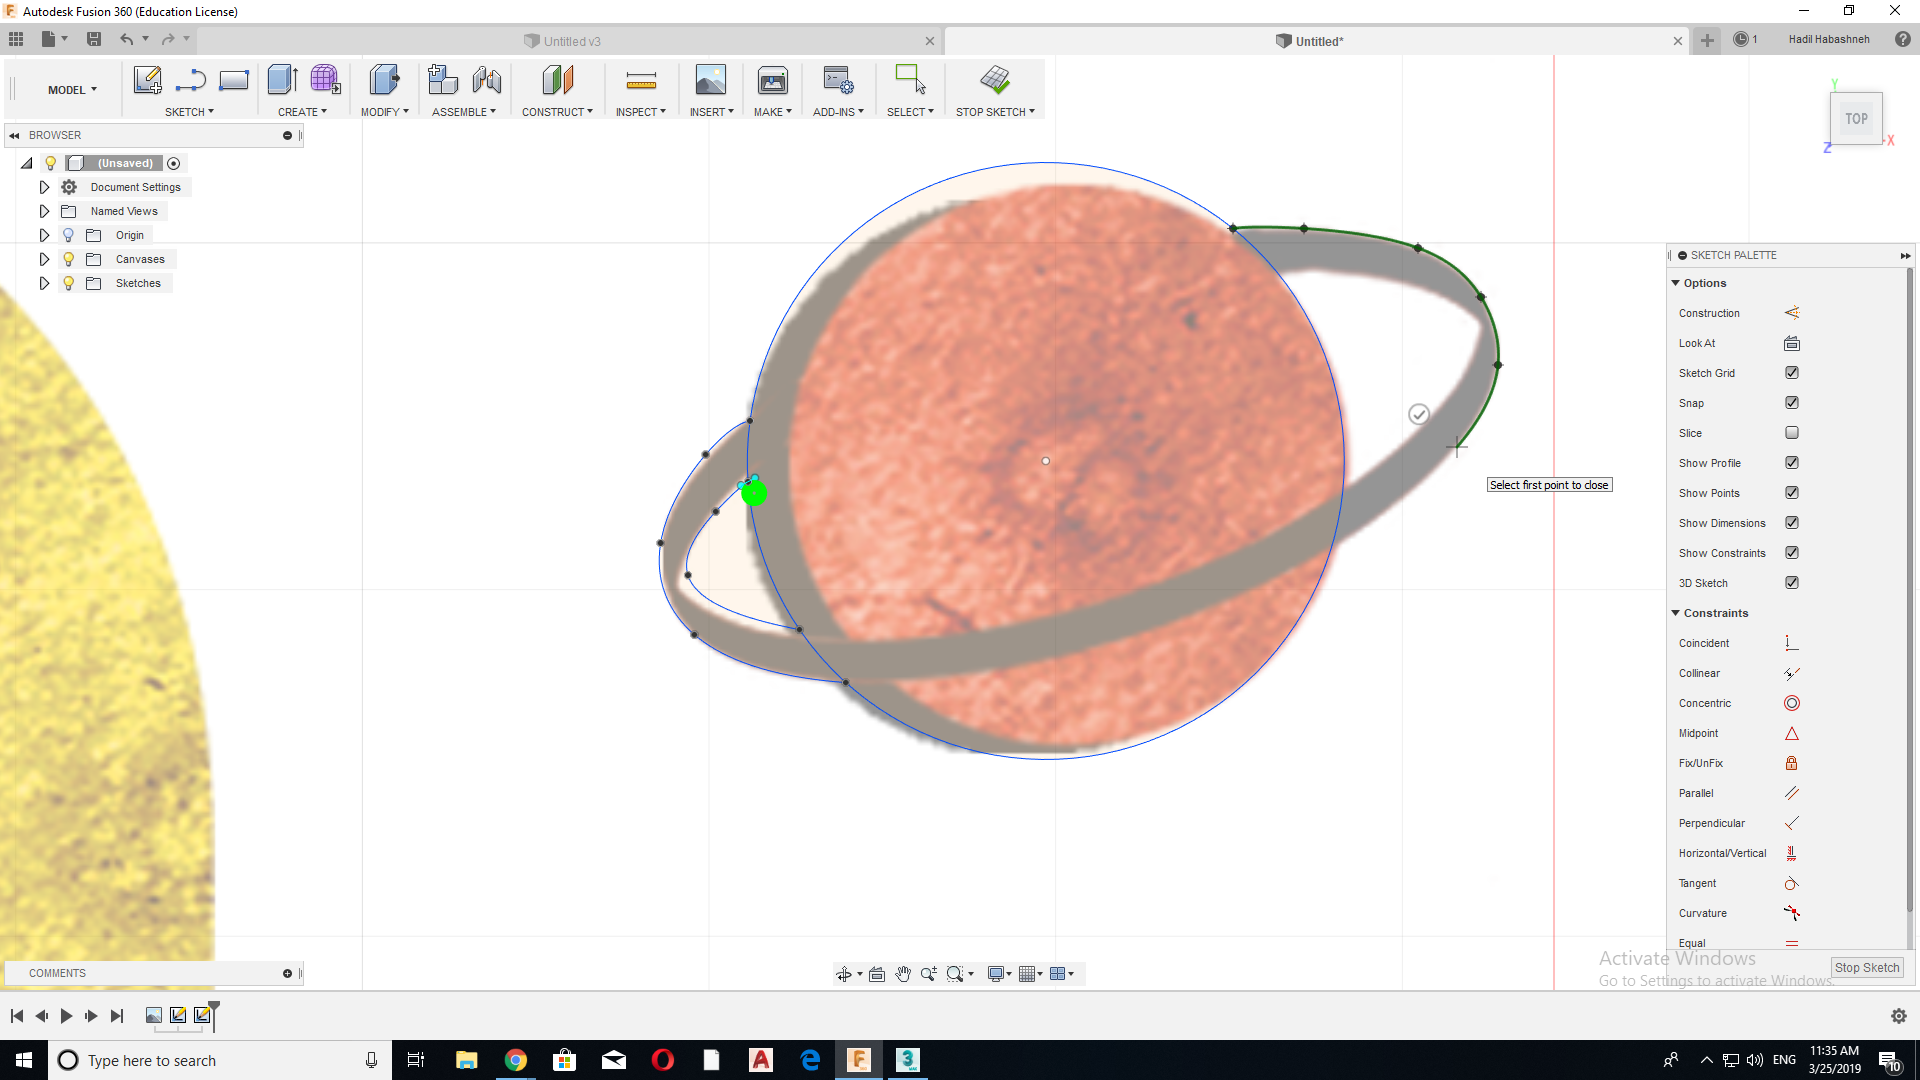
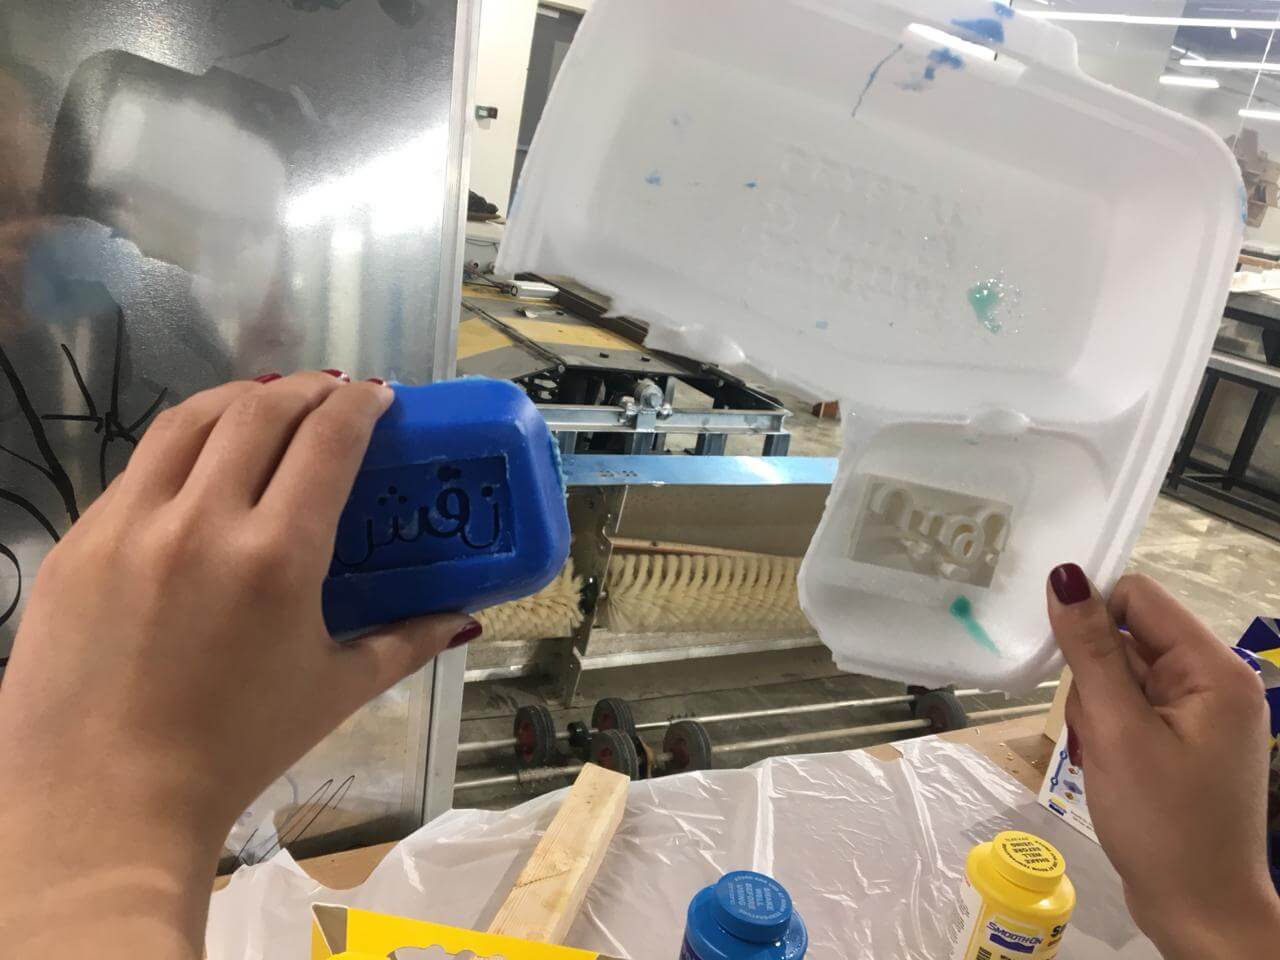
I designed the mold also on fusion 360, starting by tracking the boundaries of the logo of an initiative I'm volunteering with, and extruding the word to form the word in 3d, and then extruding a triangle behind it to work as a base for the word piece.
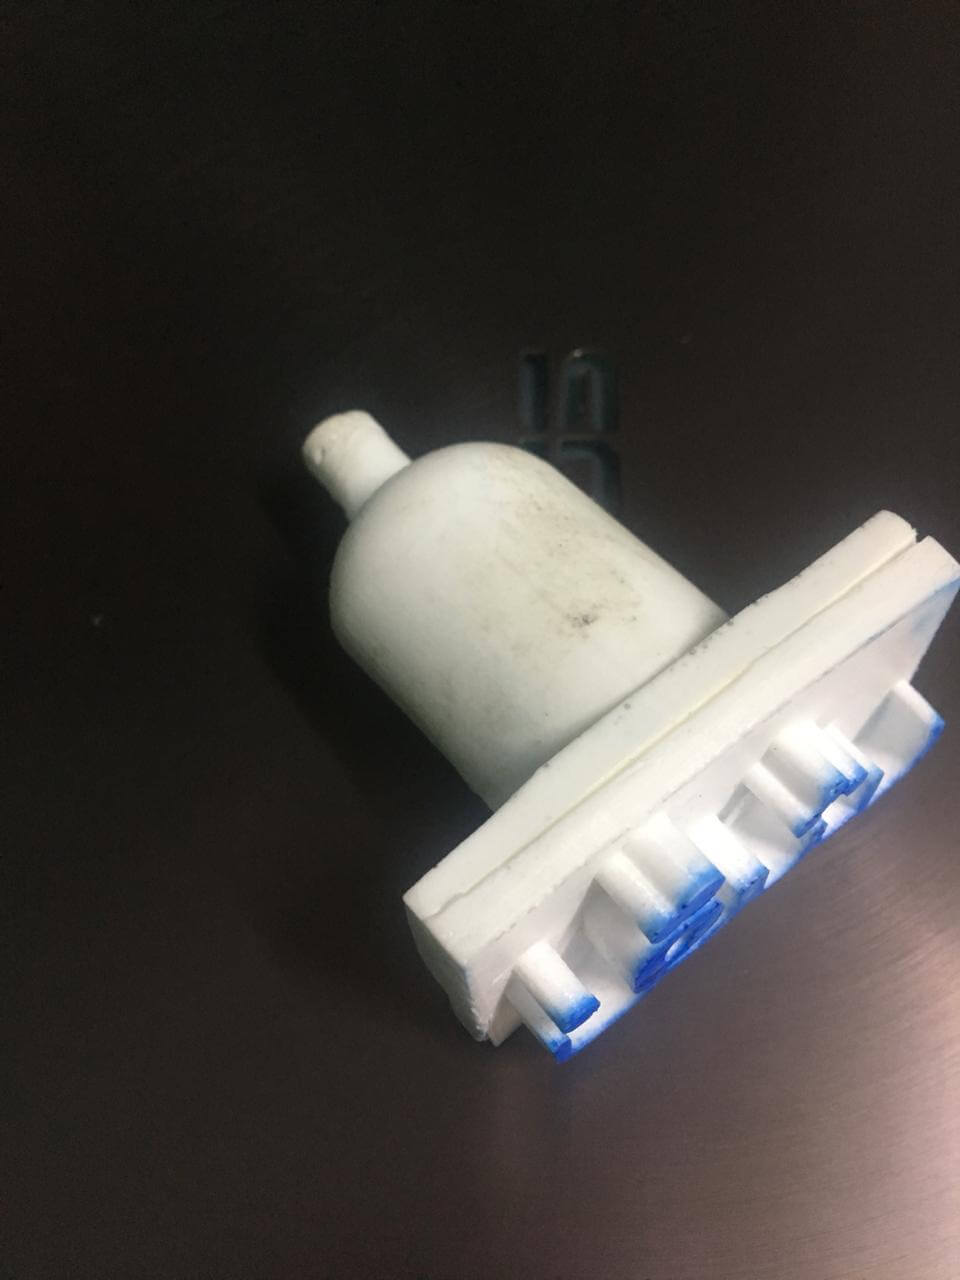
I then designed the wax mold that is going to produce the handle of the stamp. This wax mold will be a negative mold and is going to produce the positive mold. Here You can download the Fusion360 file for both.
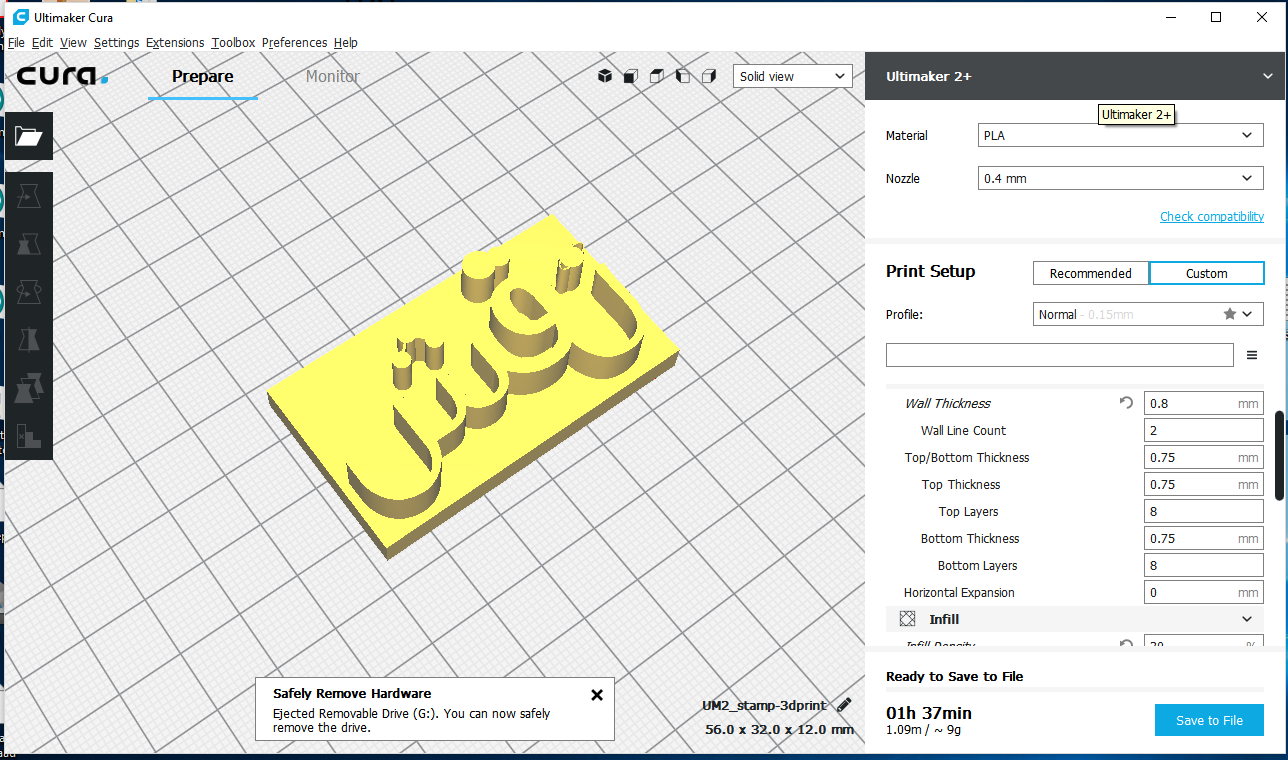
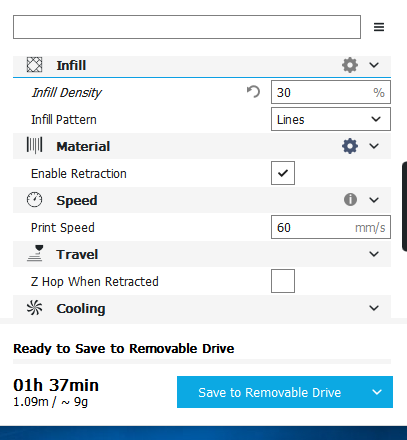
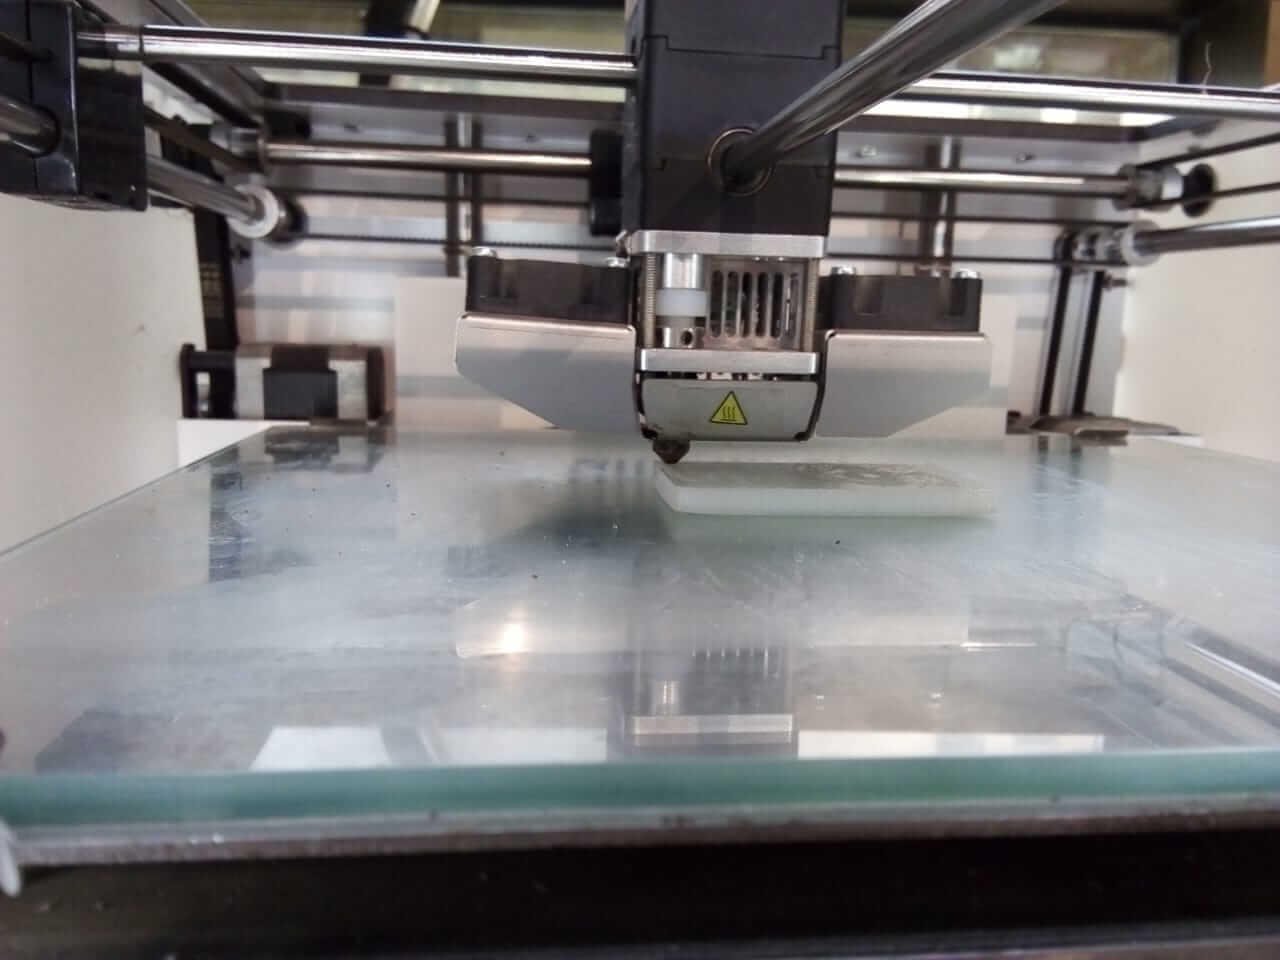
For the stamp head, I printed it using ultimaker 3d printers, for more details on the printing process, you can refer to my 3d printing assignmnet .
Next, I placed the wax mold on to the SRM20 milling machine, the same way I did previously. With the same settings, This time I had a problem, were my wax block shifted during the process and was unattached to the platform of the SRM20 machine, when that happened, the cutting tool cut through several places it wasn't supposed to. To fix this problem I collected some of the shredded wax, melted it, poured it into the places that were cut by mistake, and then I placed the wax mold again and started the process once again.
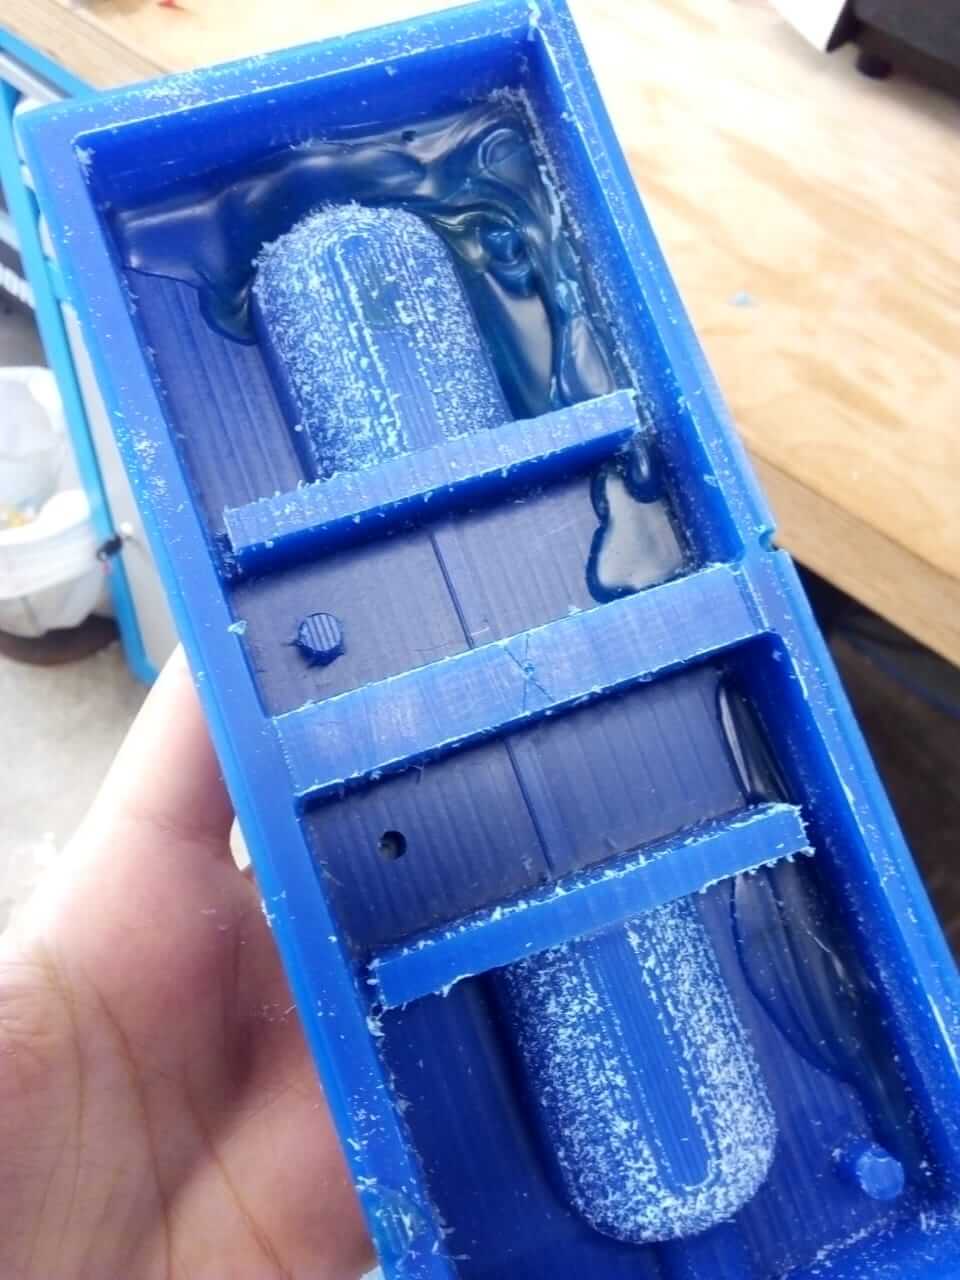
I was lucky to be able to do this as it saved me hours of rework and waiting. I was able to to it mainly for 2 reasons, both of them I have to thank the lab's electronics employee:
1- When he made the bed of the machine, he deliberately makes sort of a pocket in the bed, so the if he needed to make a board with 2 faces hel can always find a reference point on the bed. This way it was easy for me to place my wax block exactly where it was.
2- When he saw me calibrating the machine a preparing the files on modella, he adviced me to place my origin point in the middle of the wax block rather than on the edge. He does it so that even if his design was a little bit larger or smaller than the block, he can be sure that the difference is devided between the 2 sides rather than having it all accomulating on one side, which can cut the mold all the way. This point has helped me when I wanted to puthe the wax board back on, I was positive of my referebce point, where as if I had had it placed on a corner, I will probably had found it difficult to find the exact point, as I tend to leave a margin.
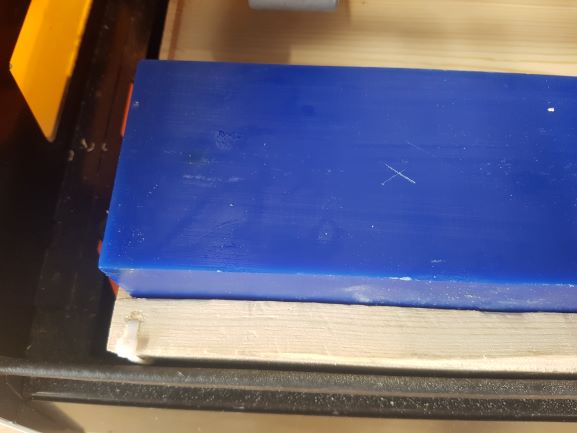
You can see here how what I meant by the pocket in the bed and having the origin point in the middle. I ran the machine, and when it was cutting in the air (parts that are already cut) I increased the machine's speed to 200% in order to save time. Another option would have been manipulating the G-code to make it start where I needed it to, and although I have a good knowledge in how to read and write the G-code as an industrial engineer, I prefer to not take this way in fear of messing it up as there was no time really left.
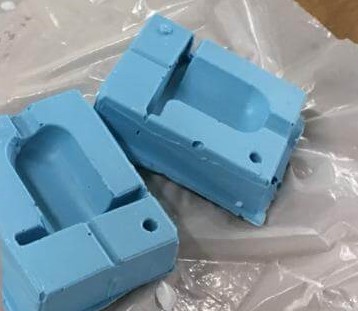
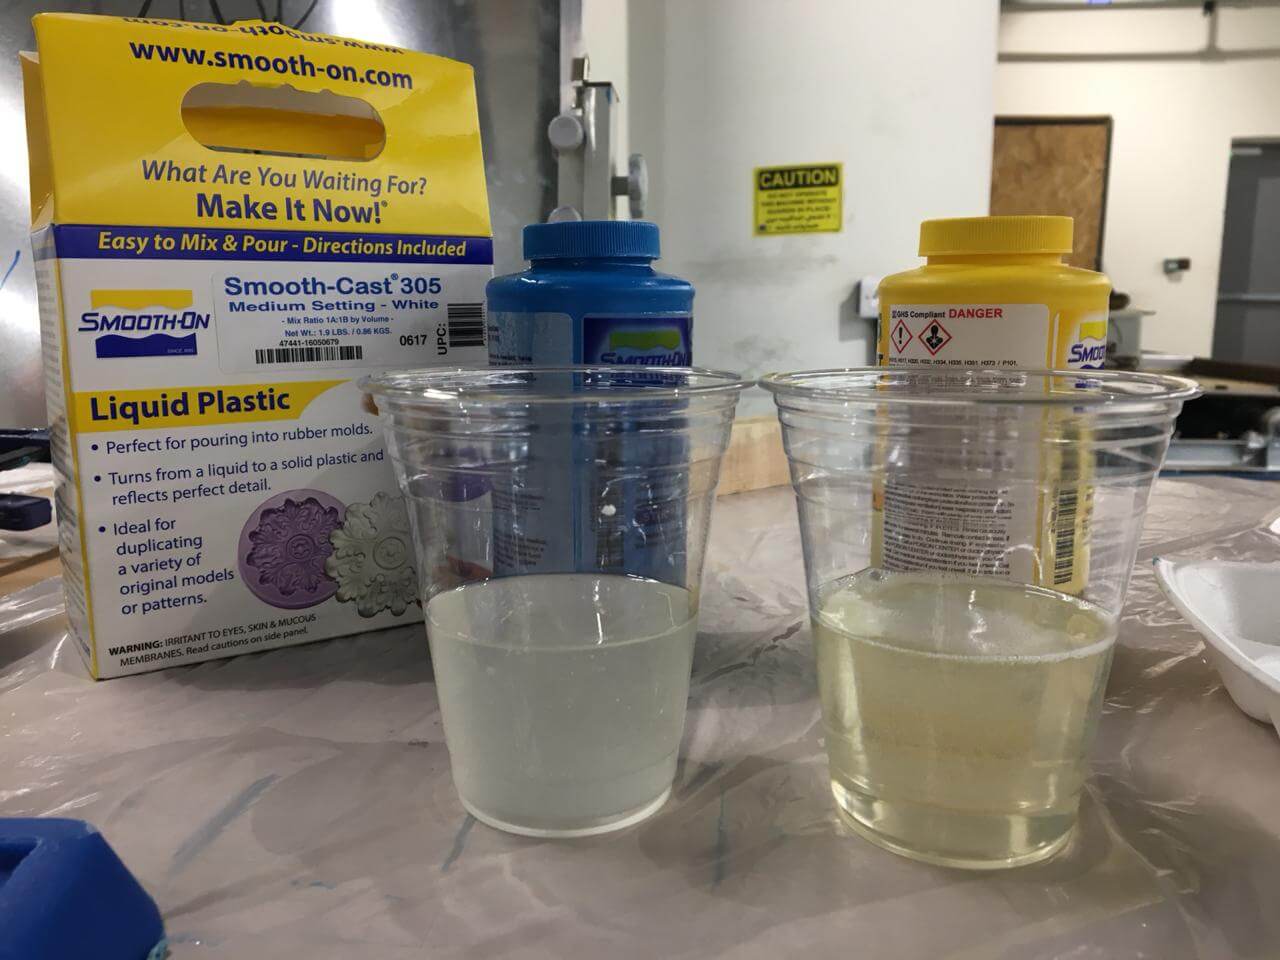
Next, I prepared the positive molds, for the stamp head I used Mold Star for the stamp its self, you can check it's data sheet to learn more abou its properties and technical overview, and as for the handles, I used OOMOO , it's data sheet is here for the handle's mold, both of them are products from SMOOTH-ON, and for both of them I mixes equal amounts of each container and mixed it well and then poured the liquid on each part and waited for it to dry.
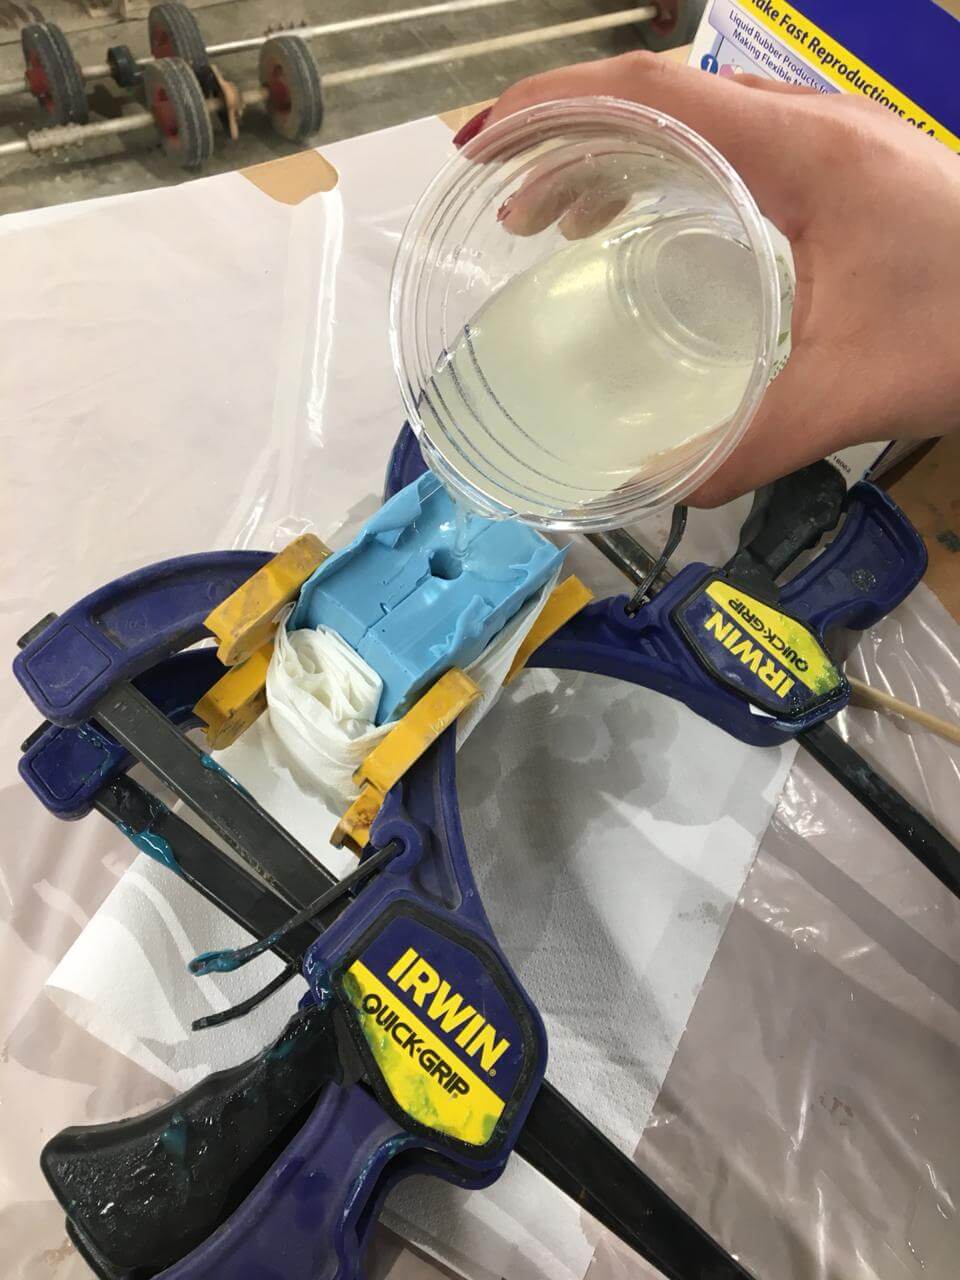
Once they dried, I then prepared the liquid plastic, also from SMOOTH-ON, mixed equal parts of each container and poured them into the molds. Here are the plastic results:
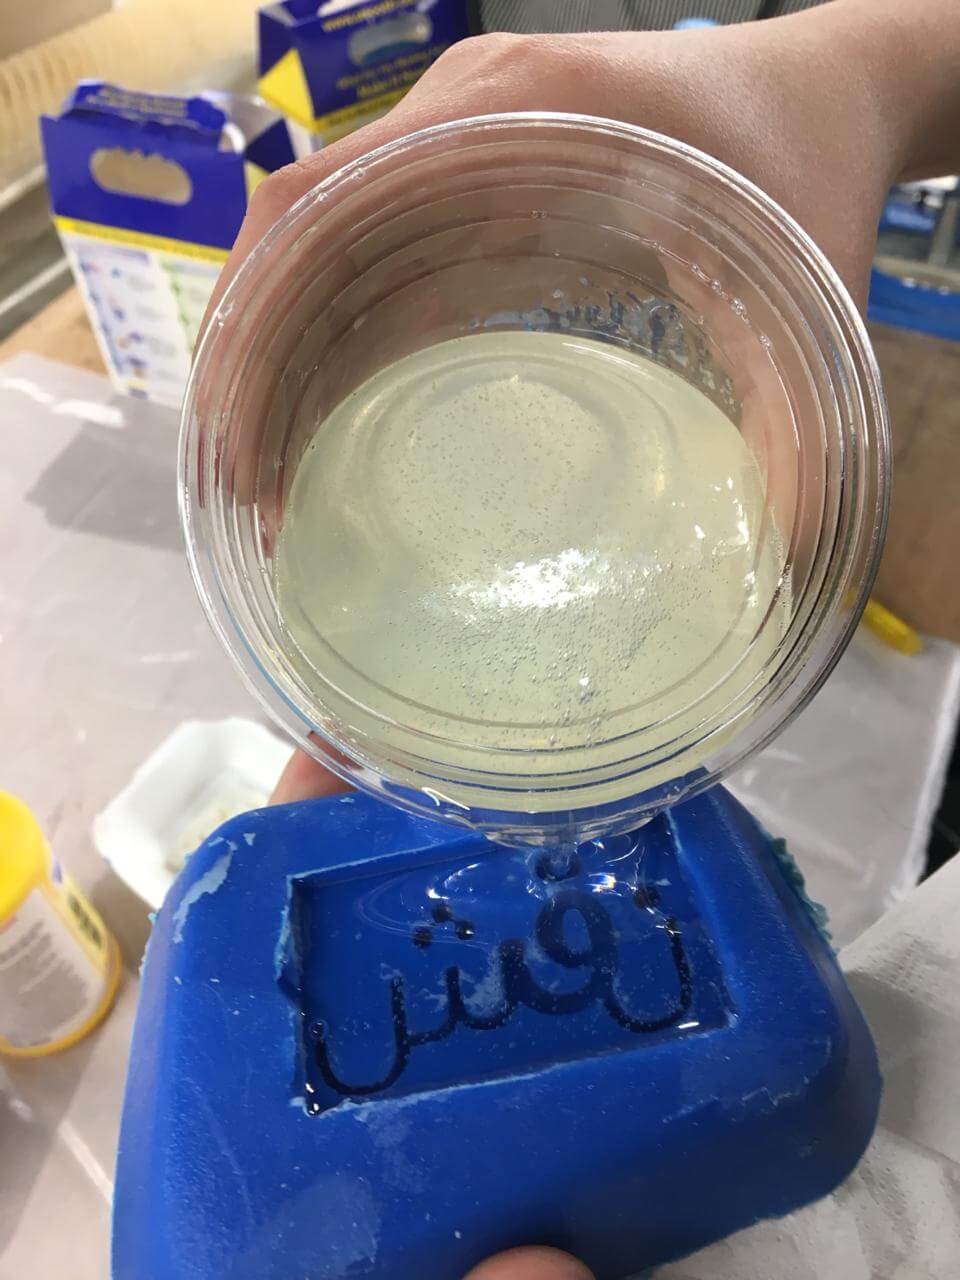
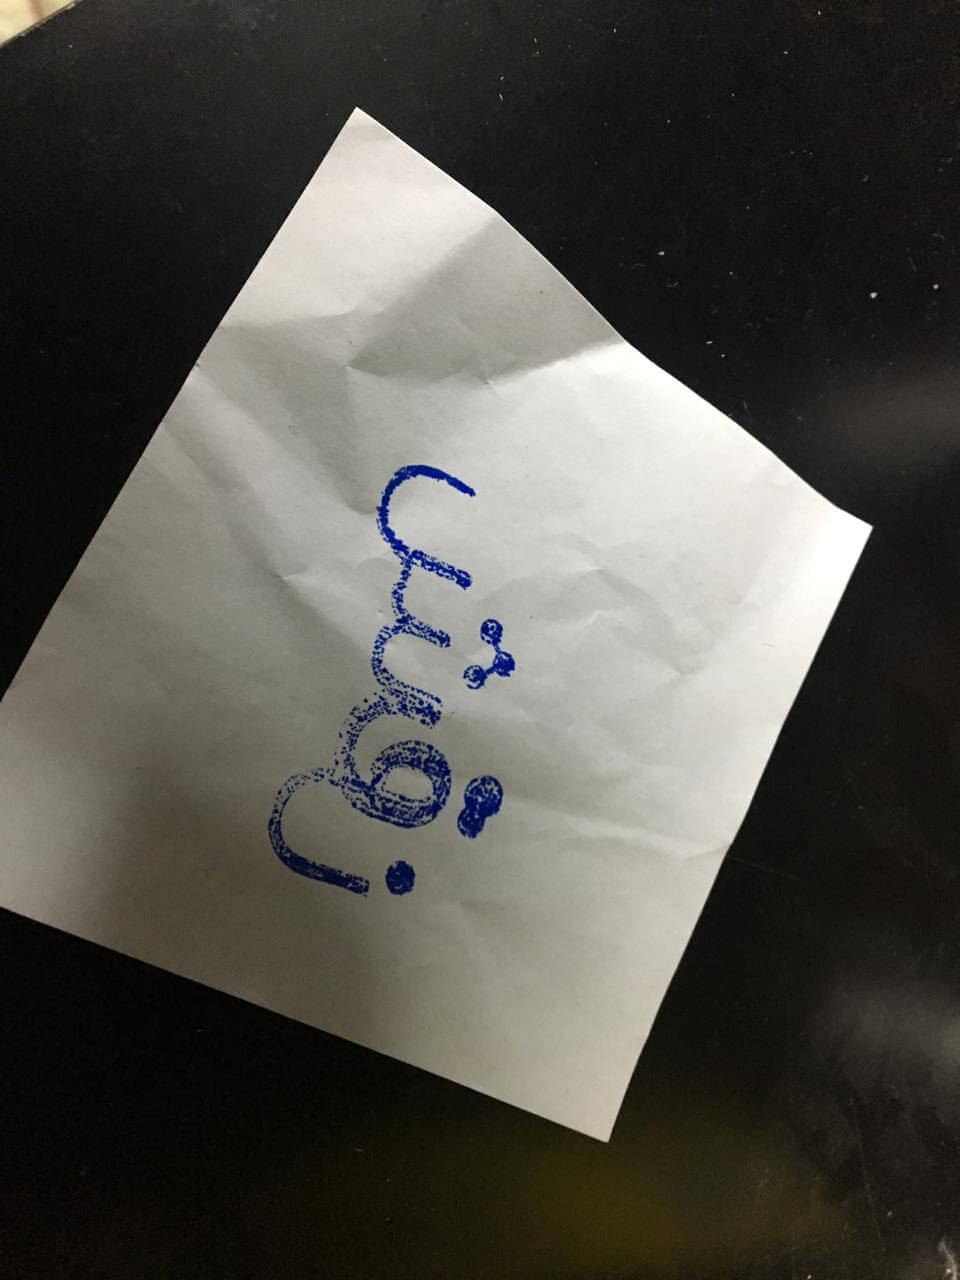
These are the final results I got, they weren't the best results but i could fix the misalignment between the parts of the handle with some sanding.
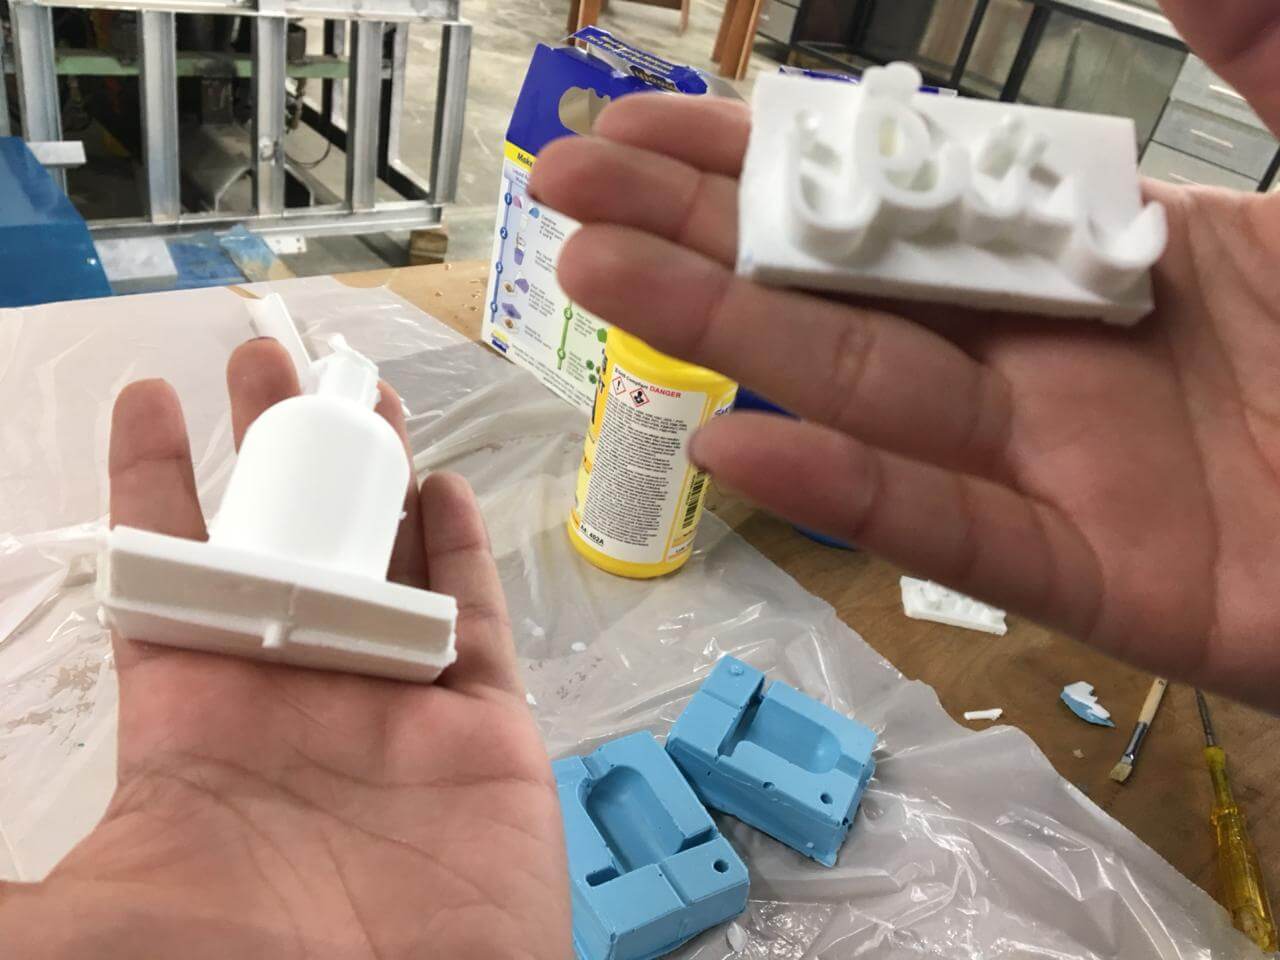
And now that I had flat surfaces for both of the parts, and I glued them together.