


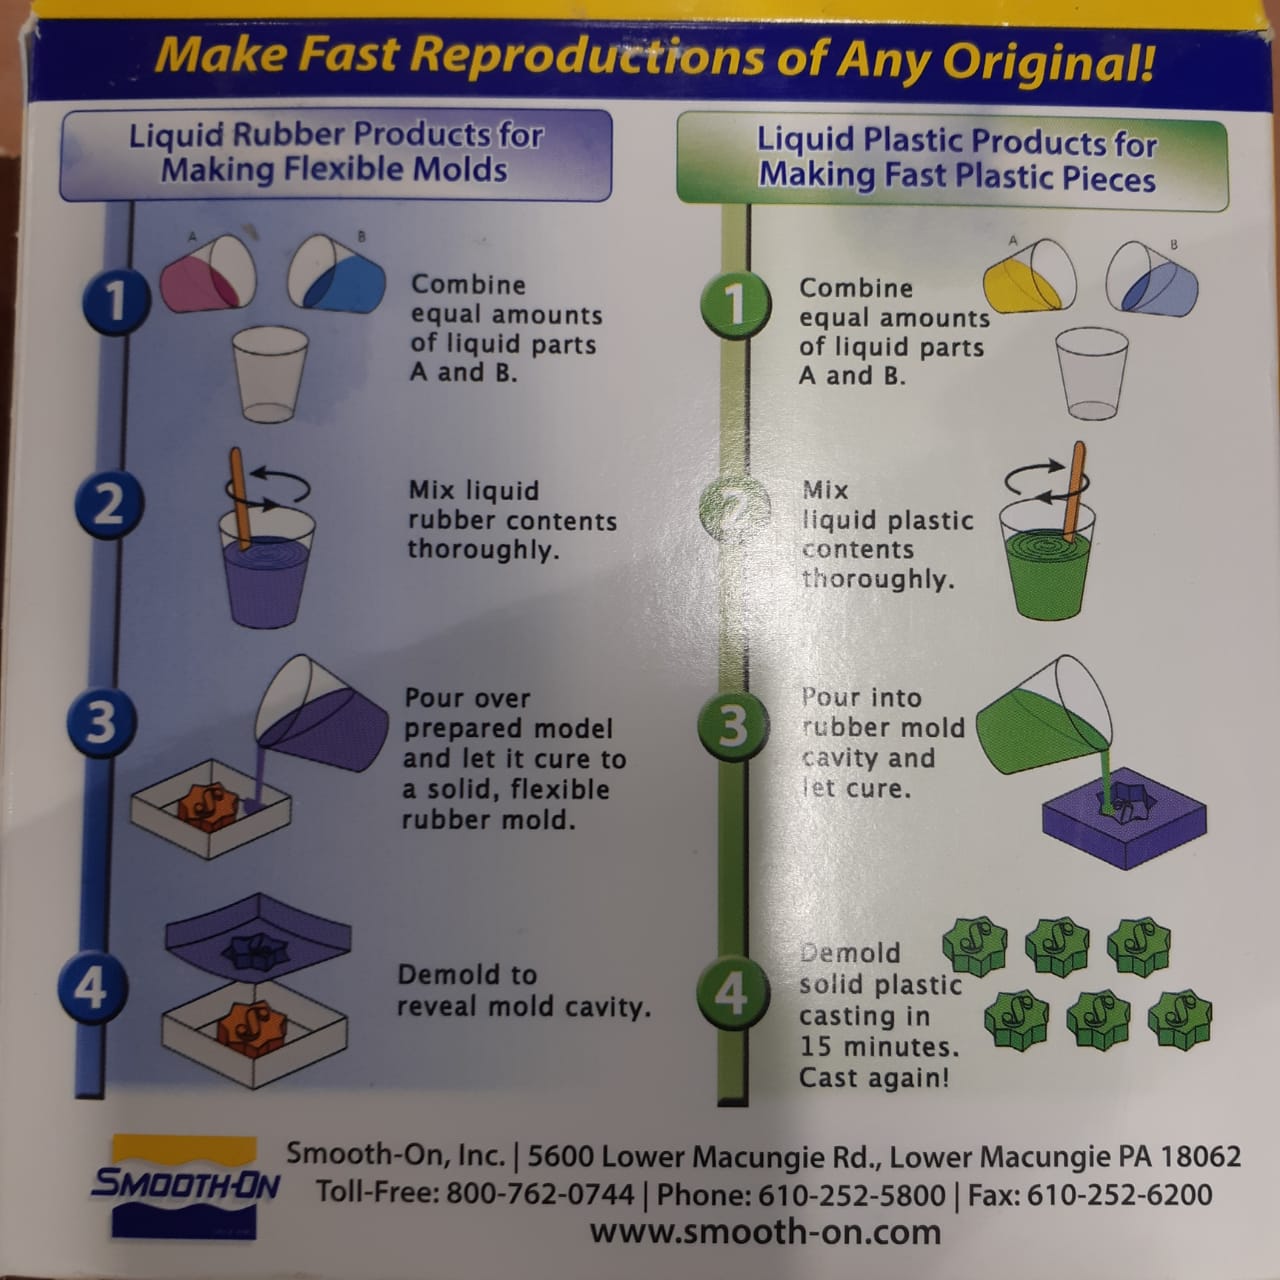
This week we were given the task of creating a positive molds using multiple techniques, with the priority of using the milling machine to creat the model. (another method was to use a 3D printer). Then after making the model, it should be used to create a negative mold of silicon (preferably) and when the silicon cures, we can use it to cast in it different types of materials (resin, gypsum...).
I found a model of Falcon Heavy on an open source and used it for molding. On fusion, I prepared the model to create a positive mold, then saved it as STL file to upload it to the milling machine.
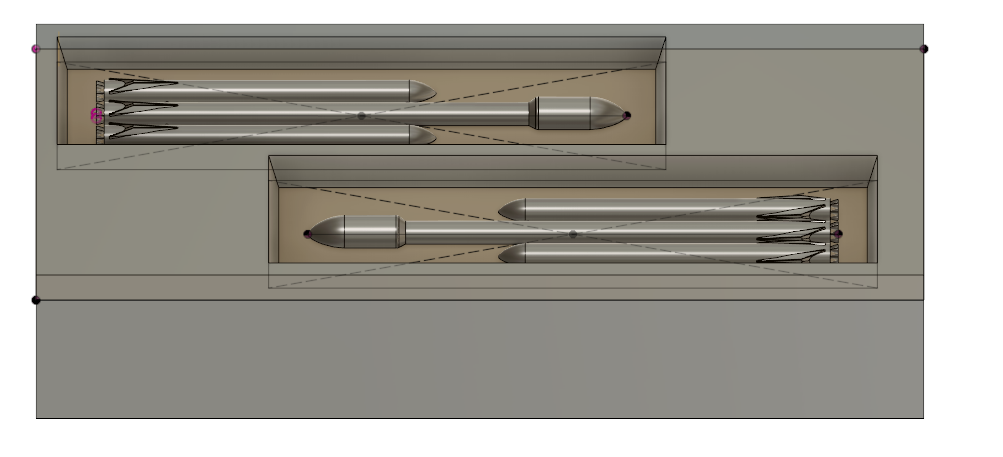
At first, I made it slightly bigger to fill the block, but that caused some problems:
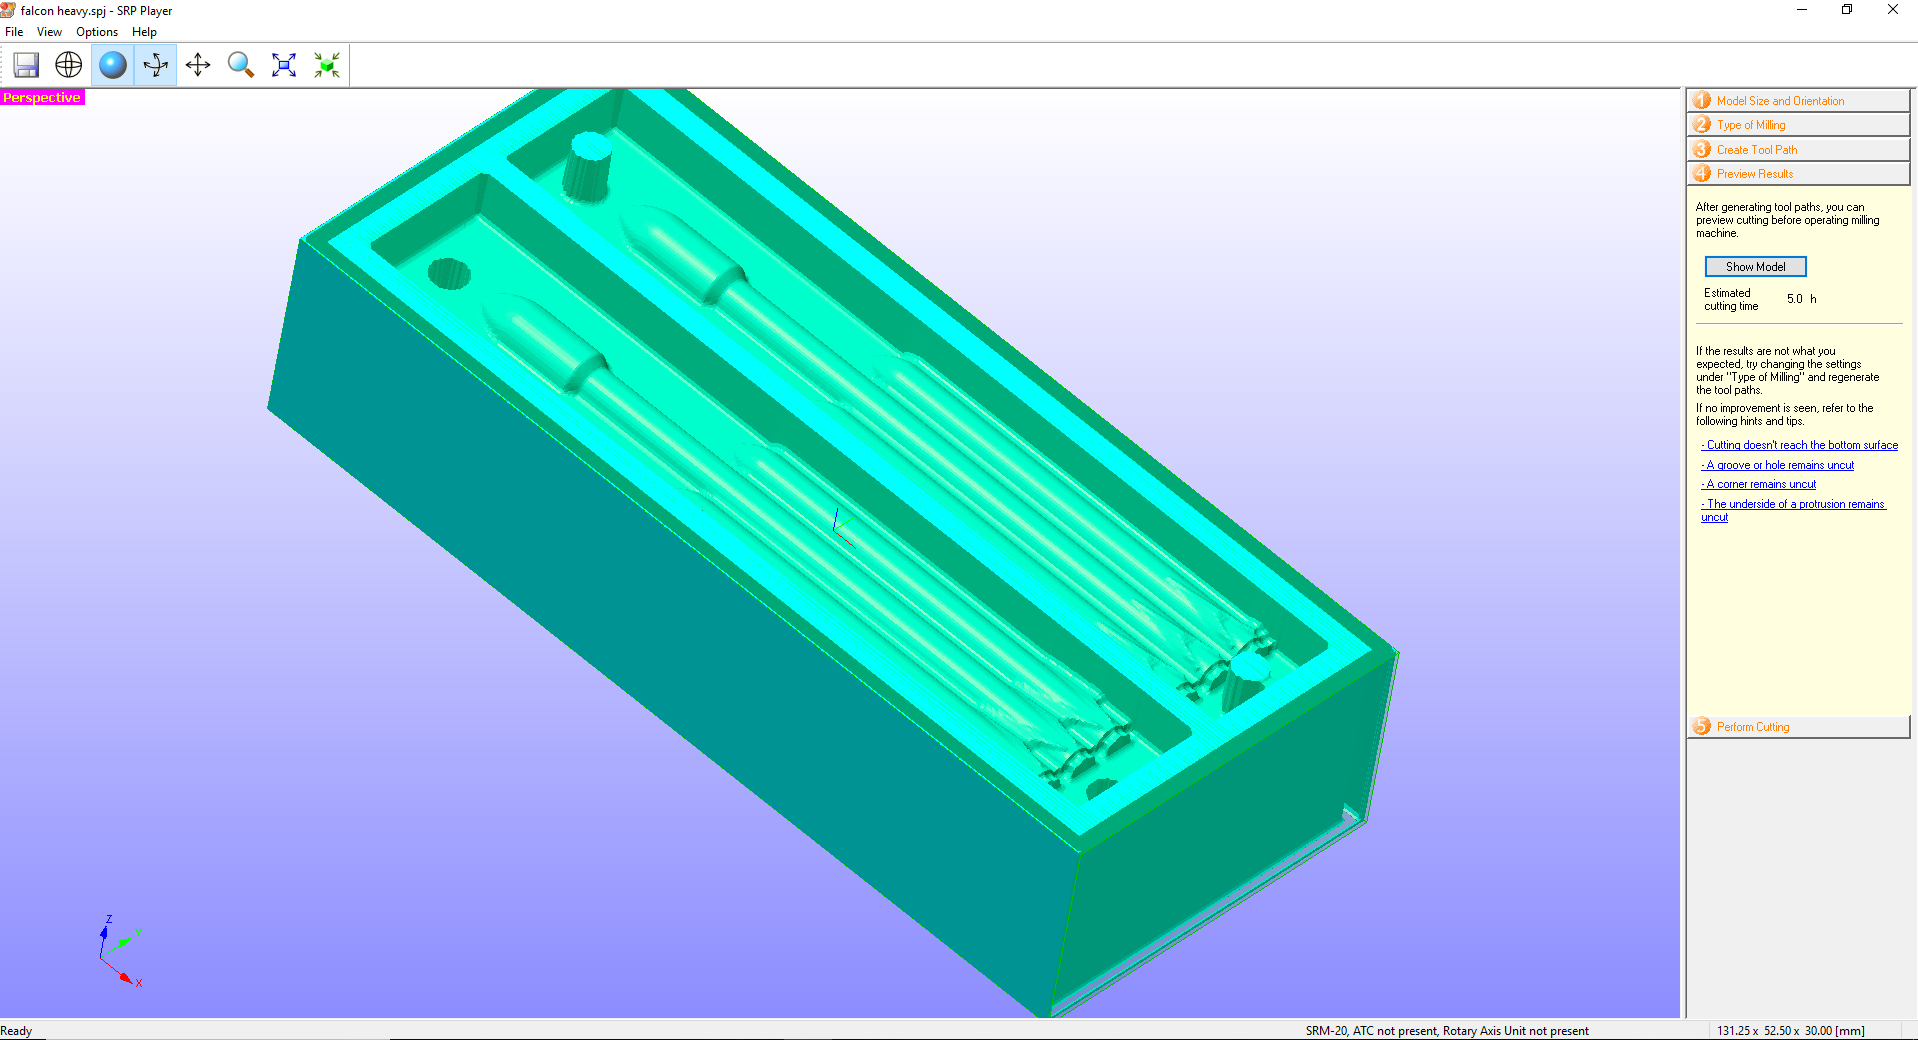
I used a software called SRP Player to prepare the milling job.
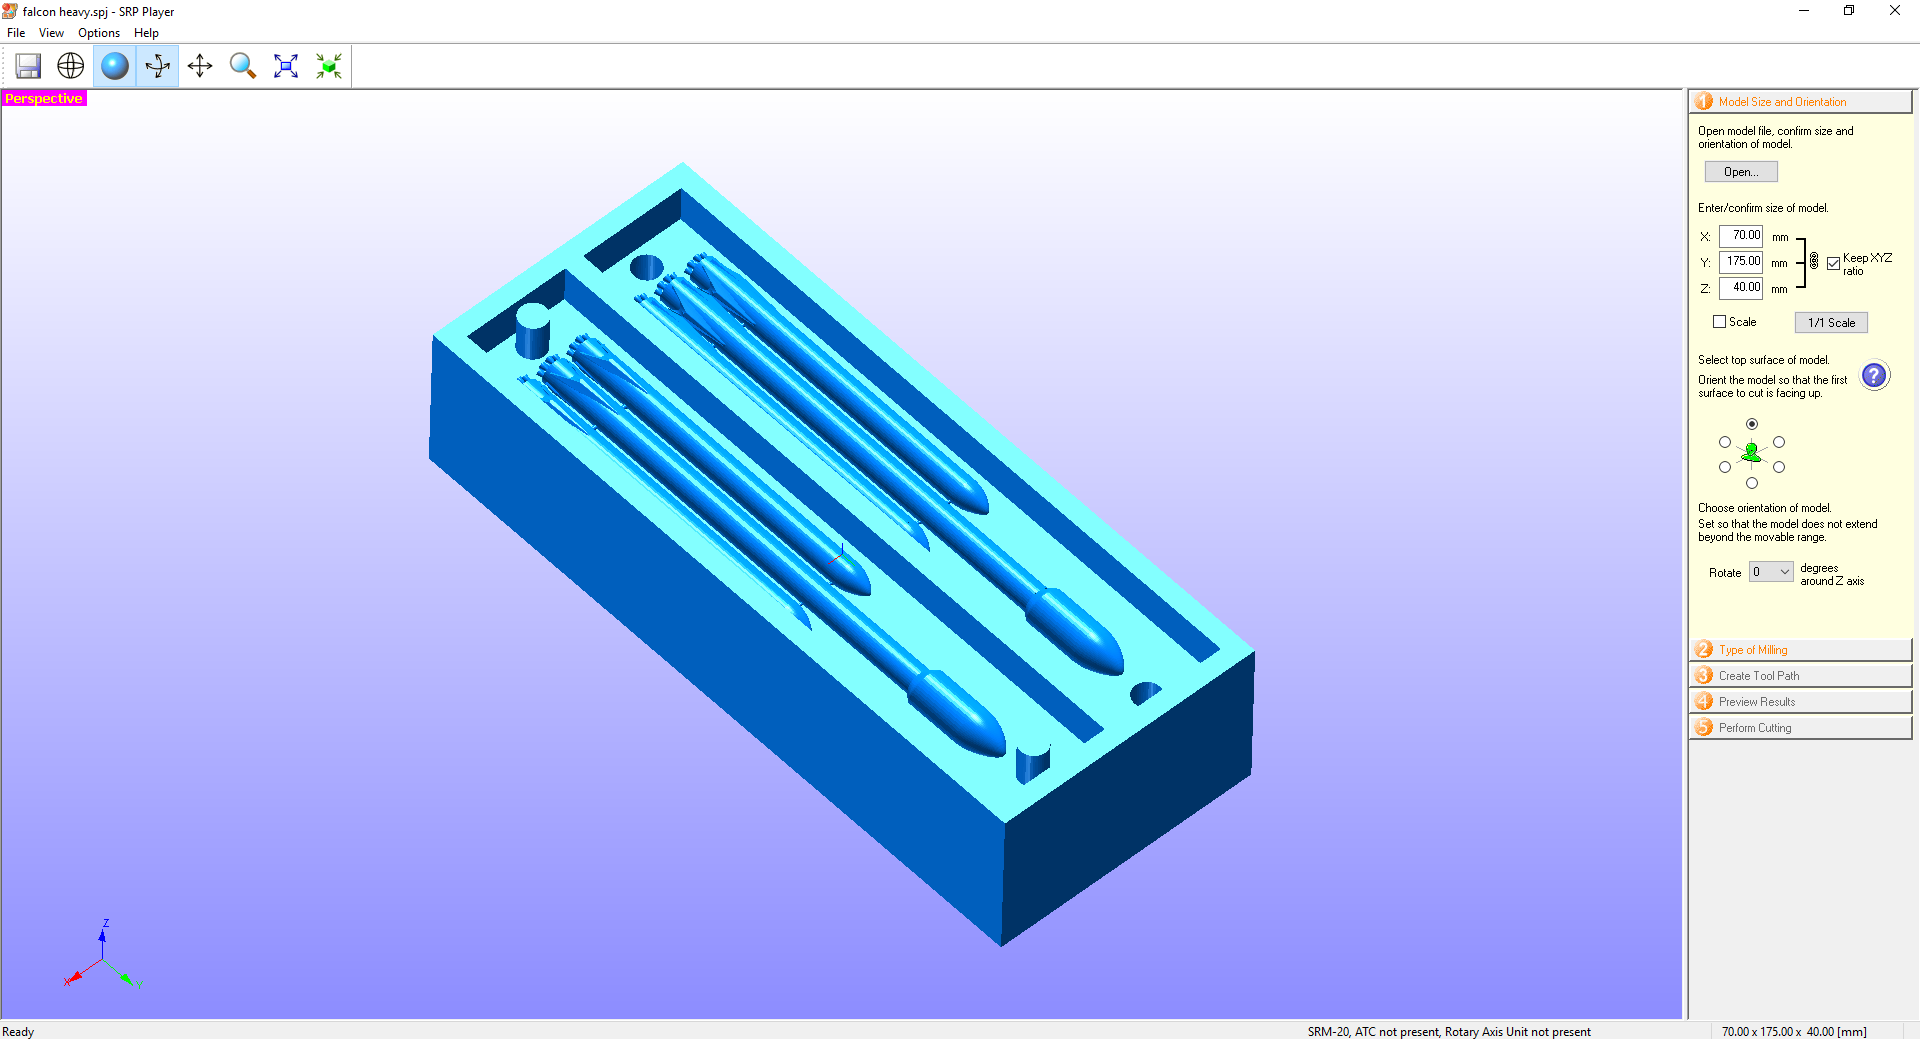
On SRP Player, we have to set the dimensions of the block first
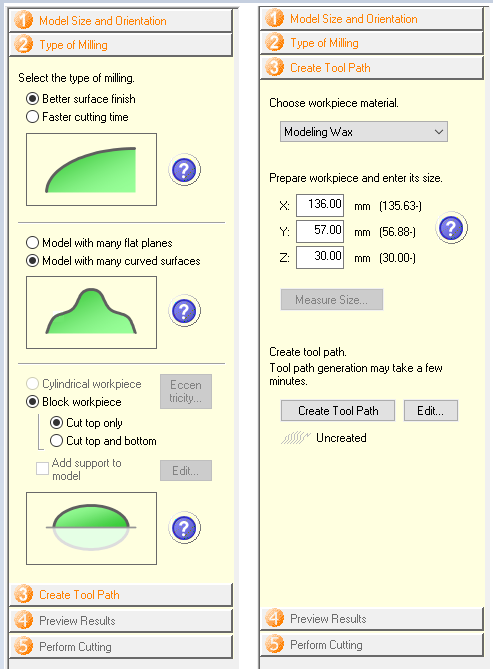
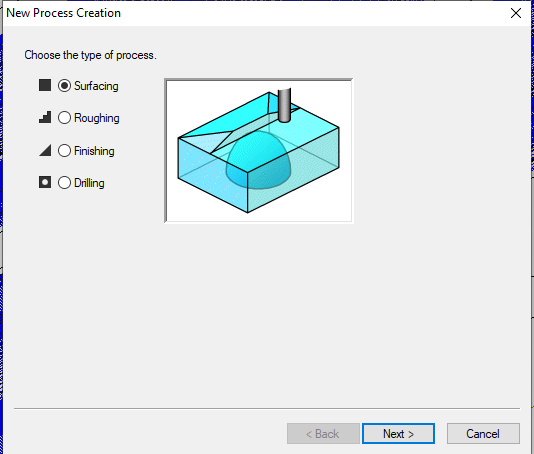
After setting the dimensions and rotation, we have to select the type of milling, then we create a tool path.
When selecting the work piece size, , for some reason it couldn't accept the borders dimensions unless they are a little bit bigger than the design, which caused some issues in the cutting process...
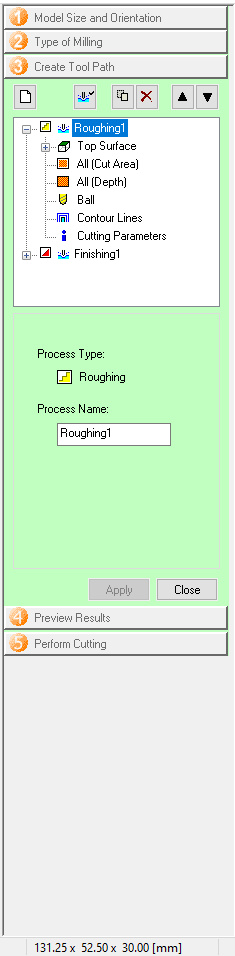
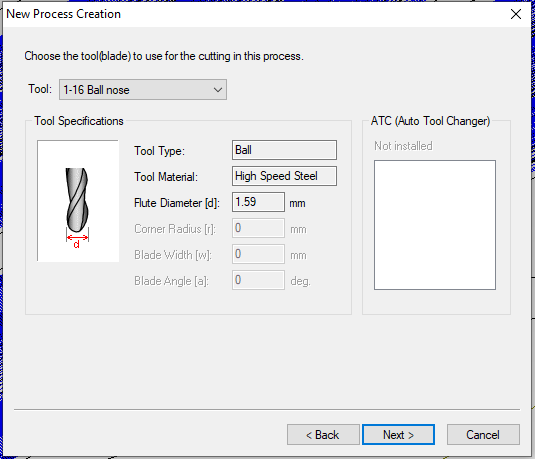
After clicking on Create tool path, we can edit details like the tool diameter and so.
And to make sure of how the product will look like, we can click on preview results.
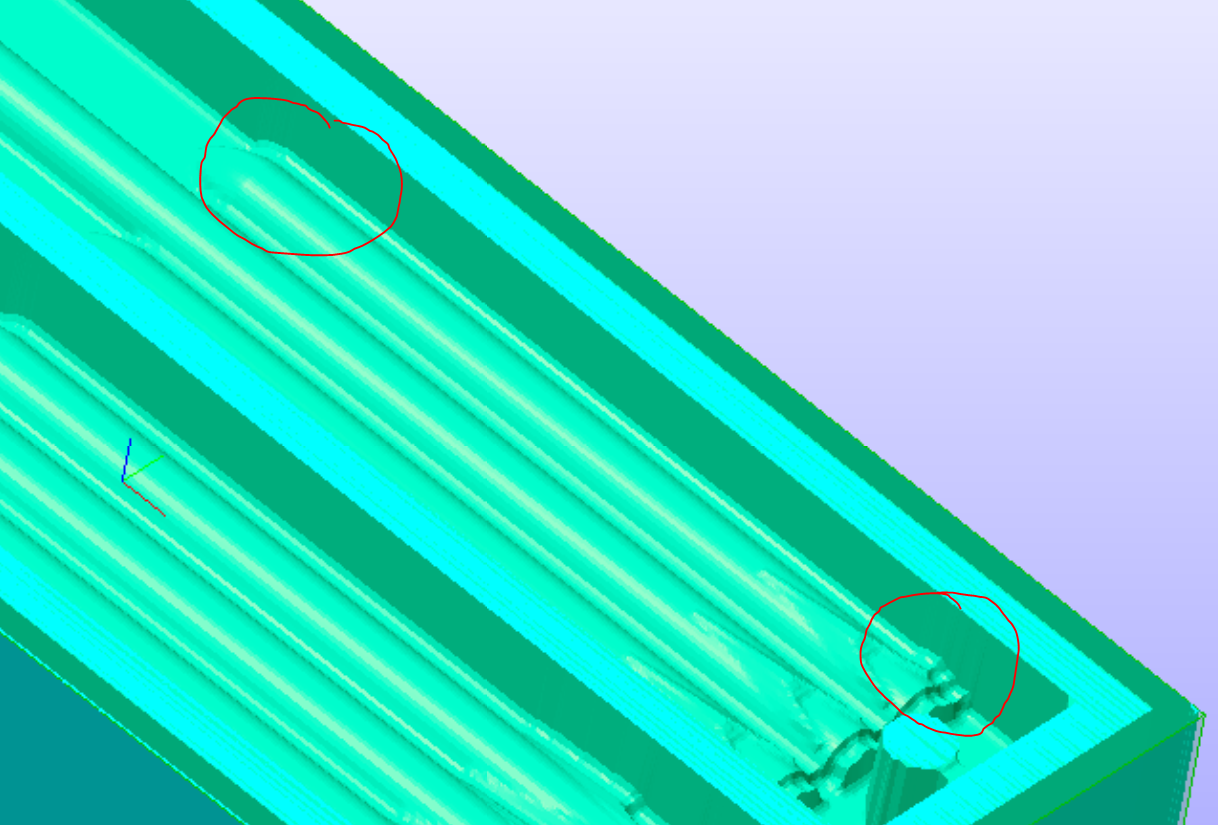
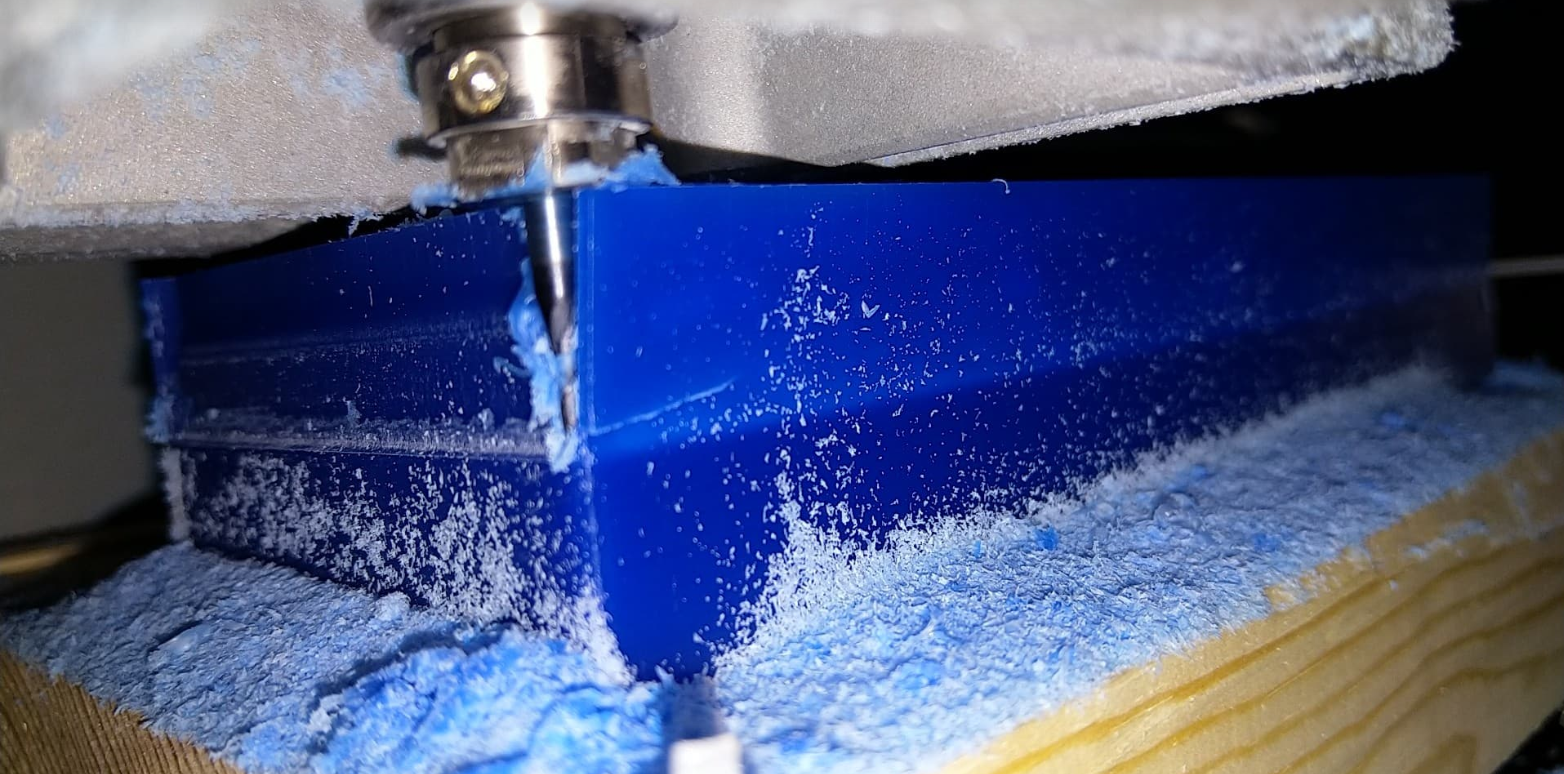
because of my large design, the clearances were too small for the tool to mill them properly.
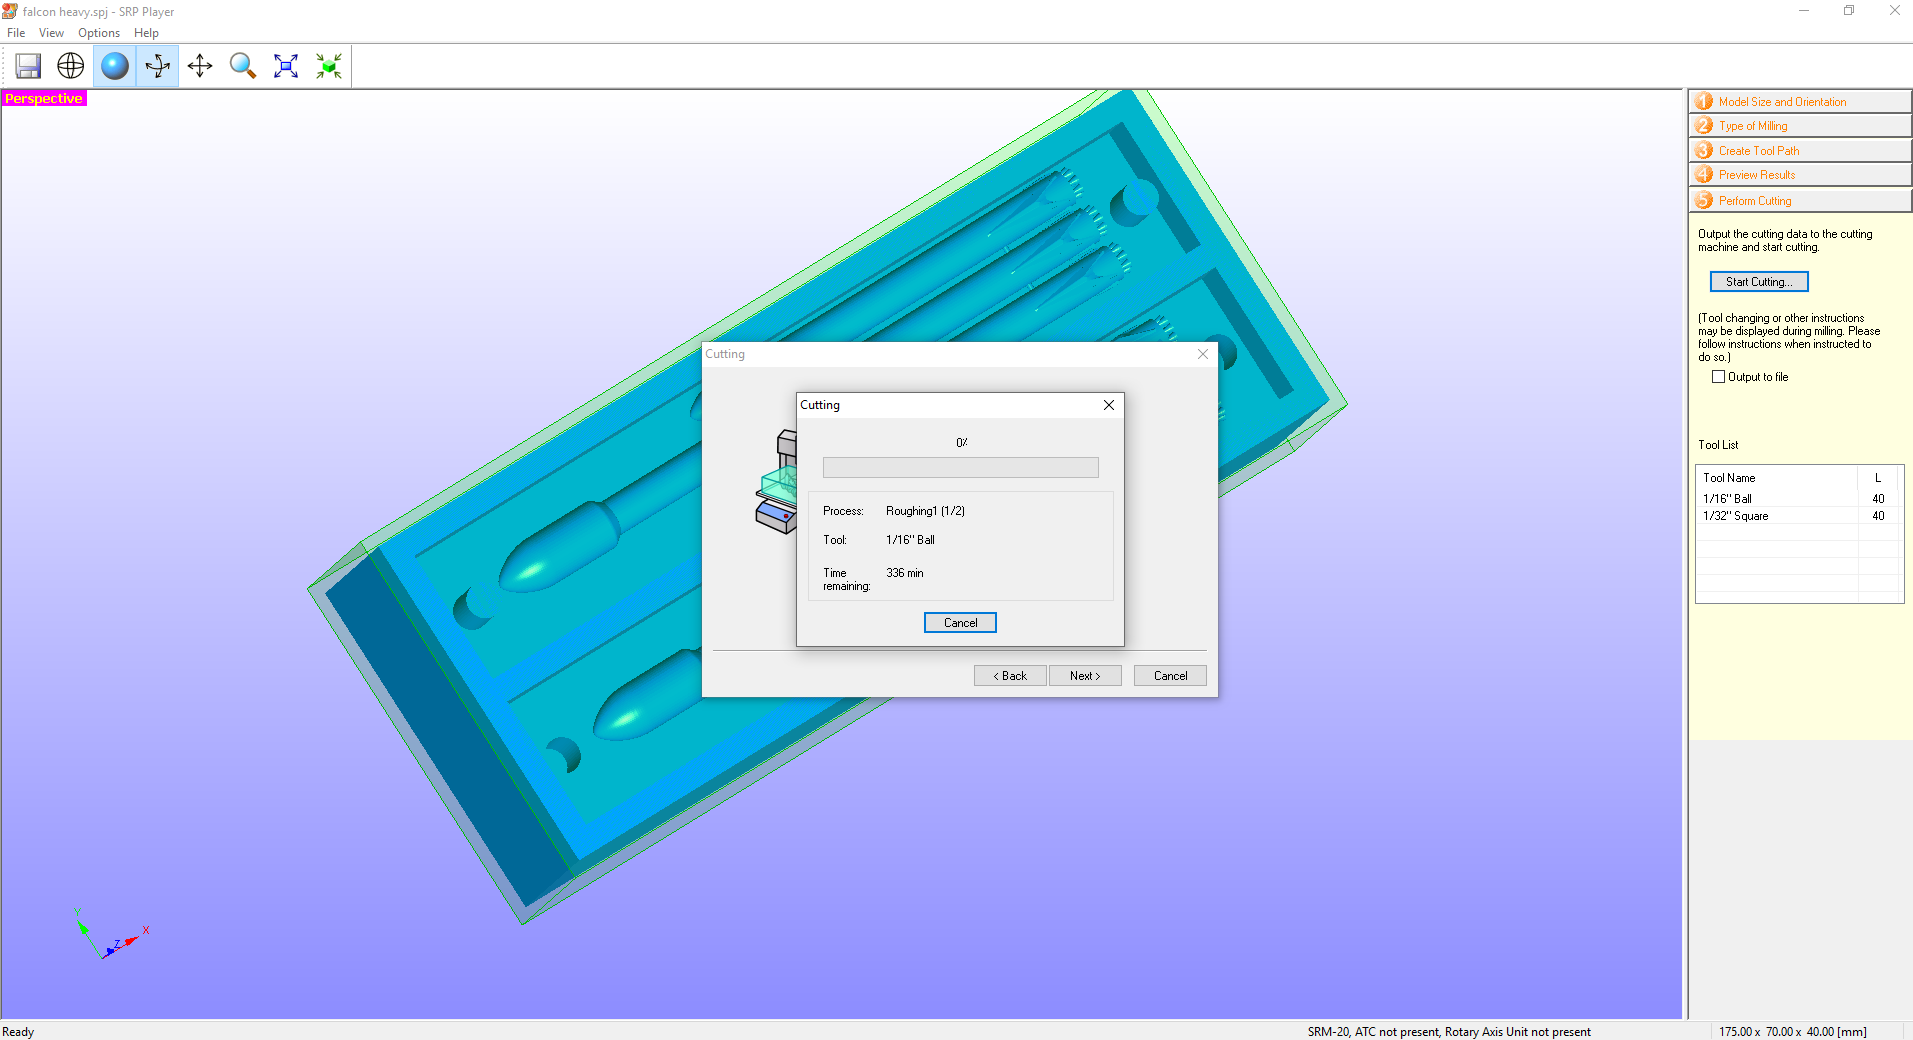
Anyhow, I started the job and the cutting began.
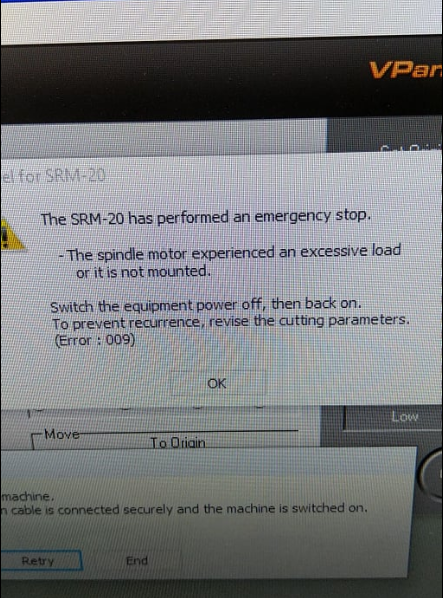
As expected, the product was not good enough because of the size and the fact that I had to define the workpiece larger than the designed block. I had adjust the design to the one shown in the first picture and use a deferent software (Modela).
Because or the size issues, the program tried to cut the assumably larger workpiece to the size of the designed block, which required the tool to travel to a low level putting a high pressure on it.
---
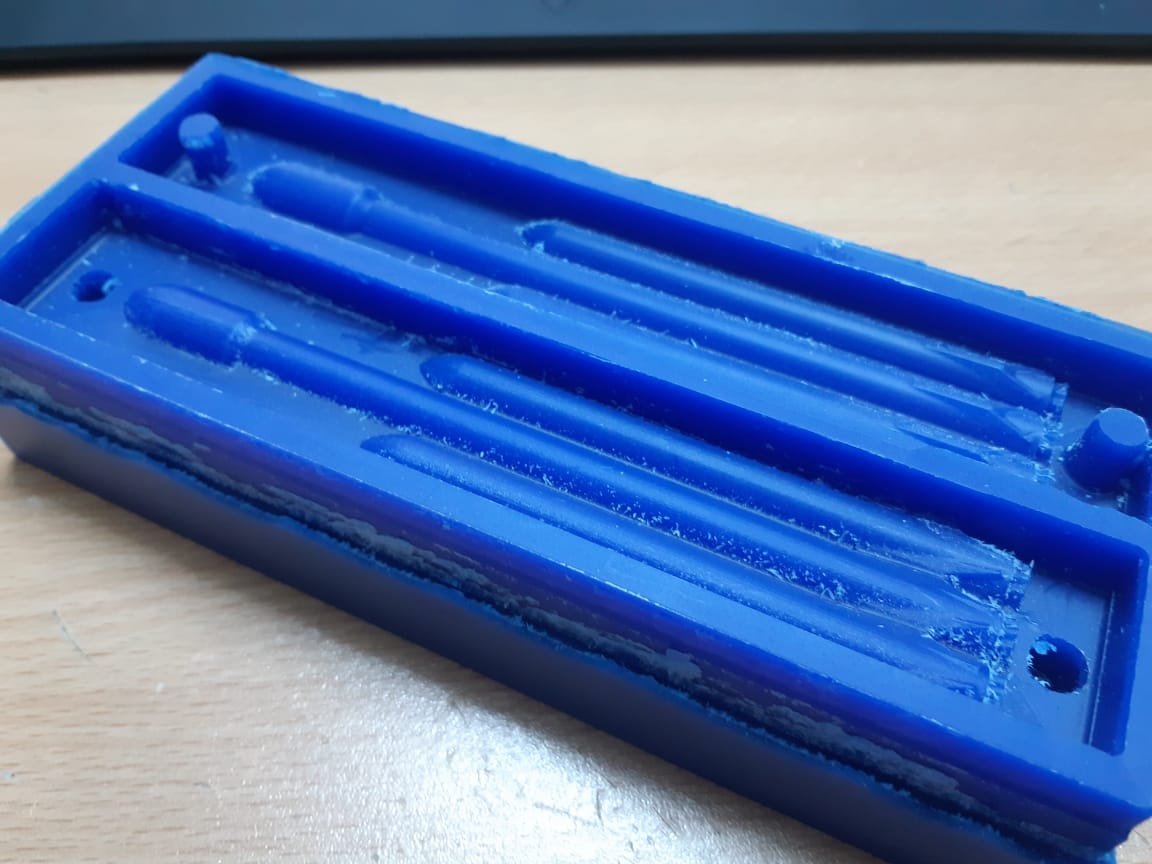
The second trial was on modela with the adjusted design. I even put a chamfer on the steep walls to ensure that the tool willcut safely.
Uploading the STL file to Modela, on the menus bar, I went to Set then Set model.
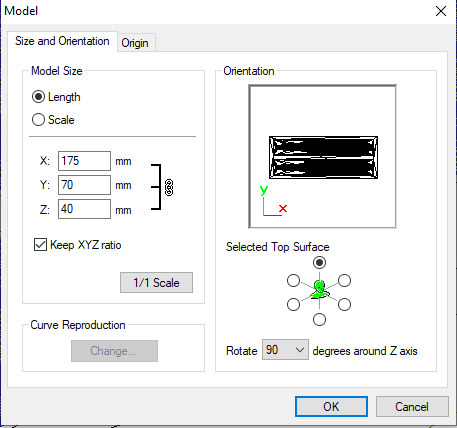
After adjusting the size and rotation, from the right section, I created a new process
A new window will pop up to slect the process, then to select the milling tool
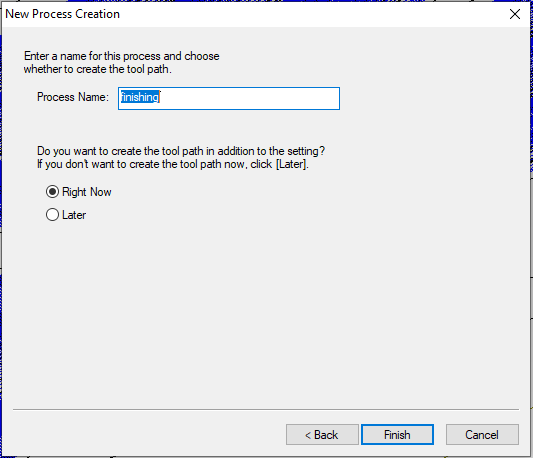
After confirming the process, we can add processes to the queue.
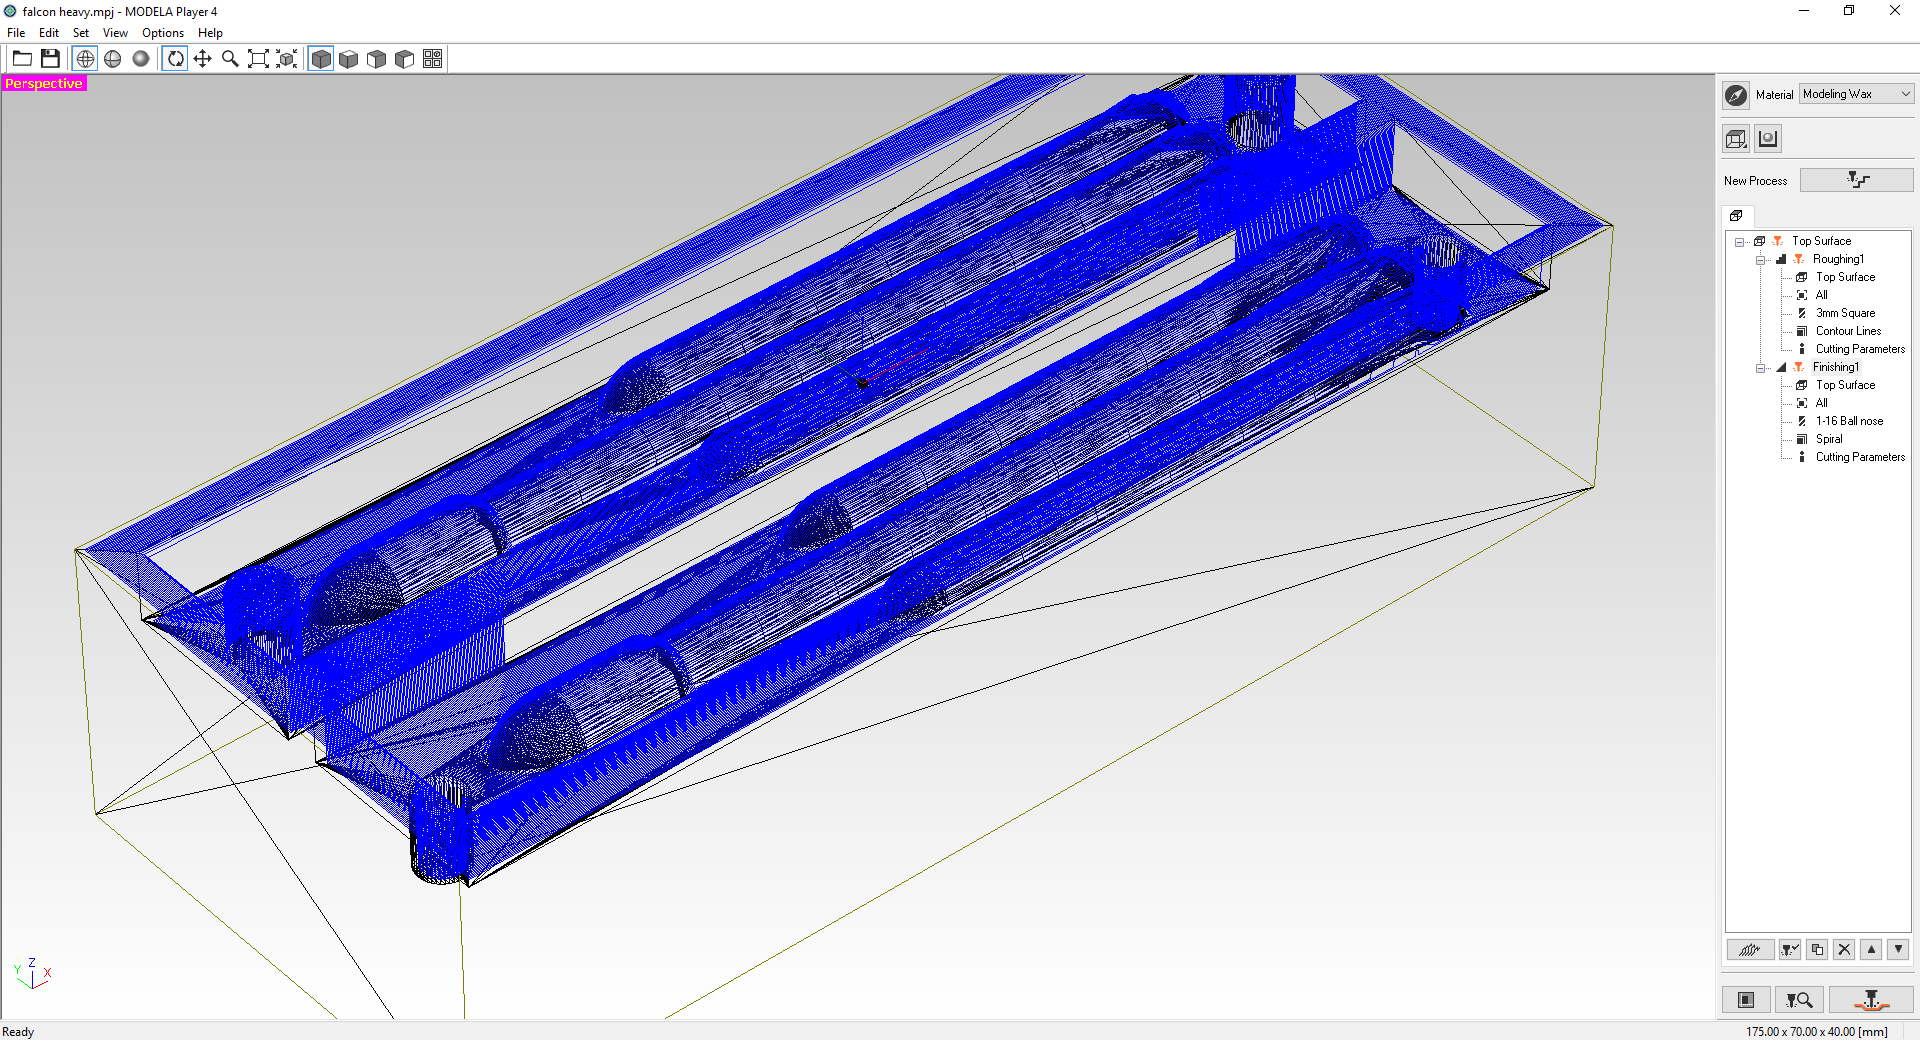
Finally, the processes are to be saved as a g-code to be machined via VCarve just like PCB tracing.
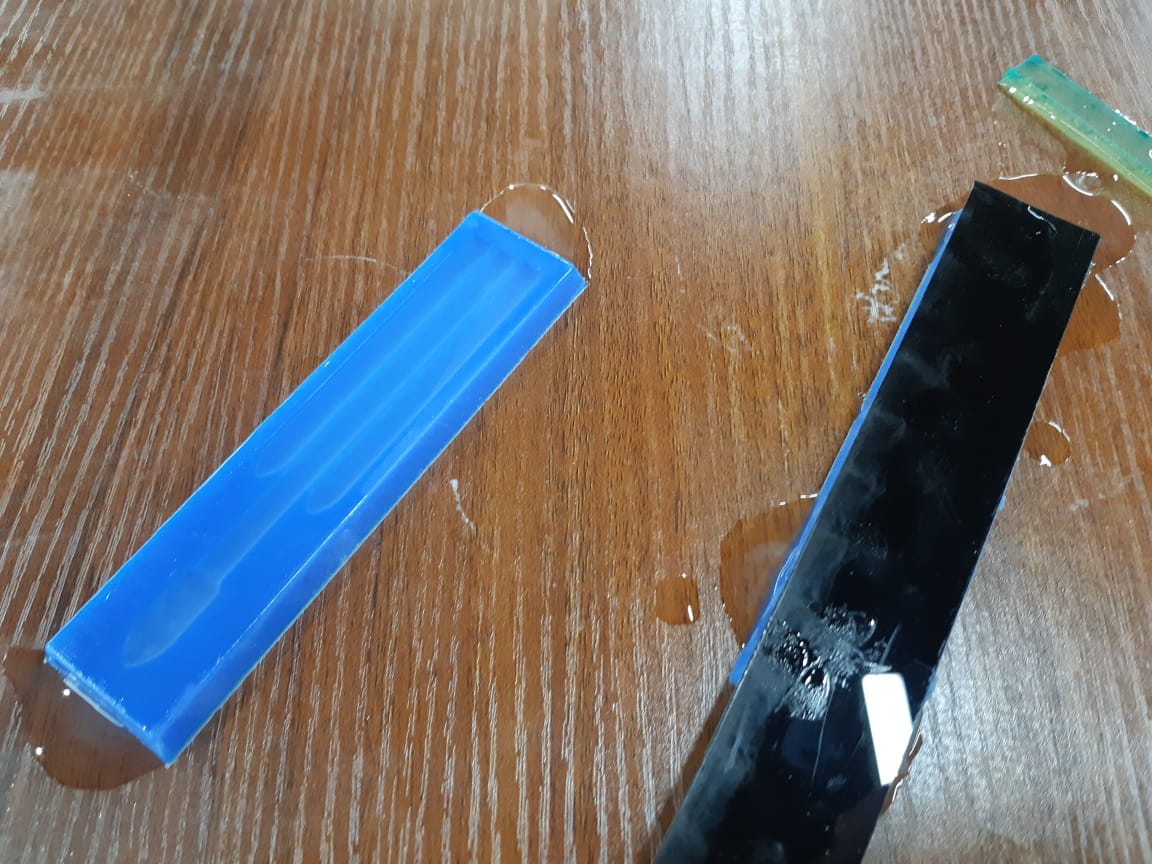
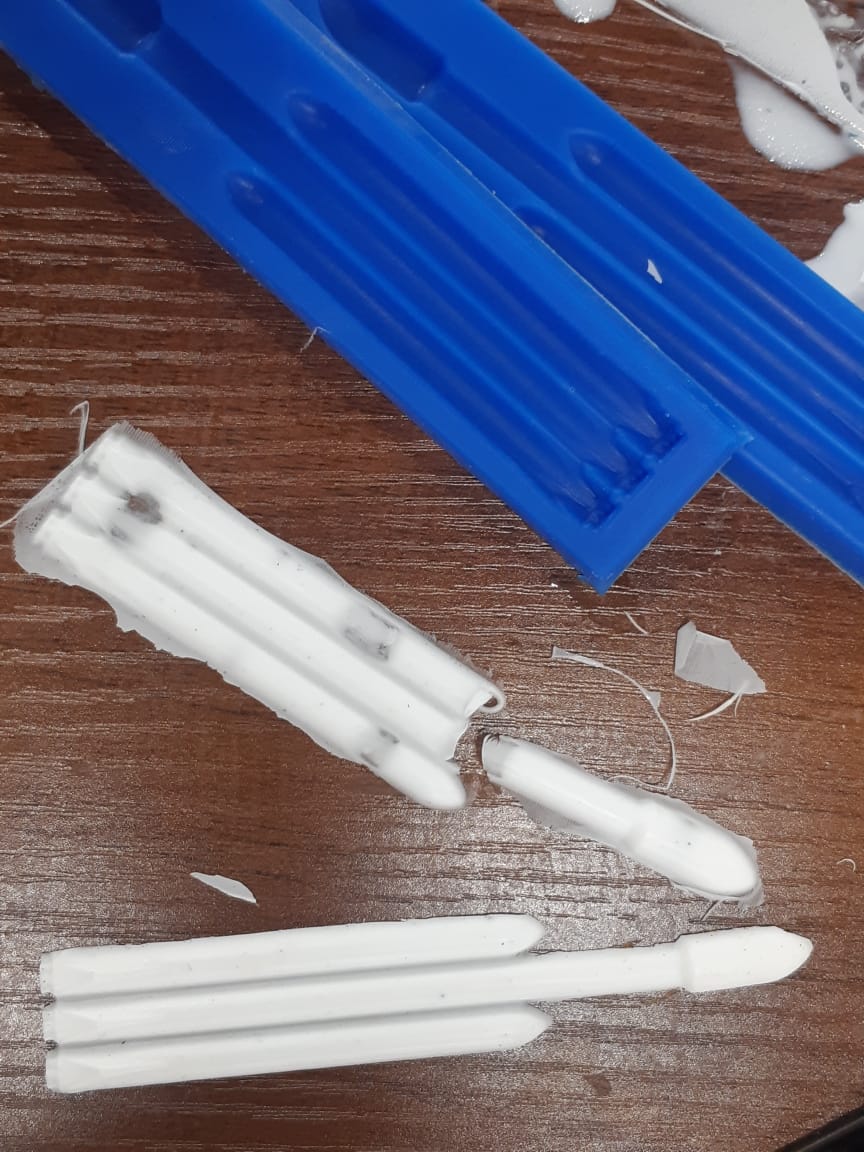
The mold was created.
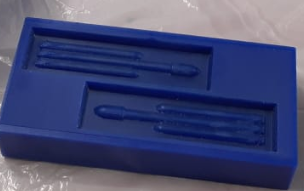
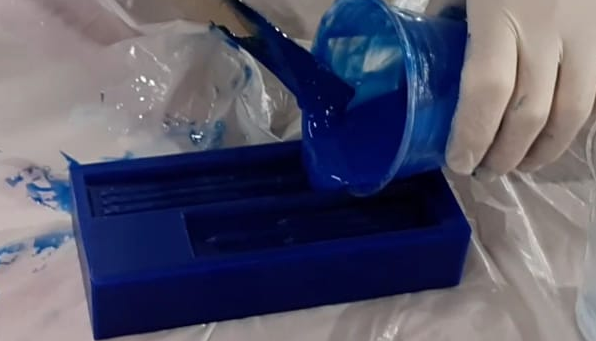
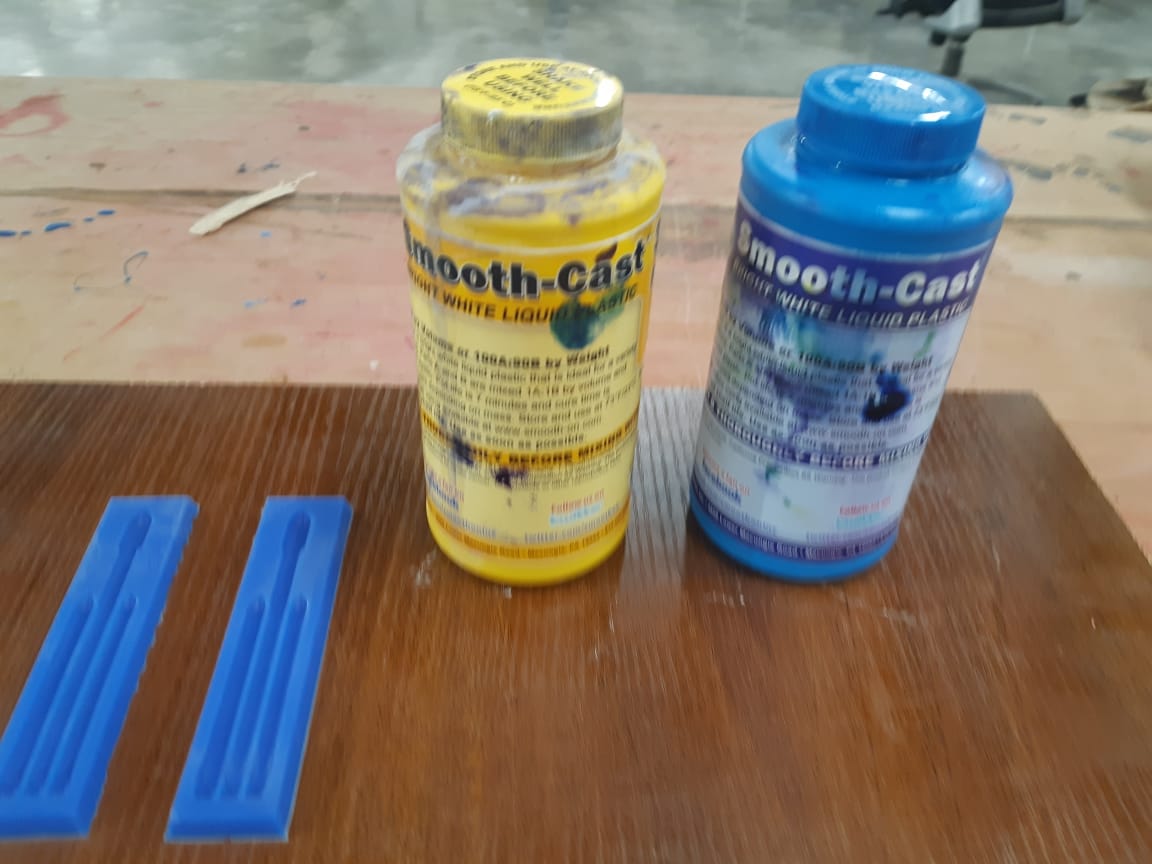
I used Mold Star silicon rubber to create the negative mold.
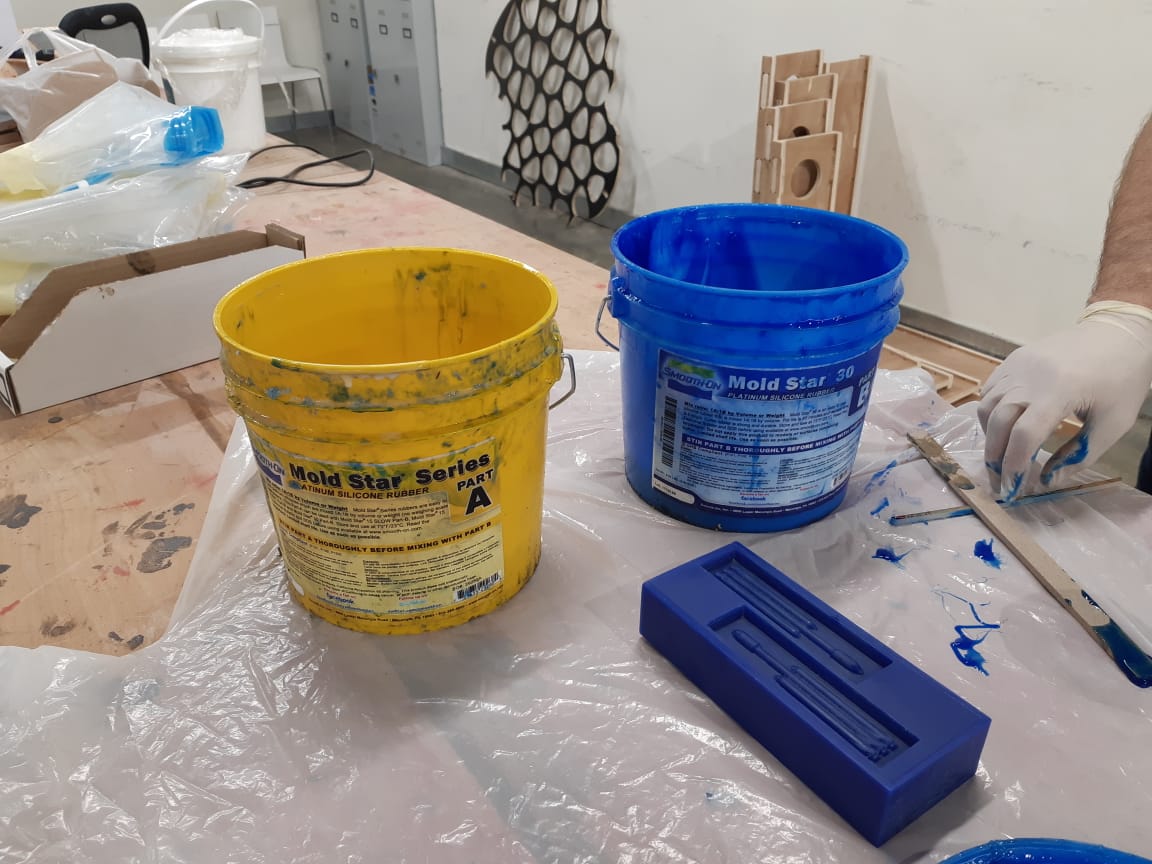
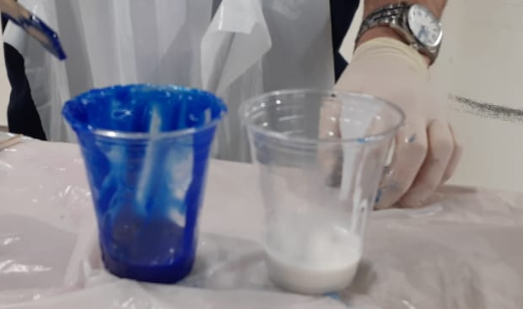
Checking Smooth on website to see the datasheet for each material, I learnt that my process should start with mixing equavilant amounts of material A and material B then pouring them carefully in the wax block, then wait around 6 hours till the mold is cured.
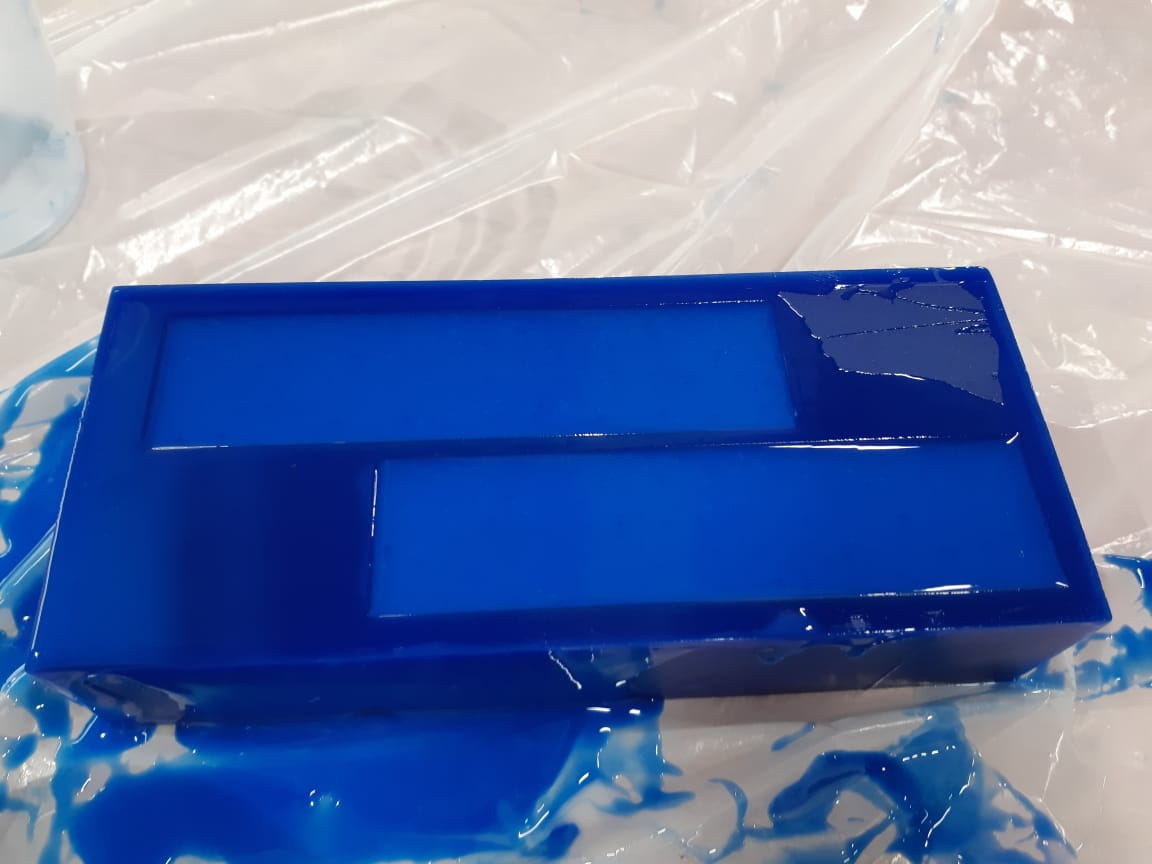
After the mold got cured, it was time to cast it. I used Smooth Cast 305 (liquid plastic) to do so.
After mixing equavilant amounts then pouring them carefully, I placed a flat plastic bar on of the mold to ensure a straight surface.
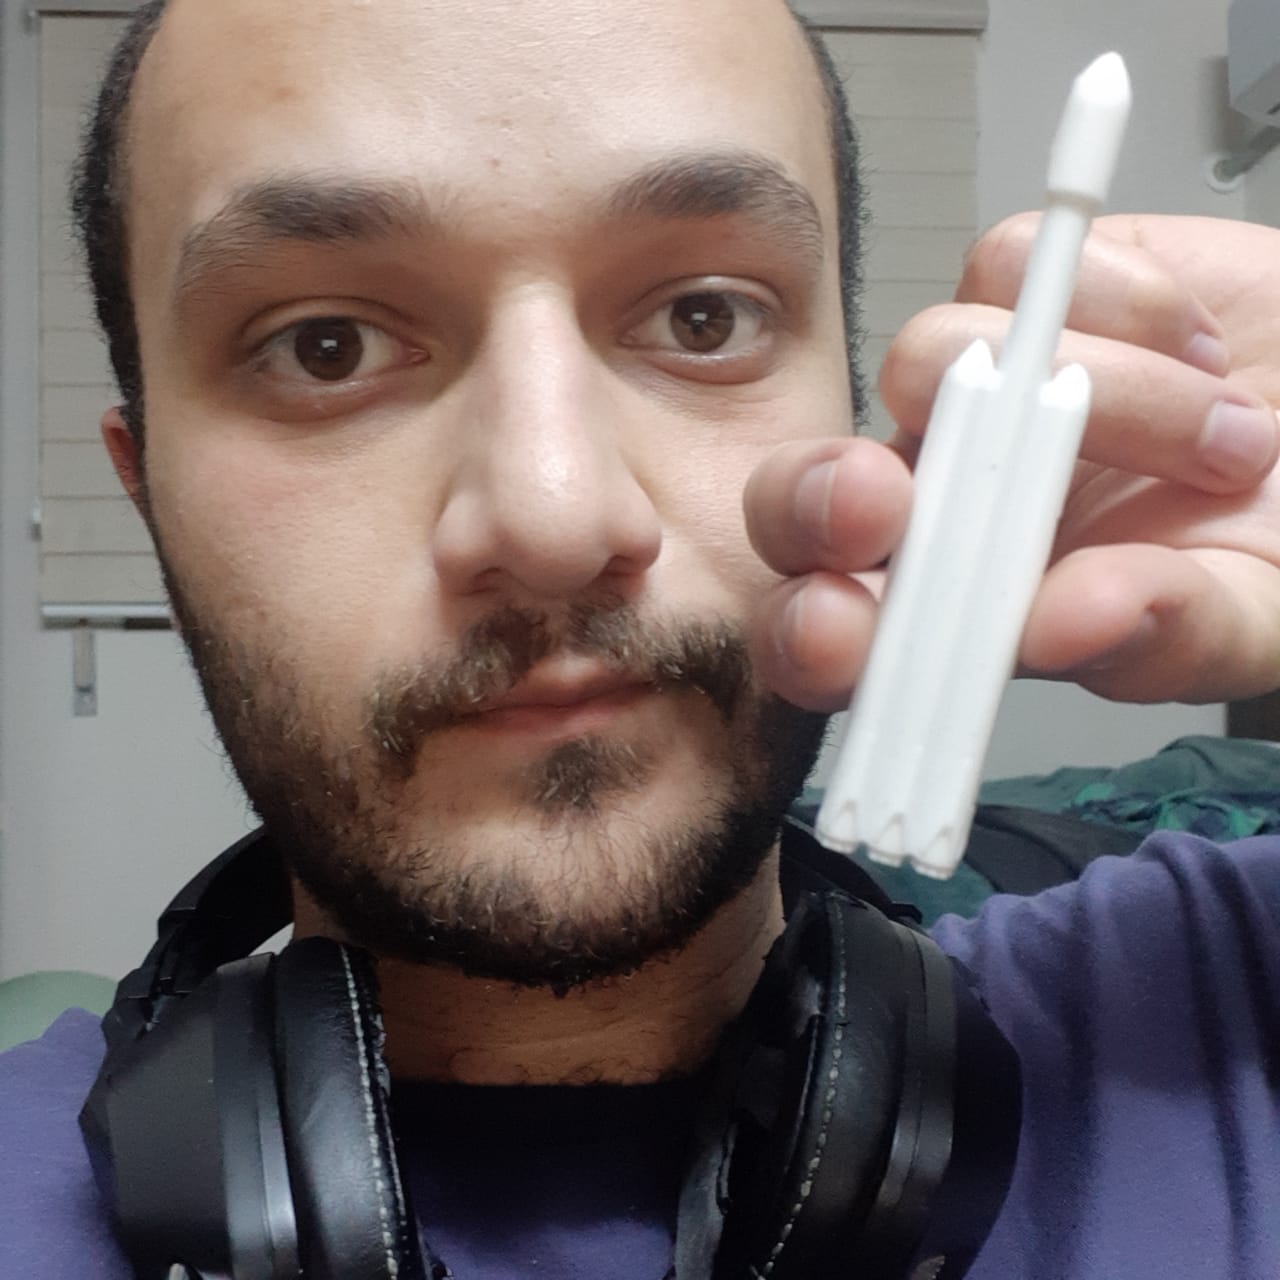
After 15 minutes, I reemoved the cast to find out the results. One of the two parts had bubbles in it which caused it to fail. But the other part was great.
In conclusion, with the mold in hands, I can create as many cast of the rocket as I want. But I guess they need a little colouring to give them a great look!
Safety Note: According to Smooth-On website, under both of the casting materials used, it is stated that mixing tools and containers should be clean and made of metal, plastic or glass. Mixing should be done in a well-ventilated area. Wear safey glasses, long sleeves and rubber gloves to minimize contamination risk.
---
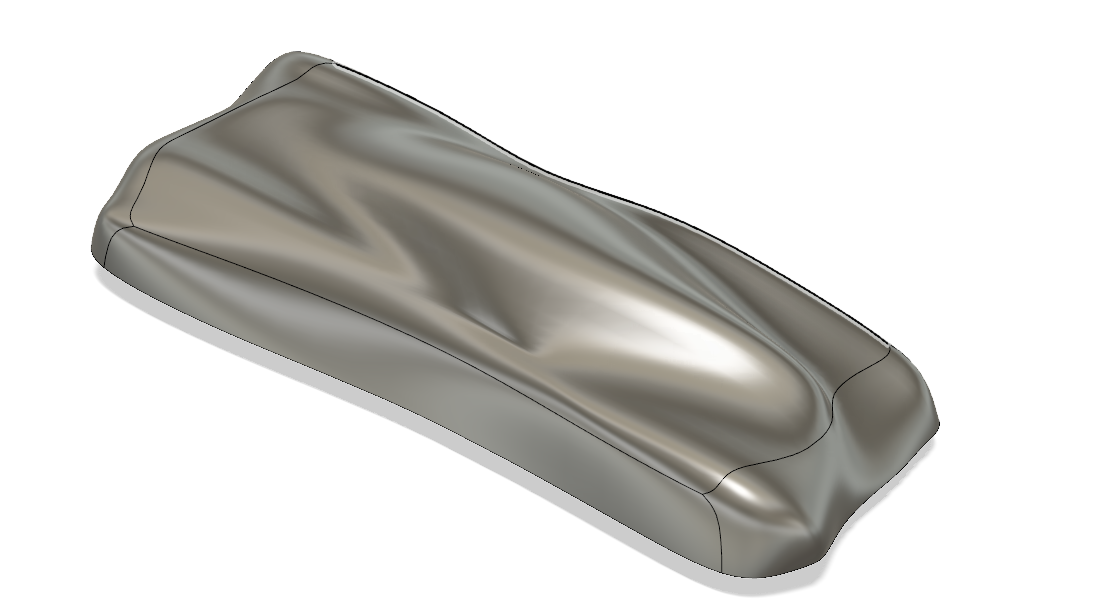
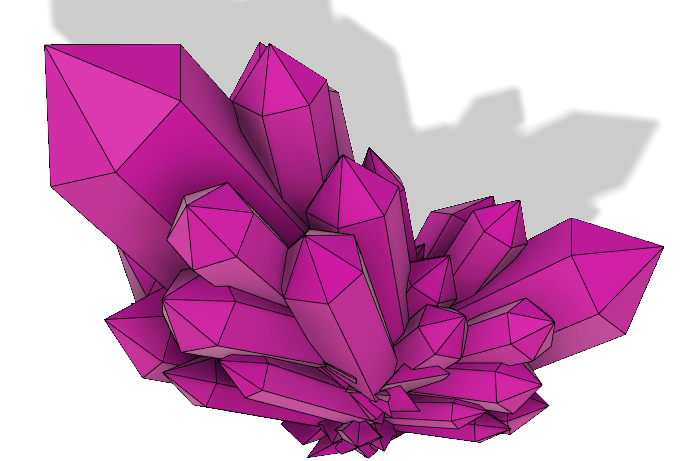
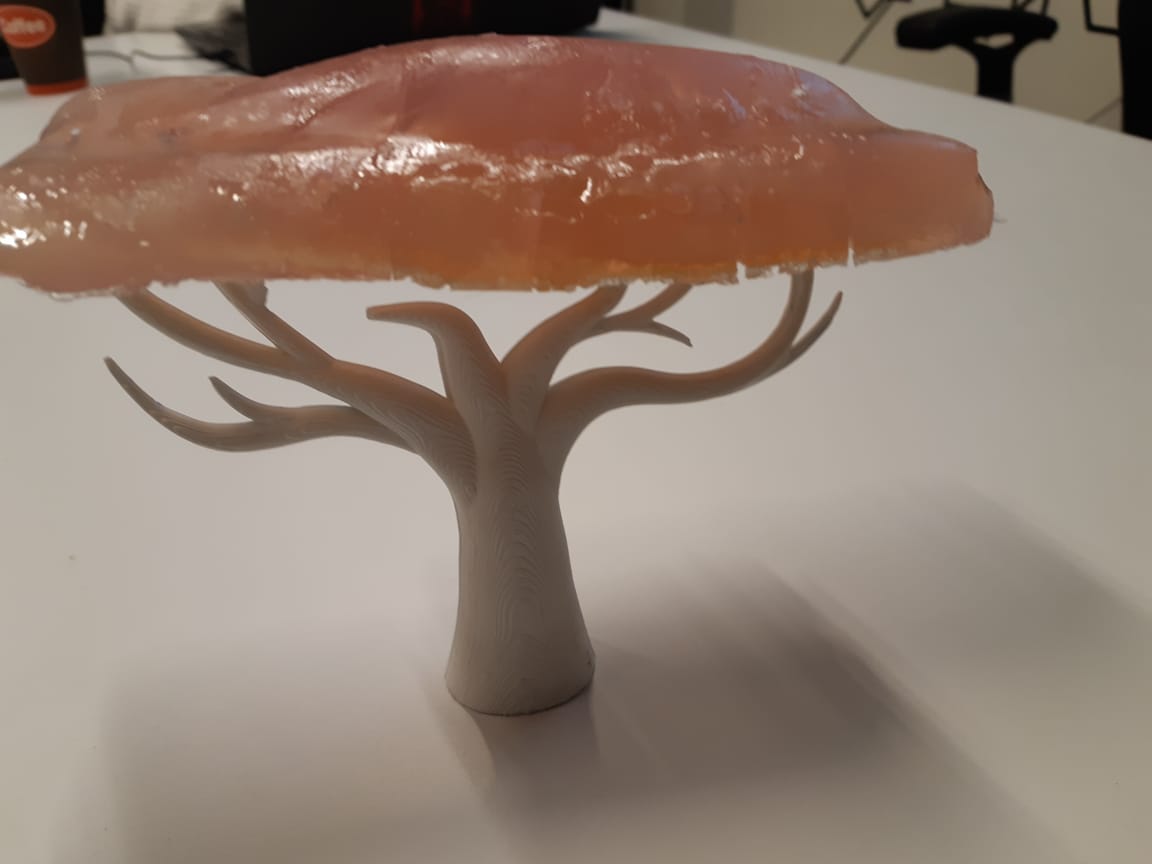
I had this bizzar thingy pictured in my mind and I used Fusion 360 to create it. It consists of three parts: a trunk, a crystal, and a blob. The blob was the part to be casted inside the mold created by milling. The crystal was rather a three stages process; the first, "negative" mold was created useing 3D printing with a PVA material, then inserted inside the cast of the blob, and when cured, the whole cast was placed in water. Hence, the PVA material would melt, and the cast of the blob would have a cavity as if is the mold of the crystal. Then a resin of different colour was to be injected to make the crytal placed inside the transparent coloured blob. The final part which is the tree trunk is not a molding and casting product, but a merely 3D printed part made to be dipped partially in the cast of the blob to hold it up when cured.
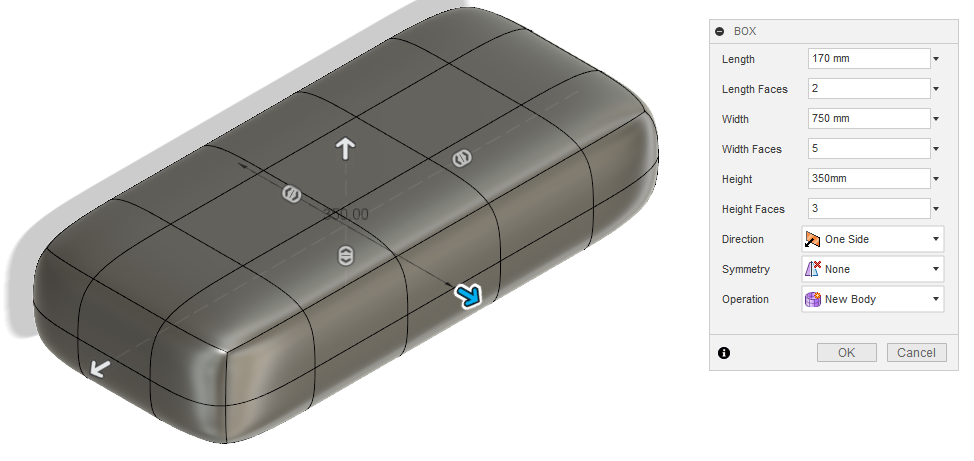
I used Fusion Sculpting mode to create the blob. To enter that mode, click on the sign shown in the figure:

The part will be changed into this:

To create a form, click on create, then you'll have the ability to select the dimensions of your form. I measured the deminsion of the block I will be milling then defined the form to fit inside it.

Then, from Modify, select Edit Form. Then start editing untill the desired shape is attained.
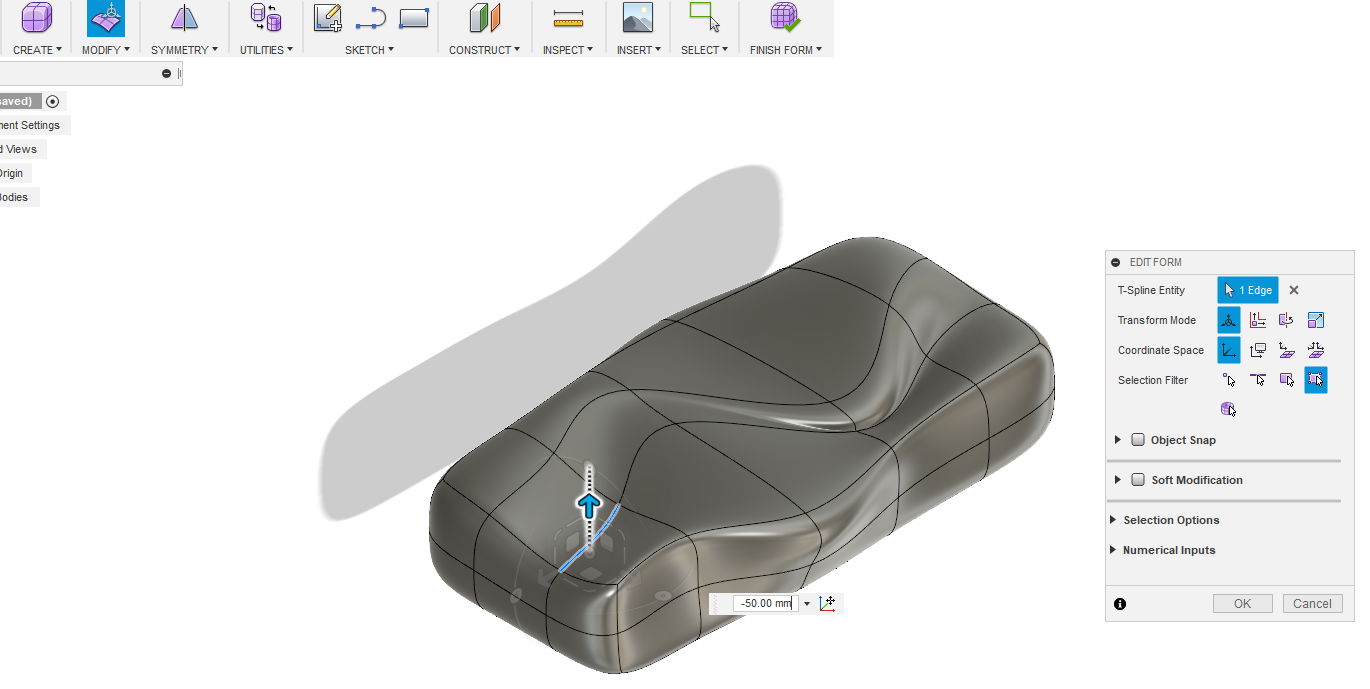
And that's how the blob was designed to look like this:
Then I took the negative of that by the Split Body tool from Modify. But first, to do so, I had to create a different cuboid that contains the blob. Then spit them from each others.
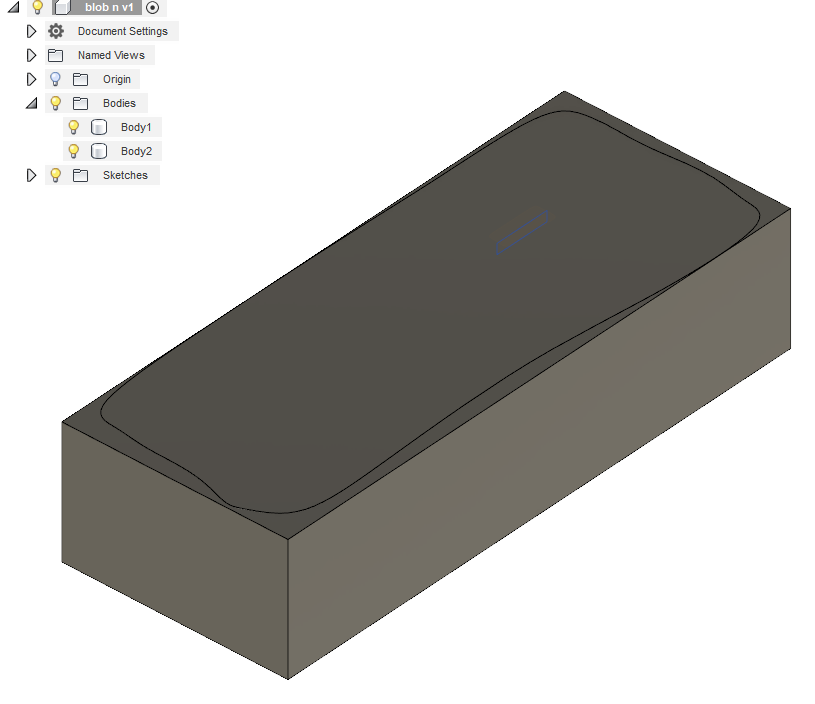
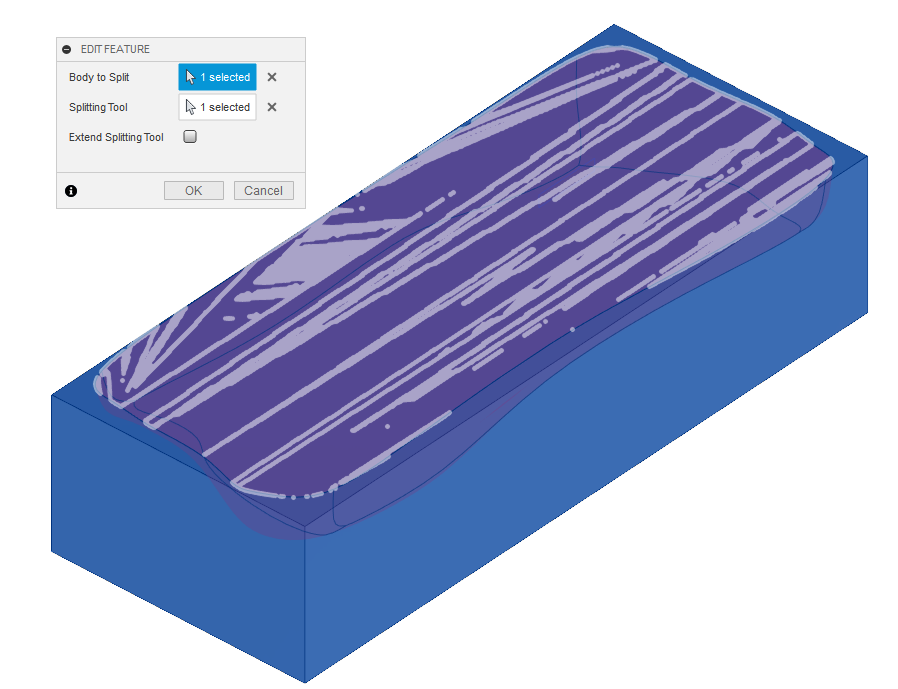
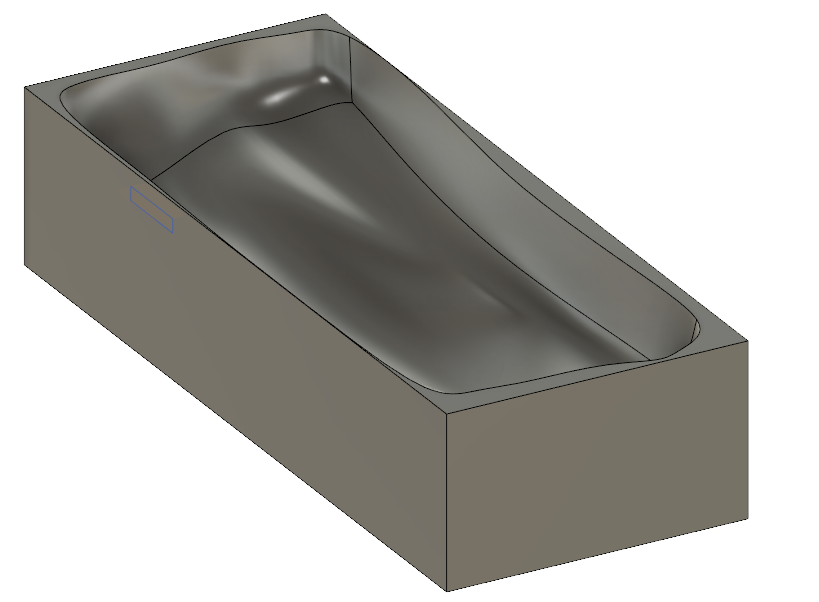
Finally, we have the design of the mold to be uploaded to the milling machine:
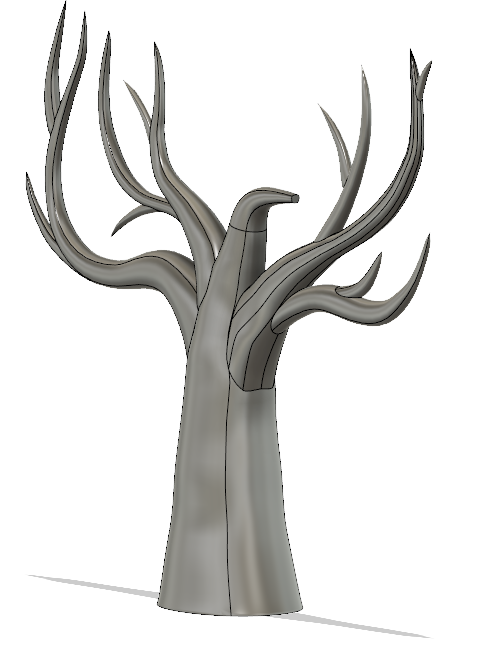
I downloaded the design from an open source, then modified it.
The original:
Modified:
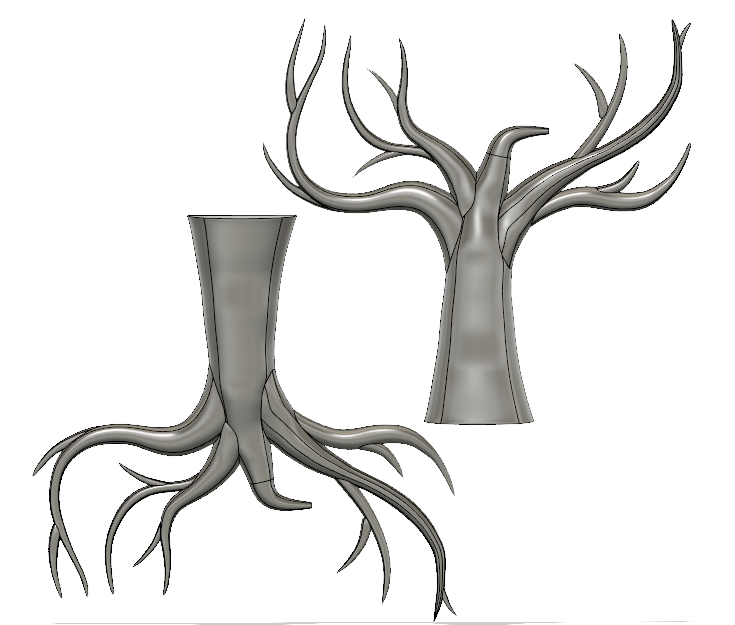
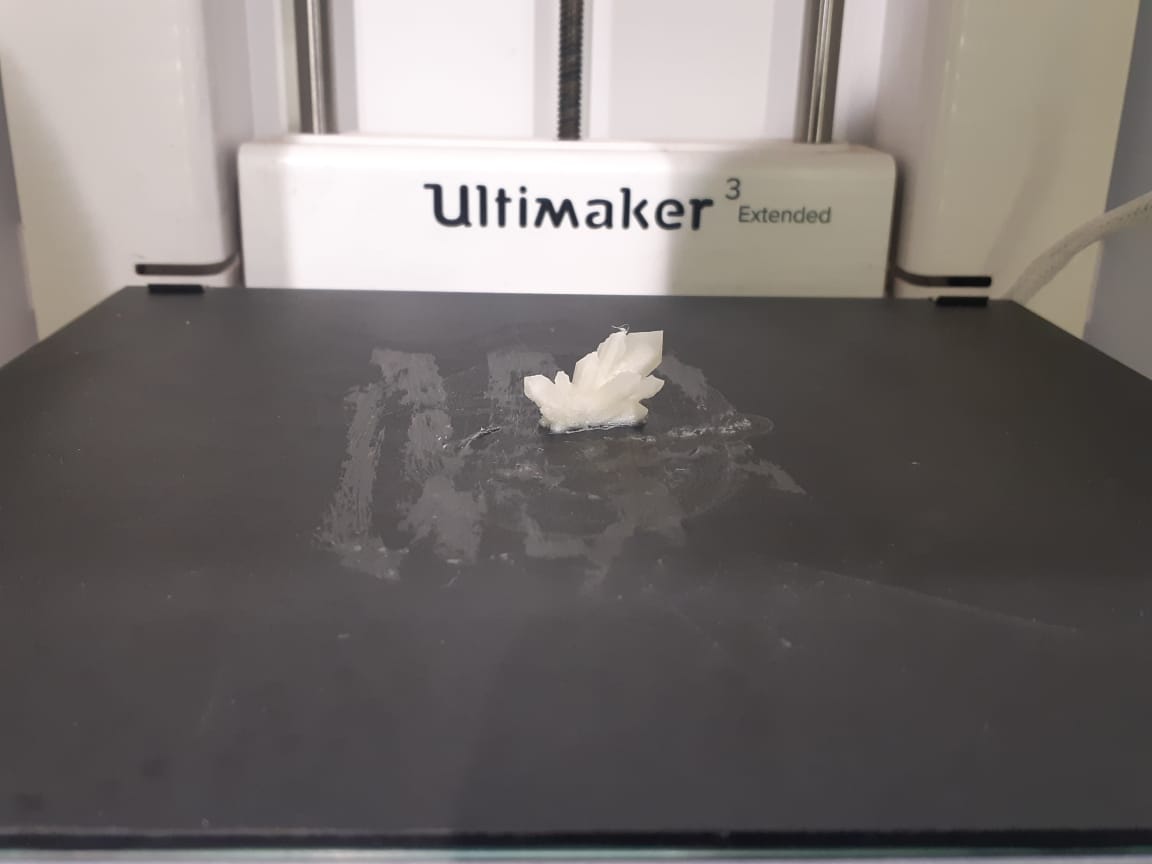
Then I splitted it in half so it could be easily printed.
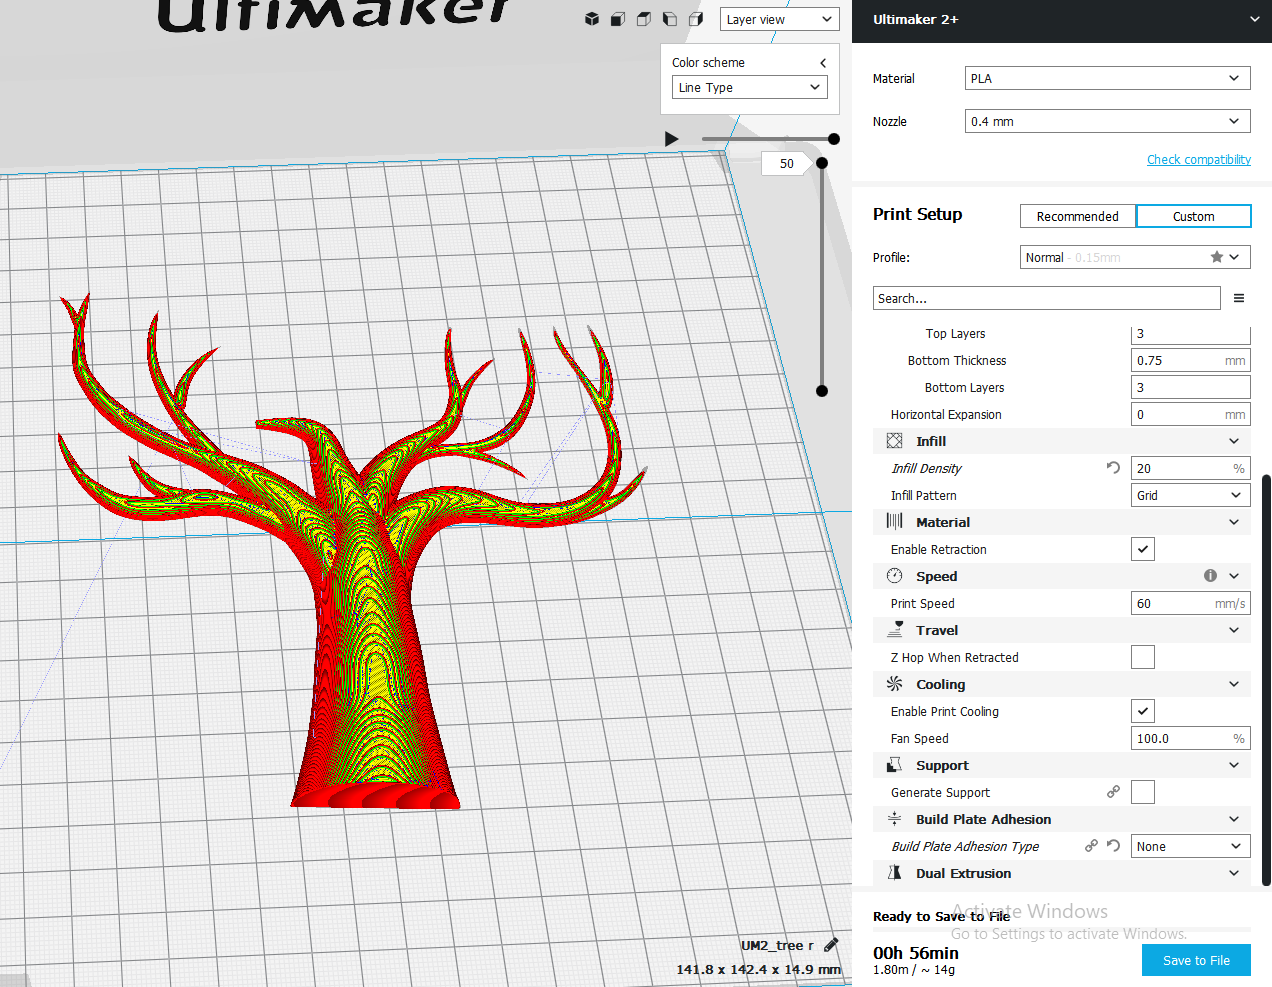
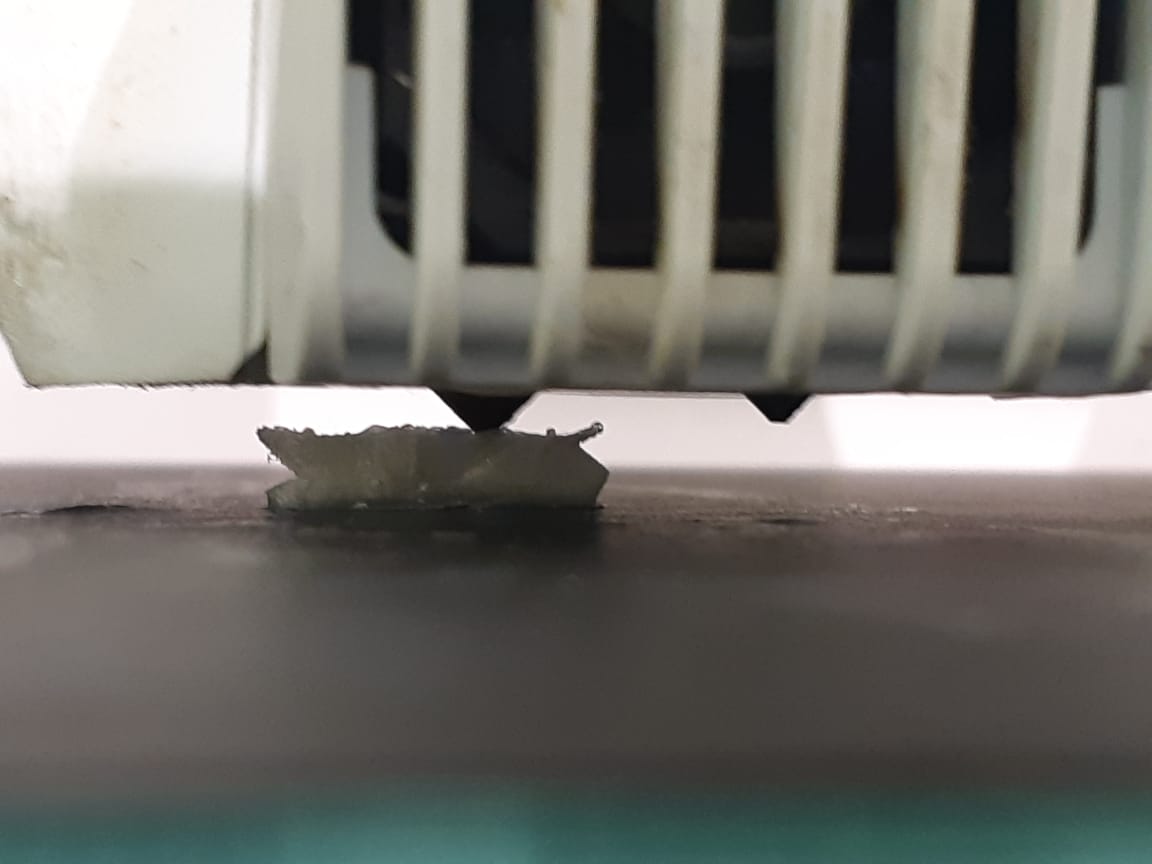
Then, the 3D printing, using white PlA.
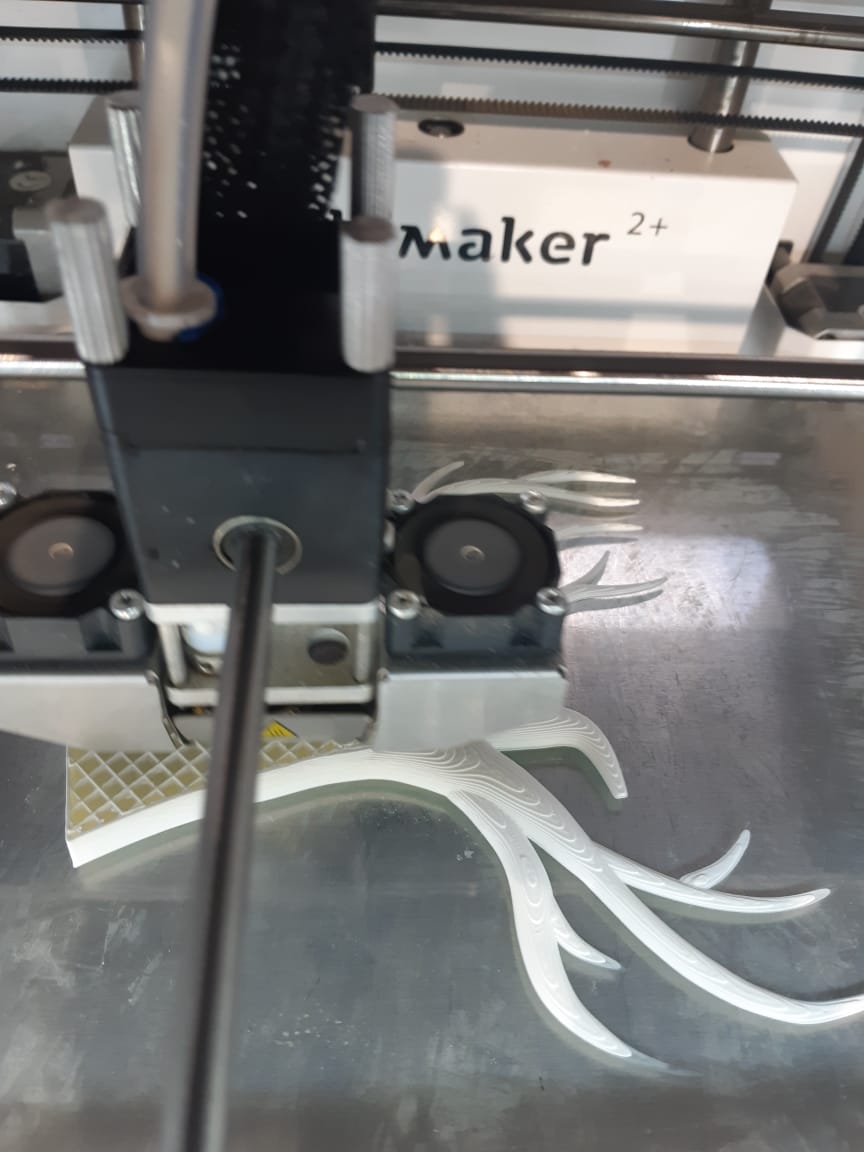
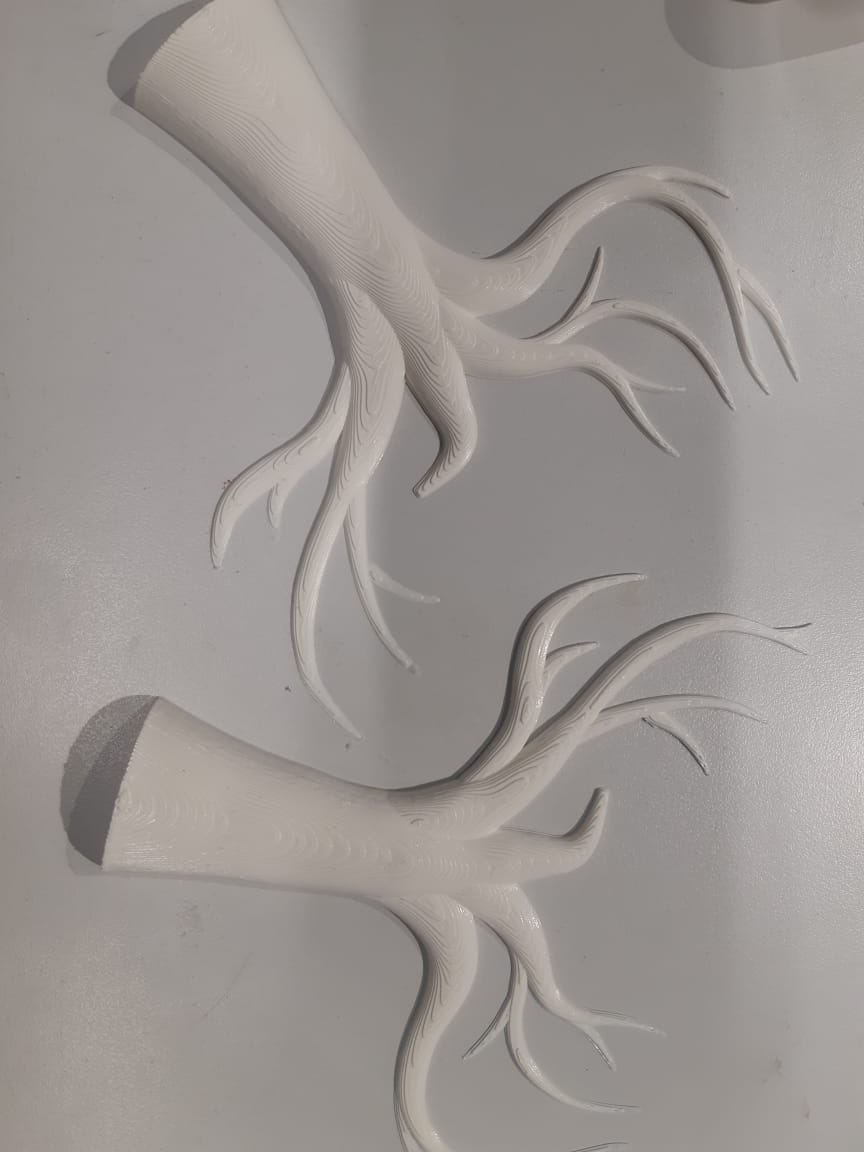
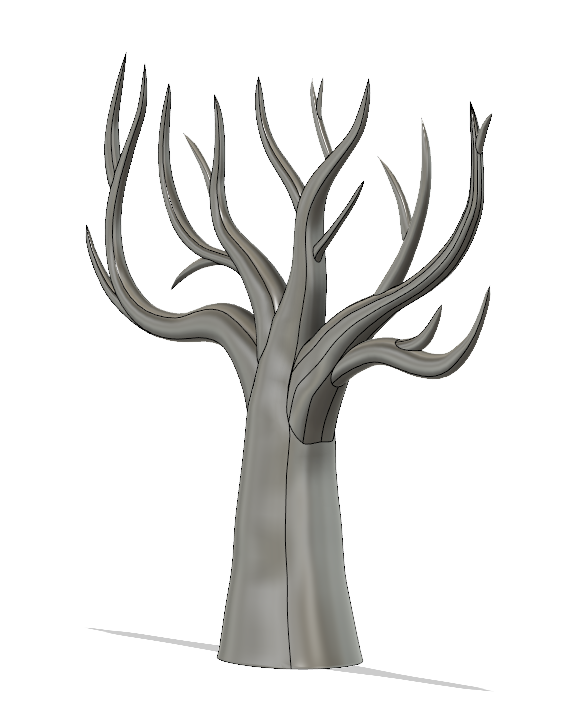
The design was also downloaded from an open source.
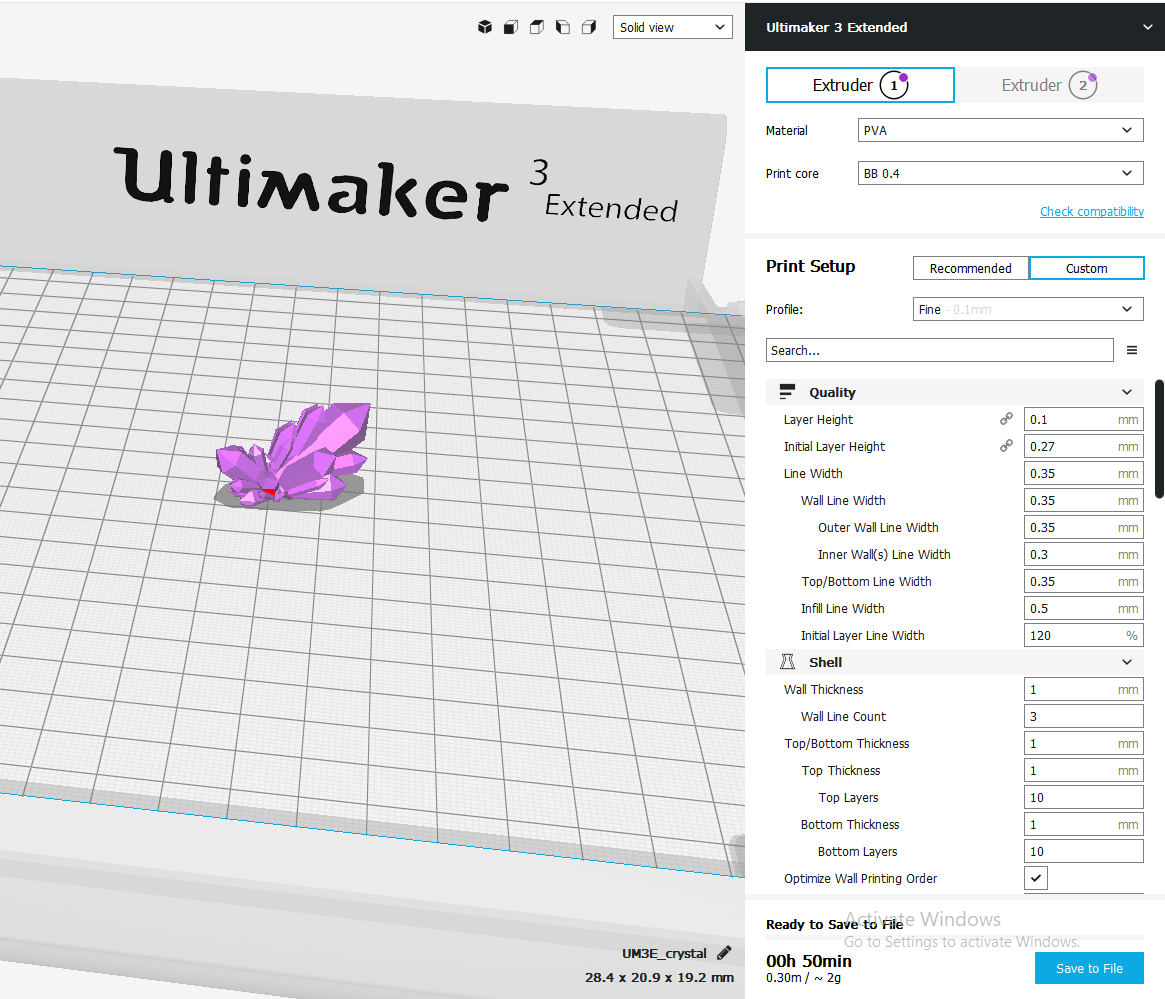
Then for 3D printing, I used Ultimaker 3, bacause on Cura, it is compitable with the PVA material unlike Ultimaker 2+.
On the printer, we had to move the BB 0.4 nozzle to the main core, and put a trevial nozzle on the secondary core because we're not going to use it.
___
The milling went in two stages: the first one for material removal, using 1/8 inch square end mill. and the process took 4 hours. The second one was for smoothening, using 1/8 inch ballnose end mill. The latter took about an hour.

___
So now, I have all the parts I need, it's time for casting.
To cast the blob, I used a transparent pinkish resin material that was available in the lab, but unfortunately, it has no datasheet, so I relayed in trial and error.

I added one sip of the dryer to a full cup of resin then mixed them.,Afterwards, I poured the resin in the mold.

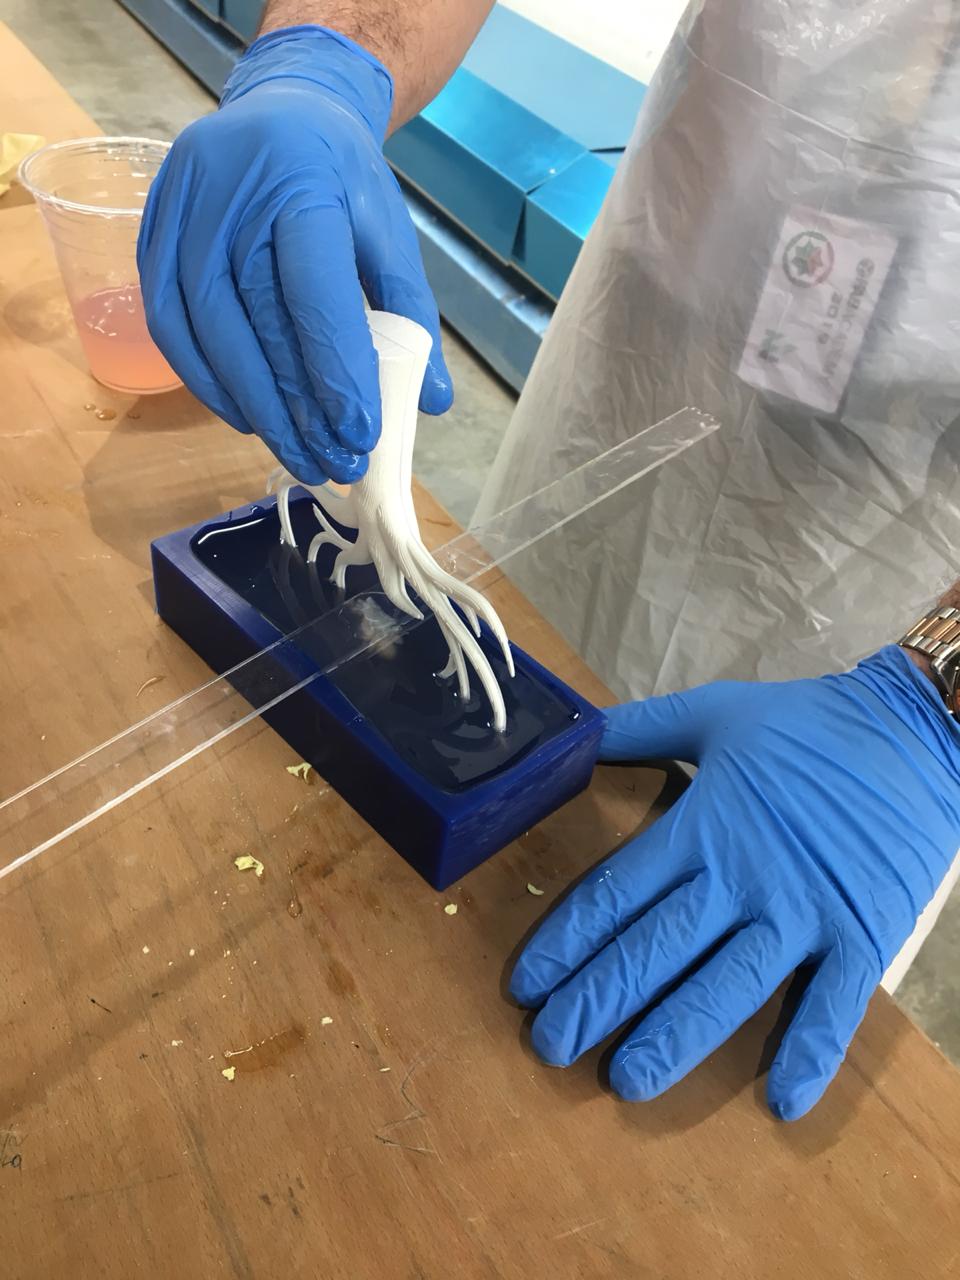
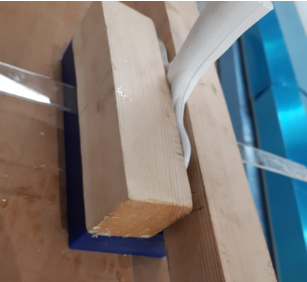
I used the rod that I mixed with to hold the crystal mold in its place. Then dipped the tree in the mold as shown:
Problem!!!
After two hours, I checked to see if the cast has cured. But it was not. So I took out the tree and crystal, then added two other sips of the dryer and mixed them, then put eveything back in its place.
In half an hour, the cast has dried. But it seems like three sips of dryer for a cup were two much. The cast has overdries which make fracture as seen in the picture. And the resin turned to be not so transparent. At least not enough for the crystal to be visible.
Experiment results:
---