


3D Printing is a process where selected material is melted then solidified, or joined layer by layer, under the direction of a program to create designed objects.
There are various types of technologies that use 3D printing, each of these technologies uses a different printing process. There are differences in the accuracy, cost, and compatible material for each process or technology. We were tasked to work using the SLA and FDM printers:
FDM (Fused Deposition Modeling)
The material is melted and dispensed through a heated nozzle and stacked layer by layer to create the required design. It is also called Material Extrusion.
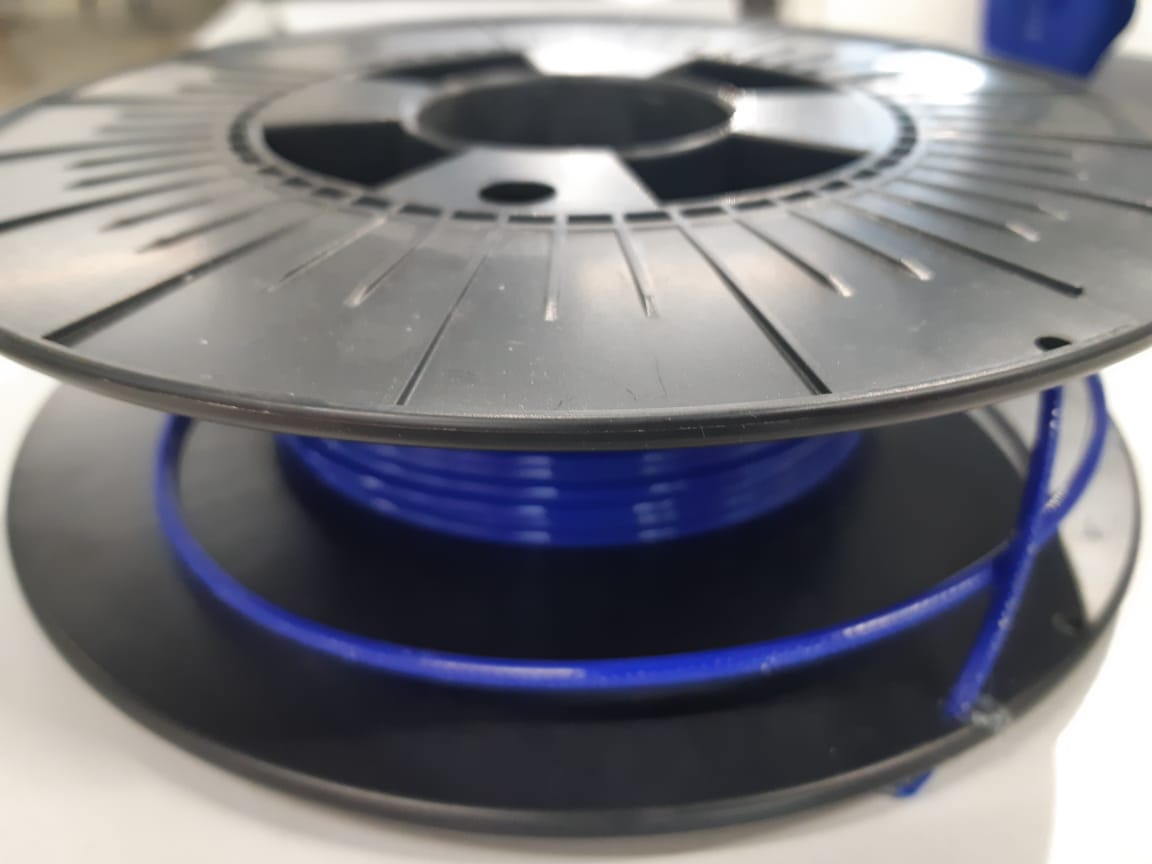
The filament: PLA is most common filament used. The basic PLA is plastic material, but there are different types of PLA that come with a portion of other materials, like bronze filament, copper filament, wood filament and carbonfiber filament.
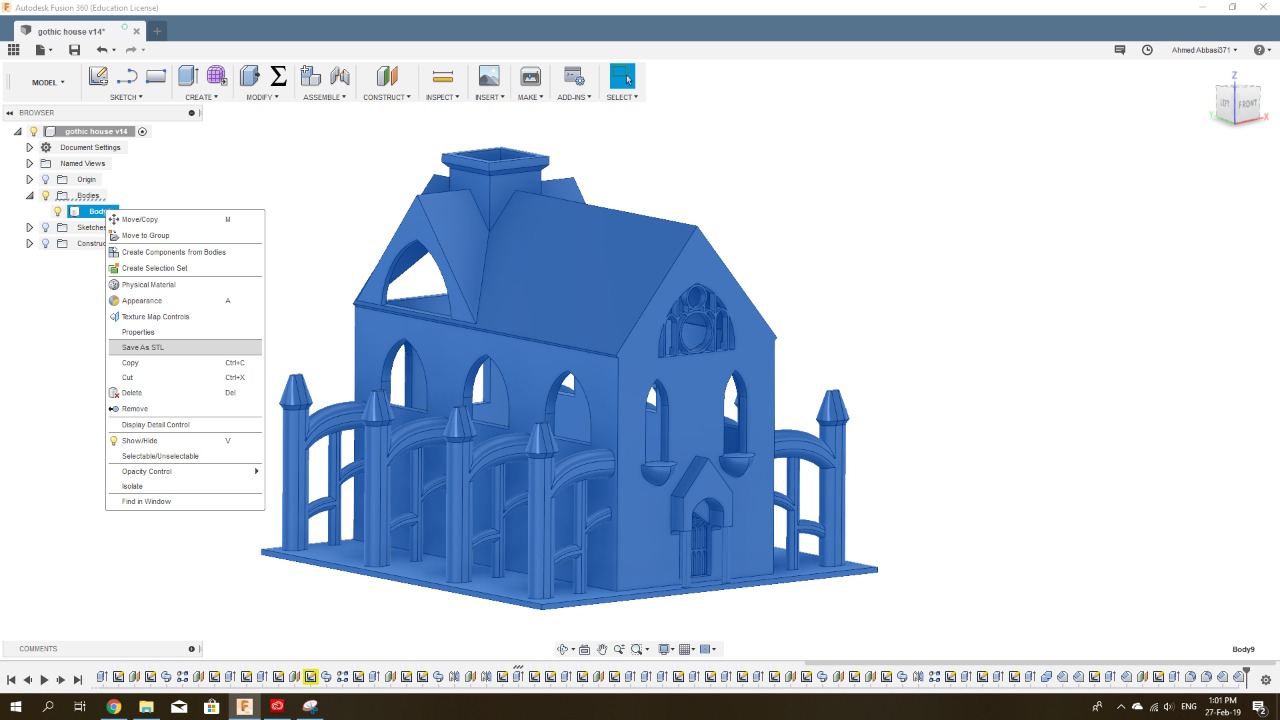
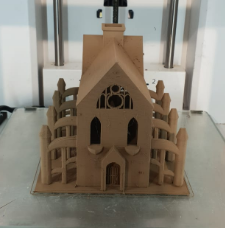
I have created my tree pot design using Fusion 360 and it's in the shape of a gothic building.
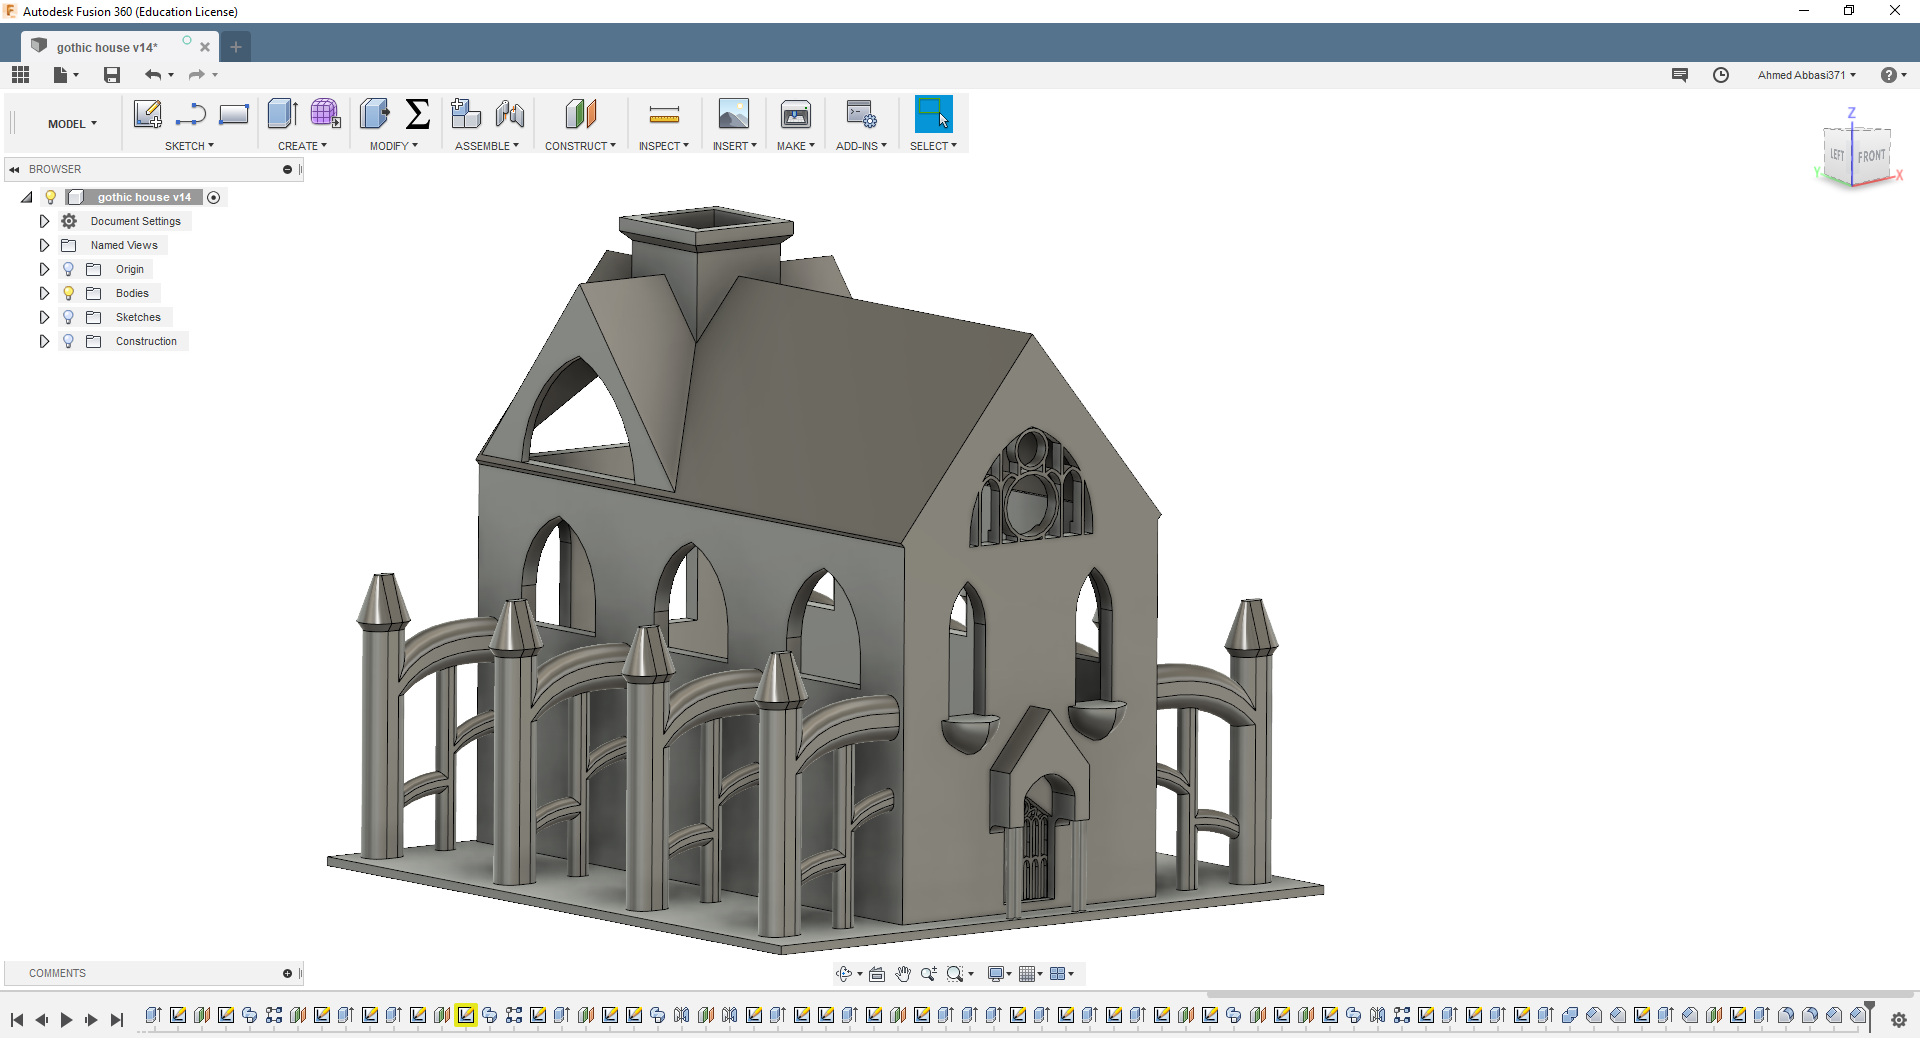
After creating the design, we export it as an stl file.
After that we upload it to a software called Cura to setup the print.
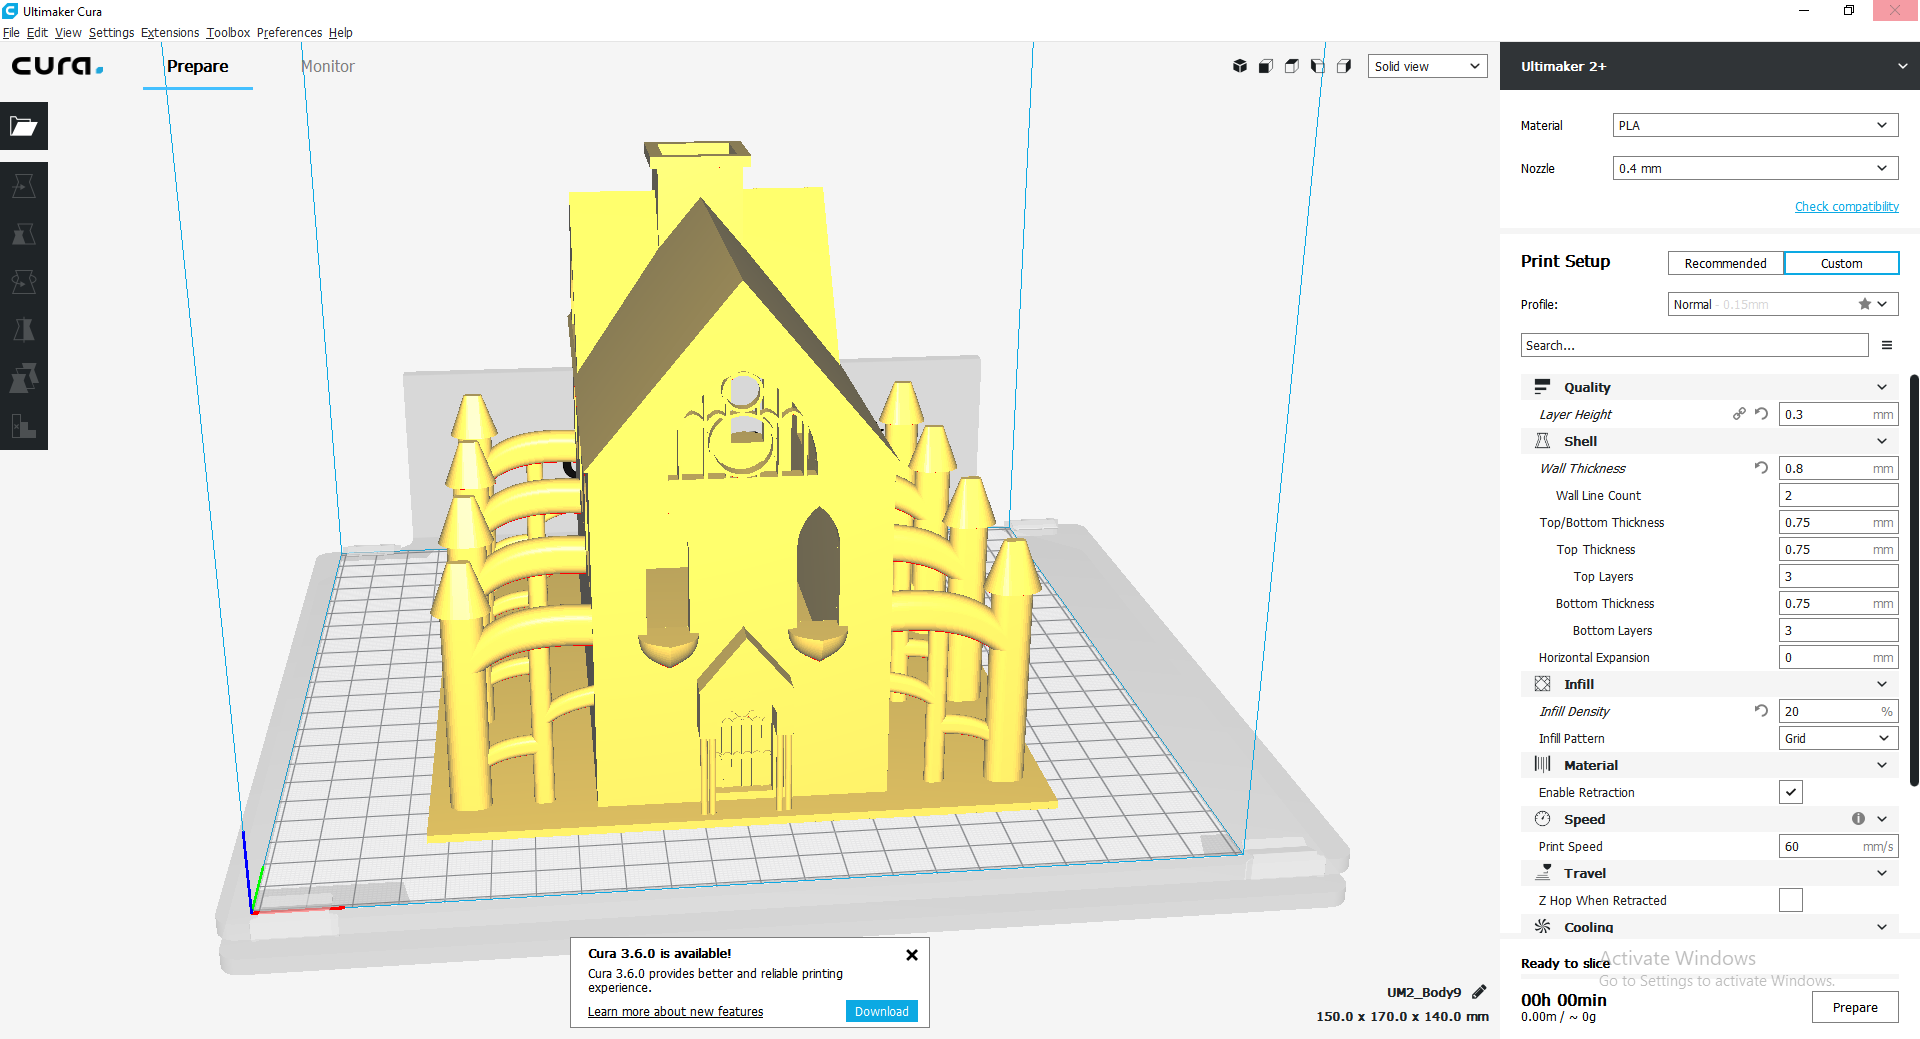
There are plenty of points we need to consider in the preperation of the print:
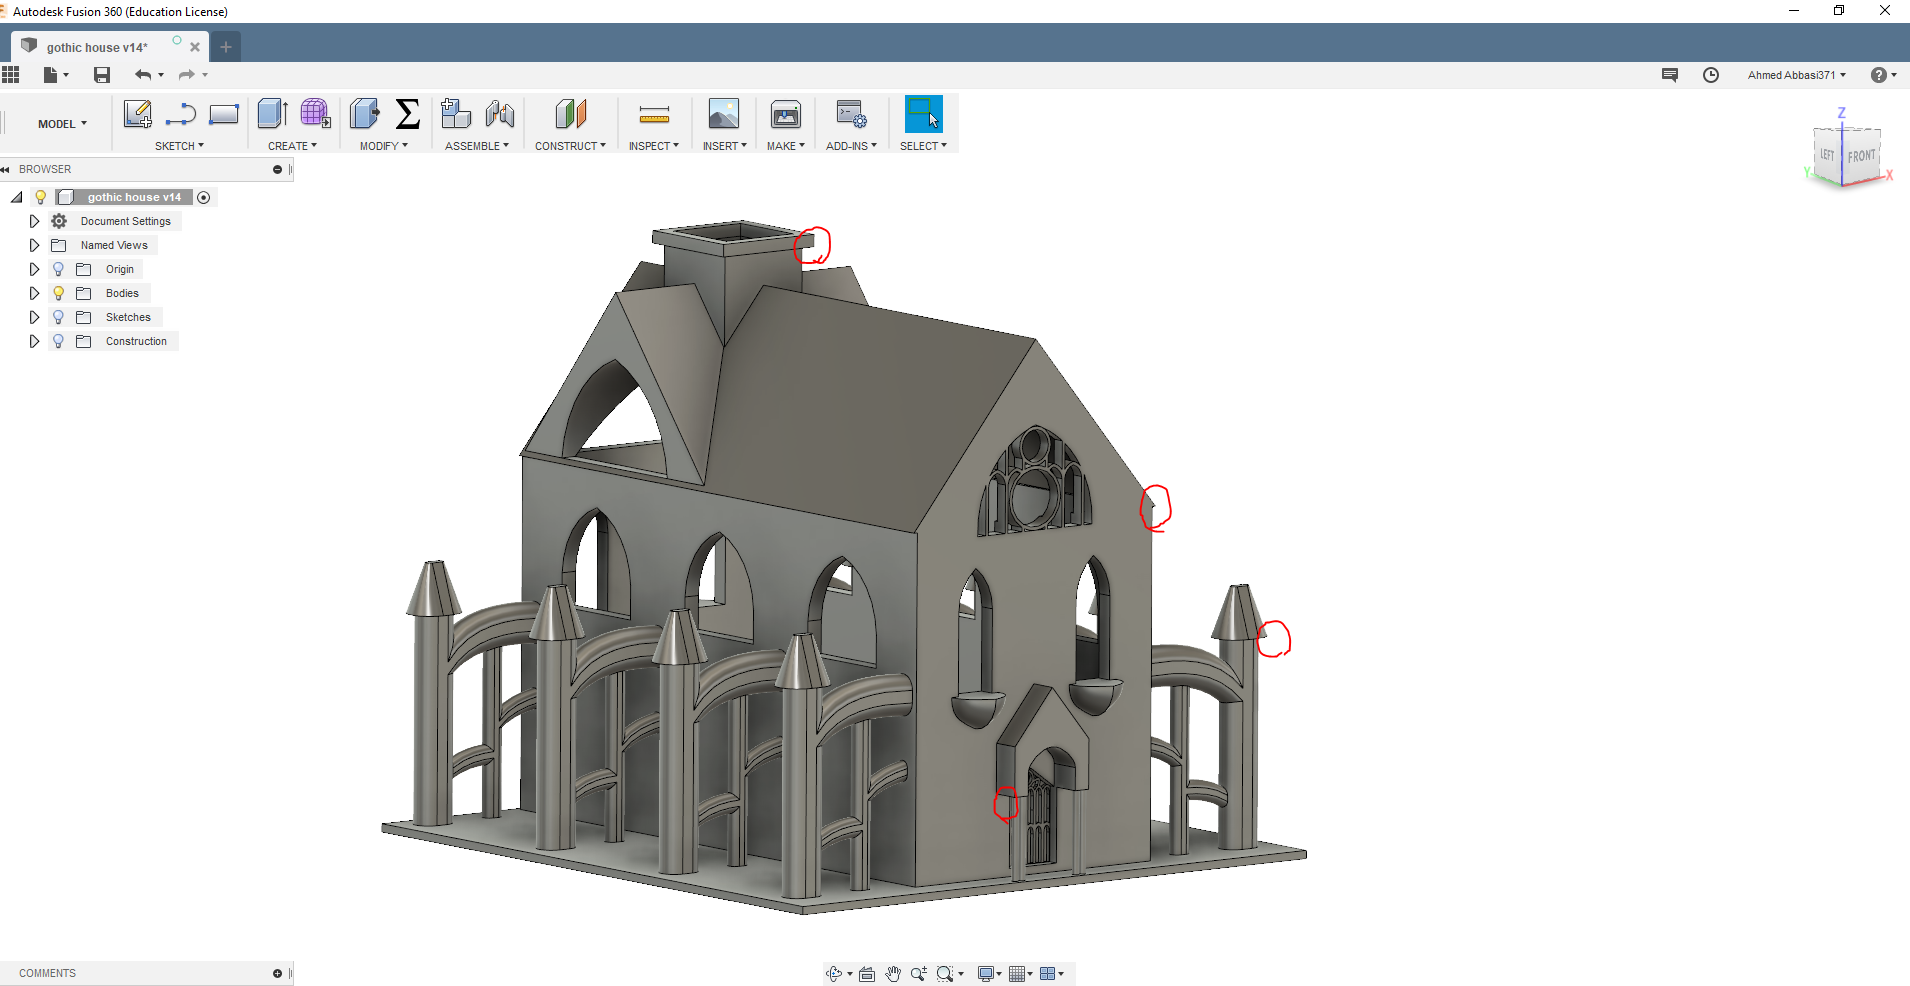
Notice the time of the job is given calclated by the software. The support are ordered to be constructed ender every surface that has more than 50 degree angle. The fisrt design I made had a lot of those surfaces, so I went back to edit this and added chamfers. Compare this pictre to the previous one:
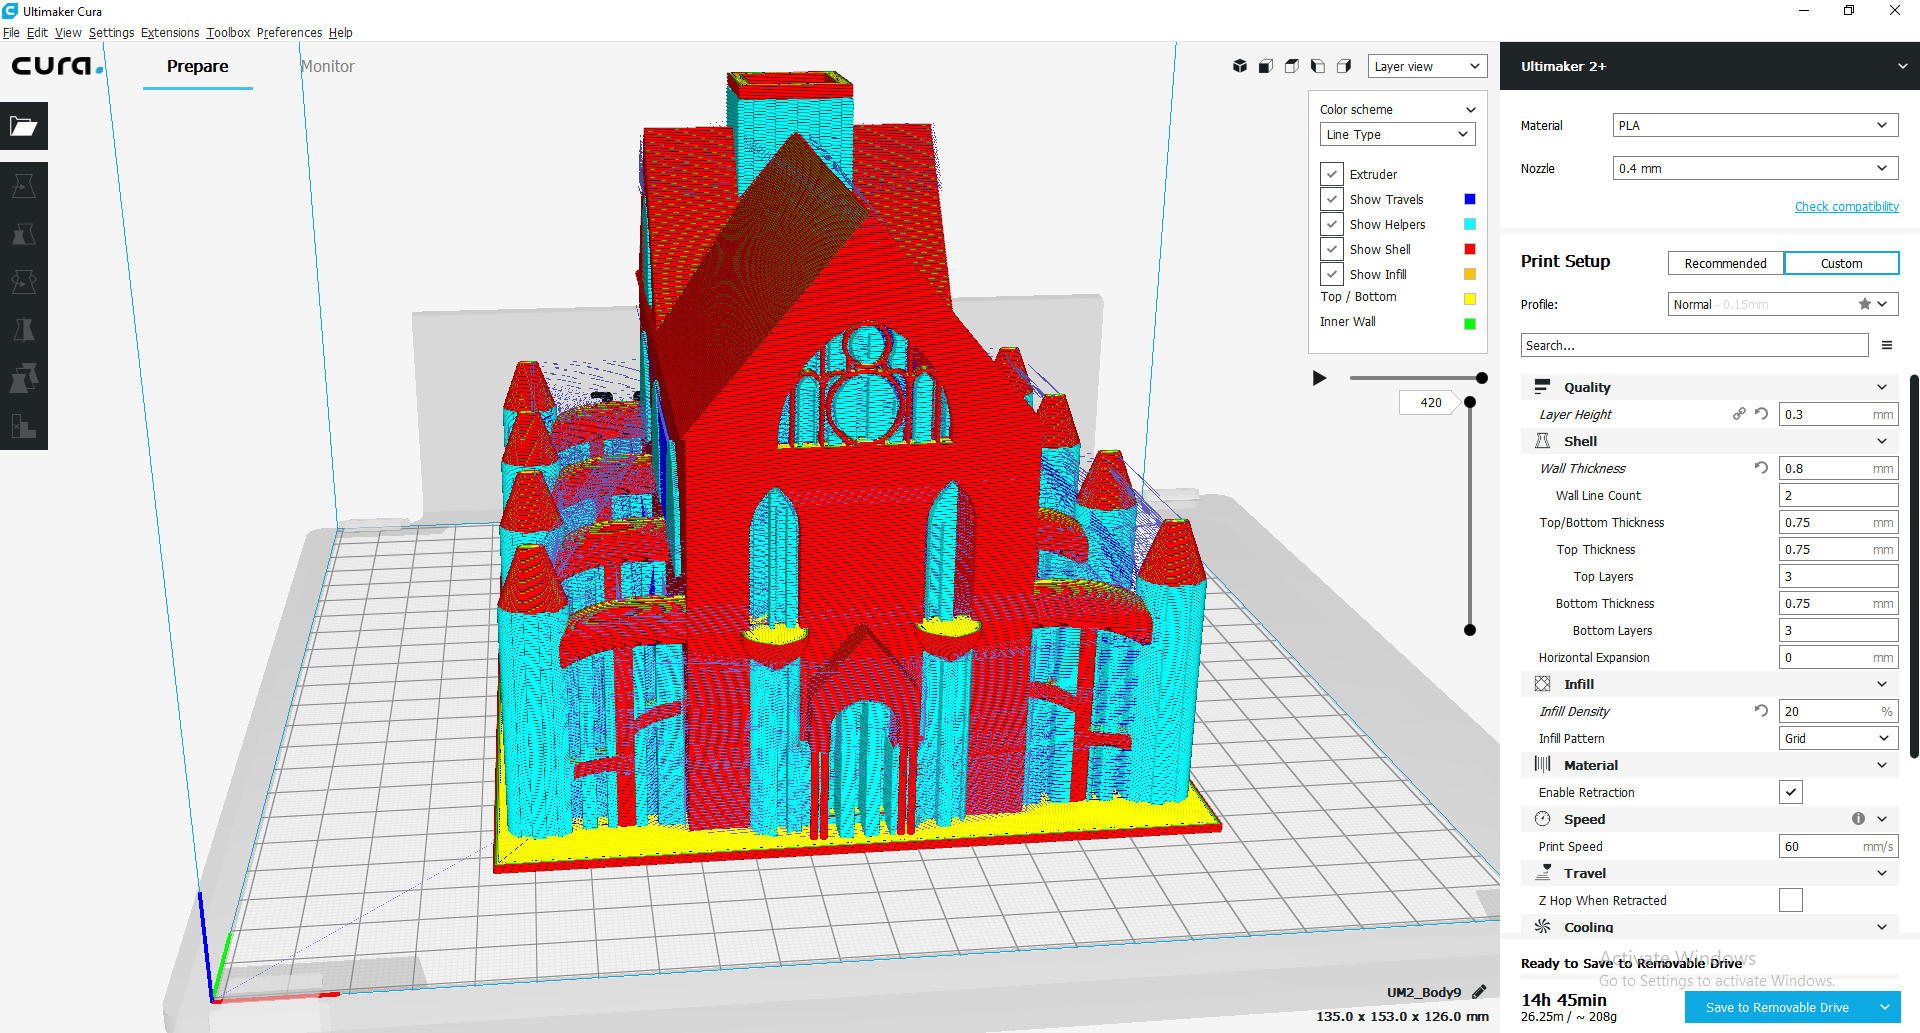
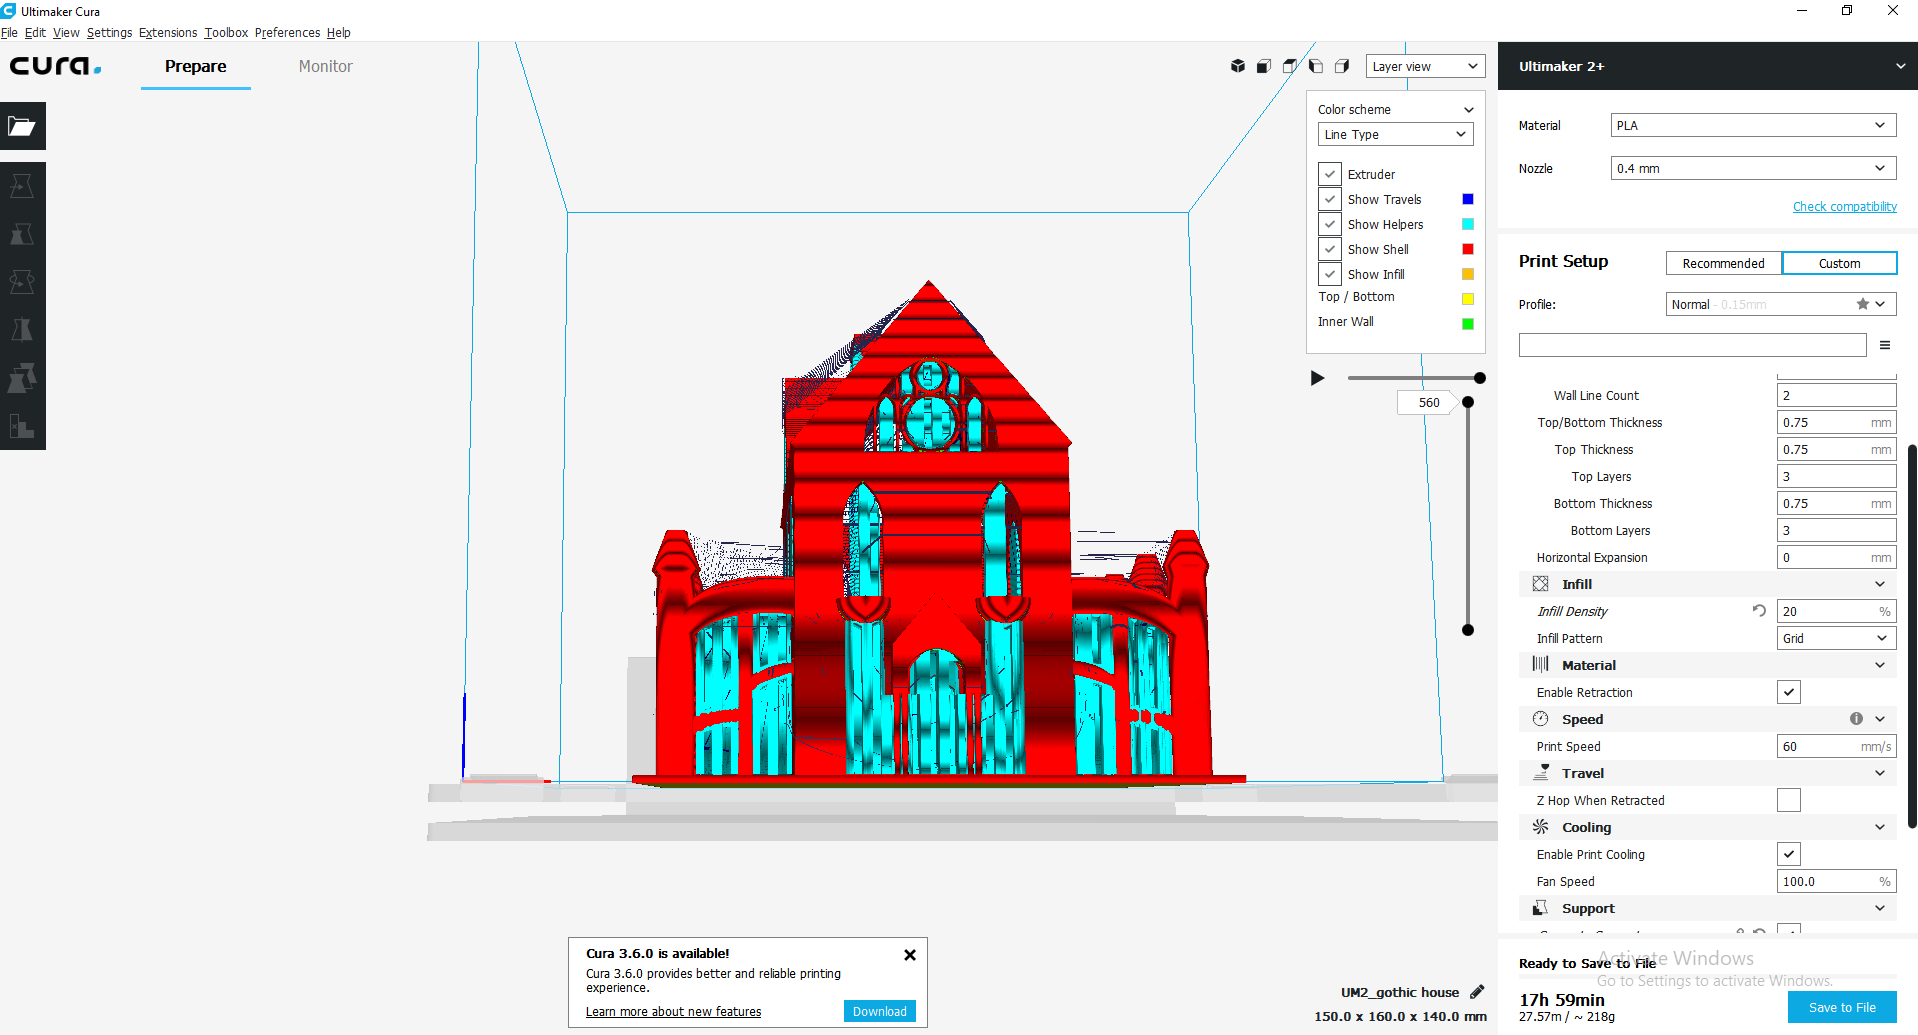
On Cura, we can view our print layer by layer to make sure everything is good.
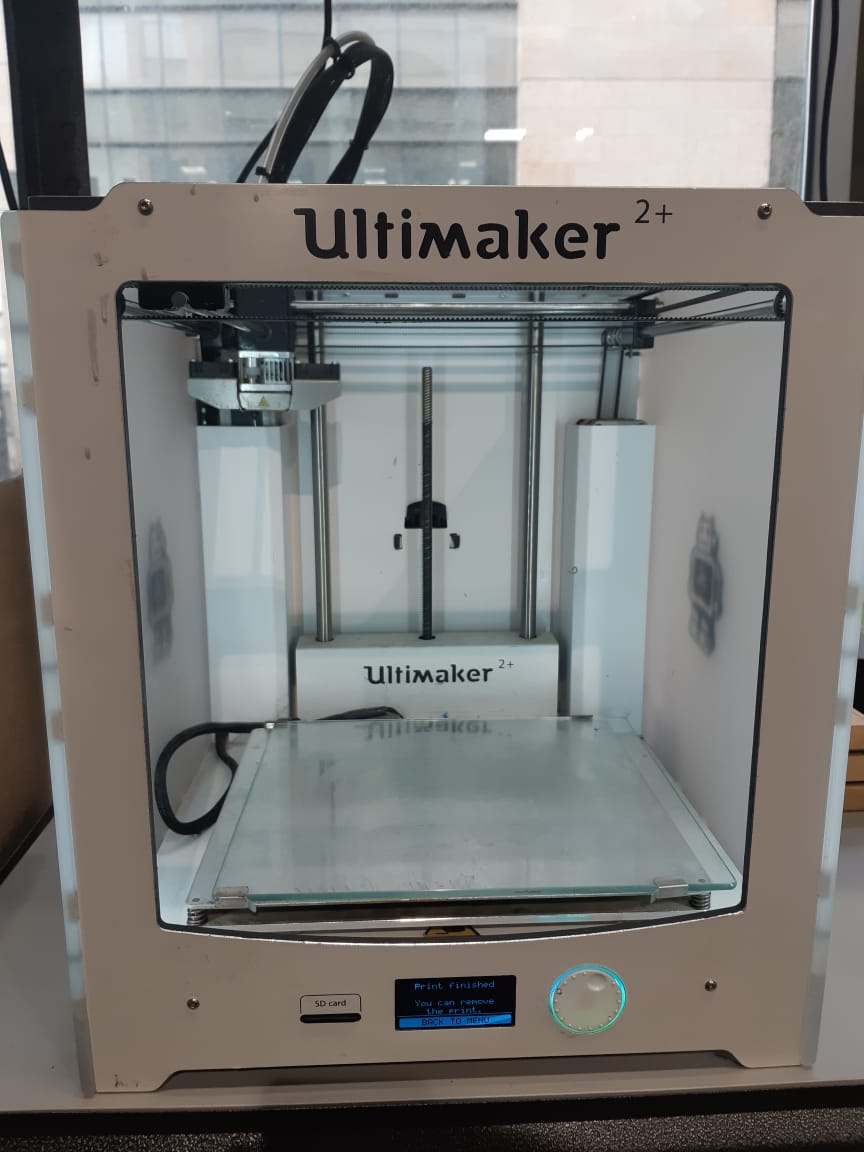
After finishing with Cura, we save the file on SIM card. then insert it in the printer. But before that, we need to change the material of the printing.
To do so, we should order the machine to change the material, thats when the previous material will be pulled out in order to insert the new one.
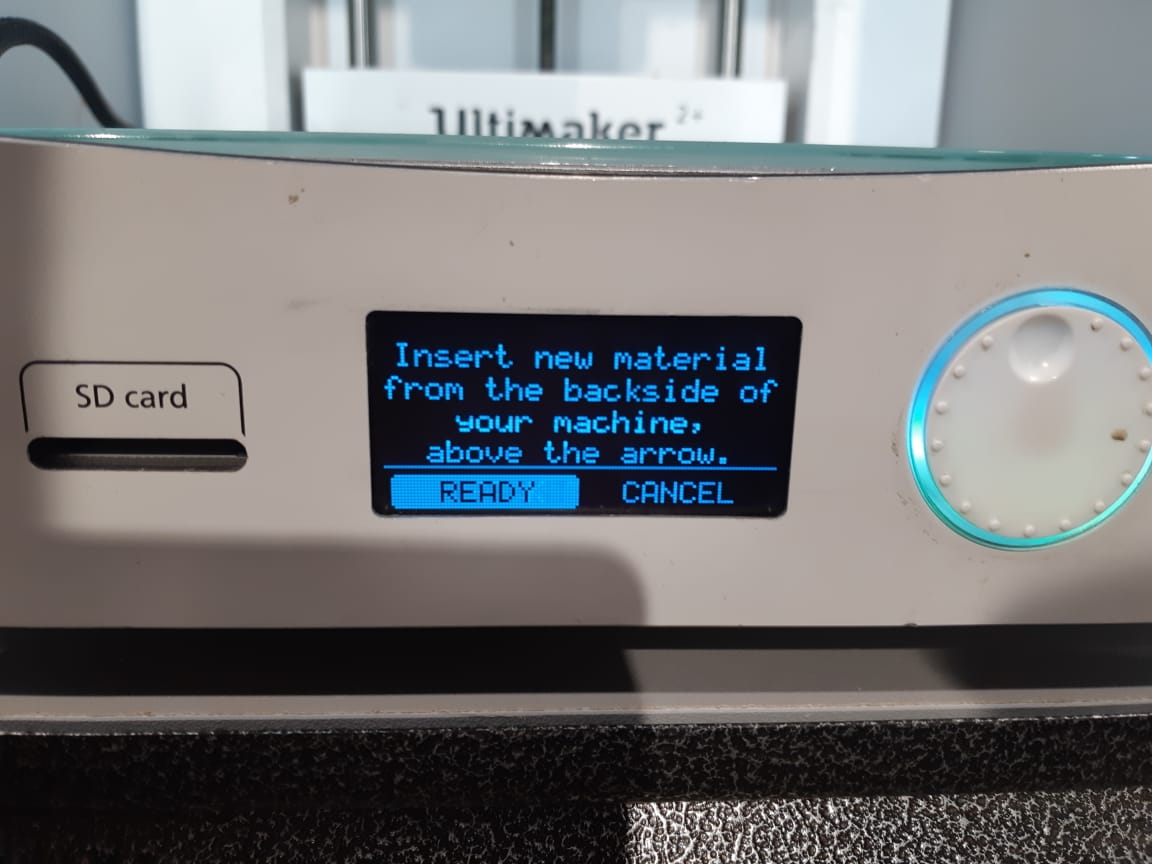
Then we order the job to start, I put a bronve filament which needs a slightly higher temperature then basic PLA. so I controlled the temperature manually:

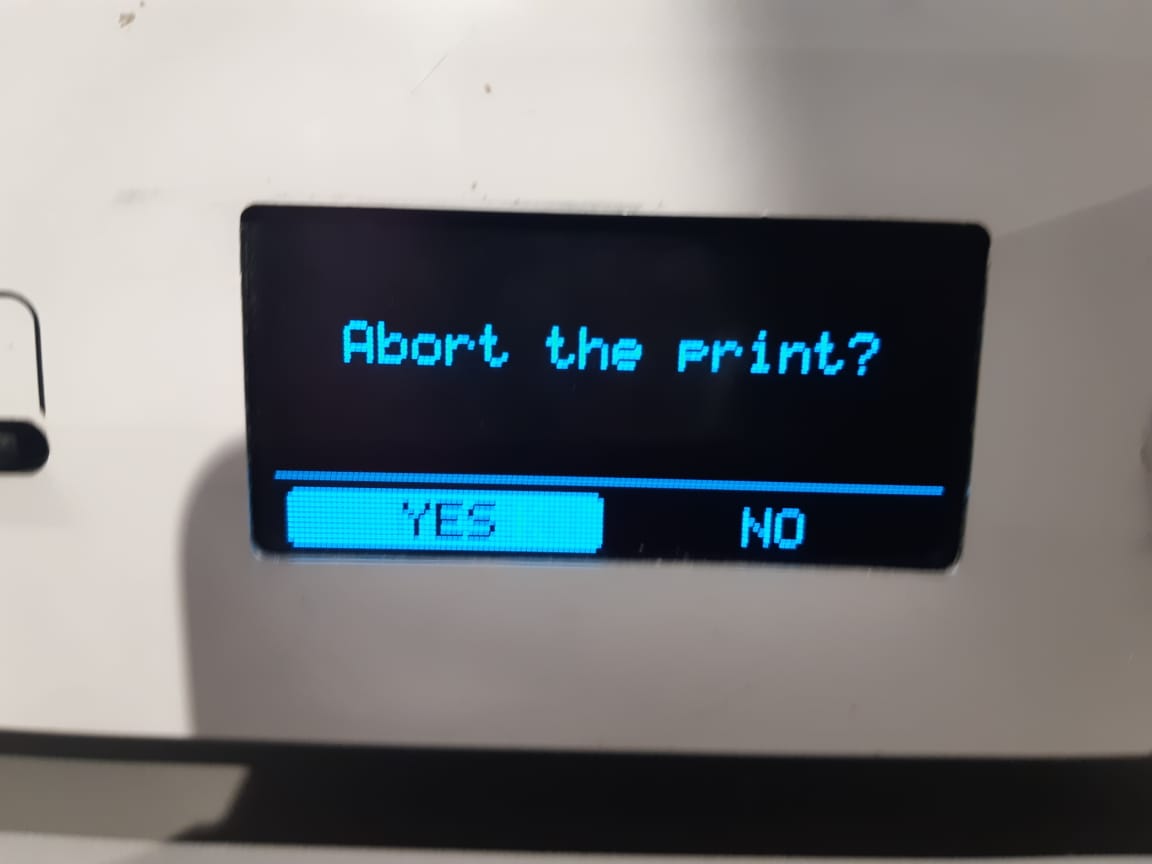
The job started to print, but the first layer failed to stick to the platform. which ruined the printing so I had to abort mission.
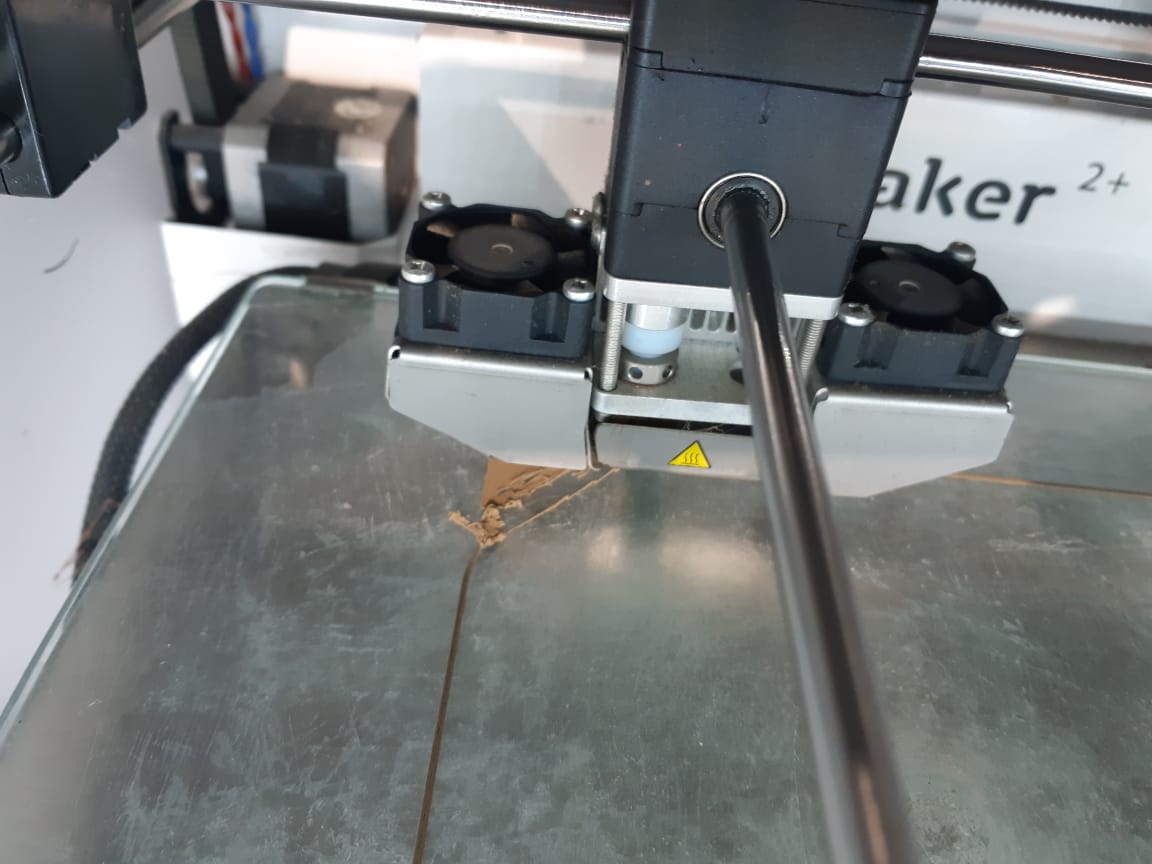
We found out that the problem was from the material; it, being old and not very dry caused it to break and stuck inside the nozzle as a hazzard preventing the extrusion. So the nozzle got cleanned then the job was uploaded again, but because of the delay in time, I risked uploading the job without the use of supports assuming that the overhanging details are not very heavy and wont cause a failure.
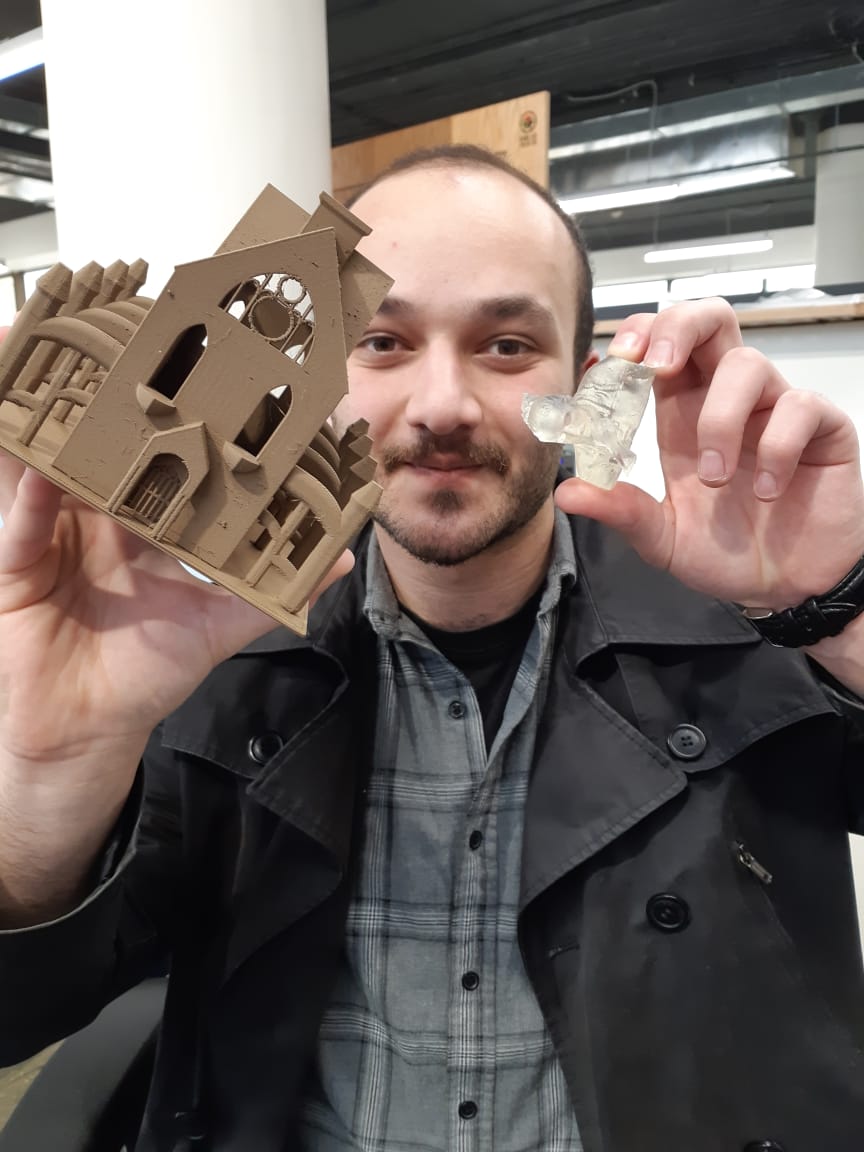
Surprisingly, the job was accomplished fine with an acceptable accuracy.
____________________________________________________
SLA (Stereolithography) and Scanning
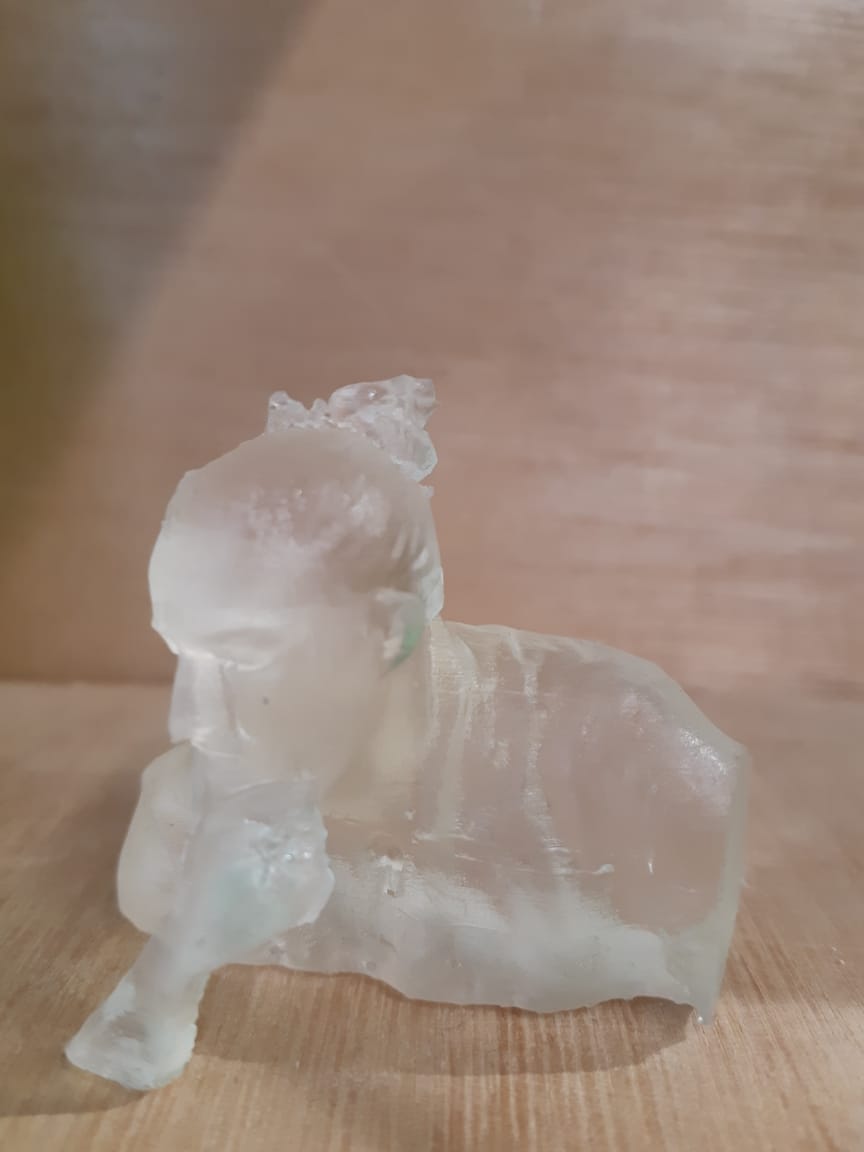
3D scanning: done using a scanner and a software, I scanned my collegue to be 3D printed later on.
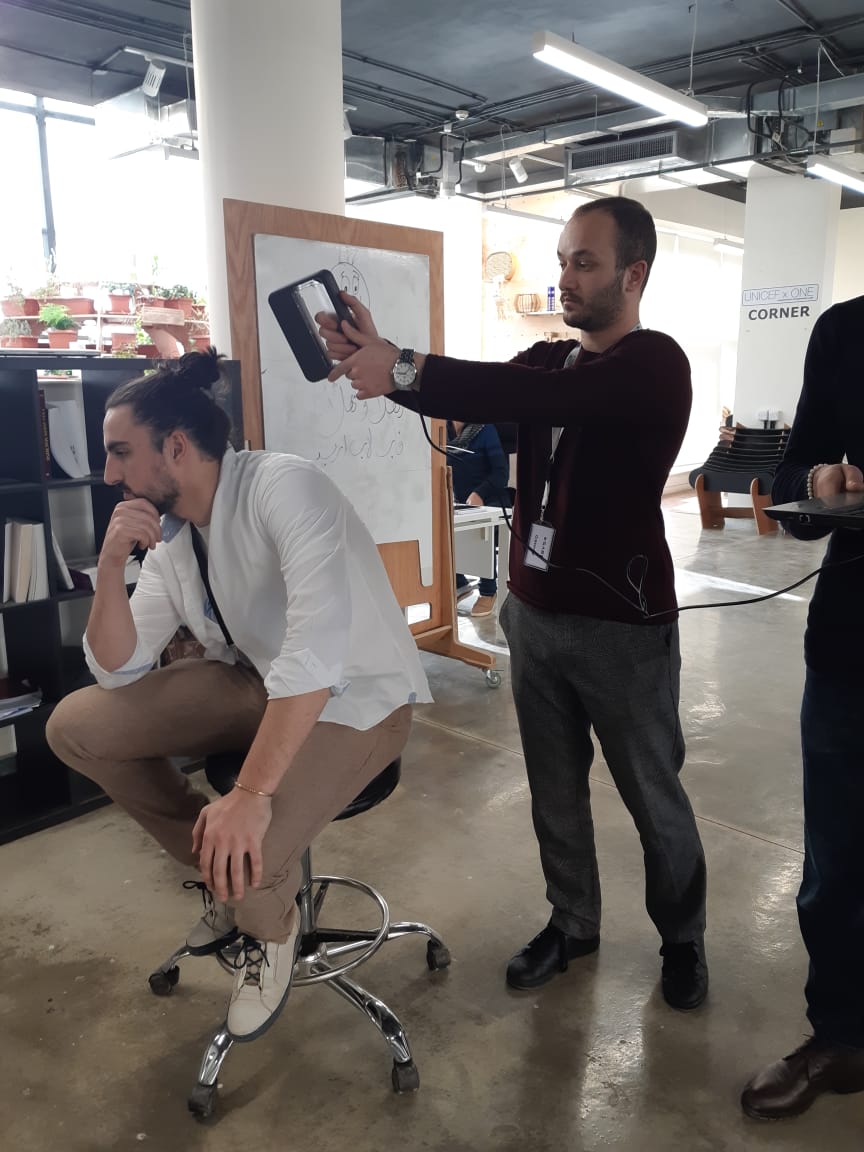
The scan was monitored on the scanner software "Sense"
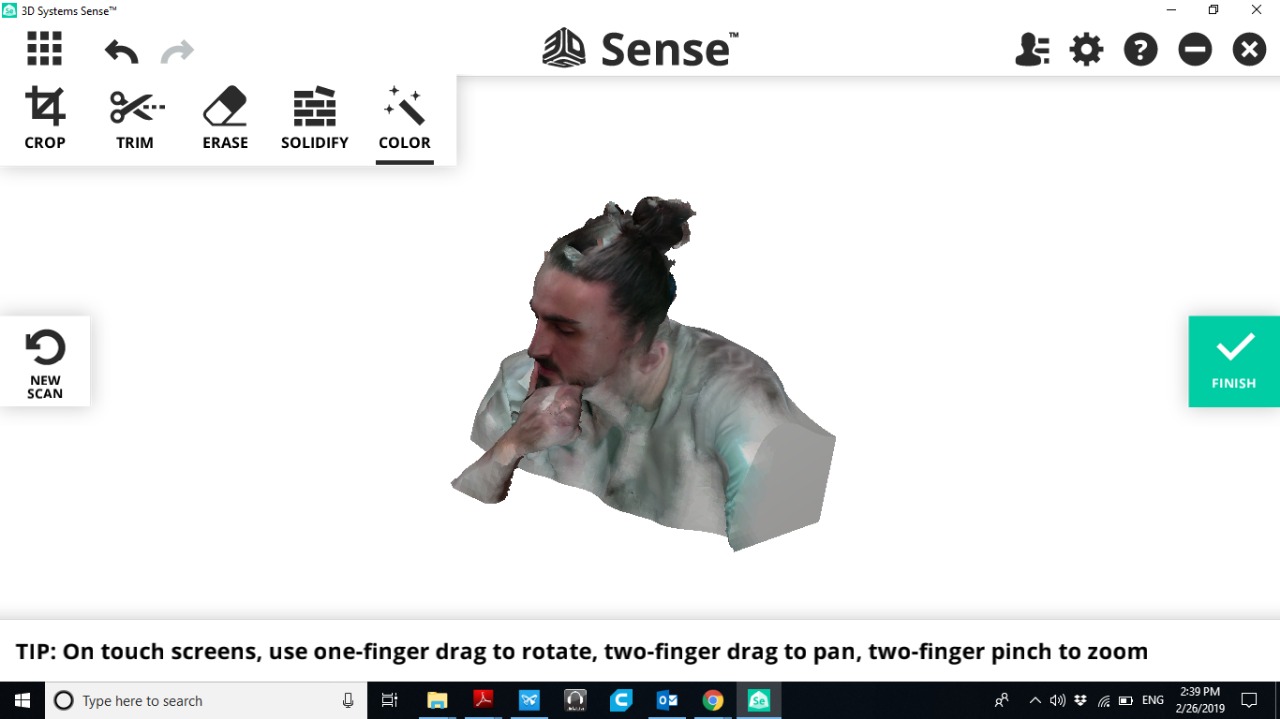
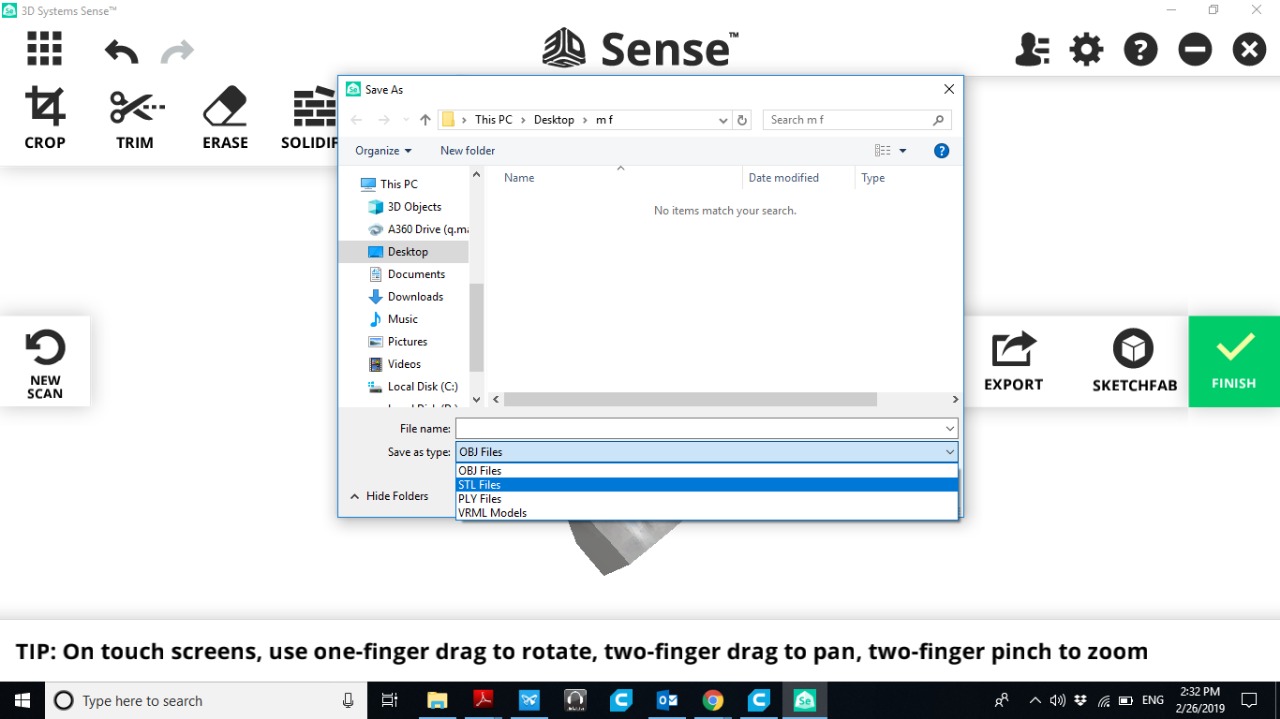
and from there saved as a stl file for 3D printing.
SLA process: a light source projected on the building platform which is immersed in a liquid resin material, solidifies the resin layer by layer until the object is complete and solid. (higher cost and accuracy than FDM)
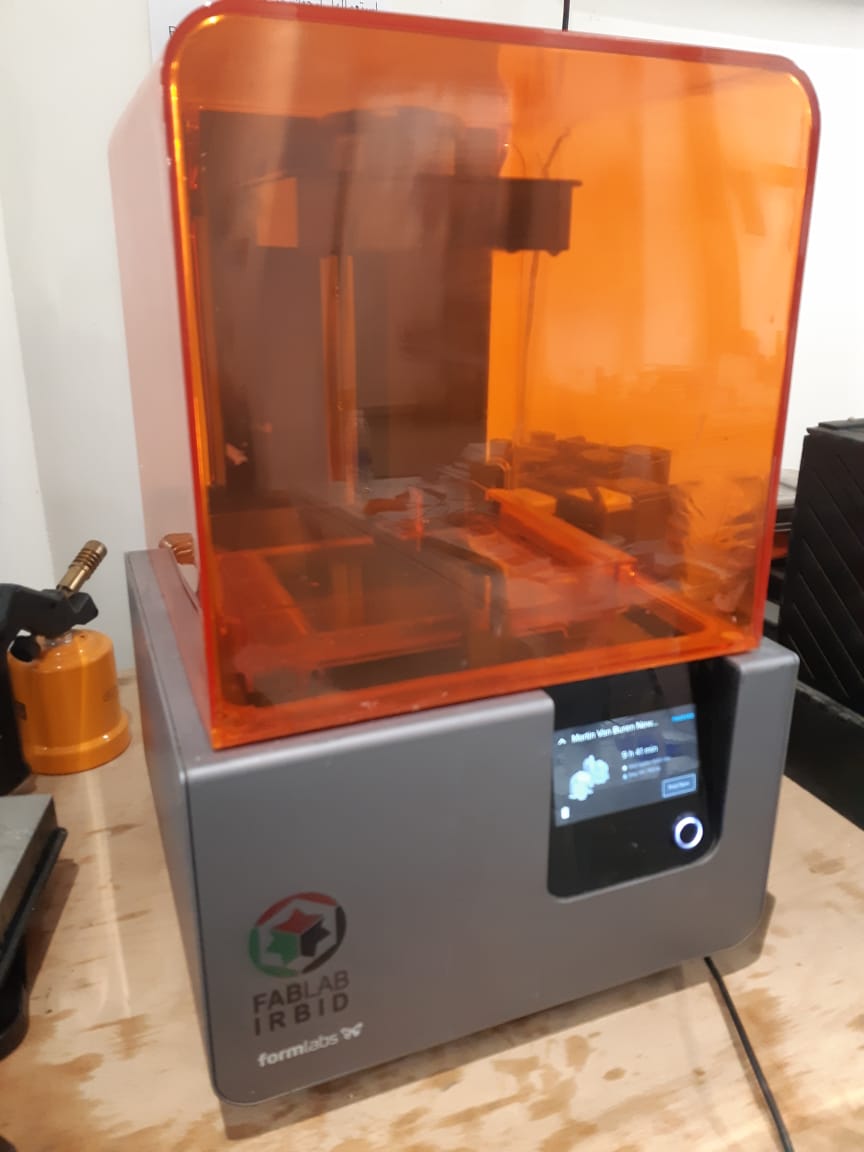
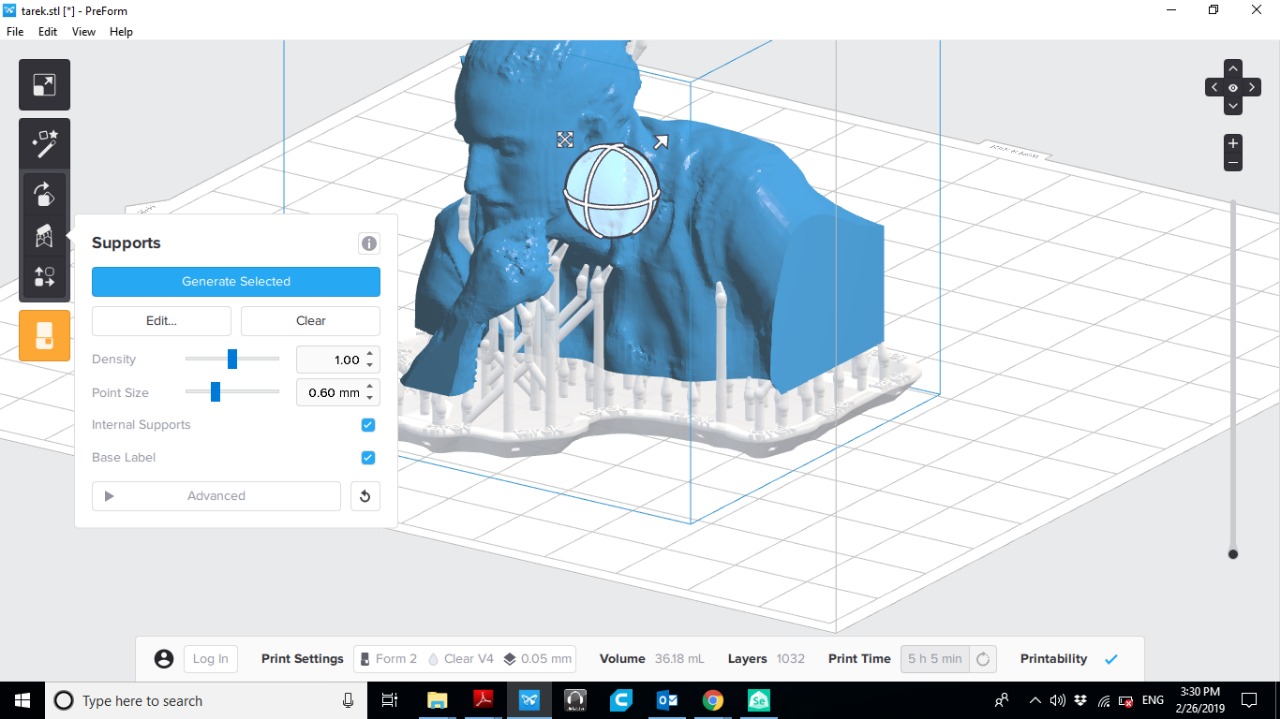
I used a software called Preform to setup the printer. And there I uploaded the scanned file I saved earlier.
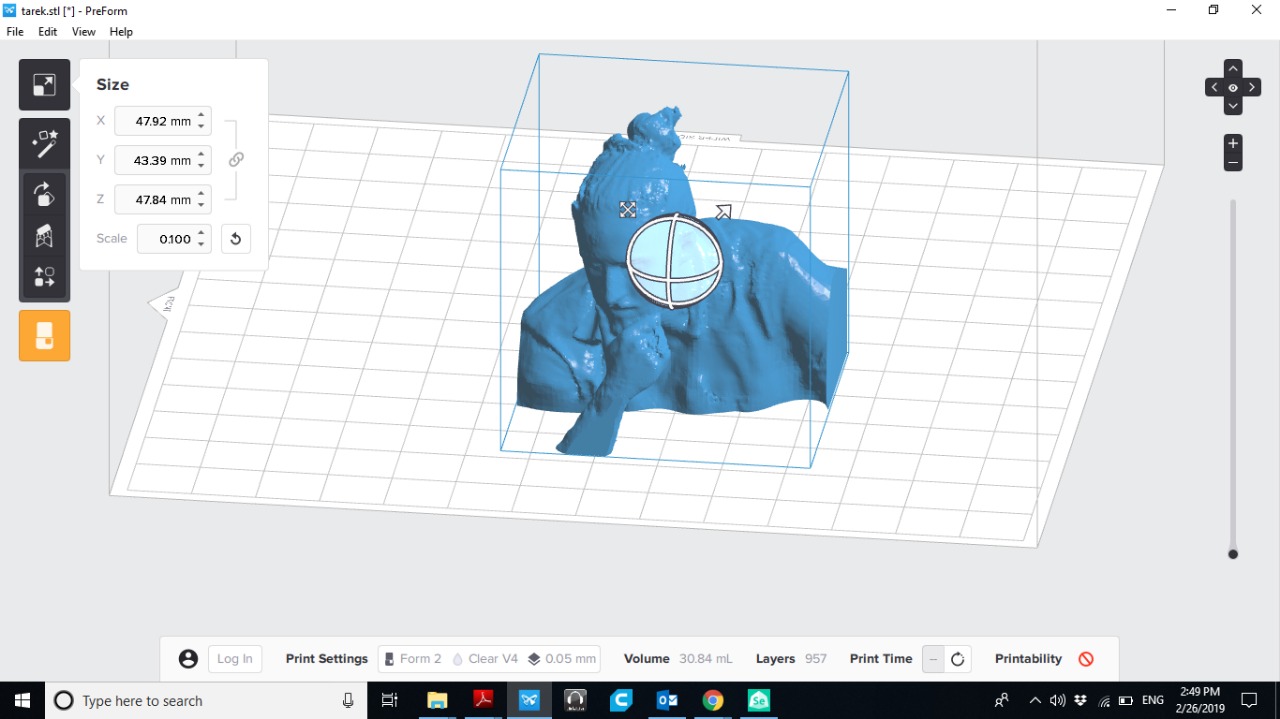
There, we selected the material and the machine we're using then controlled the settings for the print.
The file then was uploaded to the printer using a USB port. And ordered the machine to start.
Saftey measurments must be taken when using SLA printing because the materials there are toxic.
After the print is complete, we have to cure it using a heatign machine.
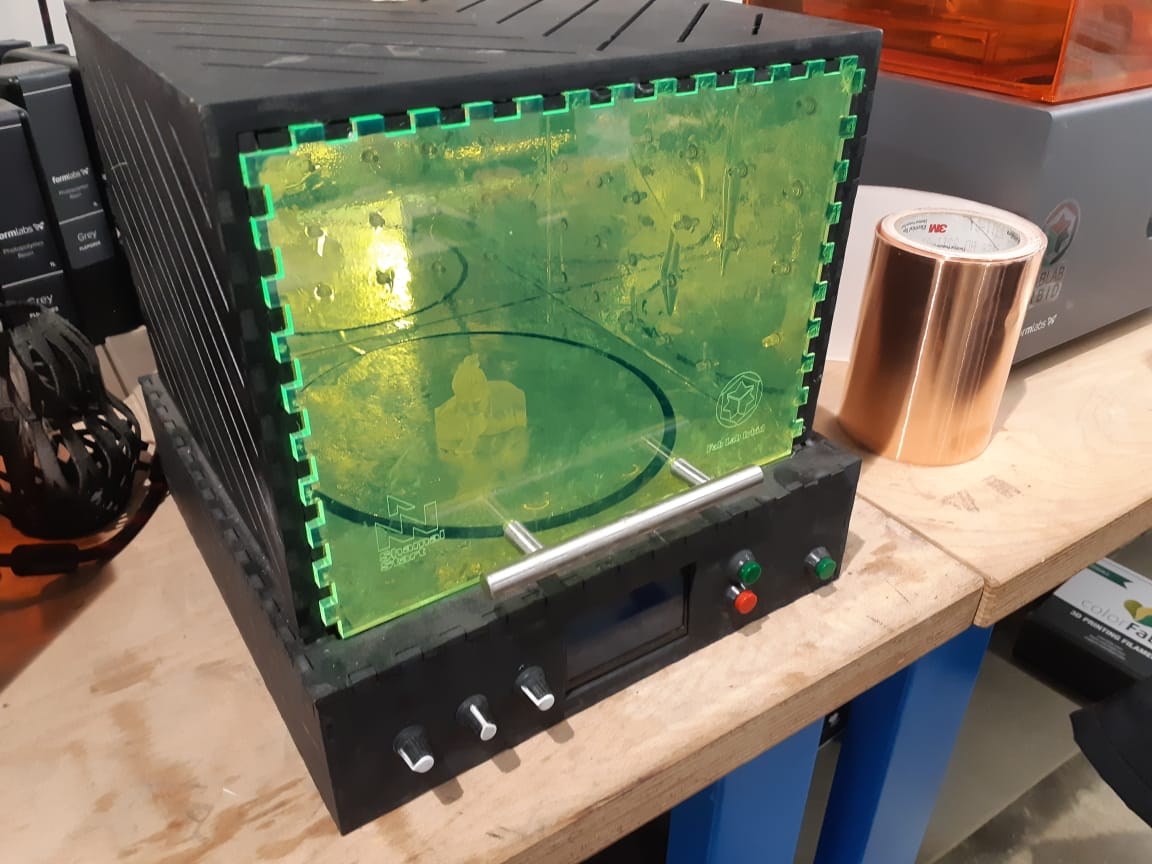
Finally, the print is finished
____________________________________________________
Files:
